Spice Up Your Scrapbook Pages with Paper Punches
Have you ever seen those adorable scrapbook punches in a craft store—or while scrolling online—and thought, I love those, but I have no idea how to use them? You’re not alone.
Paper punches are one of the most underrated tools in scrapbooking, yet they’re one of the easiest ways to add charm, texture, and visual interest to your pages. Today, I’m sharing simple, practical ways to use craft punches so you can confidently incorporate them into your scrapbook designs—without overthinking or over-decorating.
Whether you’re brand new to scrapbooking or looking to elevate your pages, paper punches are a game changer.
Welcome! Let’s Make Your Memories Pop
Hi! I’m Laura, and I share tips, techniques, and inspiration for scrapbookers who want their memories to truly pop. If you love creative storytelling, beautiful layouts, and approachable techniques—or you’re just getting started—you’re in the right place.
This tutorial is perfect for beginners, busy memory-keepers, and anyone who owns paper punches but isn’t quite sure how to use them effectively.
The Theme: Celebrating a Bridal Shower in Style
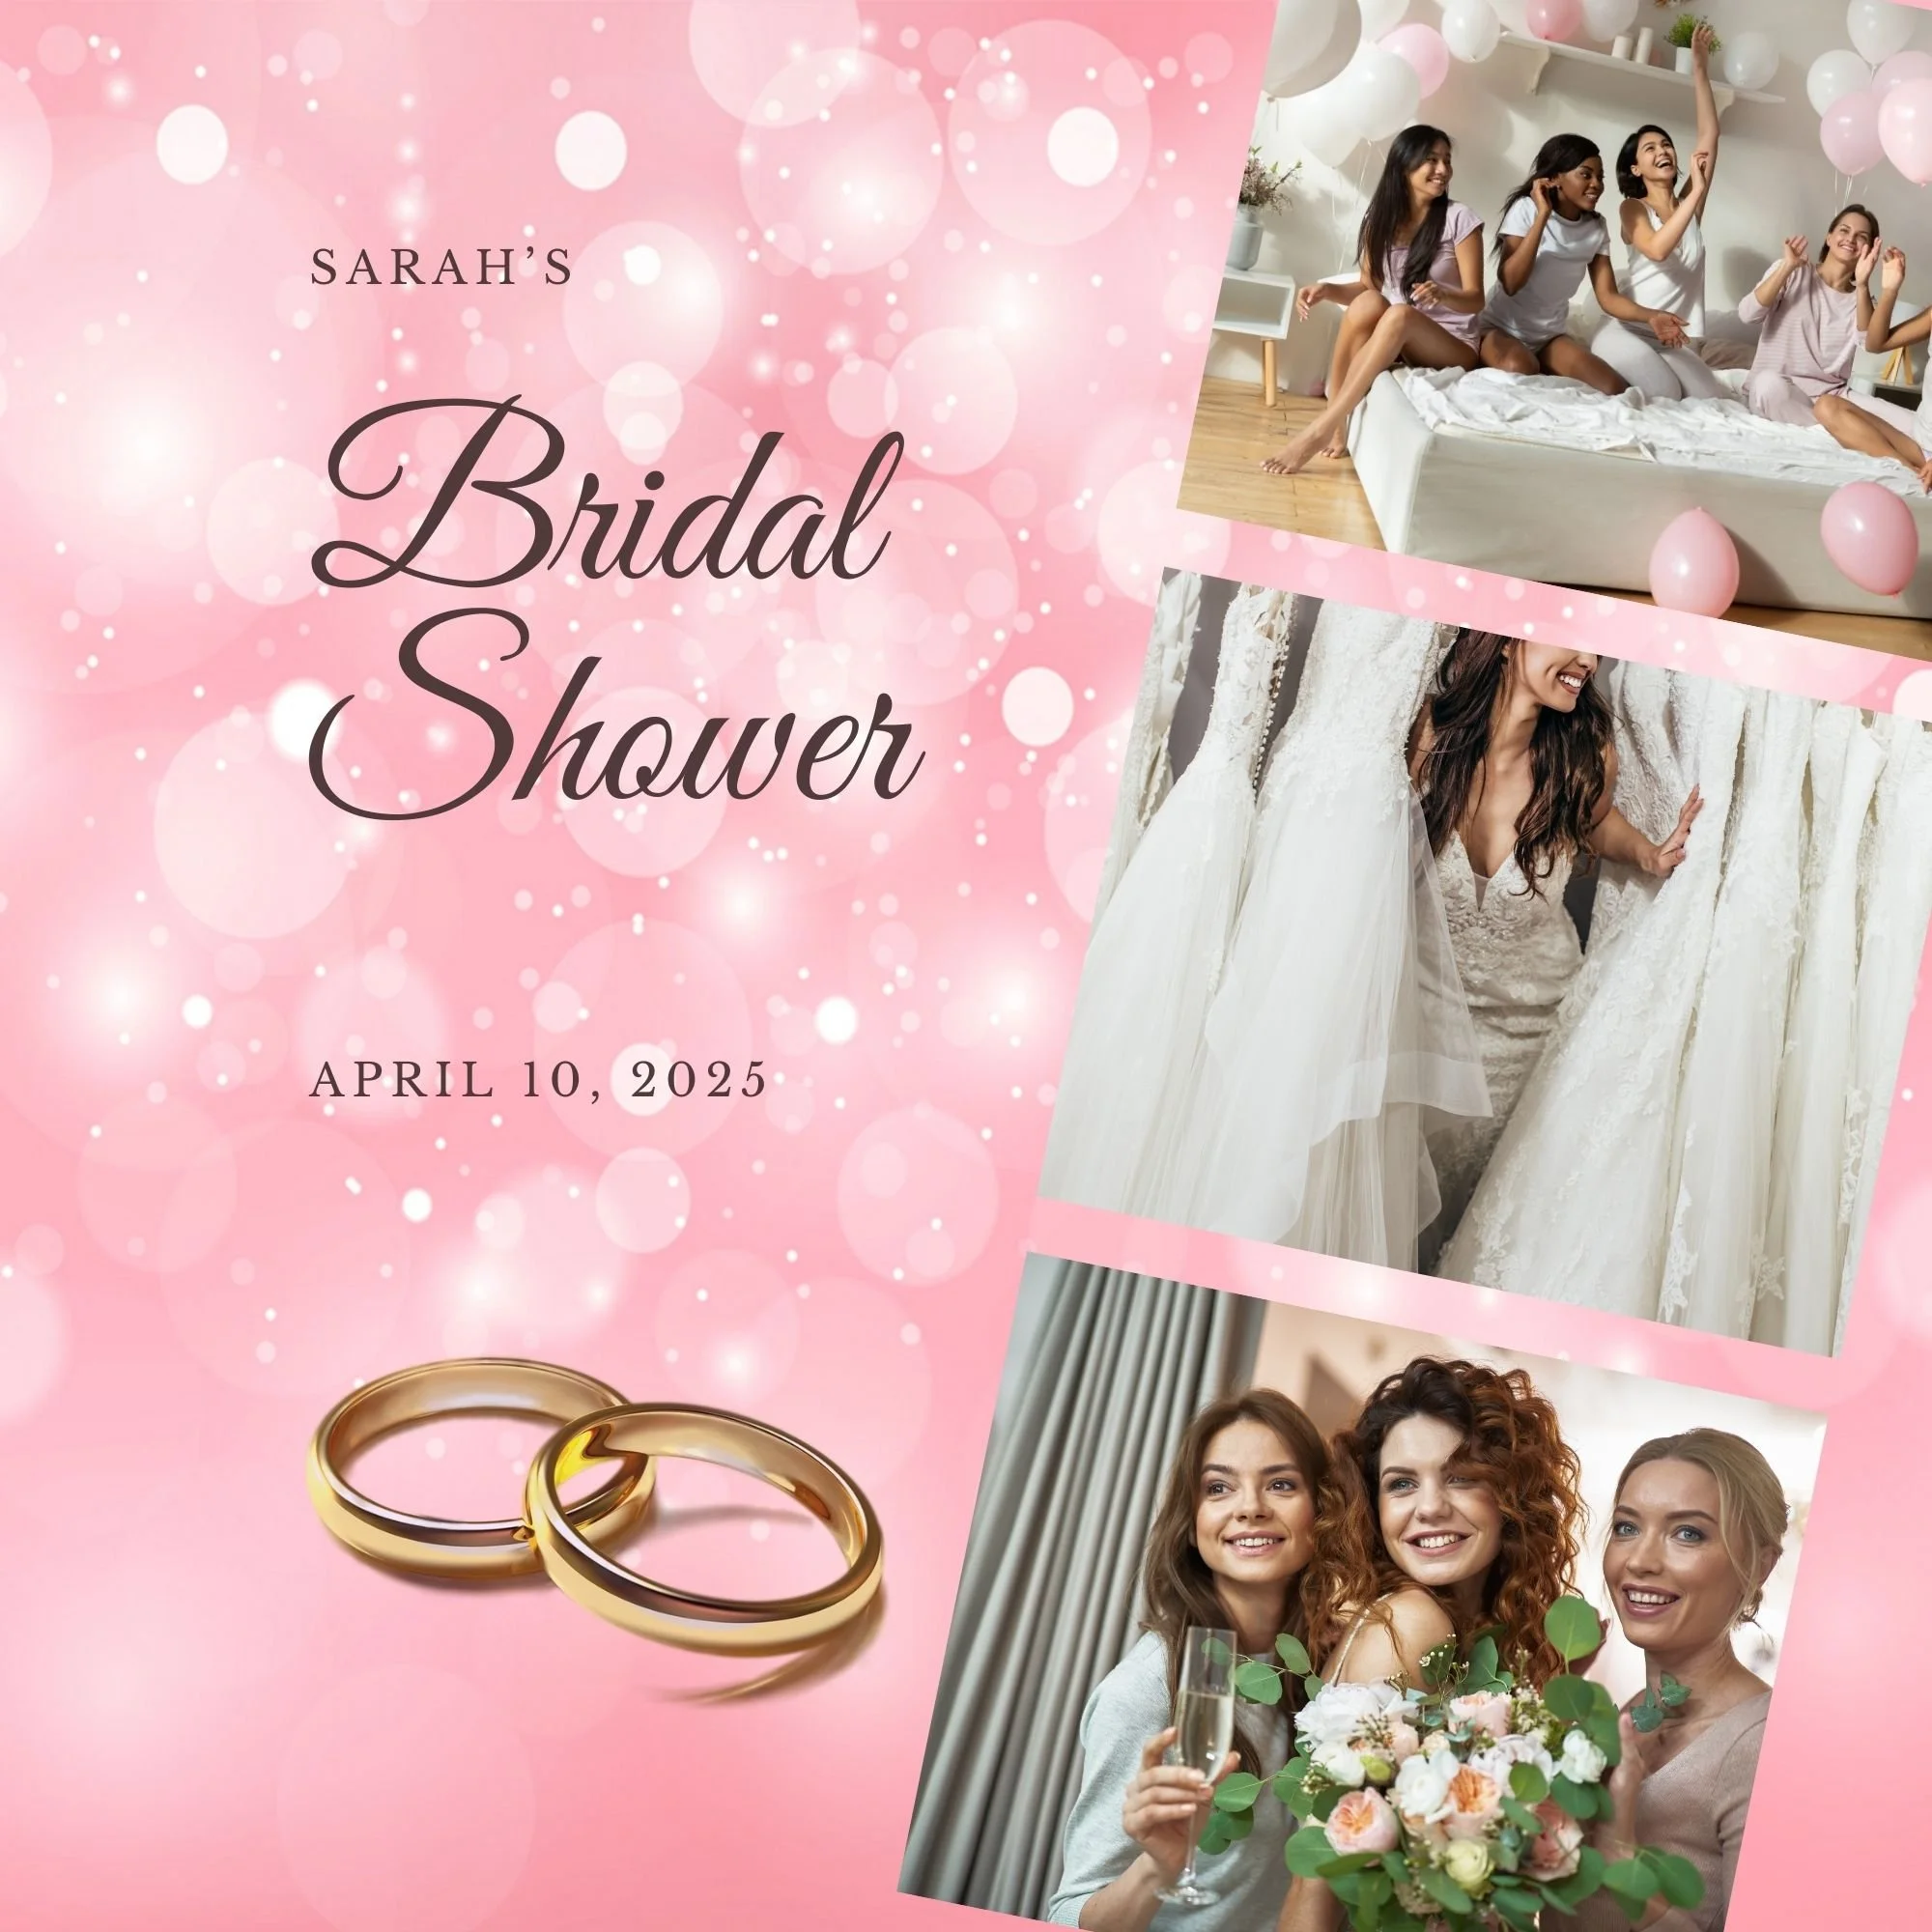
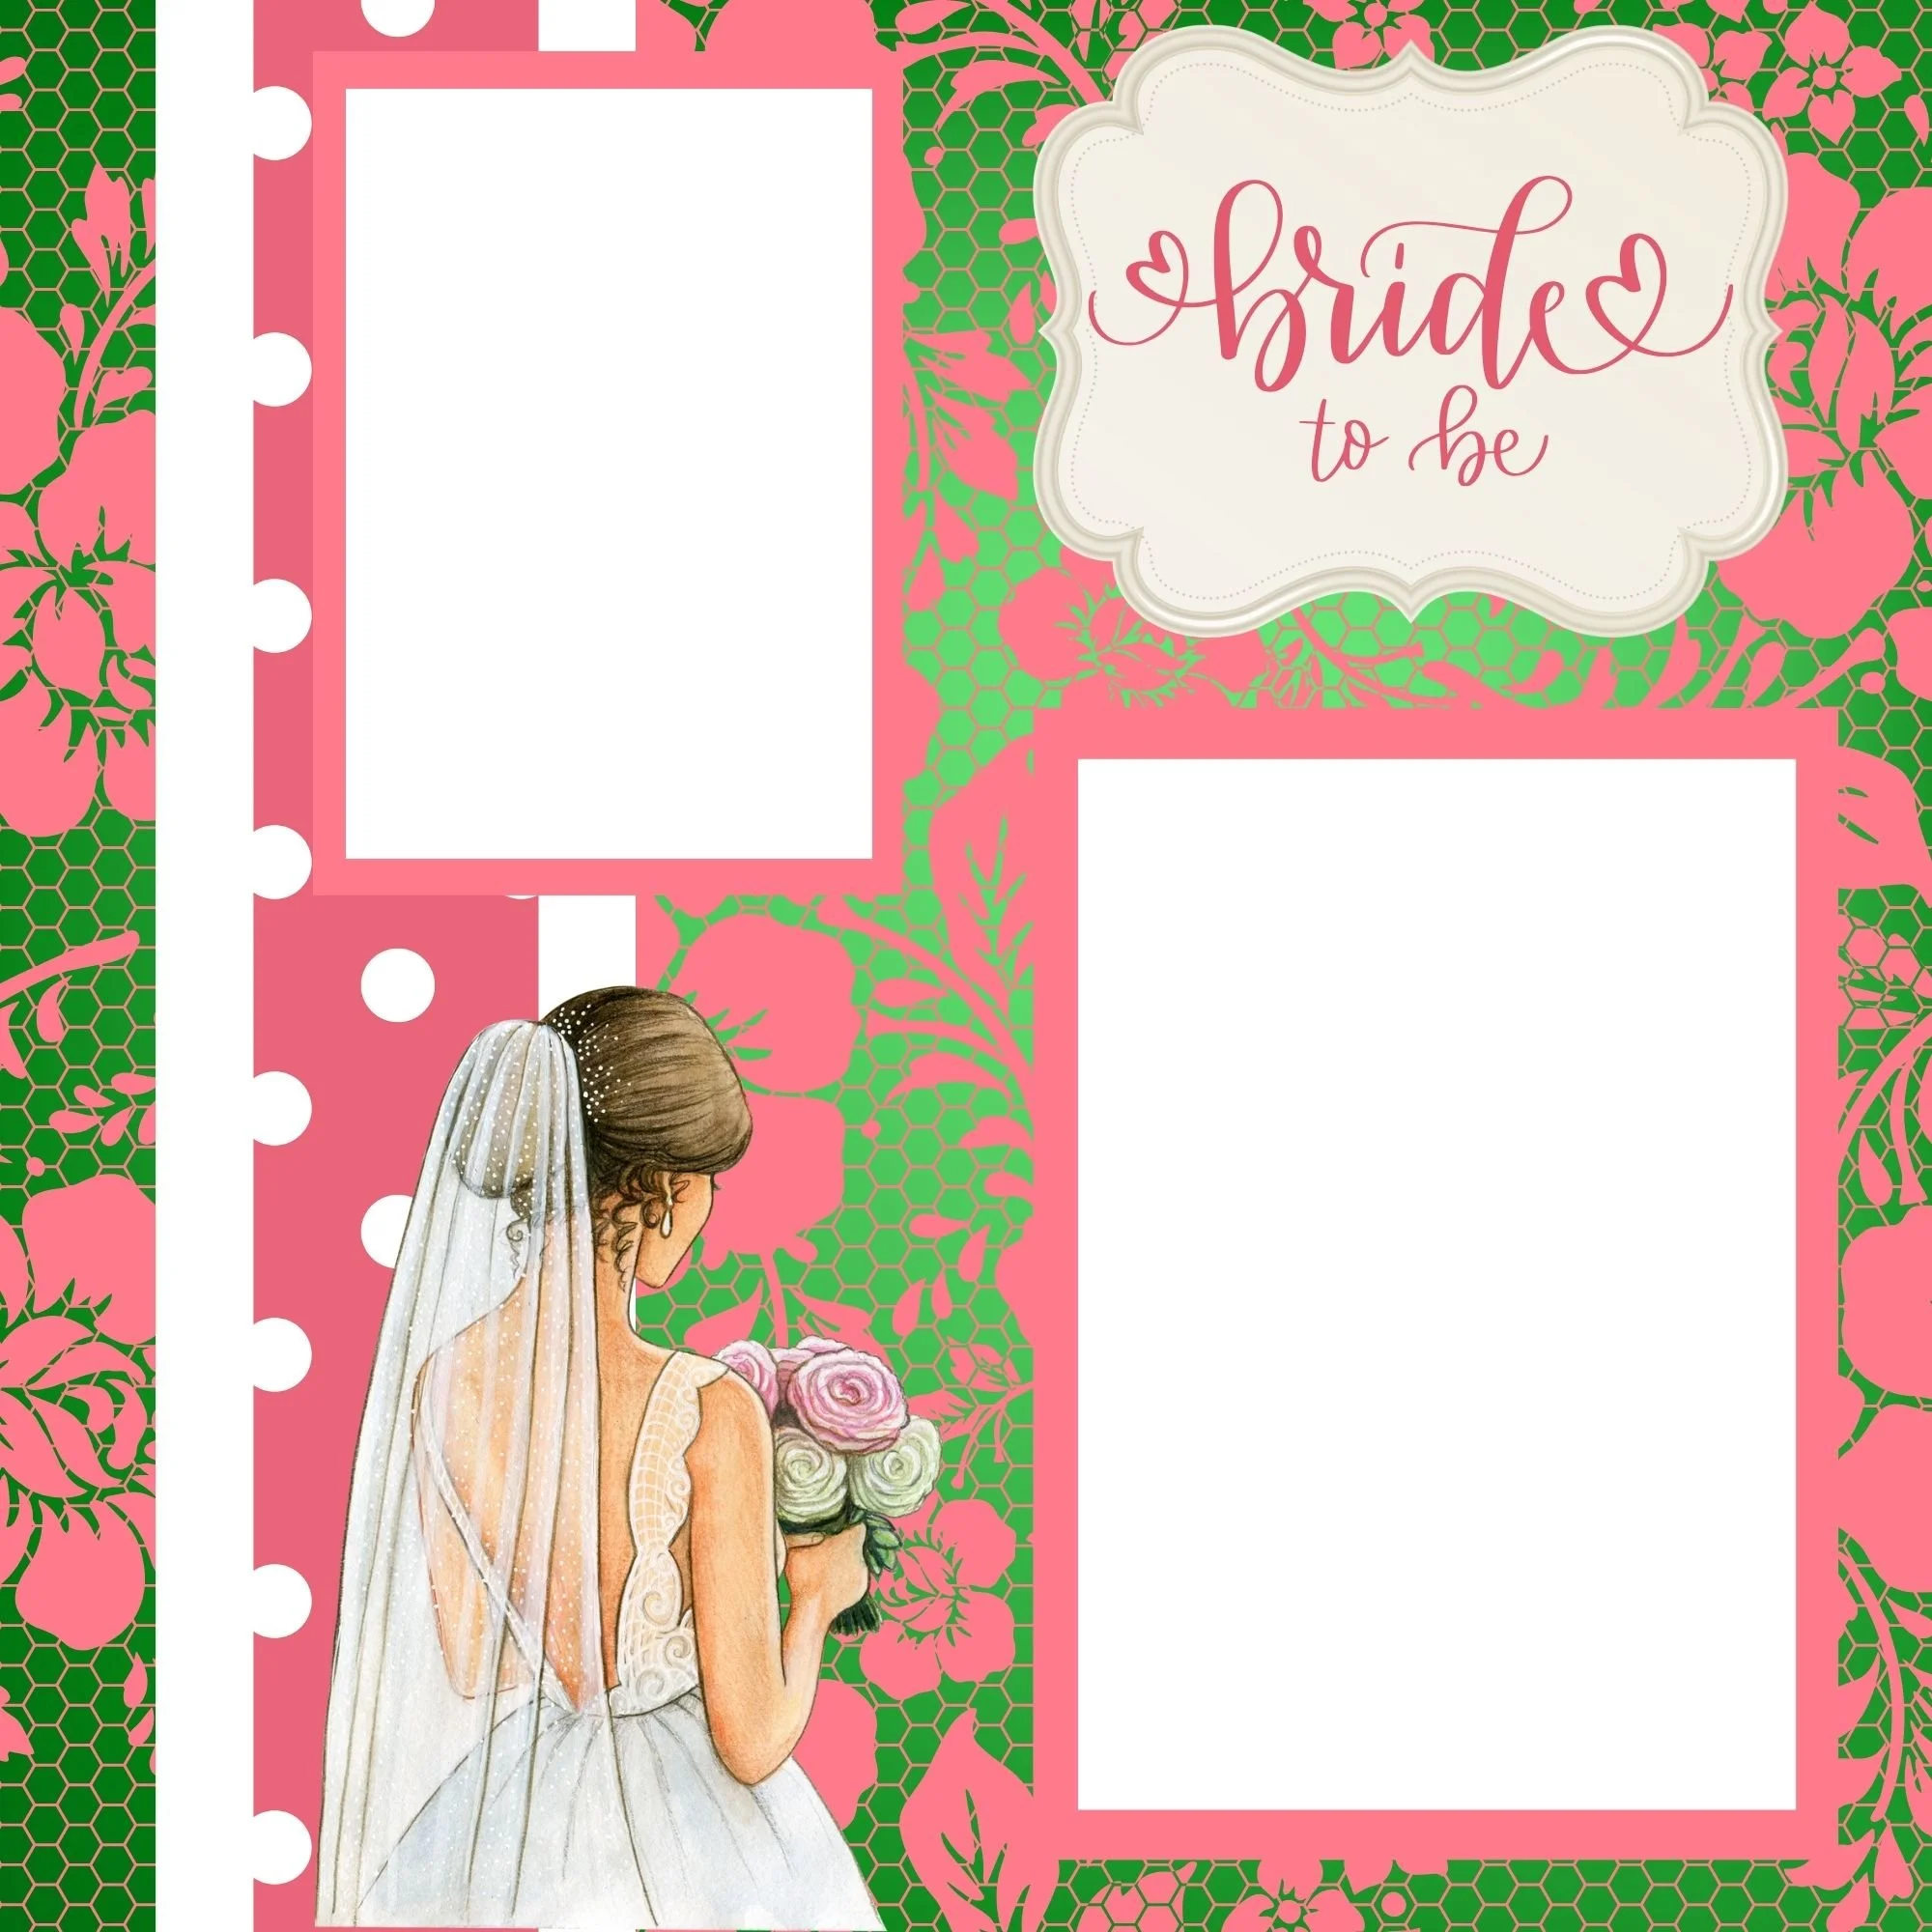
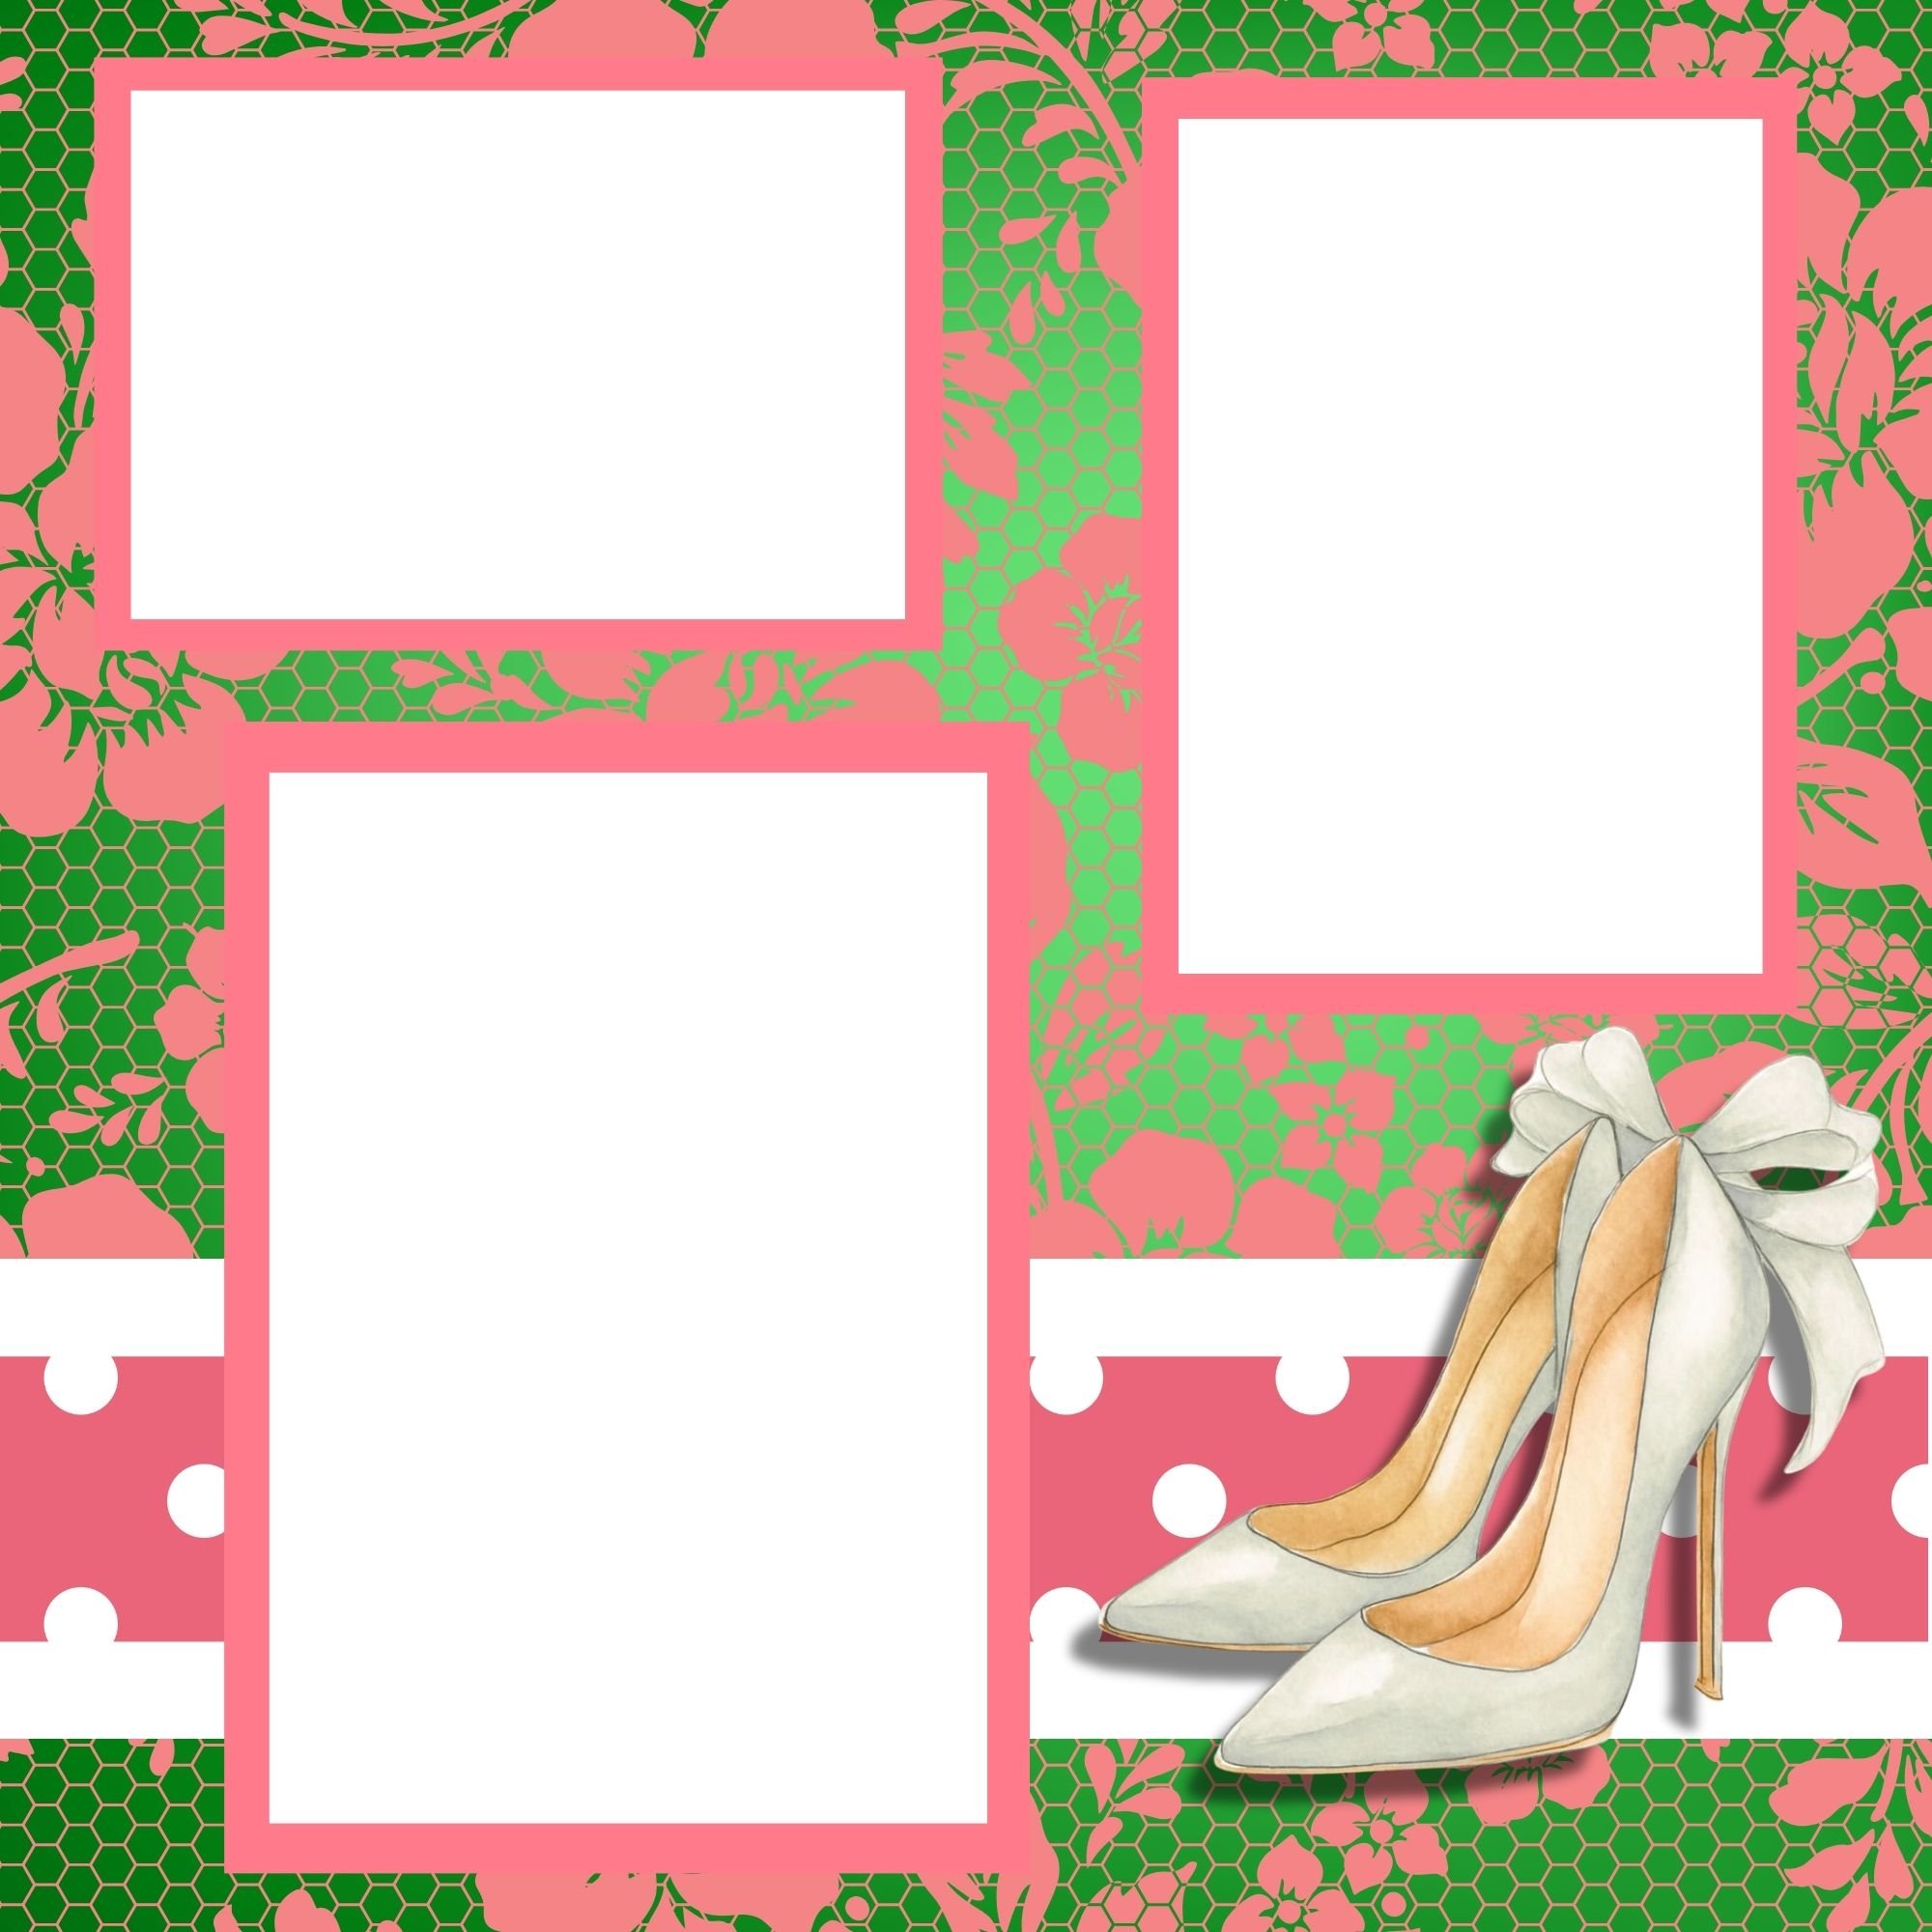
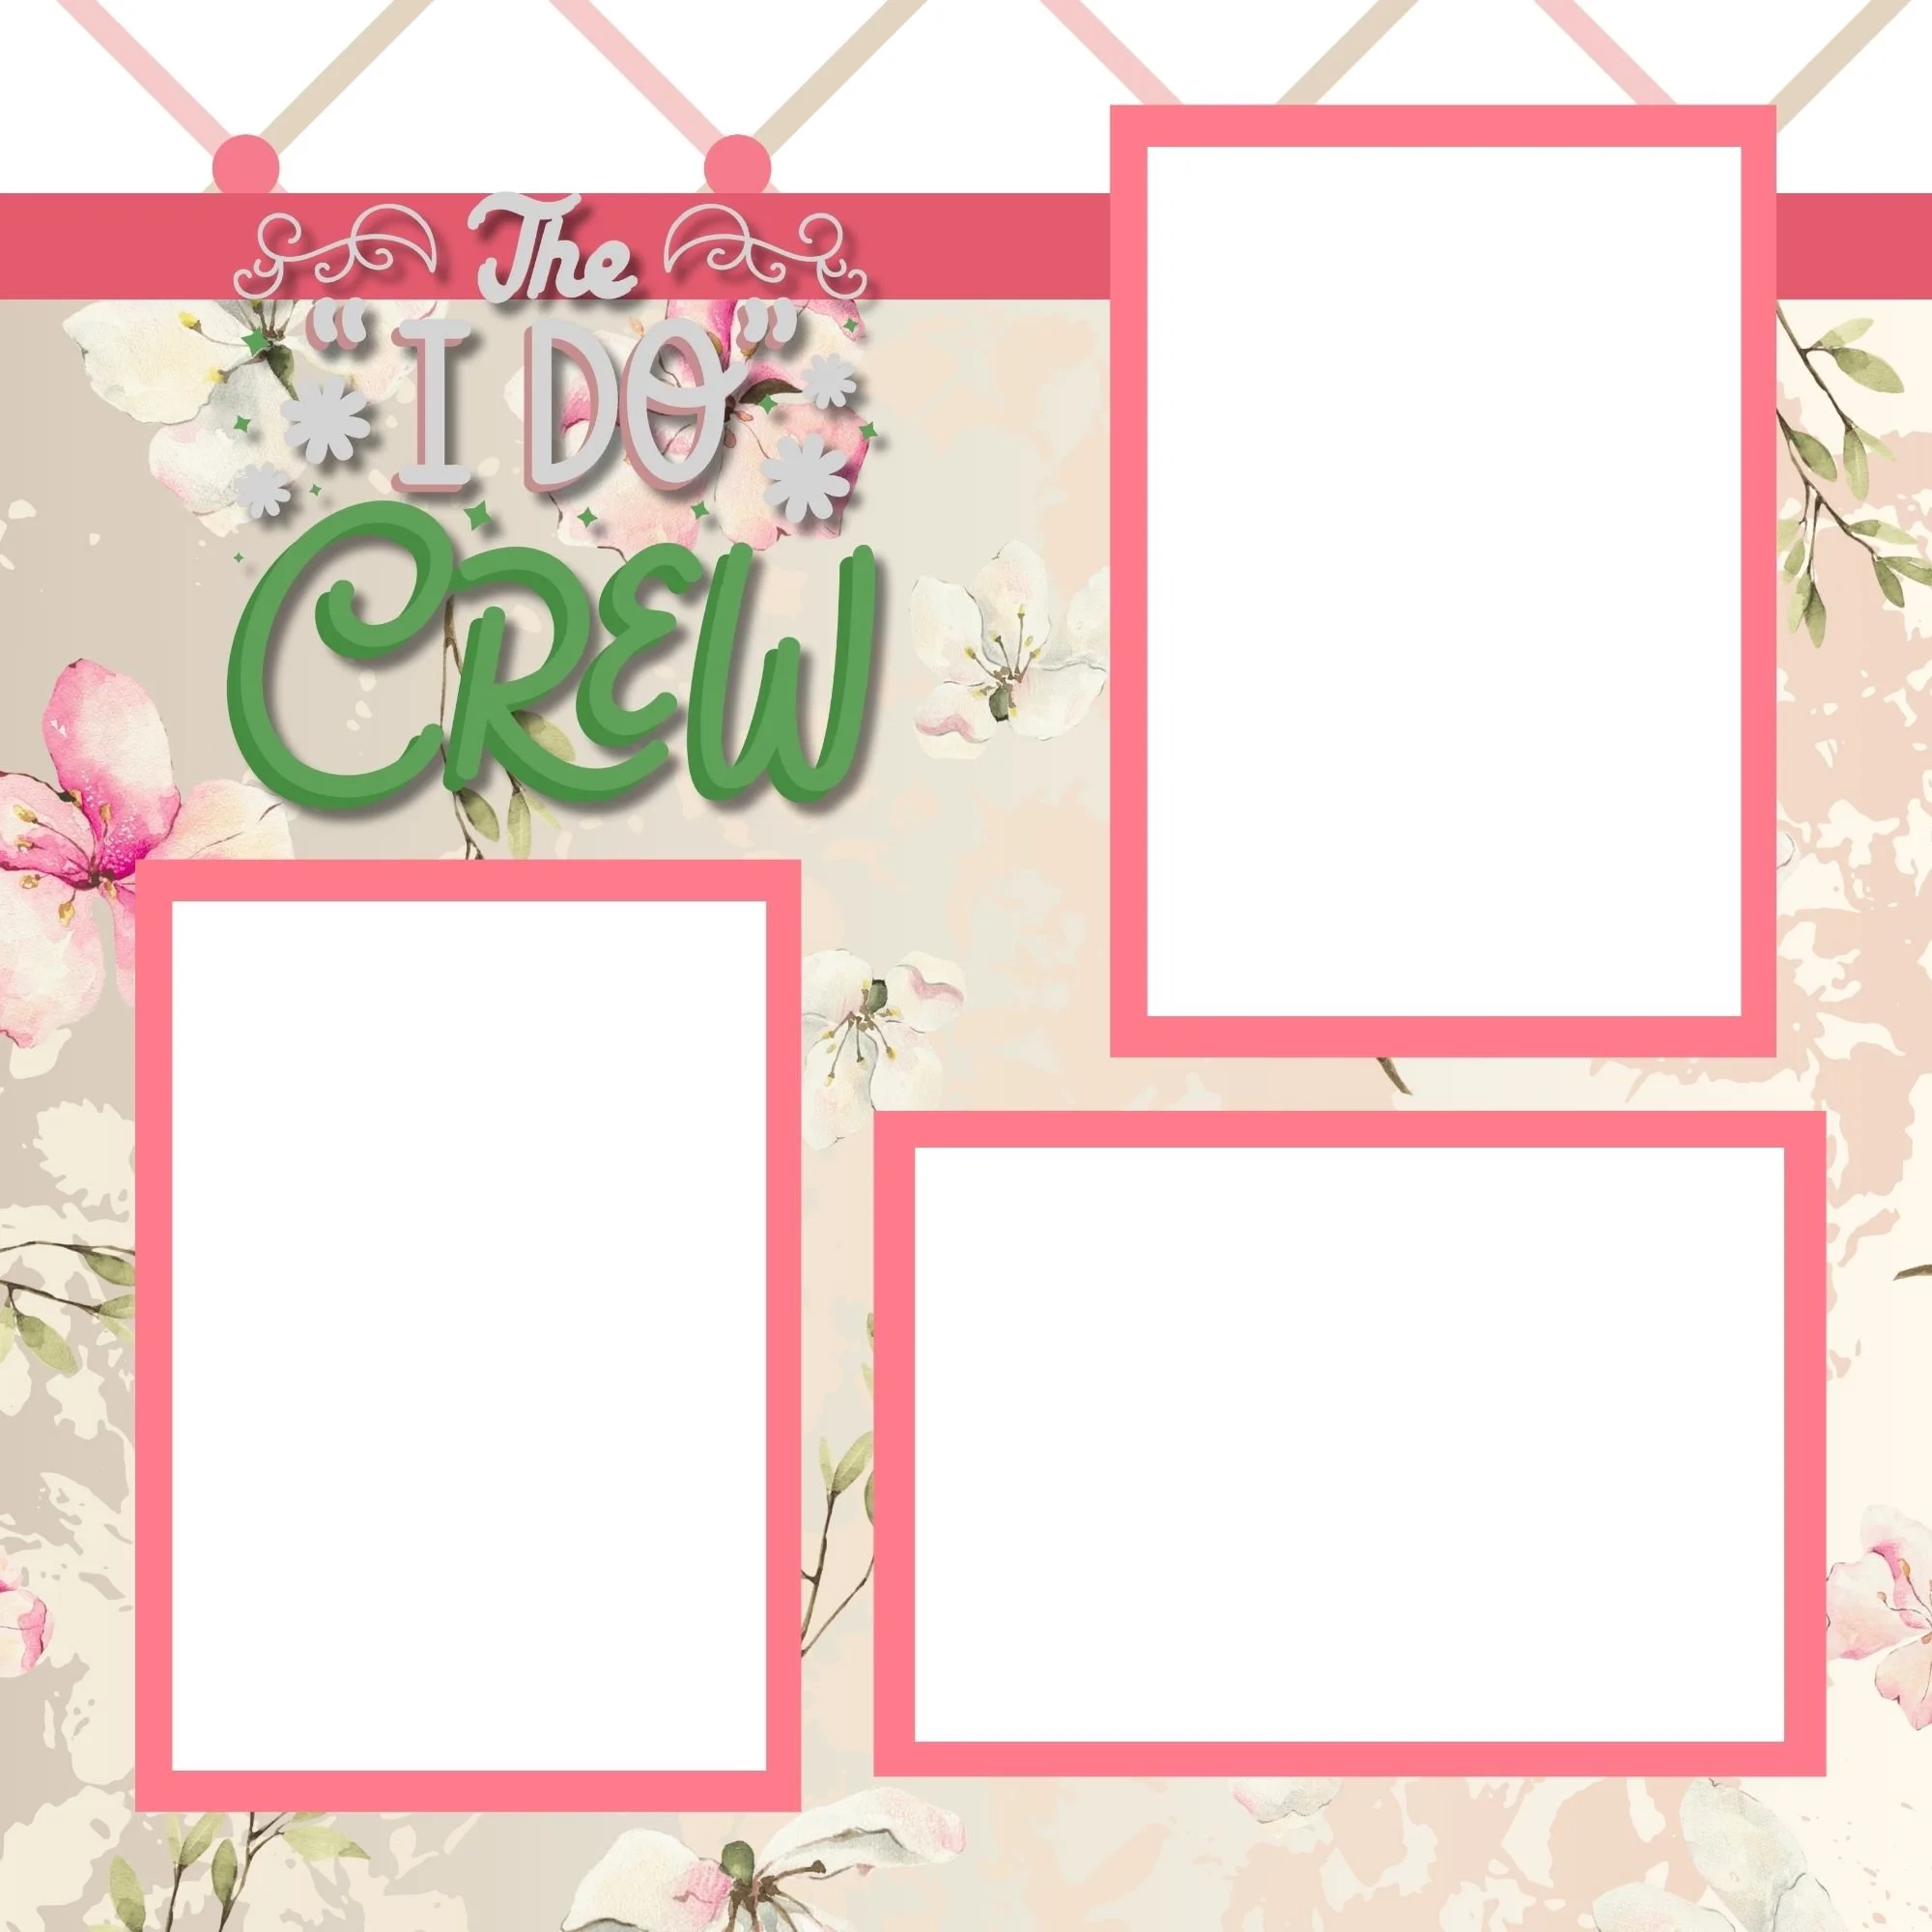
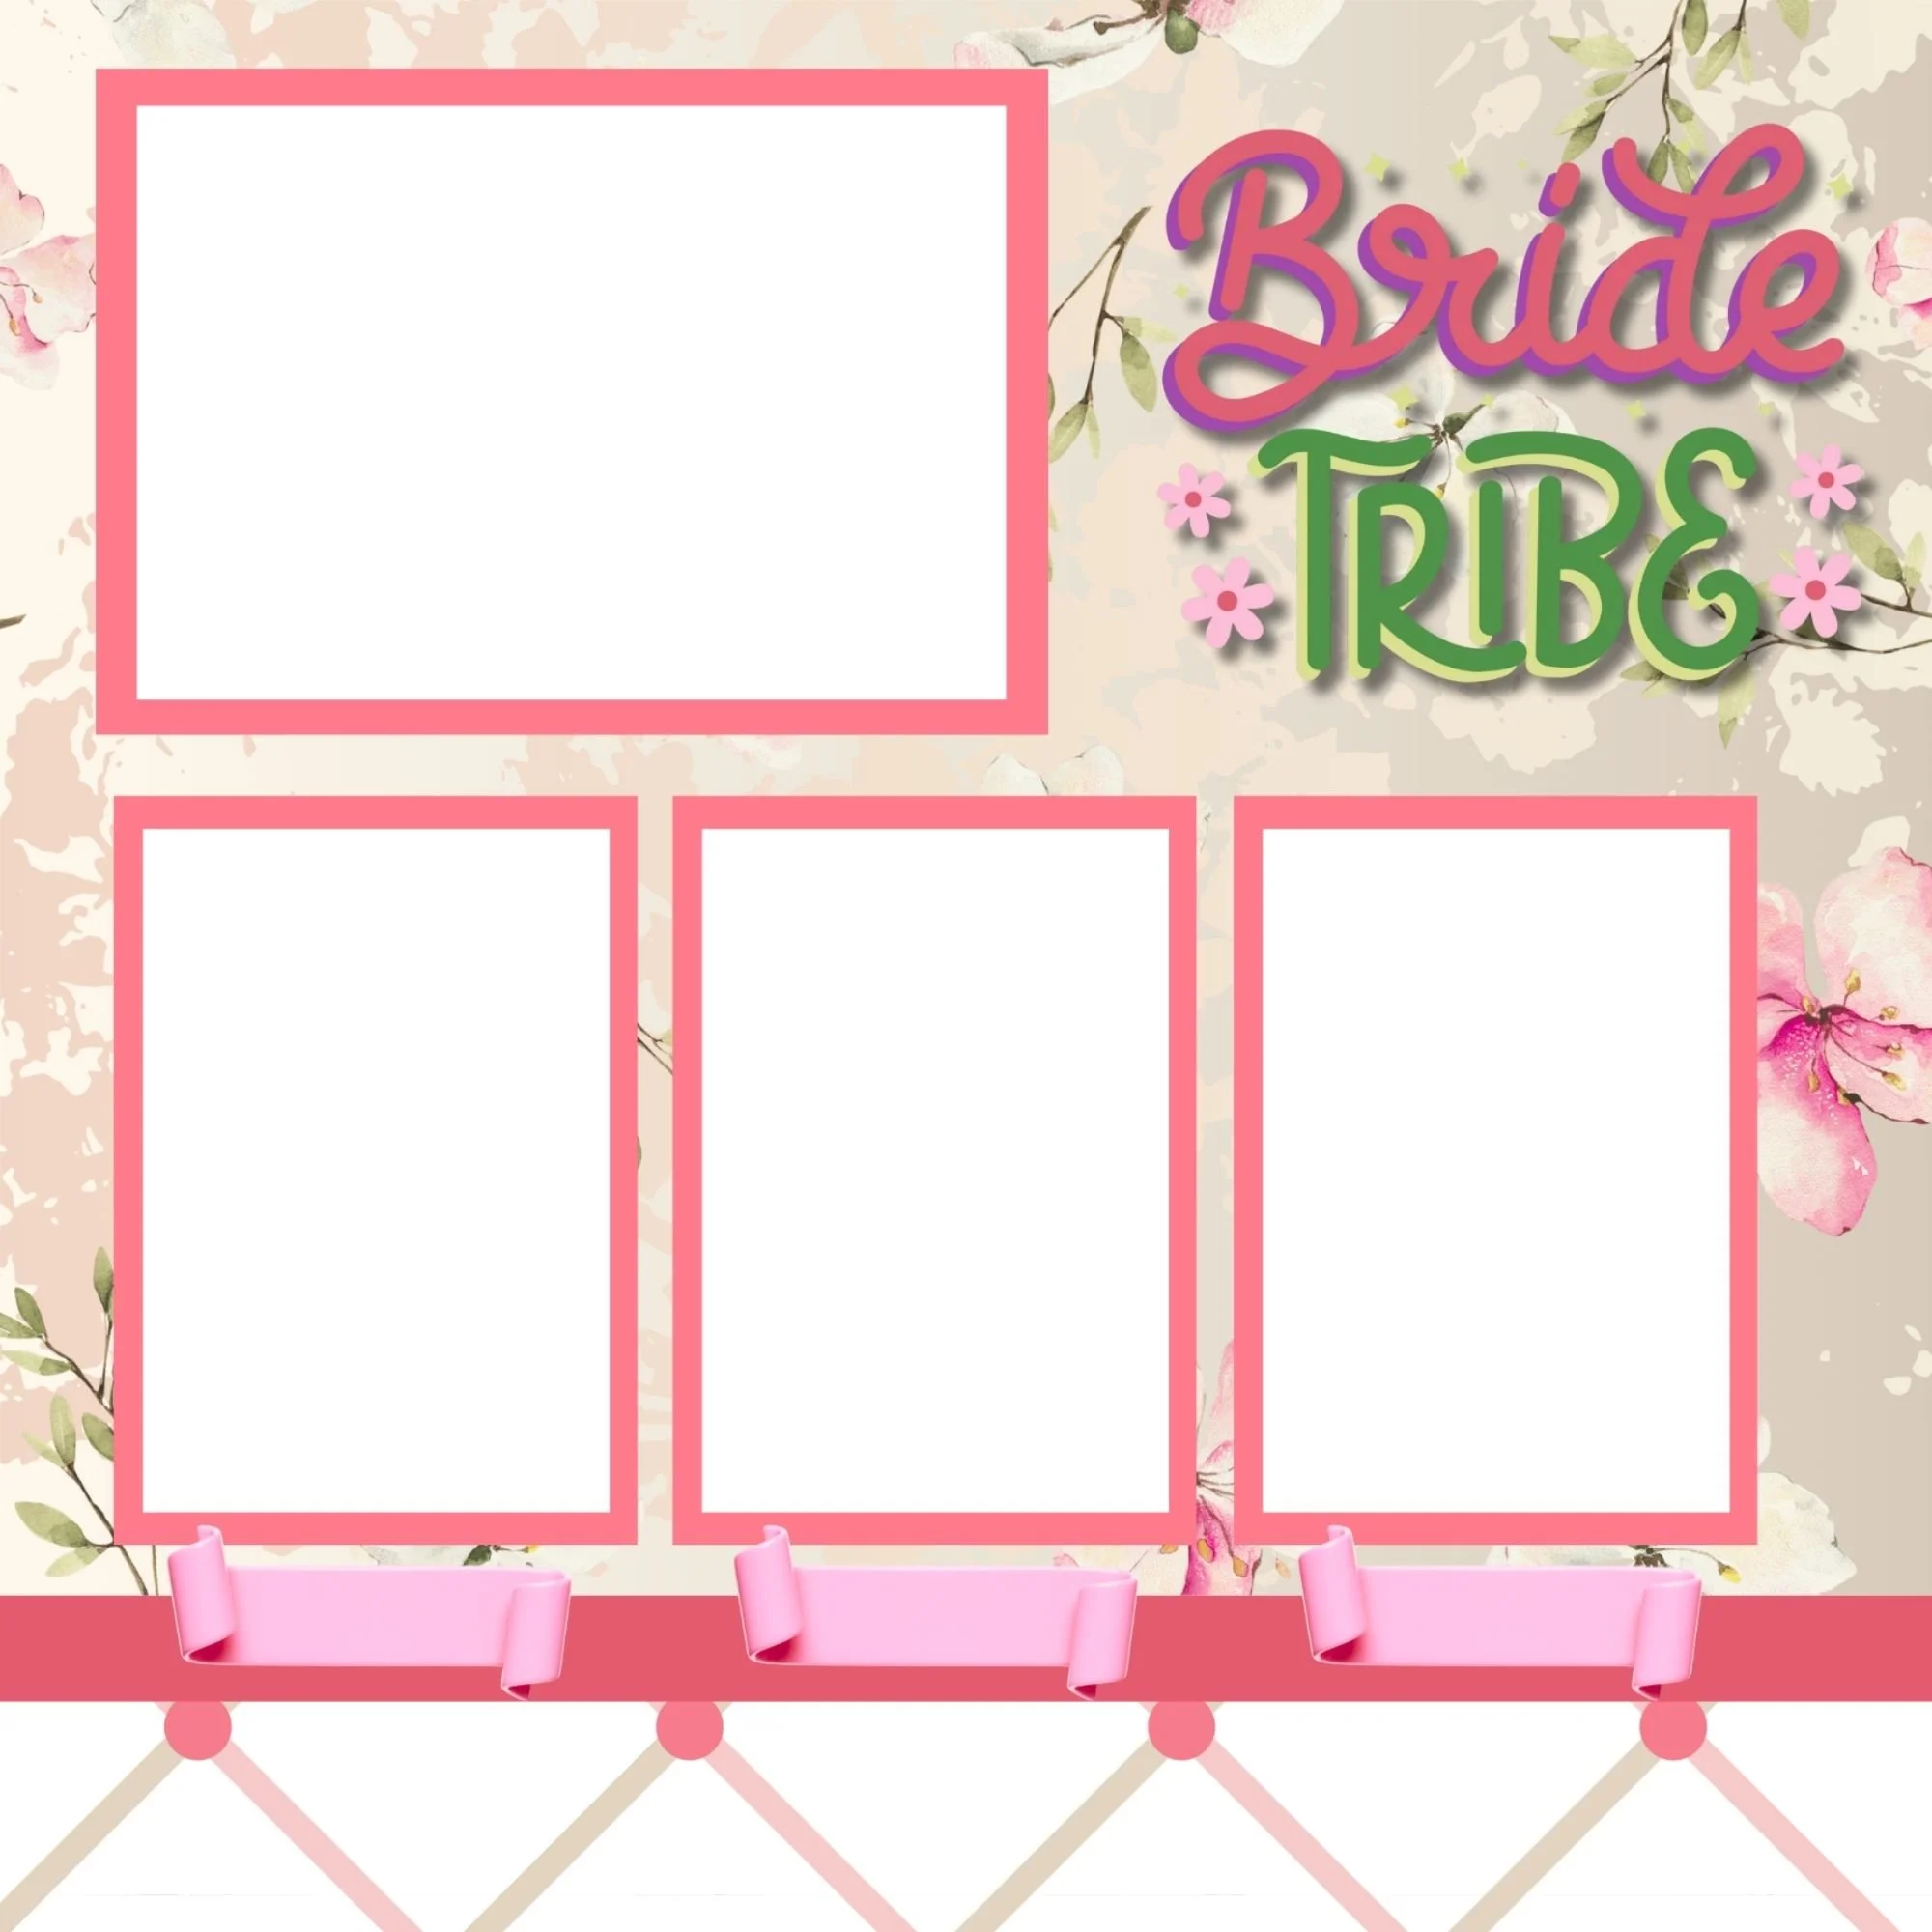
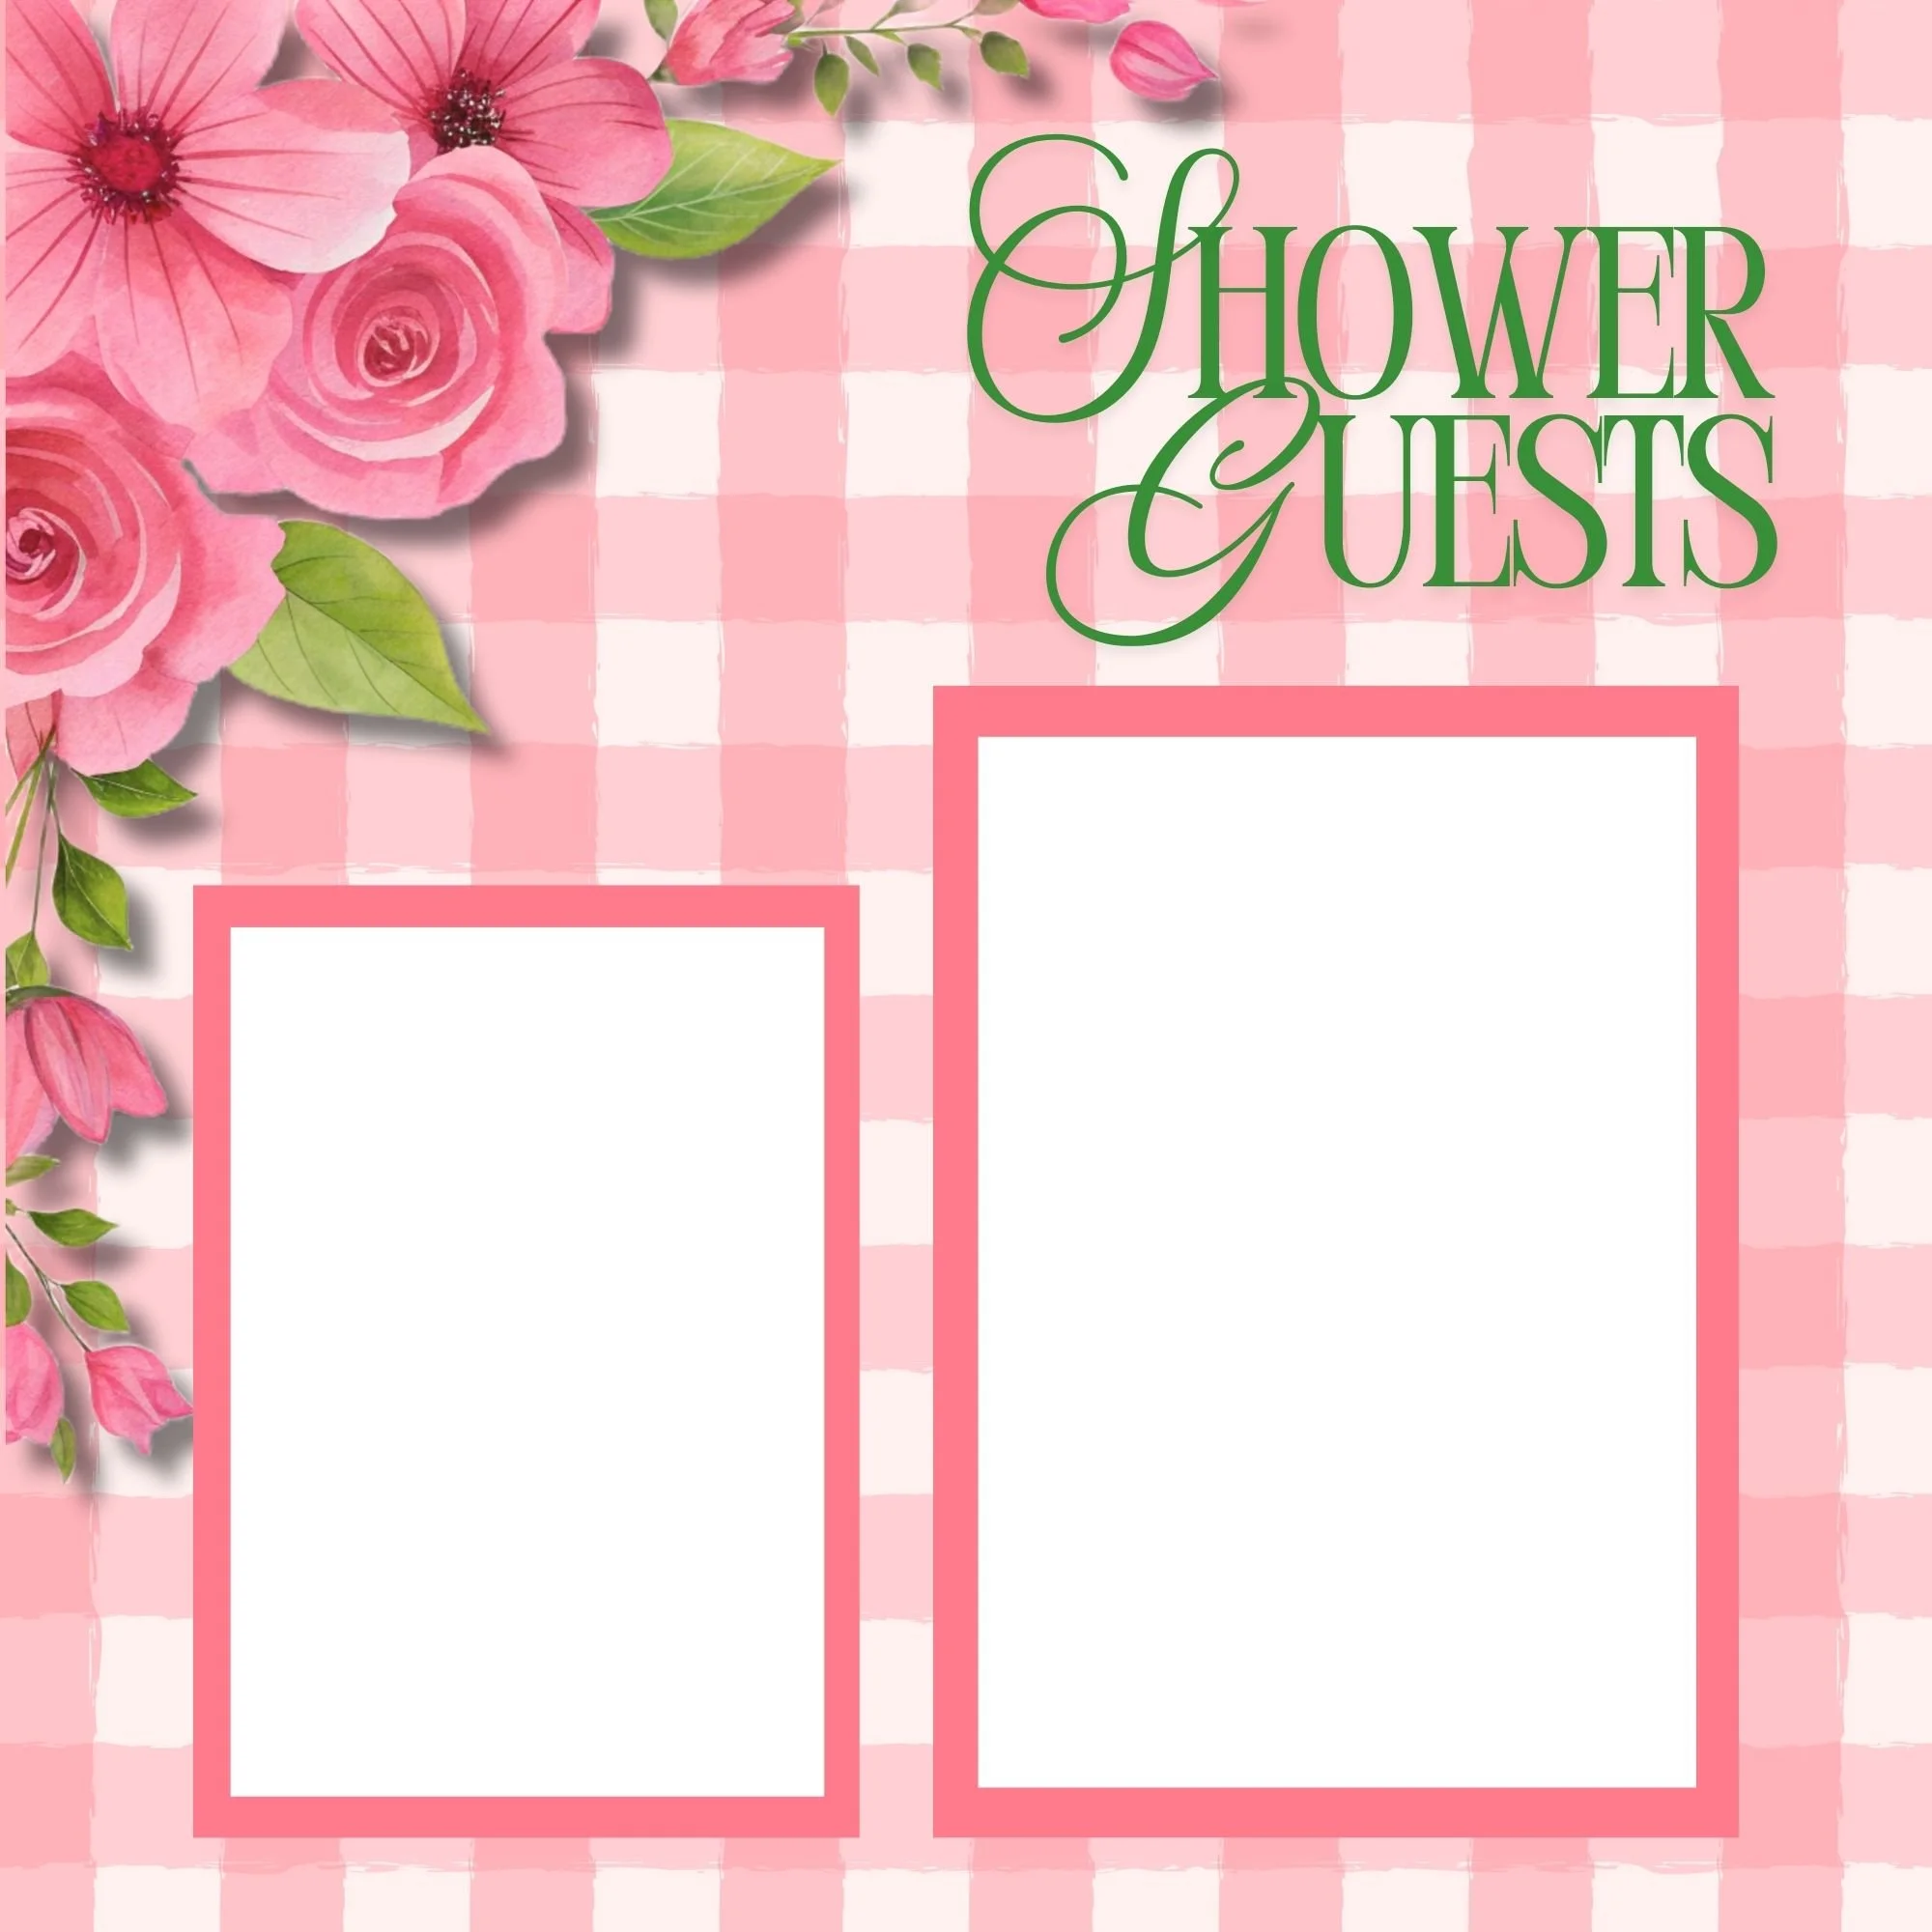
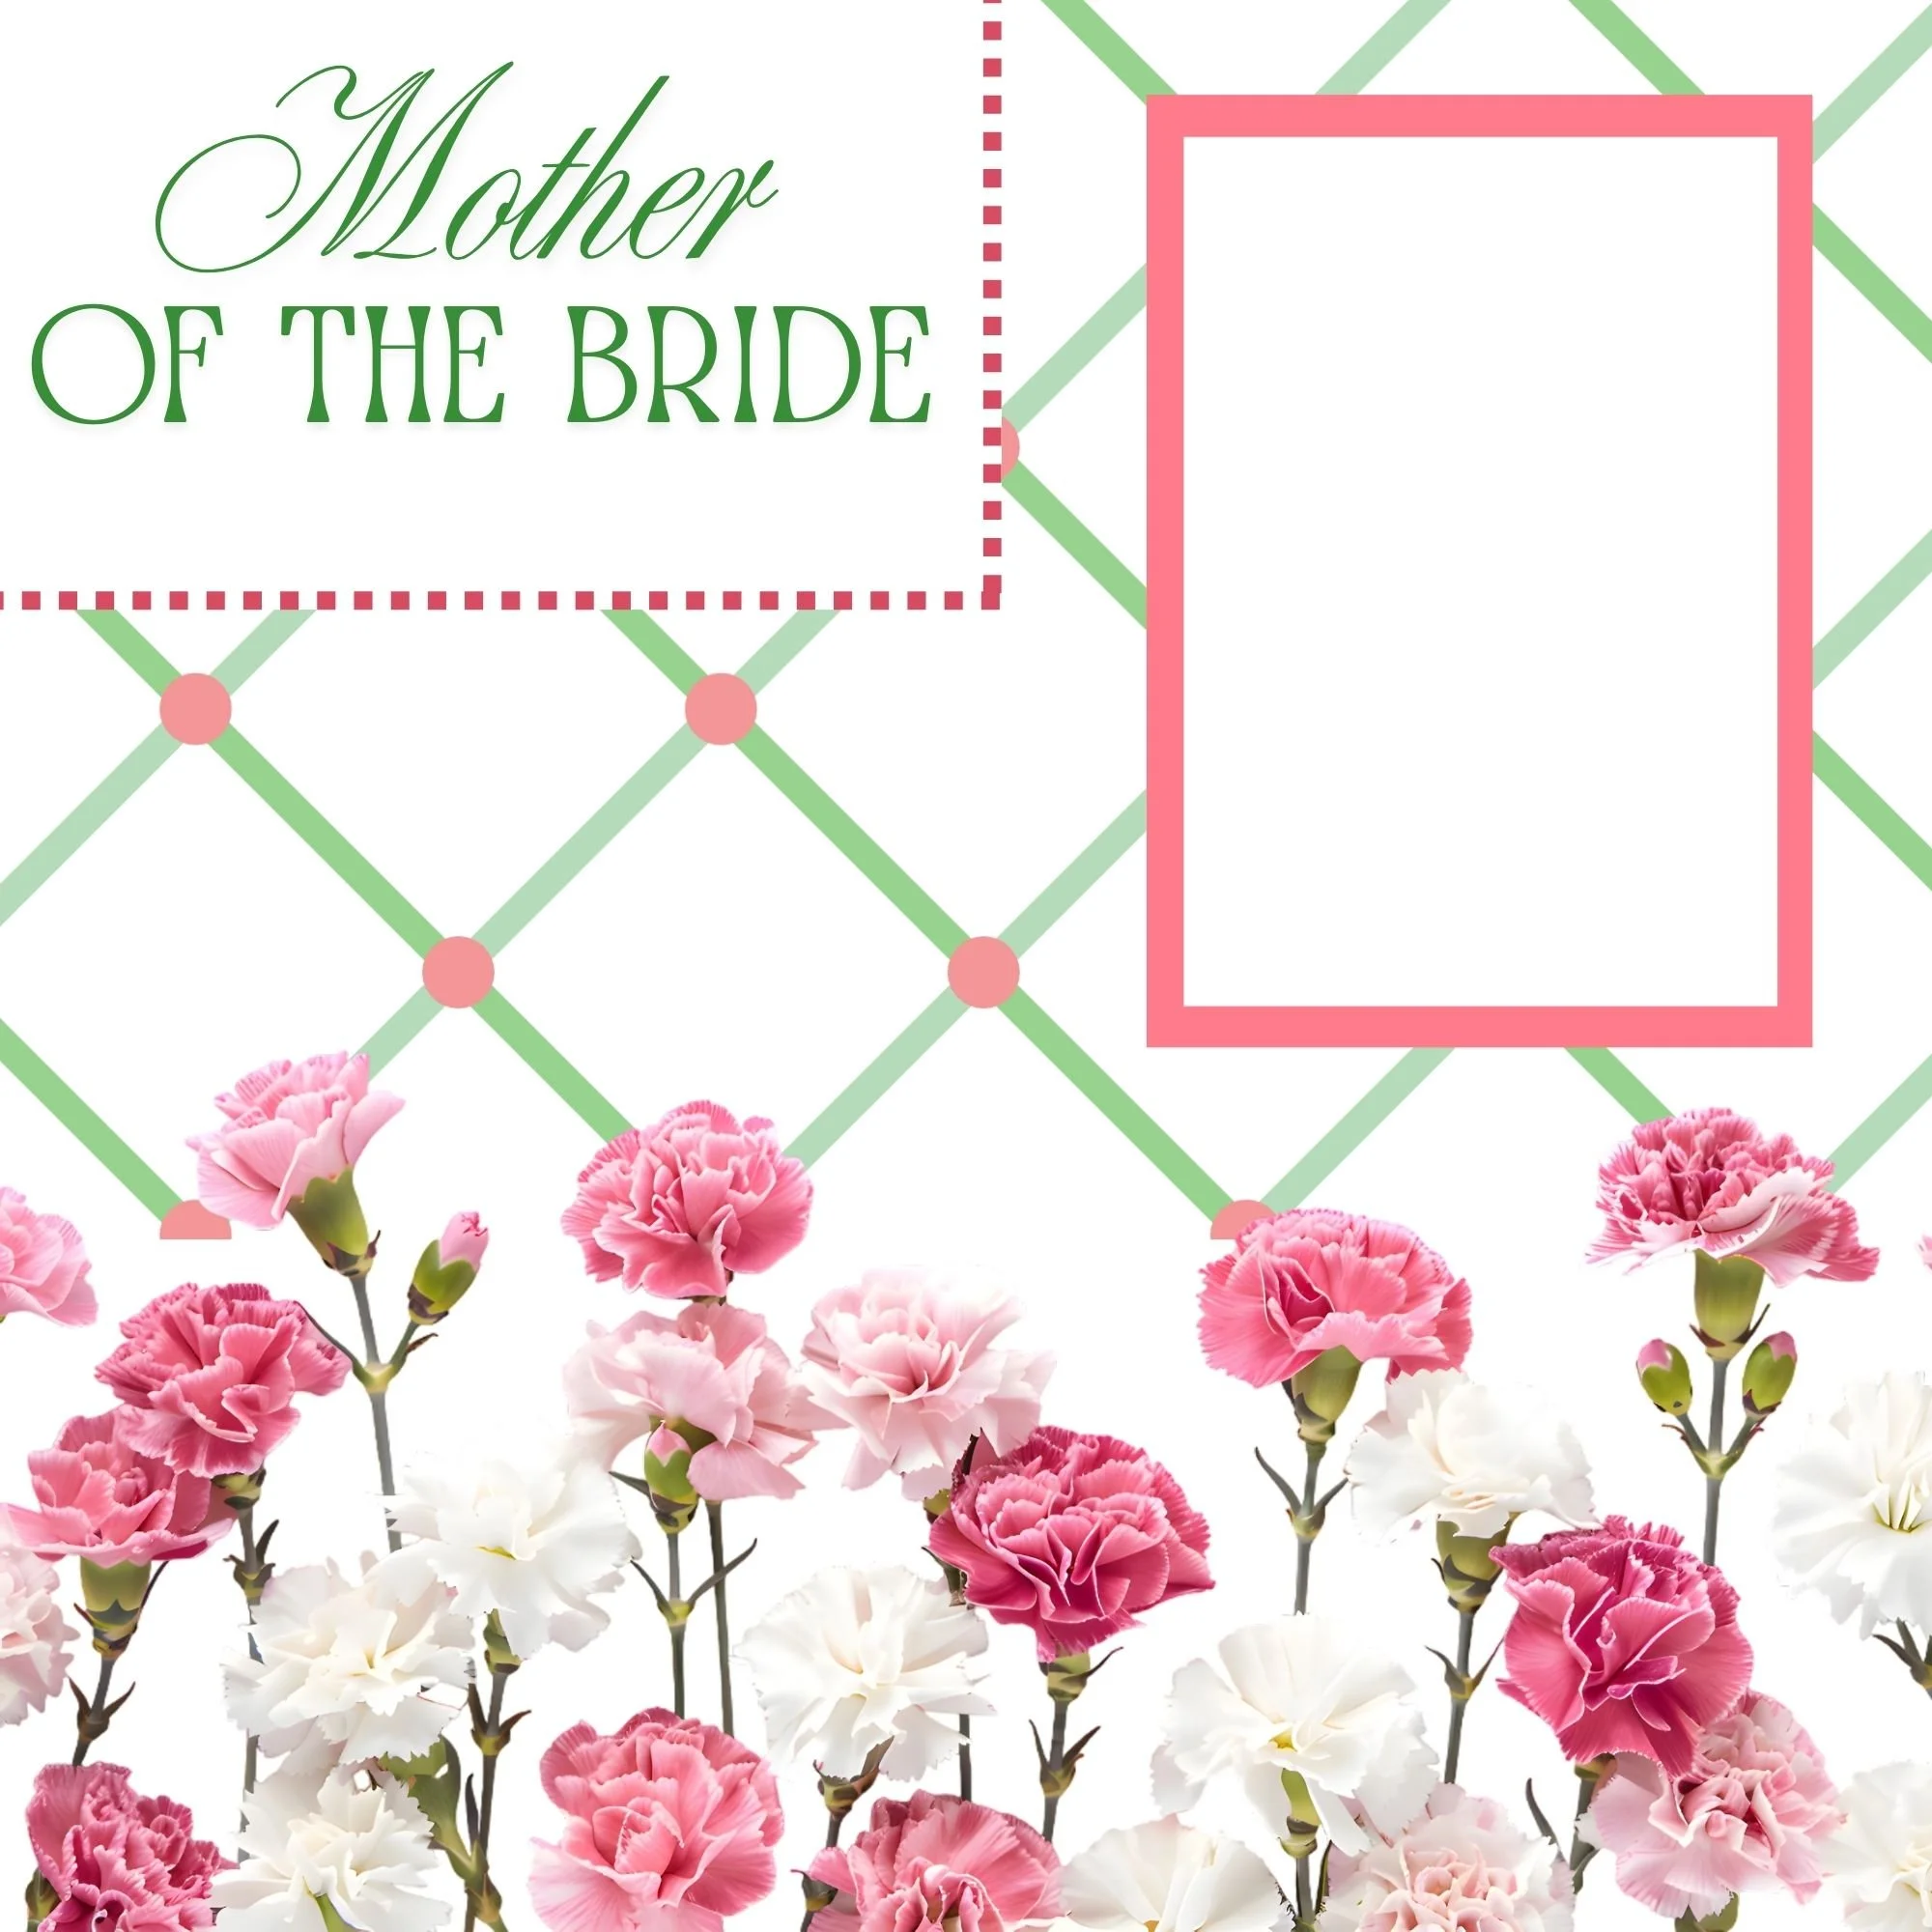
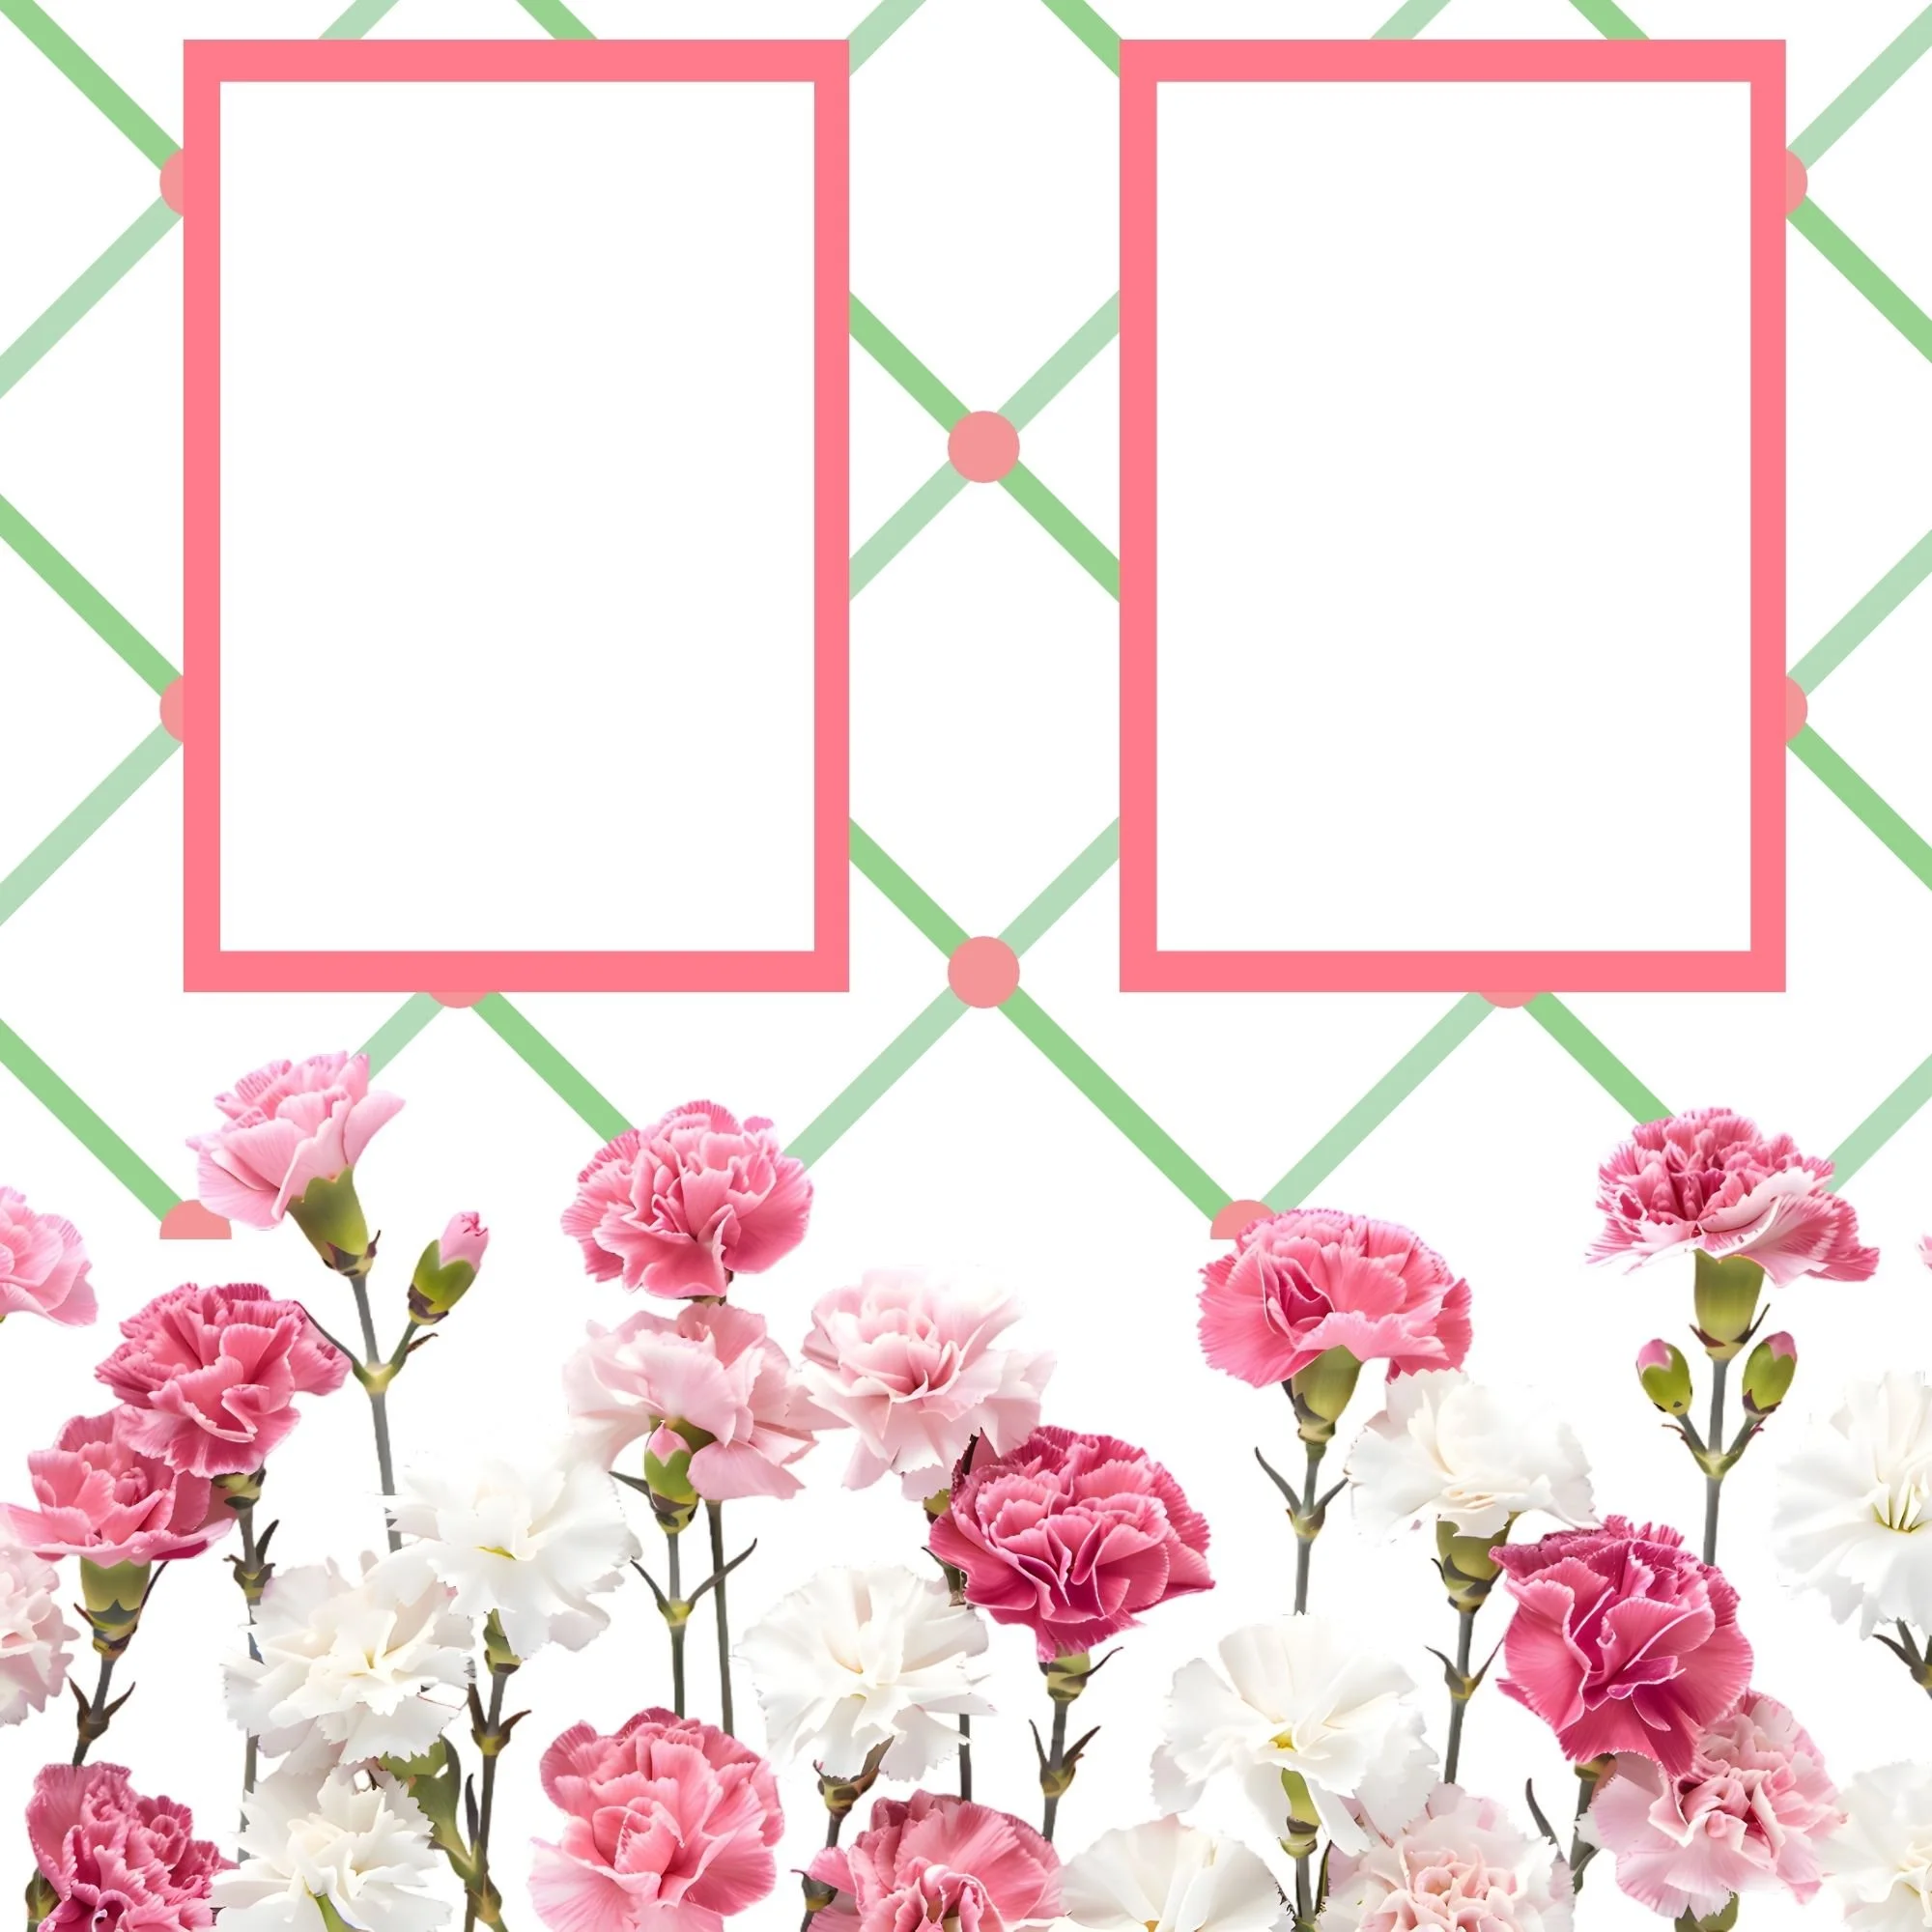
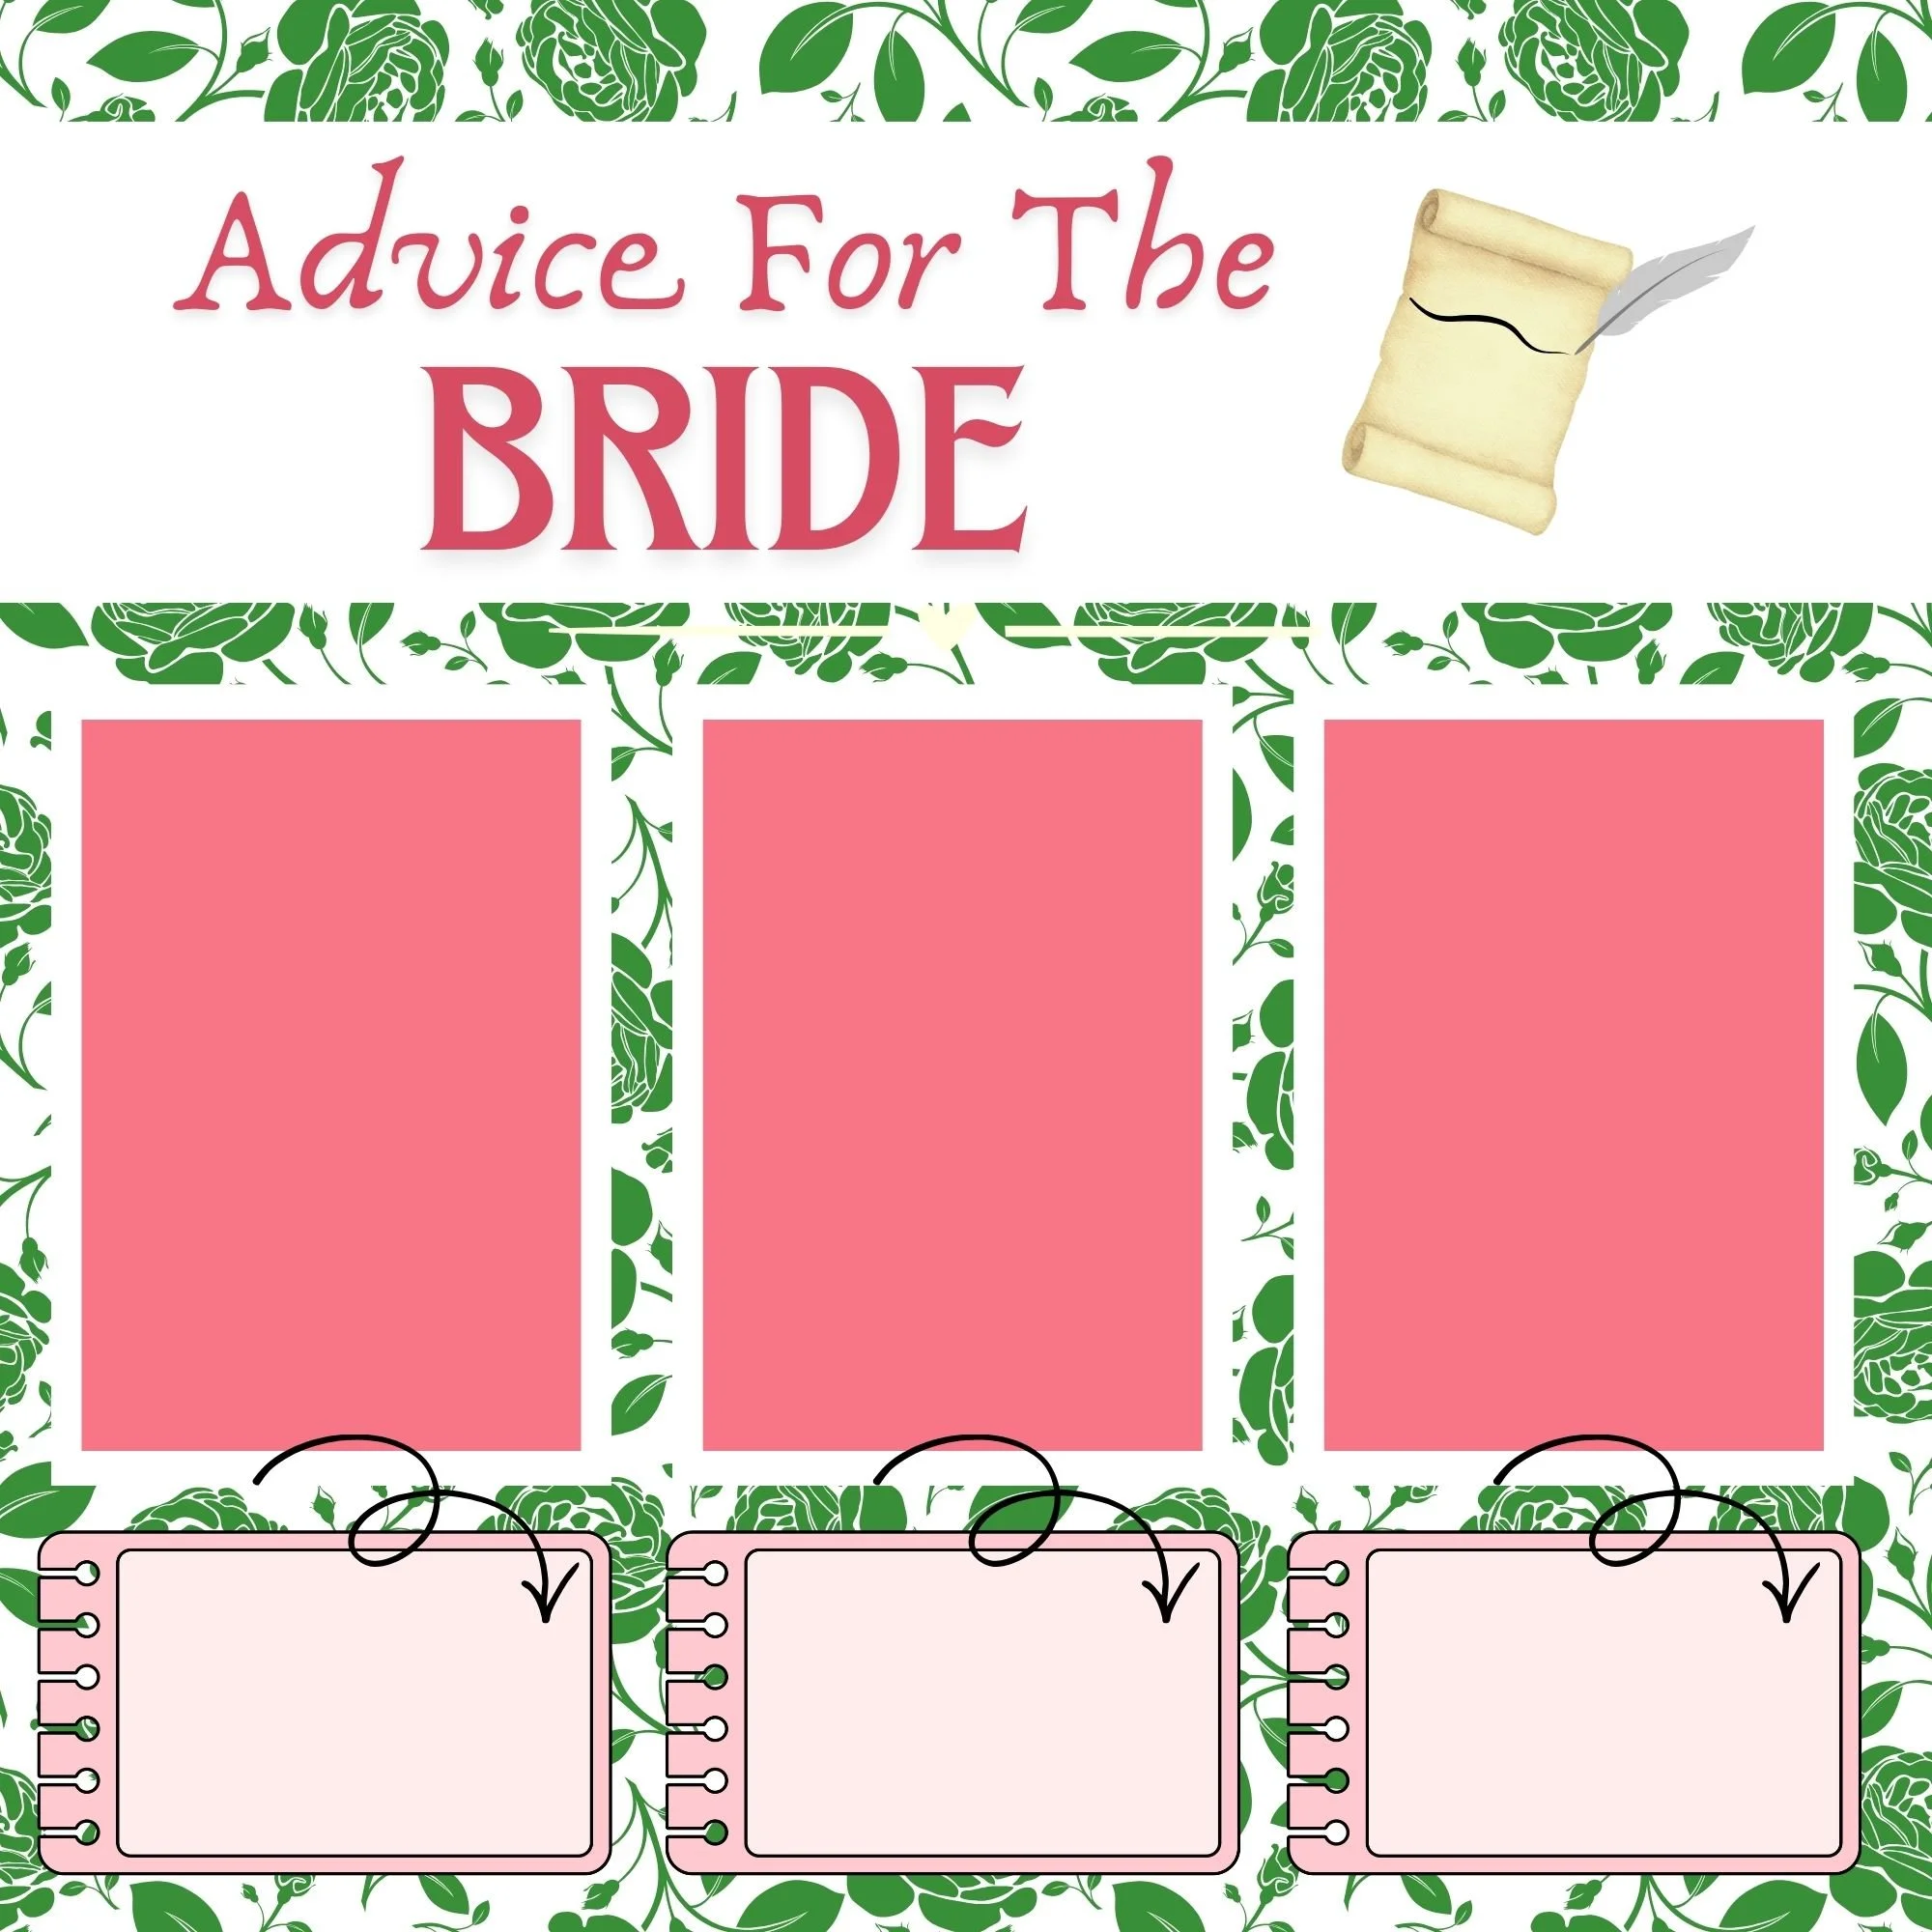
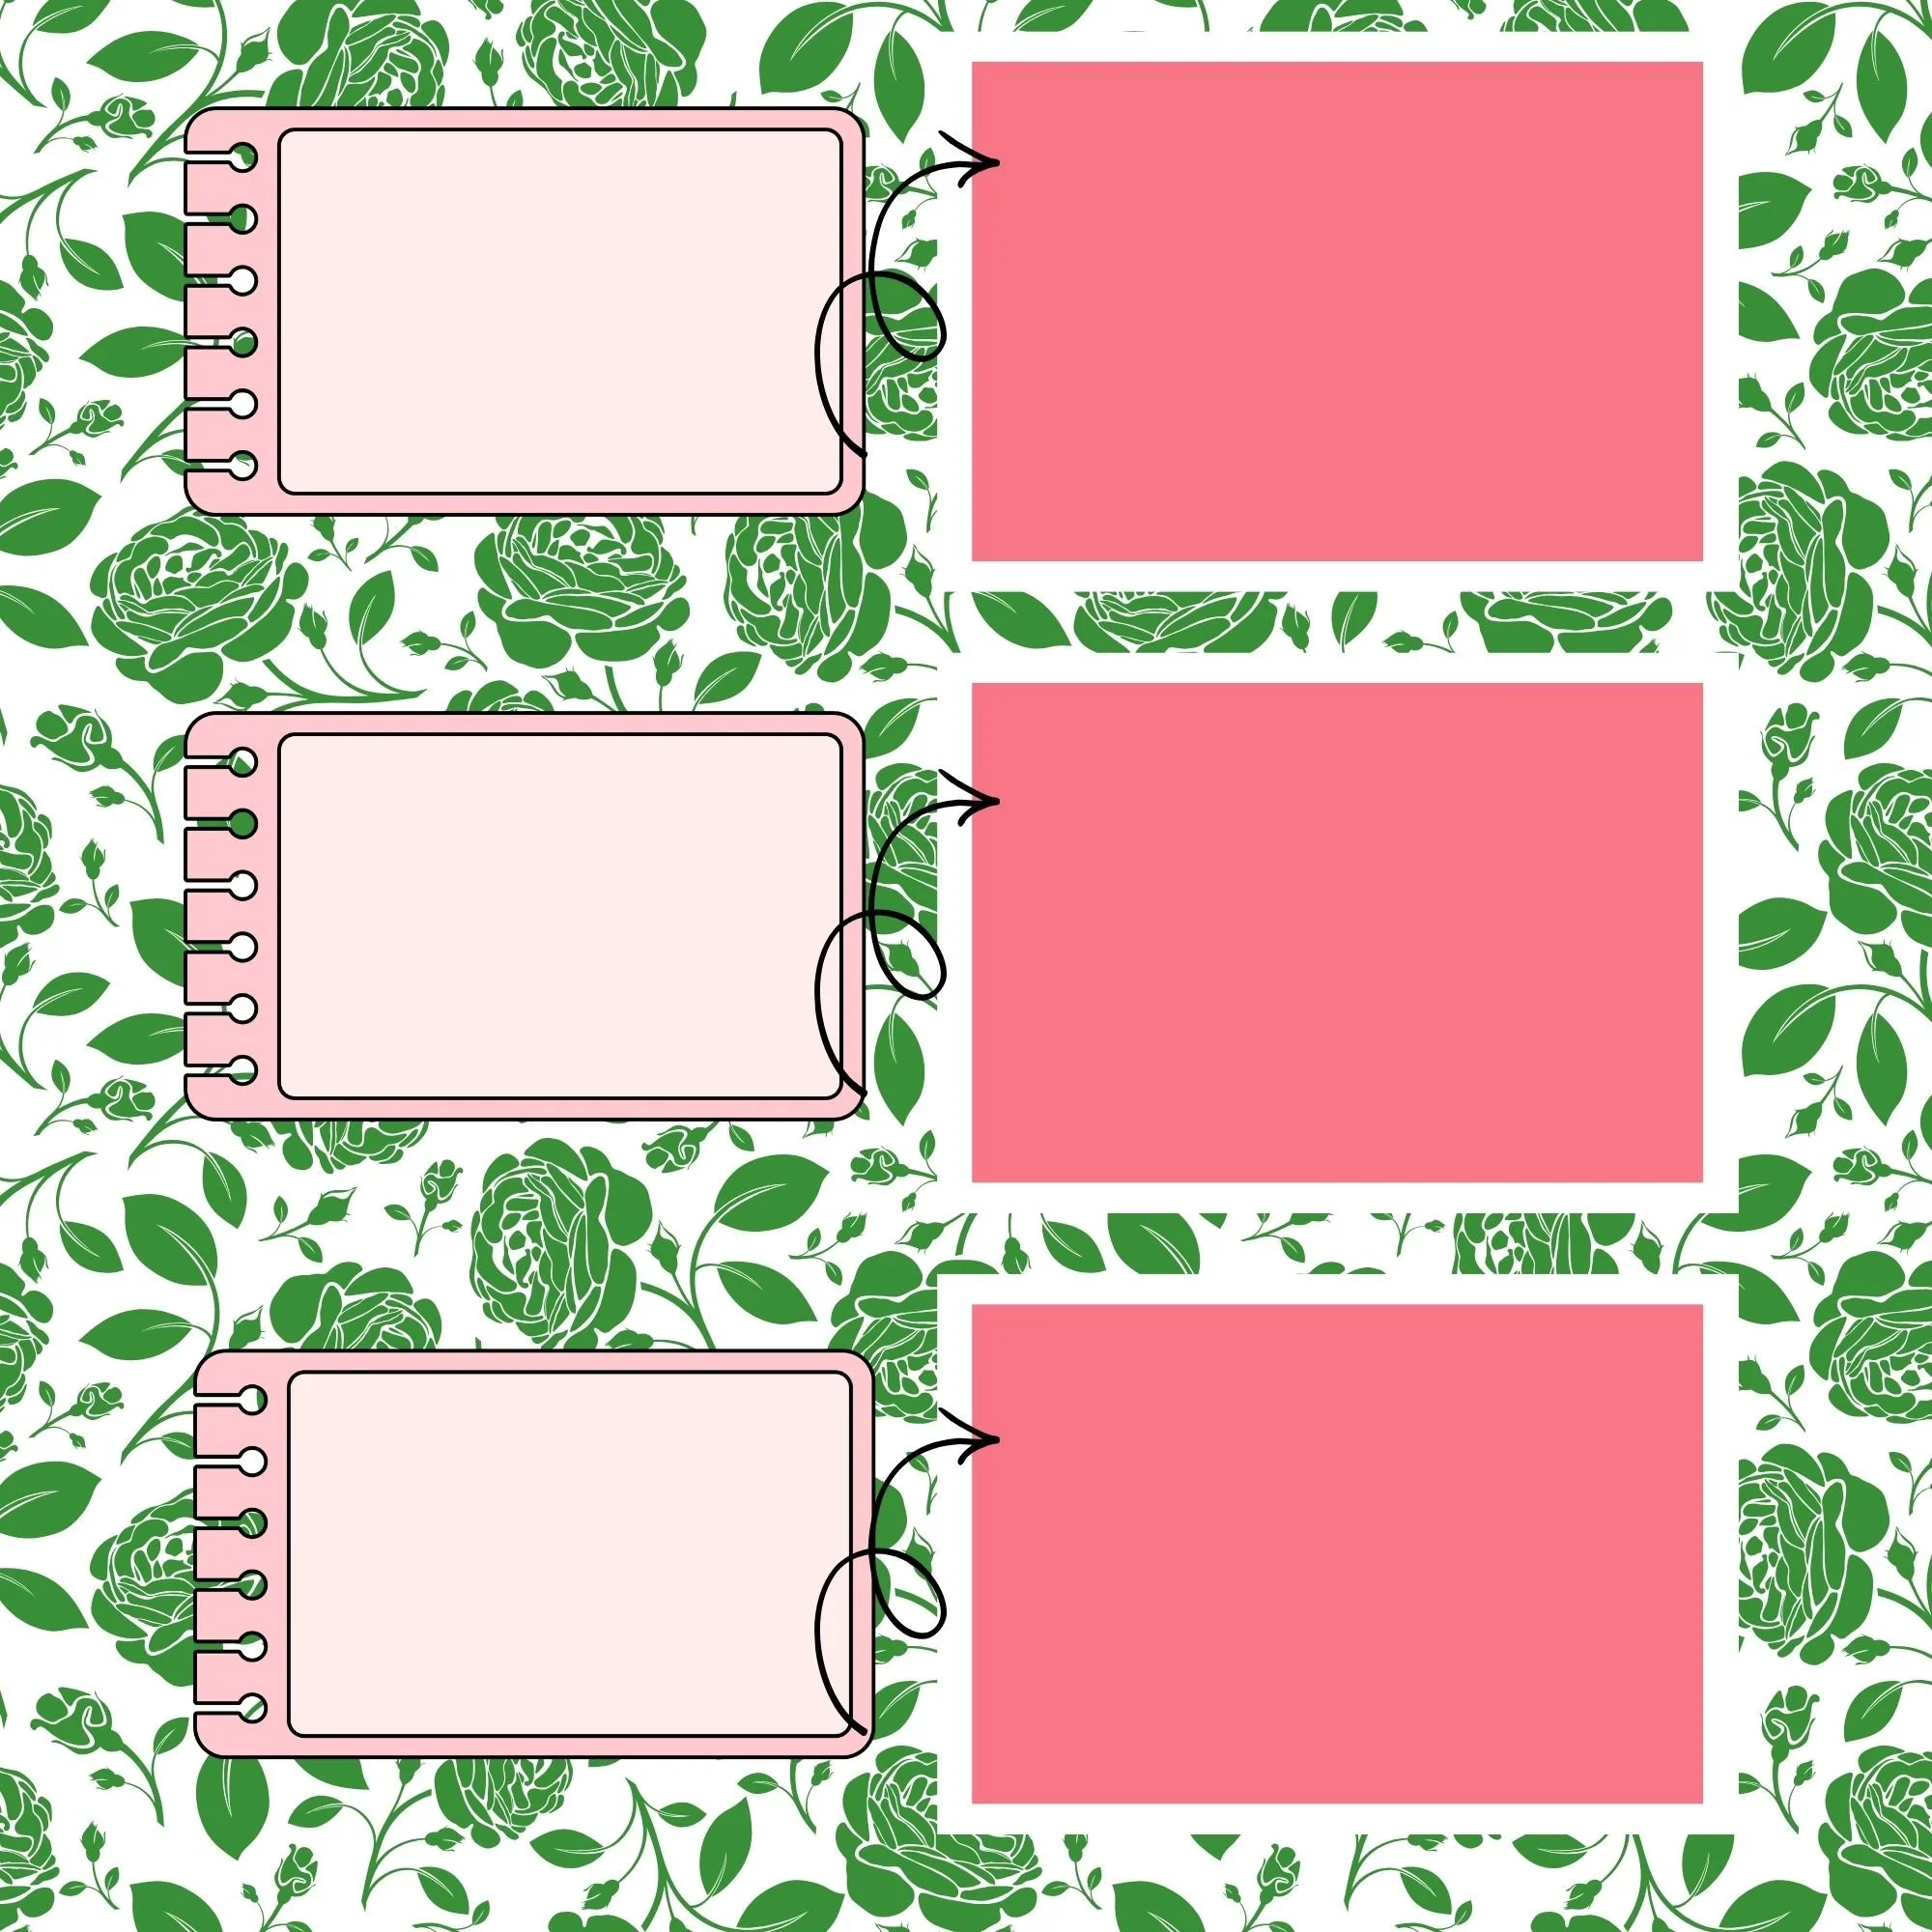
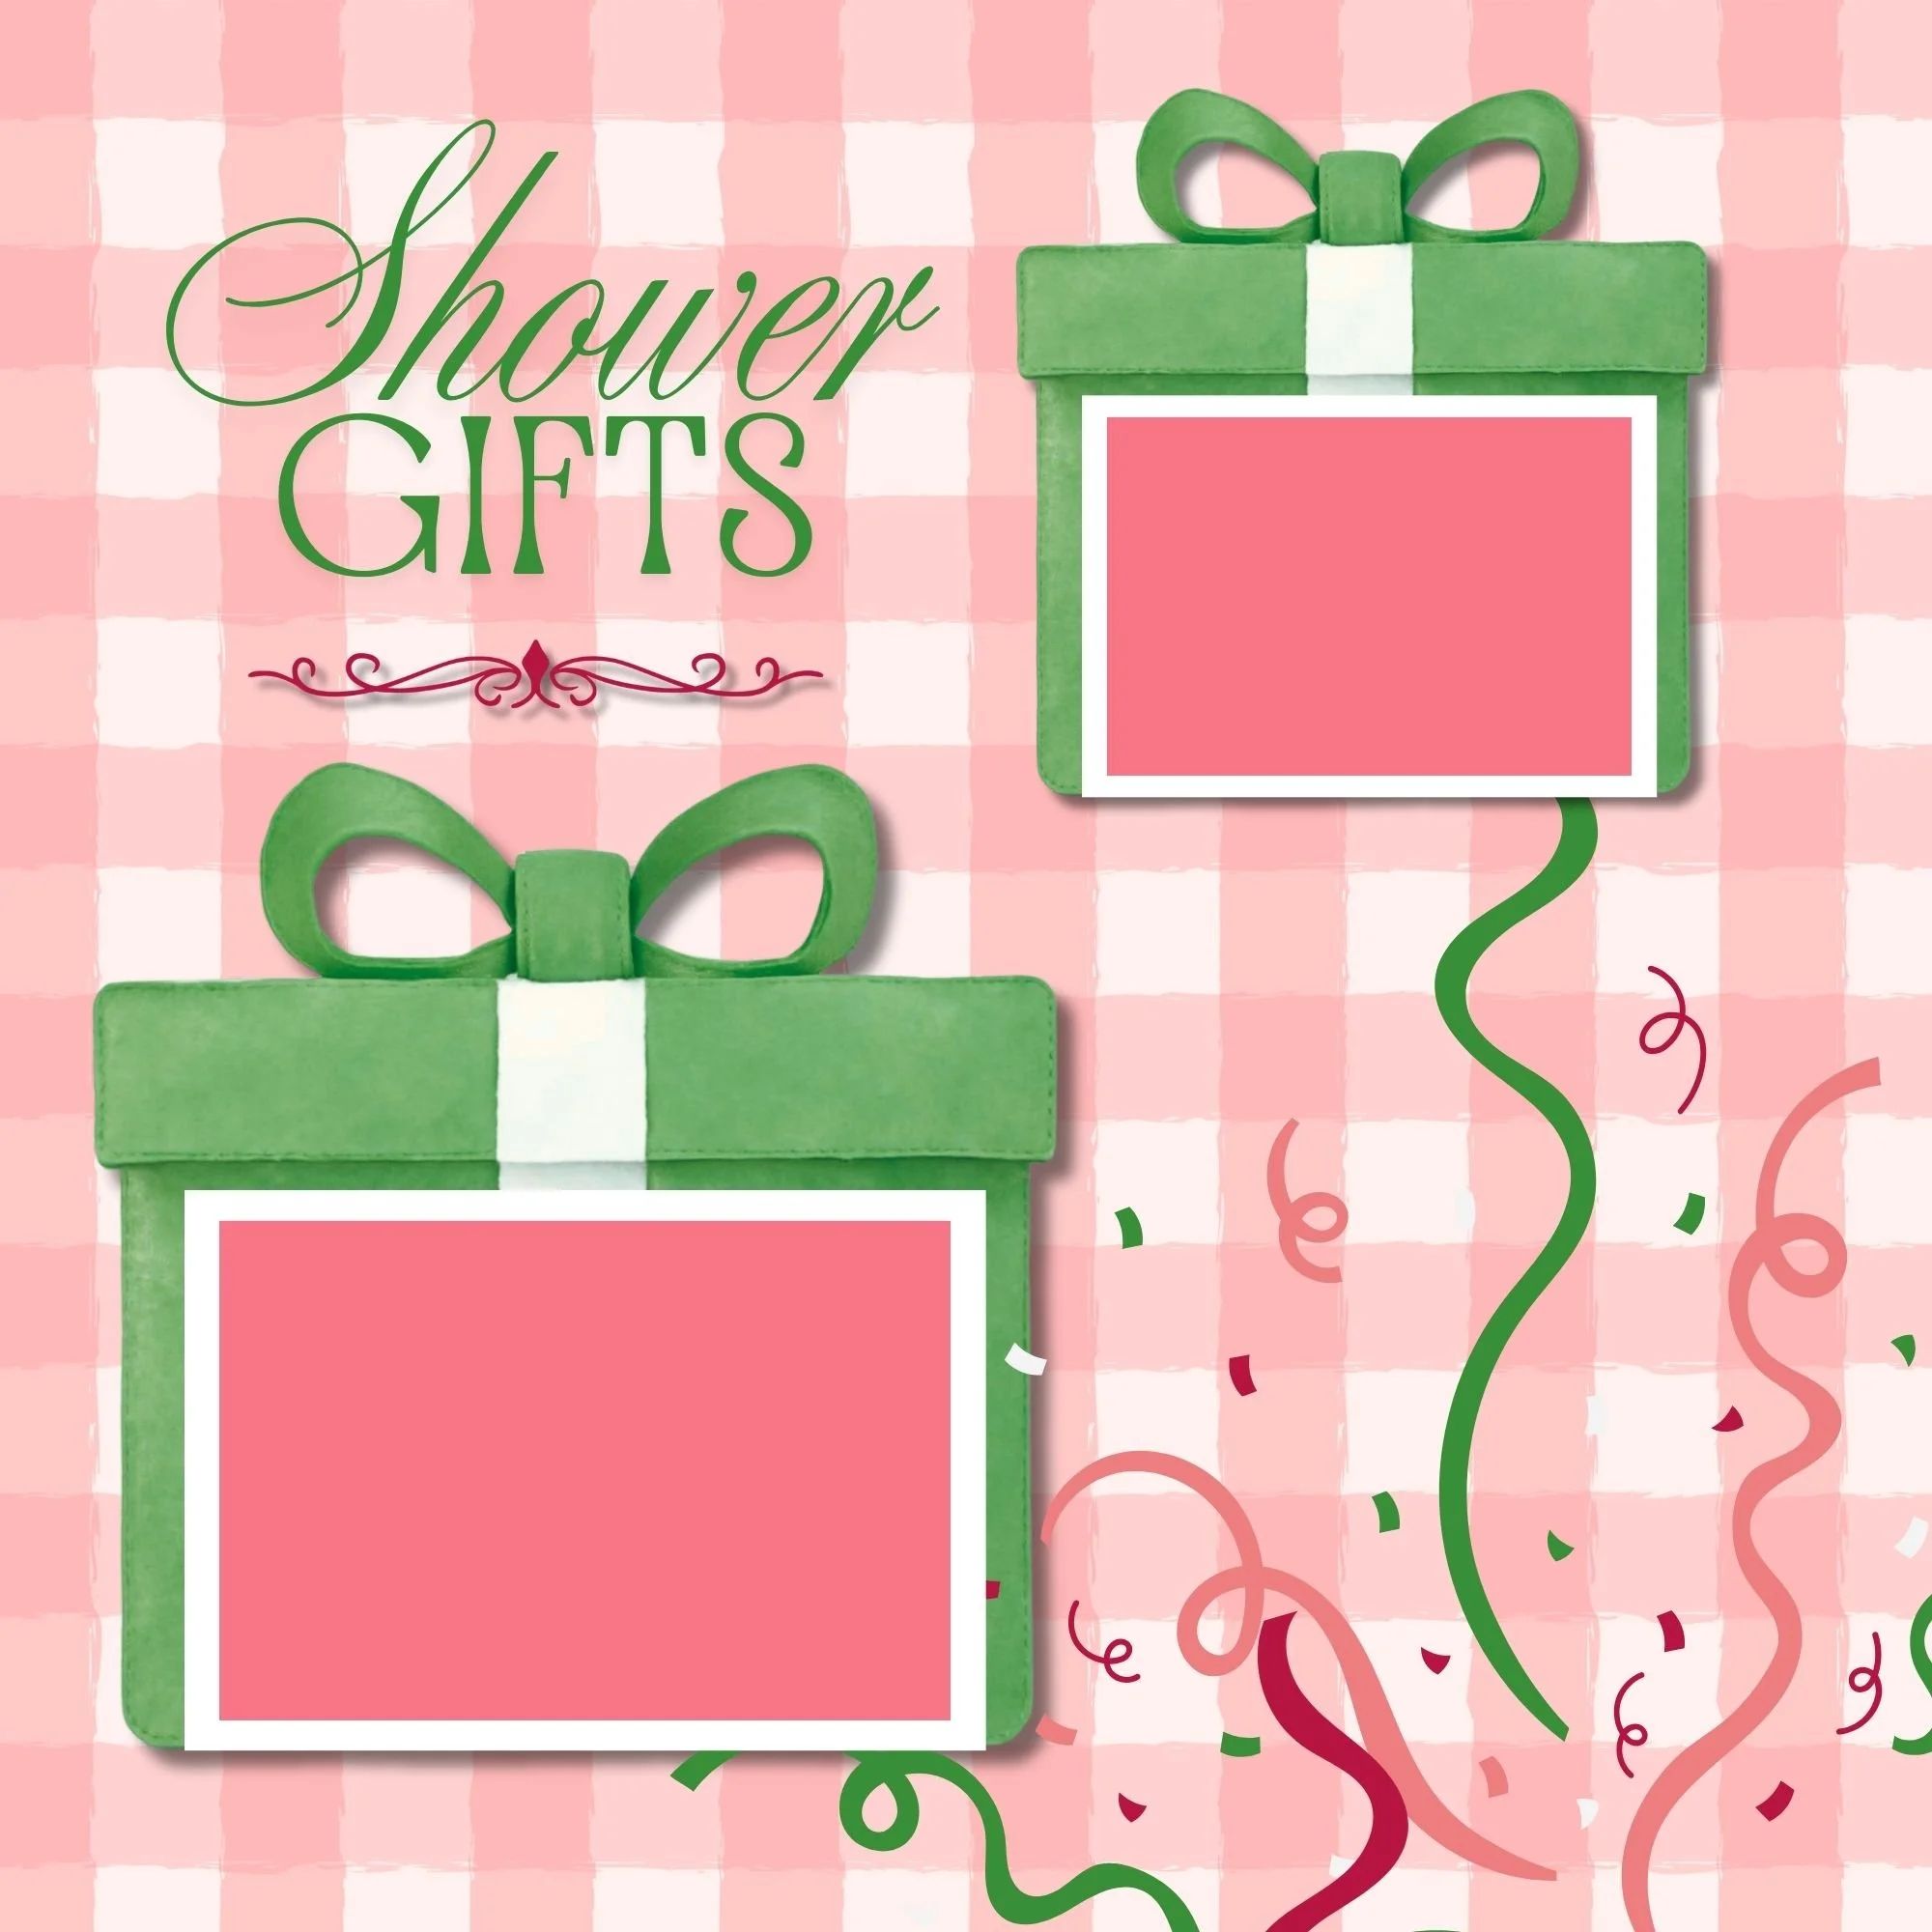
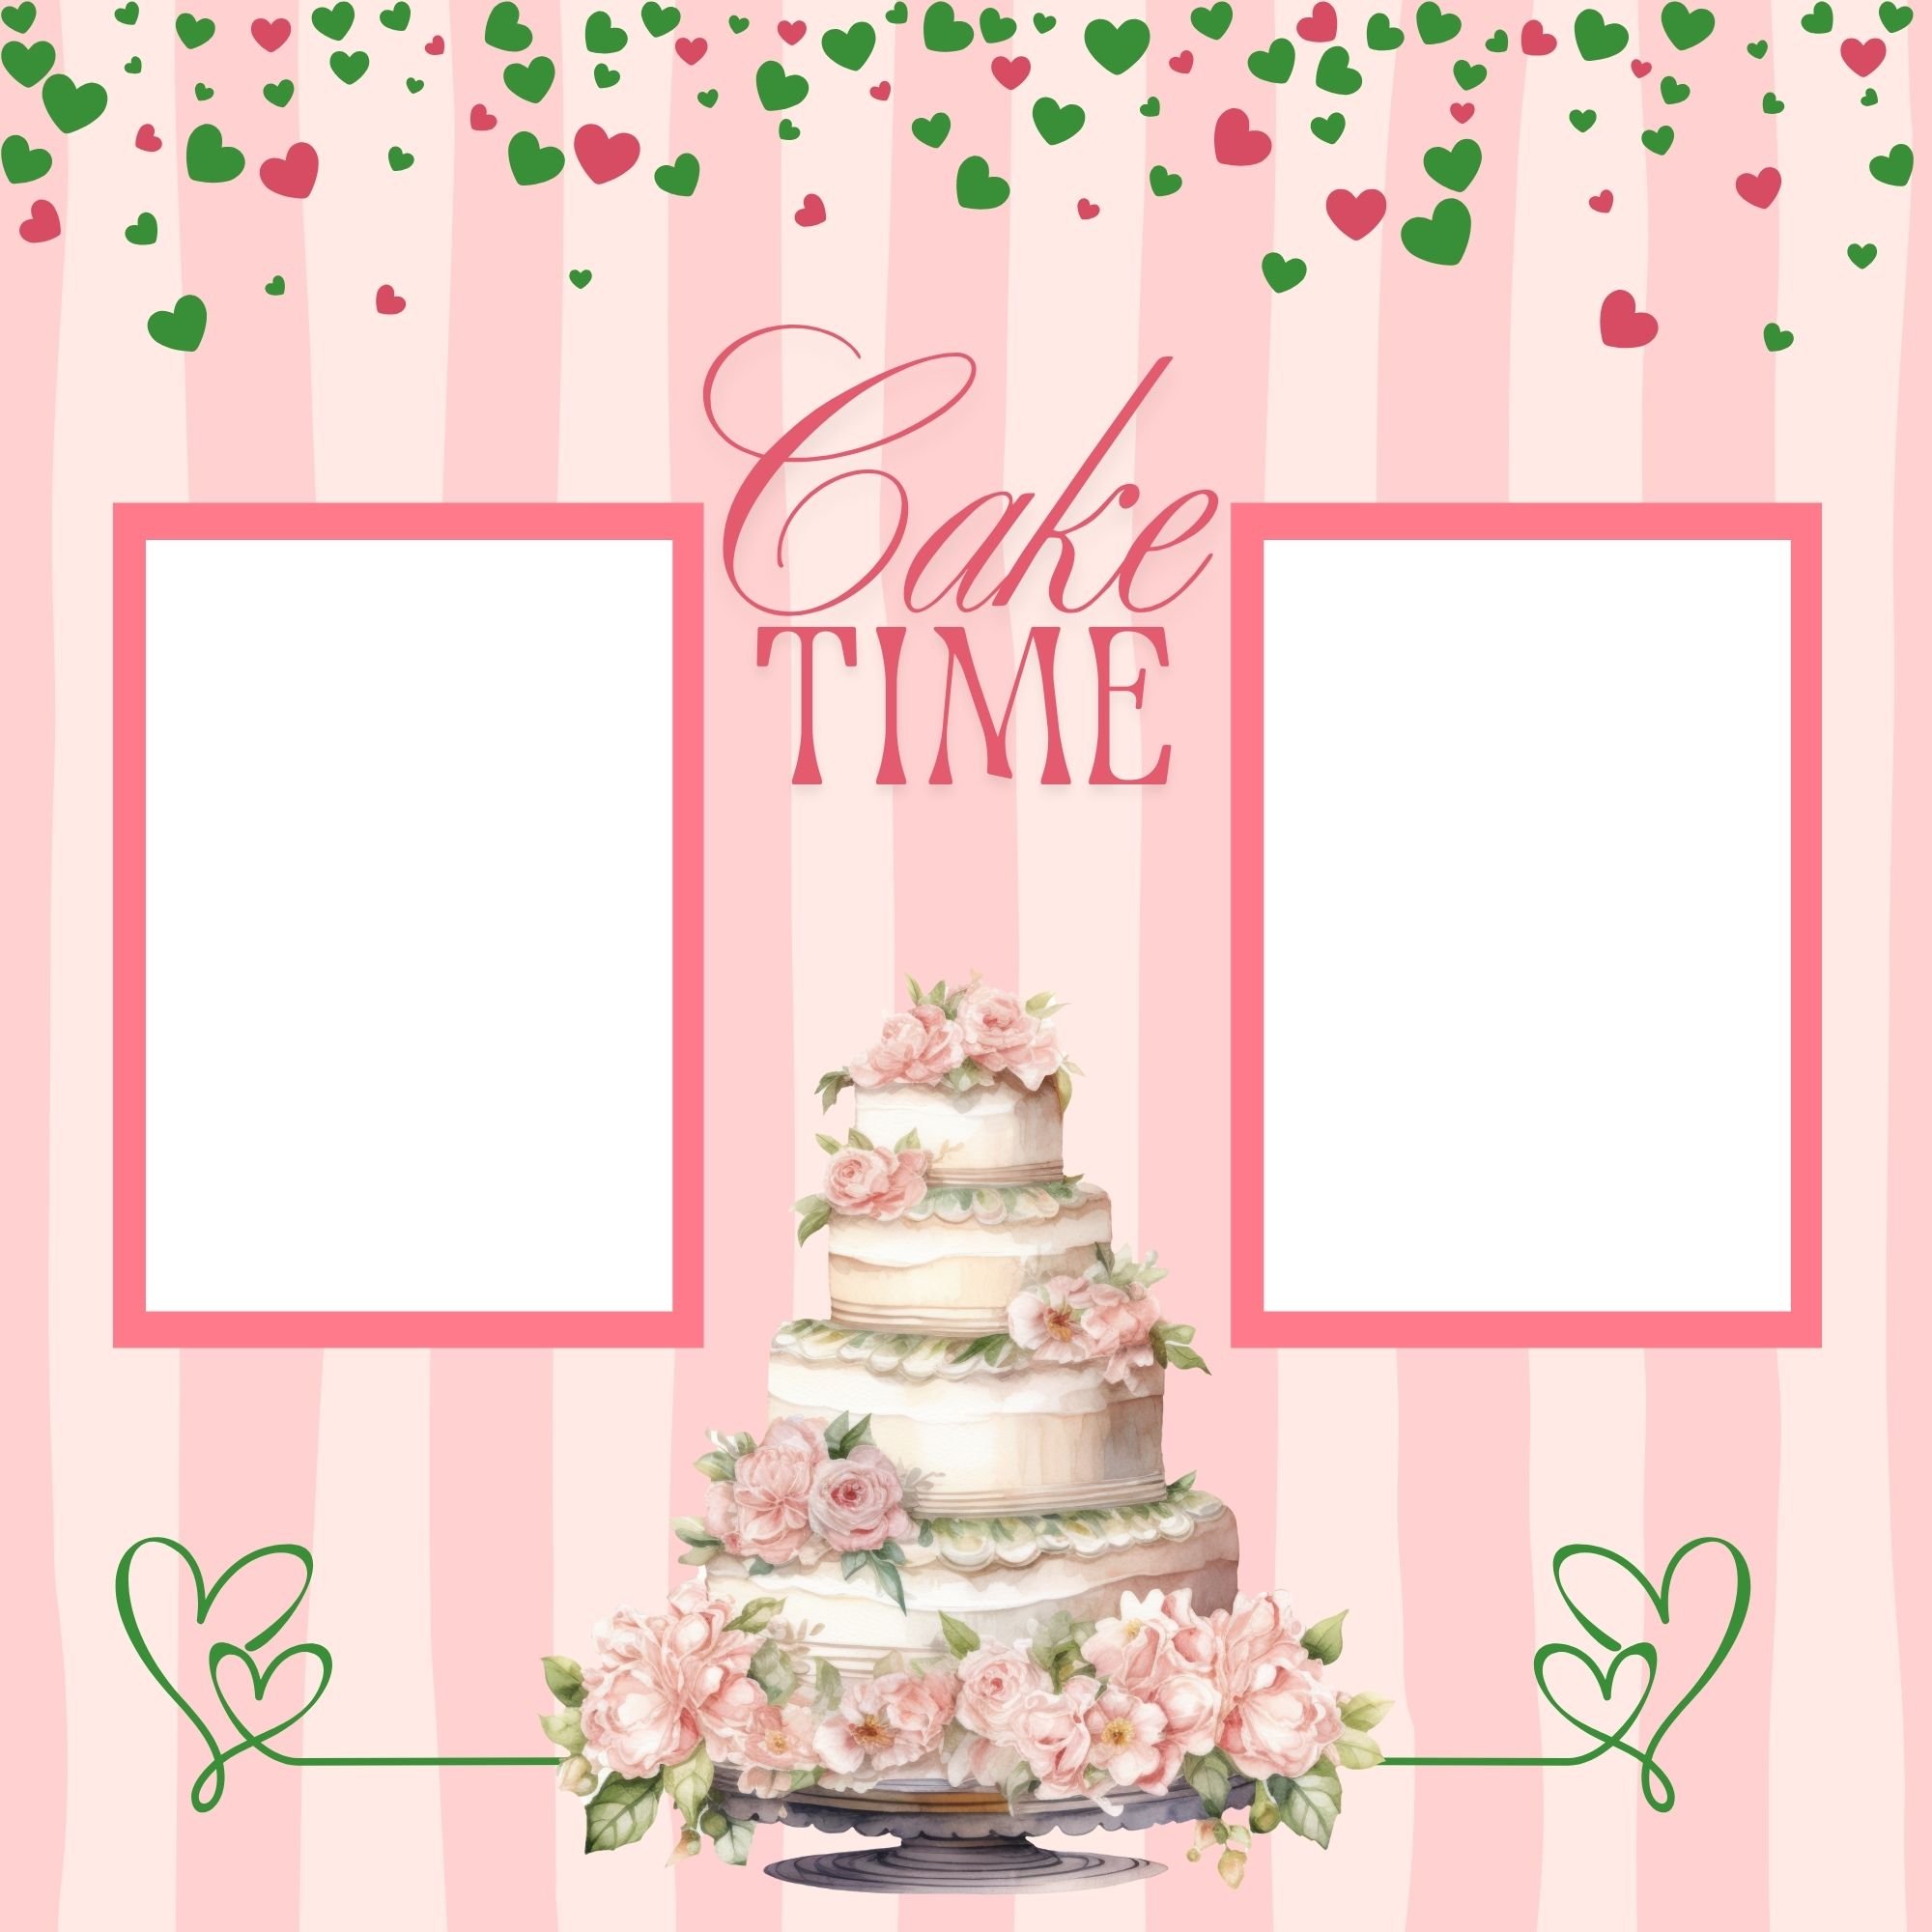
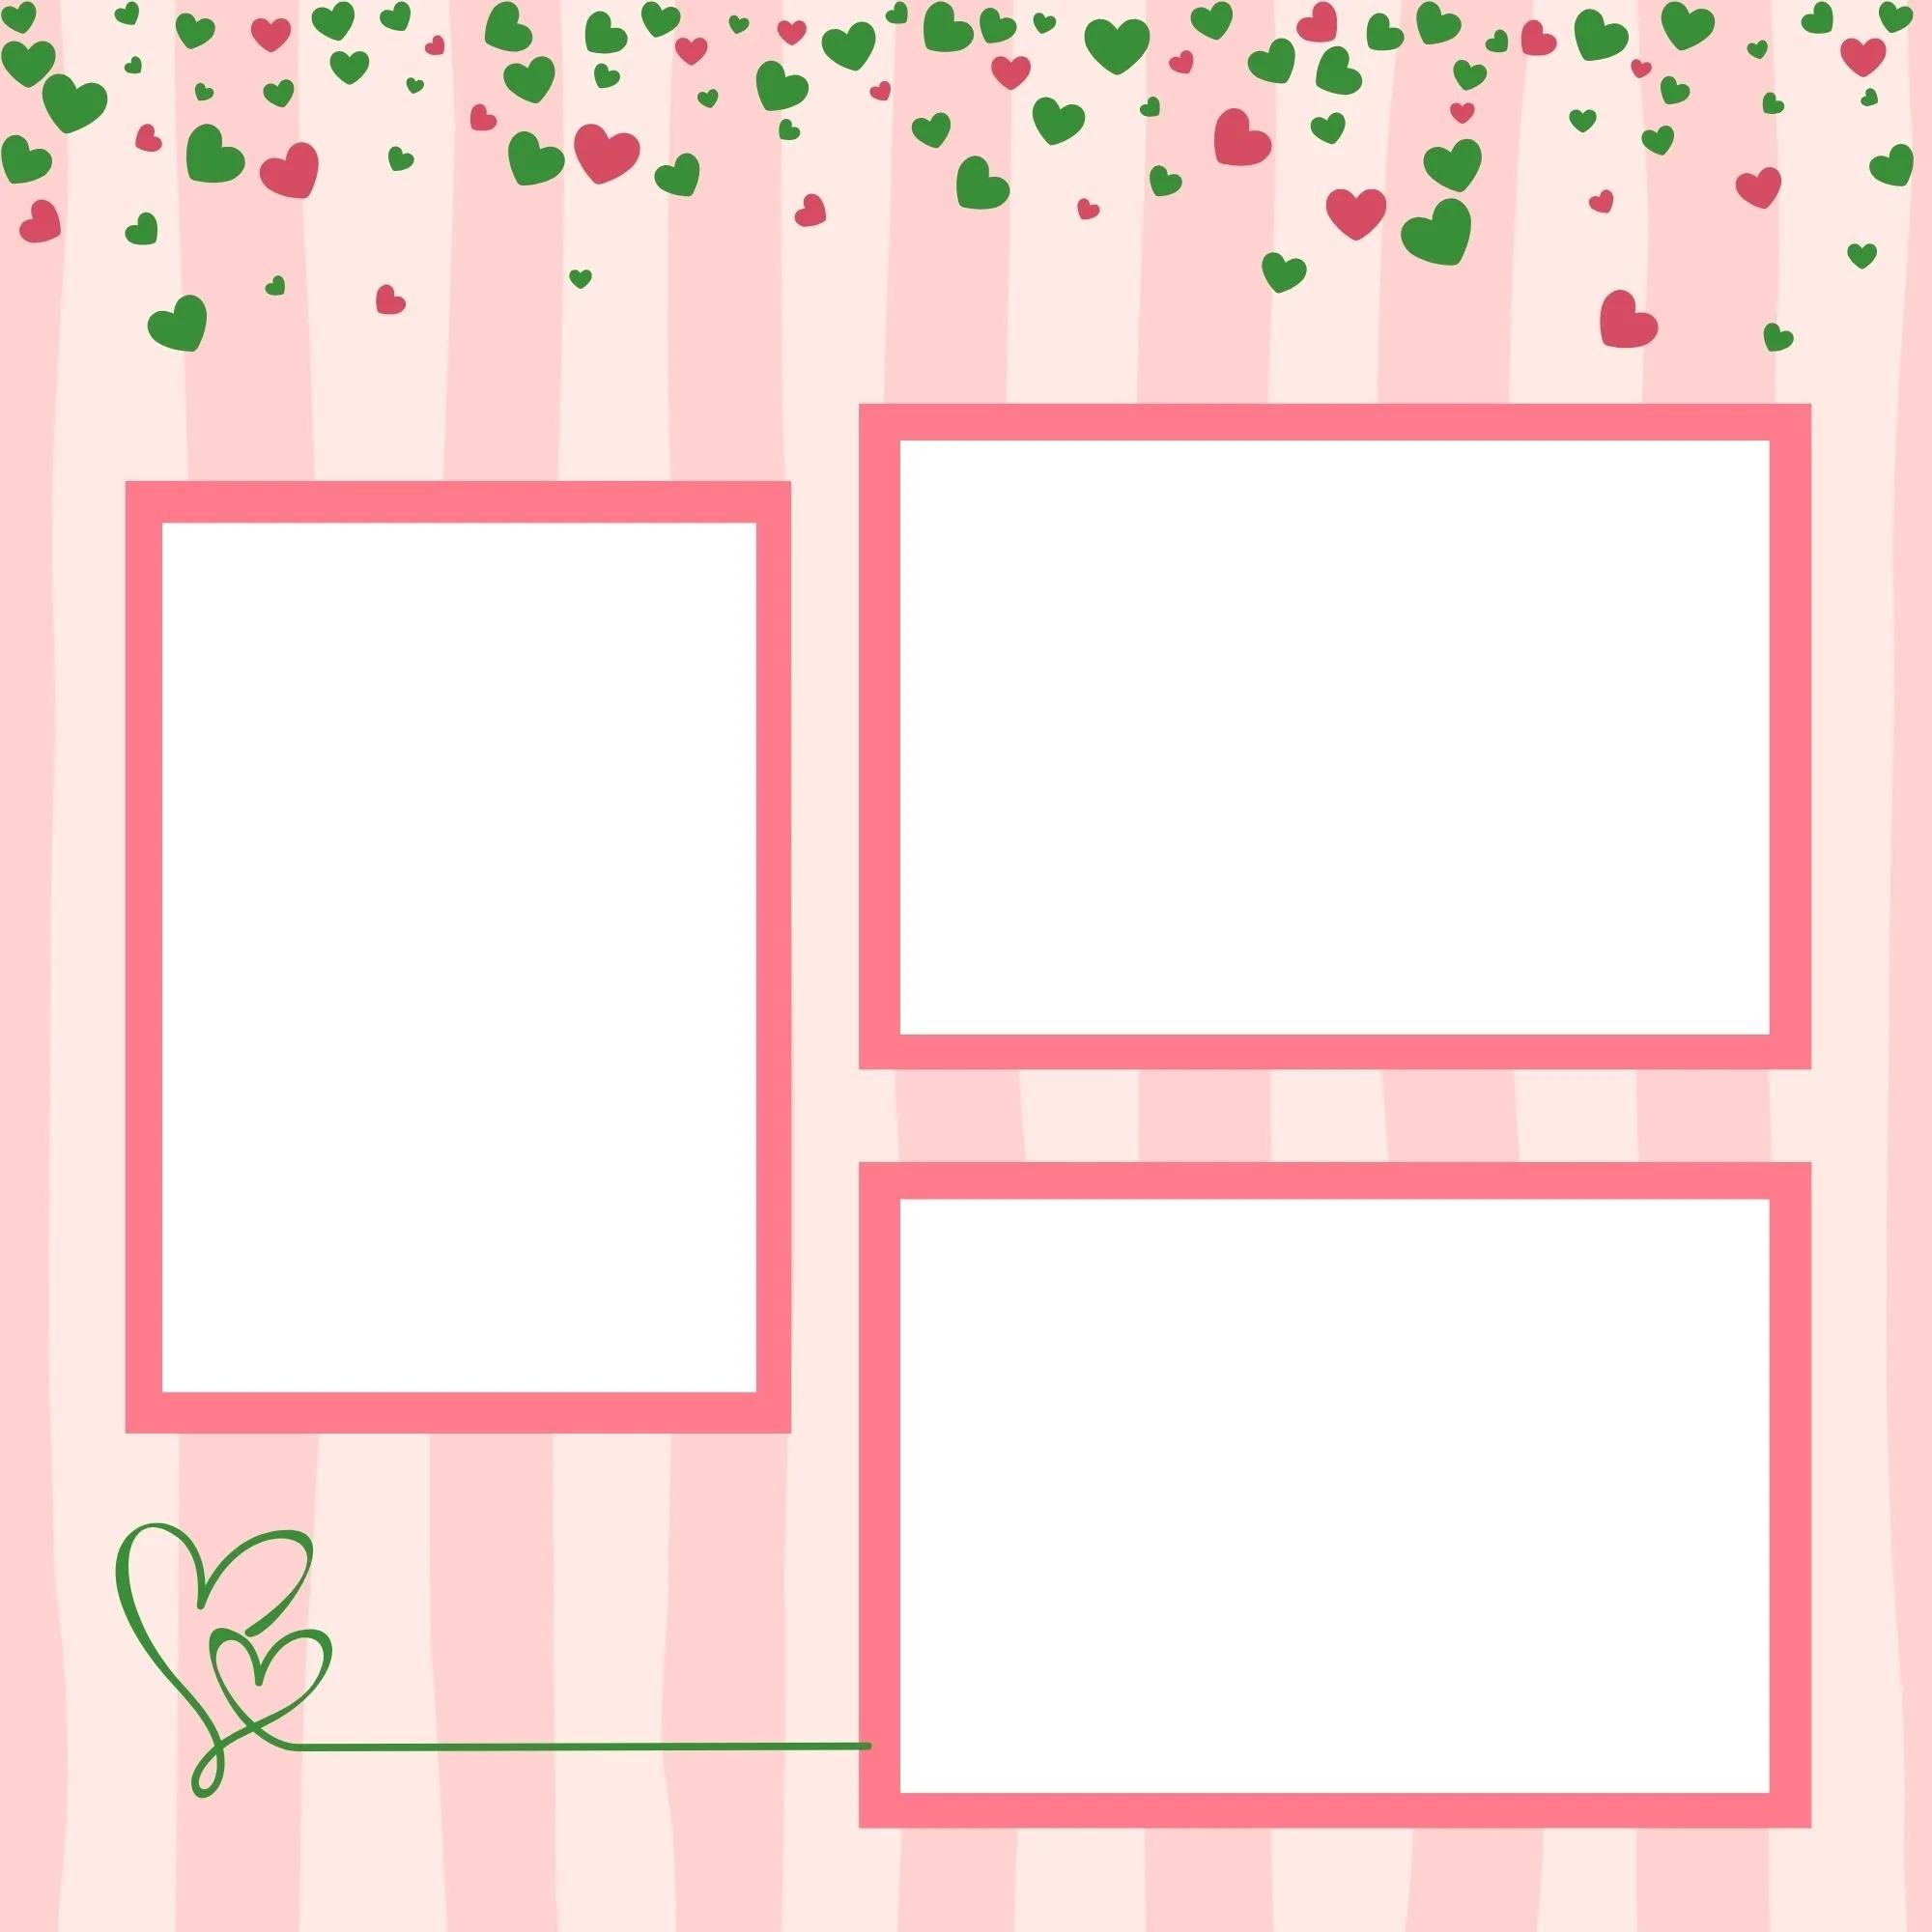
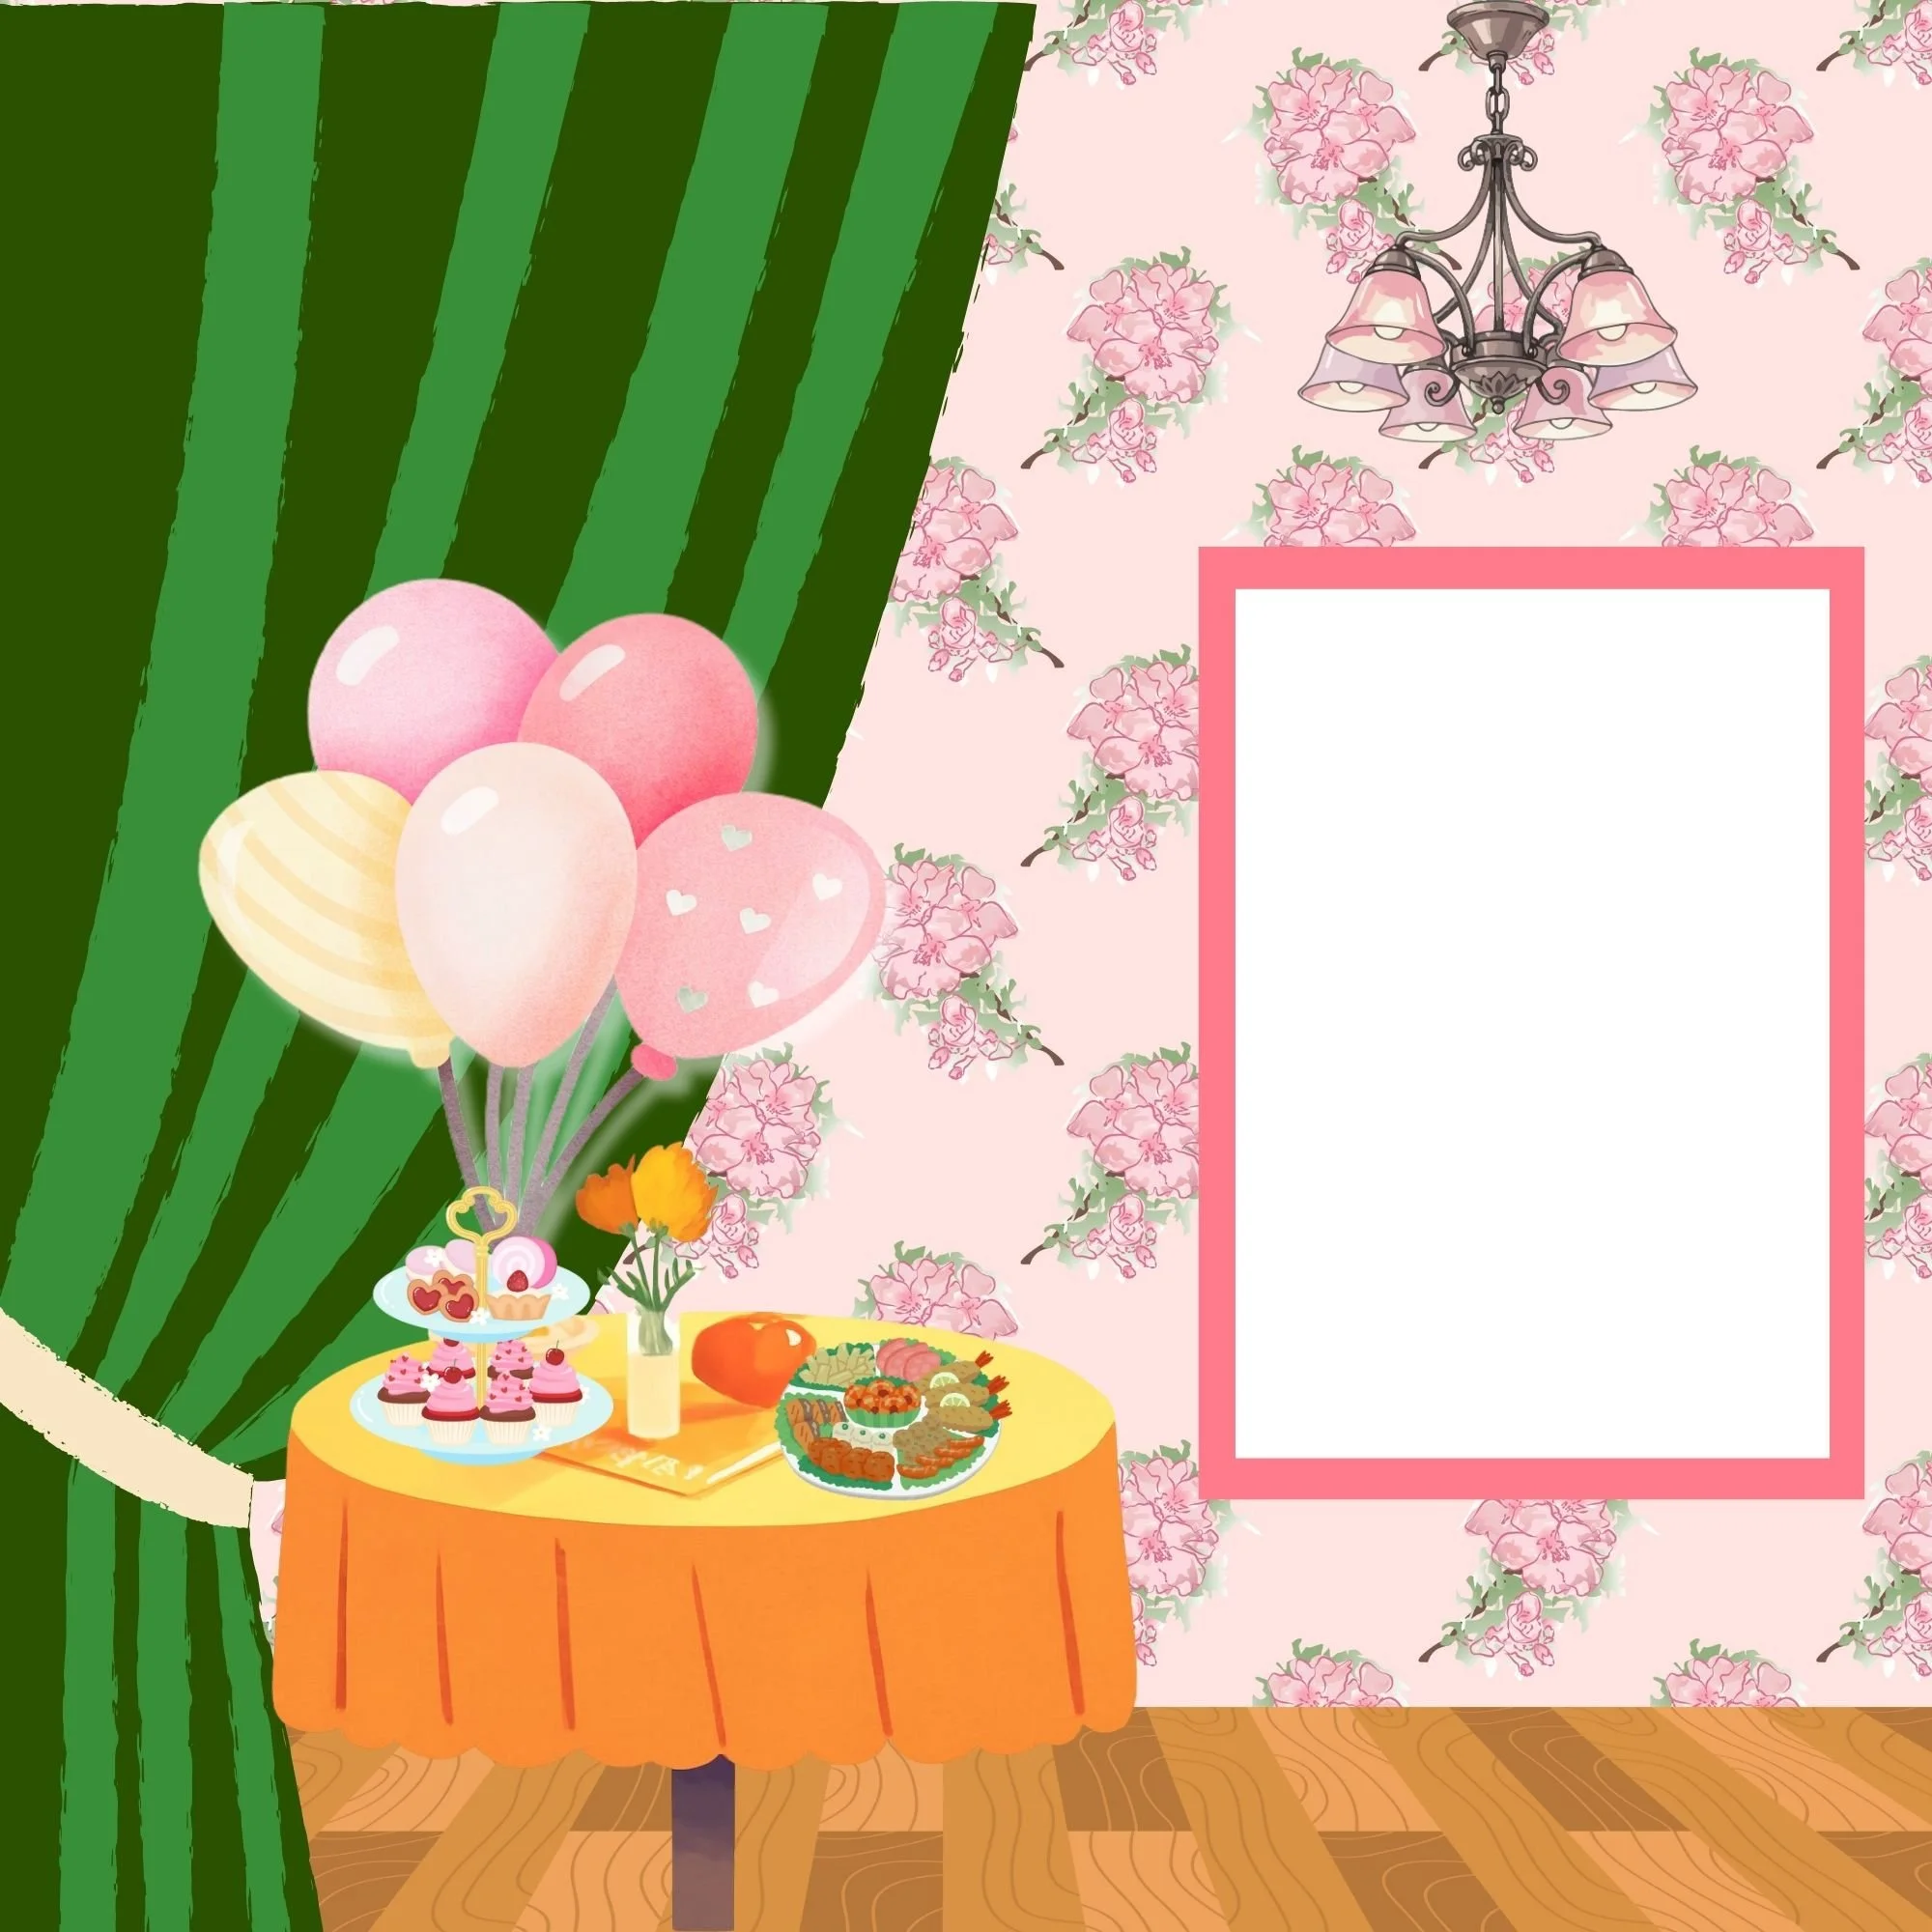
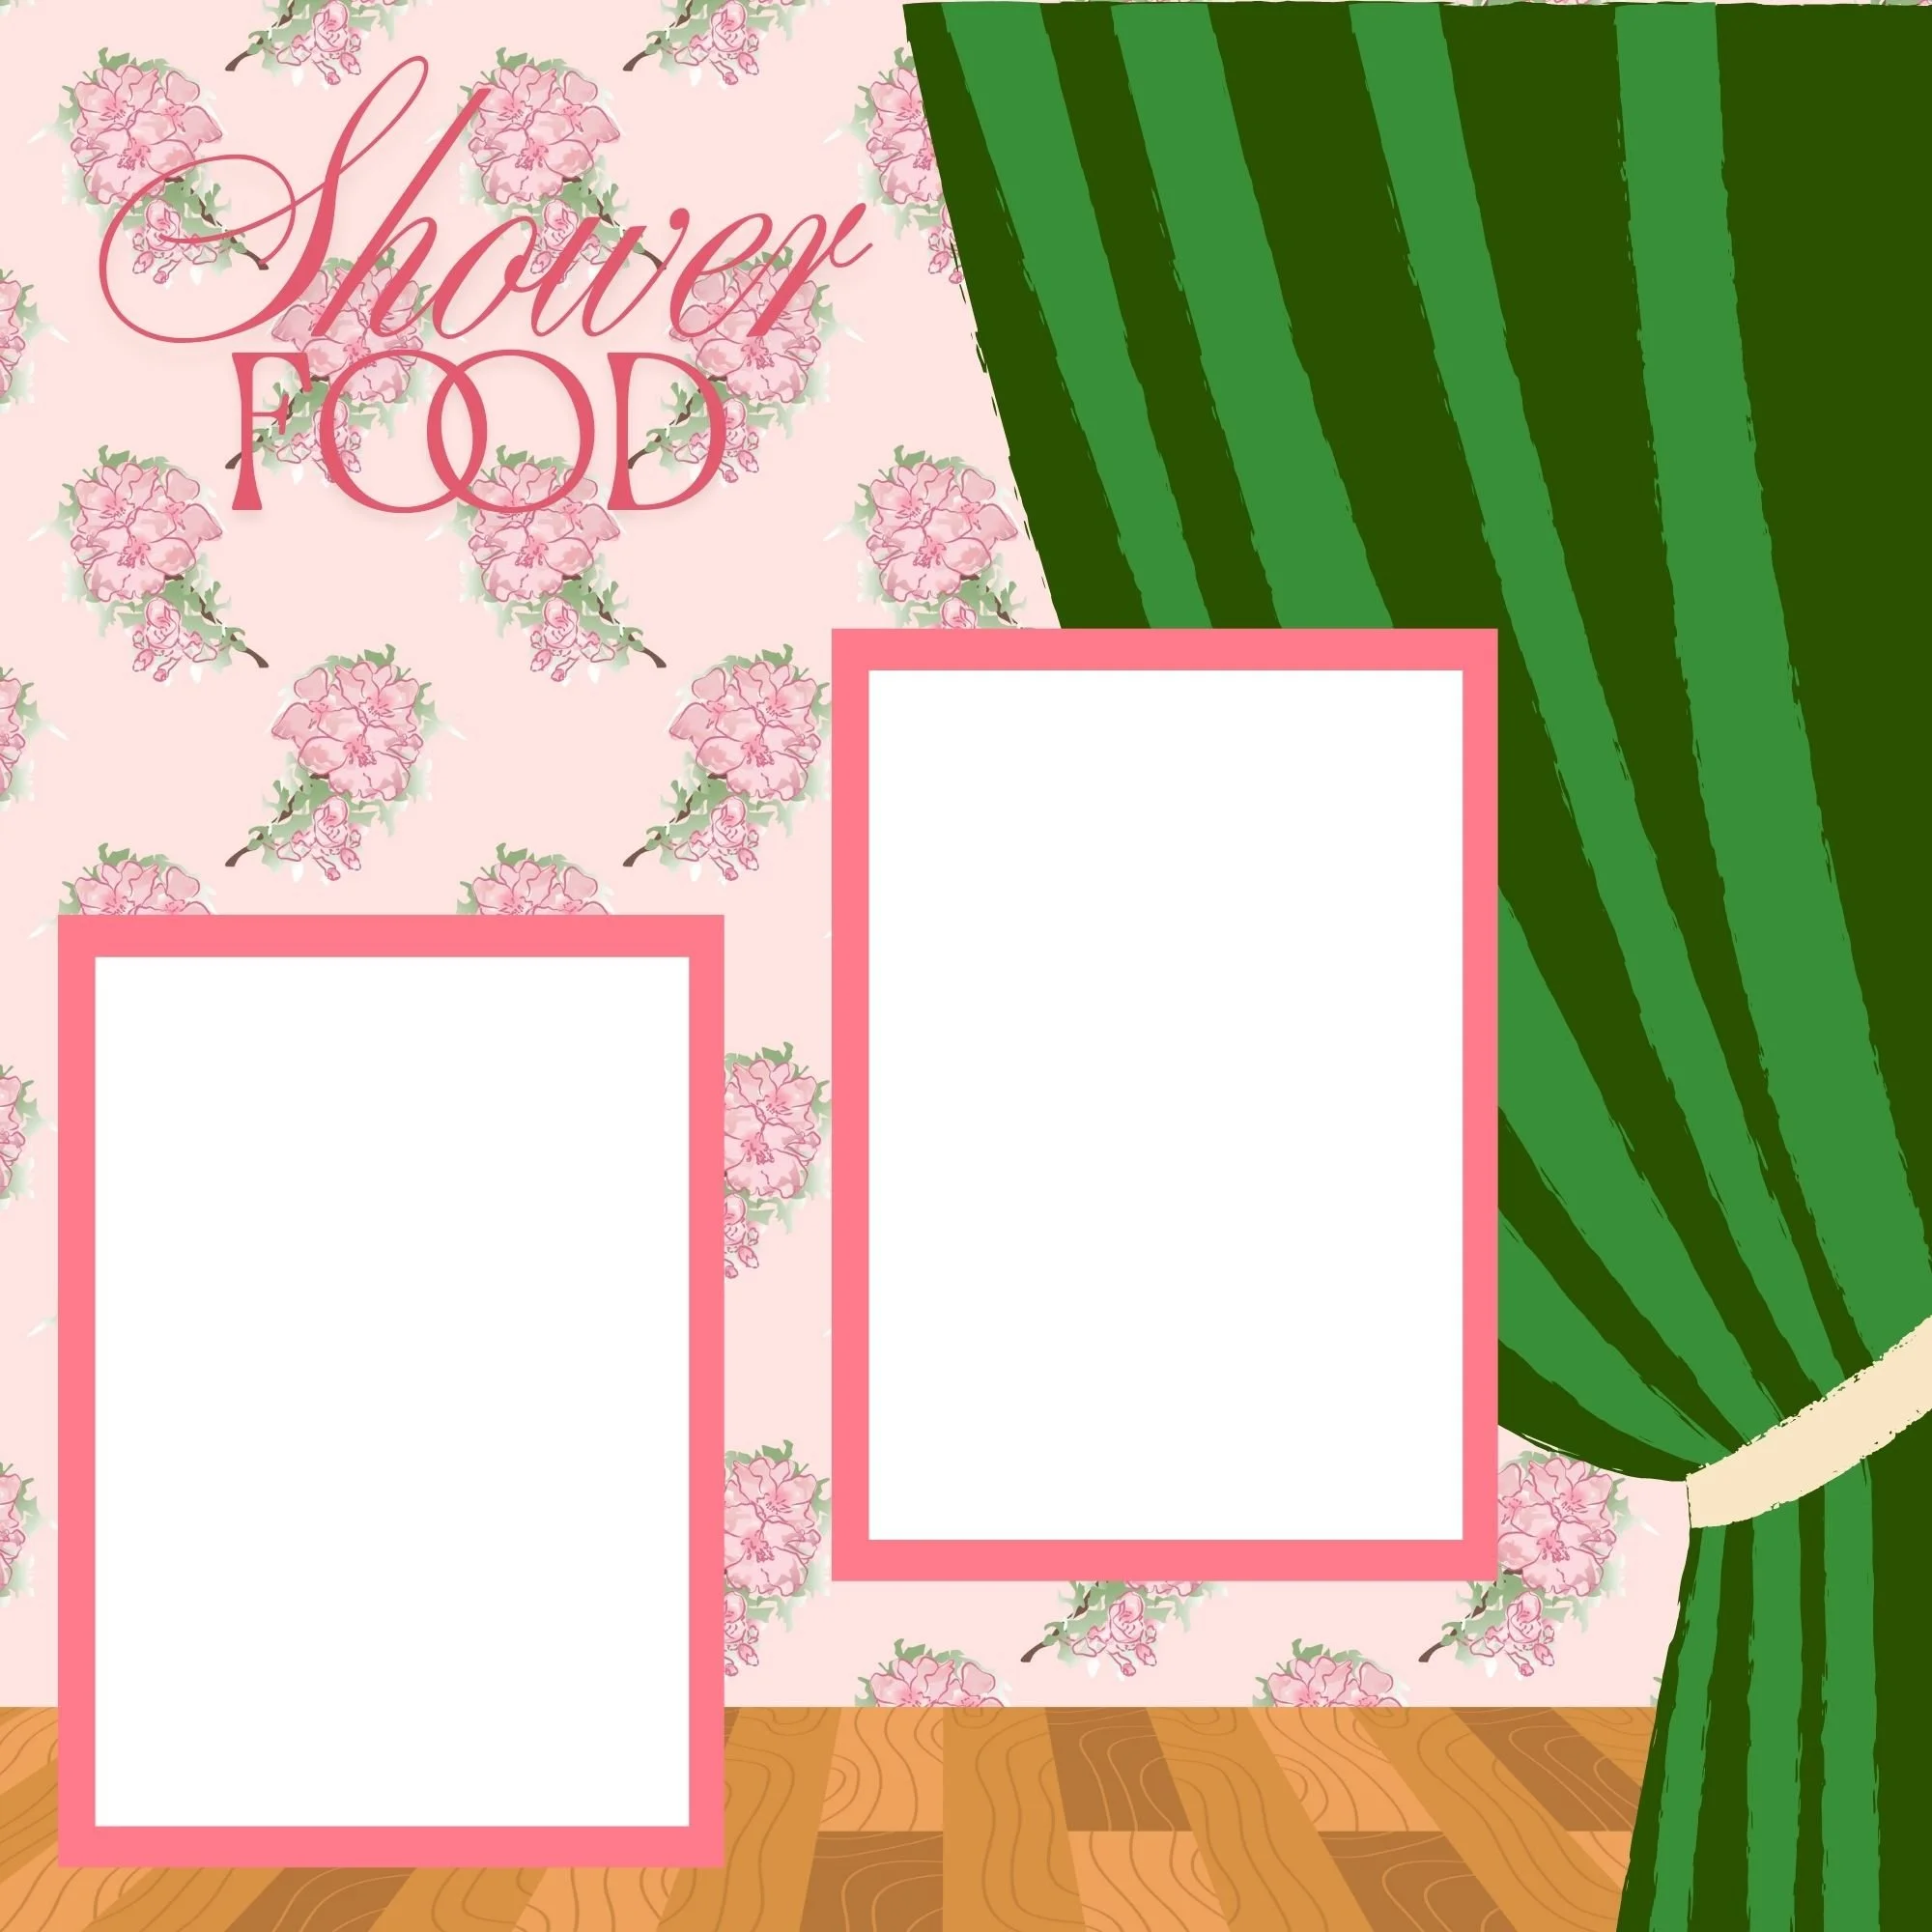
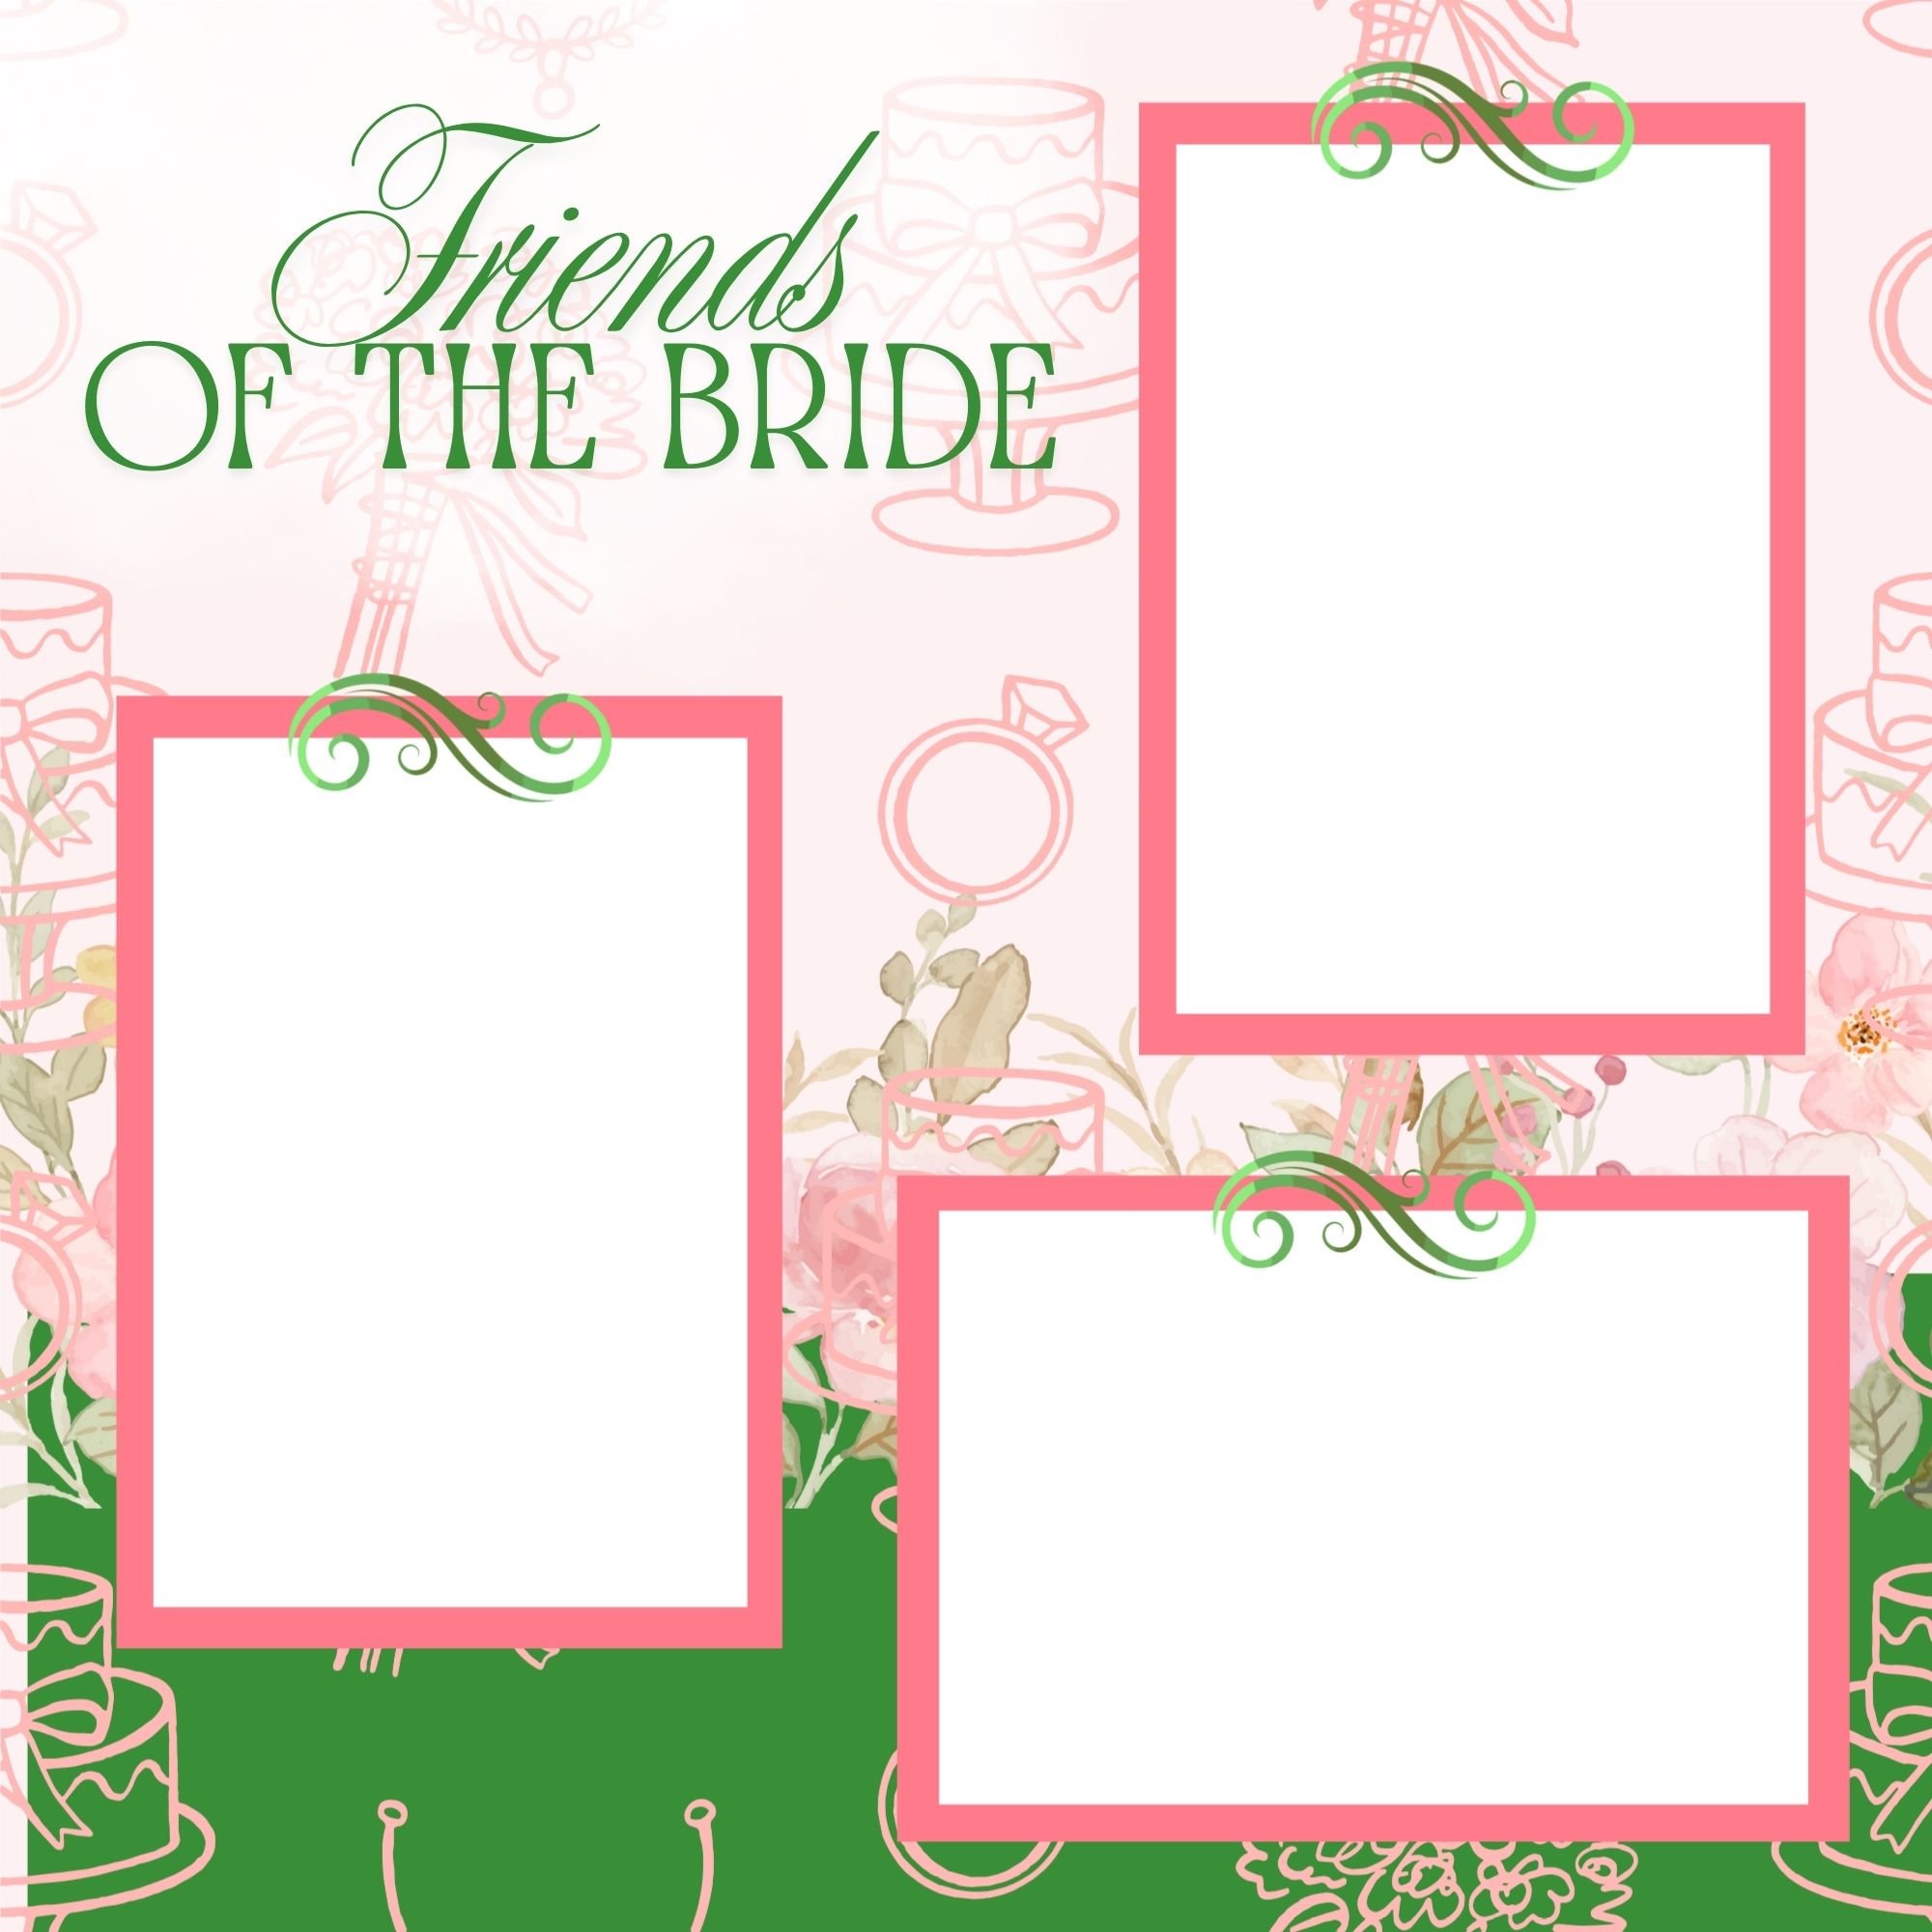
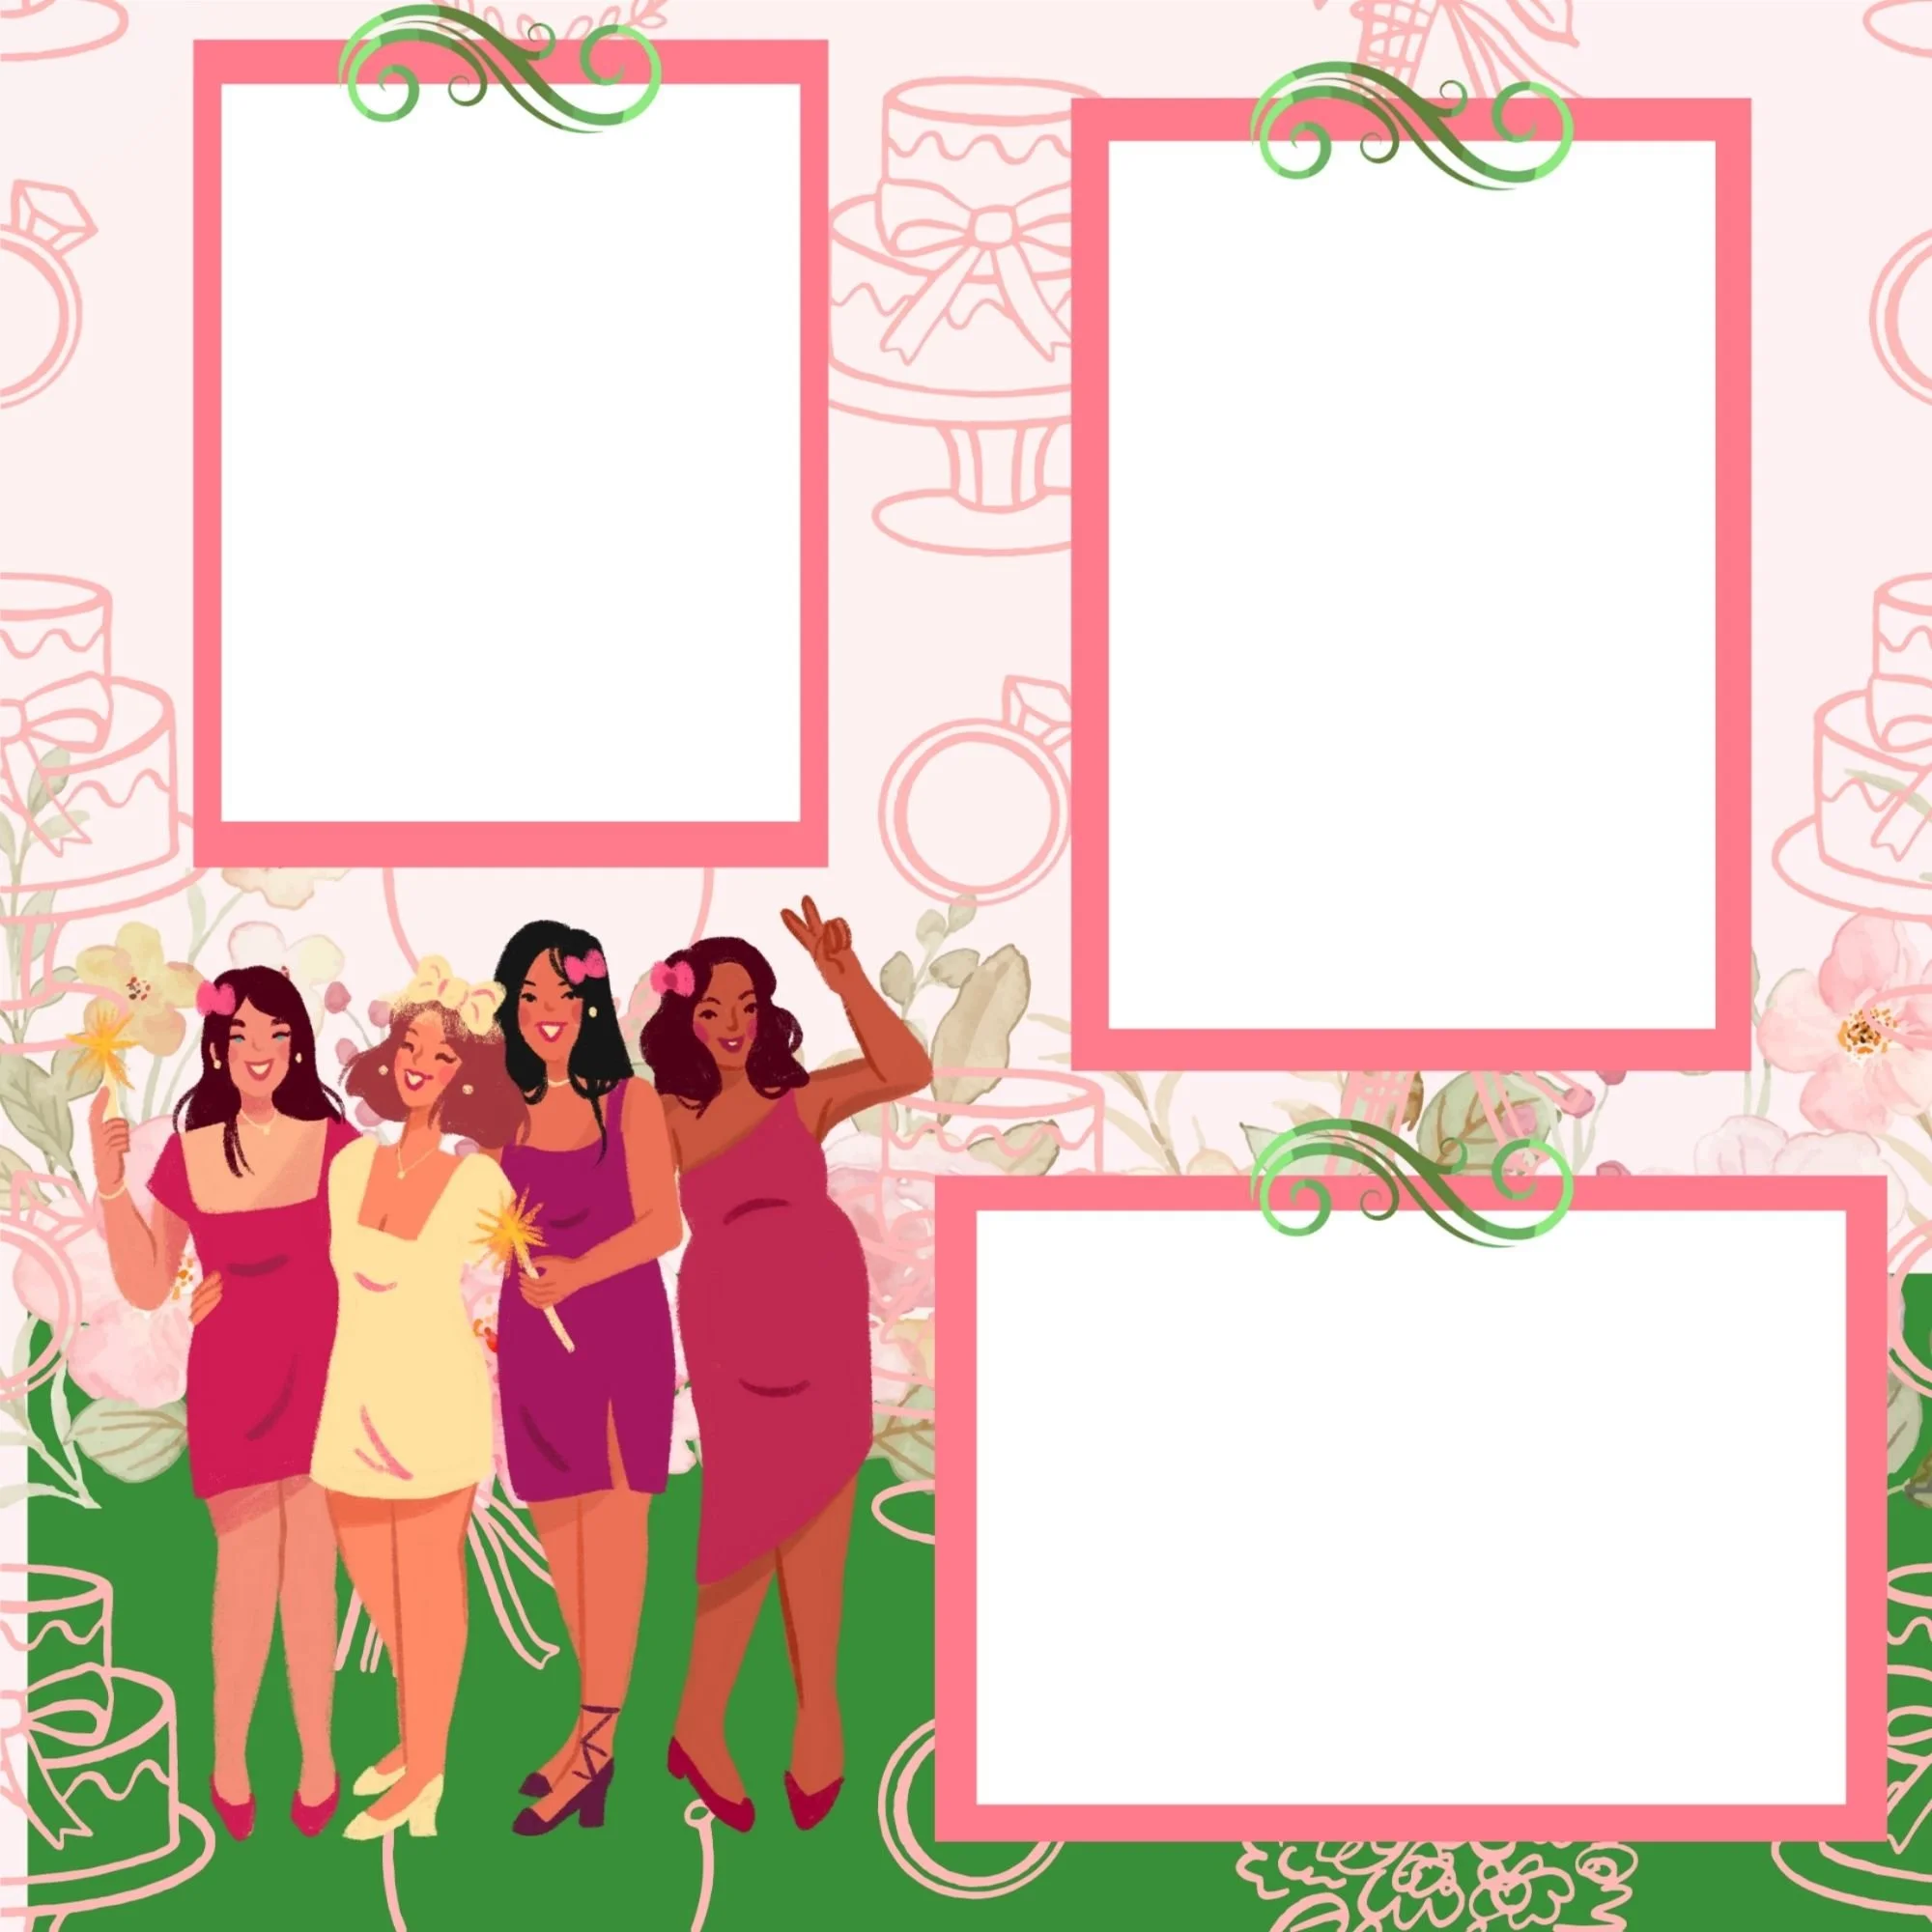
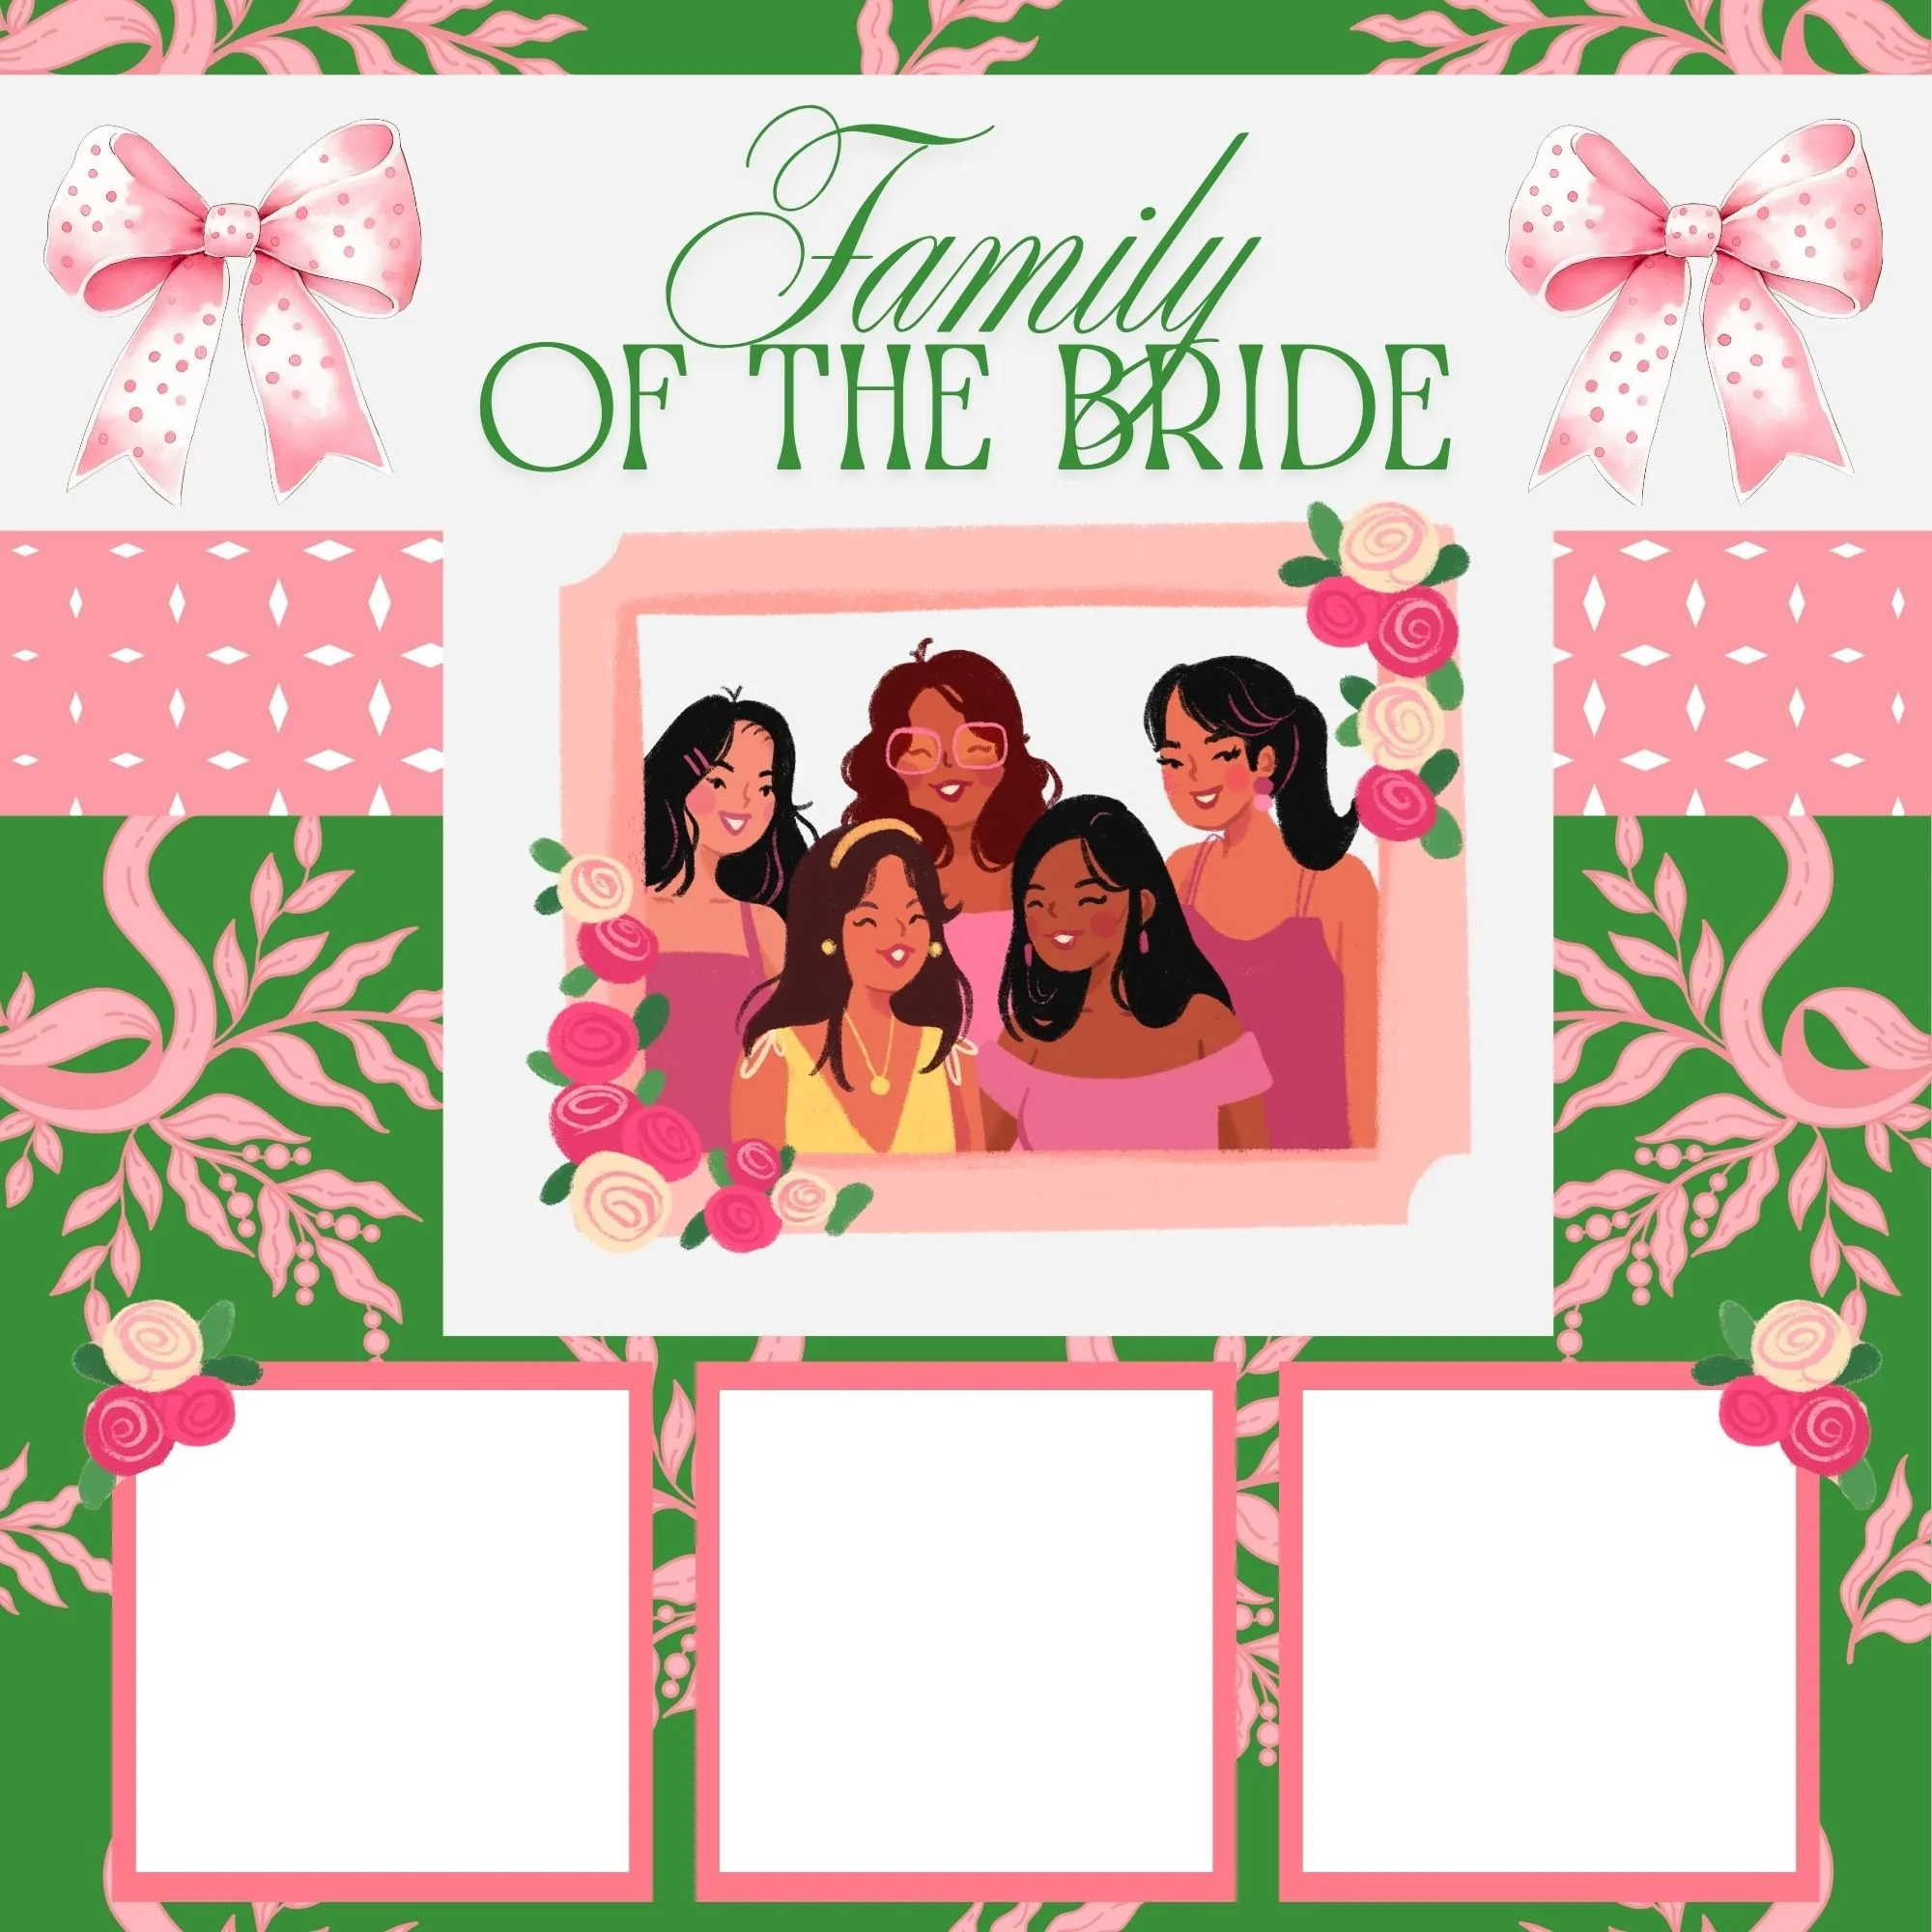
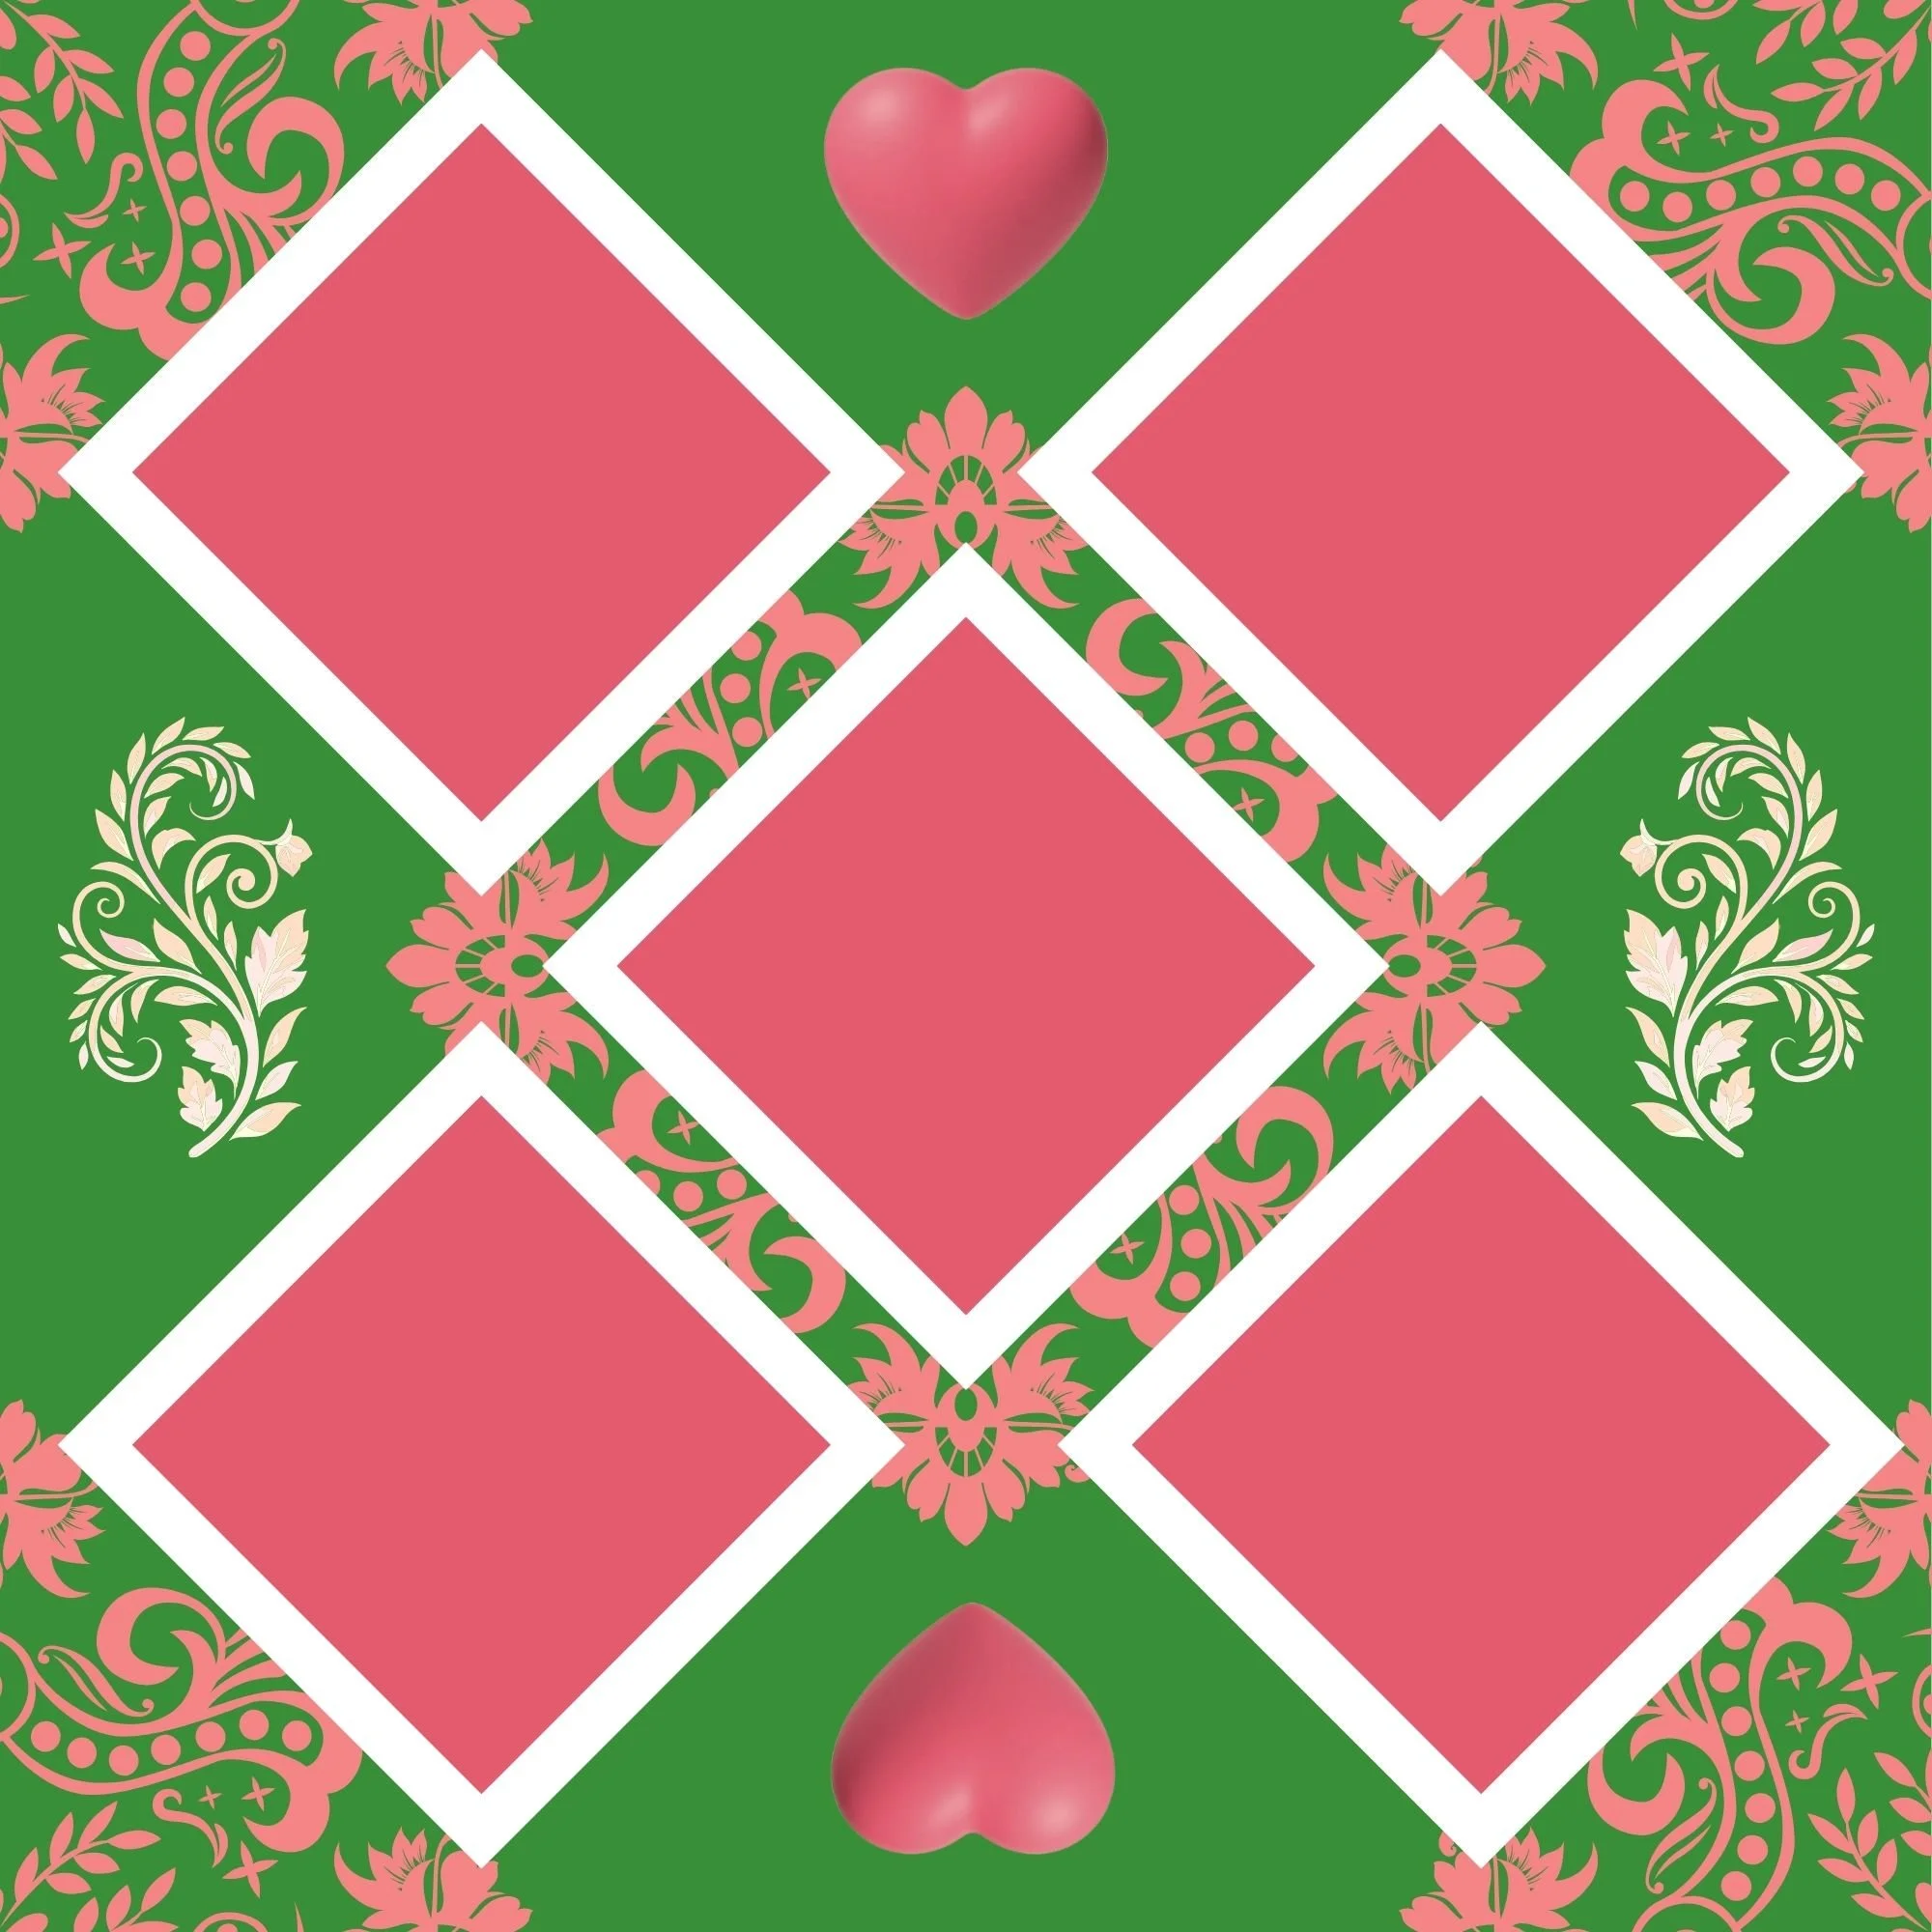
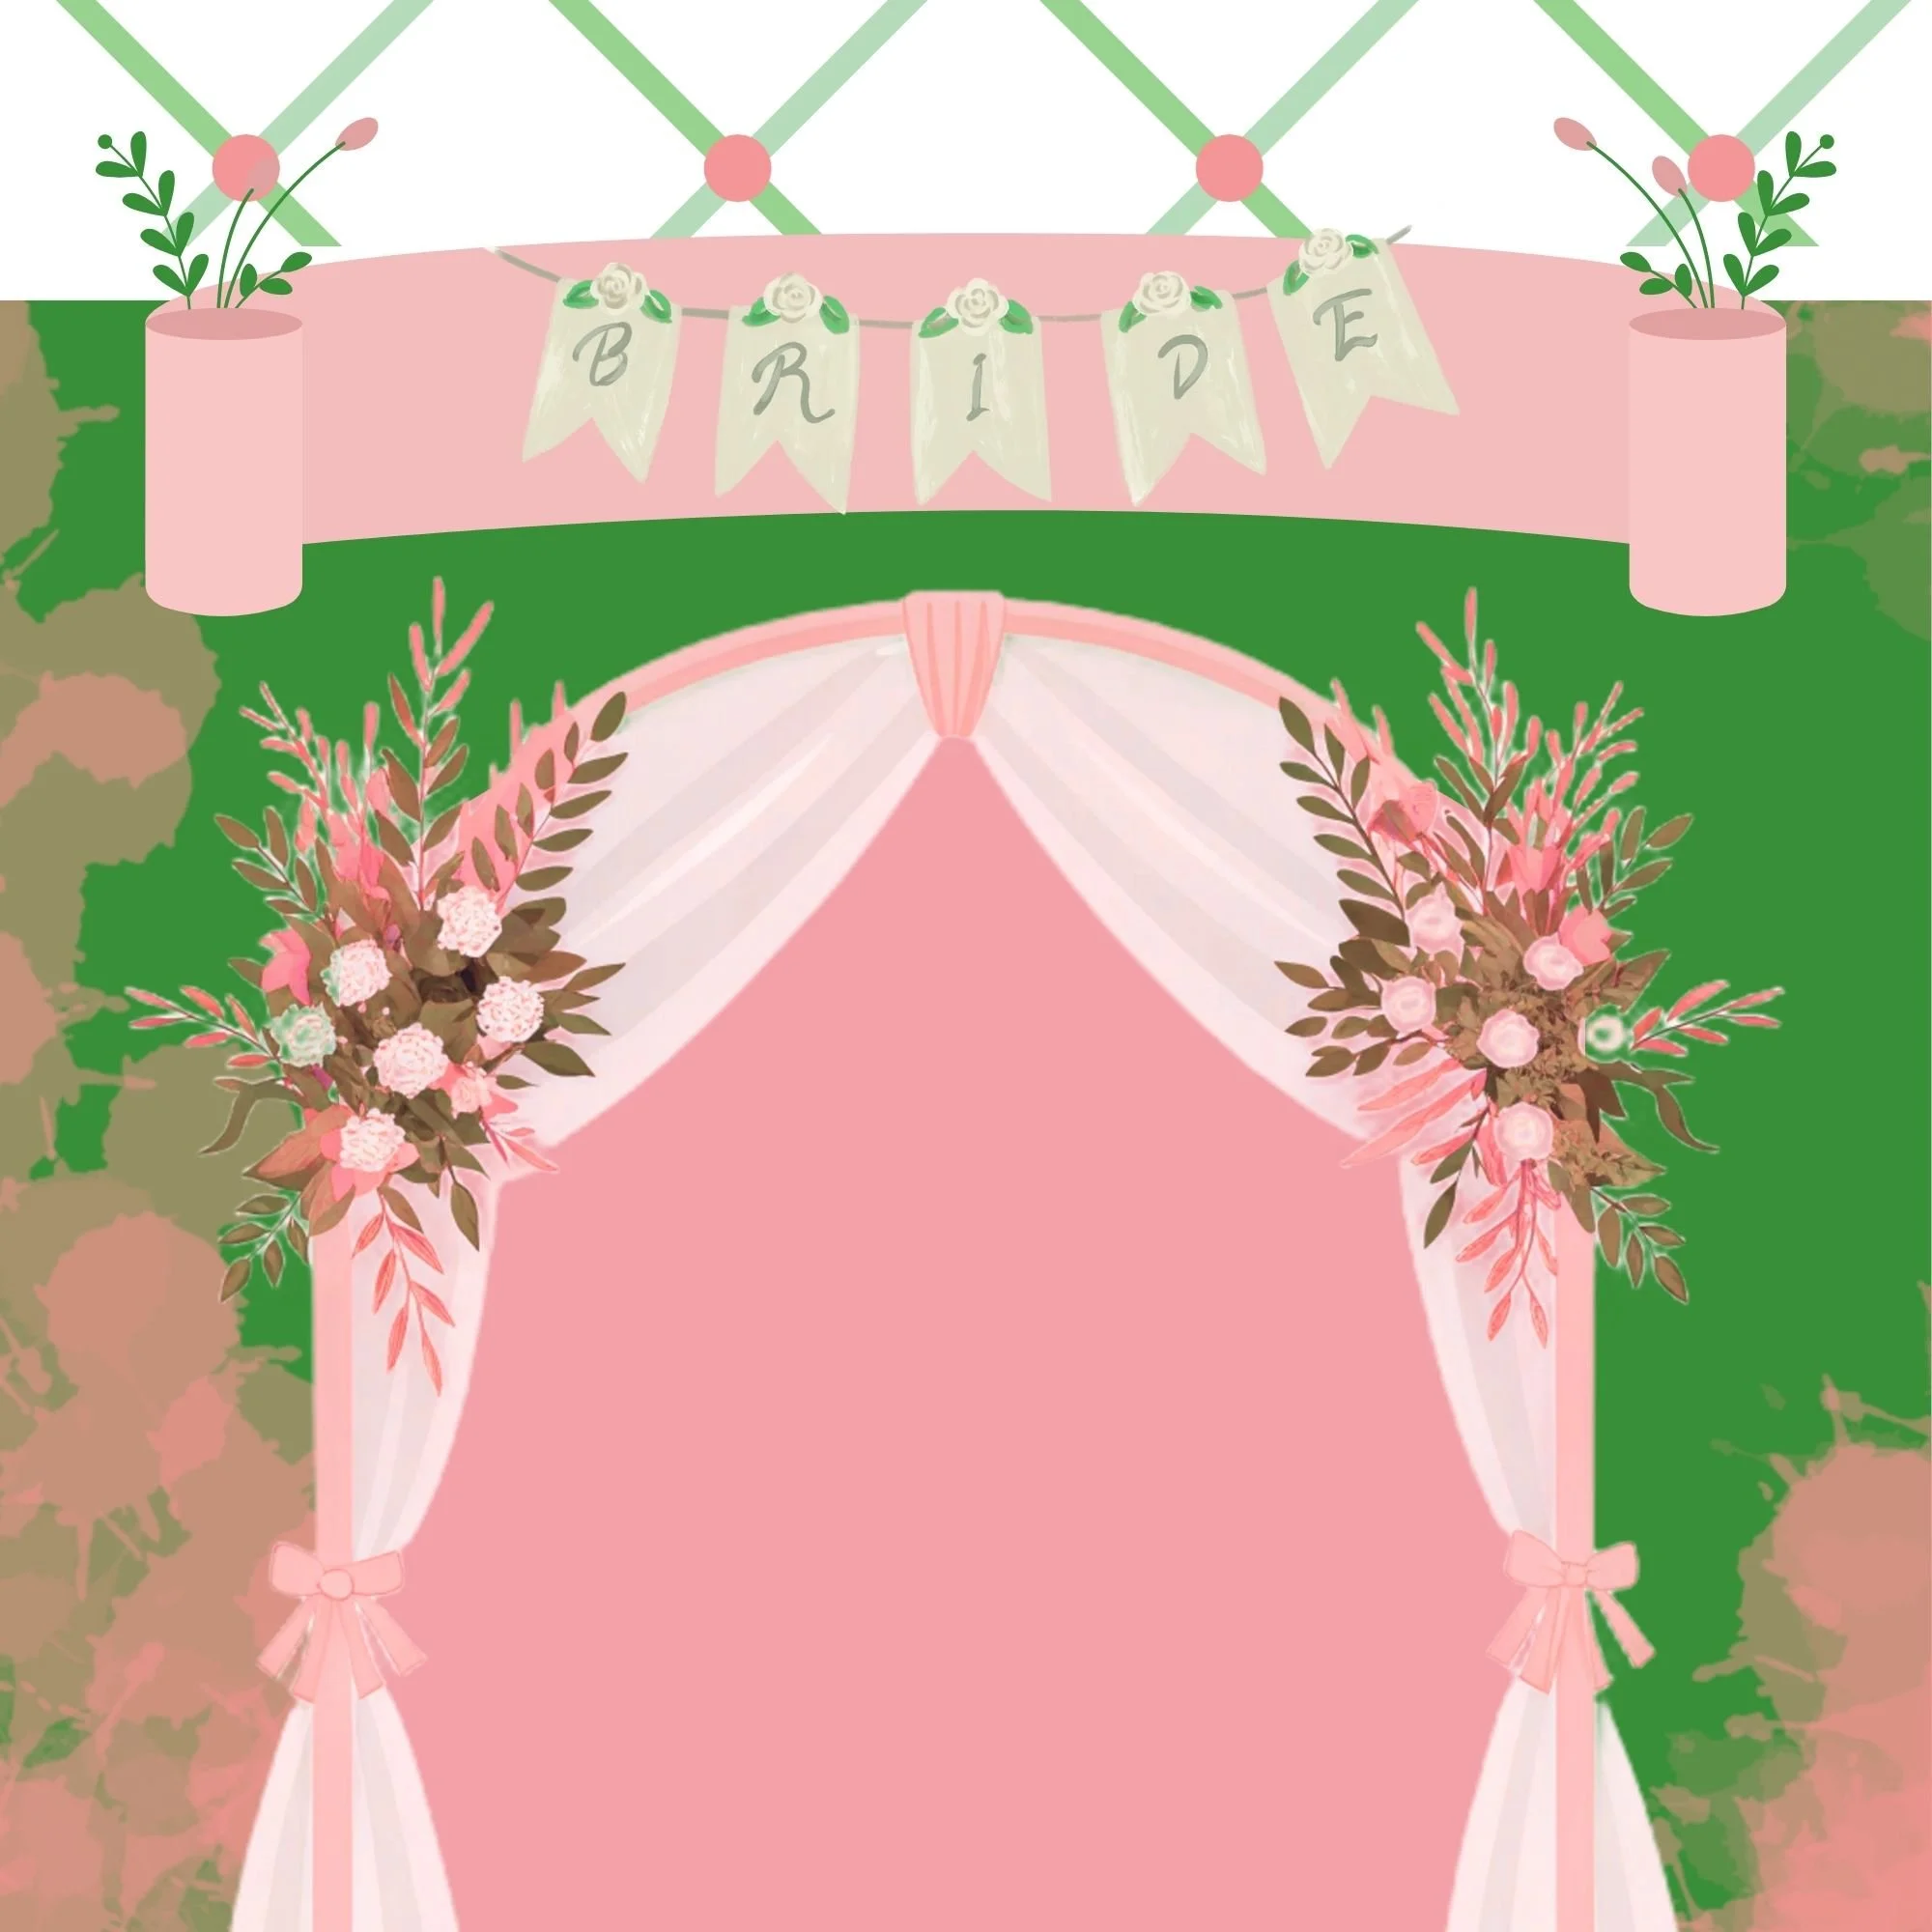
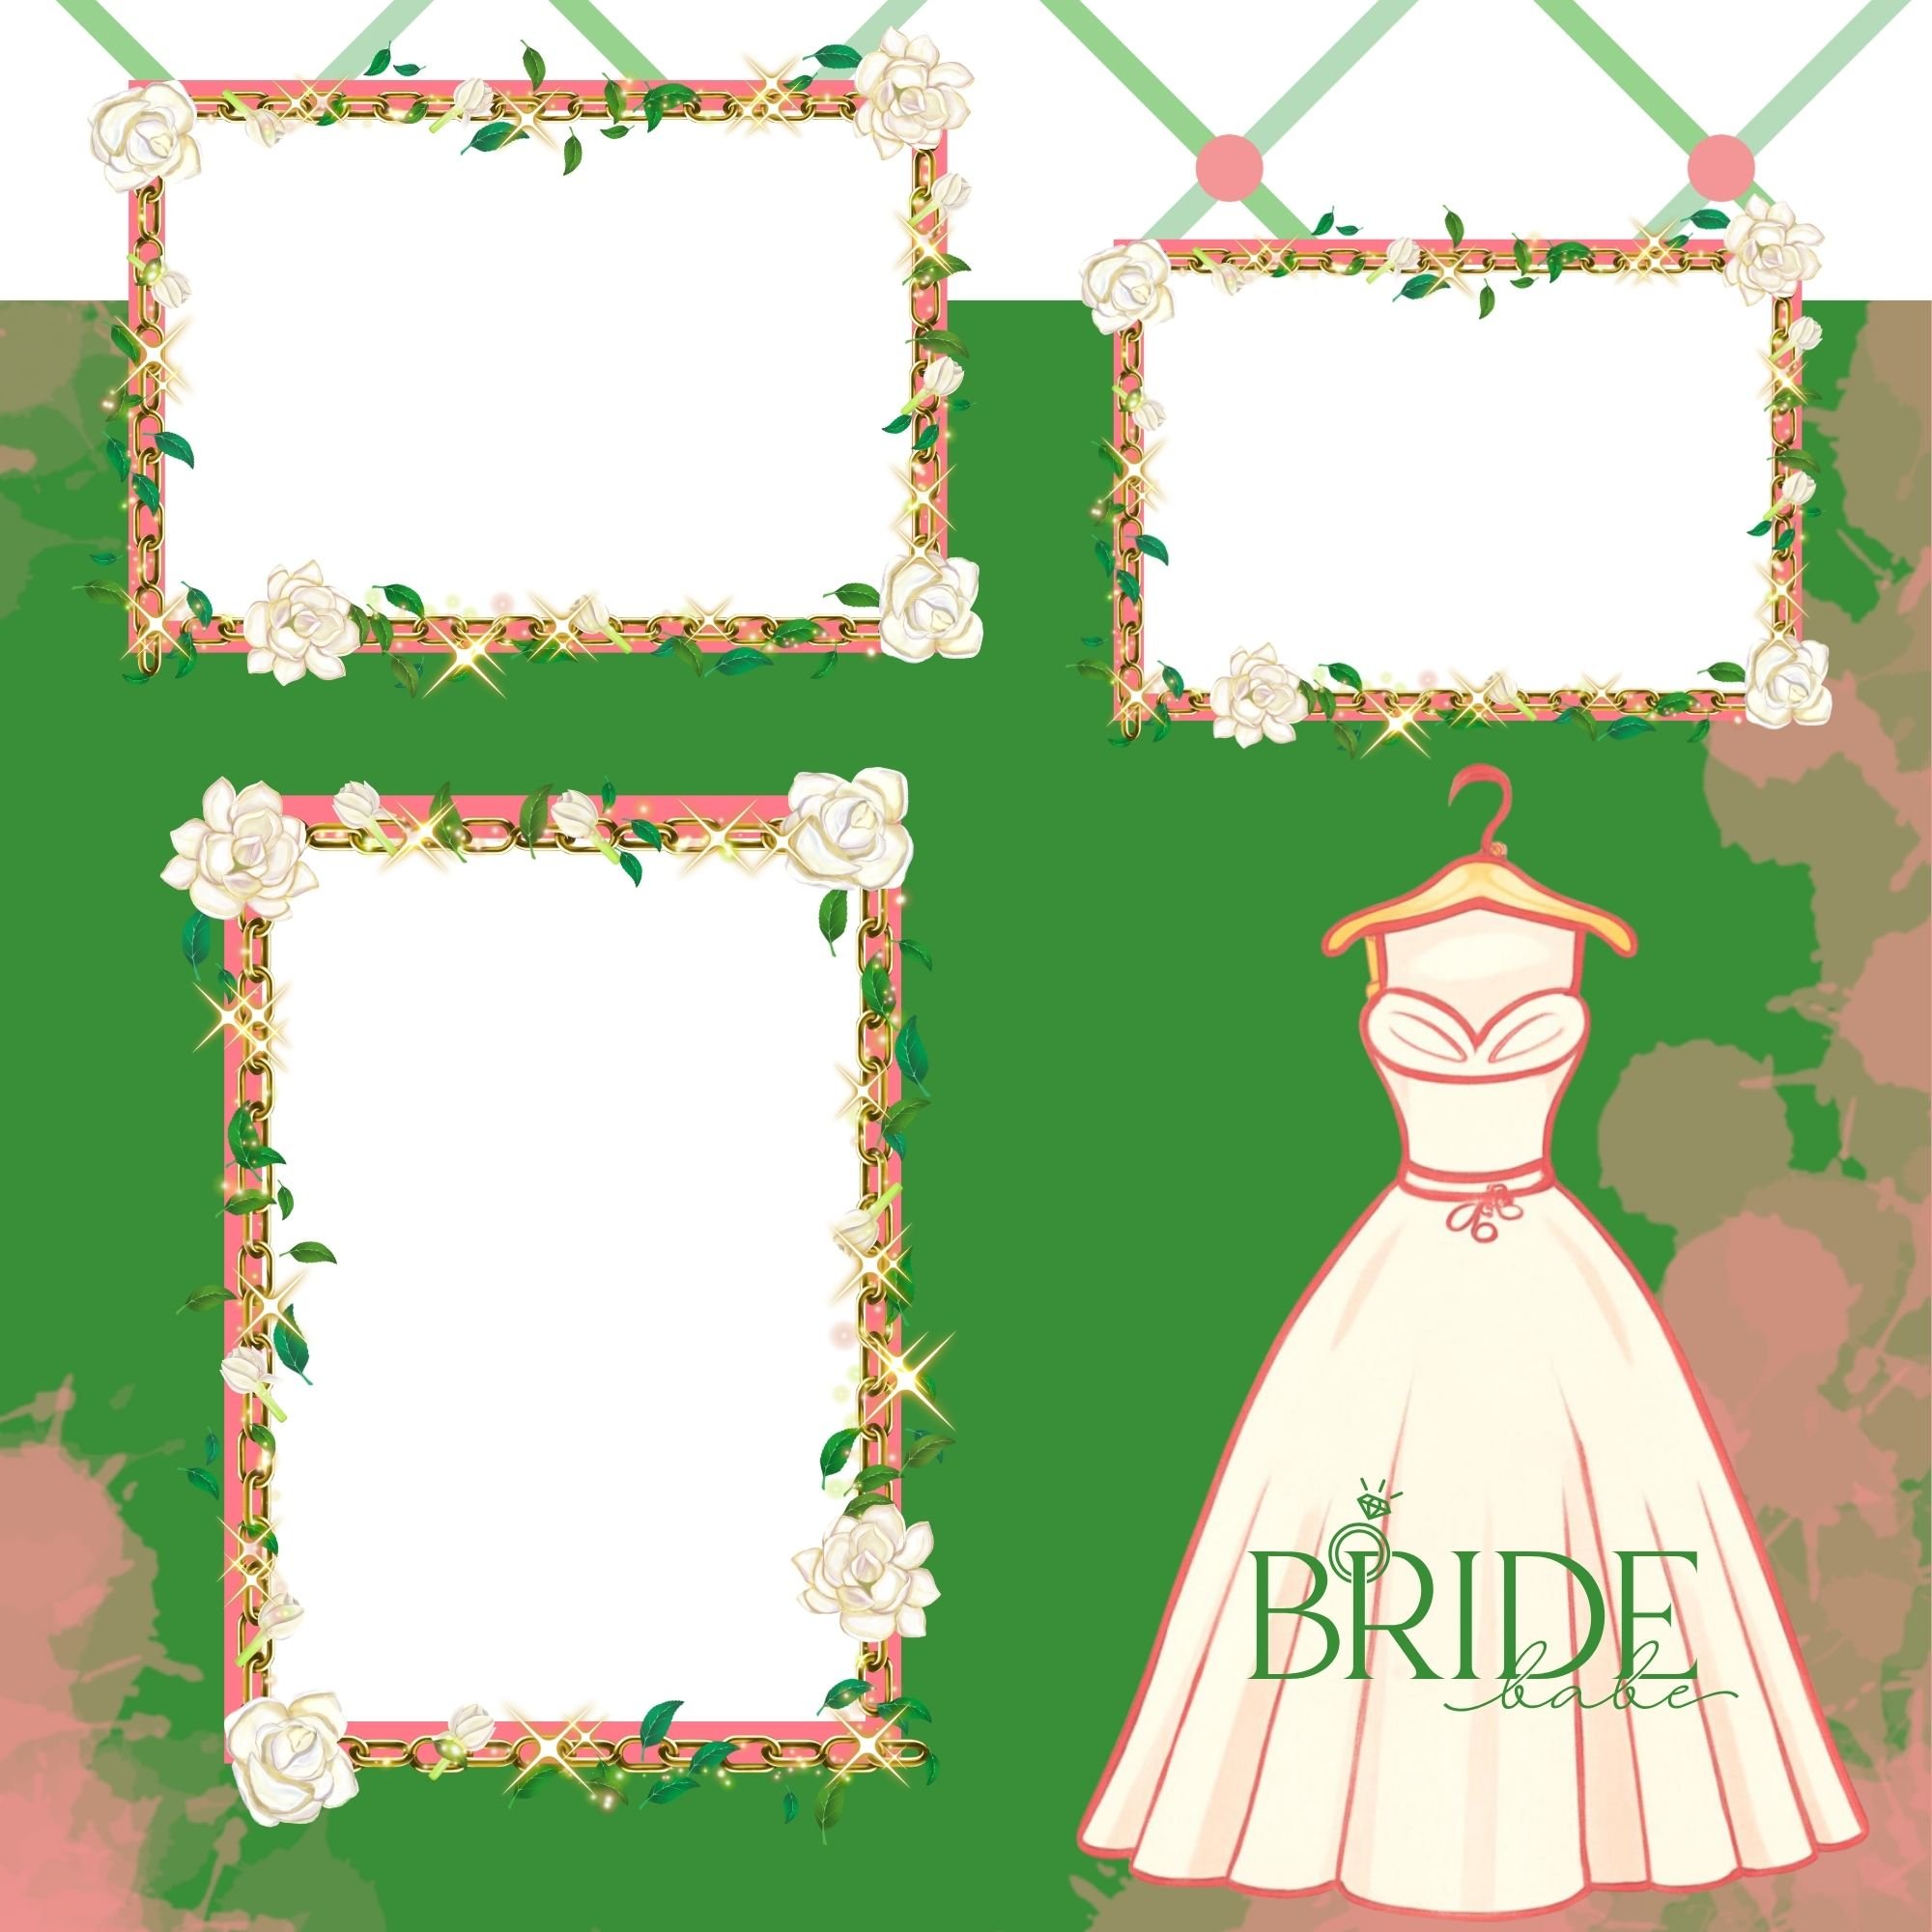
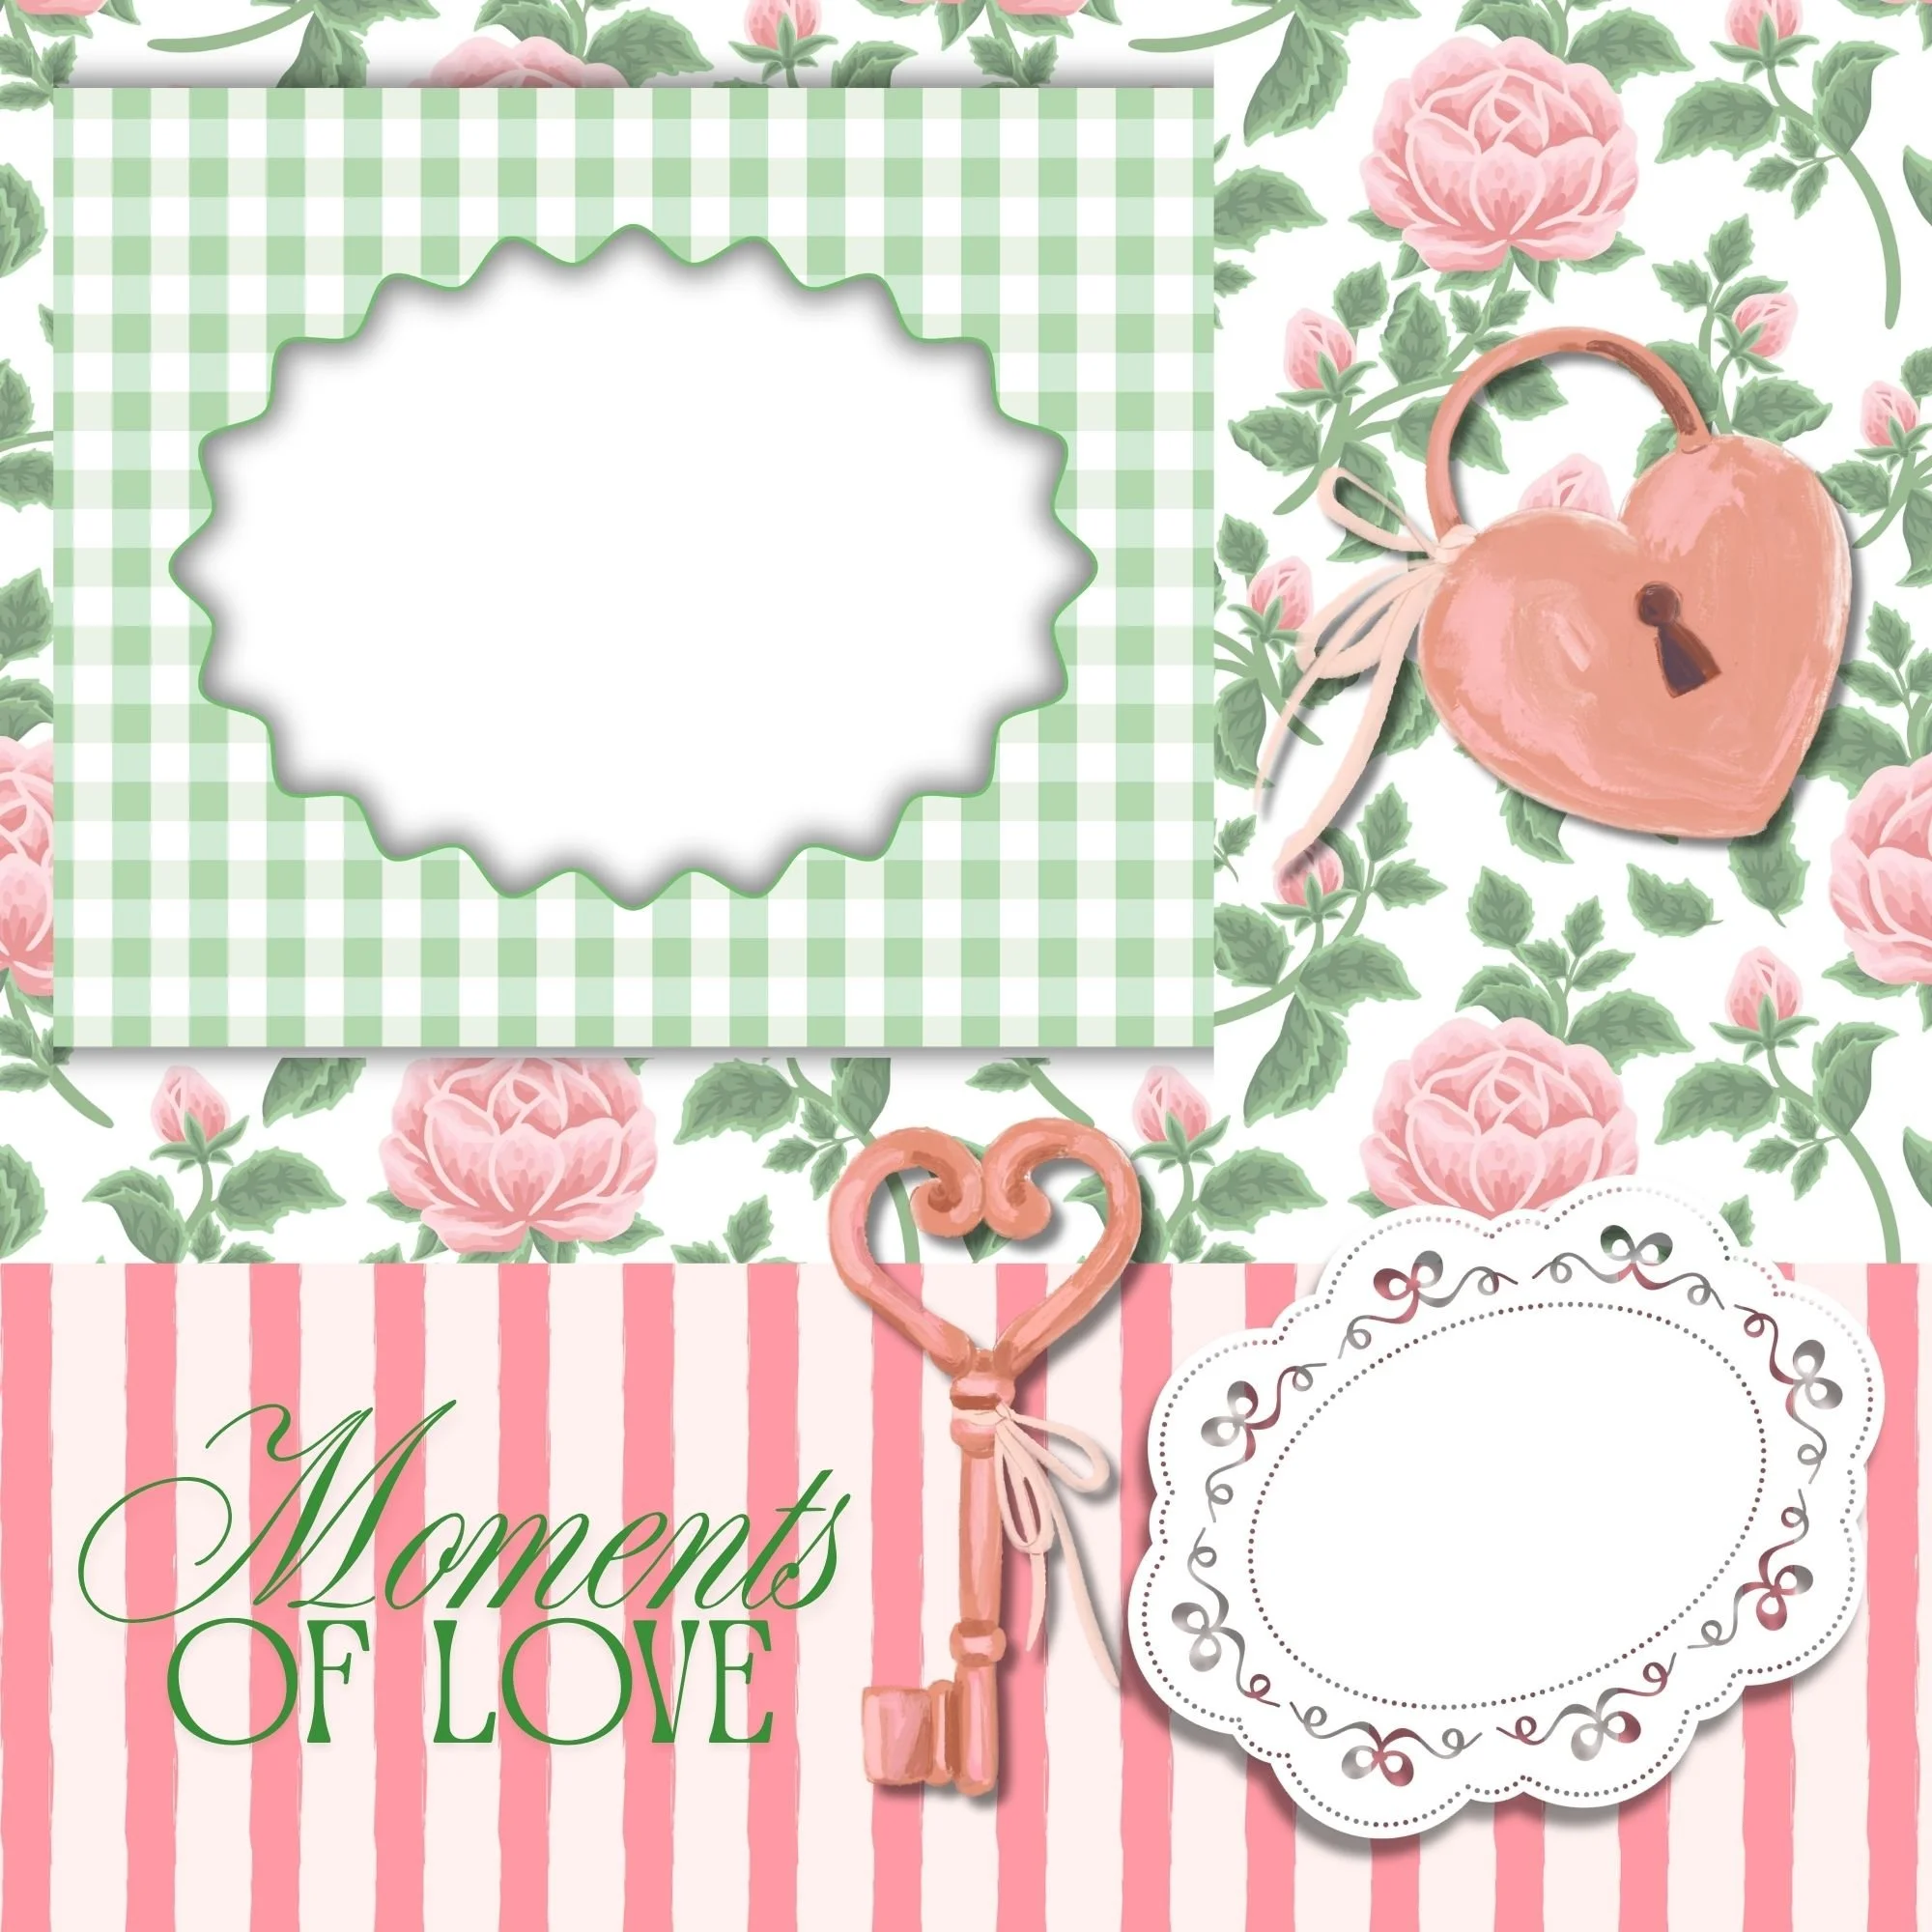
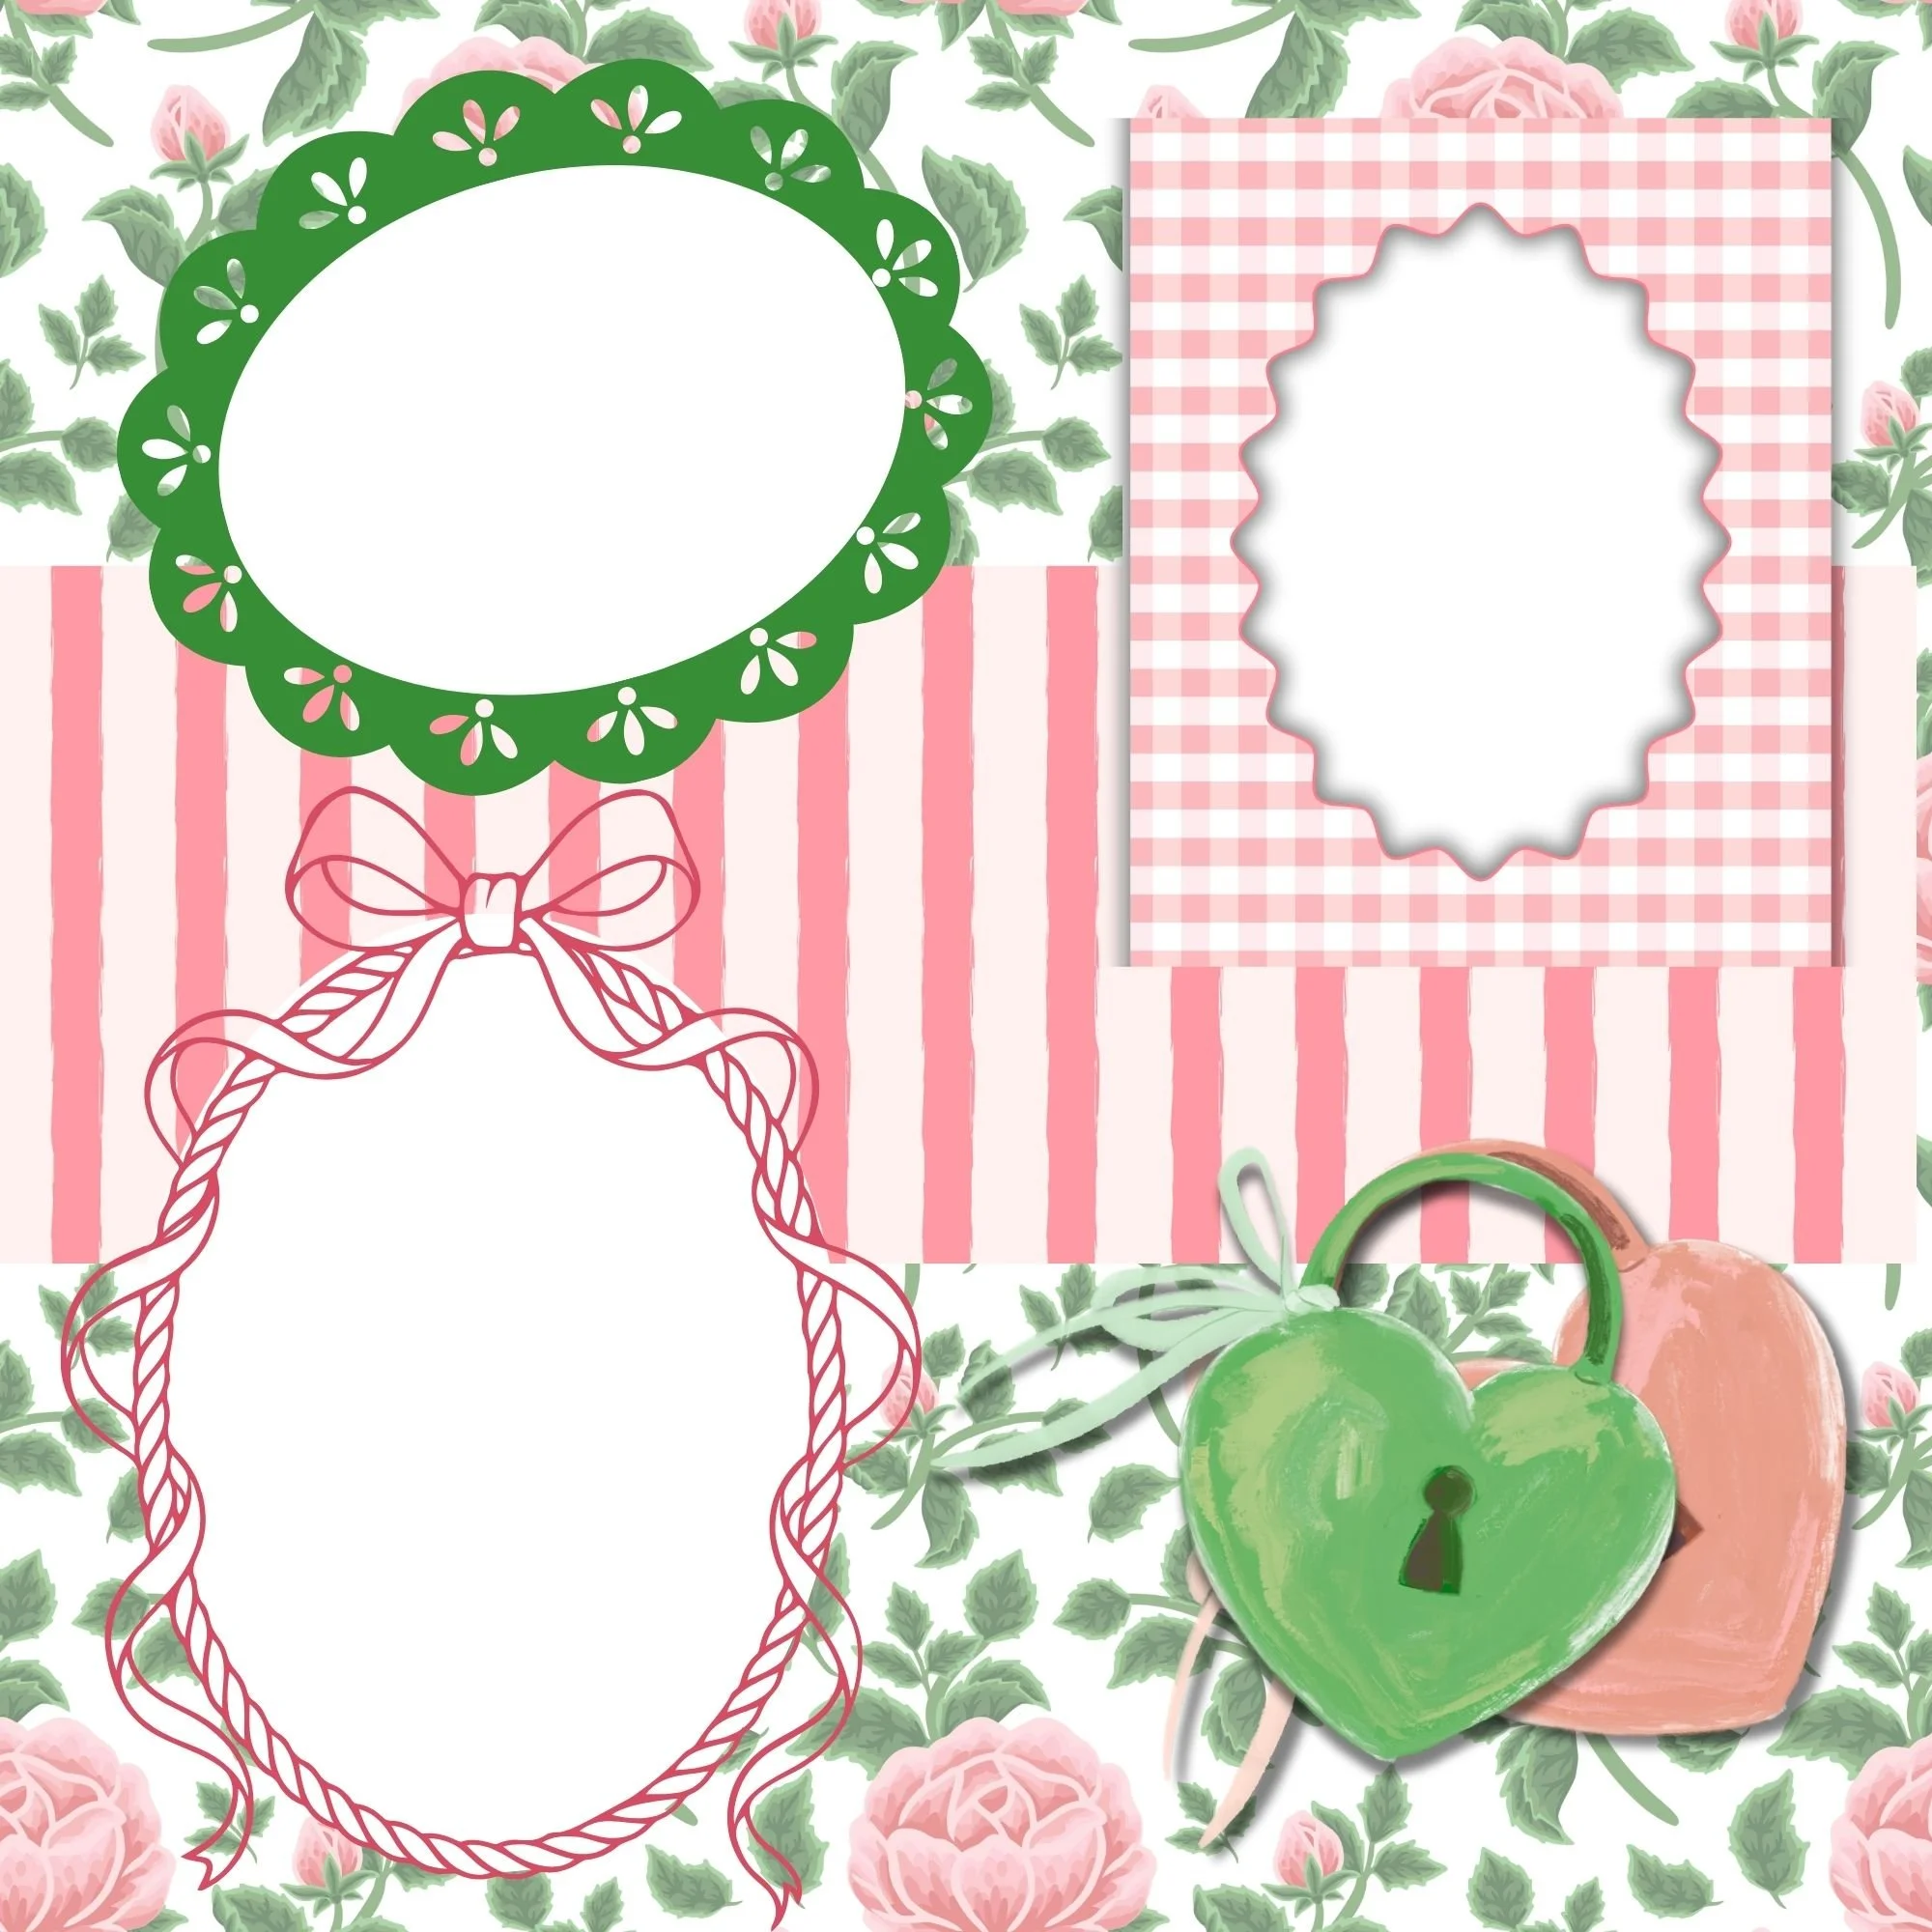
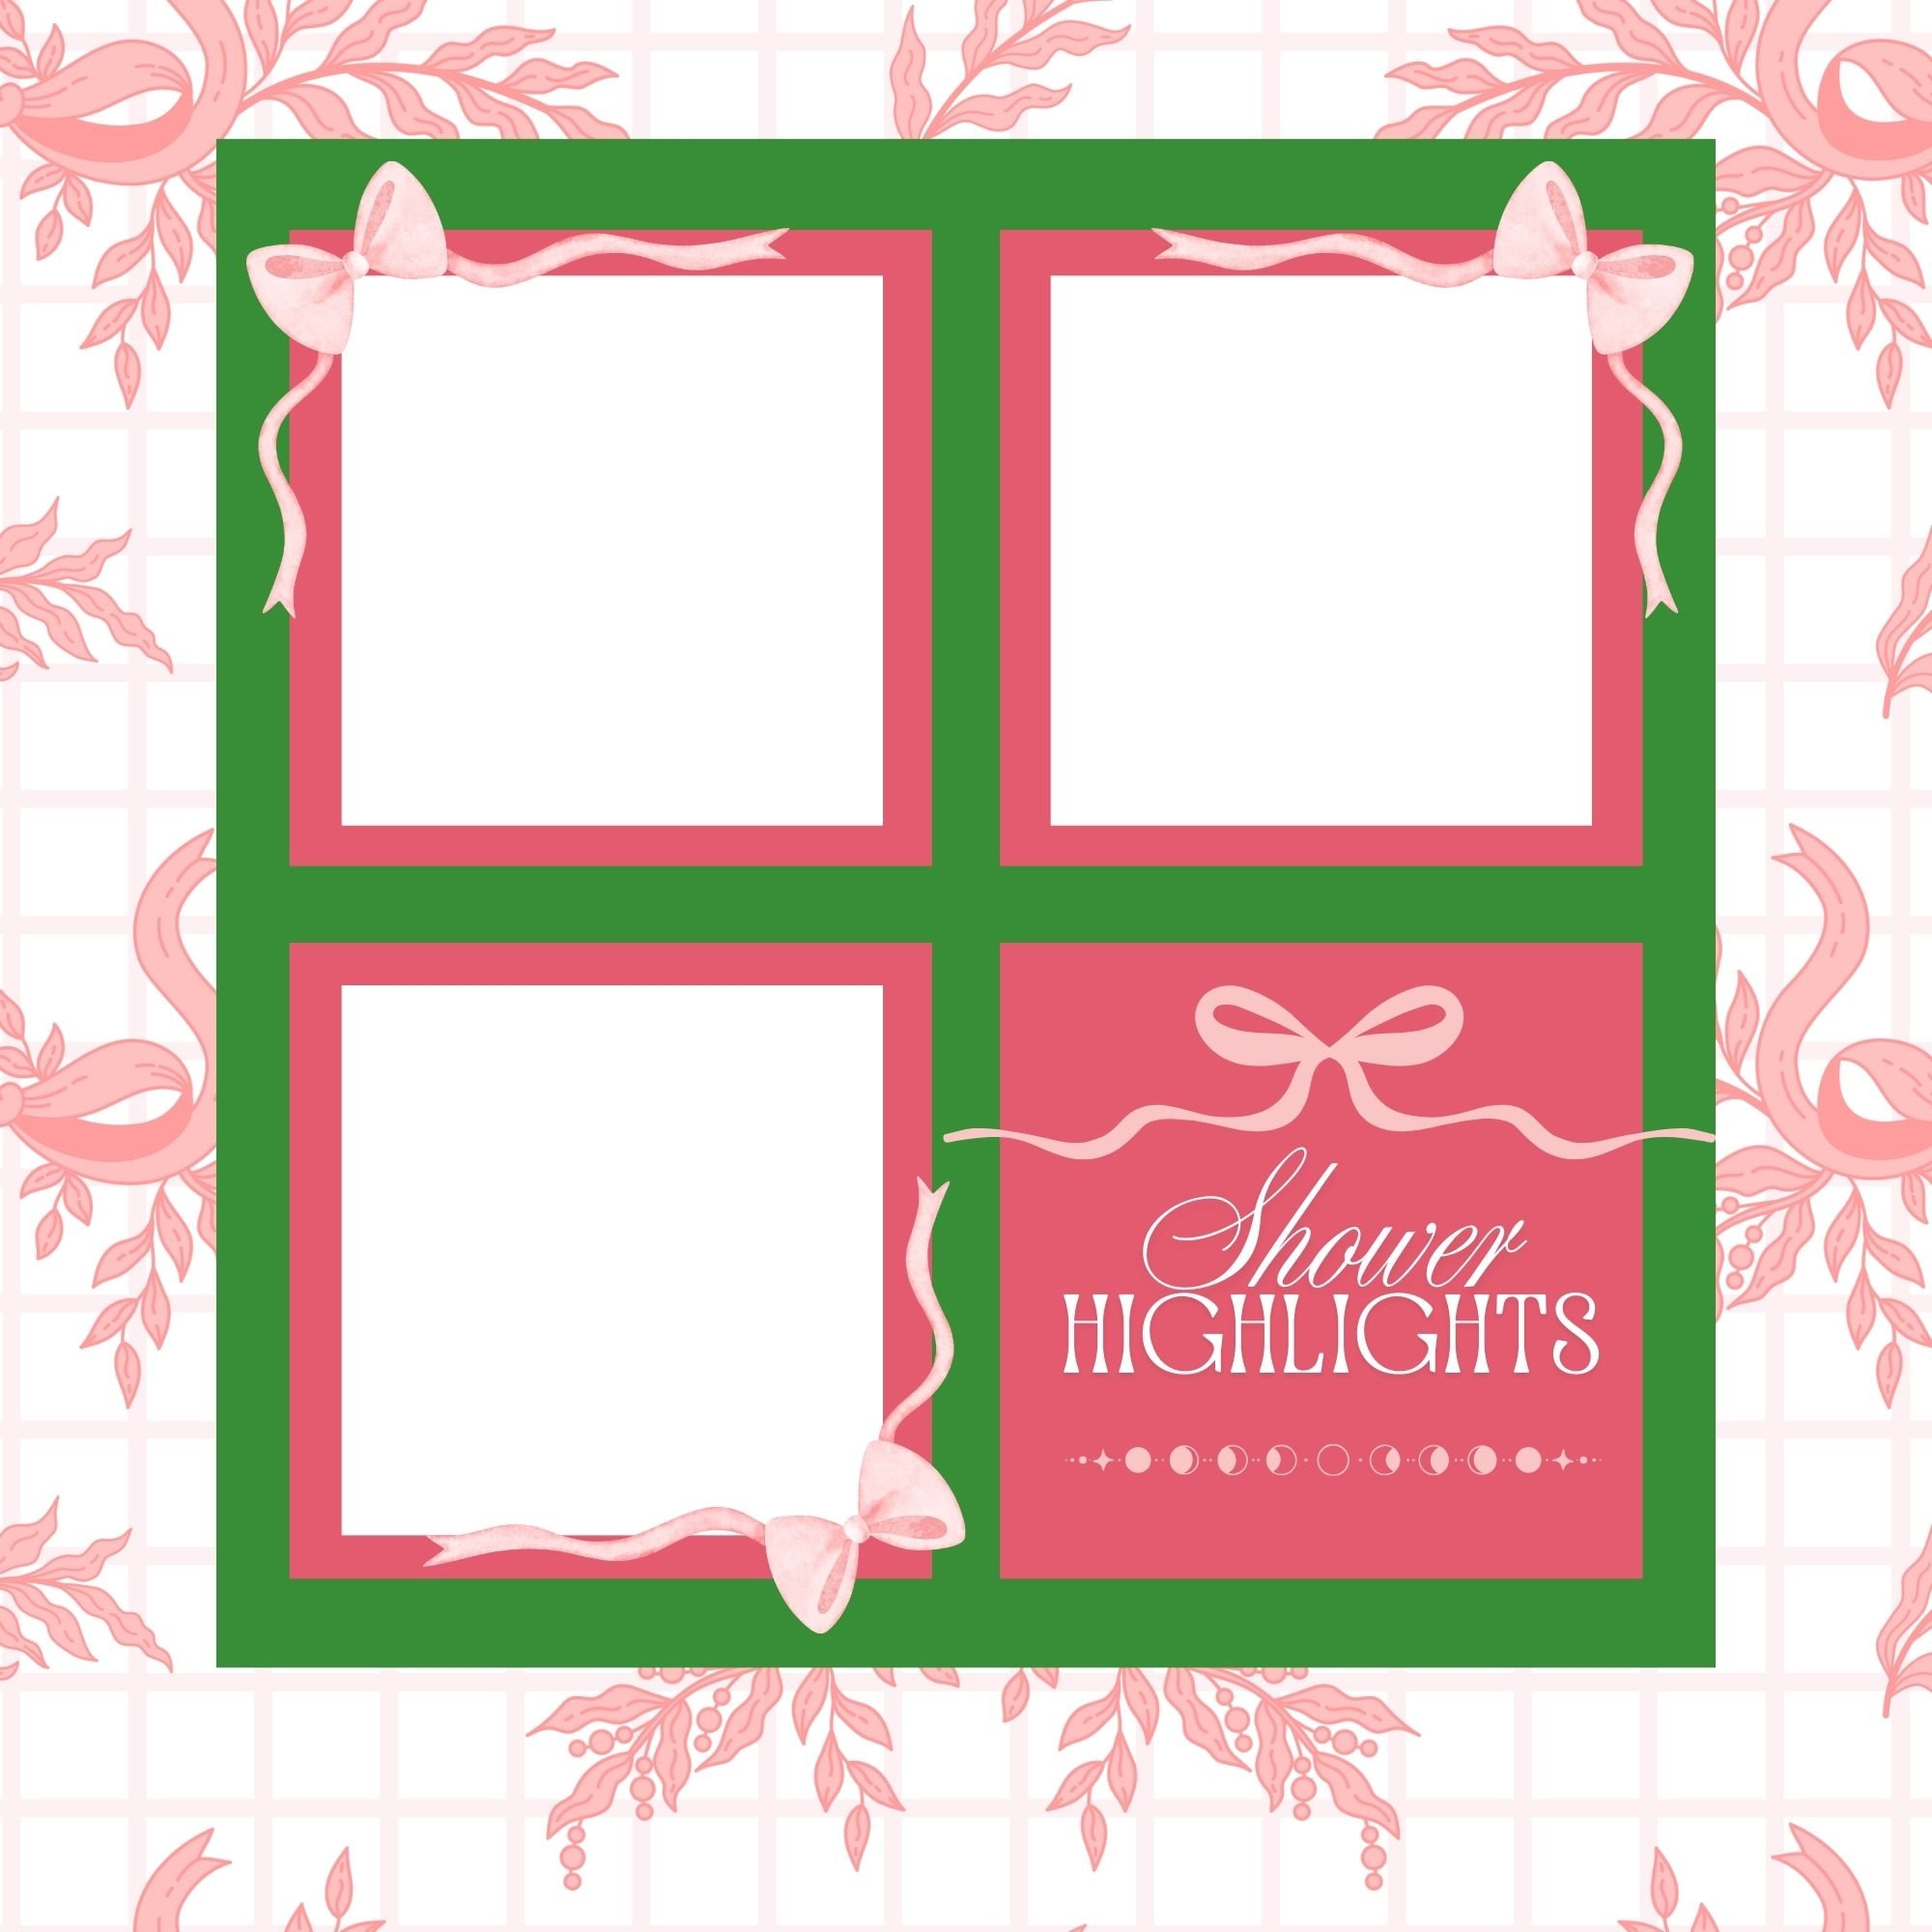
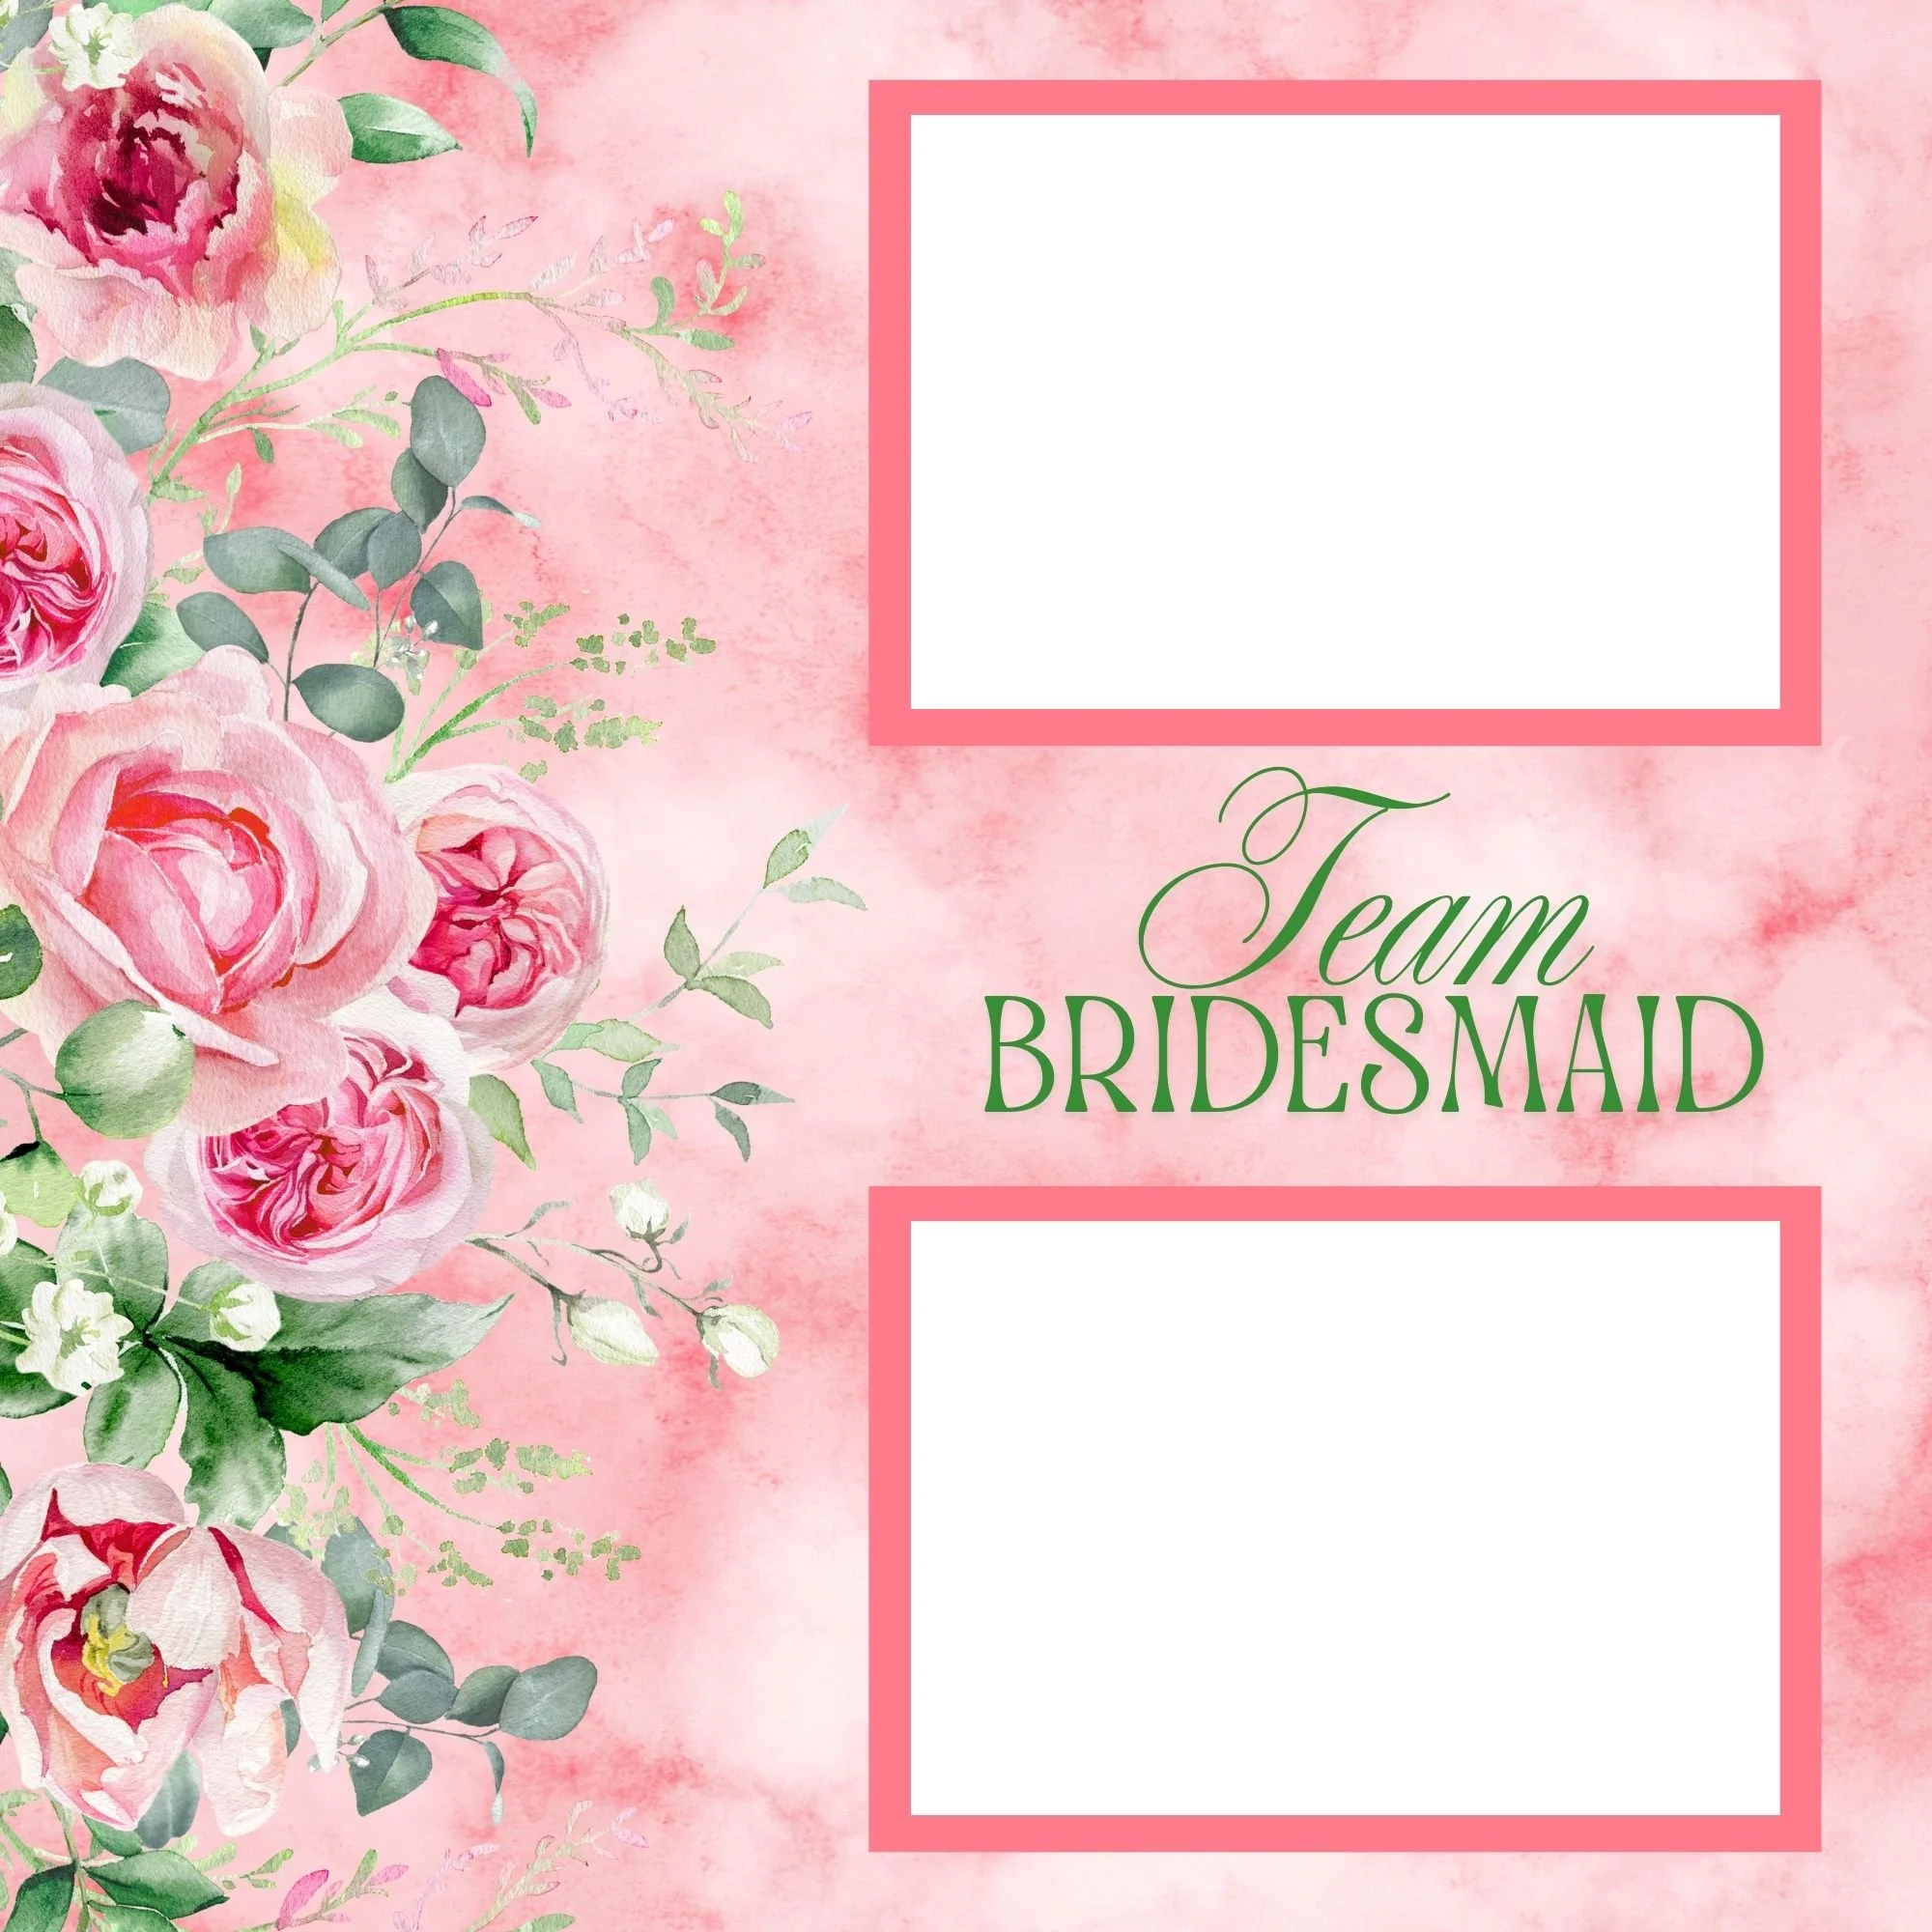
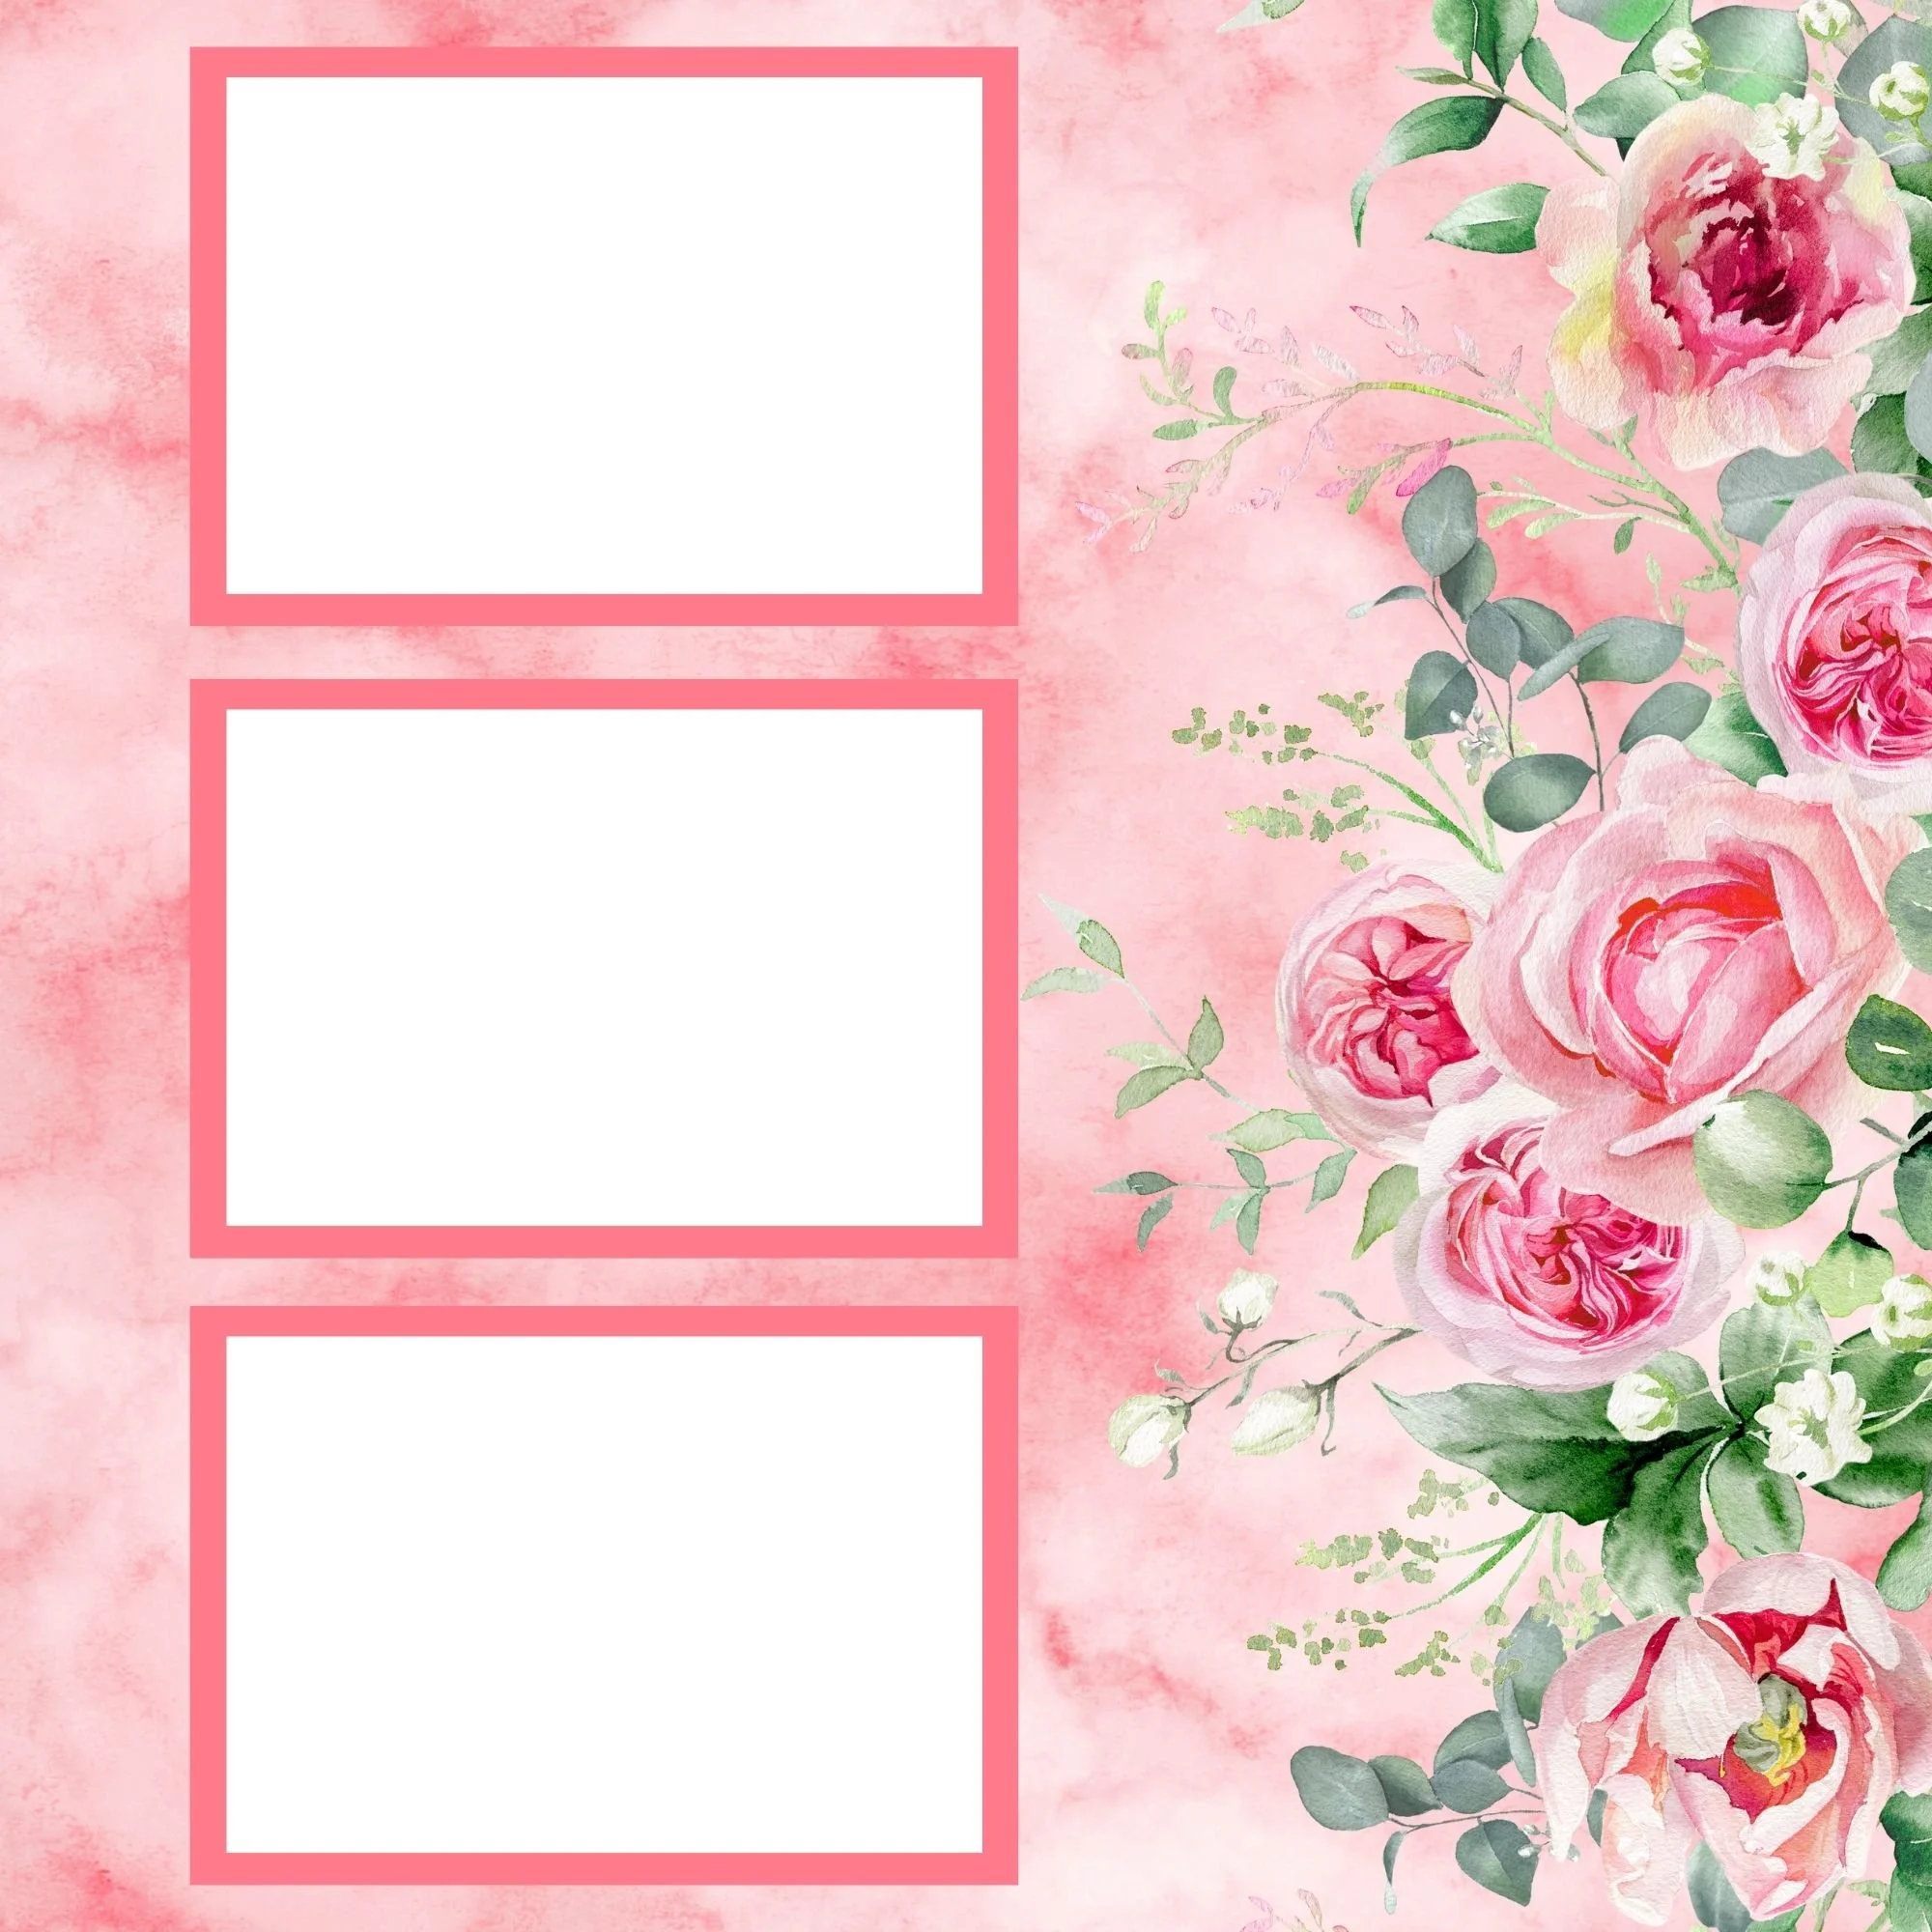
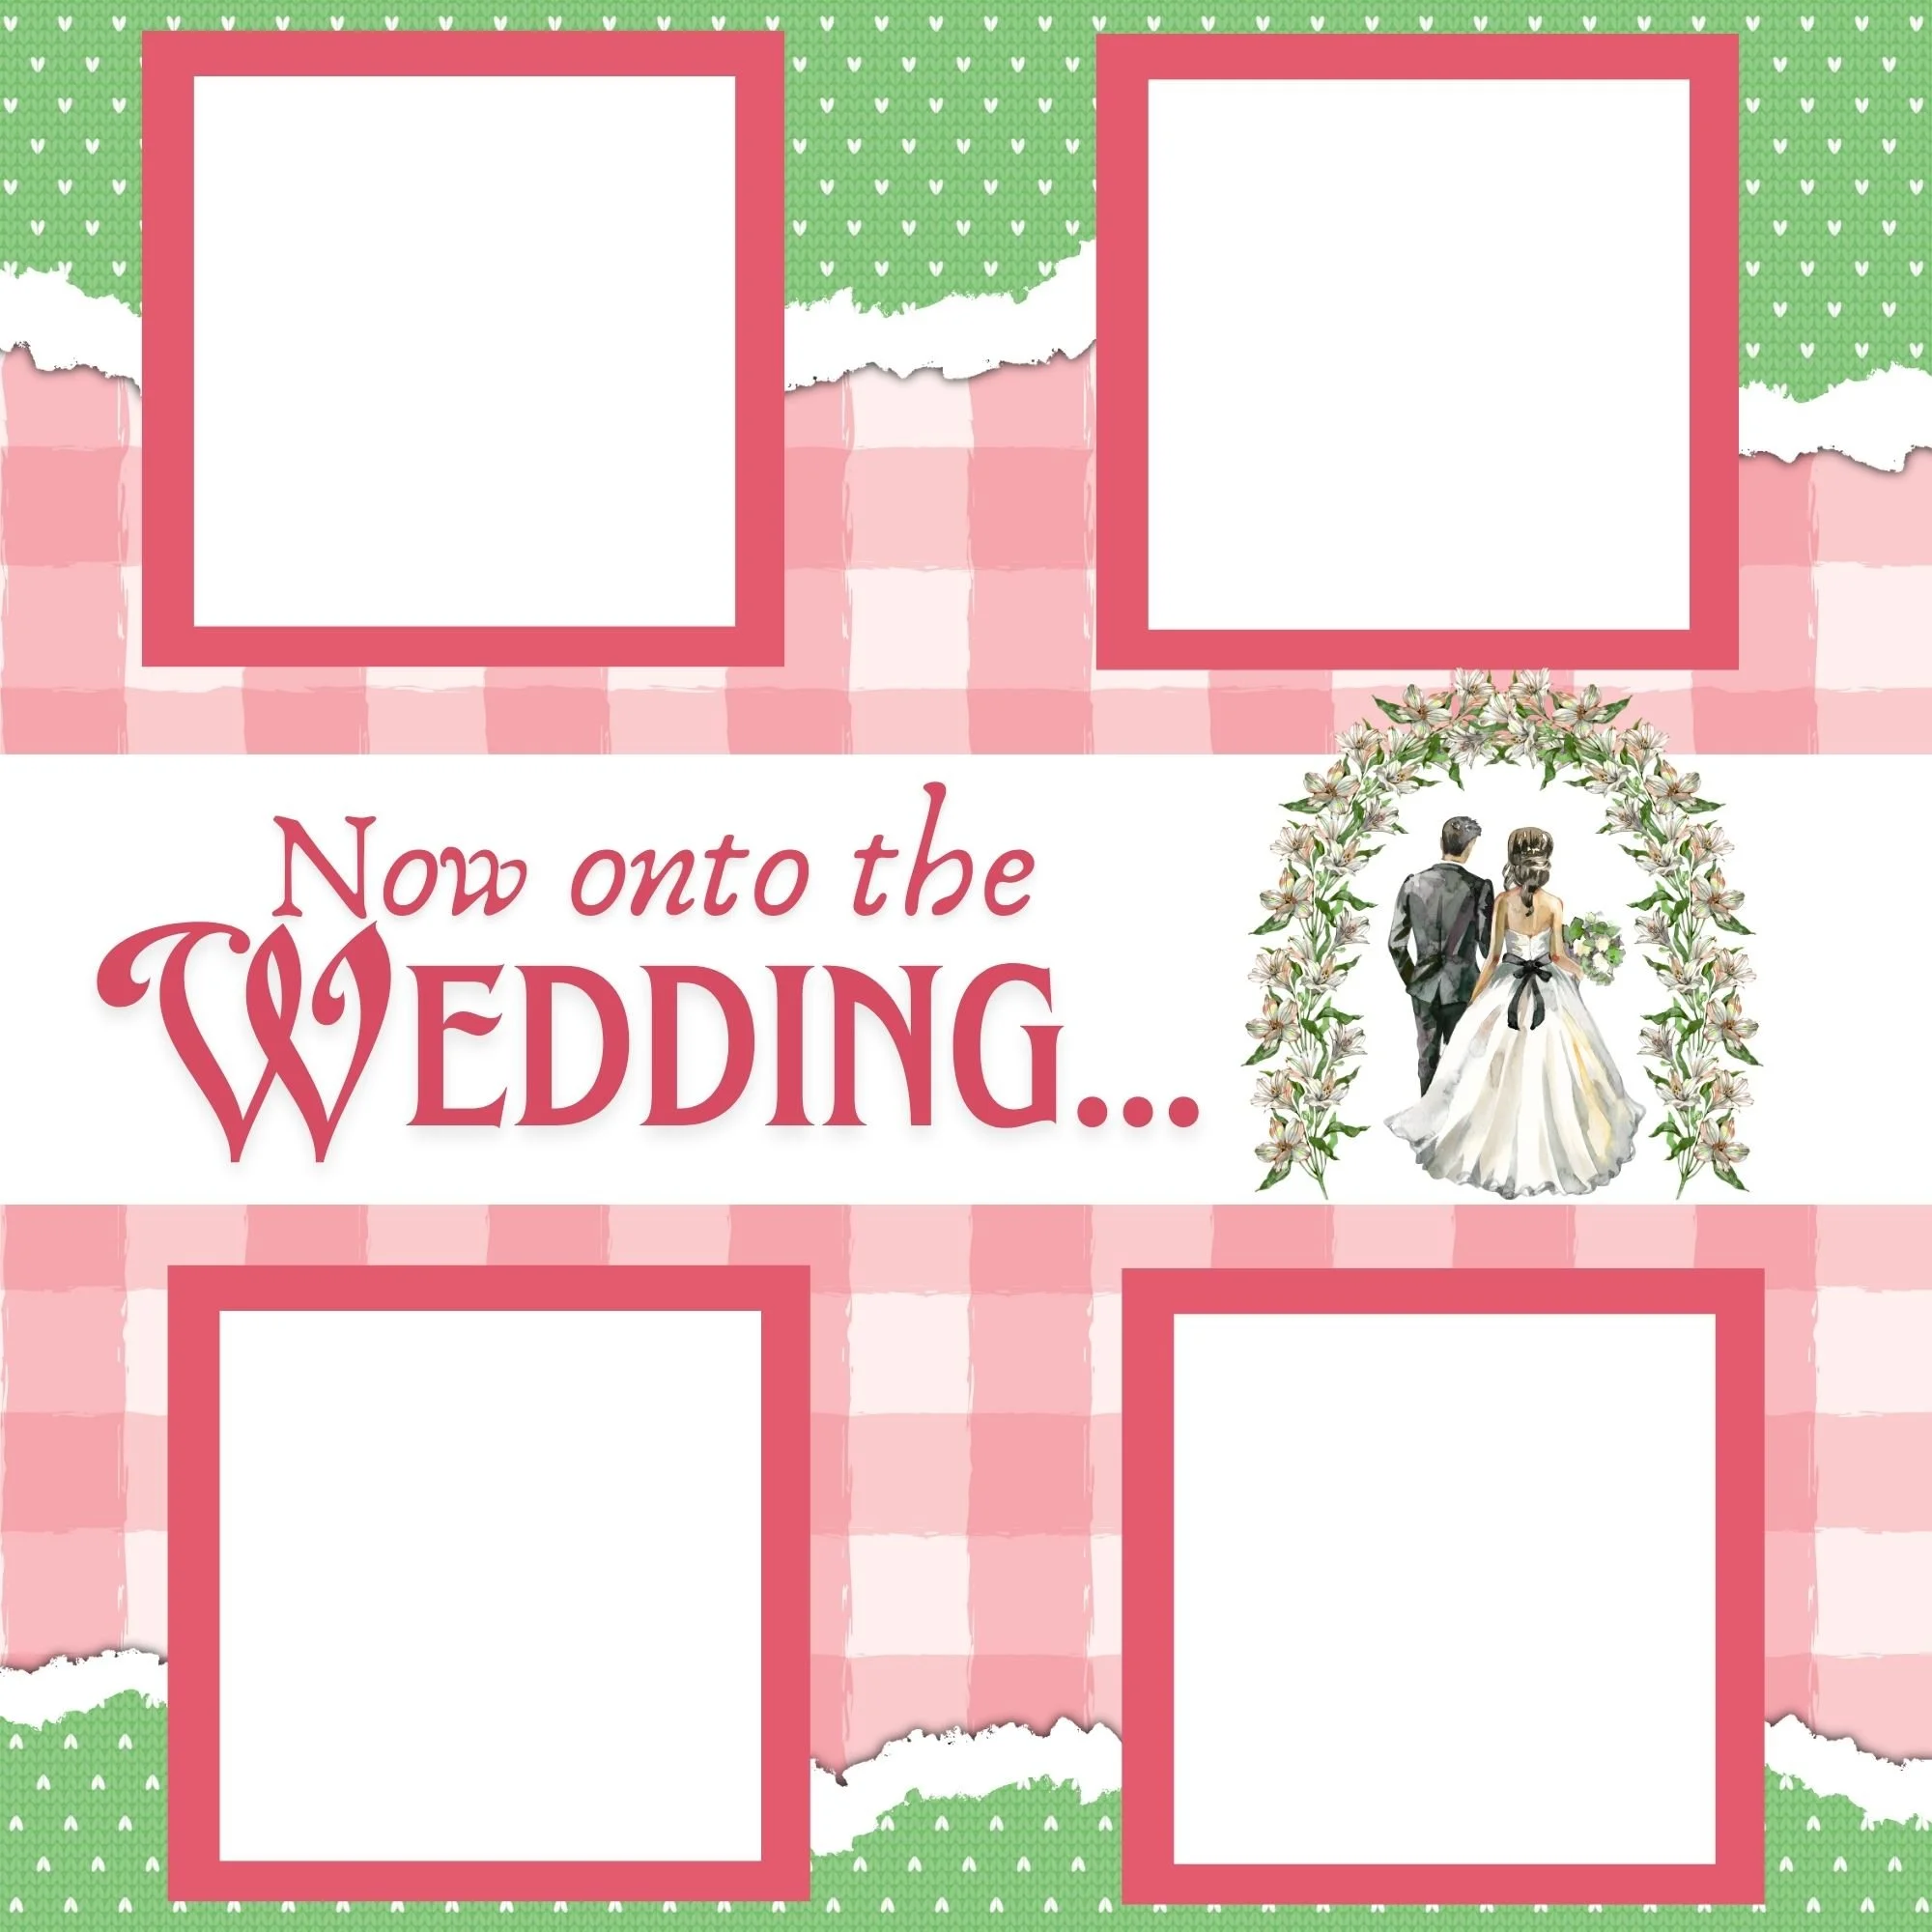
For this project, I’m working with the Bridal Shower Memorette, along with the coordinating Bridal Shower Page Kit and Bridal Shower Paper Pack. This collection is designed to celebrate all the joyful moments of a bridal shower—from popping champagne and opening gifts to sharing cake and laughter with loved ones.
The soft pastel pinks and elegant patterns in the Bridal Shower Memorette create a feminine, celebratory foundation that pairs beautifully with paper punch accents. Punches add that extra layer of love and detail that makes these pages feel intentional and special.


Why Paper Punches Are Worth Using
Paper punches are one of the best investments you can make in your scrapbooking tool collection. Once you purchase them, you can use them forever—across countless themes, albums, and projects.
They add:
Texture and softness
Visual interest and dimension
A handmade, thoughtful touch
Best of all, they’re incredibly beginner-friendly. Even small punched details can instantly elevate a page, making it look more polished and professionally designed. With so many punch styles available, you can use them often without feeling repetitive.
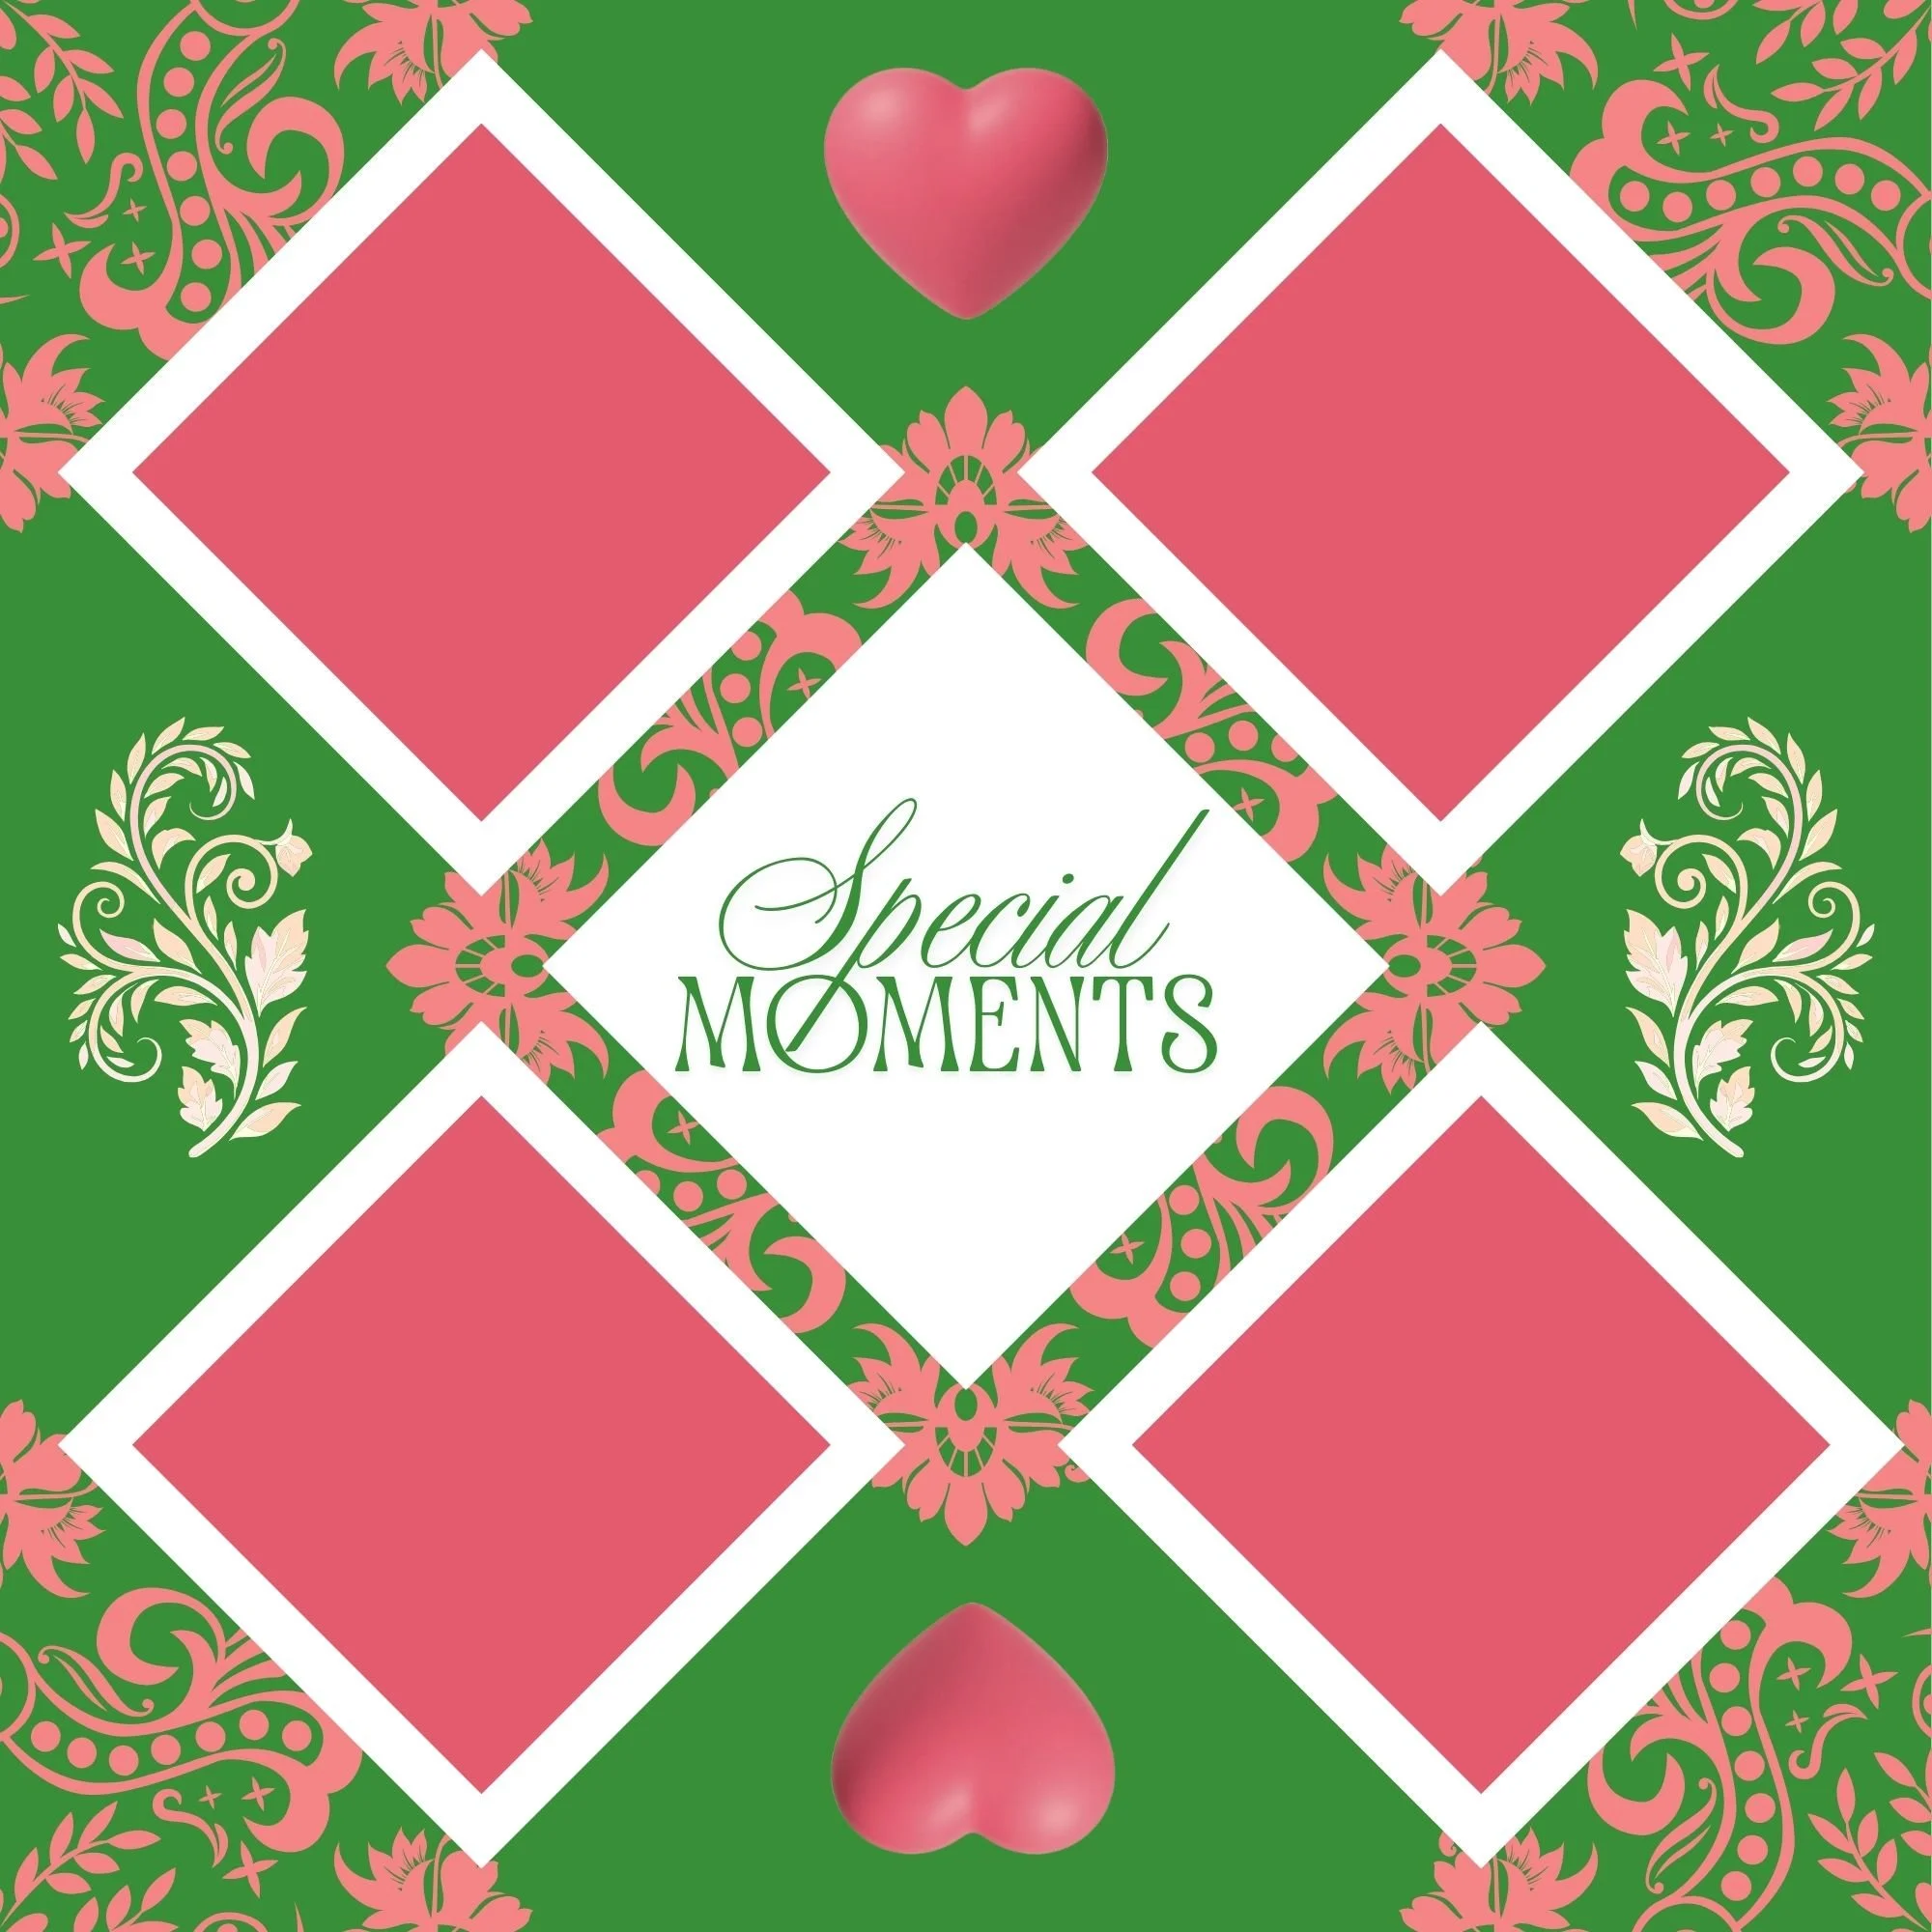
For this bridal shower theme, heart-shaped punches are a perfect match—but the same techniques apply to florals, circles, tags, and more.
Supplies You’ll Need
To get started, gather the following supplies:
Your chosen Memorette (such as the Bridal Shower Memorette)
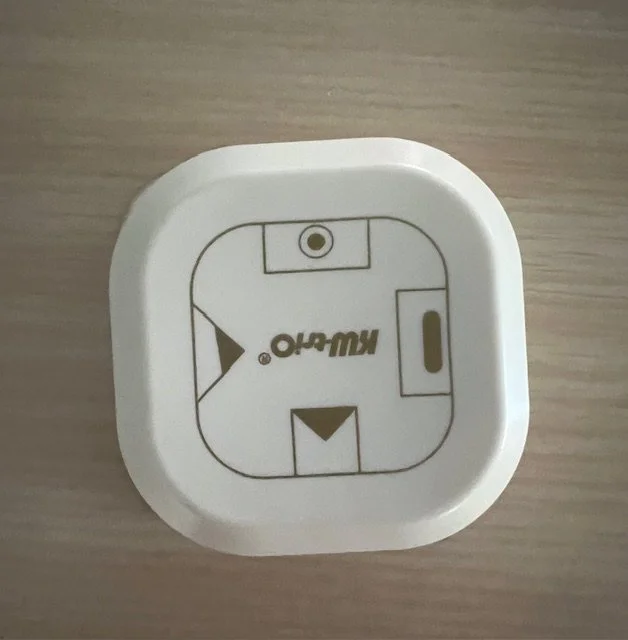
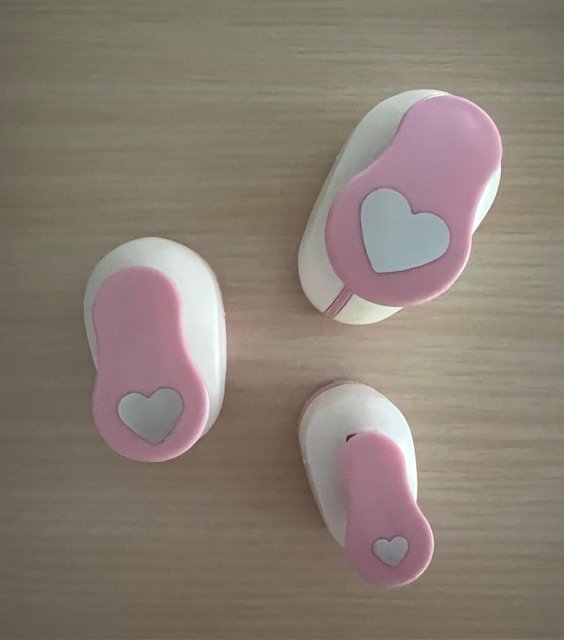
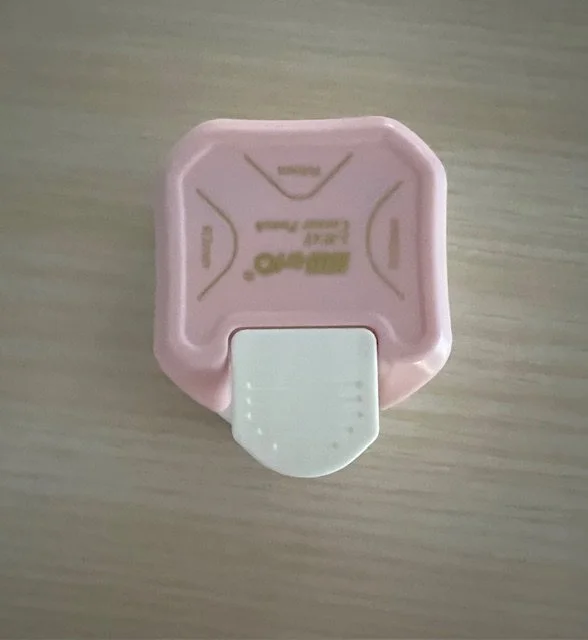
A selection of paper punches
(for this project: heart punches in multiple sizes, a heart border punch, corner rounders, and tag punches, pictured below)Coordinating cardstock from the Bridal Shower Paper Pack
Optional solid cardstock in matching colors
Adhesive (tape runners work especially well)
Scrap paper for testing punches

Using a coordinated paper pack takes the guesswork out of color matching and ensures your punched pieces blend seamlessly into your pages.
How to Use Paper Punches Step by Step
1. Start with a Clear Page Focus
Before punching anything, decide what the main focus of your page is—photos, a title, or a special moment. This helps you determine where punched elements belong, how many to use, and how much open space to leave.
Starting with intention prevents over-decorating and keeps your layout balanced.
2. Plan Before You Punch
Think about how punched shapes will support your design. Will they frame photos, act as subtle accents, or fill empty space? Planning first allows punches to enhance your page instead of overwhelming it.
3. Choose the Right Punch
Match punch shapes to the mood of your layout. Hearts and florals work beautifully for sentimental or celebratory themes like bridal showers, while circles, labels, or tags are great for more structured designs.
Limit yourself to one or two punch styles per page to keep things cohesive.
4. Use Punches with Purpose
Punched shapes can frame photos, create small accent clusters, or balance visual weight on the page. Layering punched pieces behind or beside photos adds depth without bulk and can often replace larger embellishments.
5. Repeat for a Polished Look
Repetition is key to professional-looking pages. Repeating the same punch shape across multiple pages—or in similar areas on each layout—creates flow and cohesion throughout your scrapbook or Memorette.
6. Test Placement Before Gluing
Always lay everything out before adhering. Check for balance, white space, and overall flow. If something feels too busy, remove one element—less really is more.
7. Assemble in the Right Order
For clean, polished results, assemble your page in this order:
Background papers
Photos and photo mats
Titles or focal elements
Punched accents
This layering method keeps everything aligned and visually balanced.
Common Paper Punch Mistakes to Avoid
Using too many punch shapes on one page
Mixing too many different punch styles
Placing punches without a clear purpose
Letting punches compete with photos or titles
Intentional placement always looks better than excess decoration.
Final Thoughts: Simple Tools, Big Impact
Paper punches are a simple, affordable way to add personality, texture, and visual interest to your scrapbook pages—without overwhelming your design. Start small. Use one punch. Place it intentionally. Repeat it thoughtfully.
Over time, punches will become one of your most versatile and reliable design tools.
Ready to Try It Yourself?
For your next page, try adding just one punch style and notice how it transforms your layout.
👉 Be sure to download the FREE Paper Punch Quick Reference Guide for written tips and ideas.
👉 Watch my YouTube videos for step-by-step visual tutorials.
👉 Explore my favorite tools to build your scrapbooking toolkit.
👉 Check out the coordinated collections below to make creating easy and stress-free.
Bridal Shower Memorette

And check out our super fun Make & Mingle kits at the links below!
Want more tips, tutorials, and new releases?
Sign up for my newsletter to stay inspired and up to date with the latest scrapbooking ideas and resources.
Happy creating—and I’ll see you in the next one!