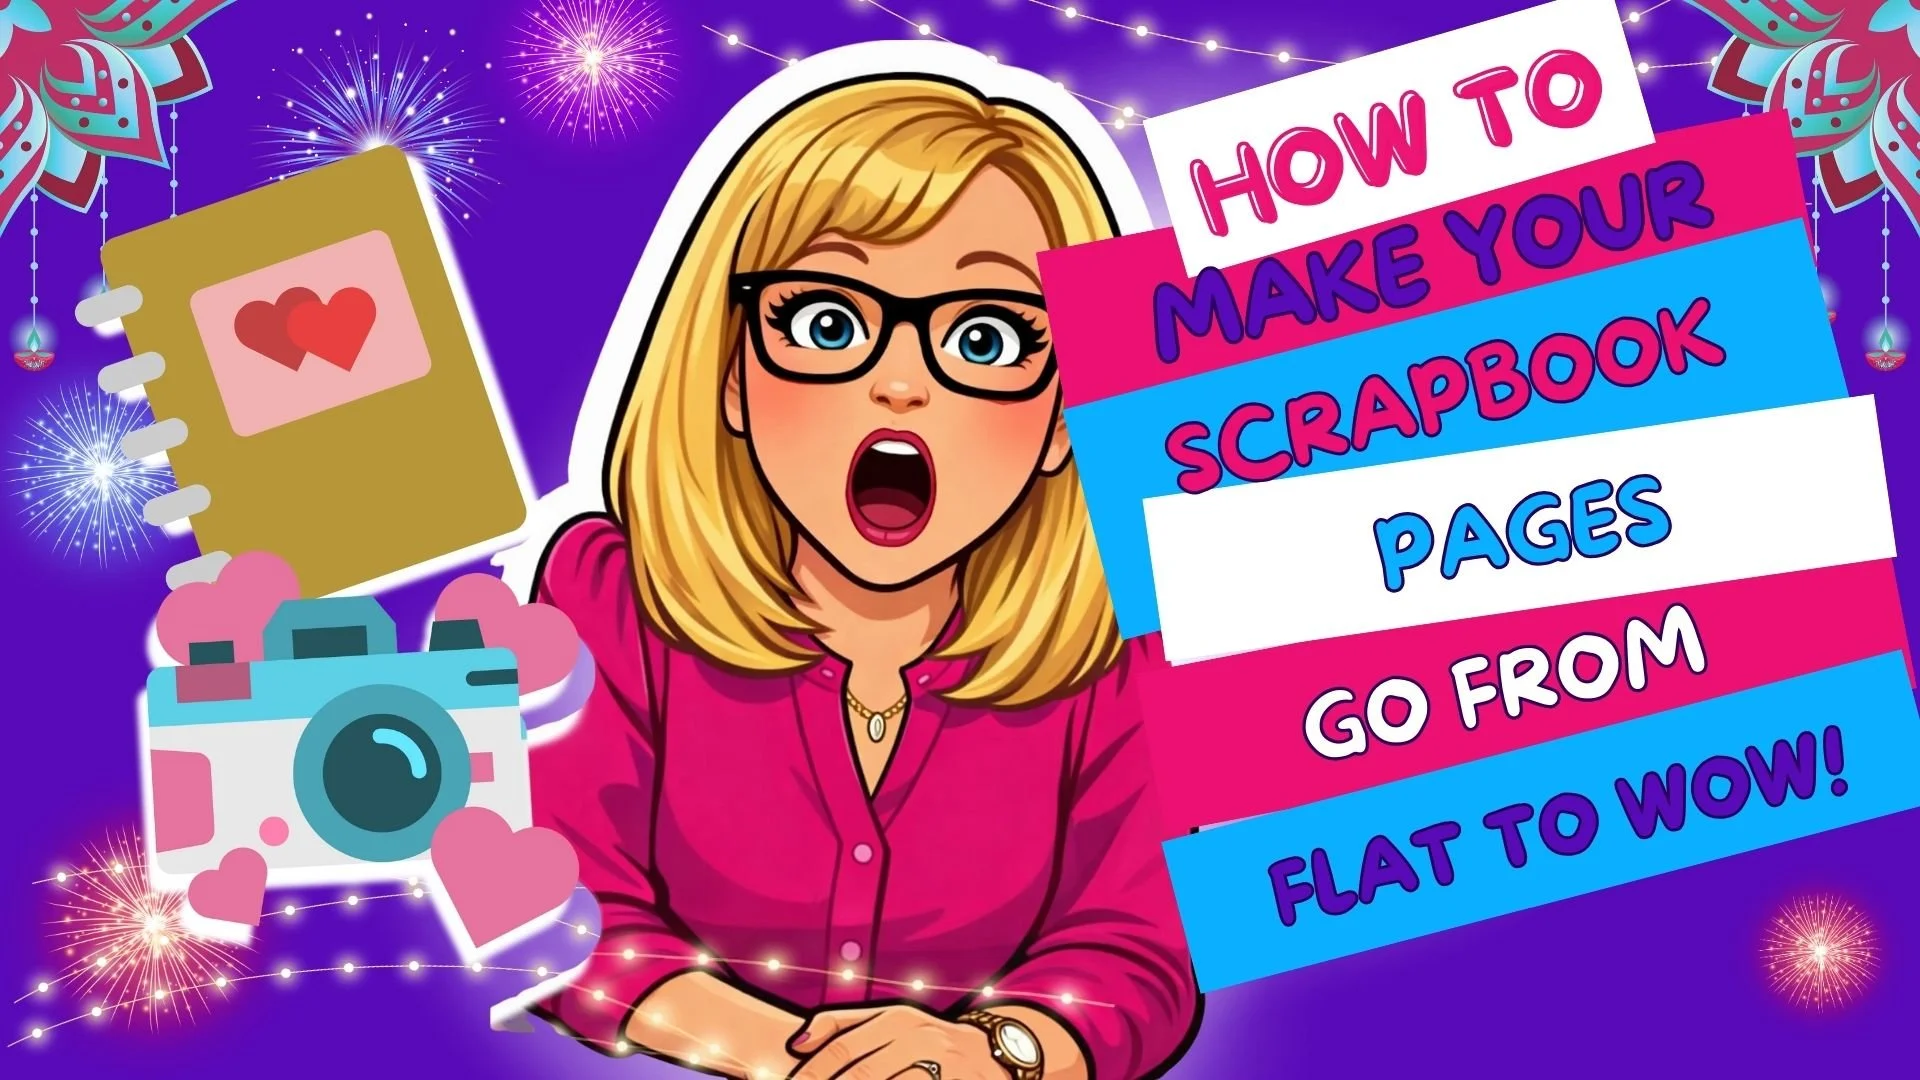
How to Layer Paper in a Scrapbook (So Your Pages Go From Flat to WOW)
Have you ever looked at a scrapbook page and thought, Why does this feel unfinished?
More often than not, the answer is simple: it needs paper layering.
Layering paper is one of the most important scrapbooking techniques you can learn. It adds depth, movement, and visual interest—and it’s what gives pages that polished, professional look. The best part? You don’t need to be an expert (or even crafty) to do it well.
In this post, I’ll walk you through how to layer paper step by step, using one of my favorite seasonal collections: the Easter Memorette.

Why Paper Layering Matters
Paper layering does more than make a page look pretty. It helps:
Guide the eye across the page
Create balance and contrast
Make photos stand out
Turn simple layouts into meaningful keepsakes
Without layers, scrapbook pages often feel flat. With layers, they feel intentional—and finished.
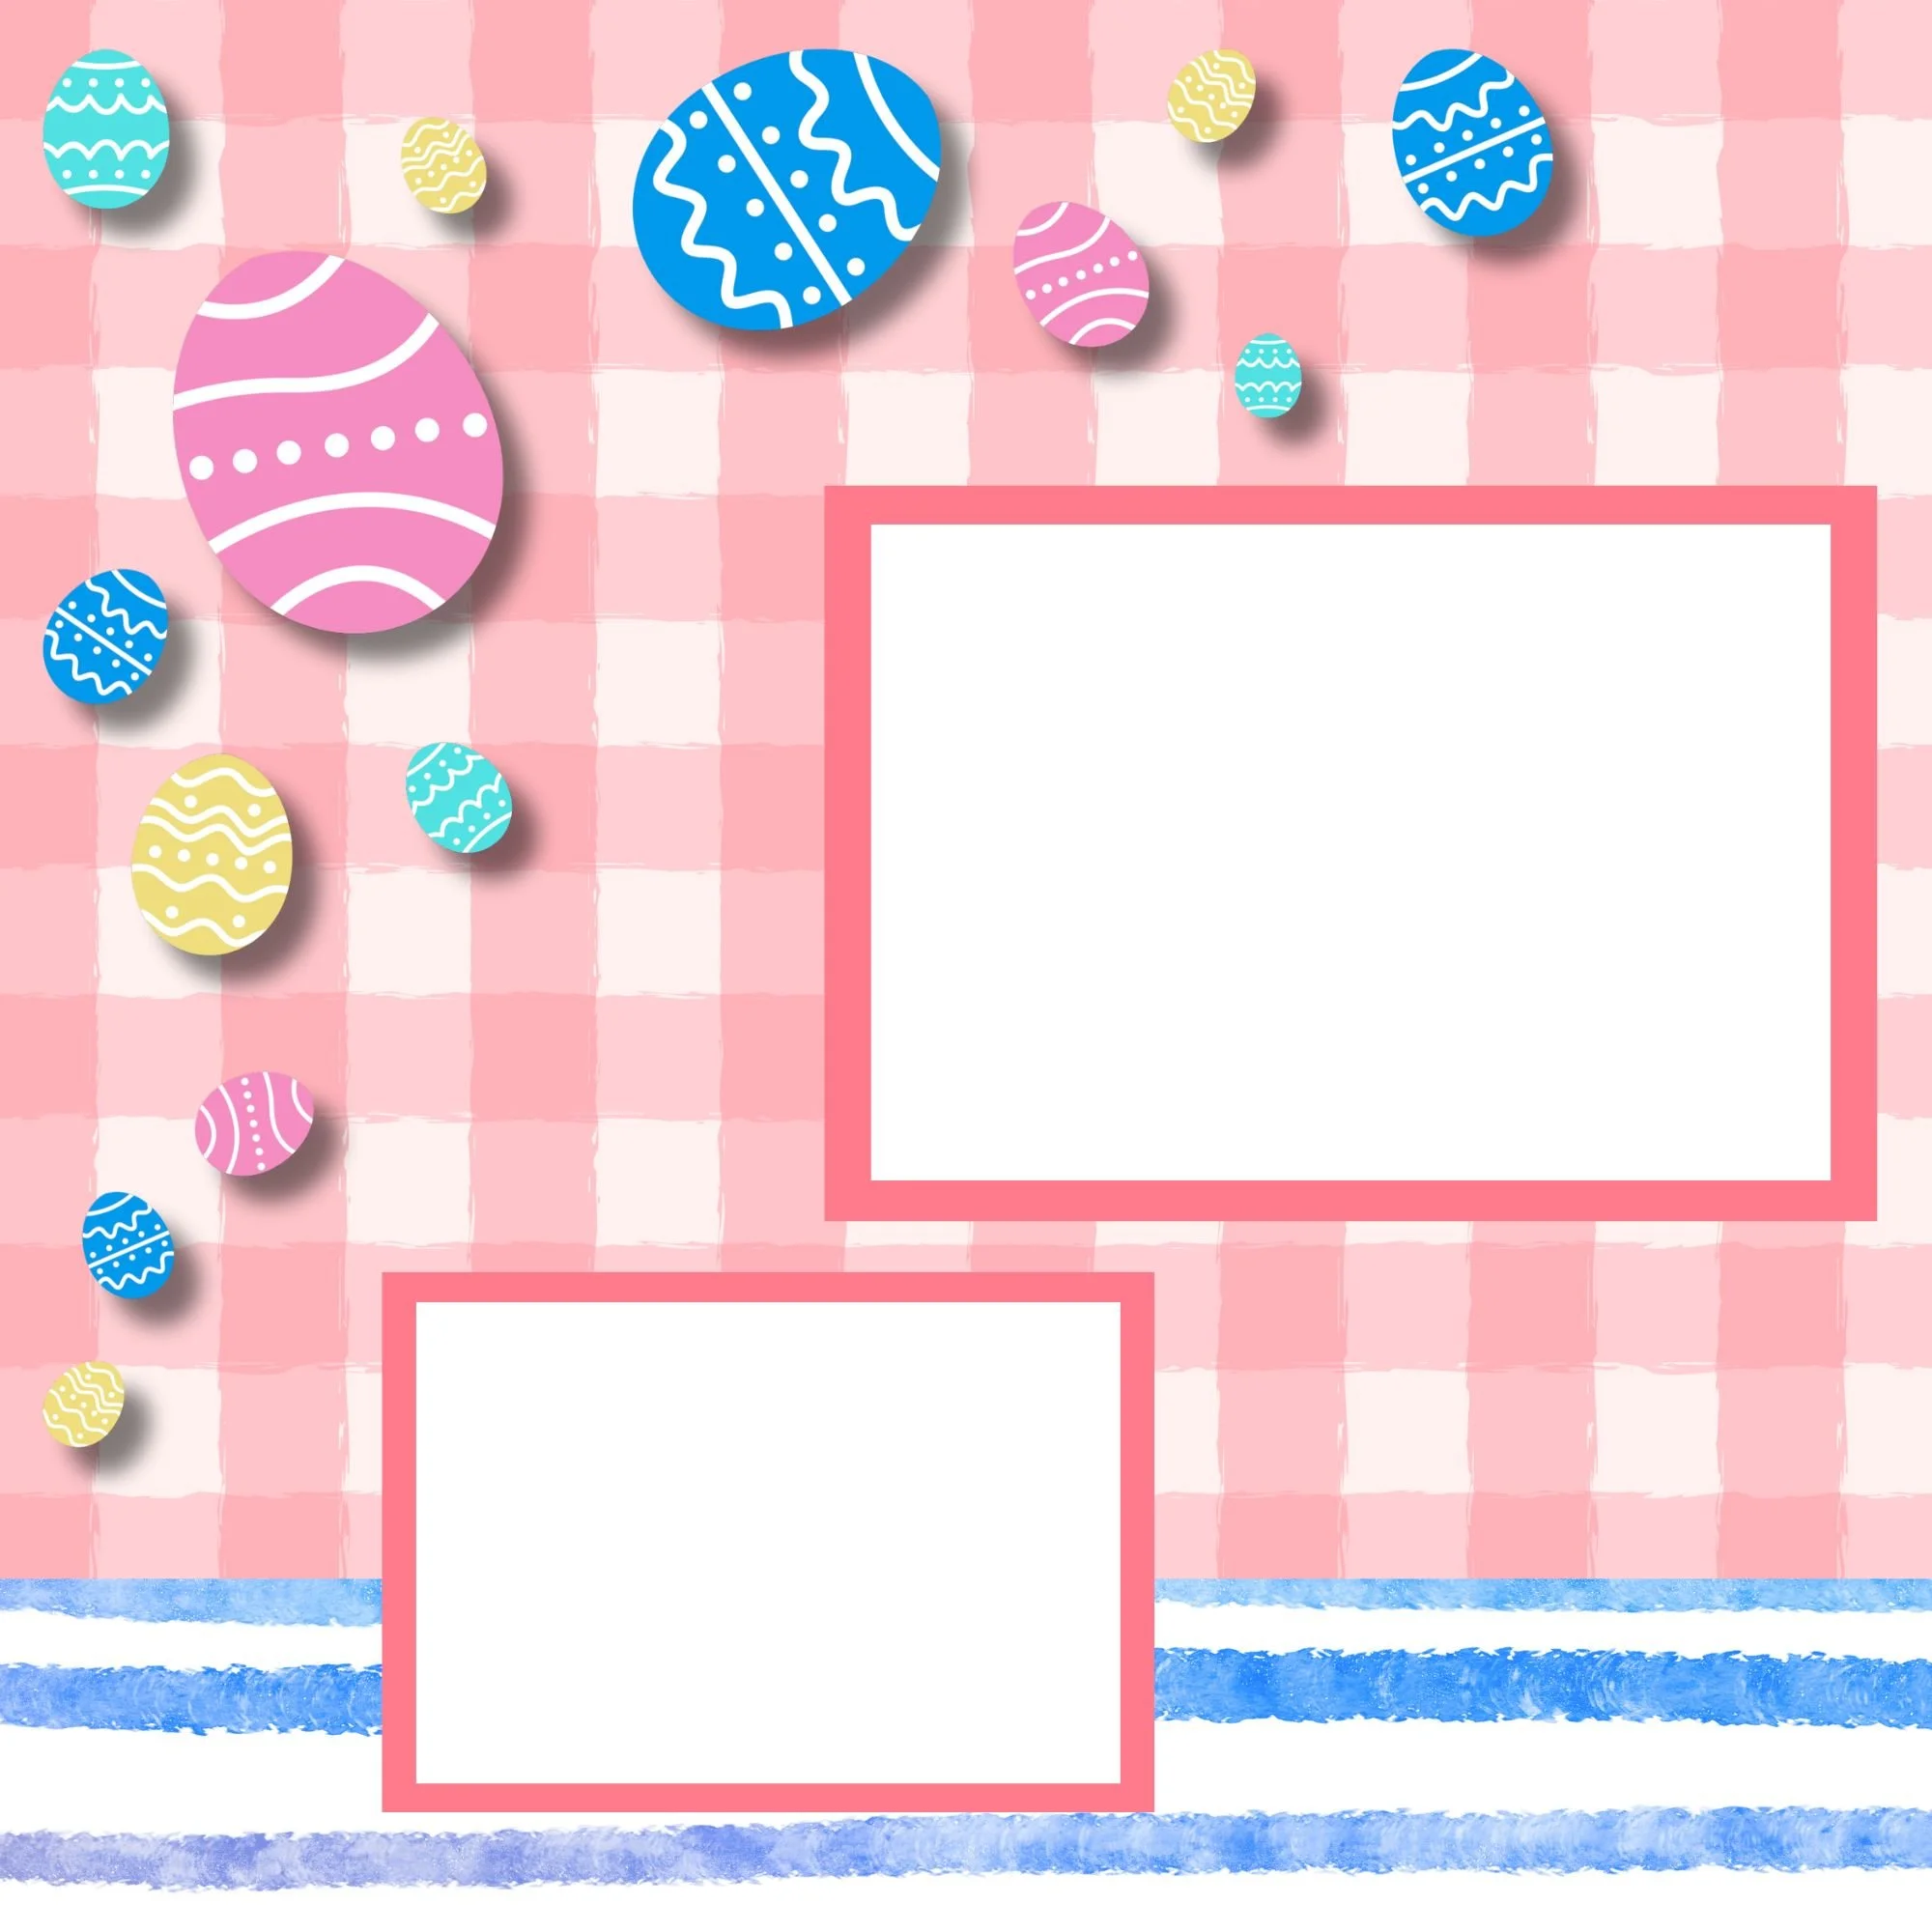
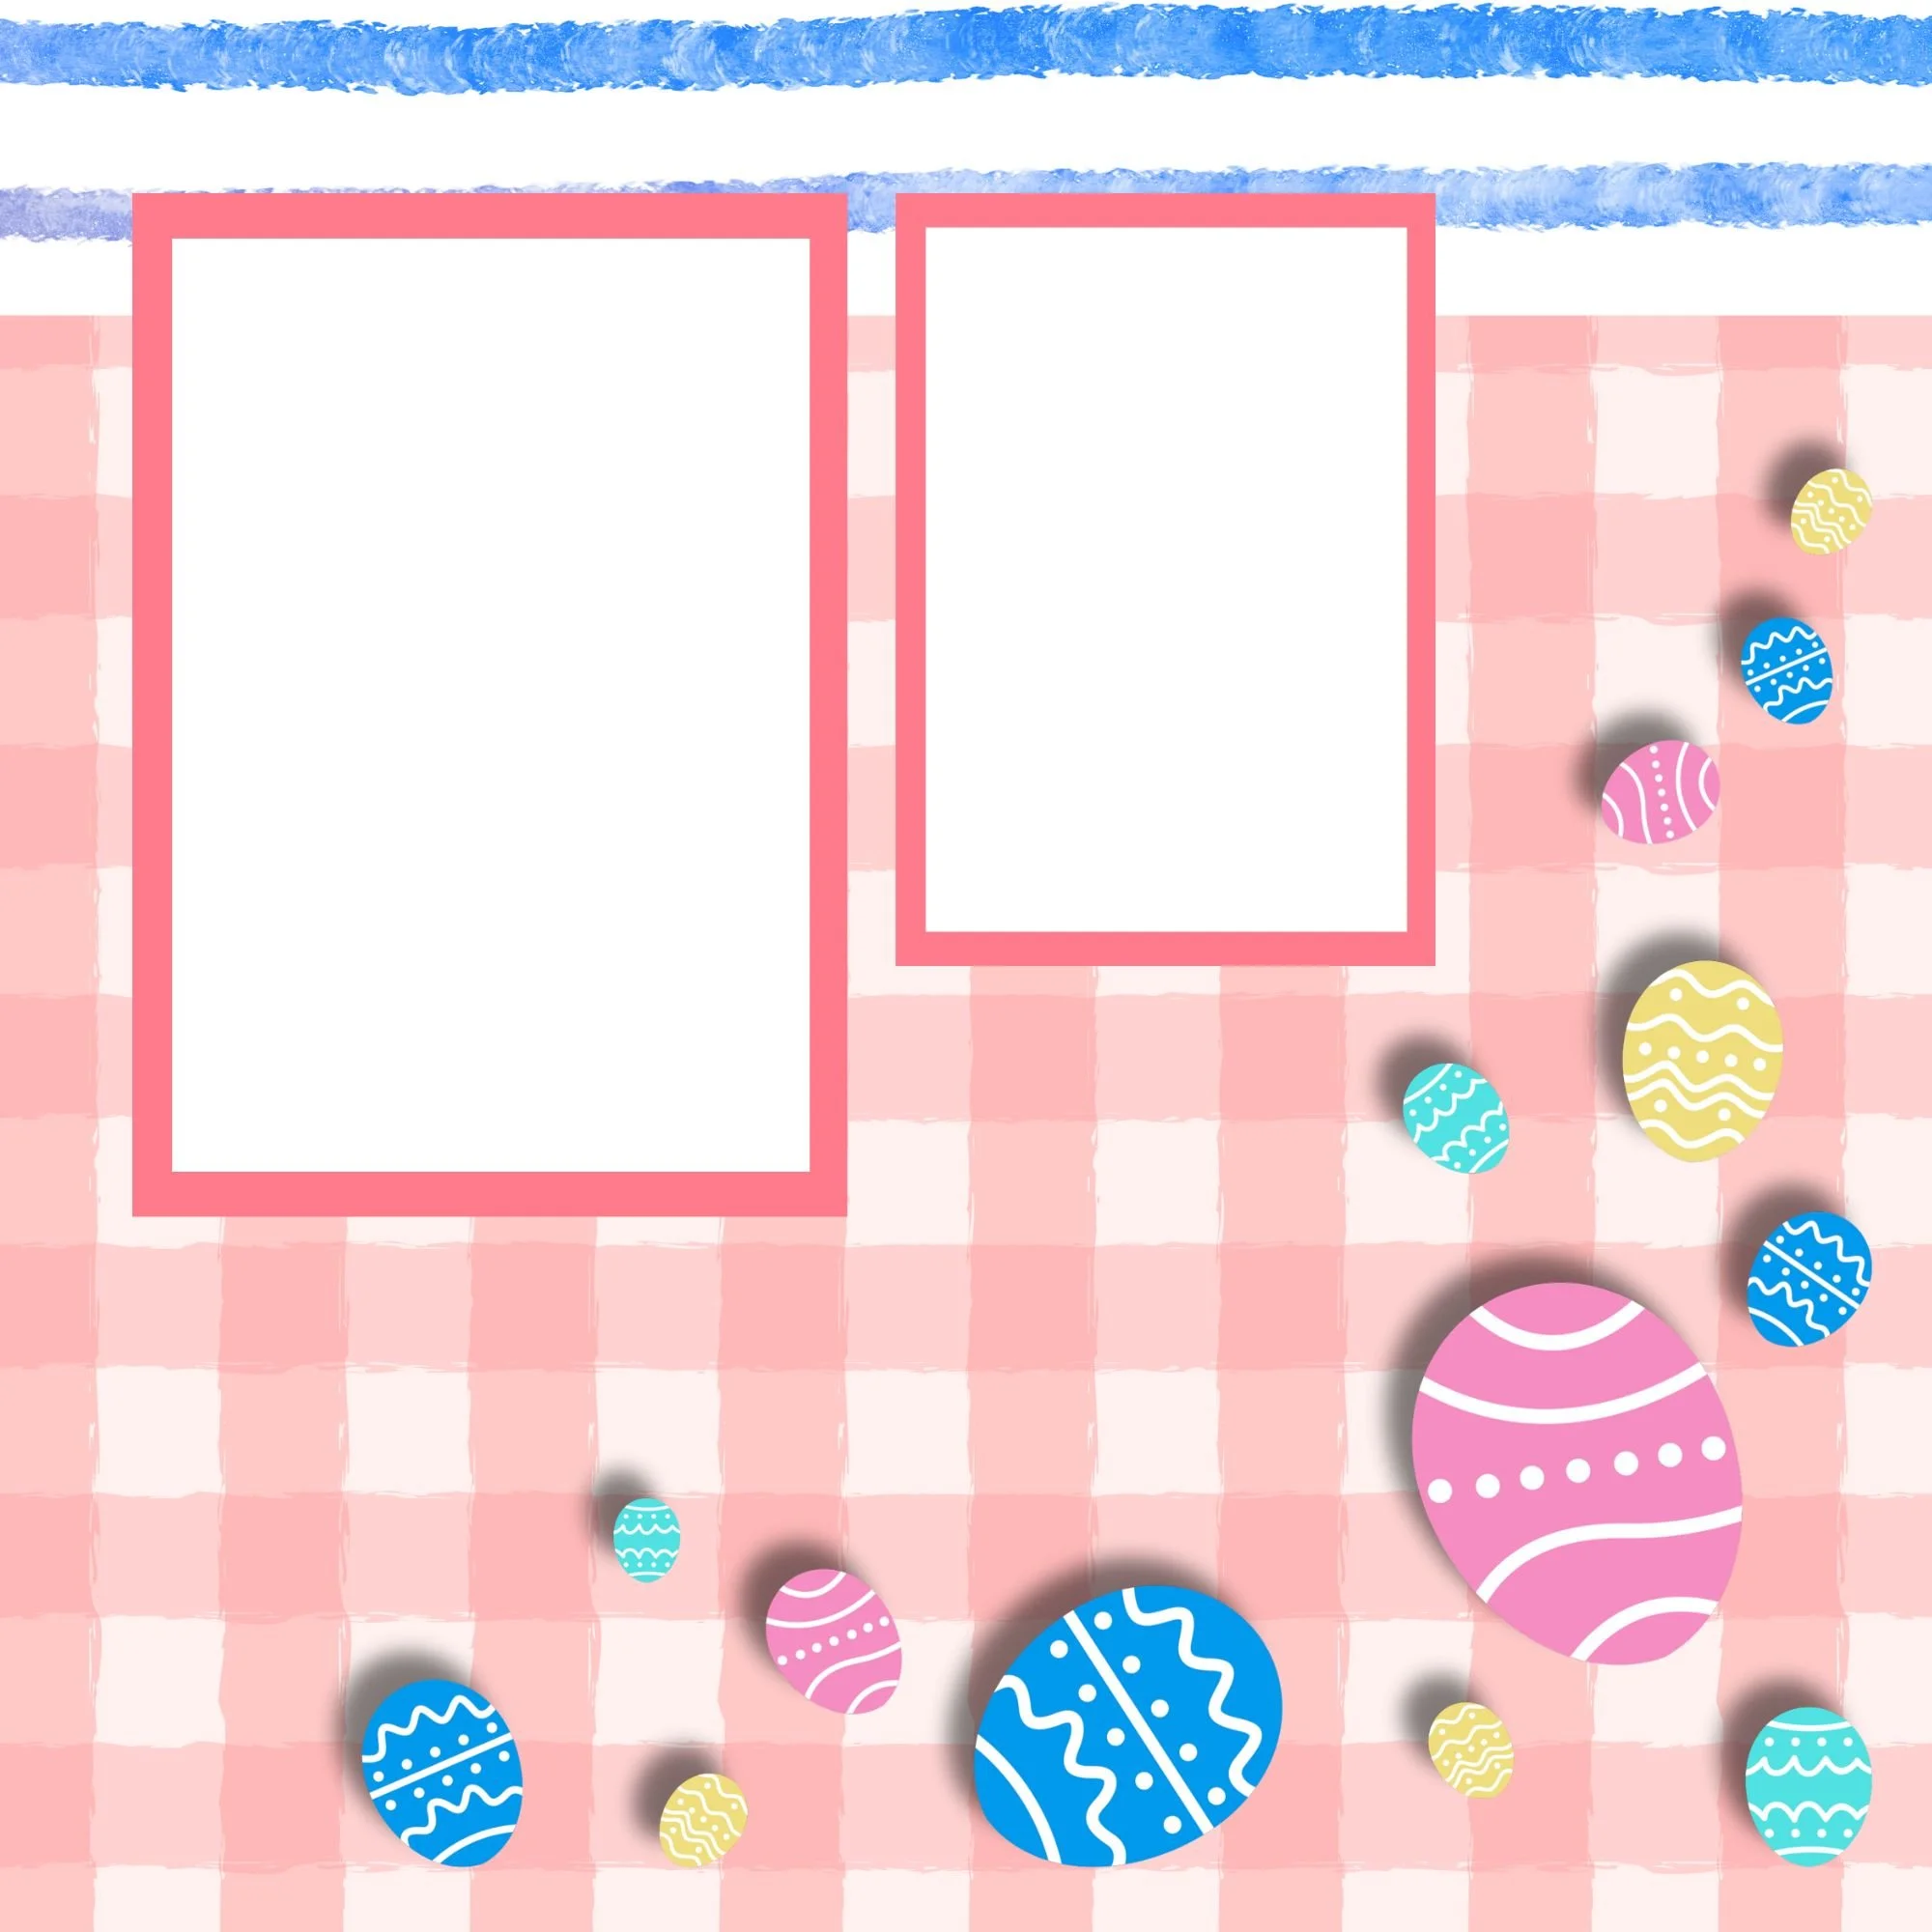
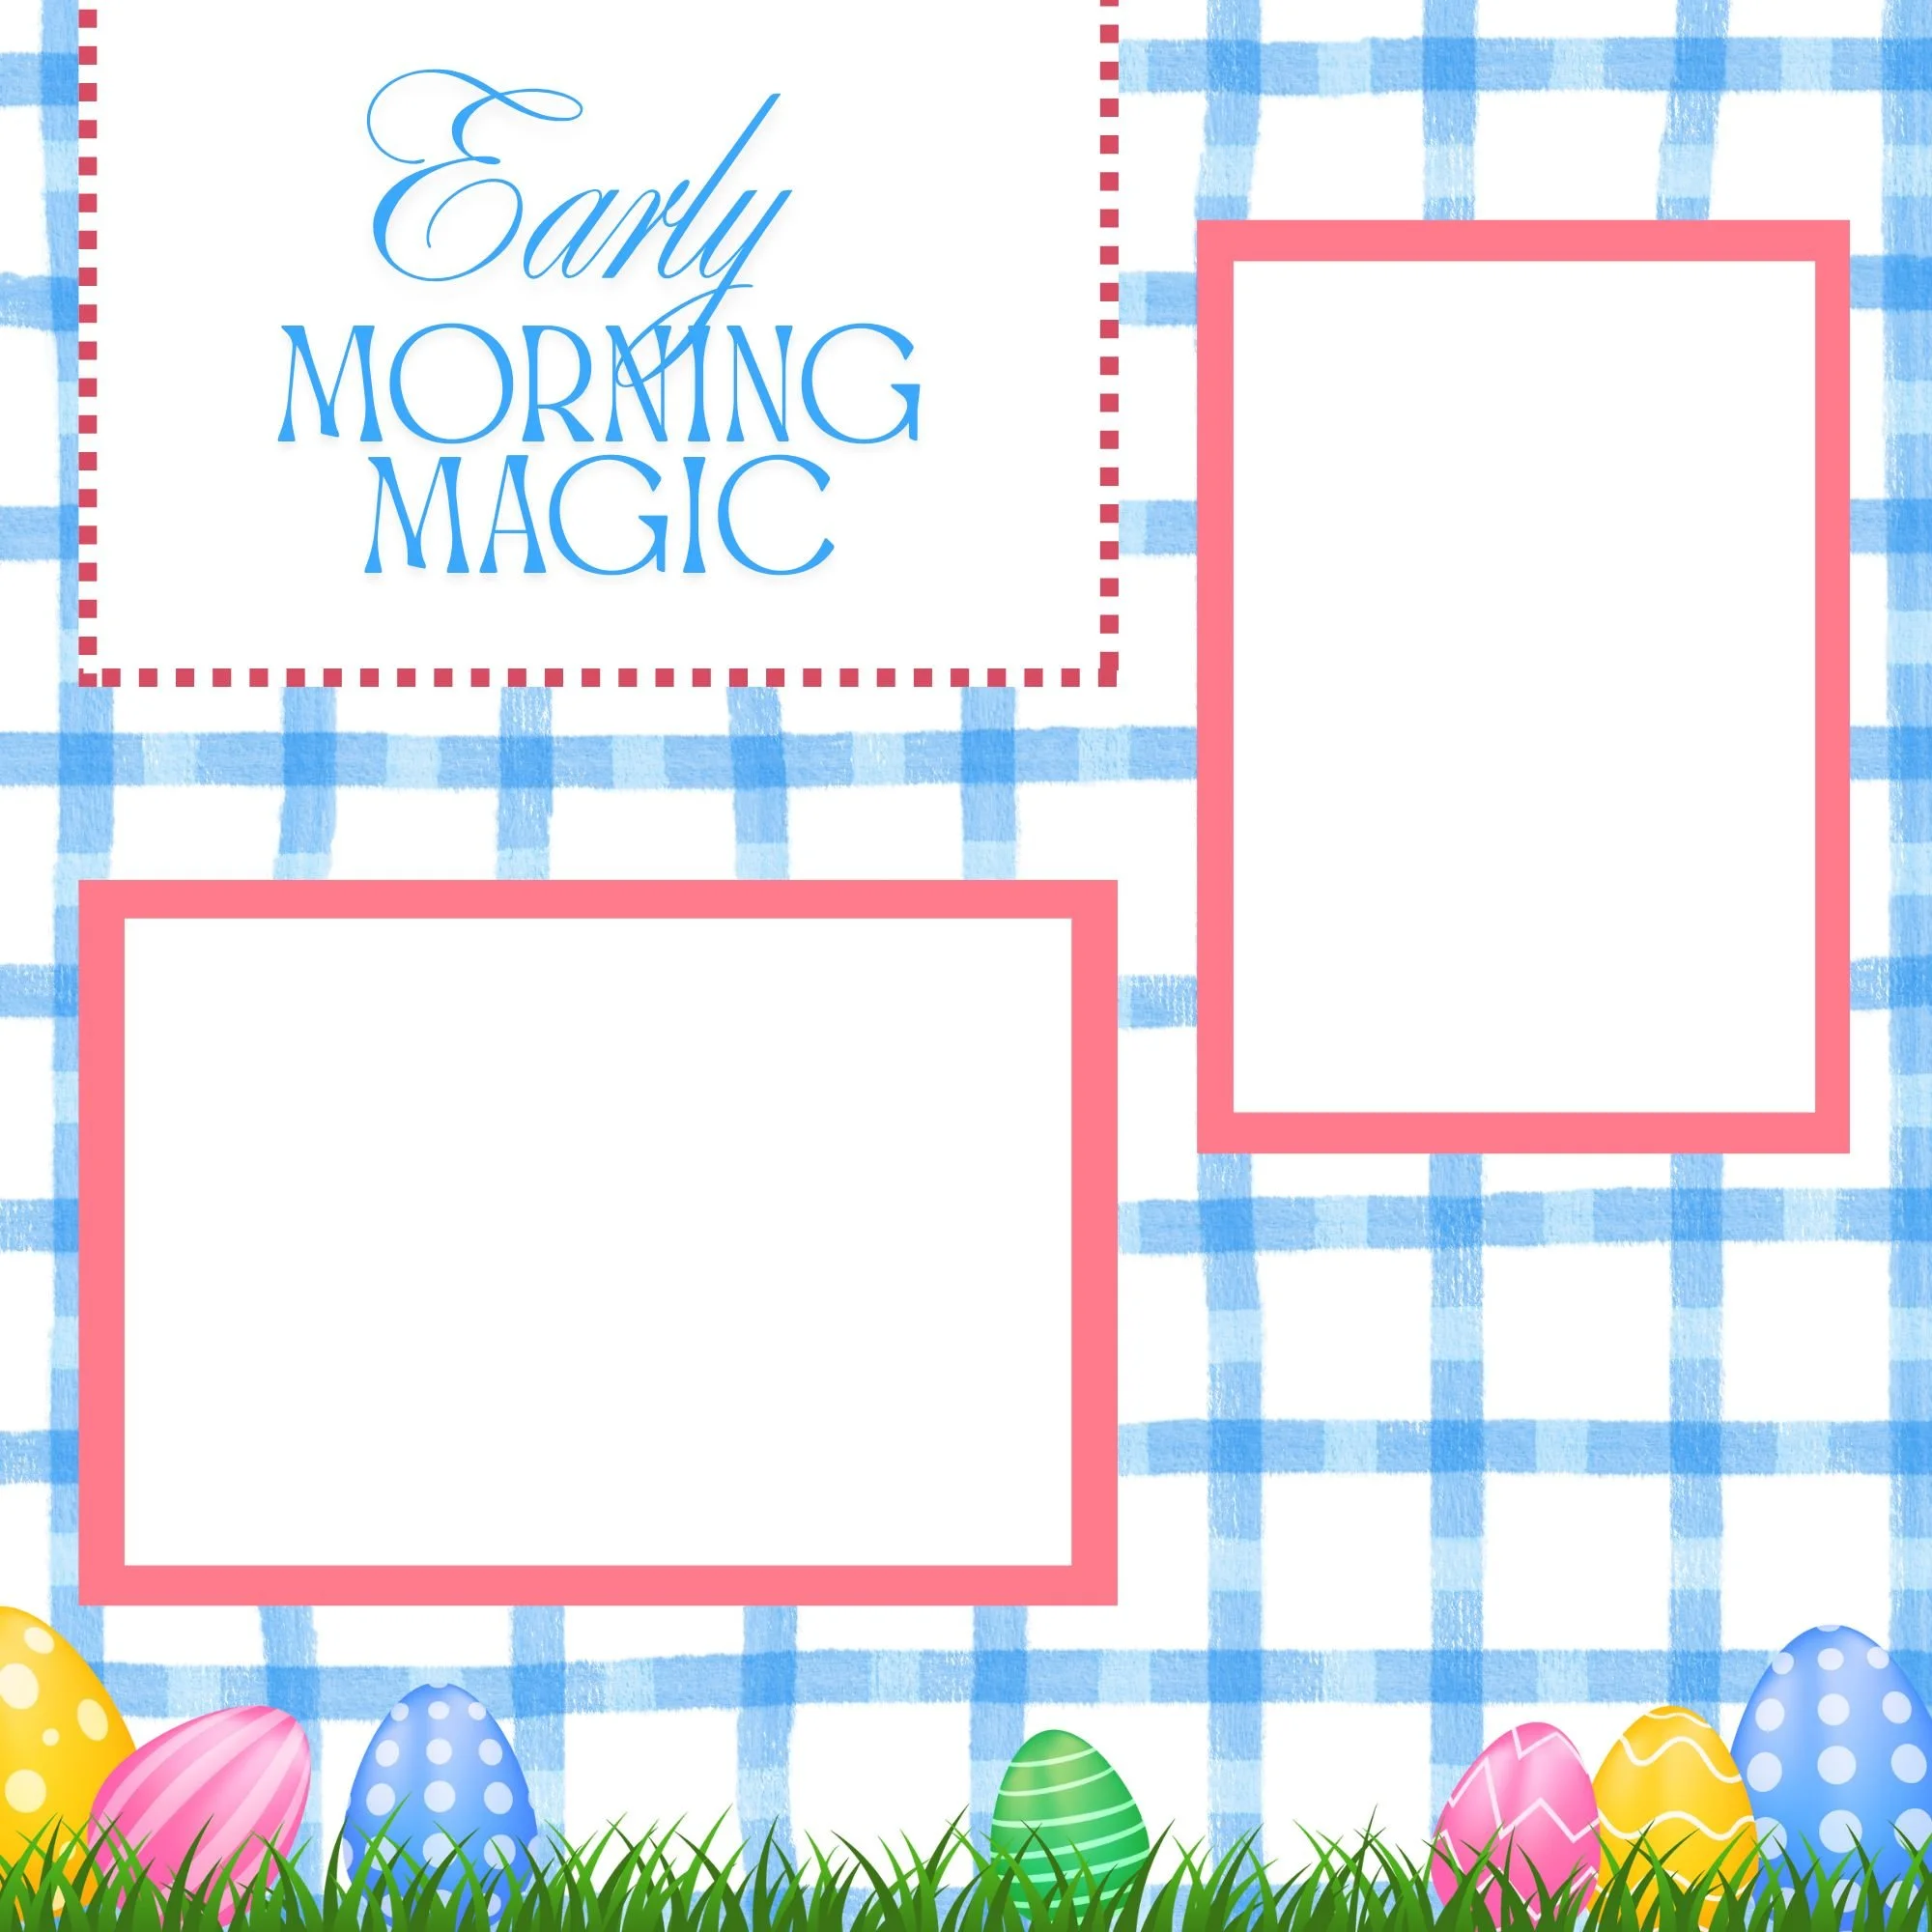
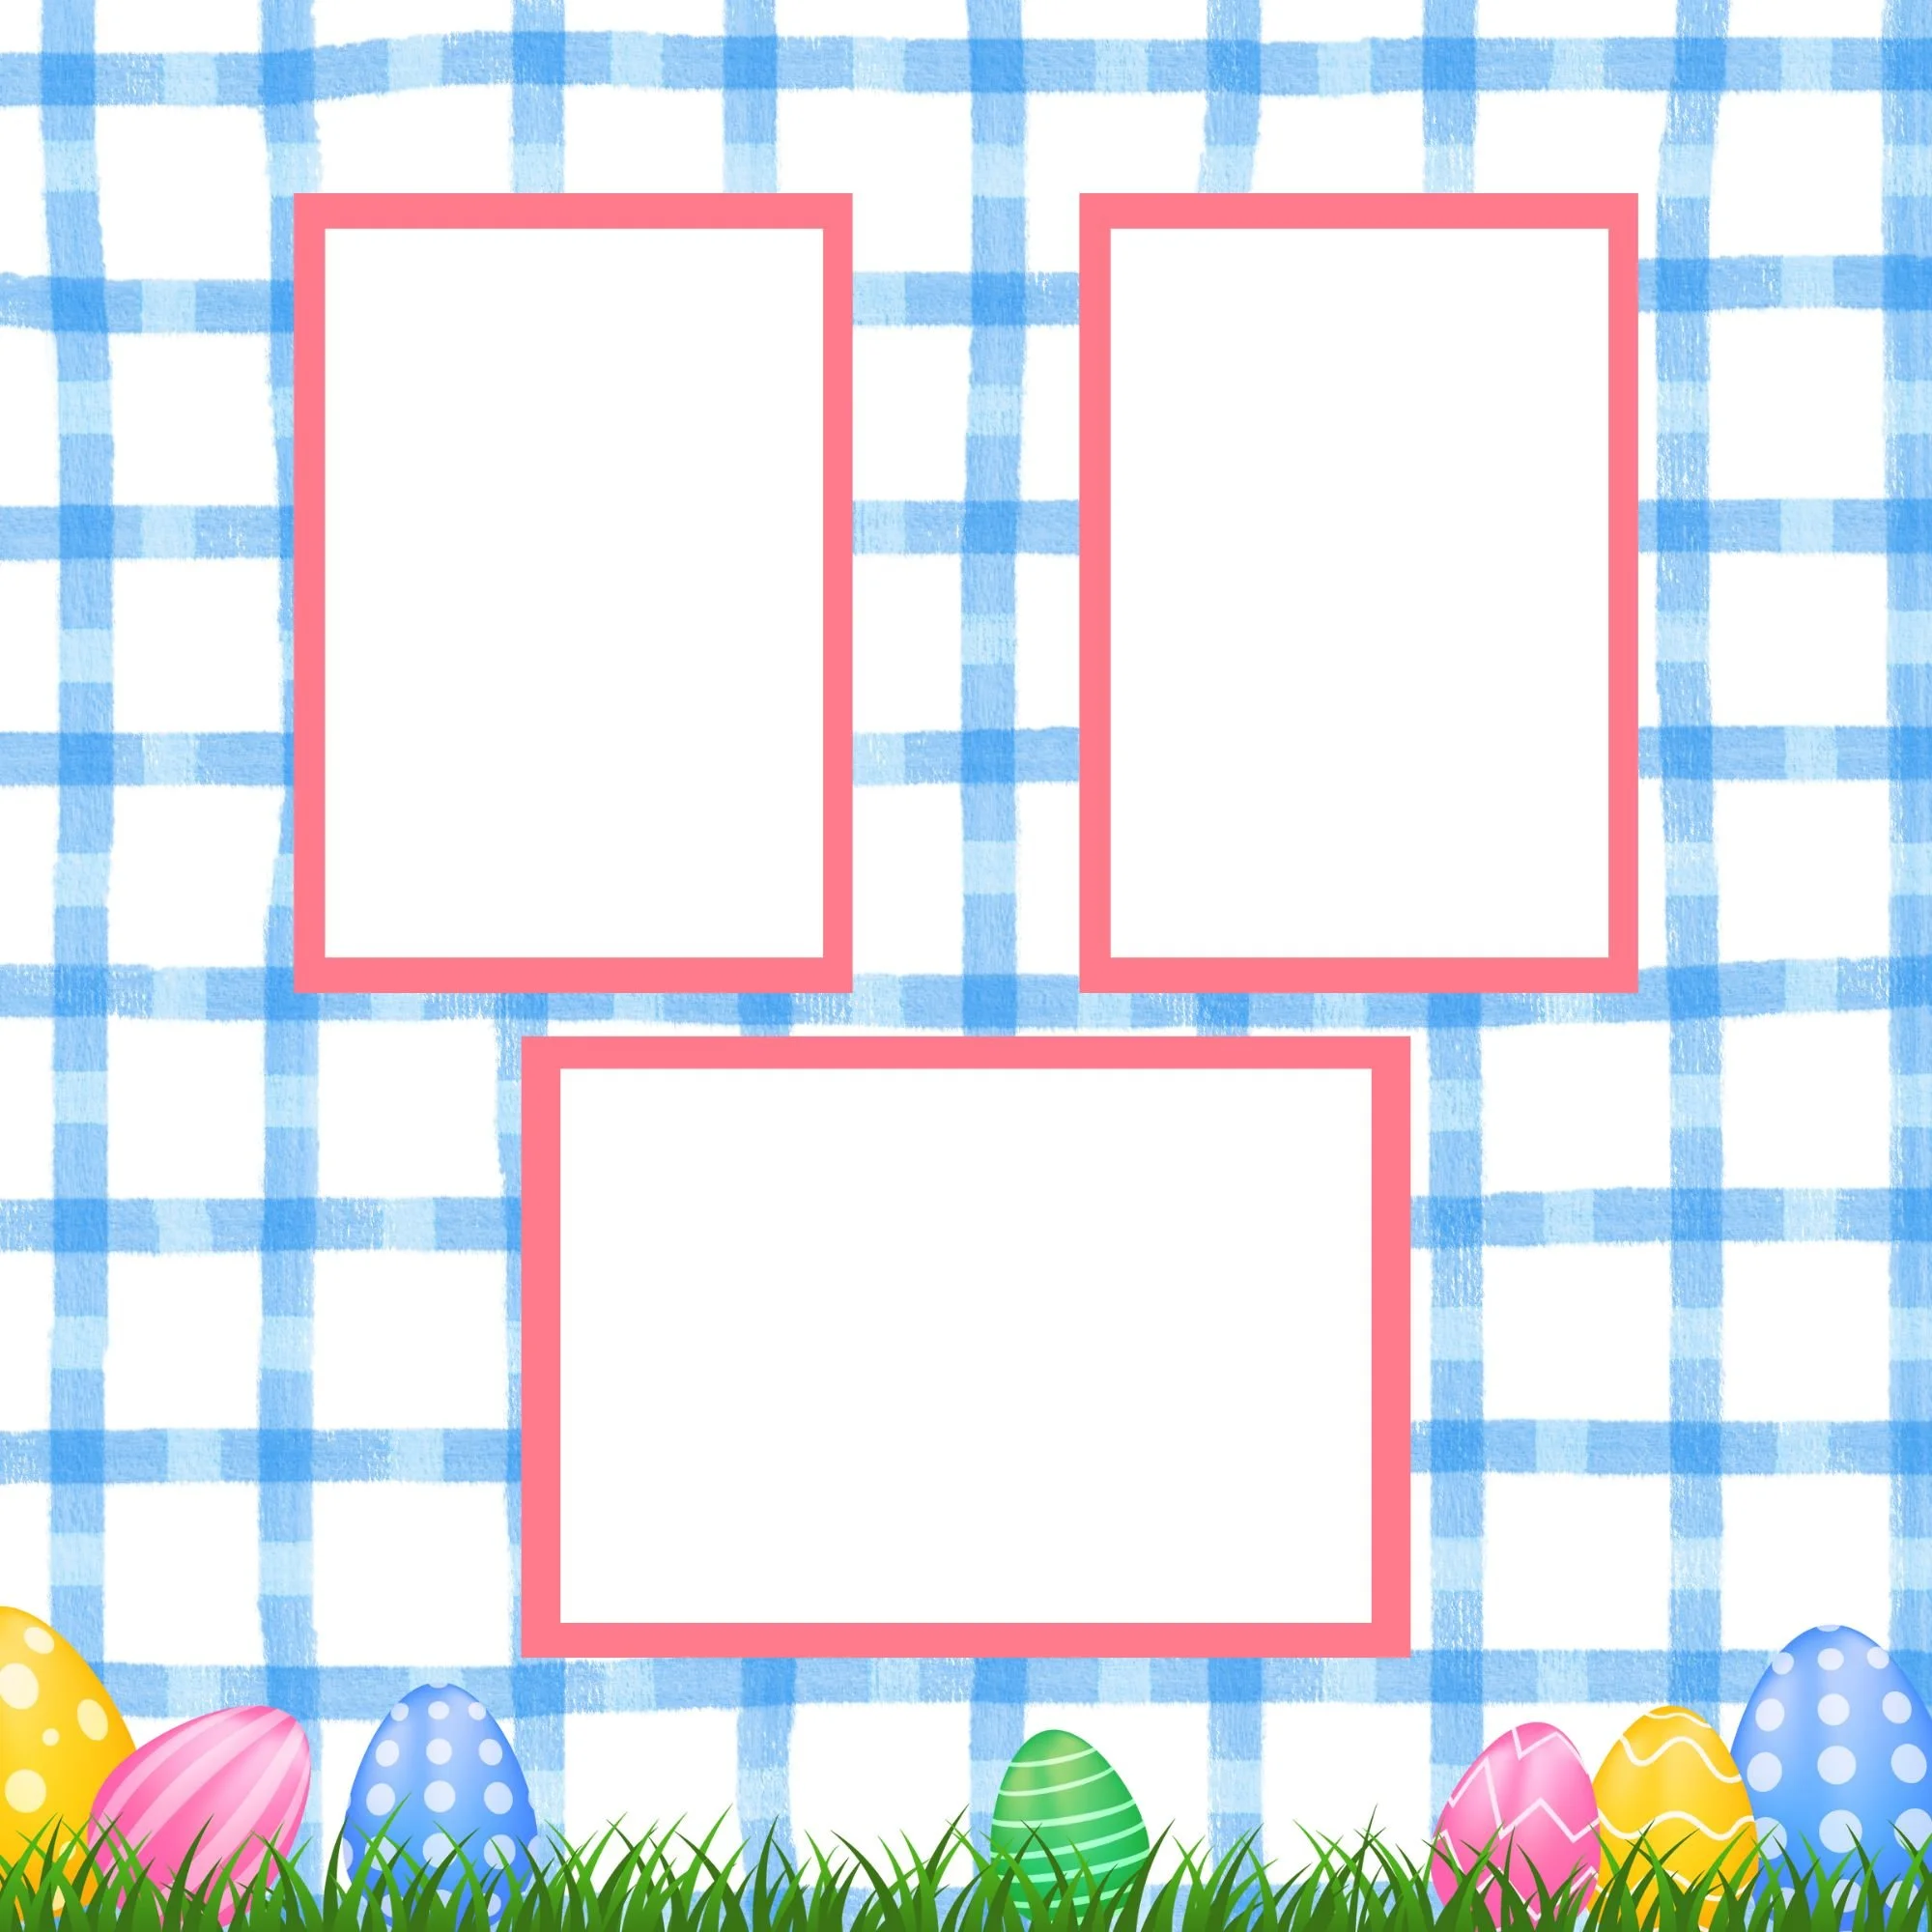
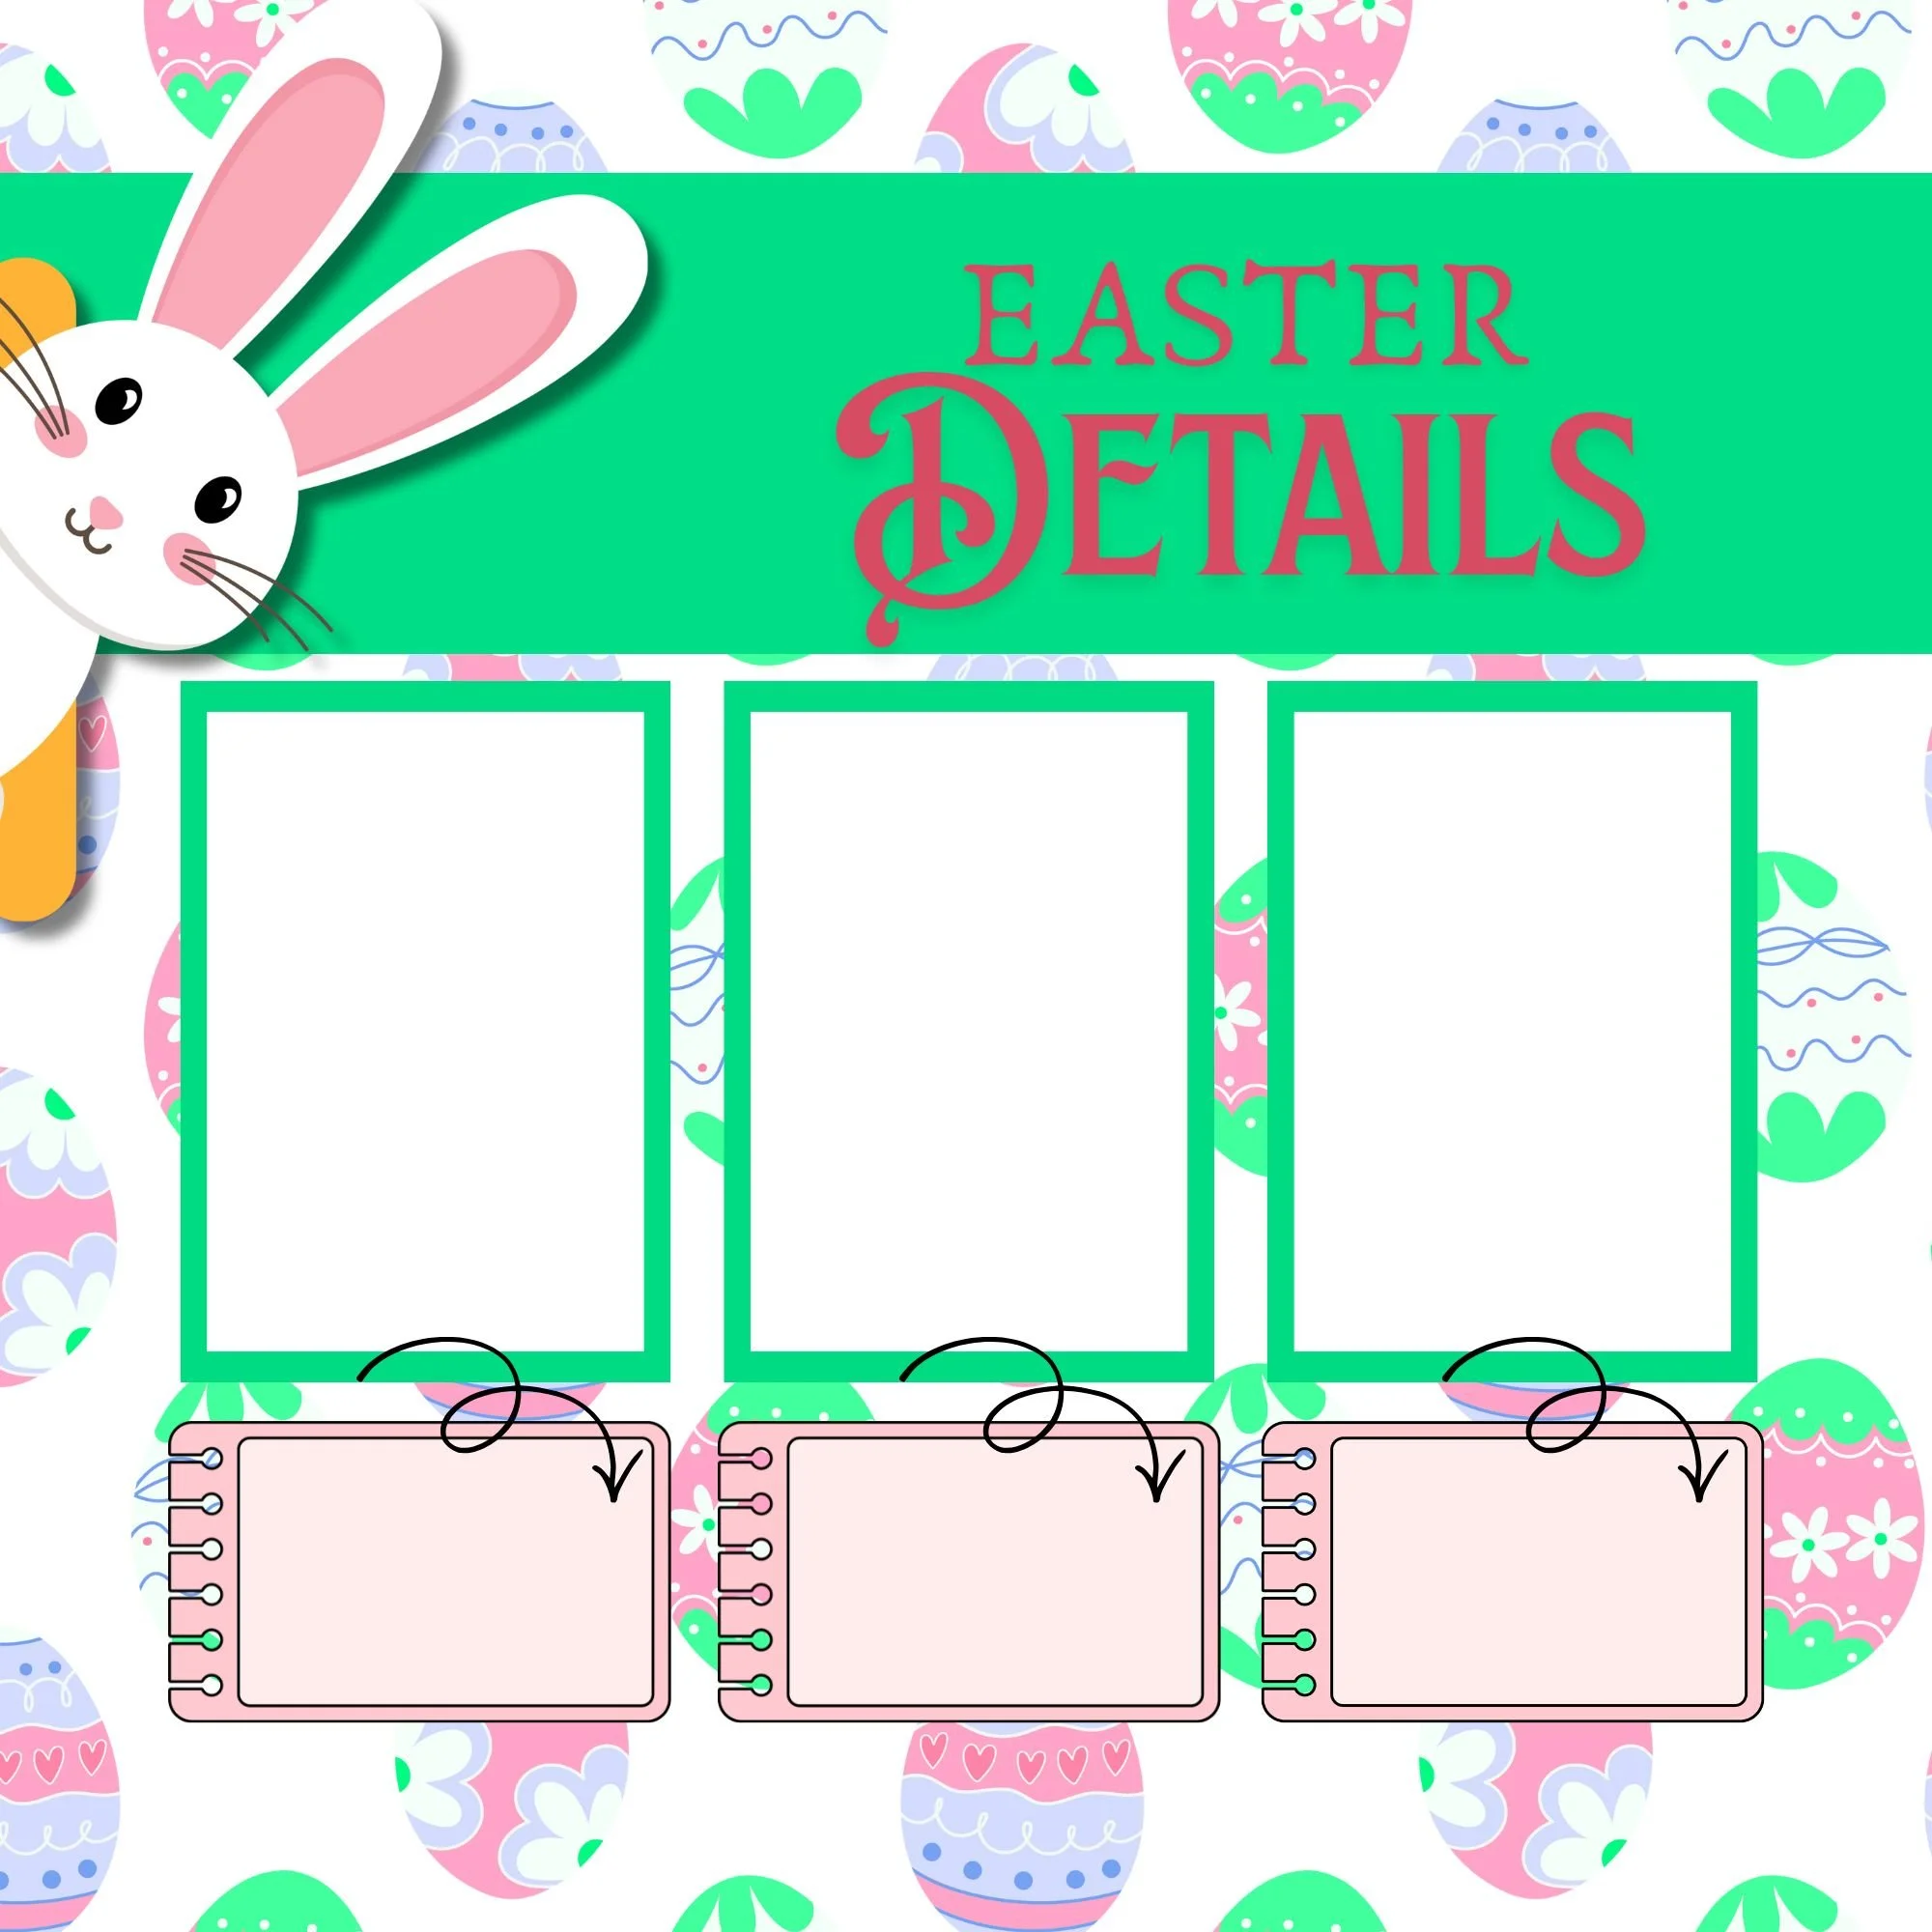
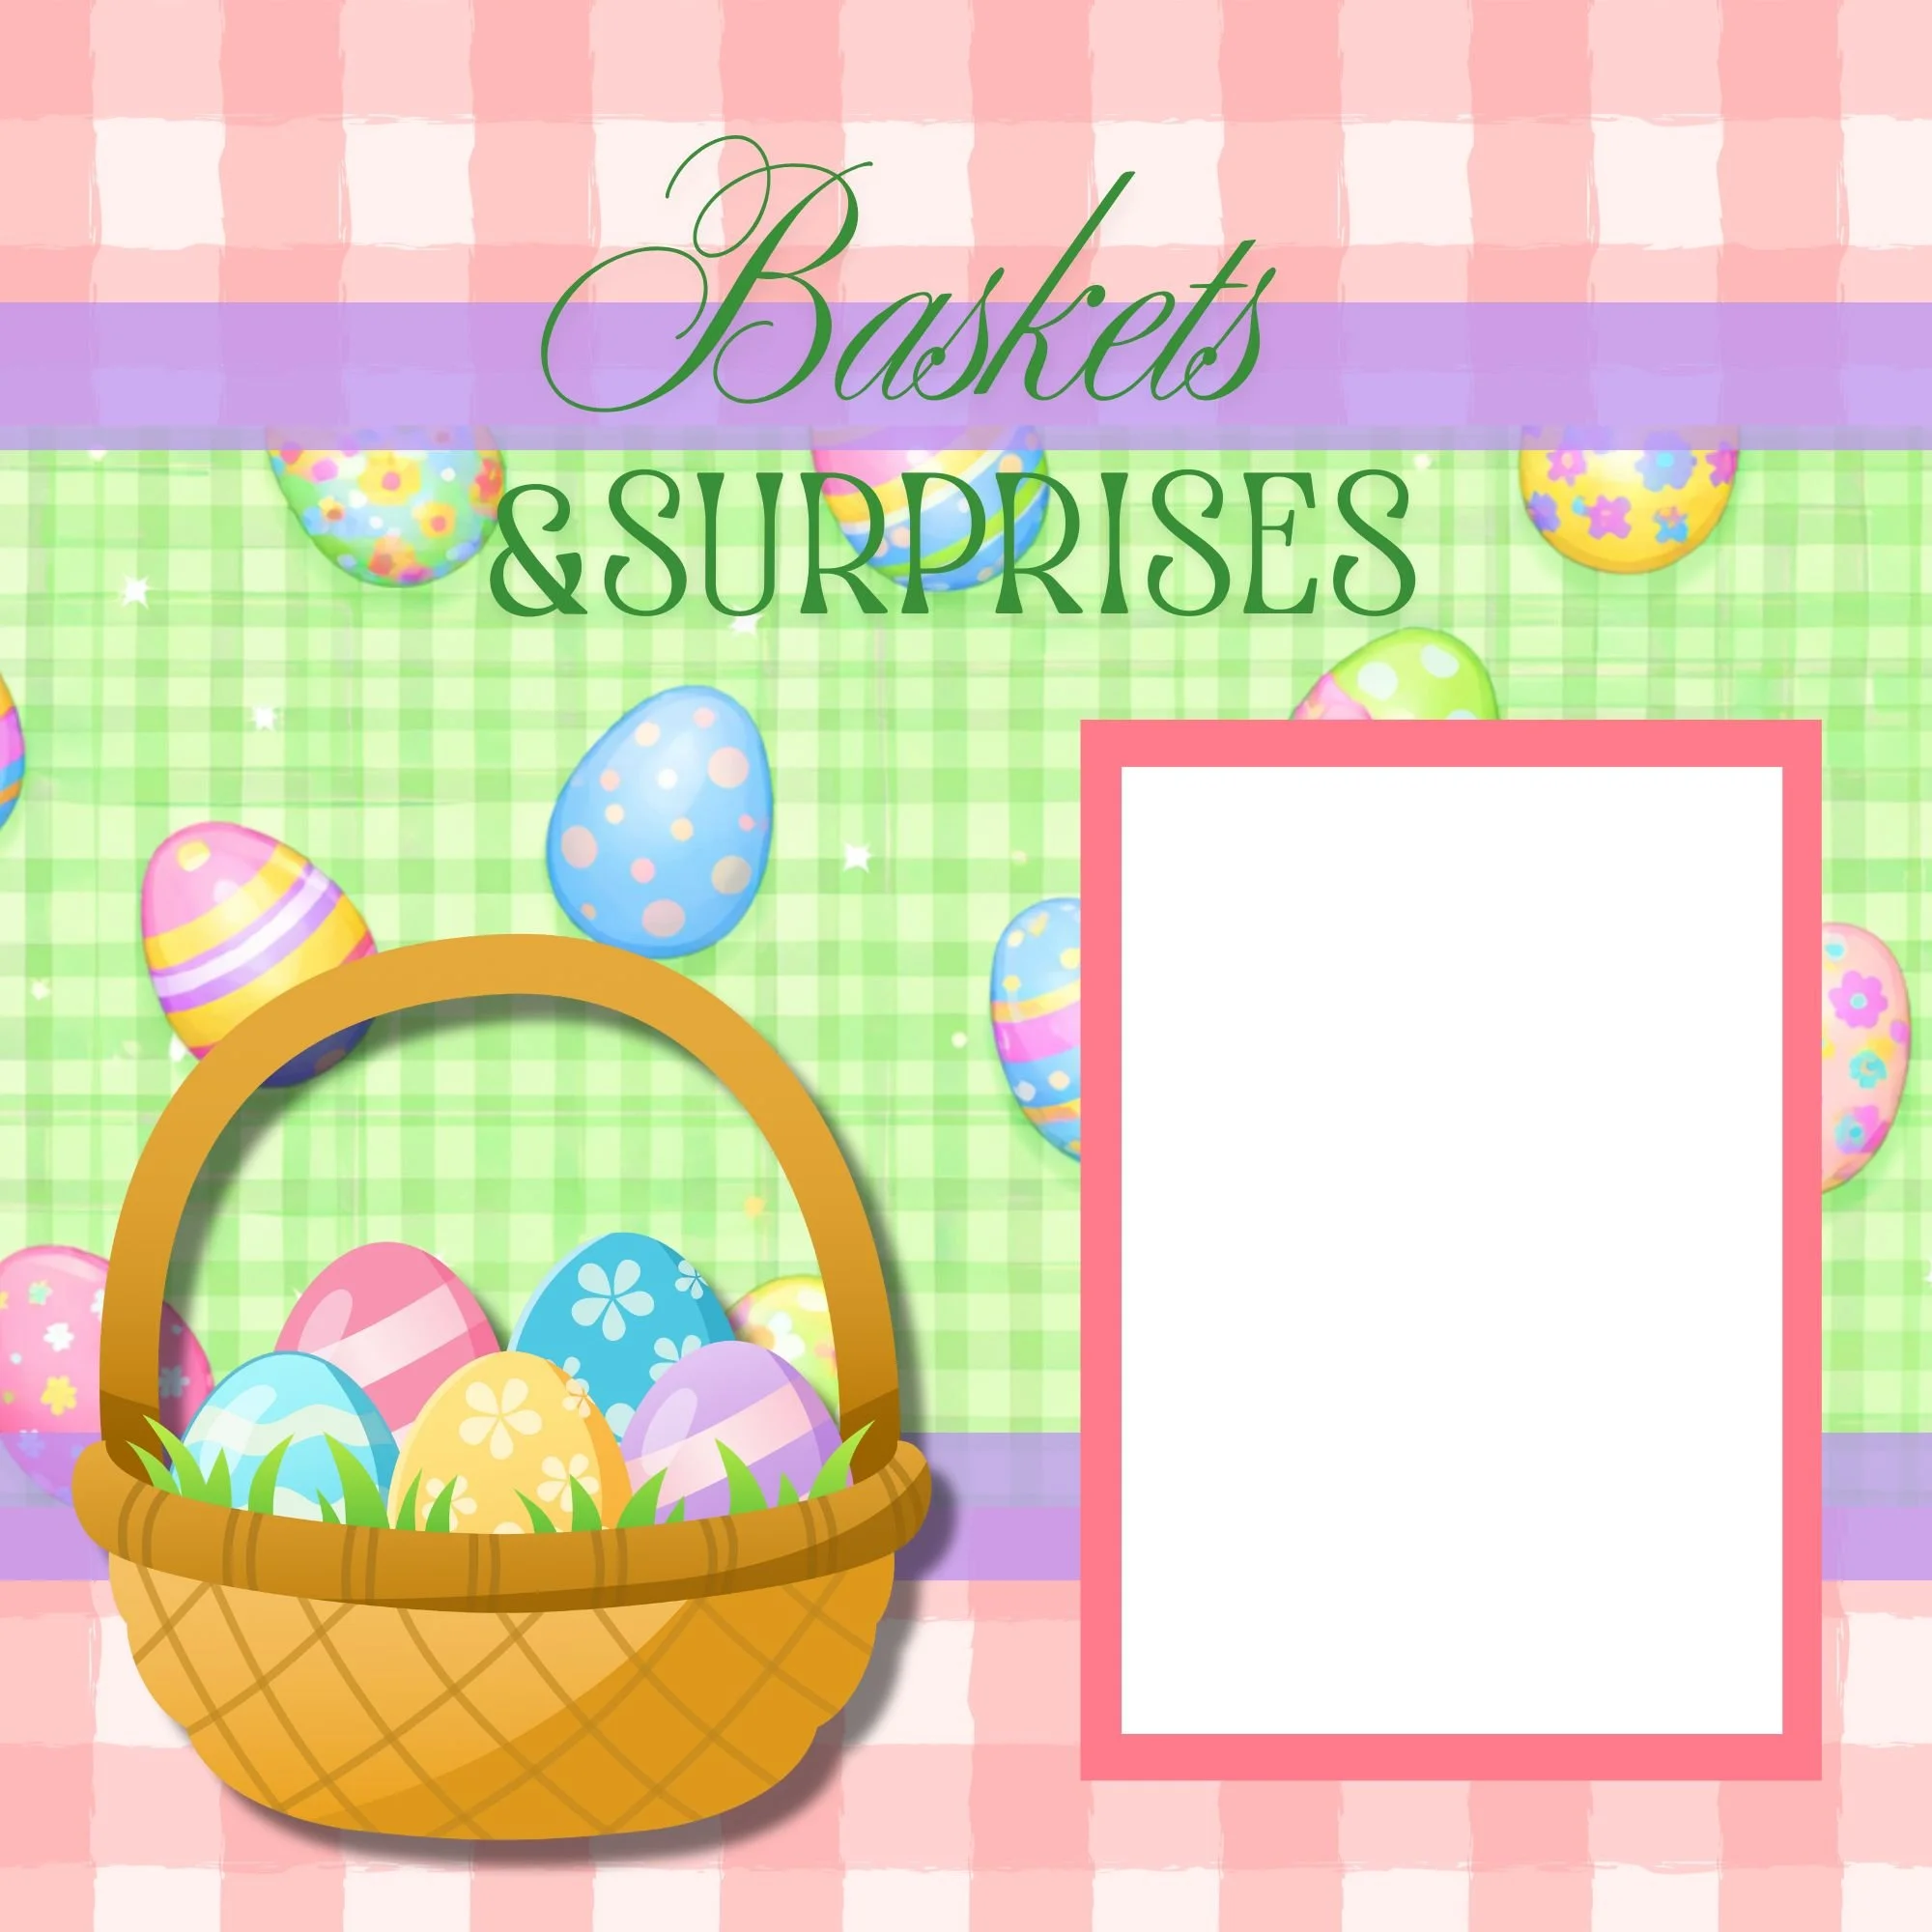
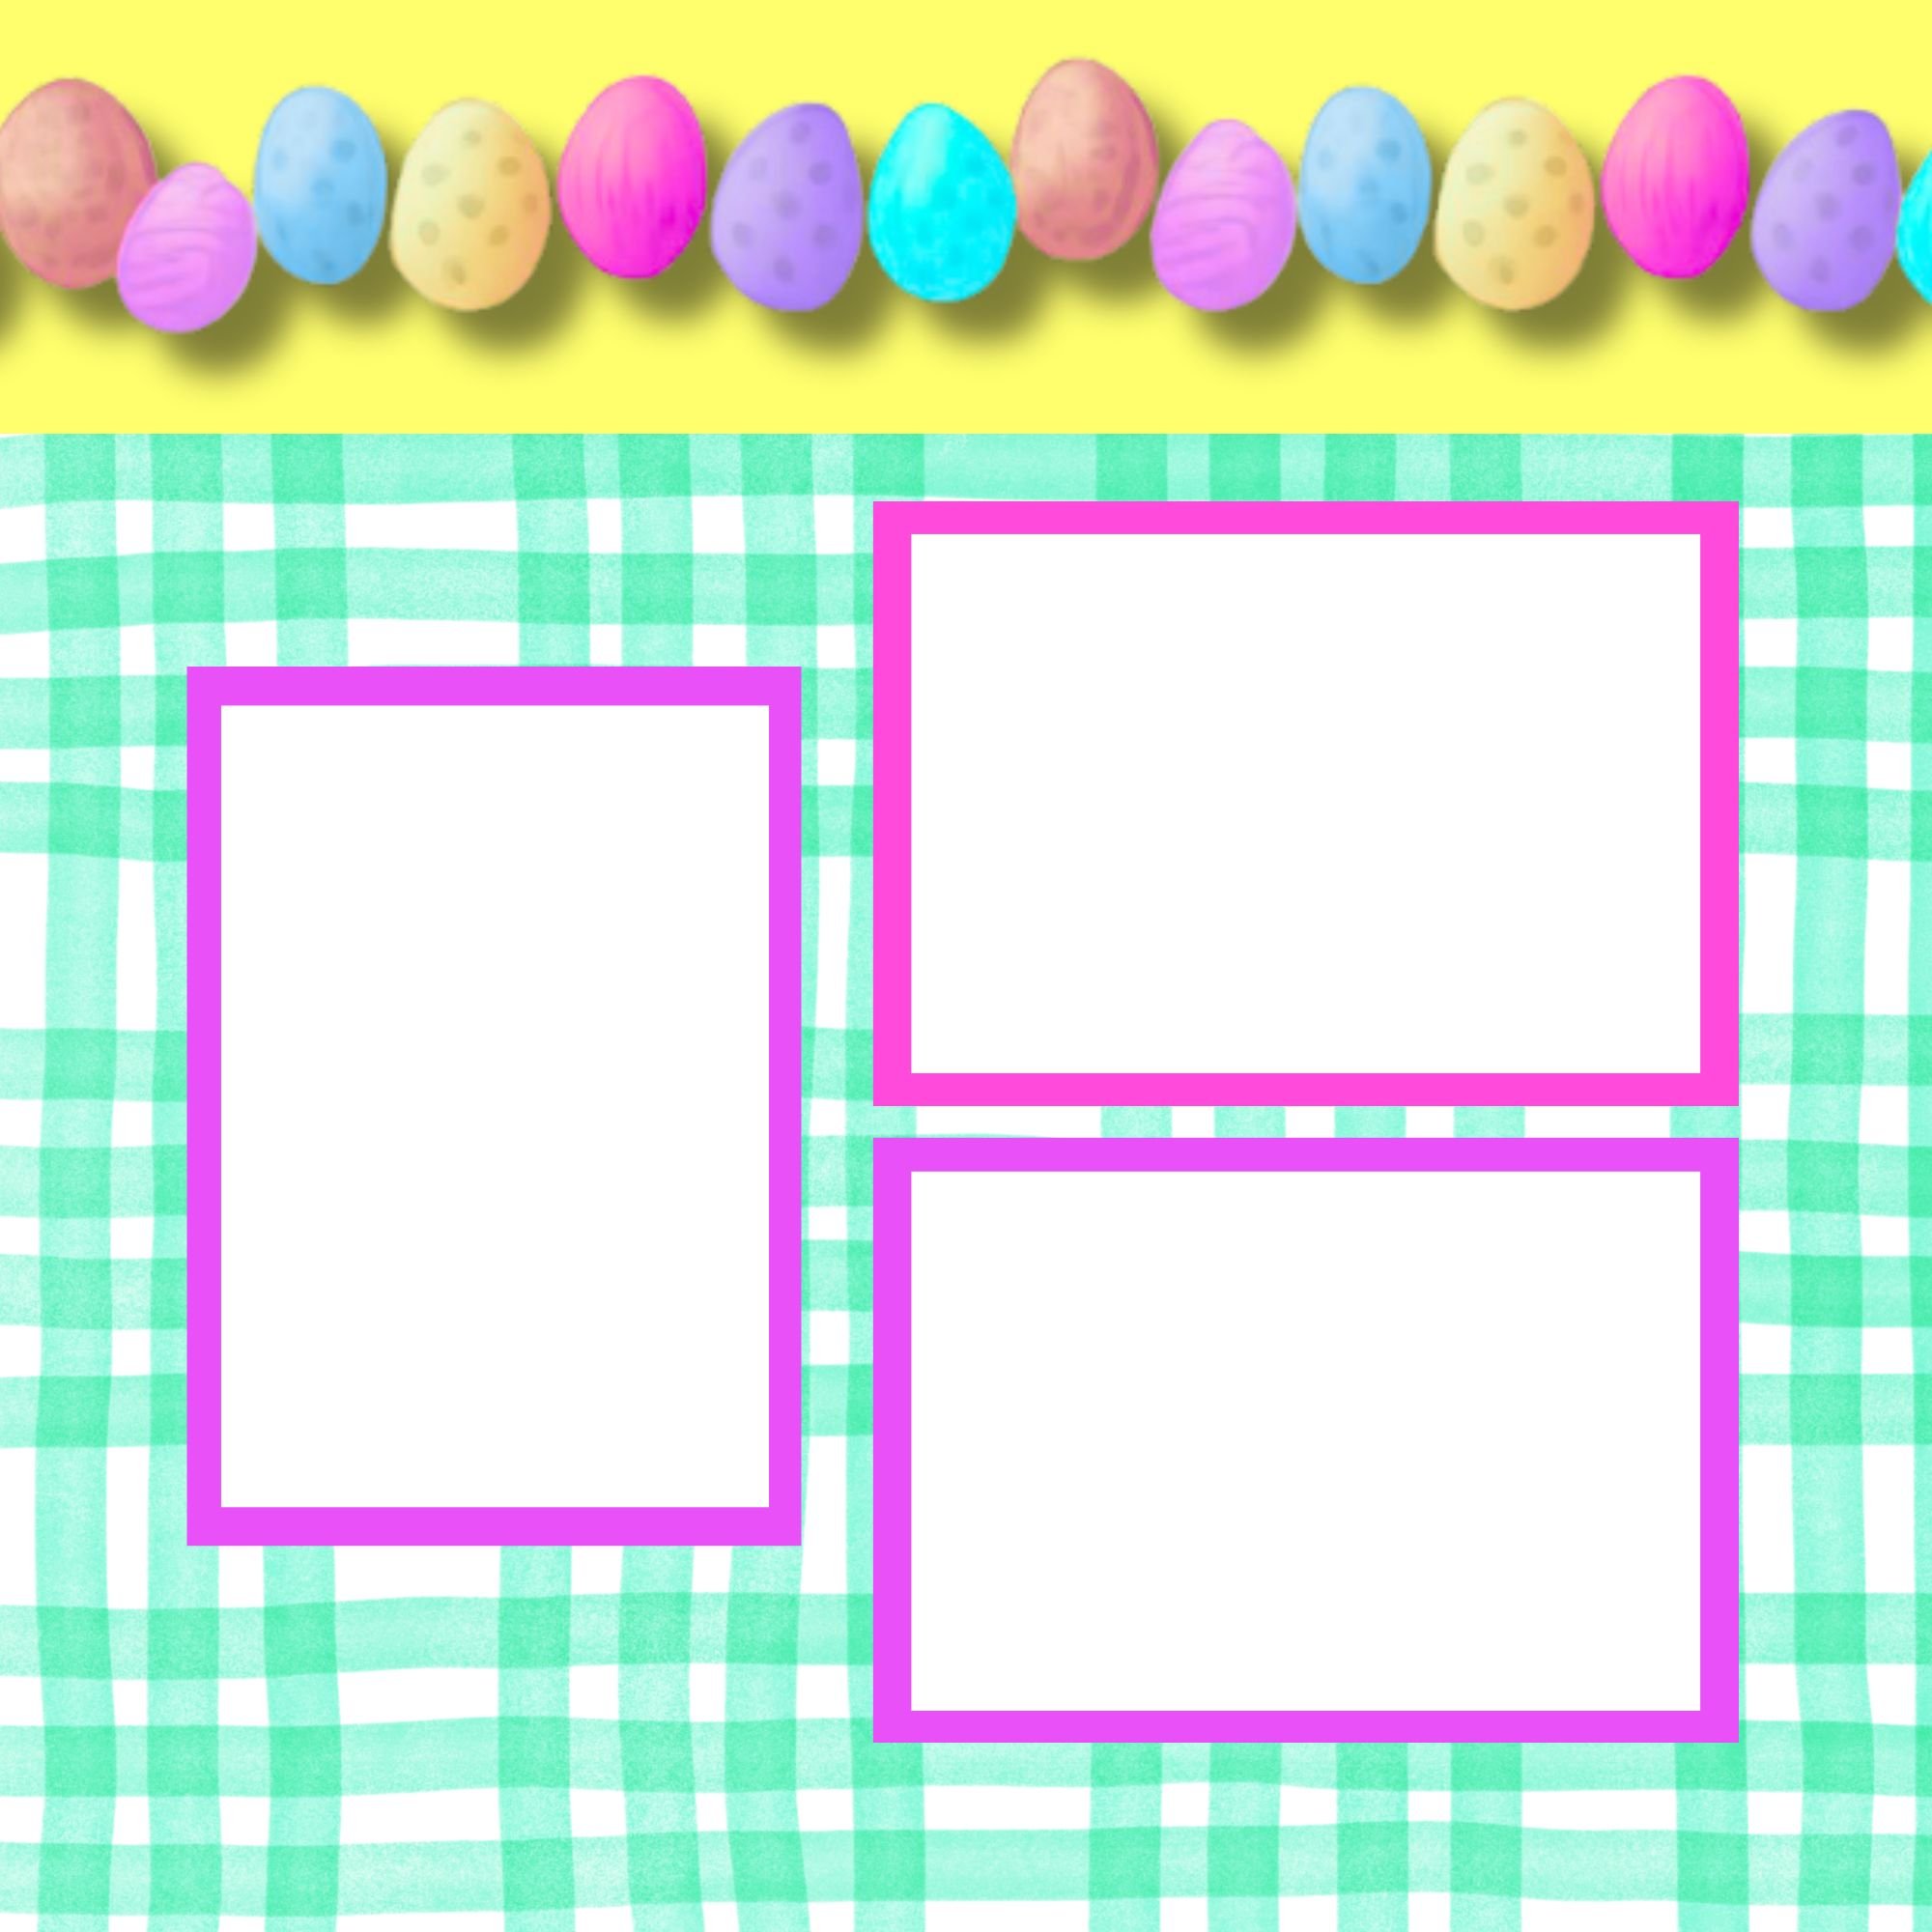
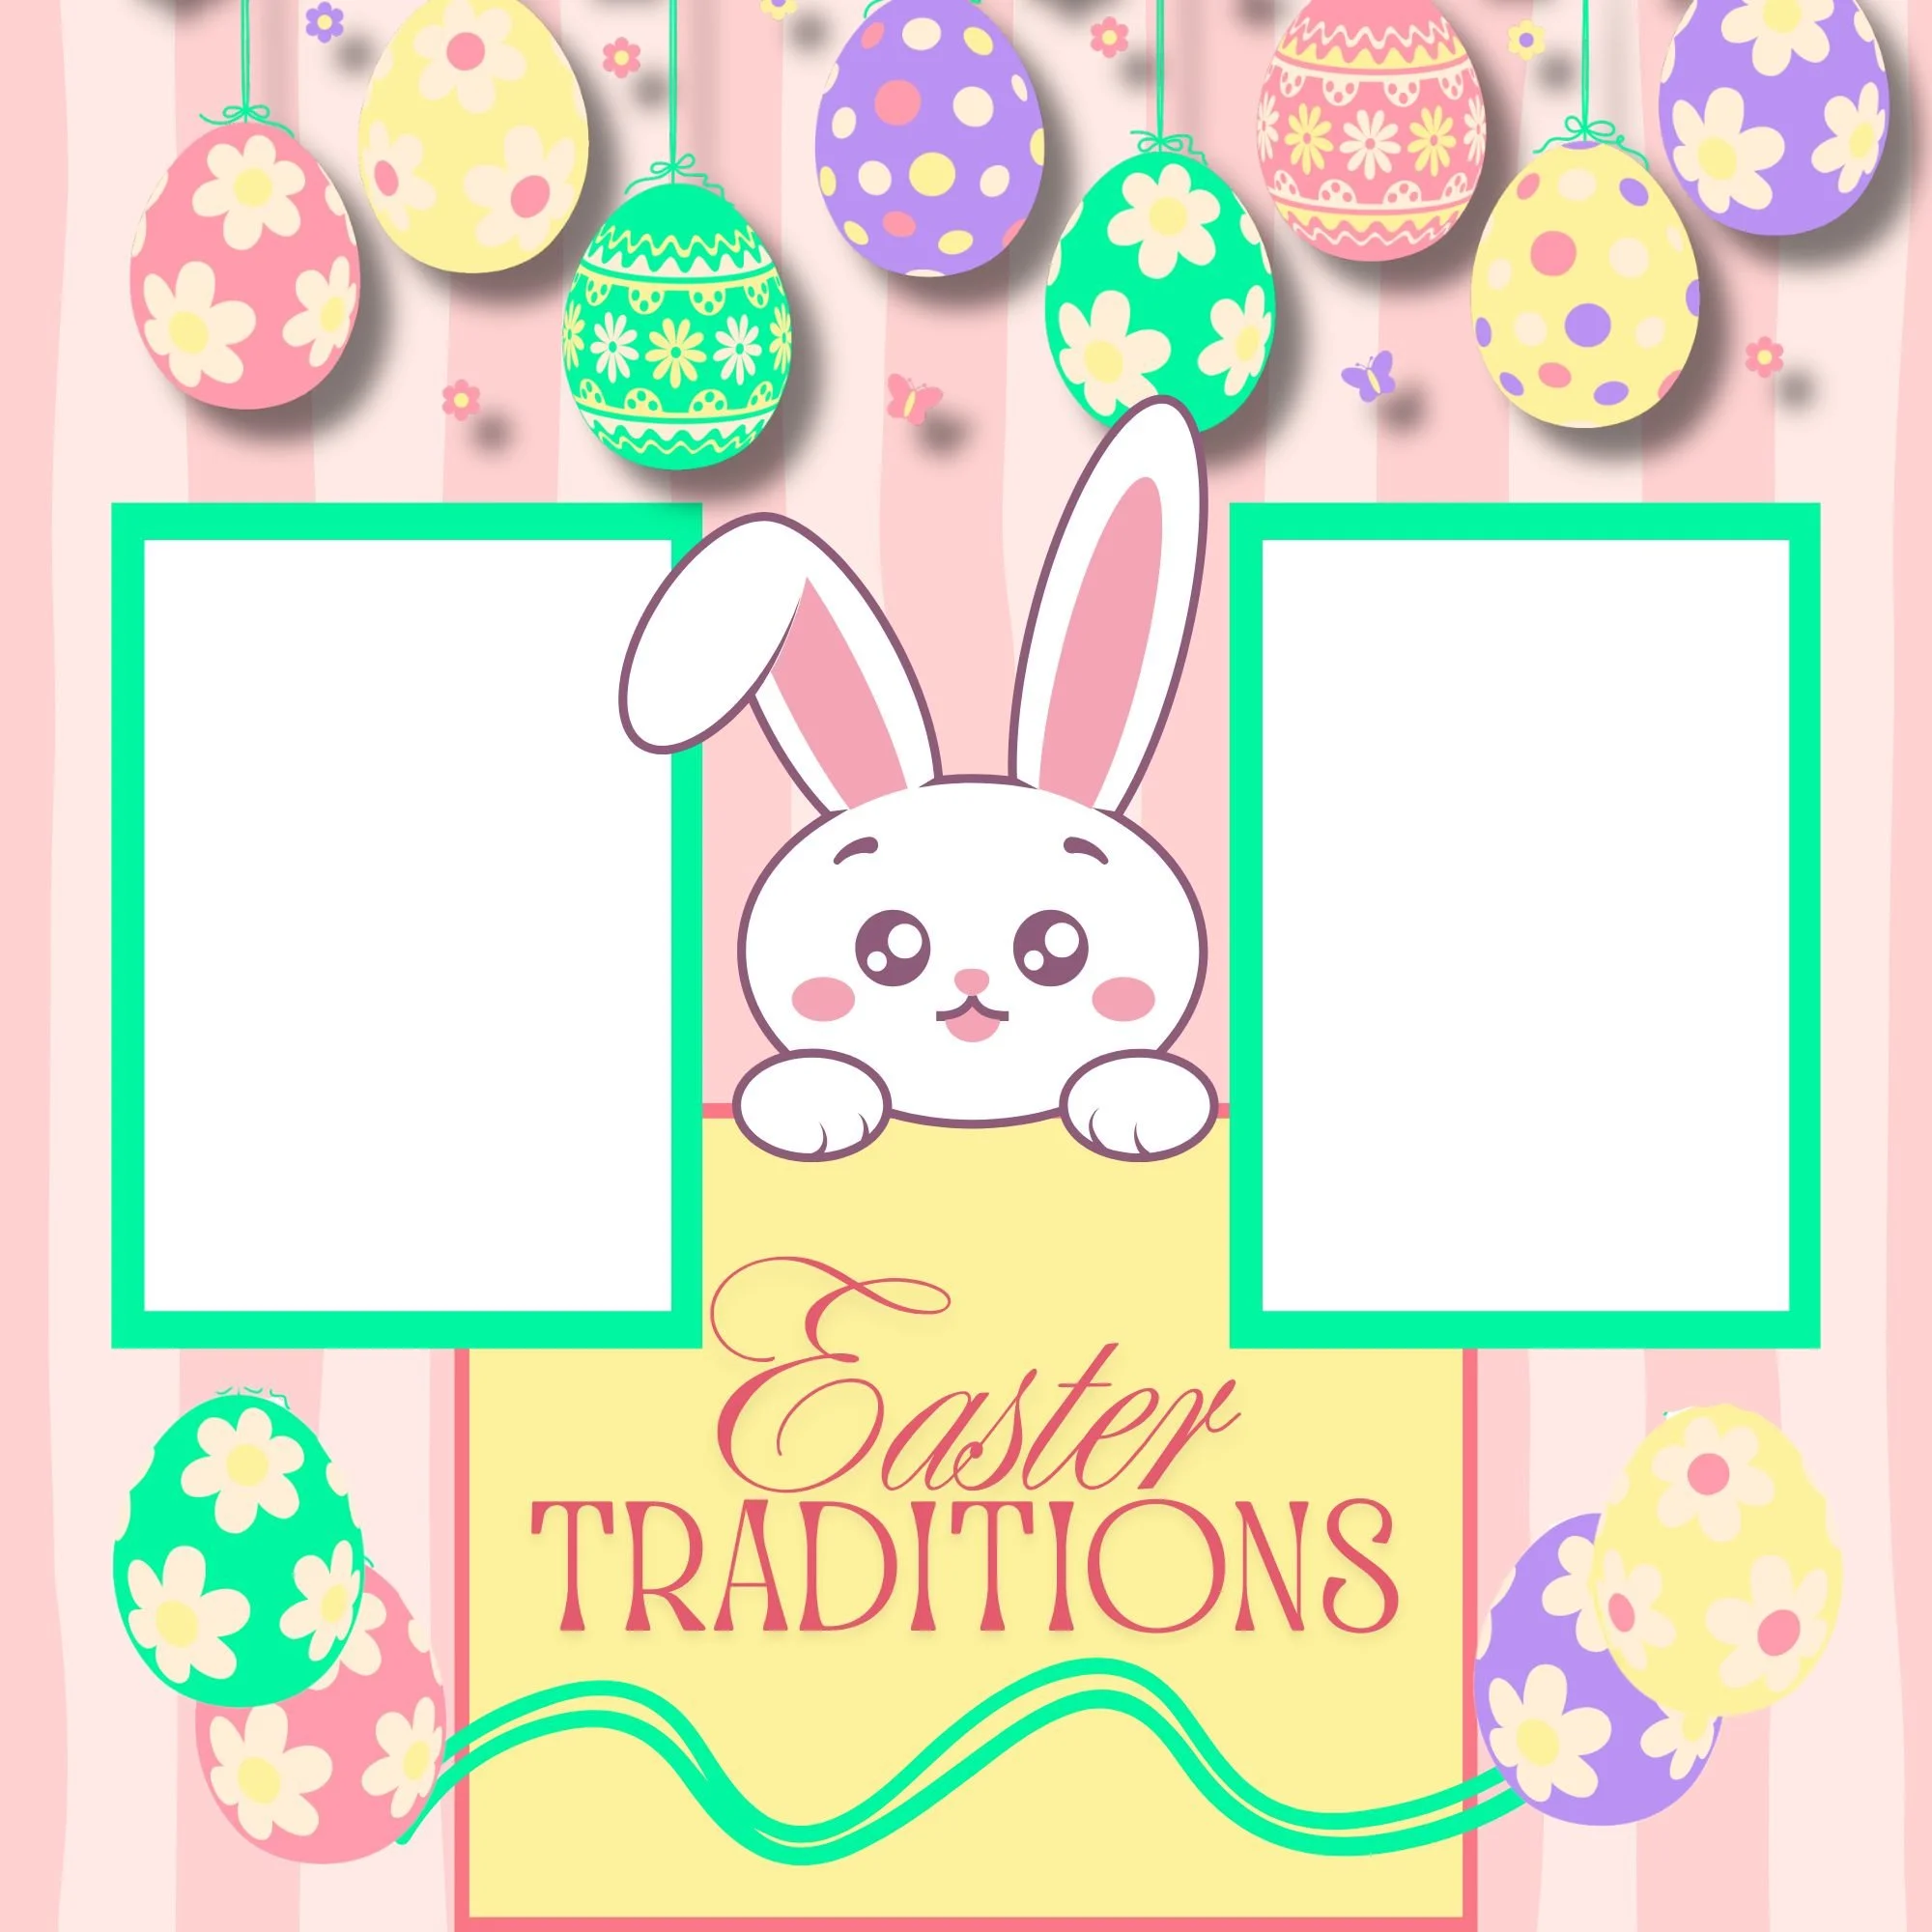
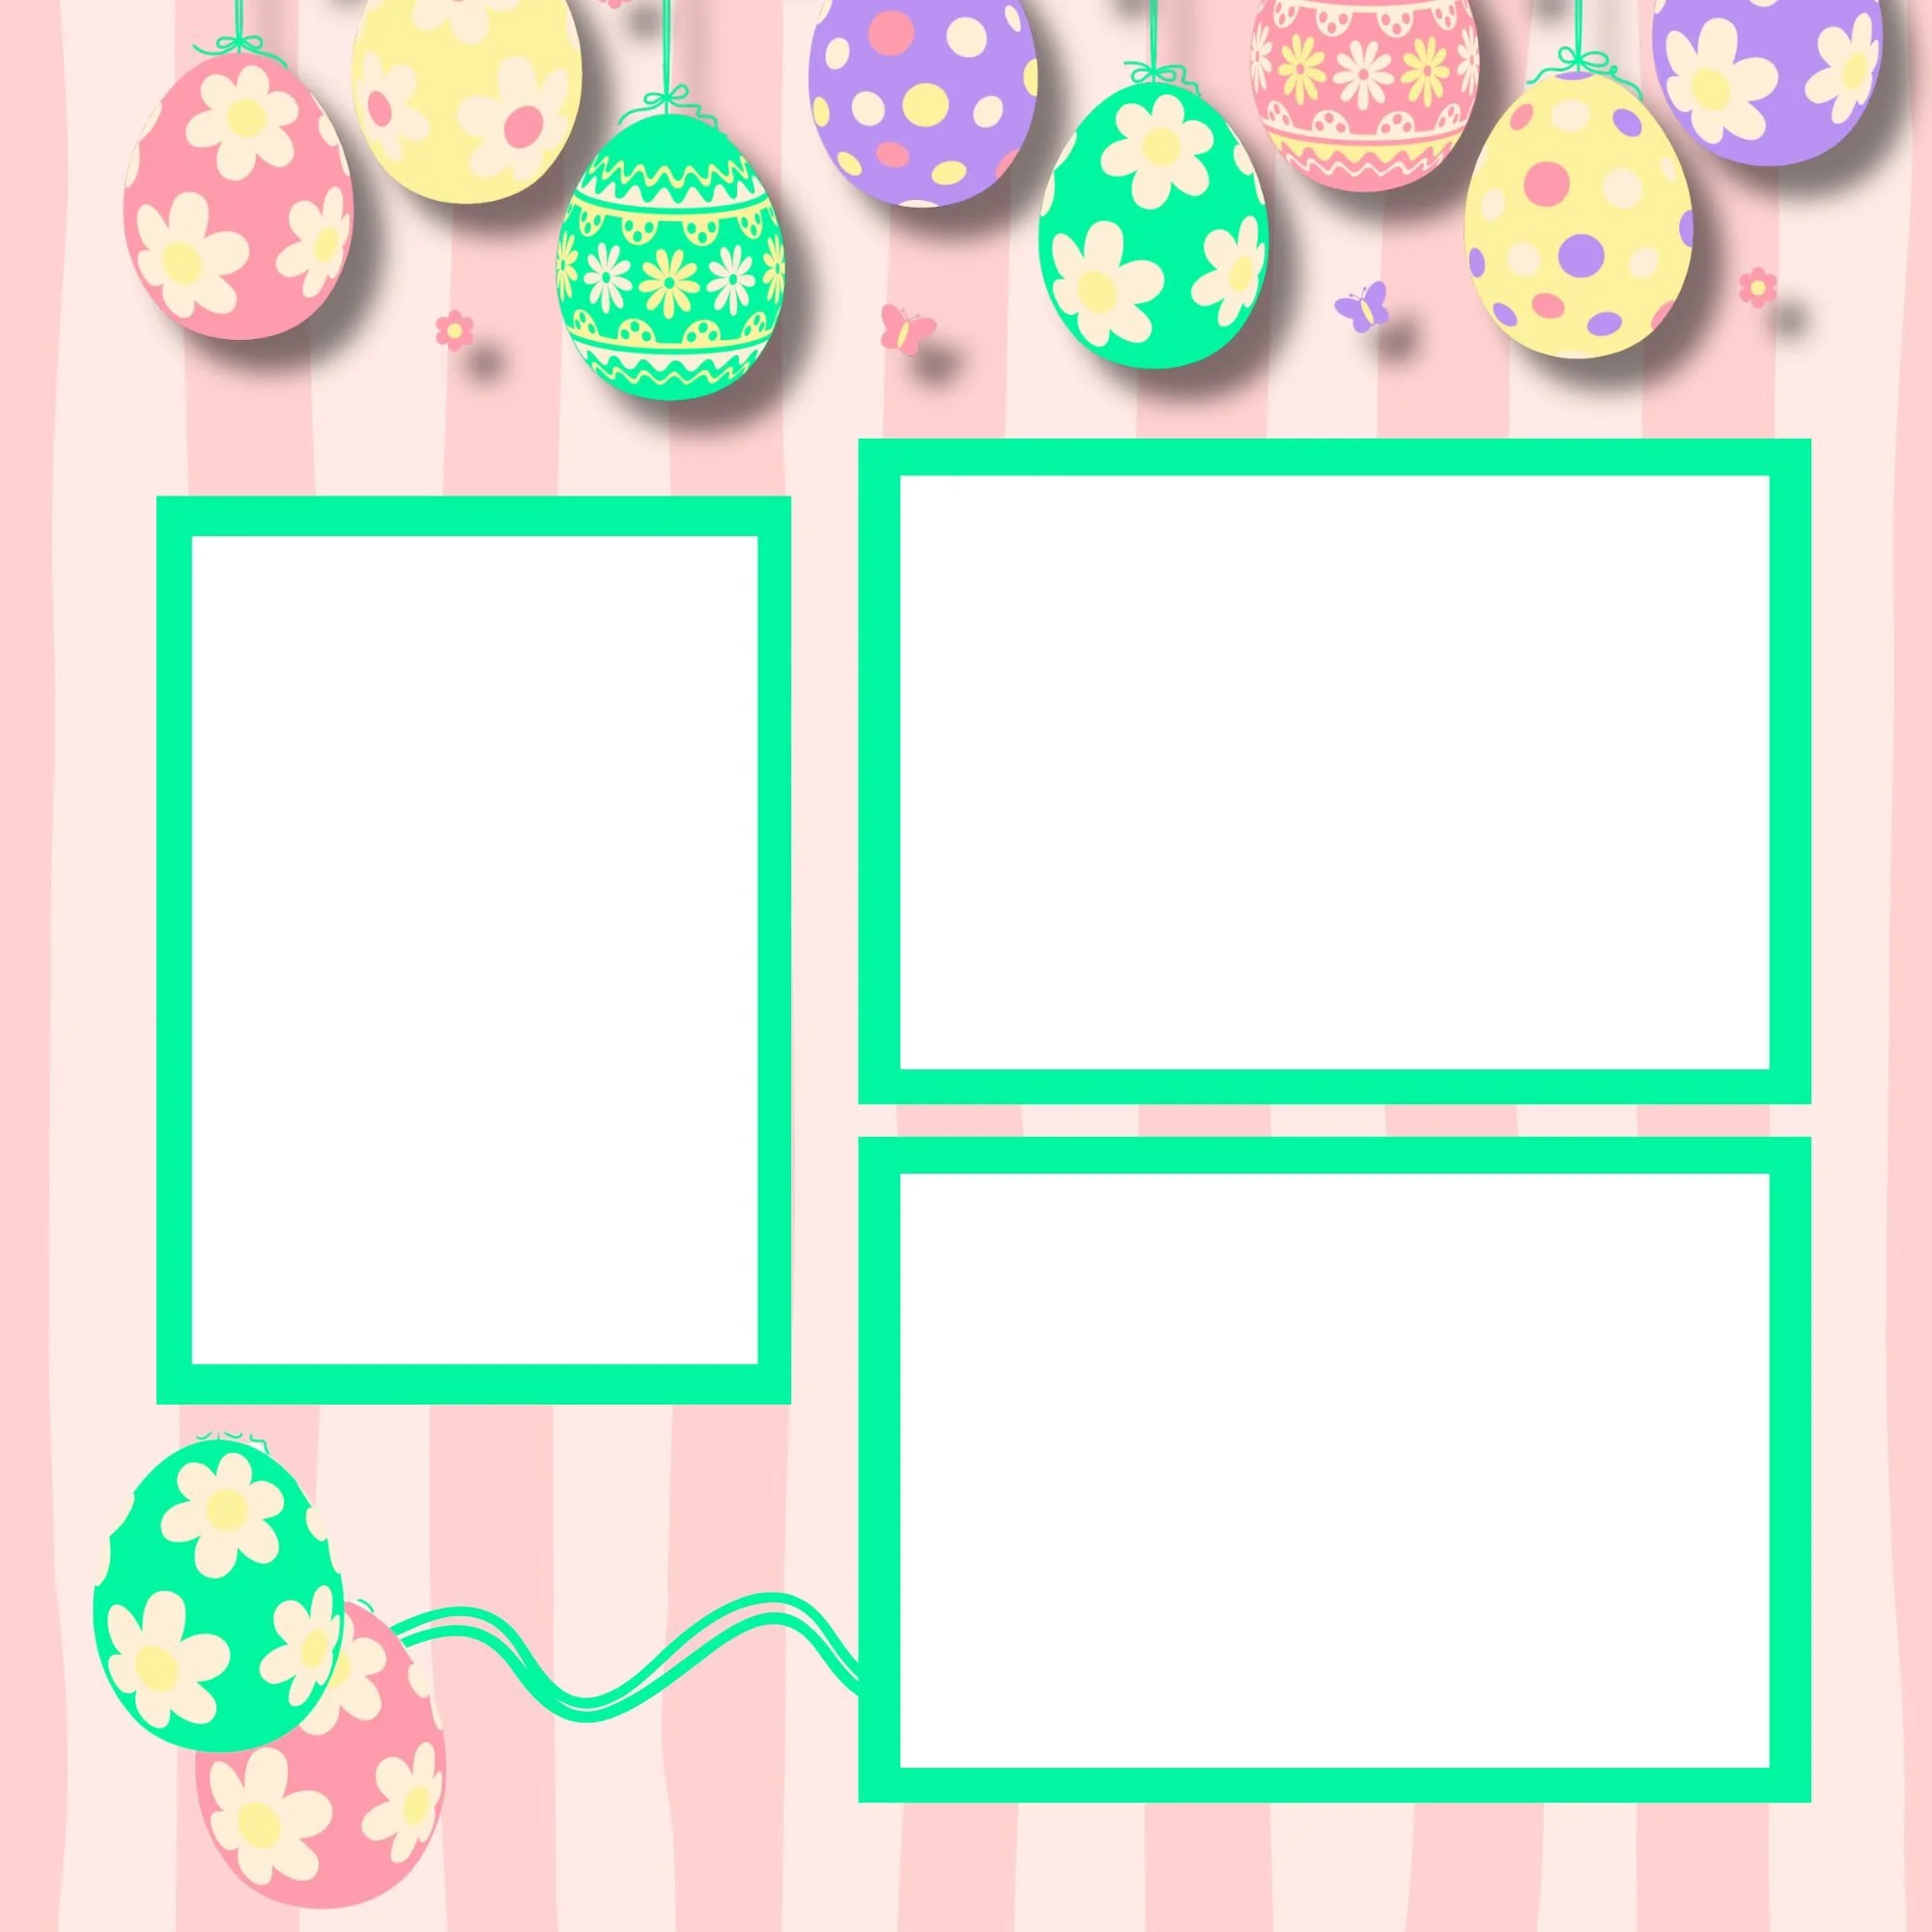
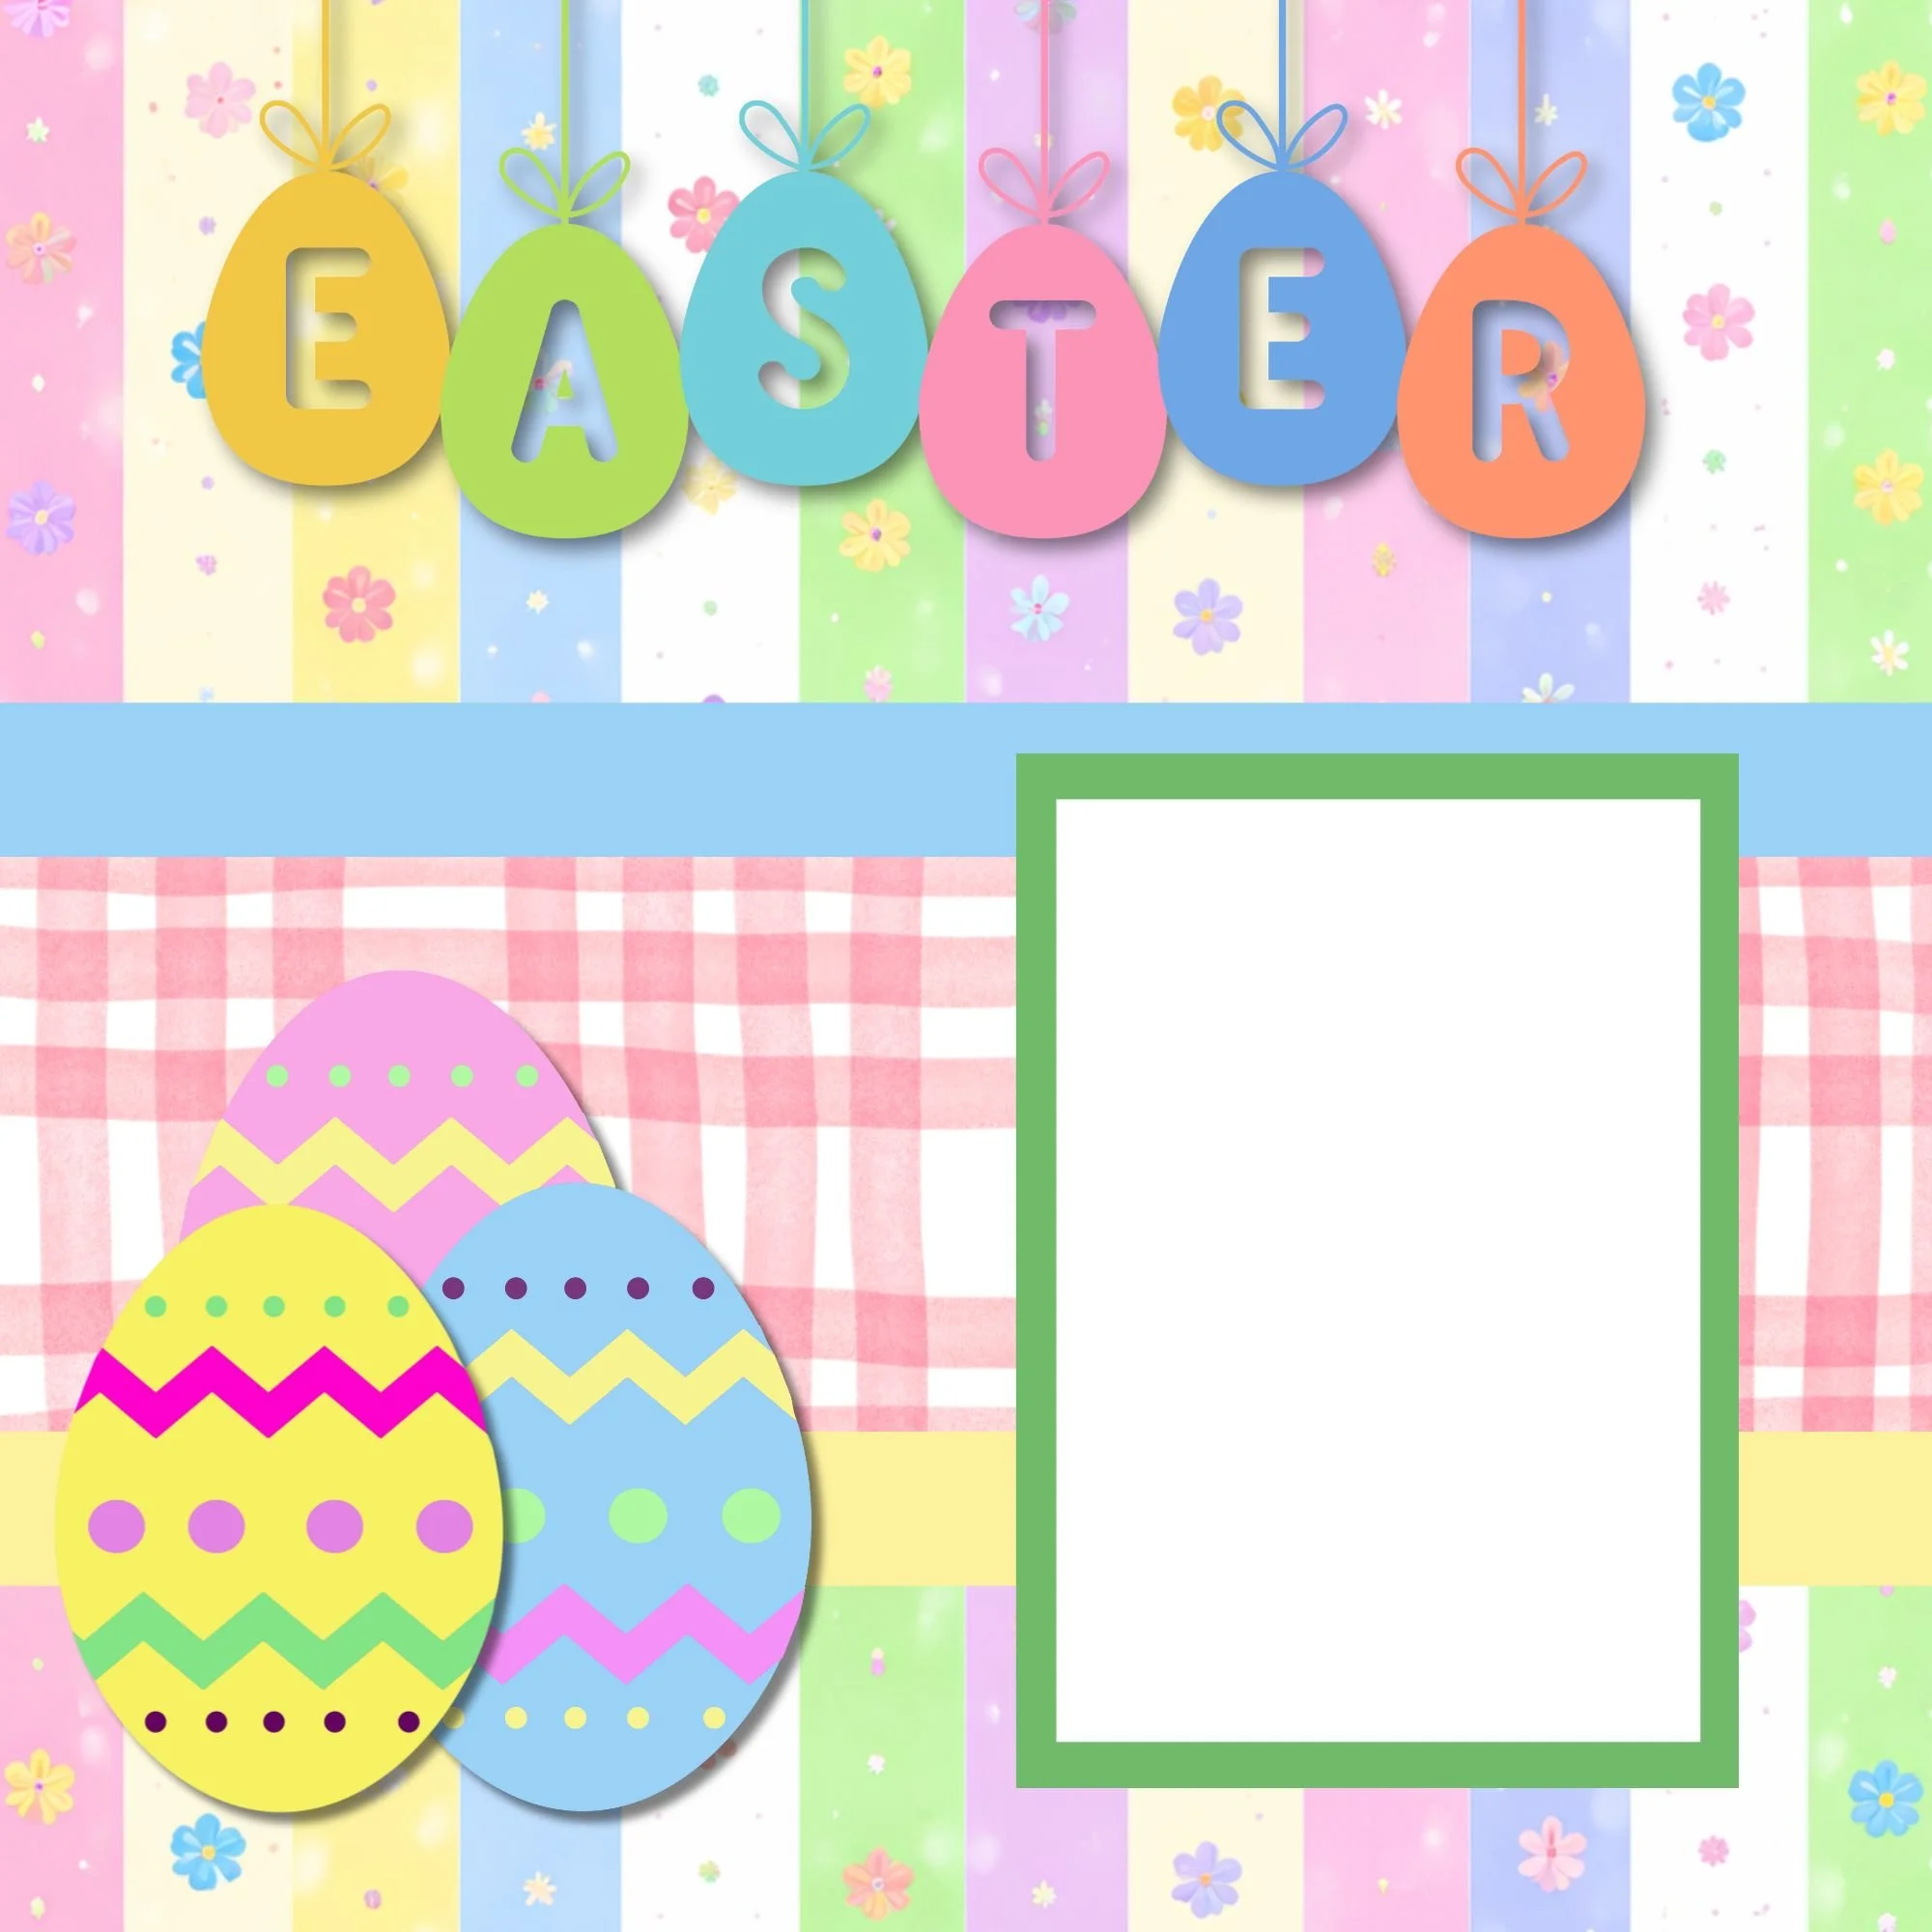
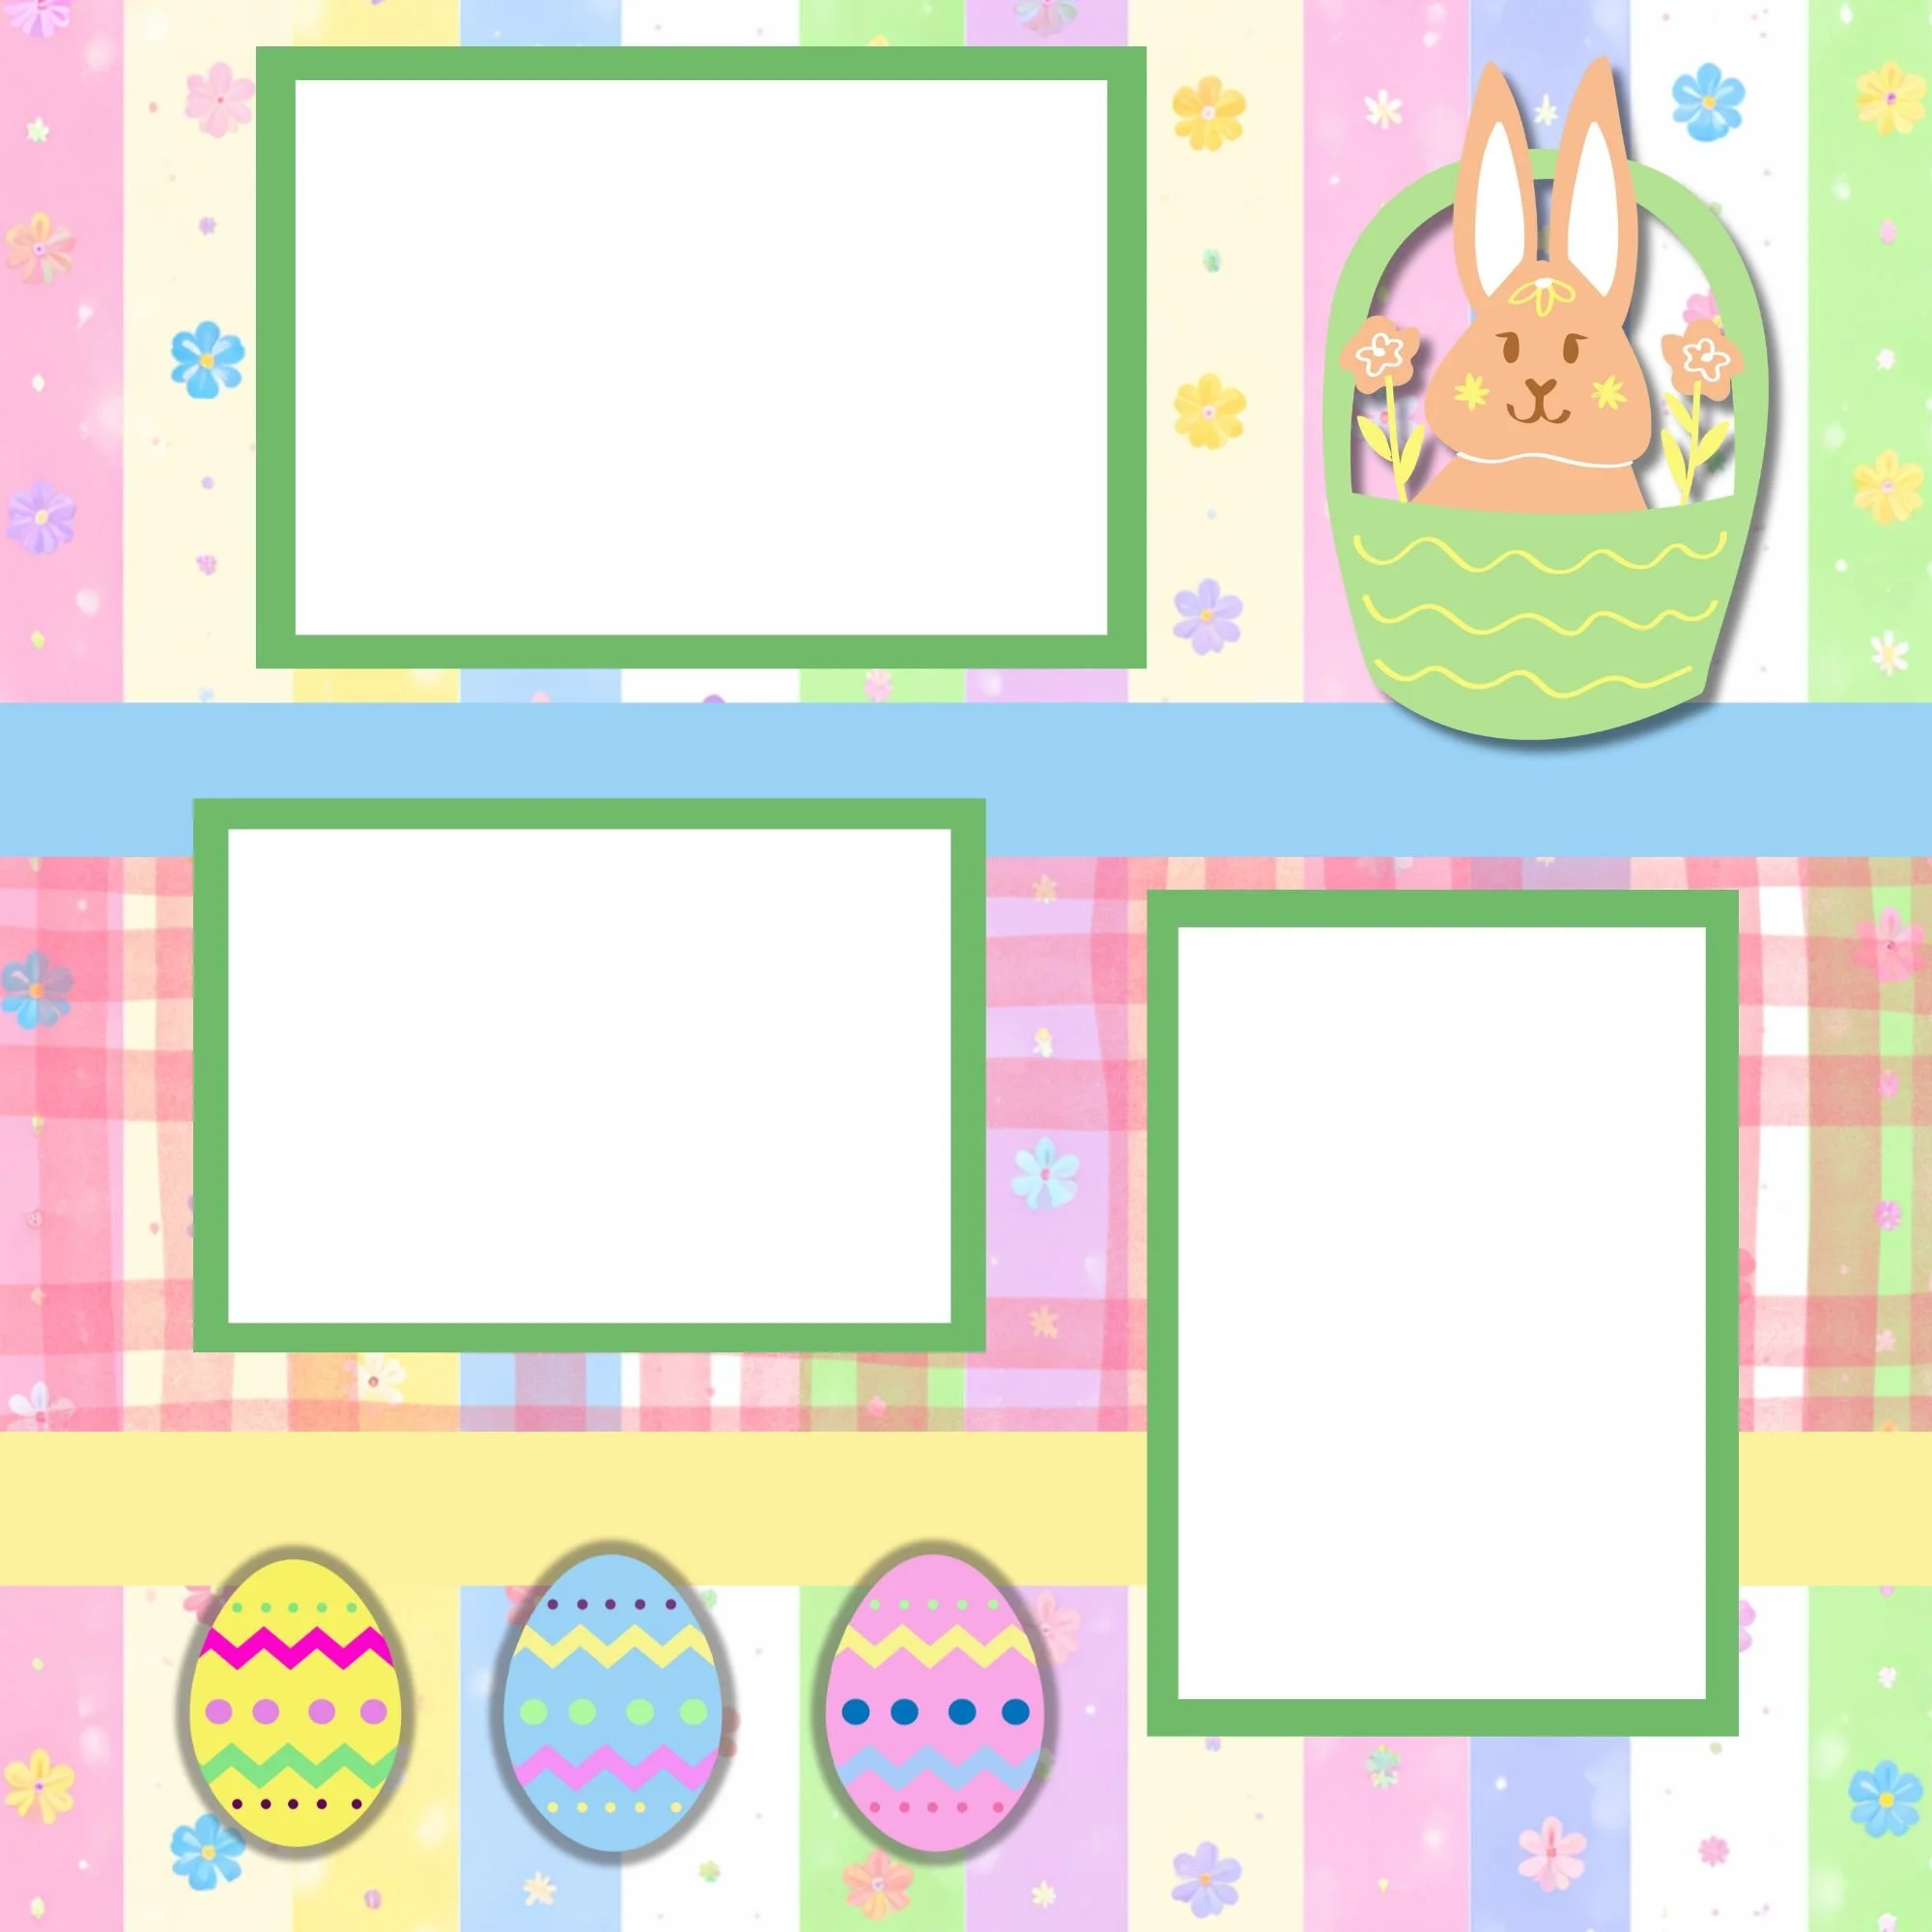
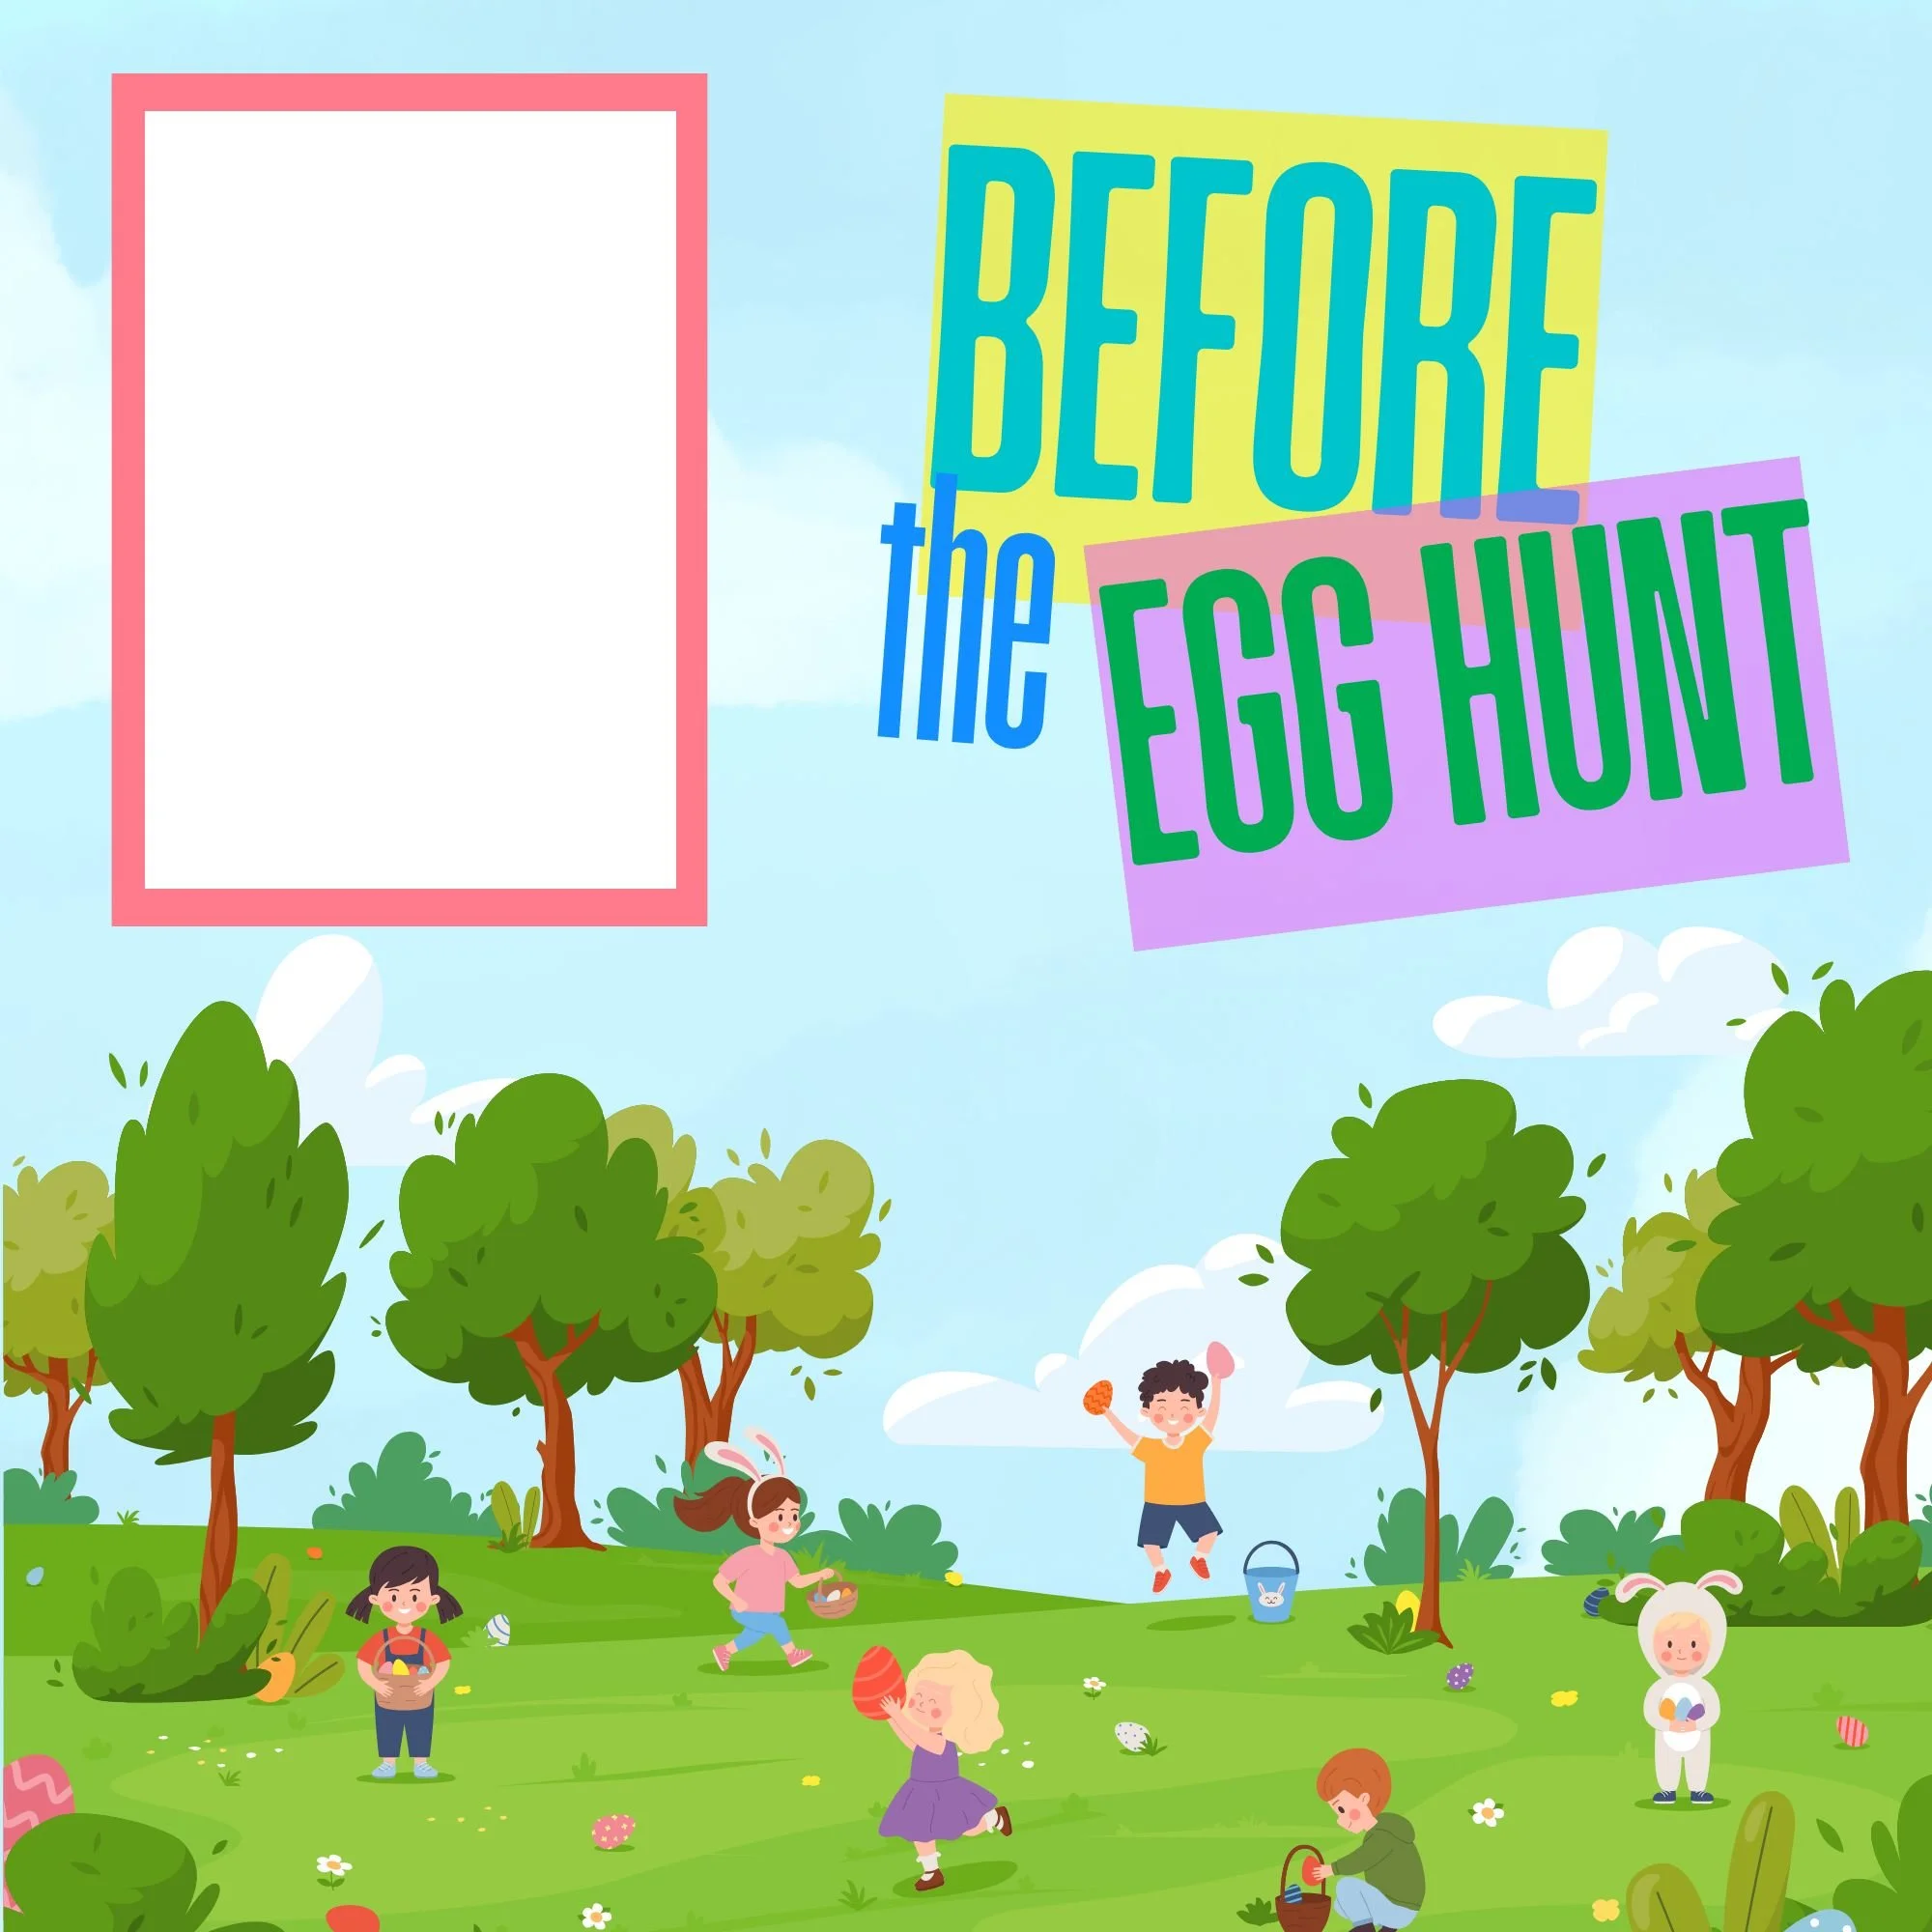
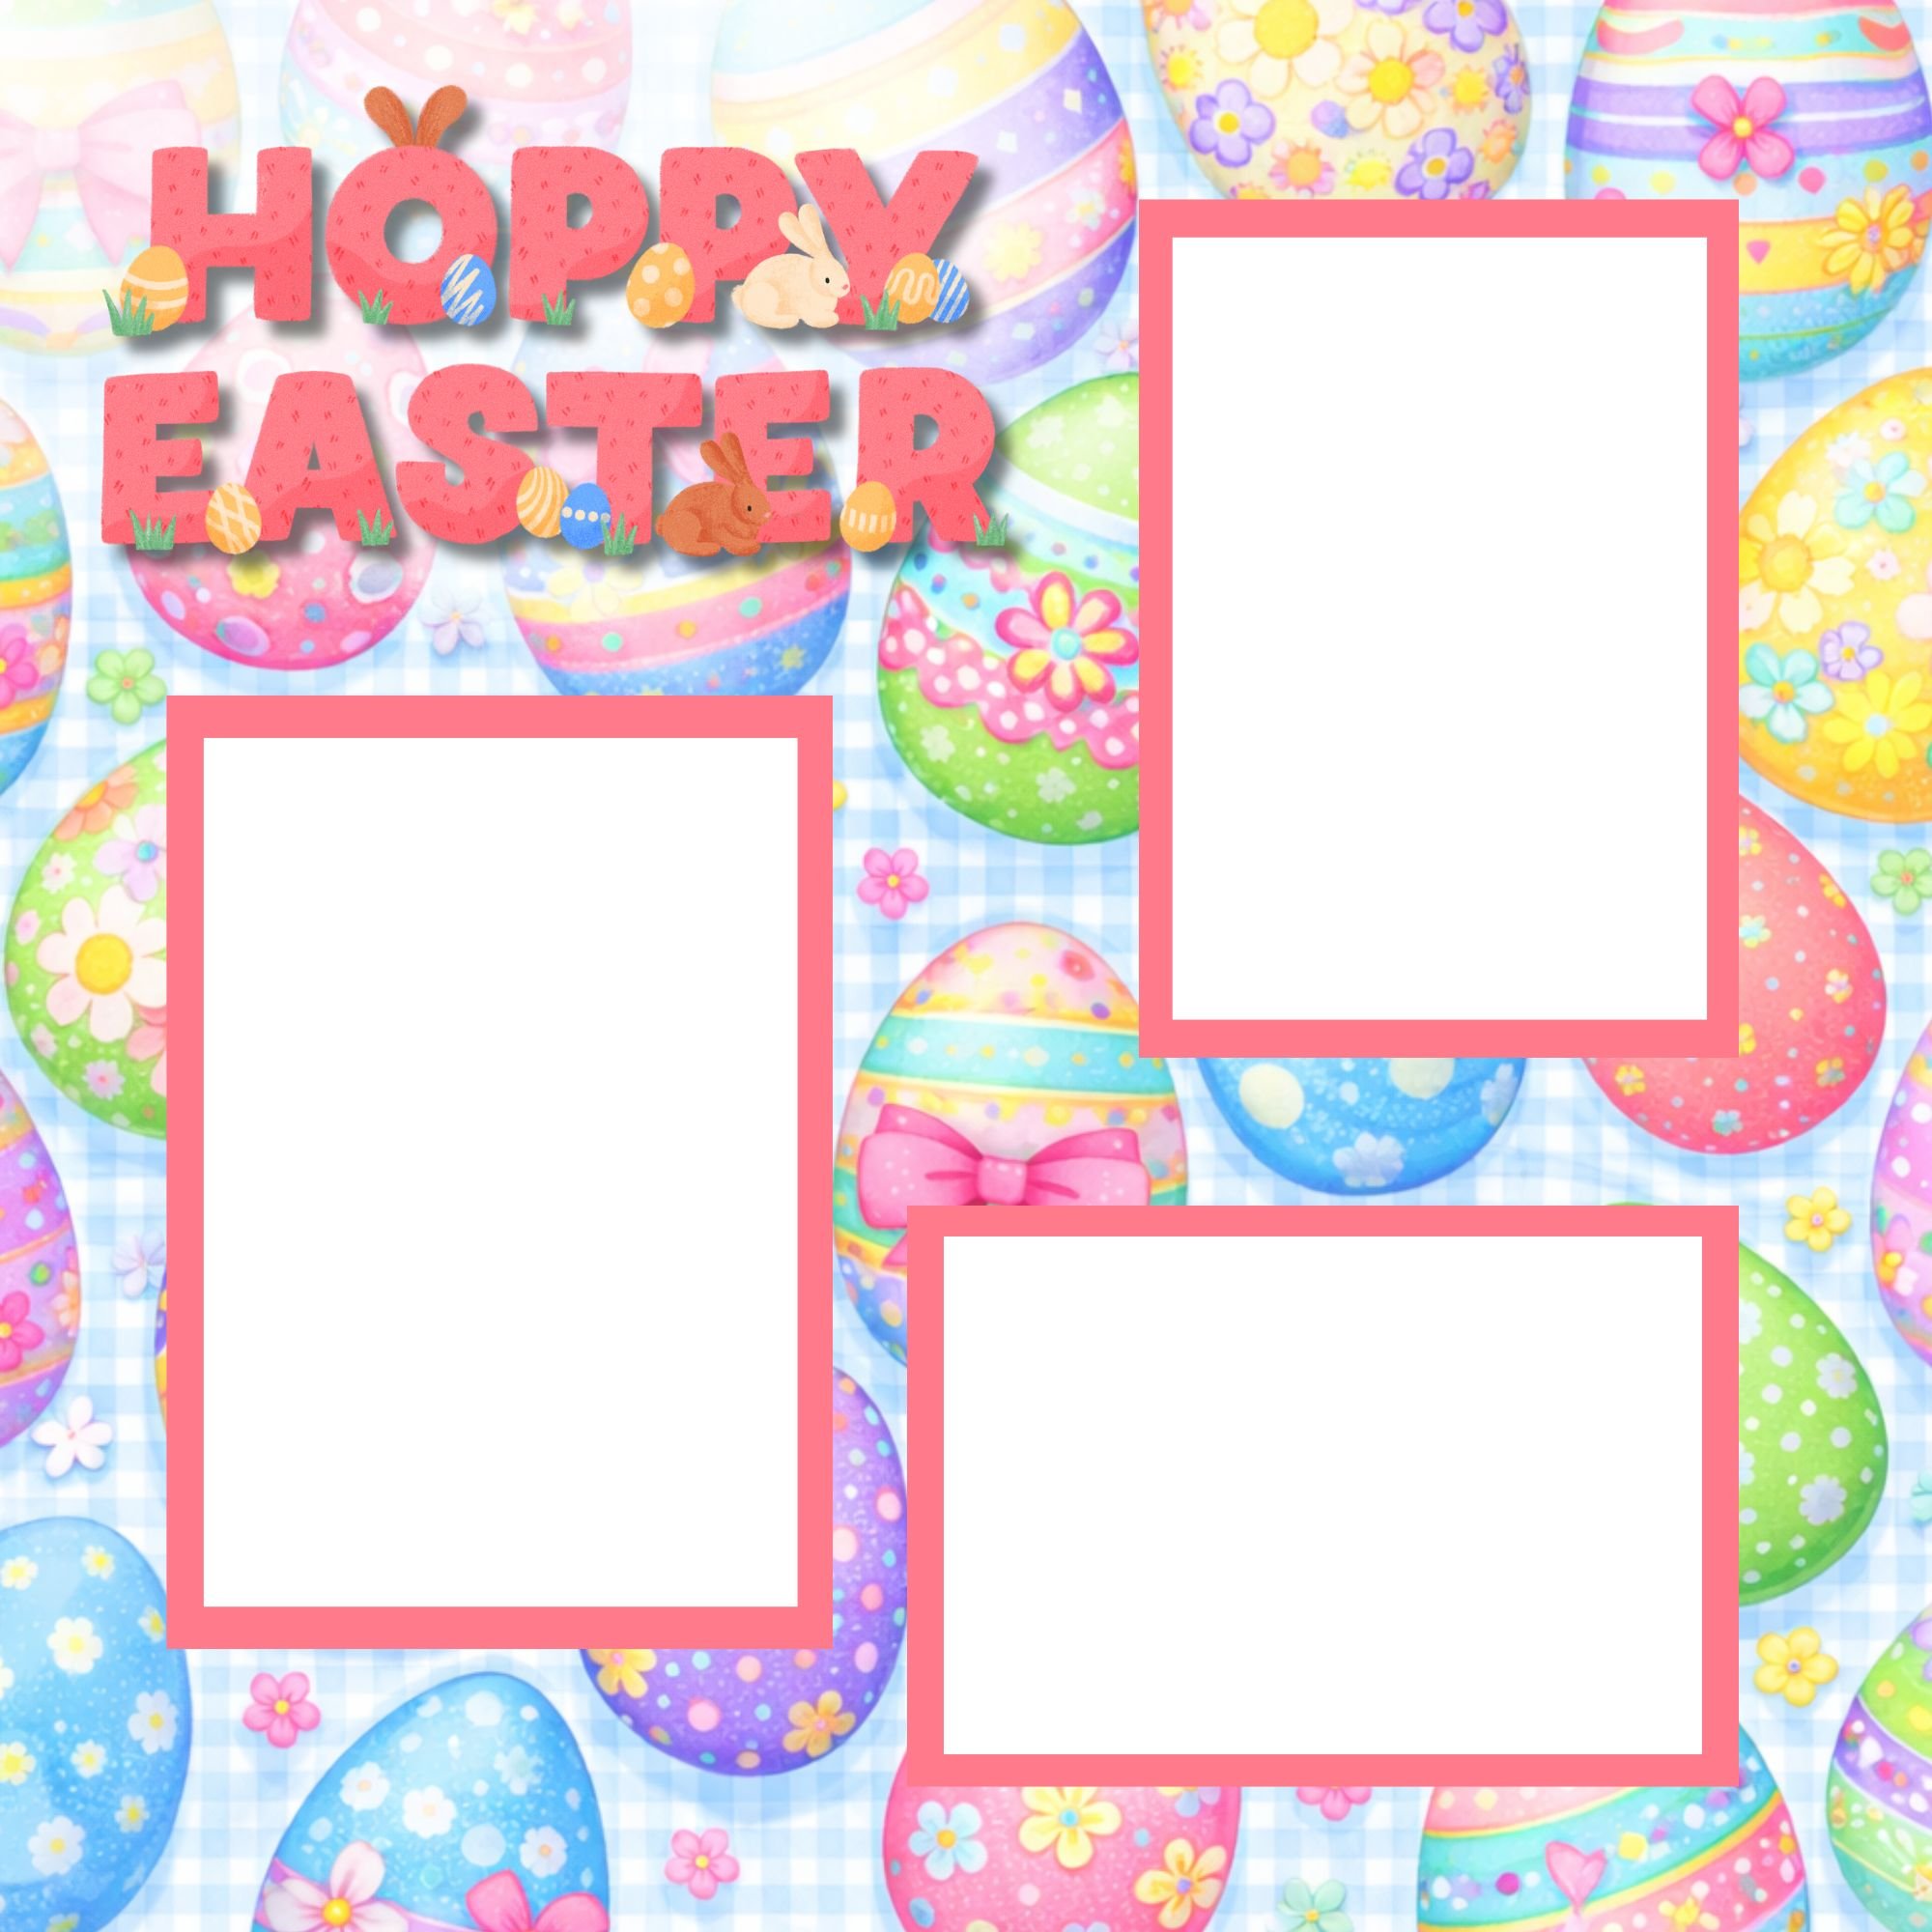
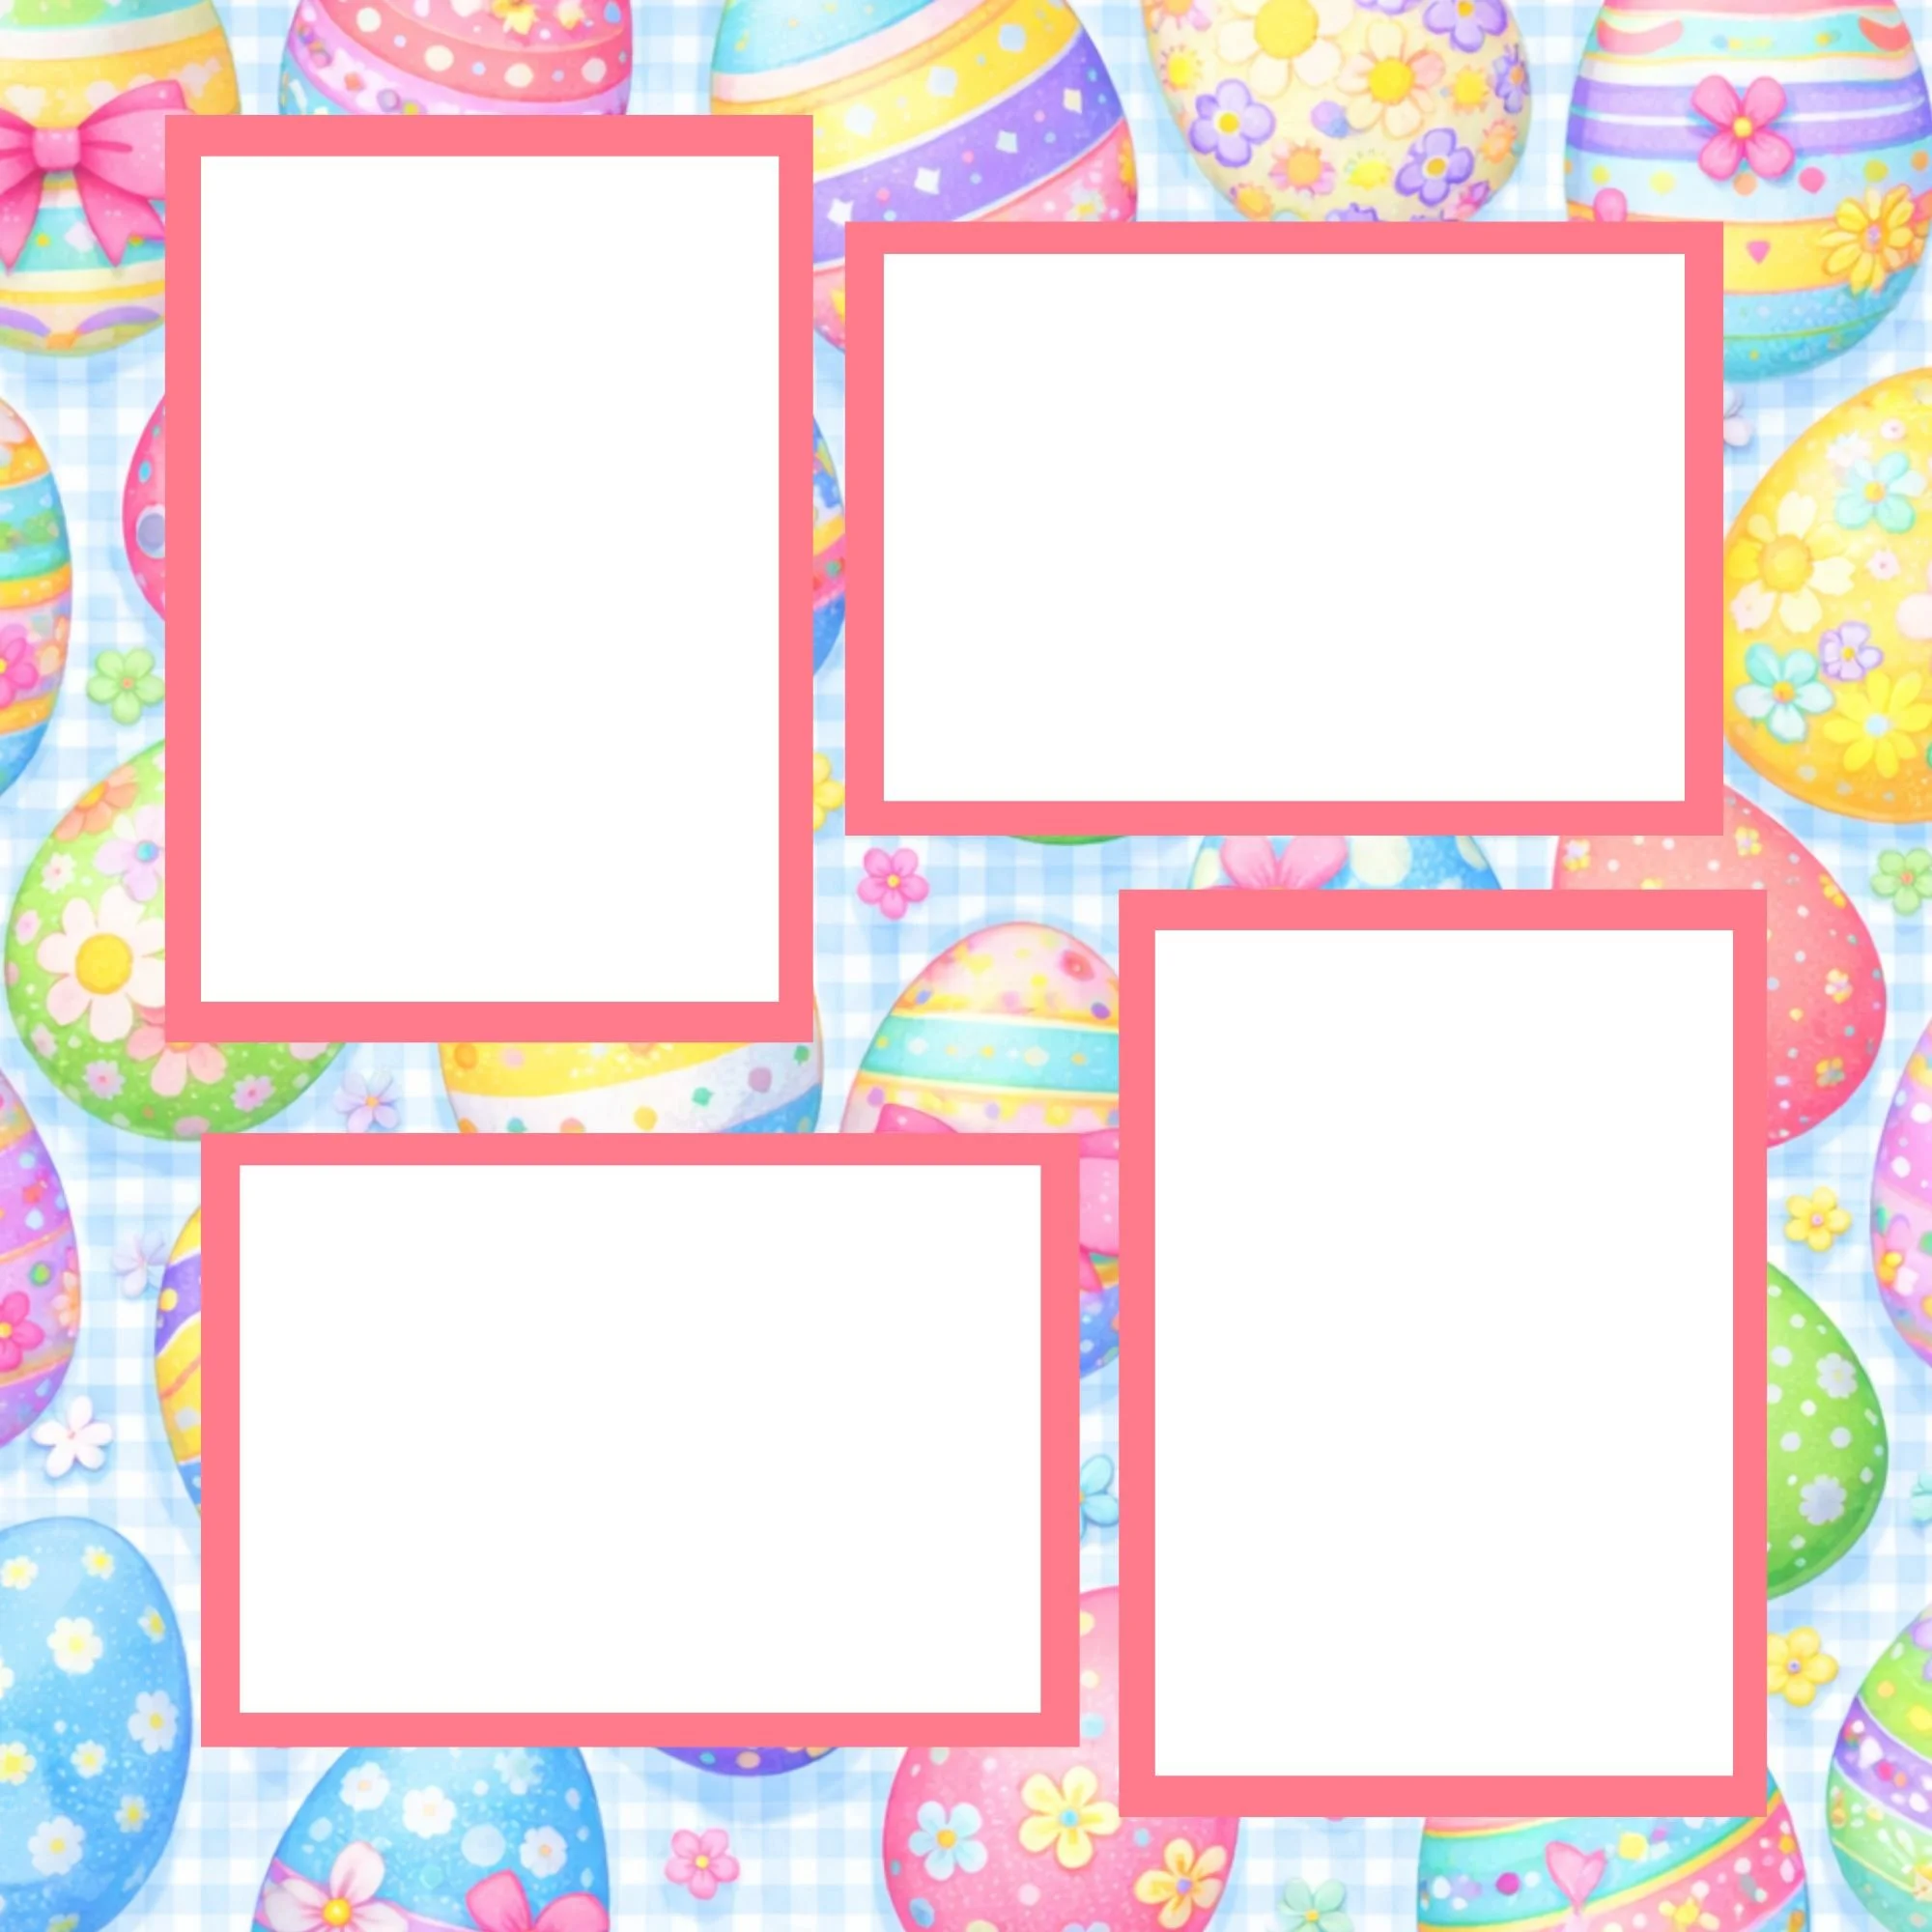
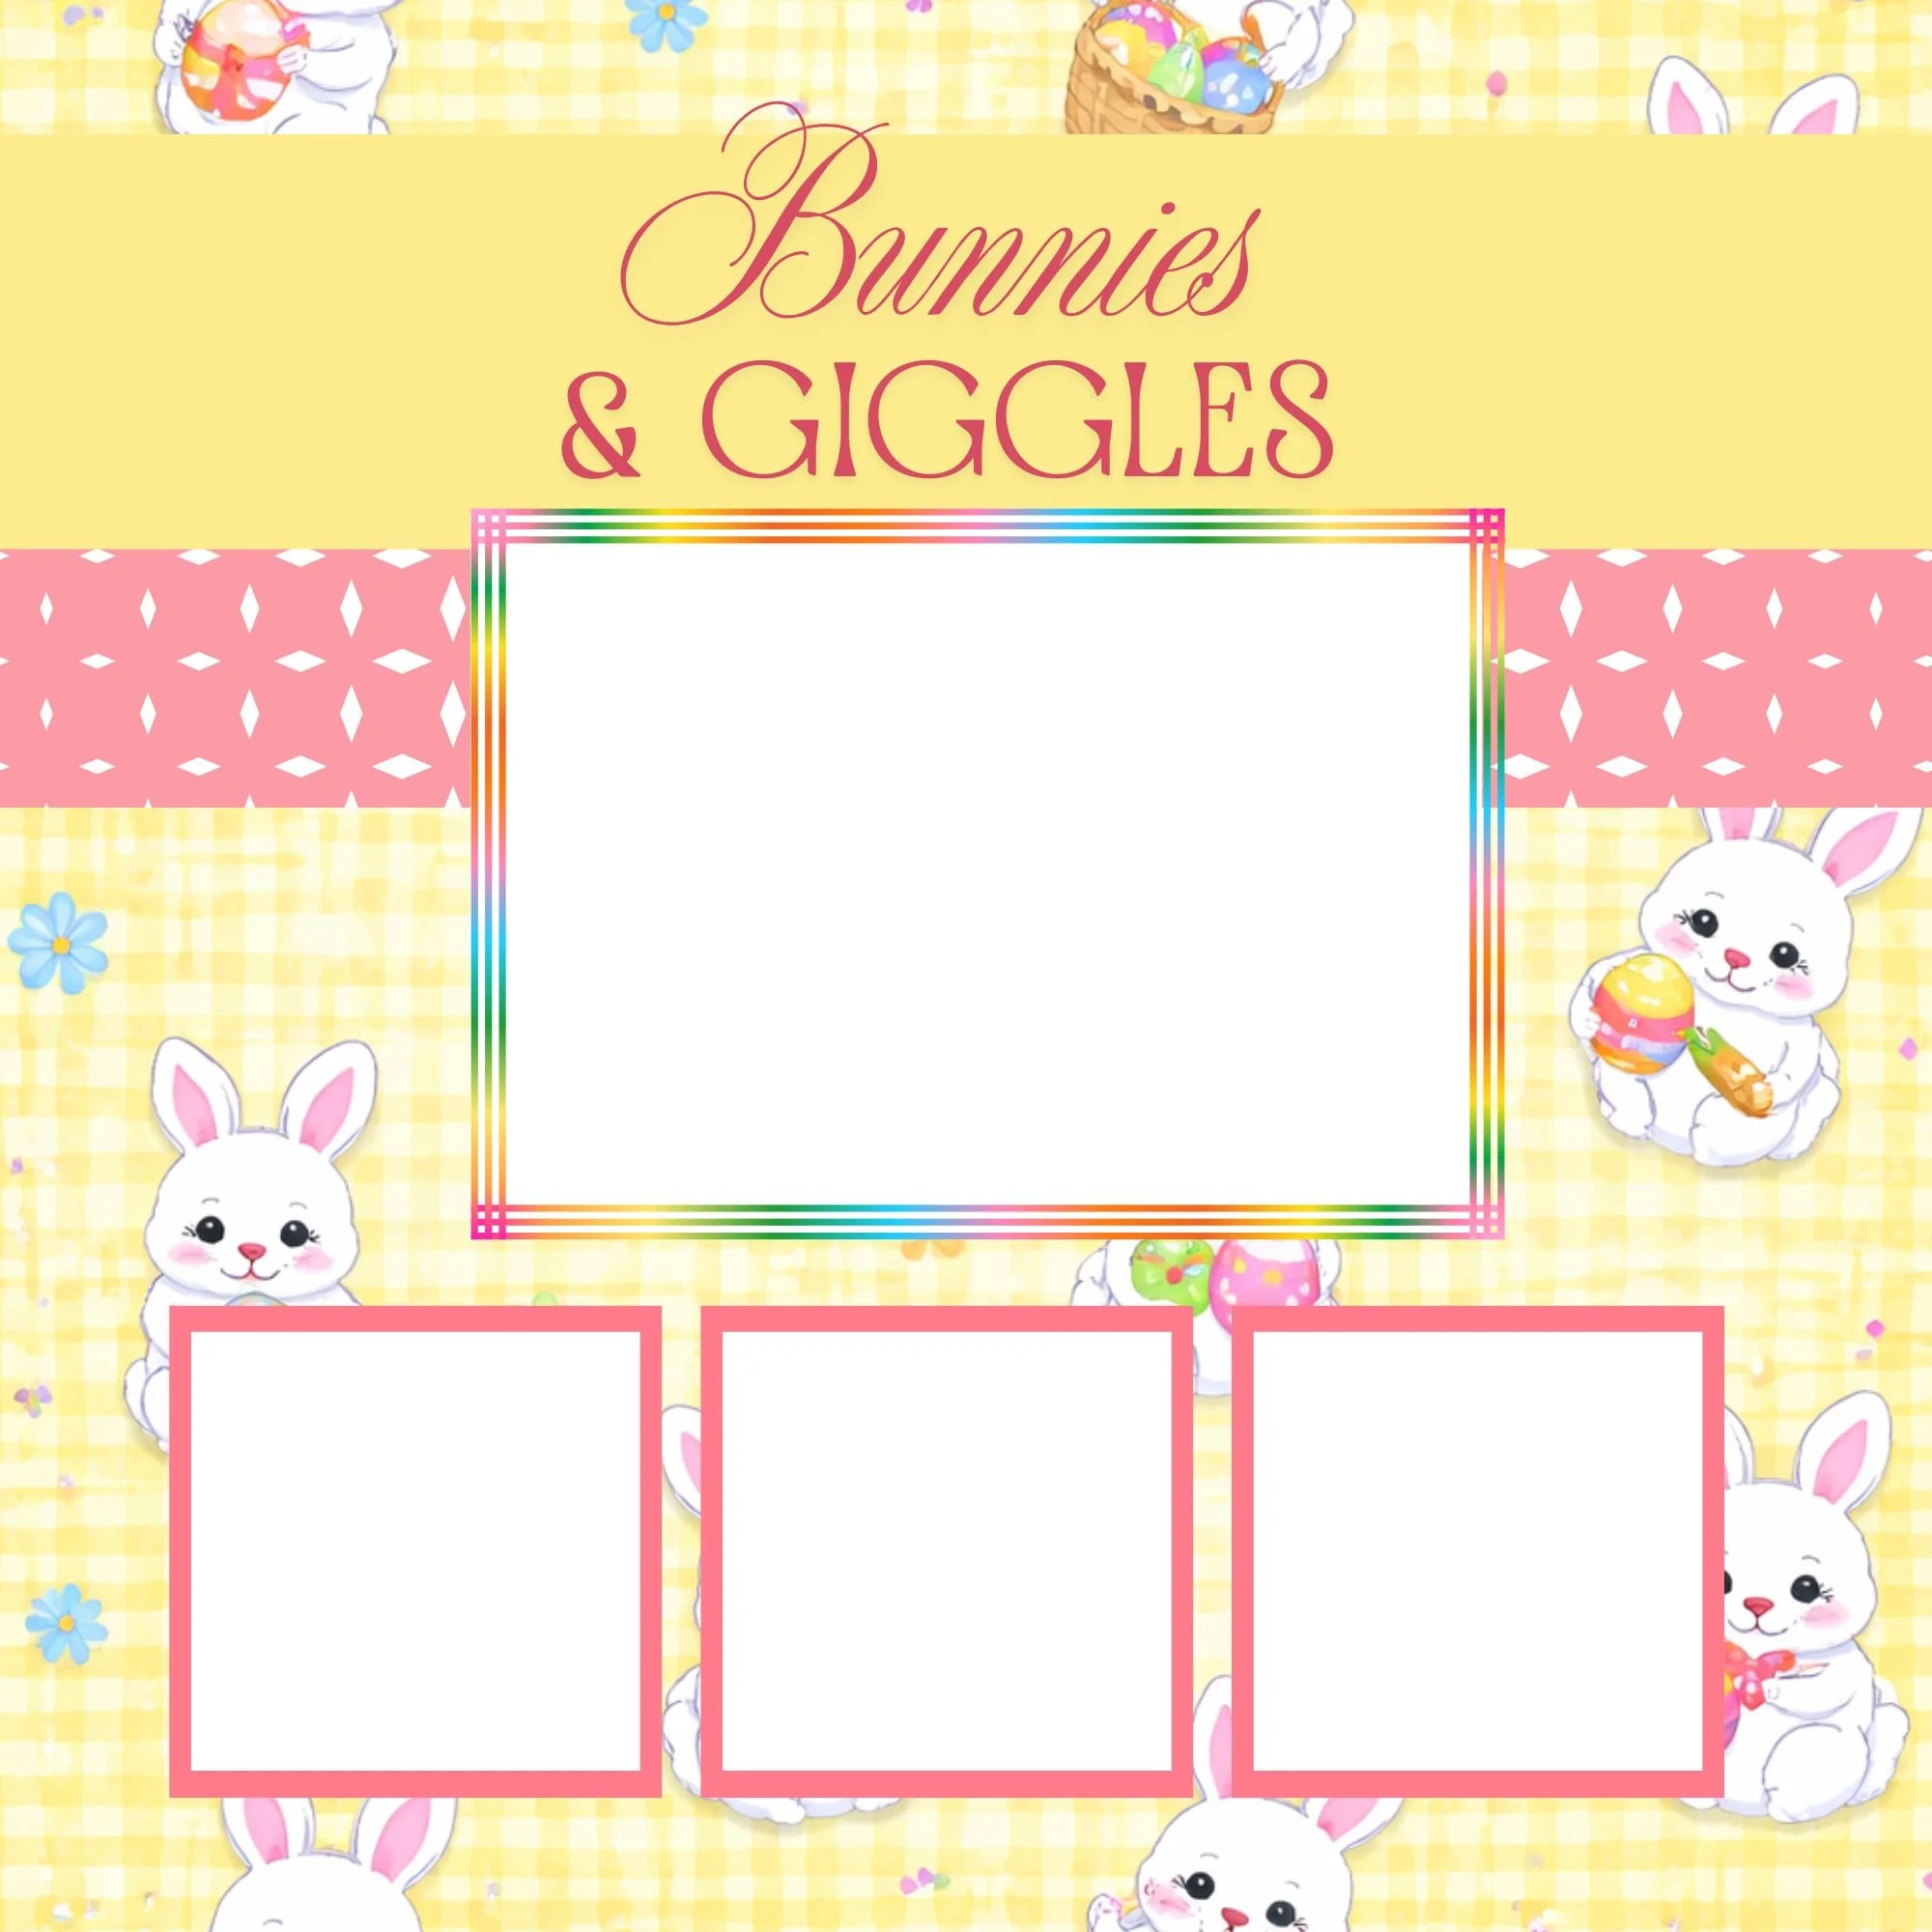
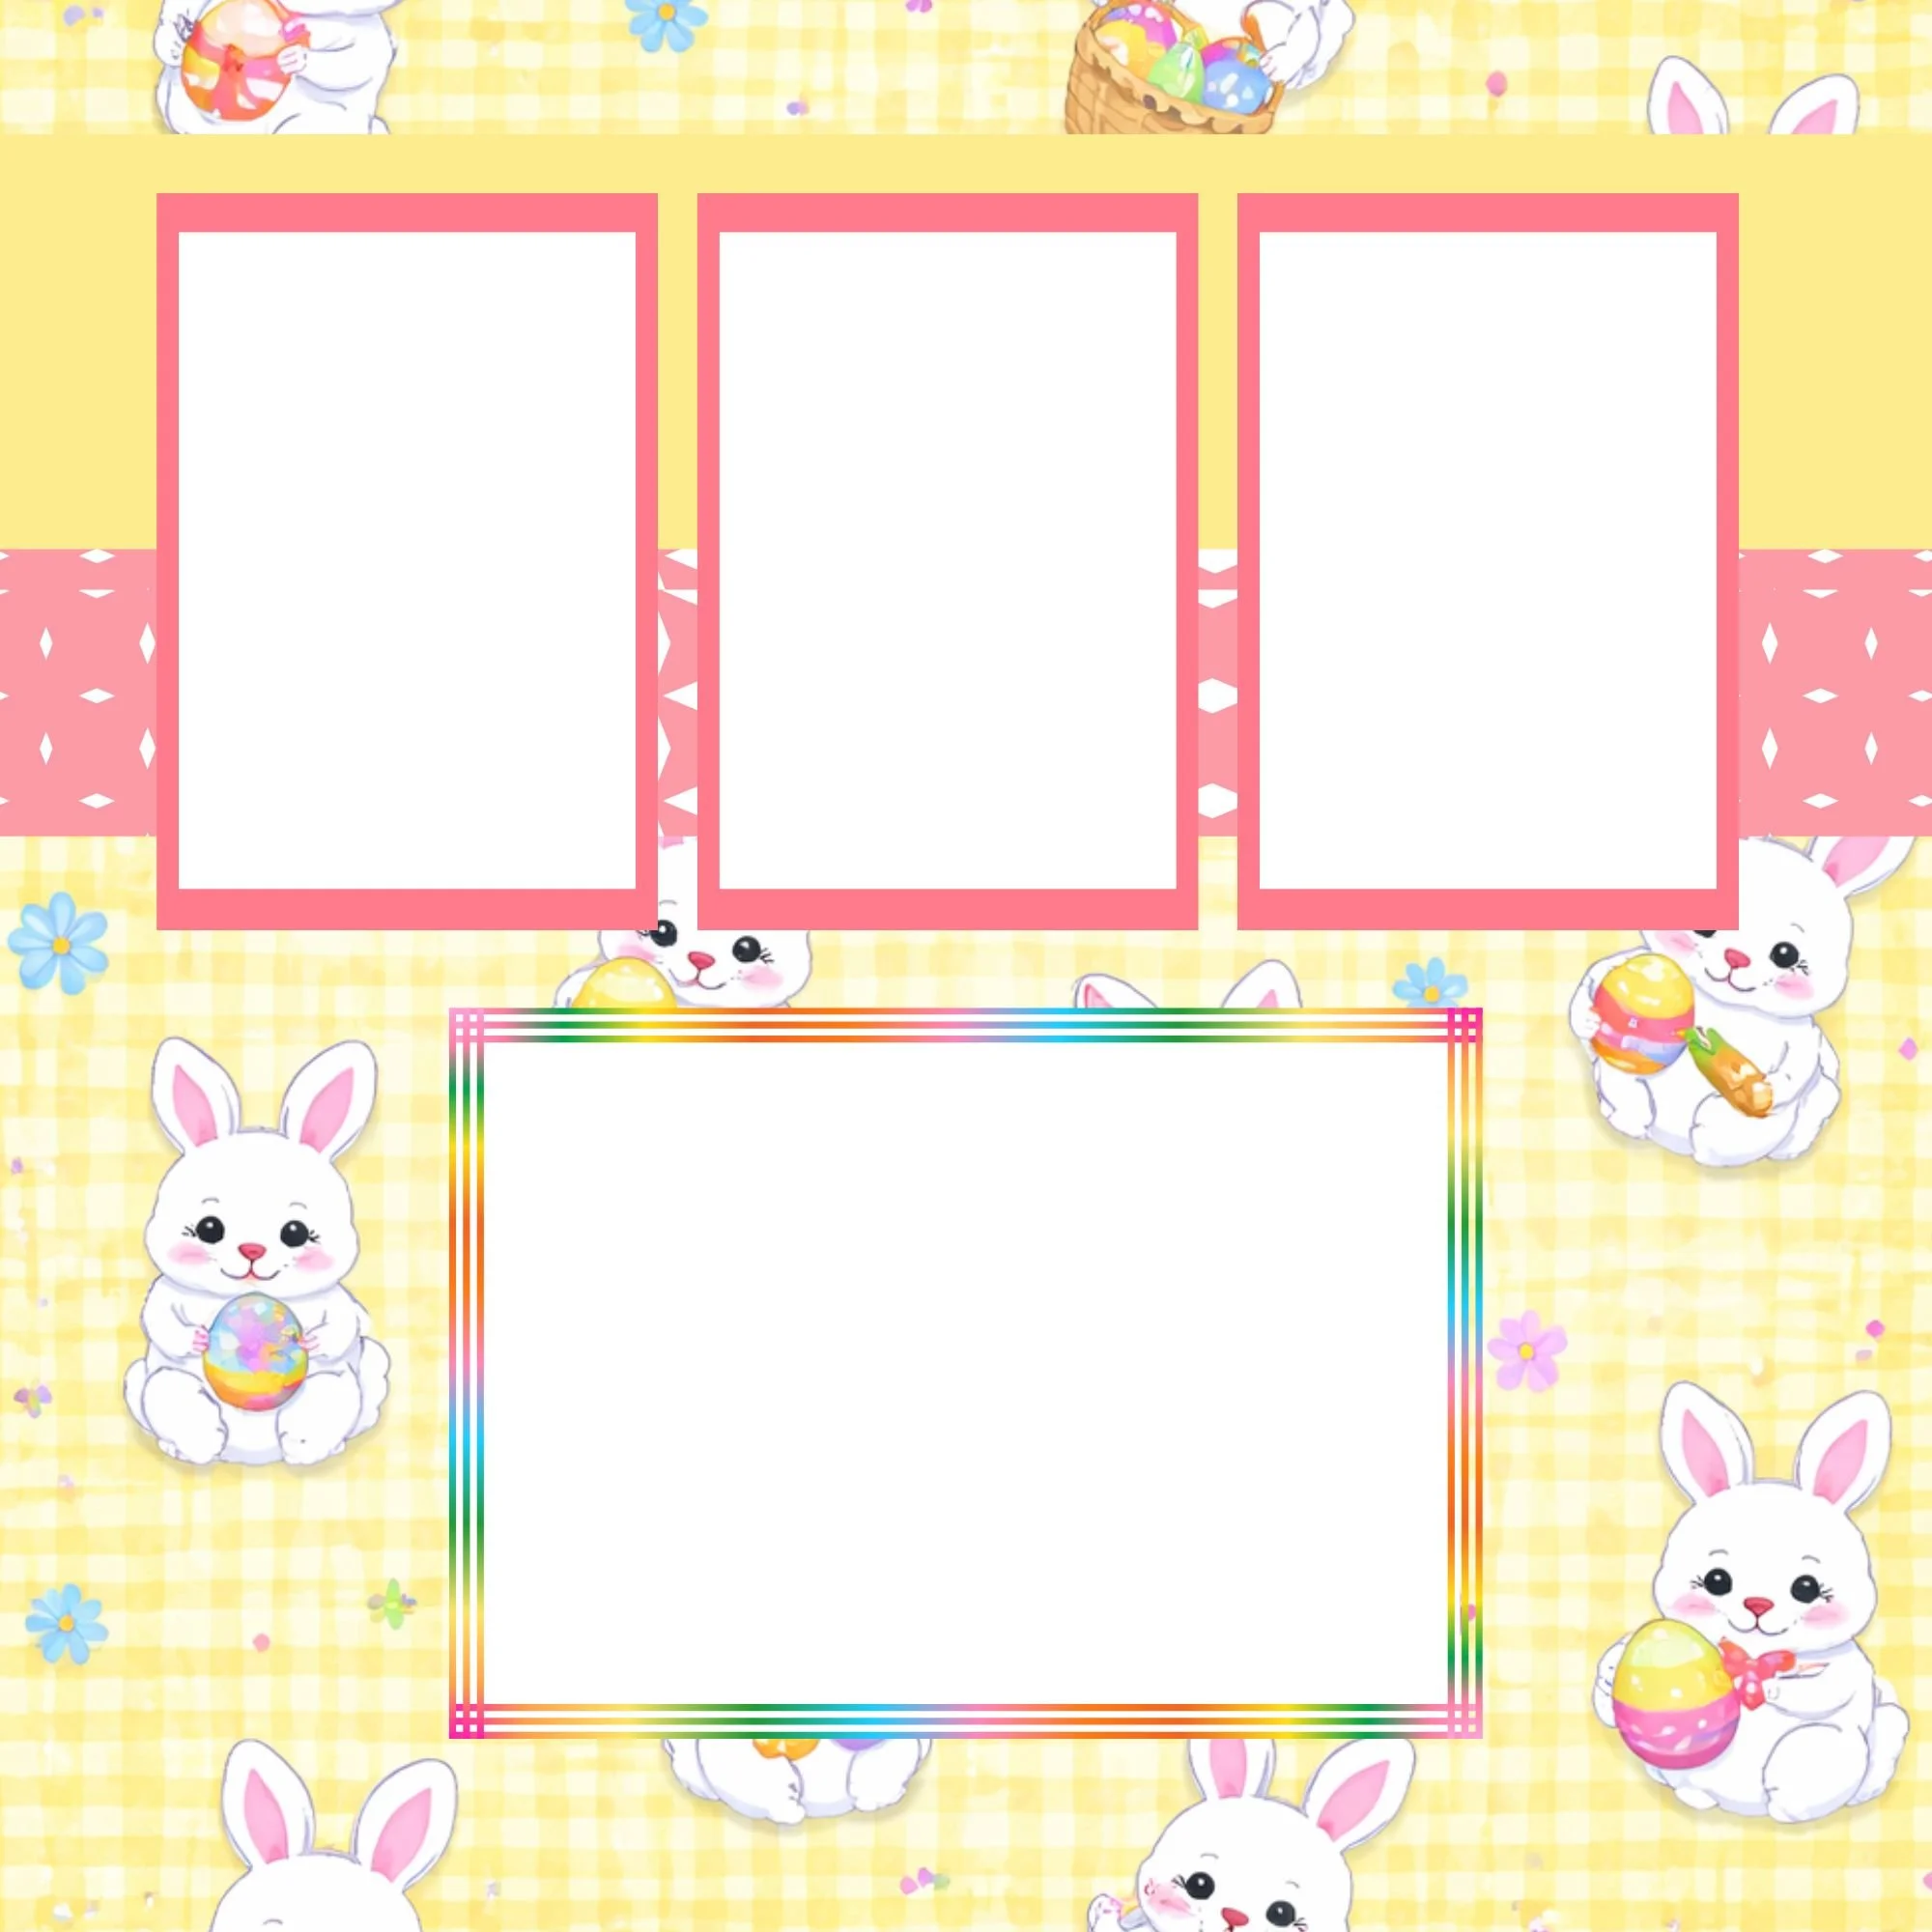
The Easter Memorette: A Perfect Canvas for Layering
For this project, I’m working with the Easter Memorette, which was thoughtfully designed to make memory-keeping simple while still giving you creative freedom.
There are three Easter Memorette versions to choose from, depending on the look and feel you love:
Signature- Custom and personalized front cover with fully designed layouts, so you just need to add photos. Perfect for those short on time or not crafters or scrapbookers.
Curated Edition- Custom and personalized front and back cover with color-coordinated alternating pastel blank pages perfect for avid scrapbookers.
Creator Edition- Custom and personalized front and back cover with white blank pages, perfect for avid scrapbookers.
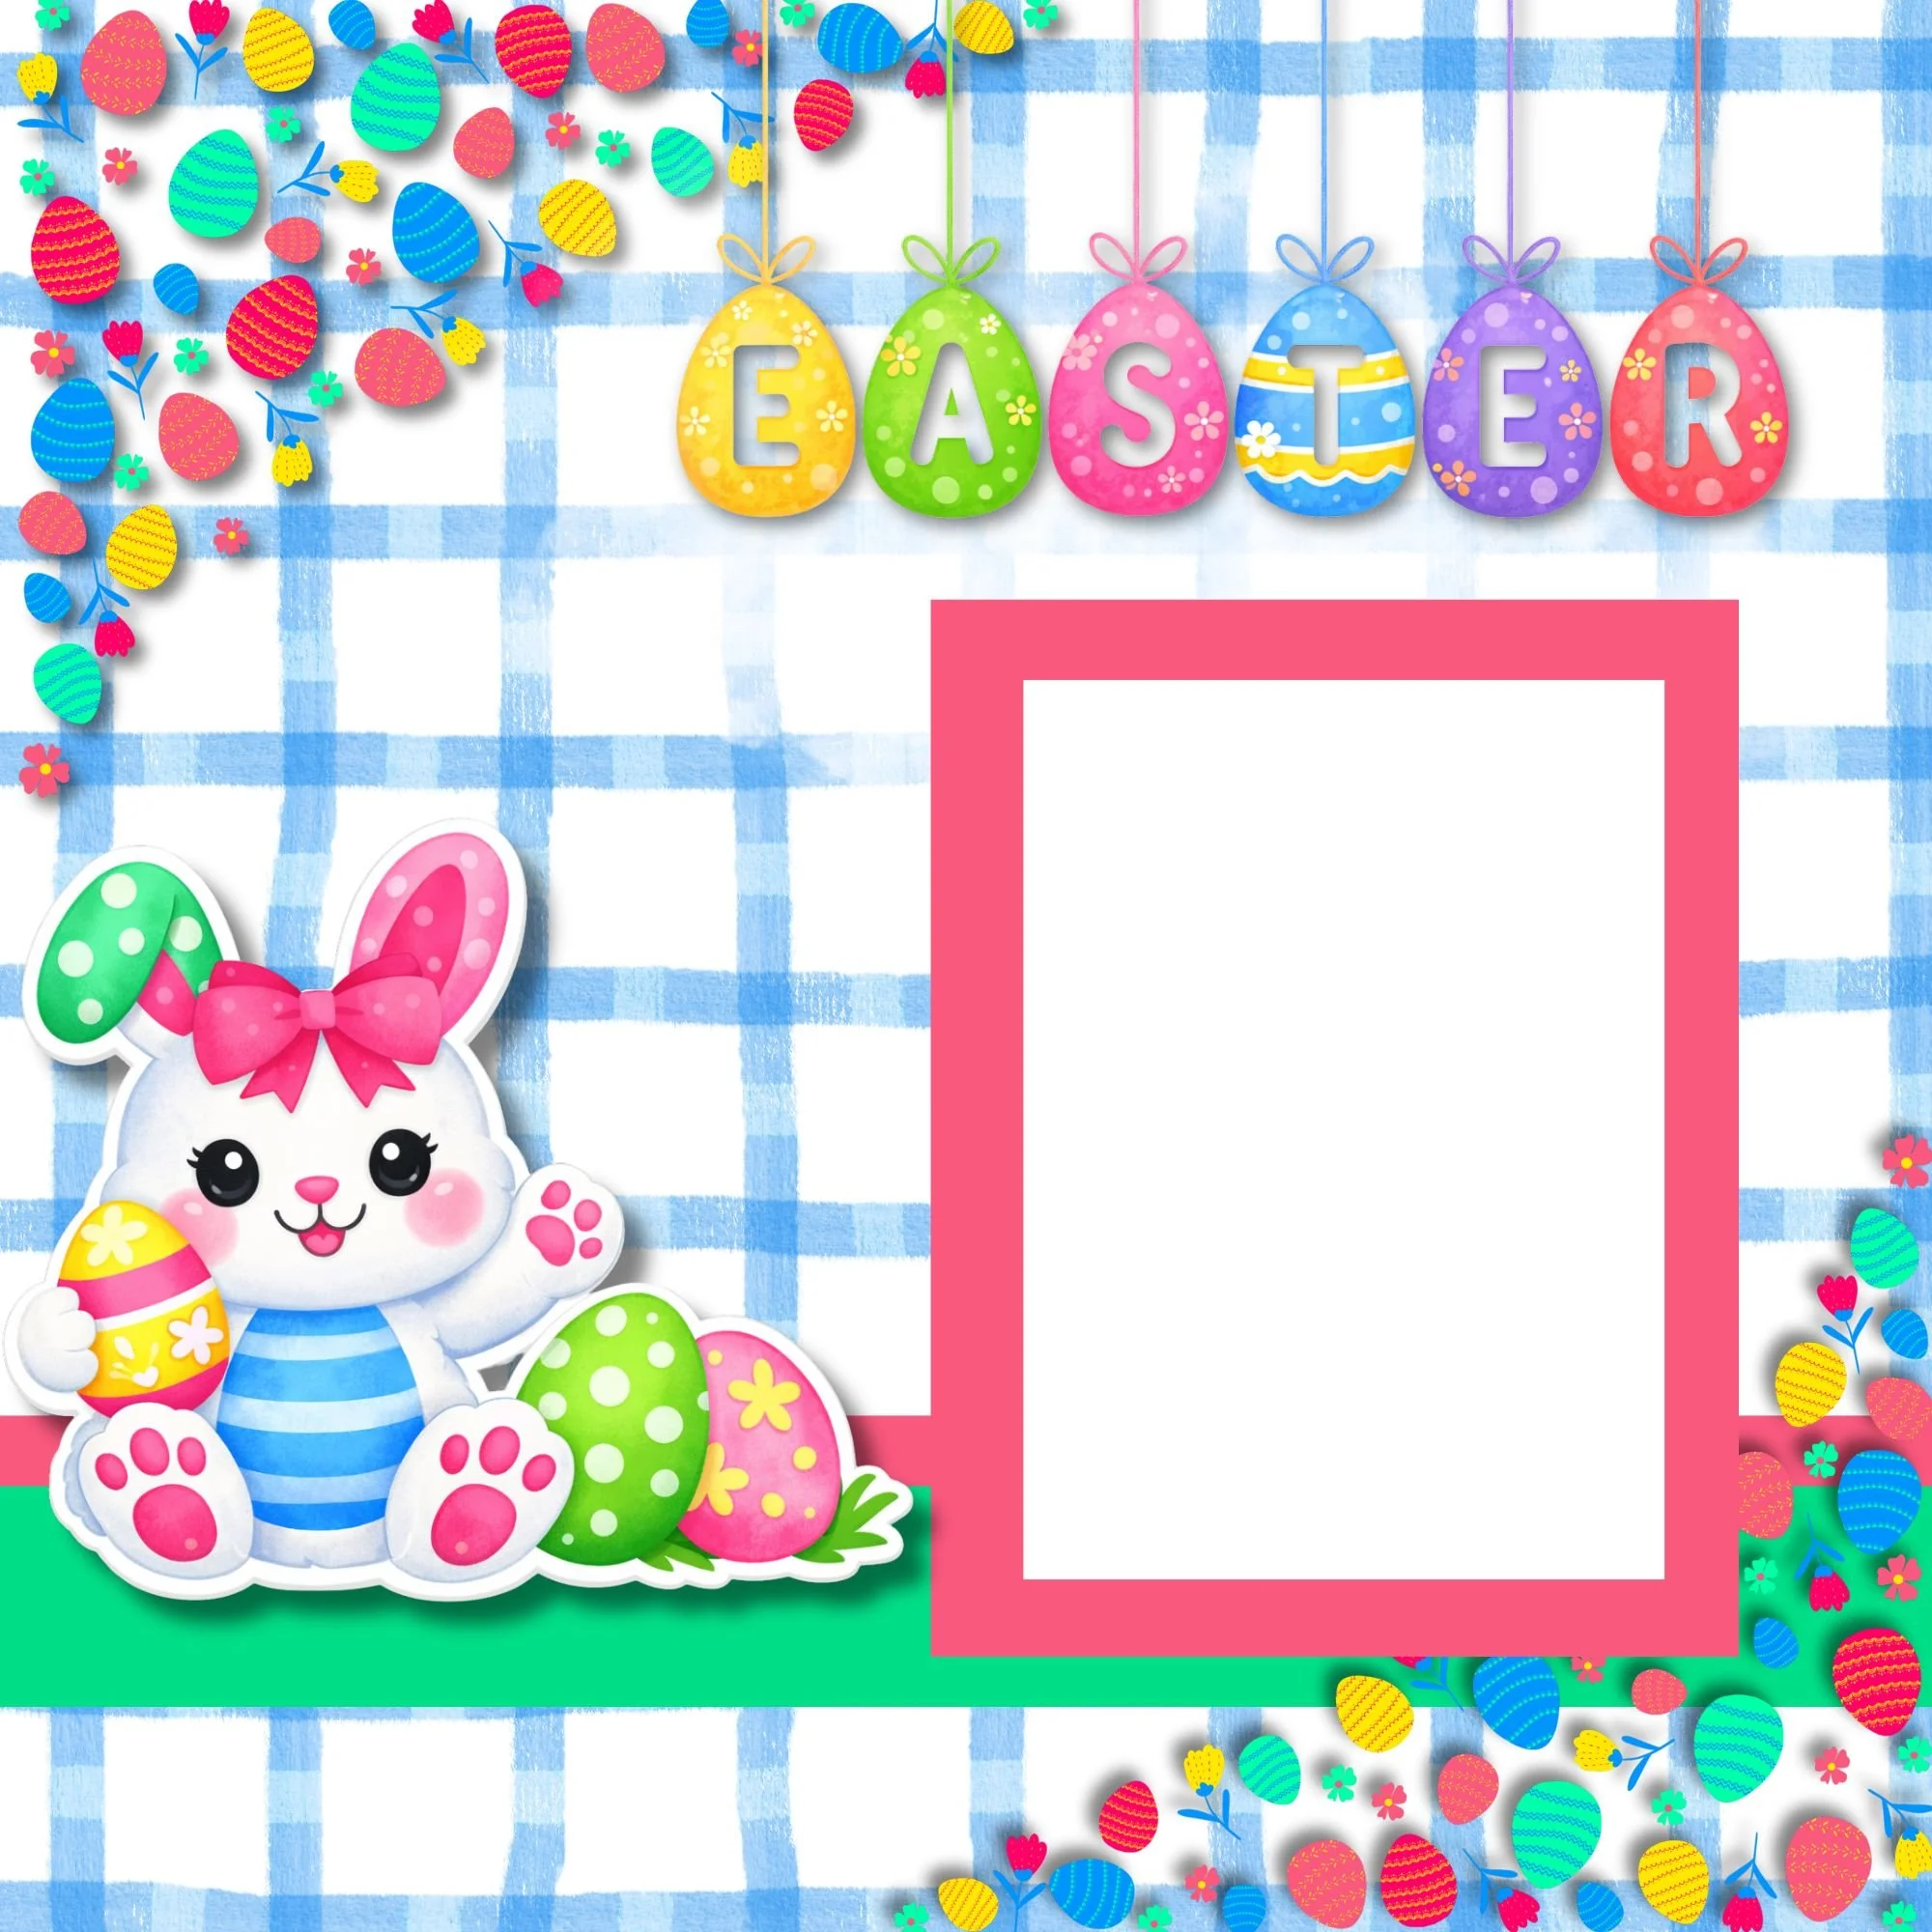
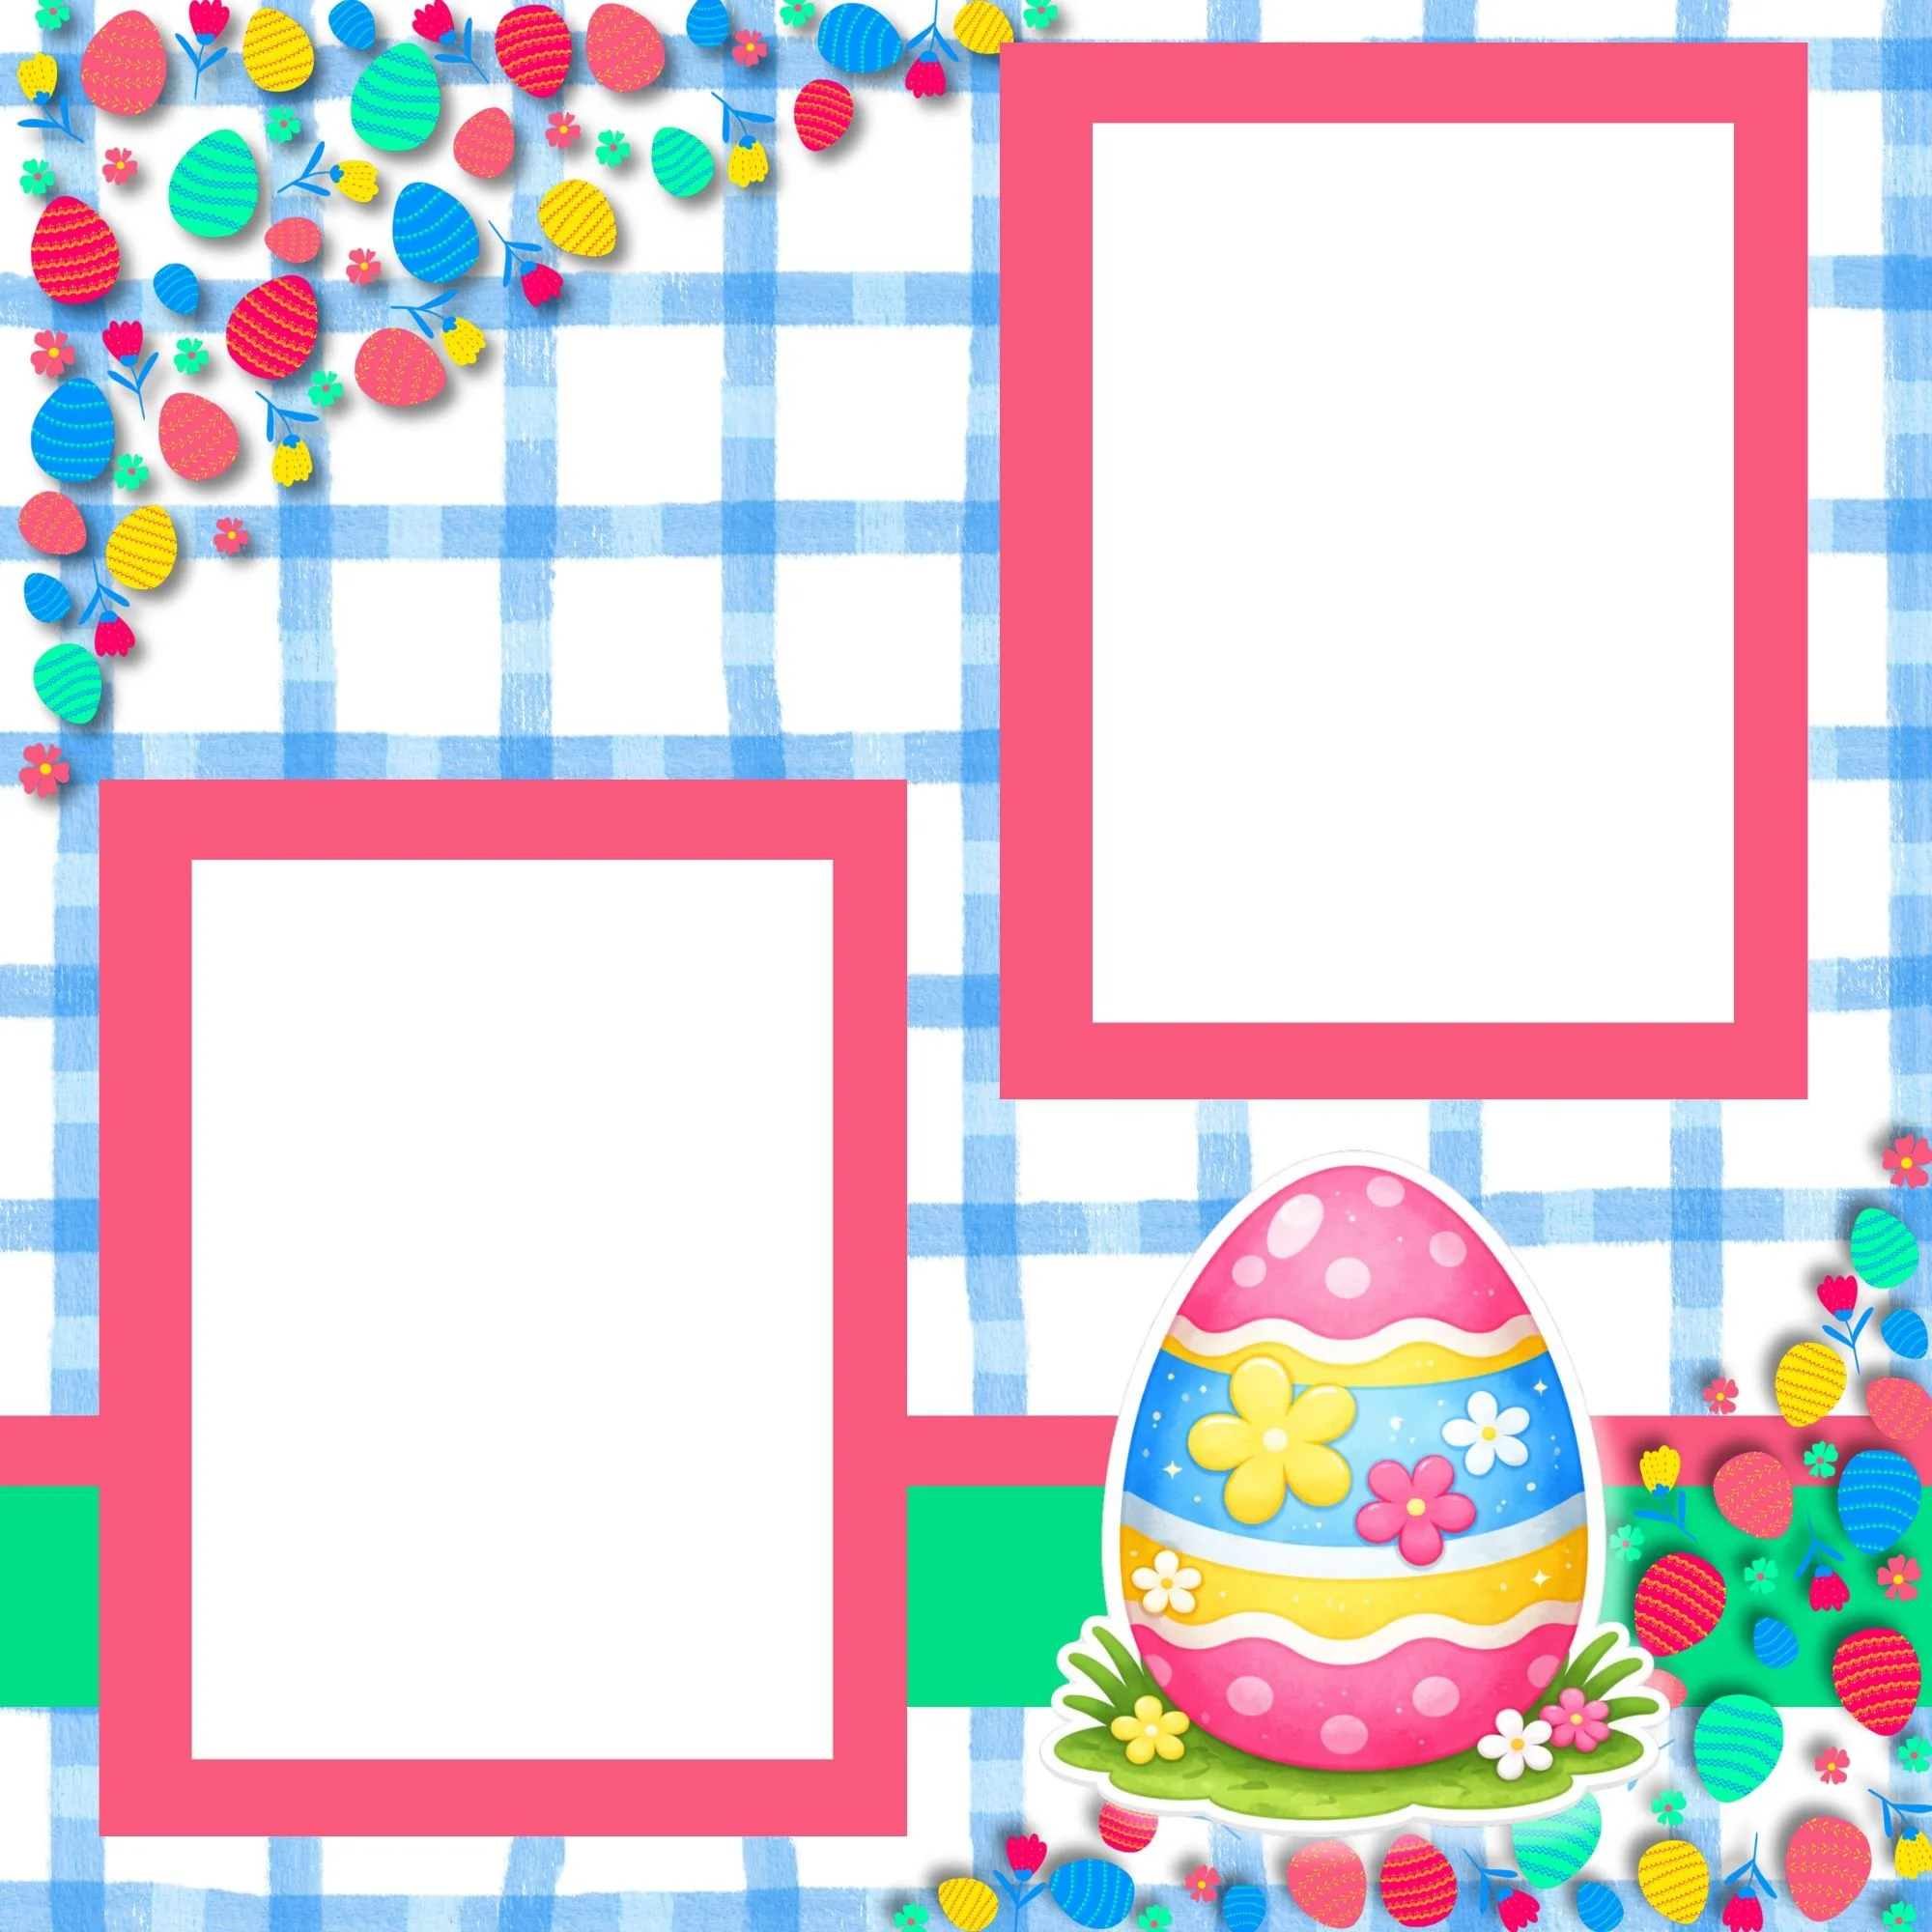
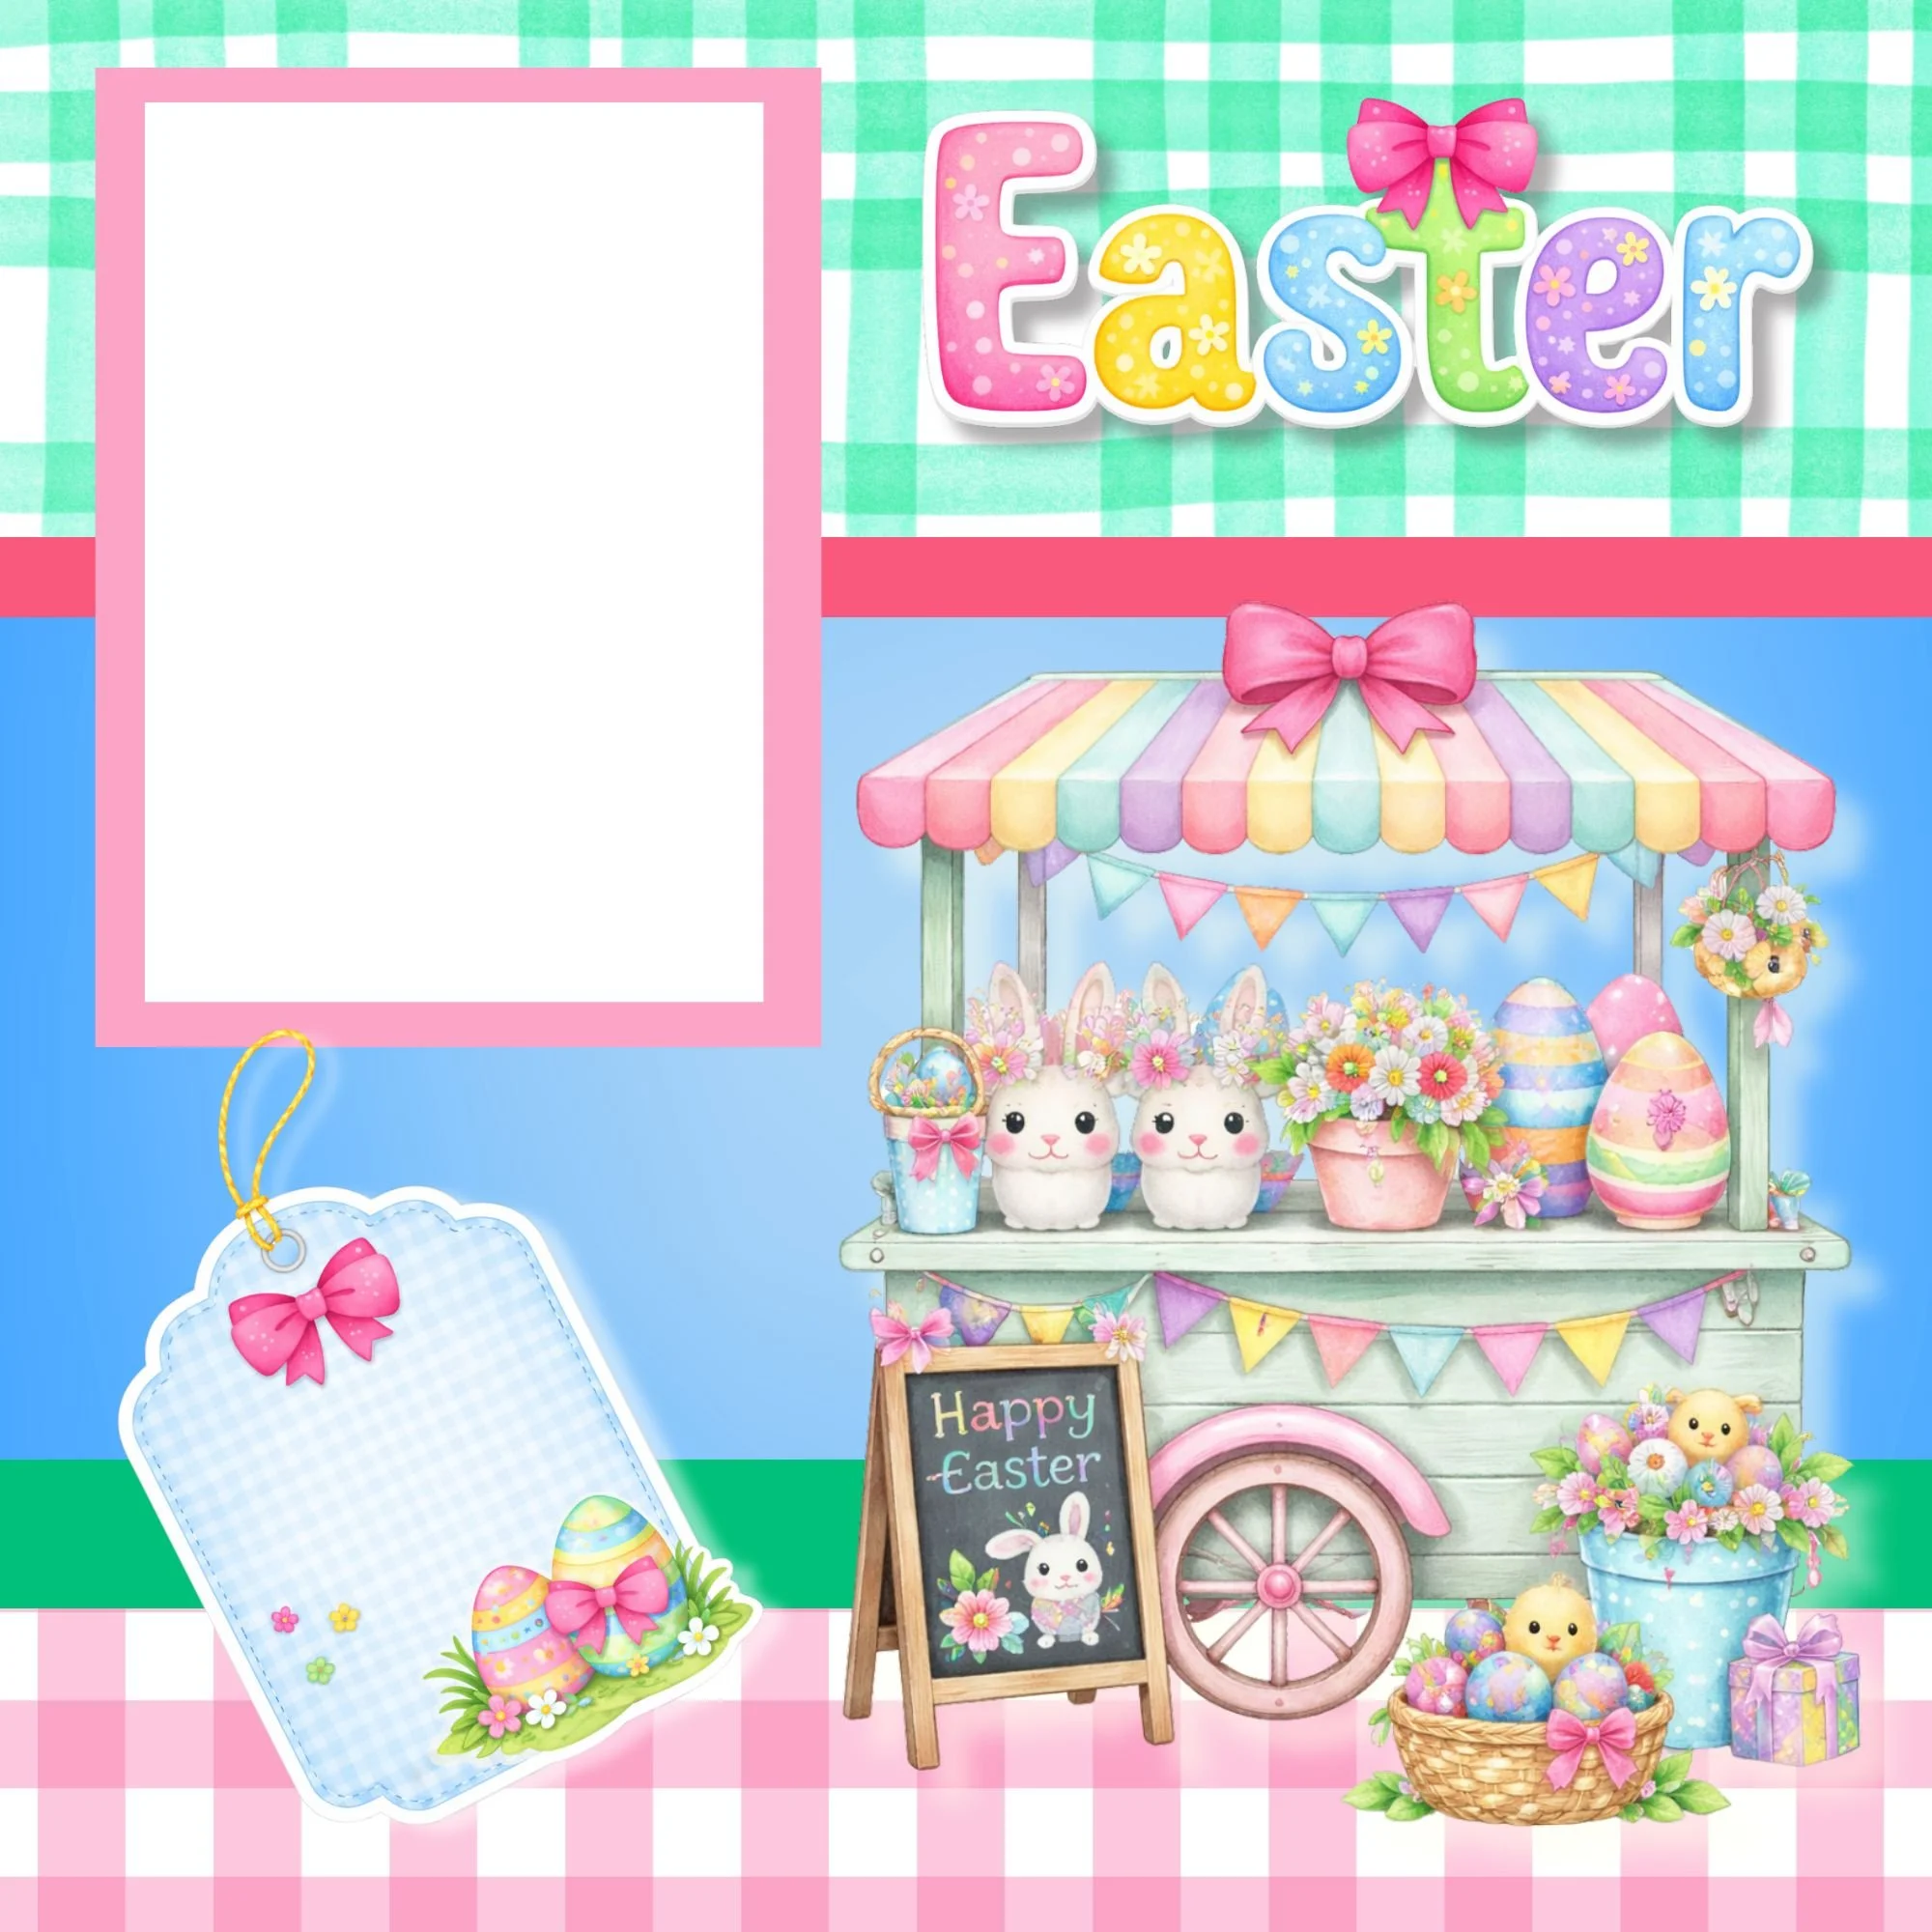
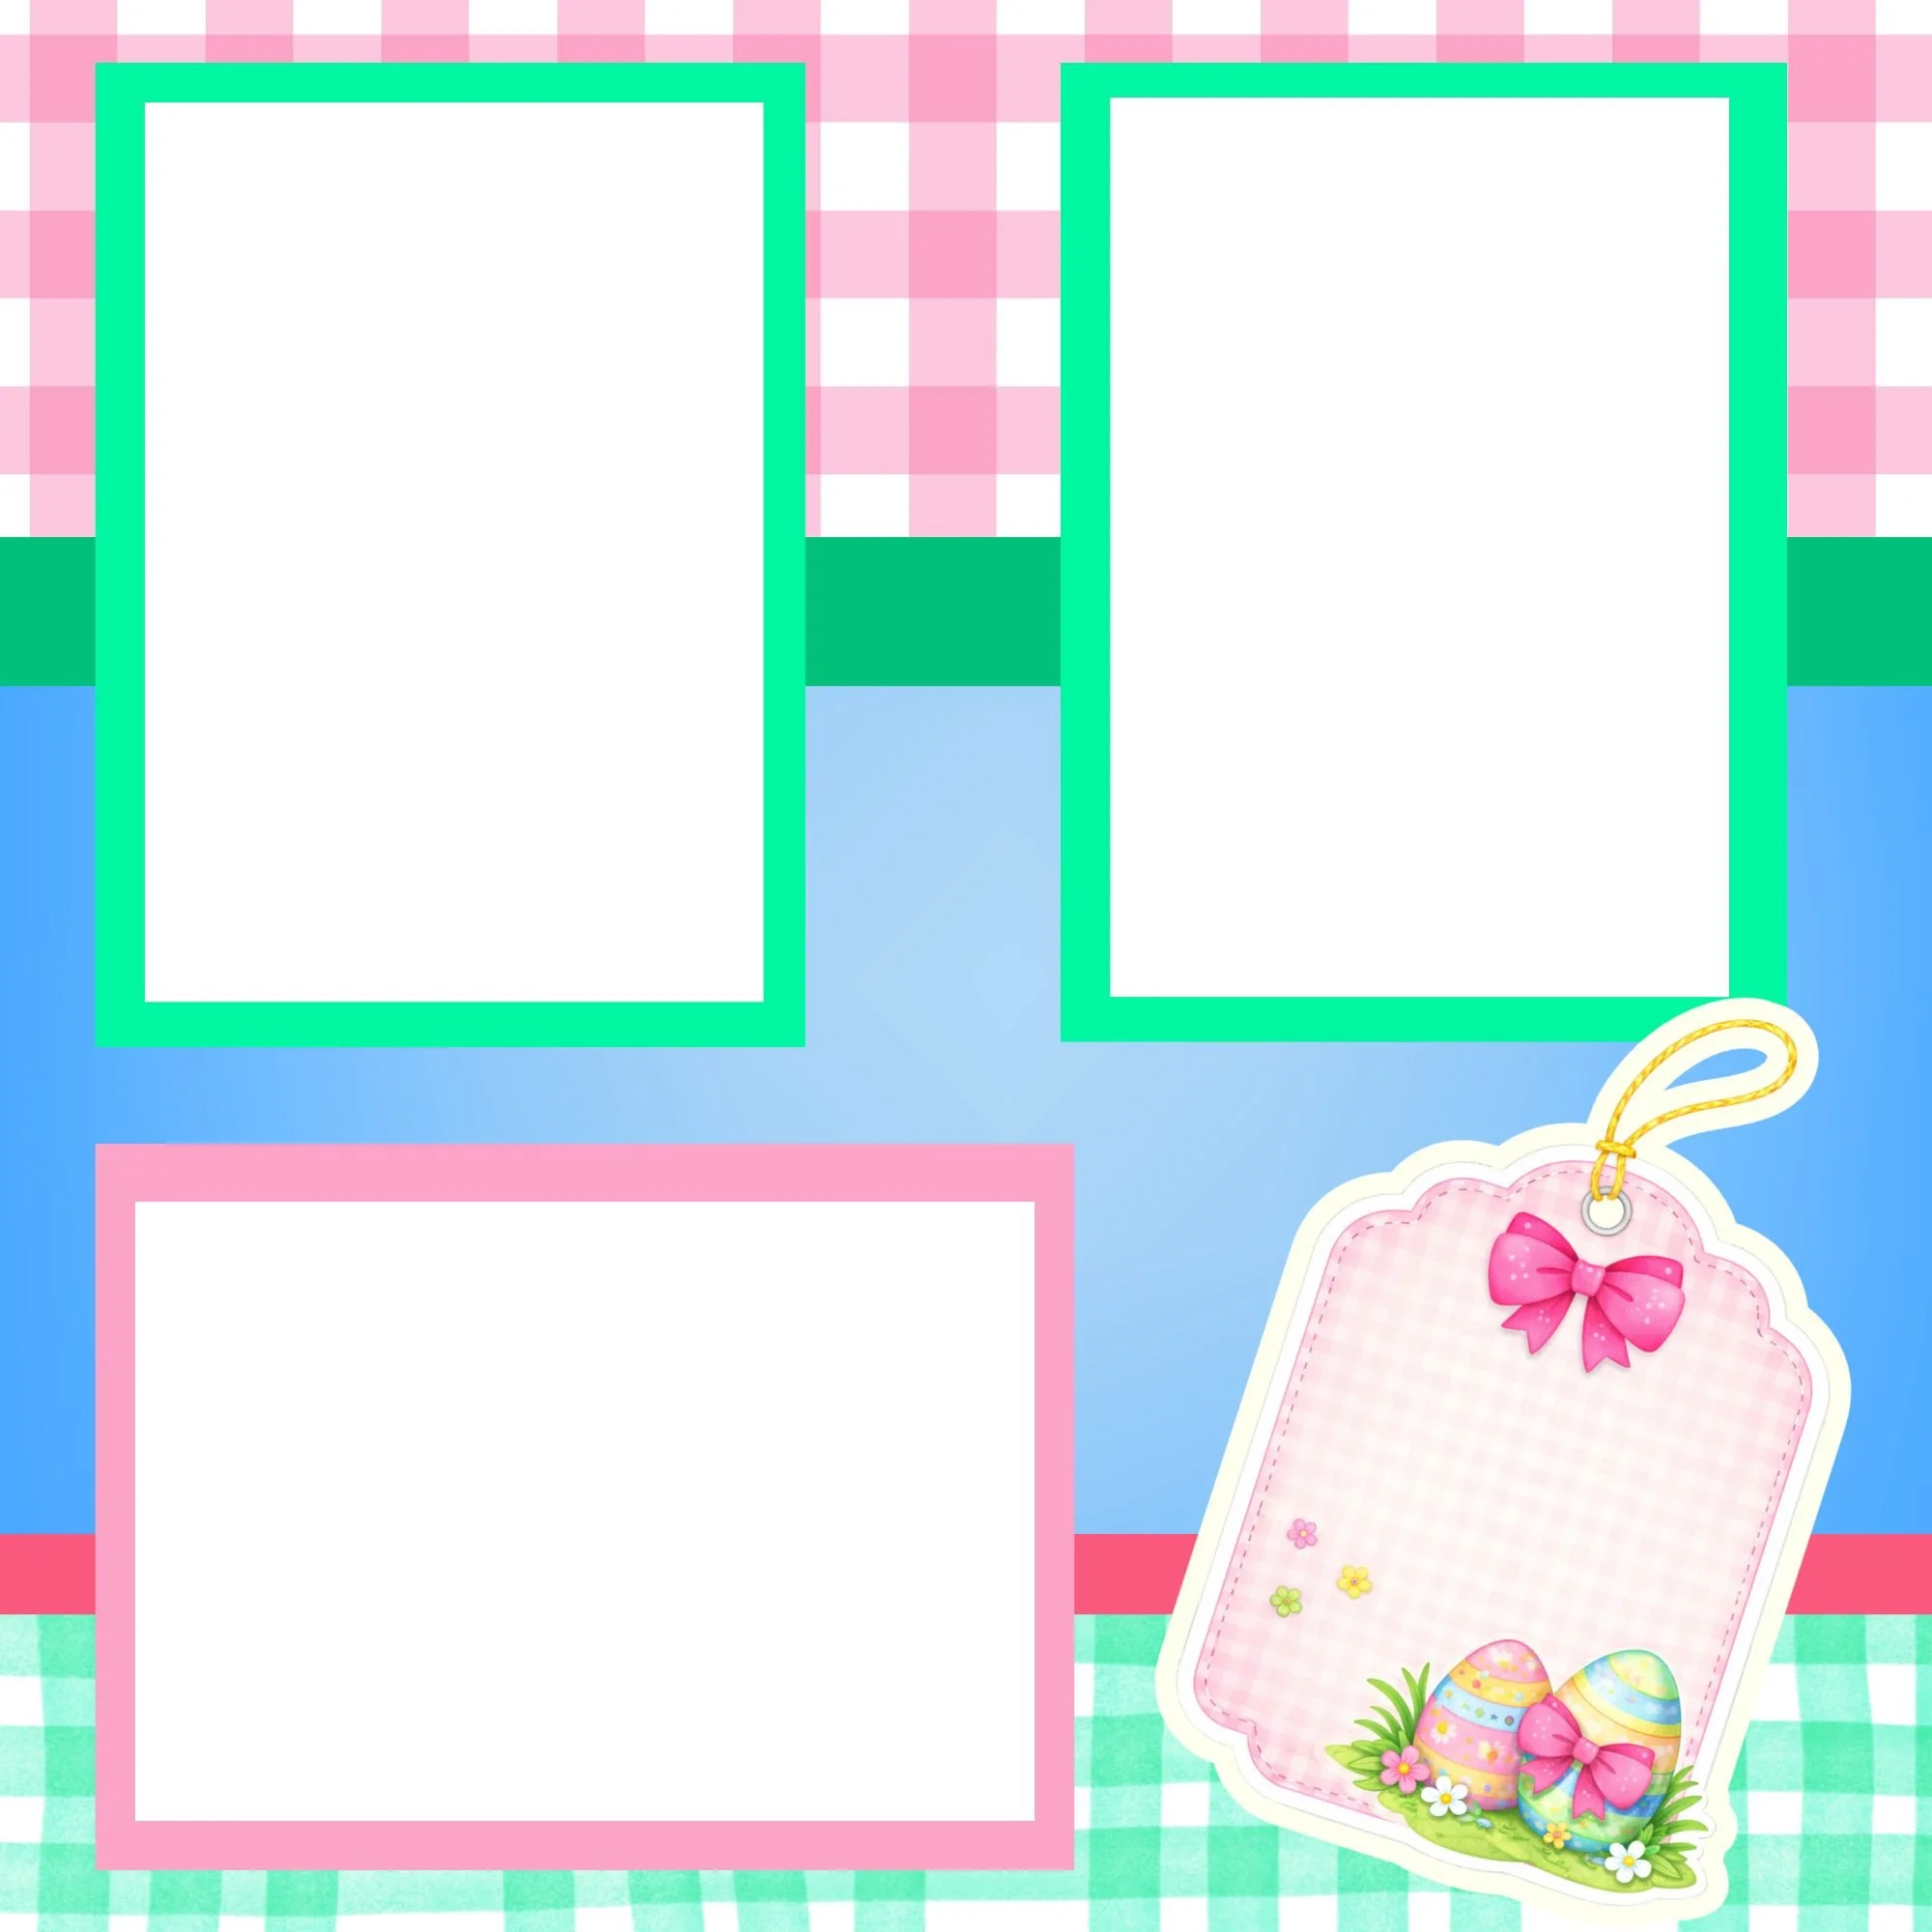
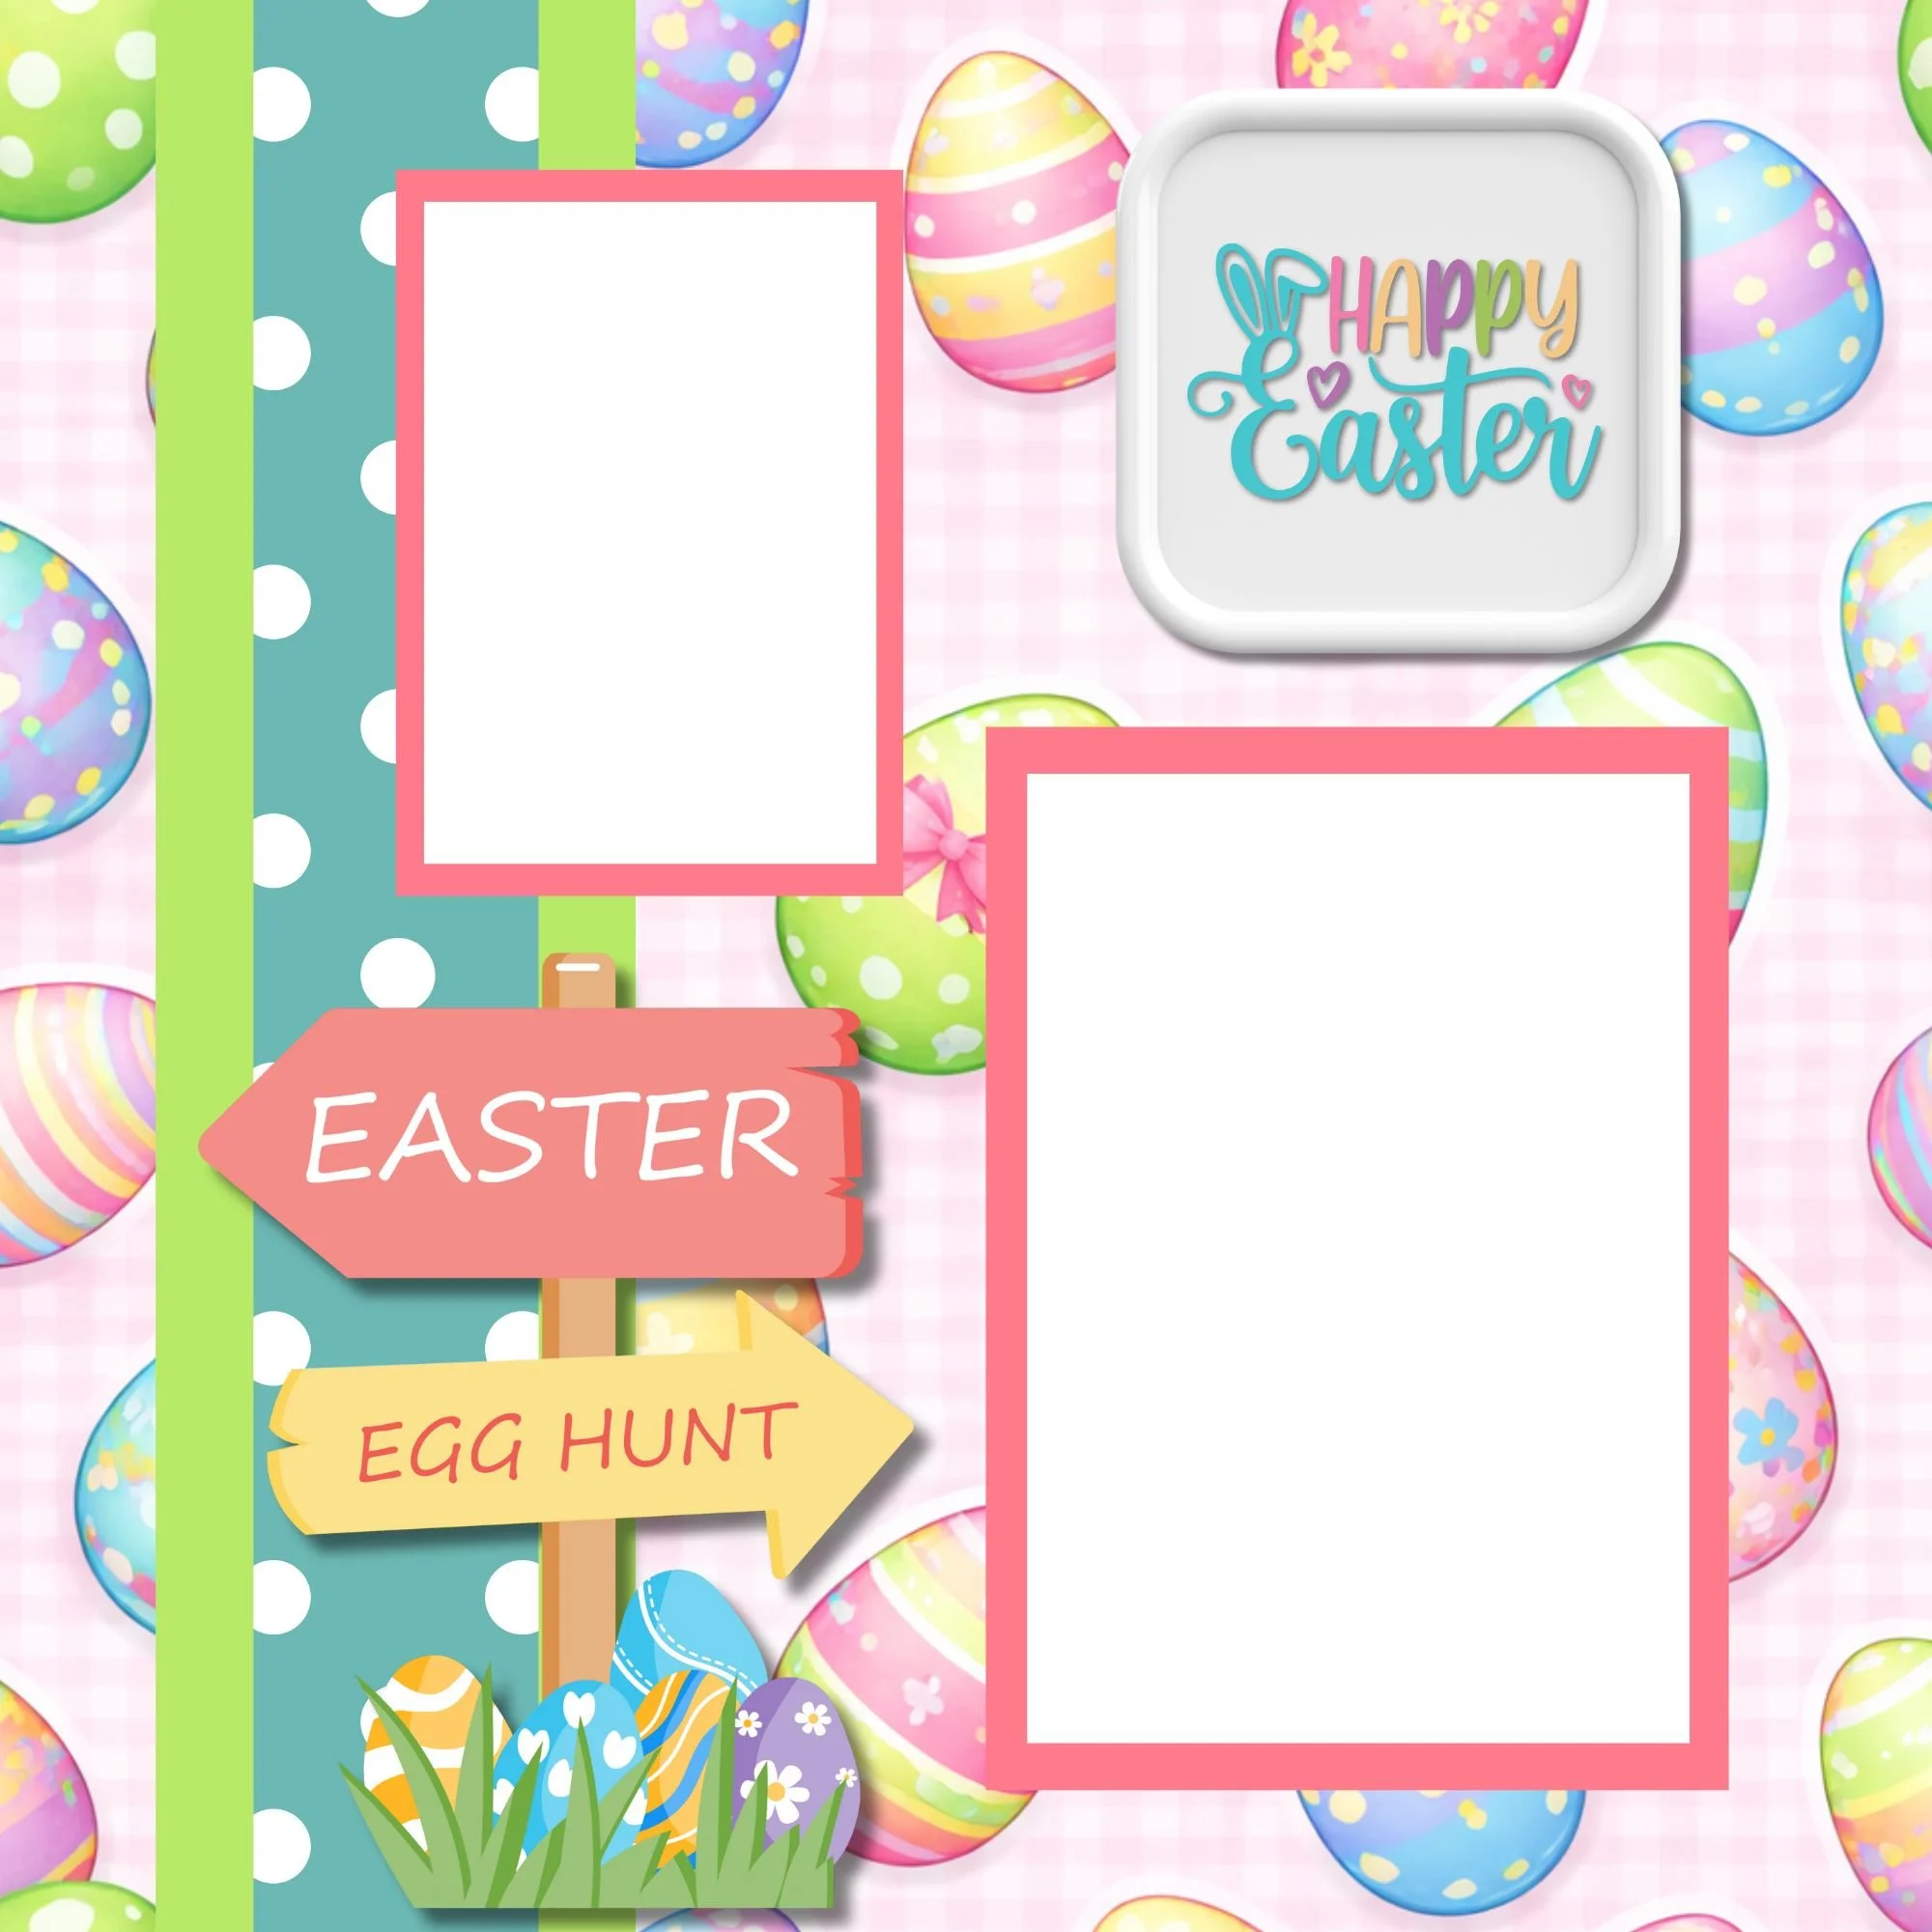
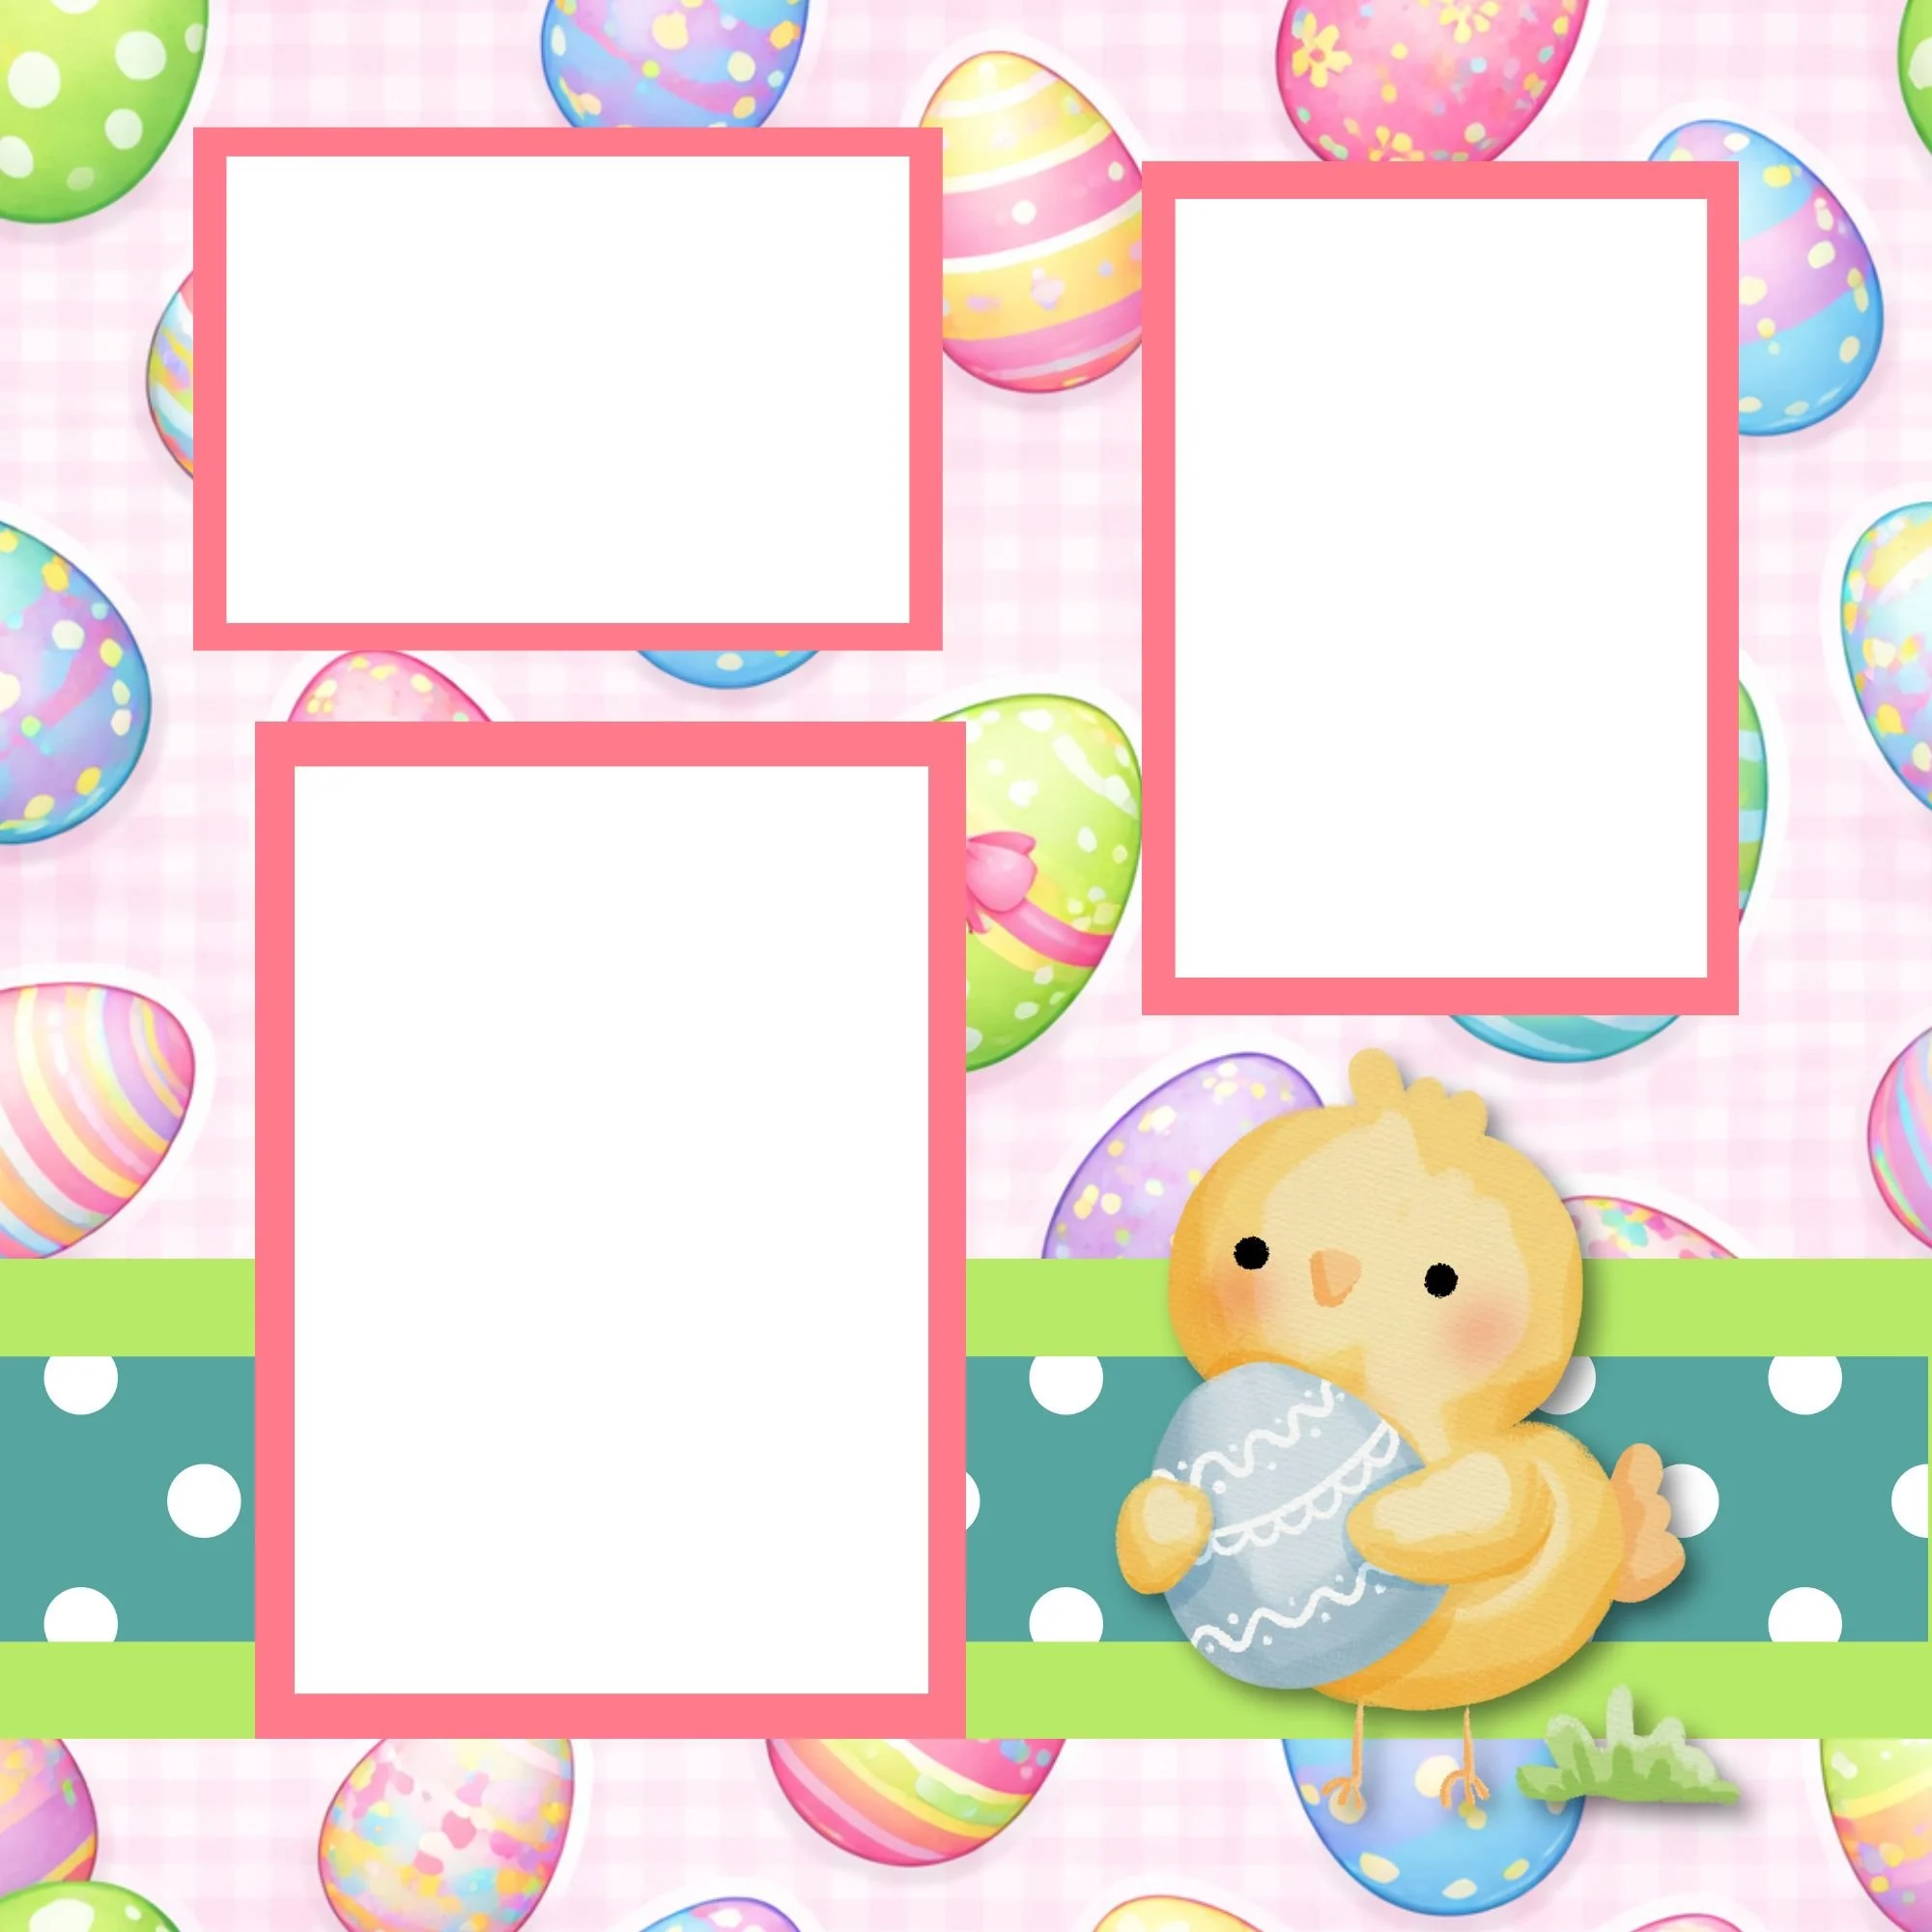
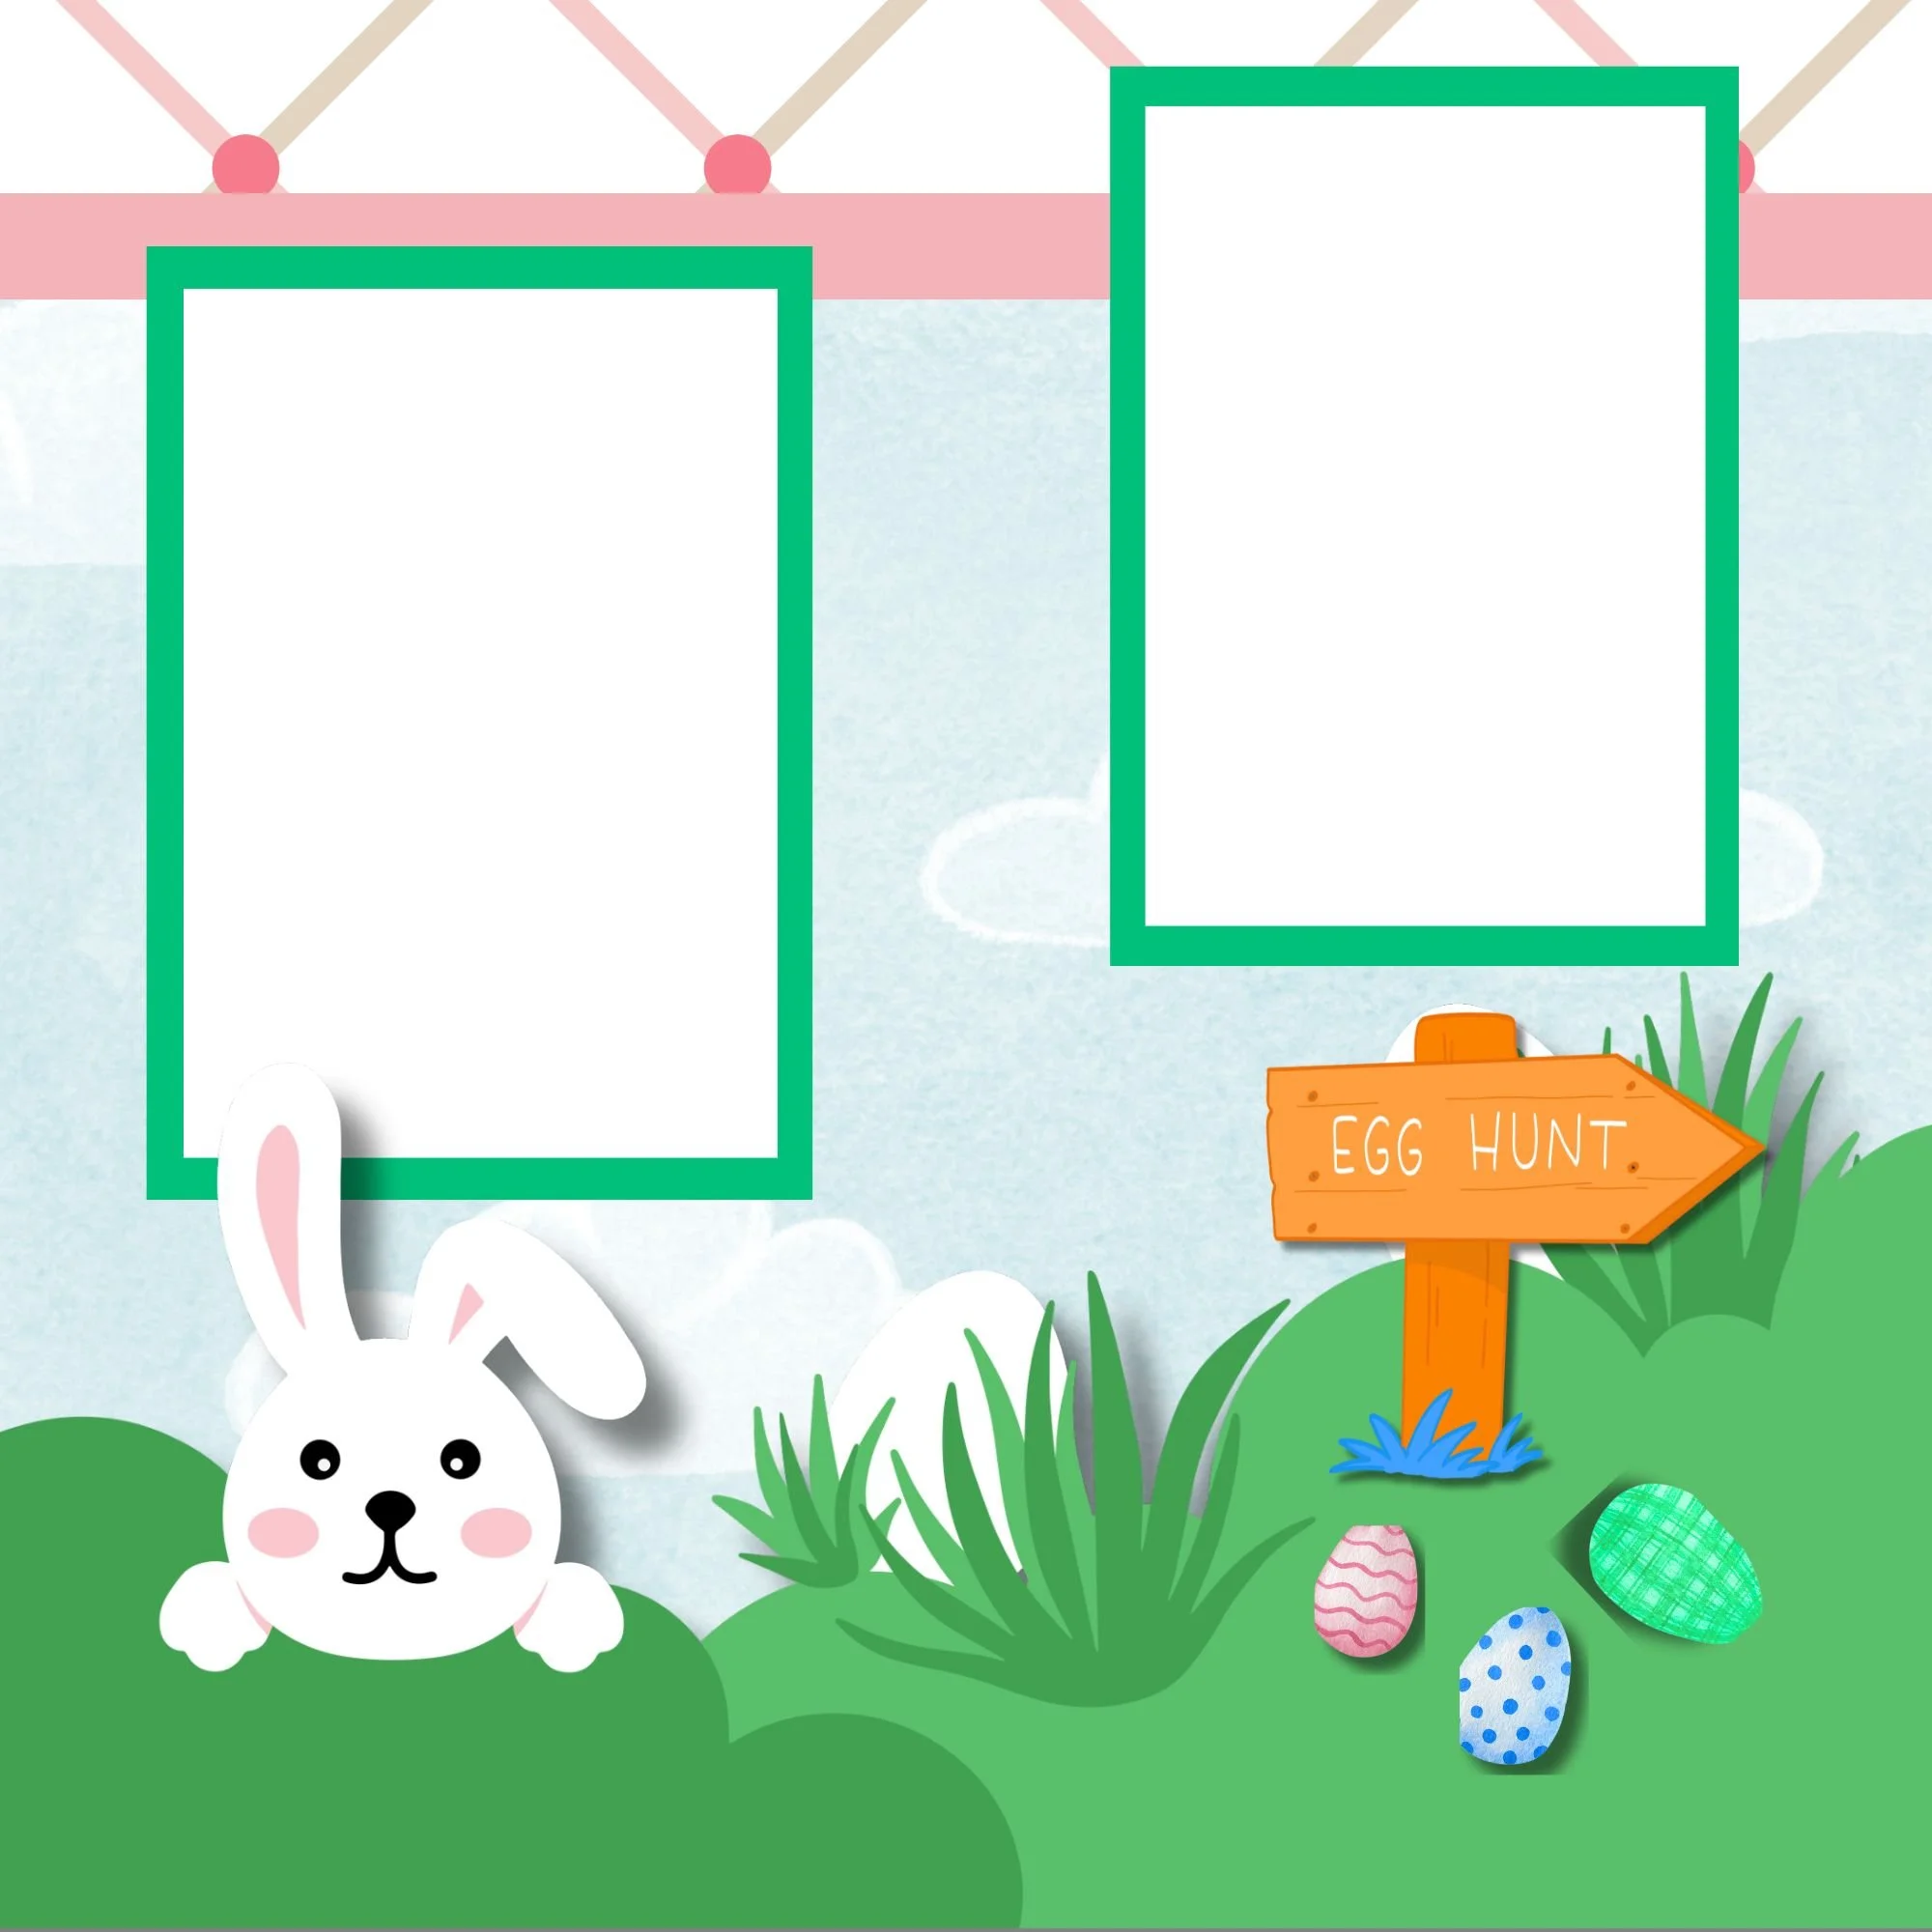
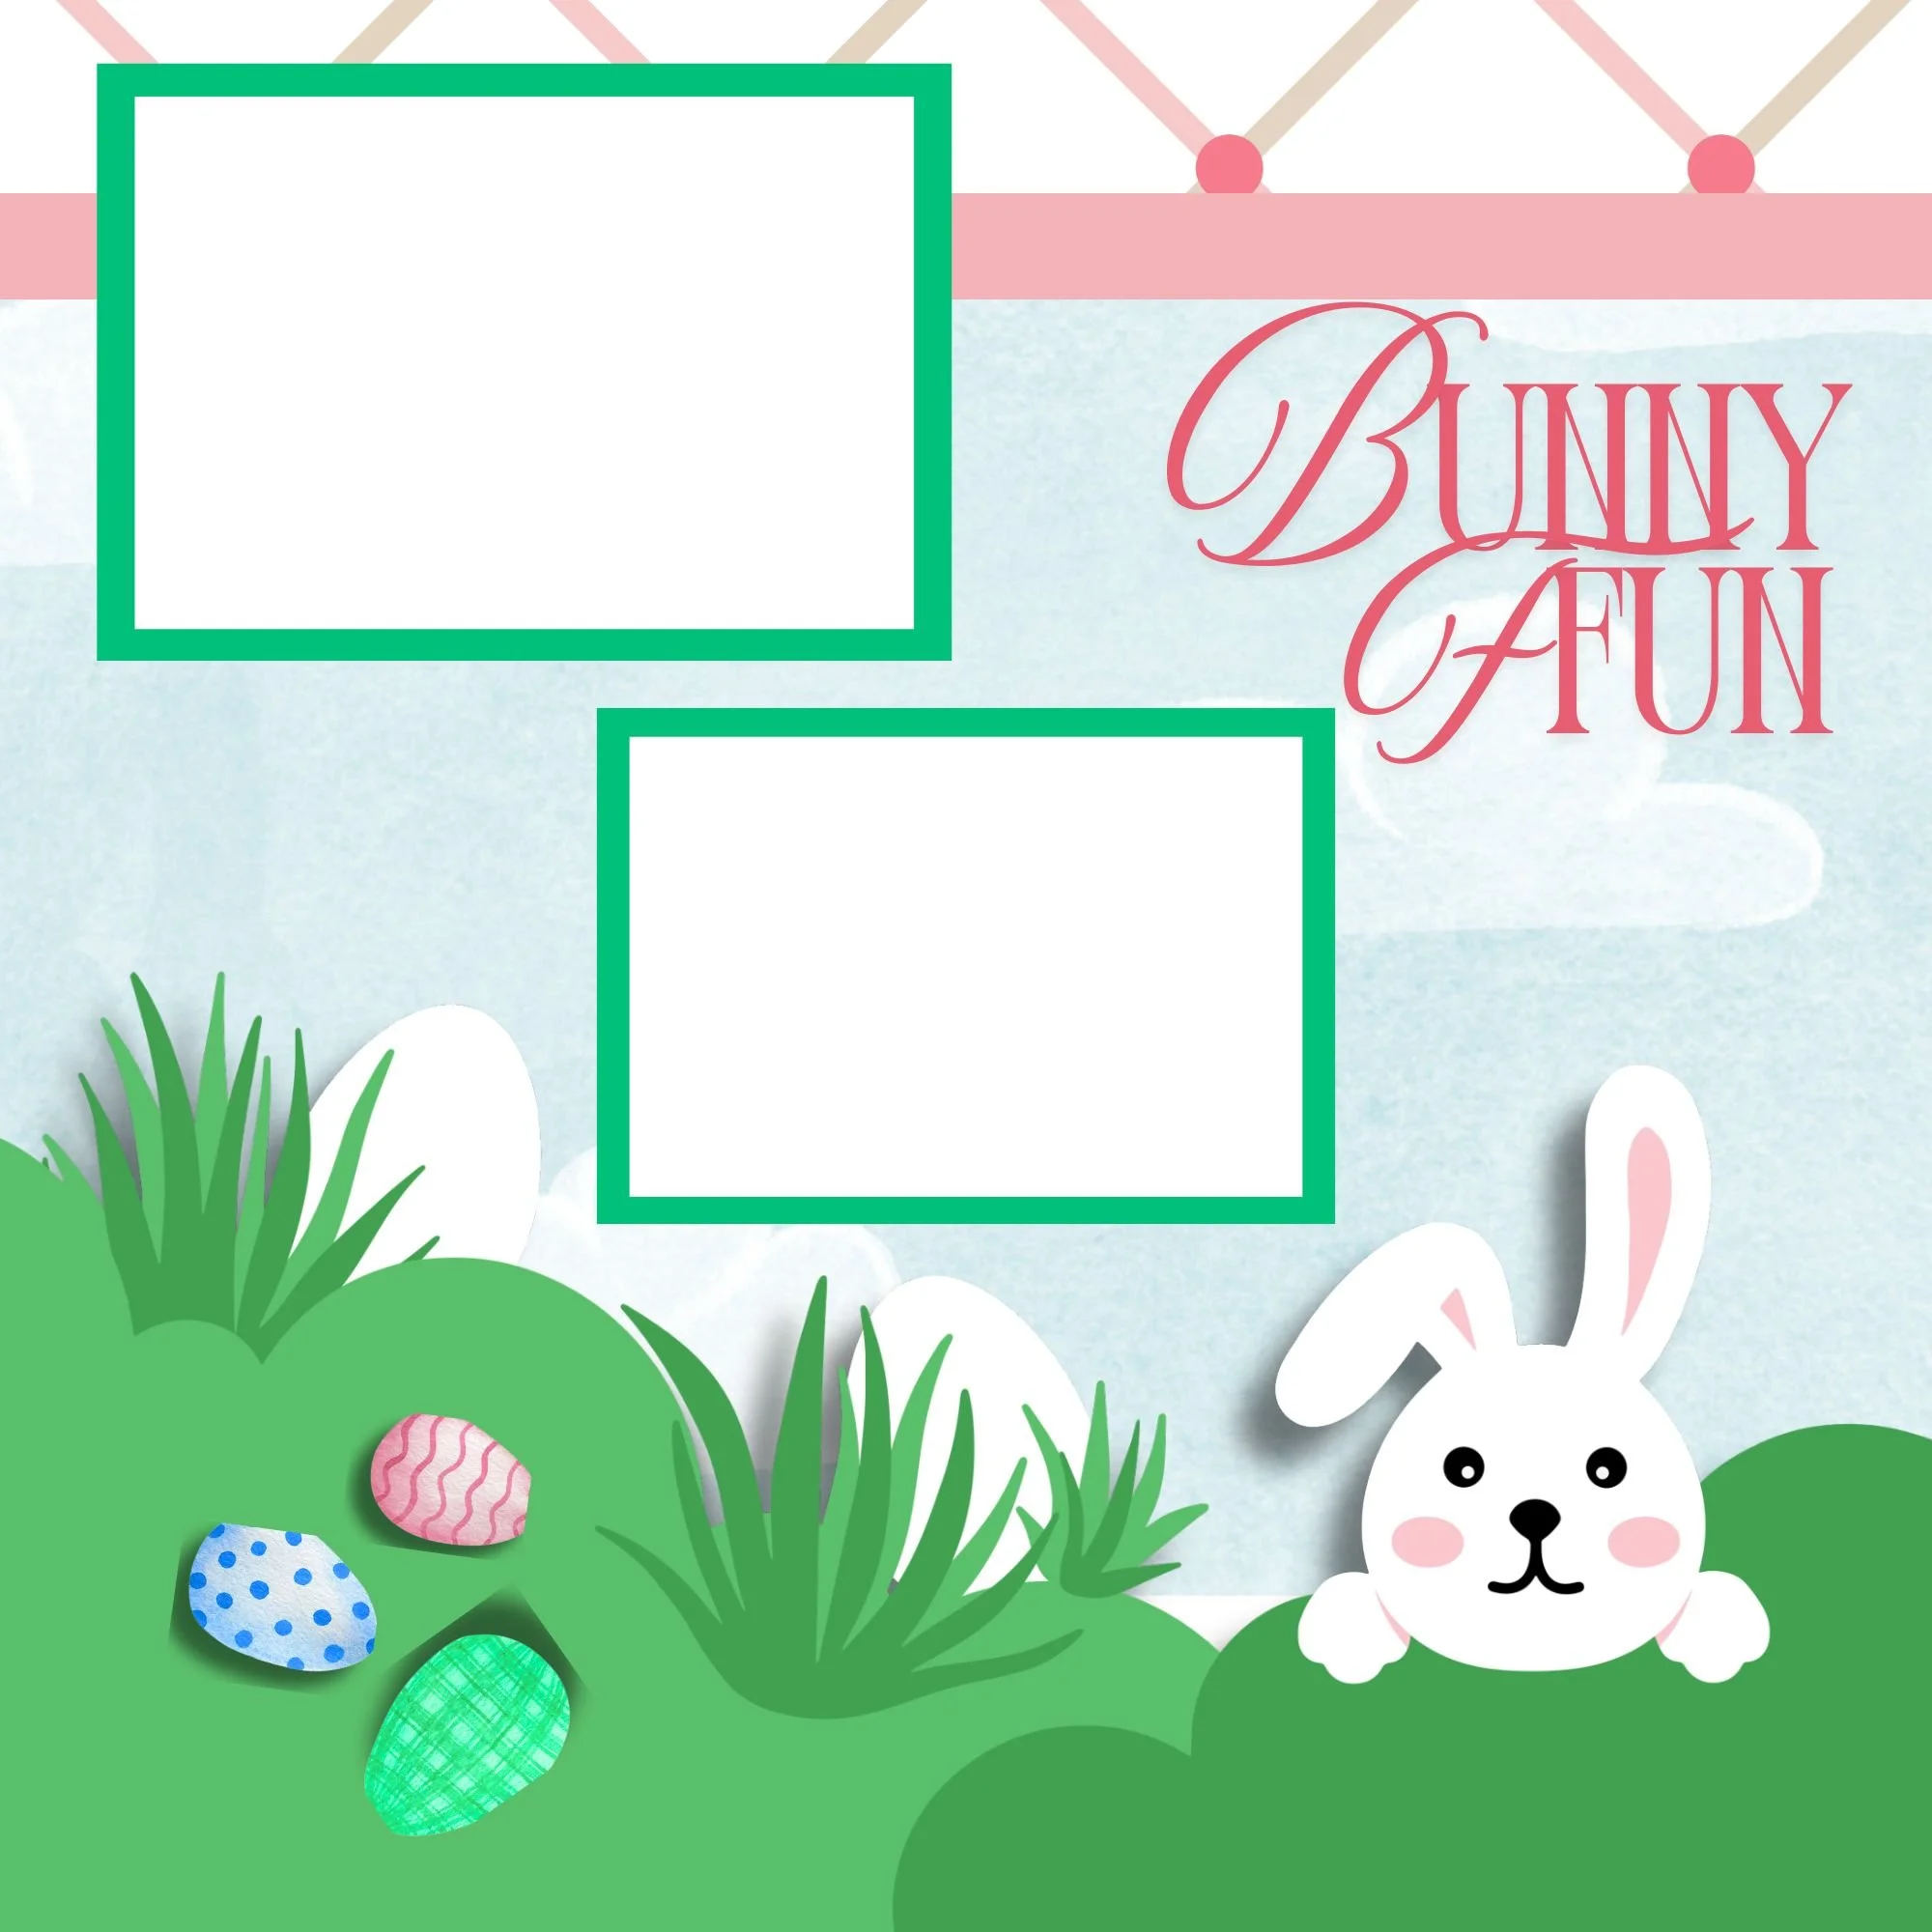
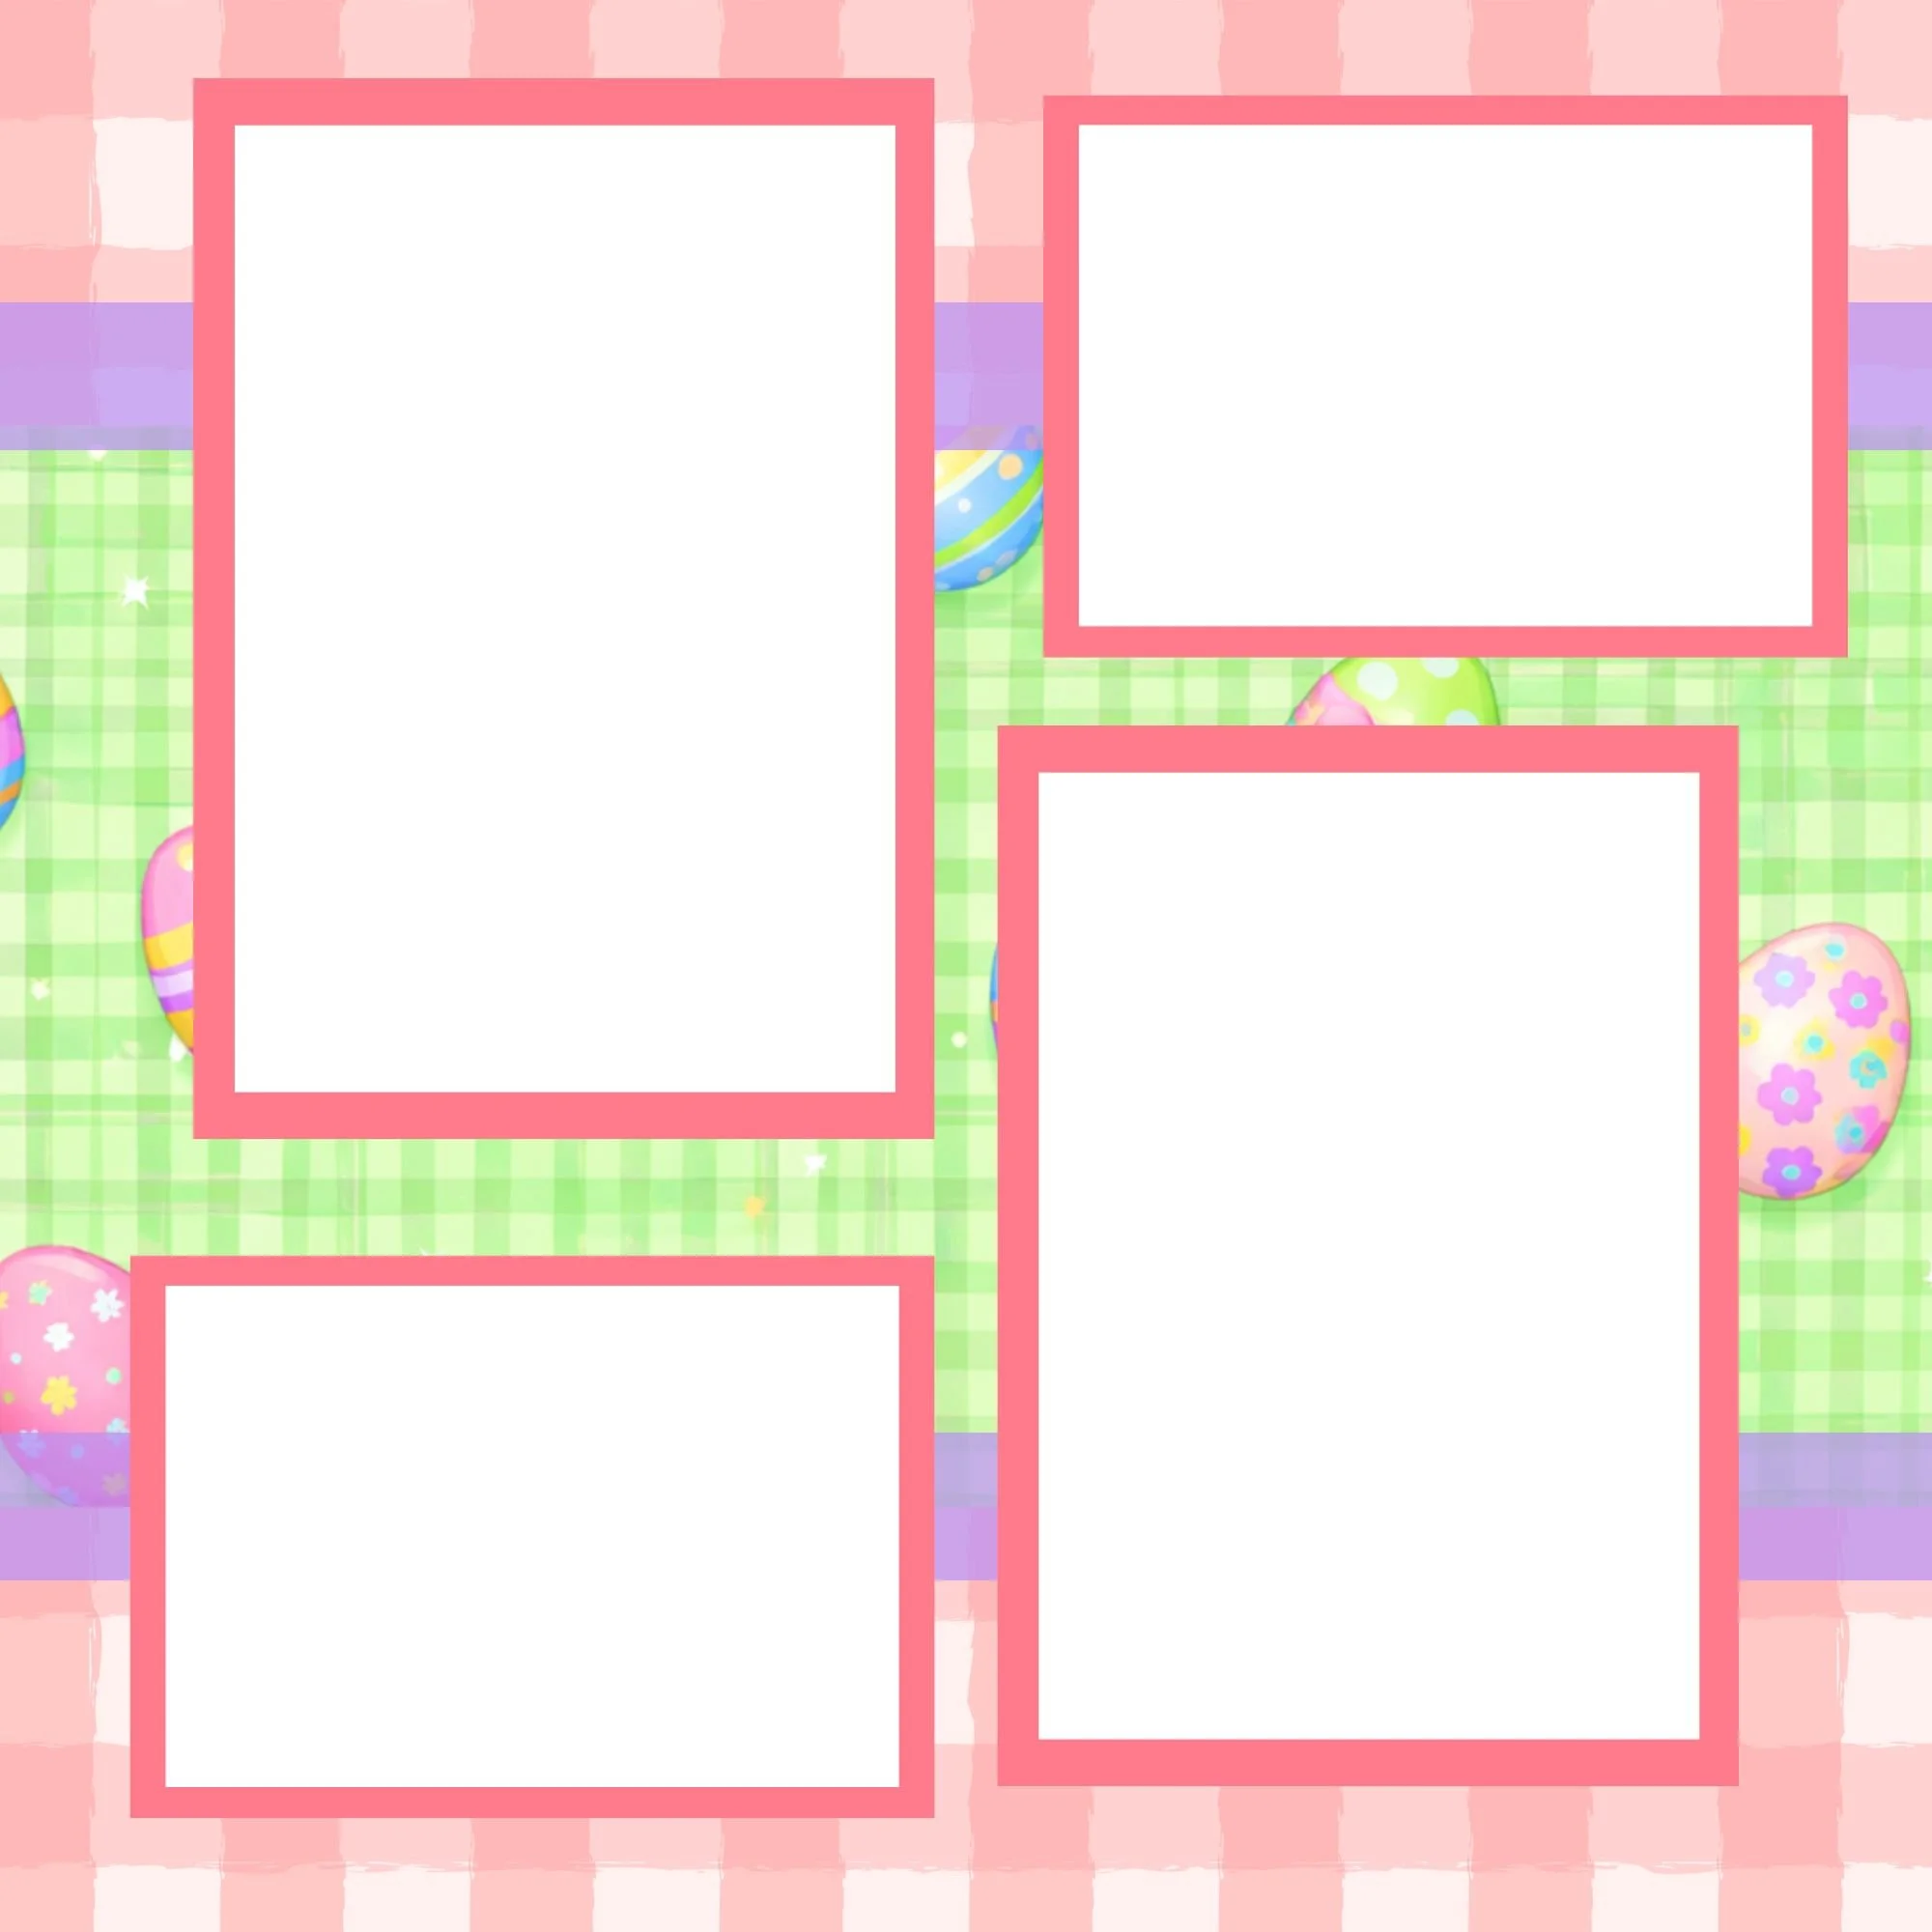
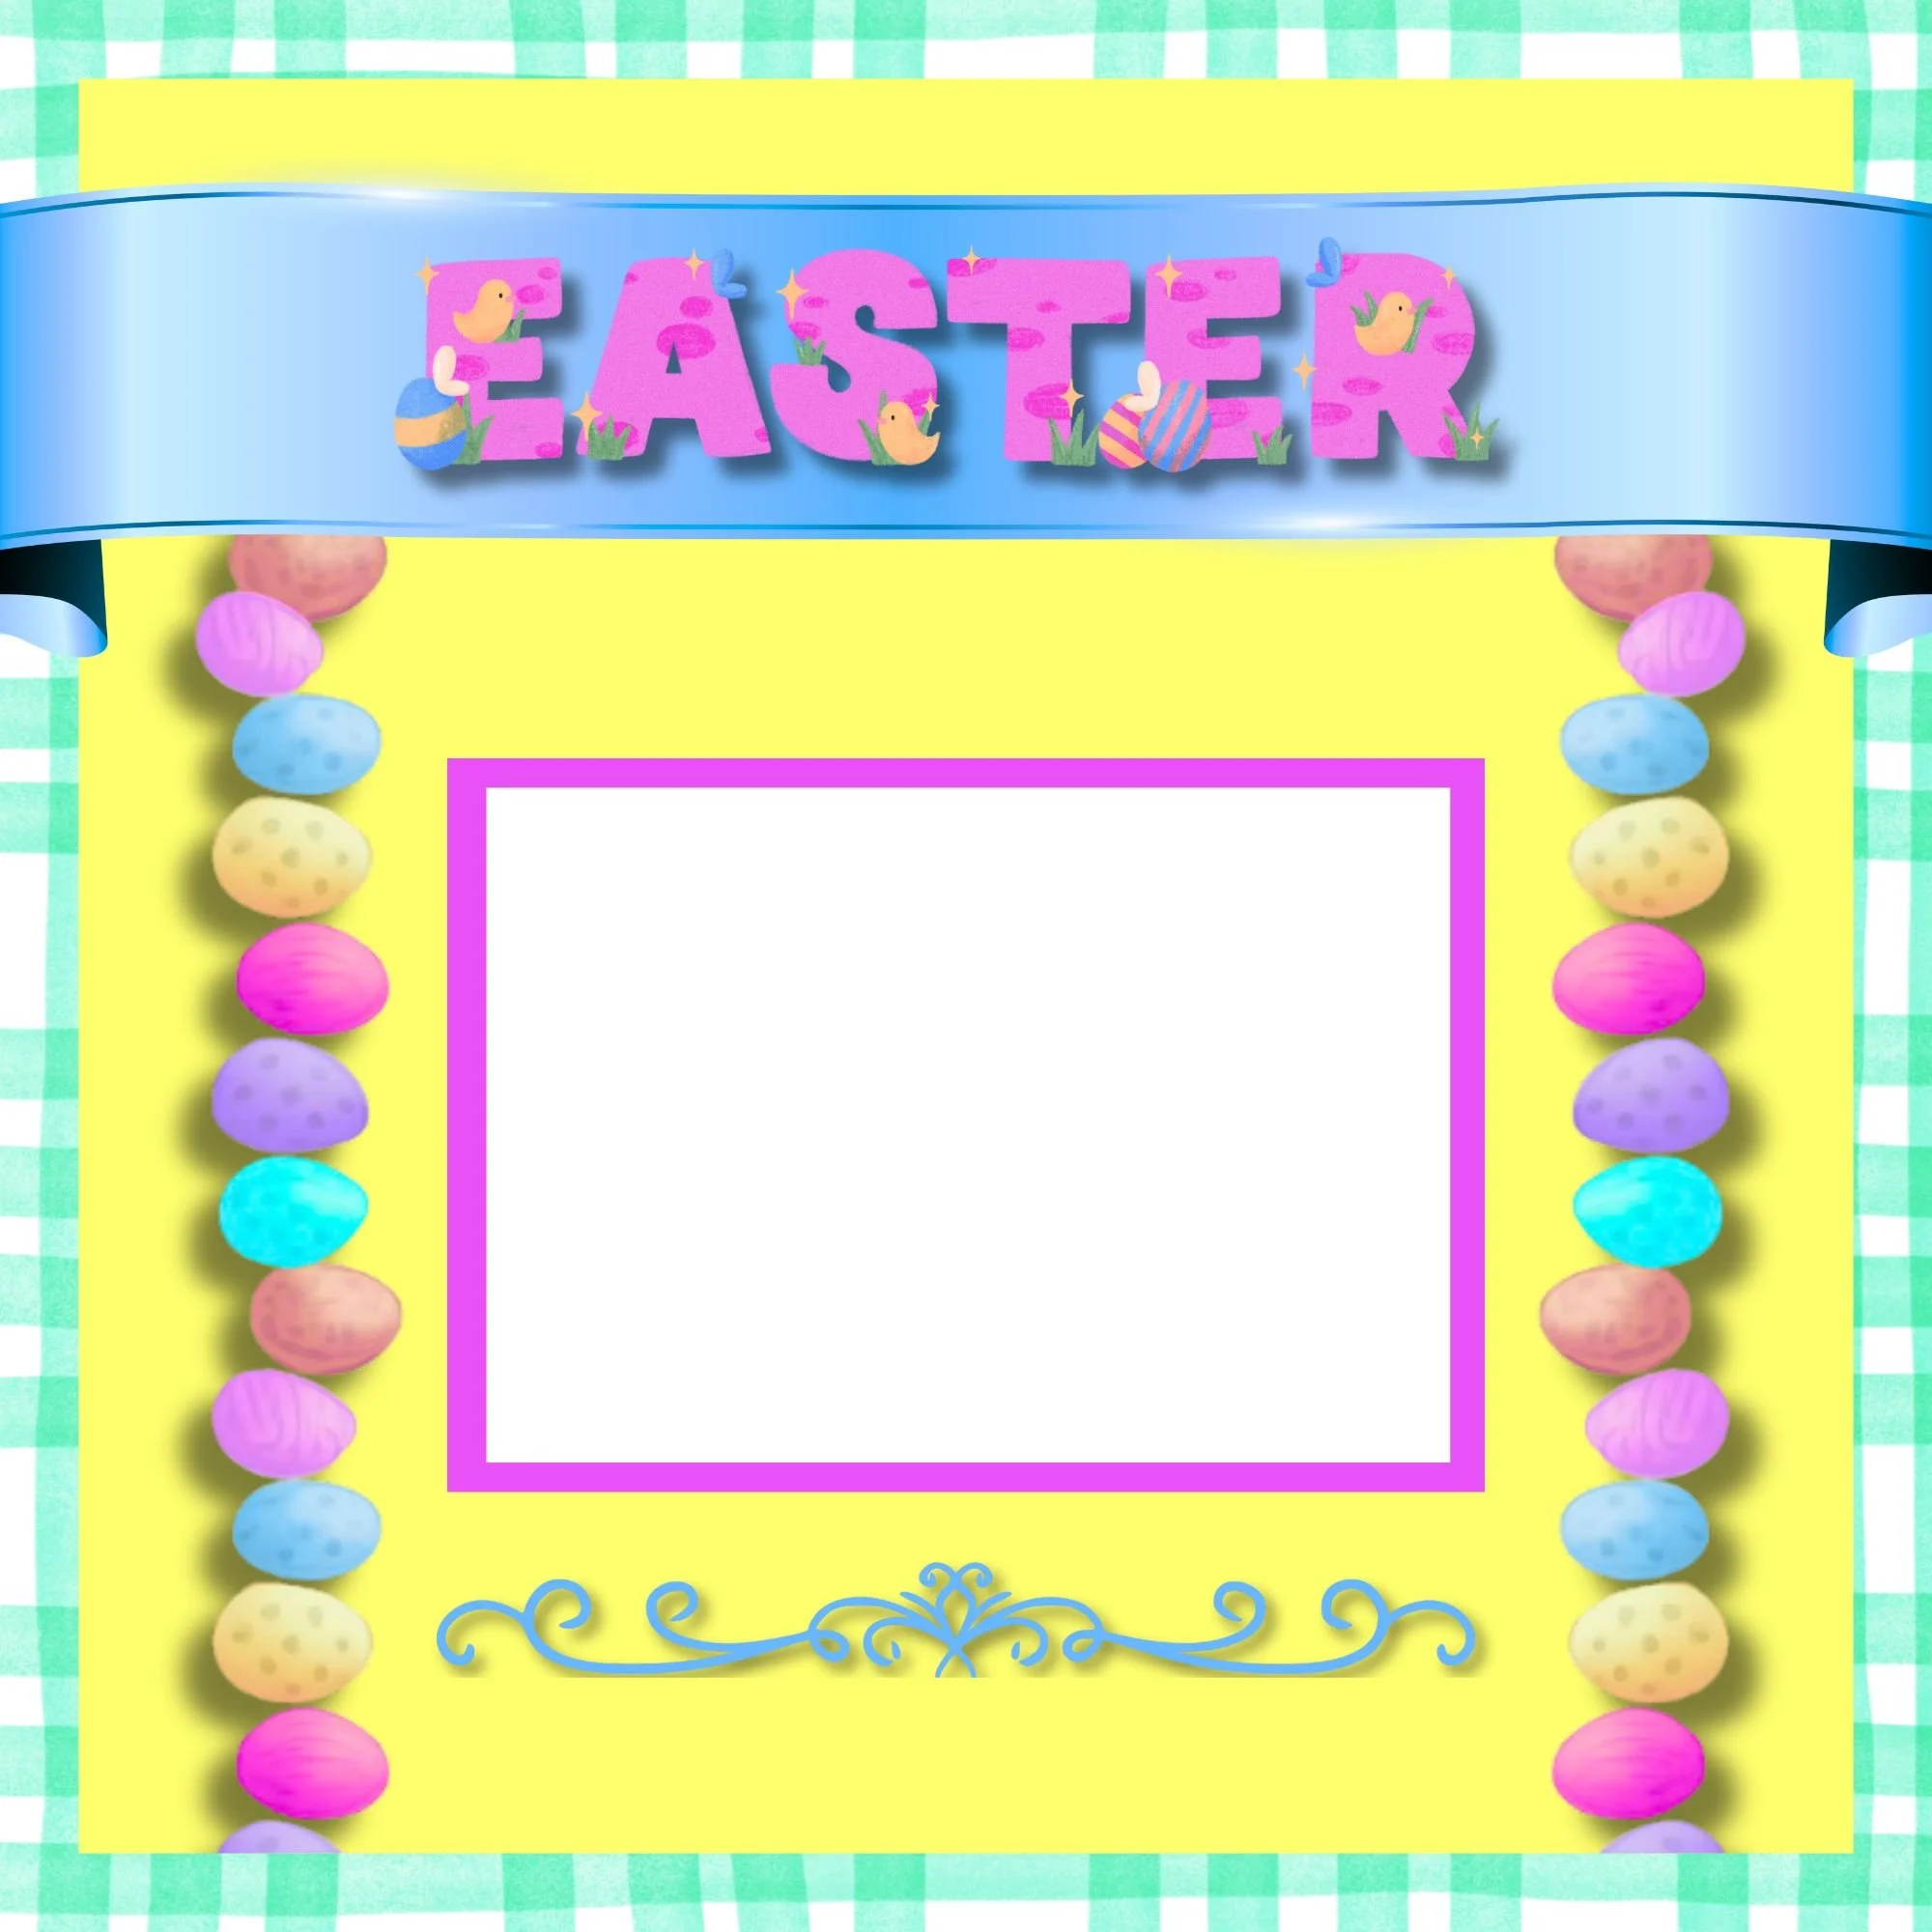
Each Memorette features themed interior pages that act as a blank canvas—perfect for layering paper without starting from scratch.
To make layering even easier, the Easter Memorettes are designed to coordinate beautifully with the Easter Paper Pack and the Easter Page Kit . Everything works together seamlessly, which means less planning and more creating.
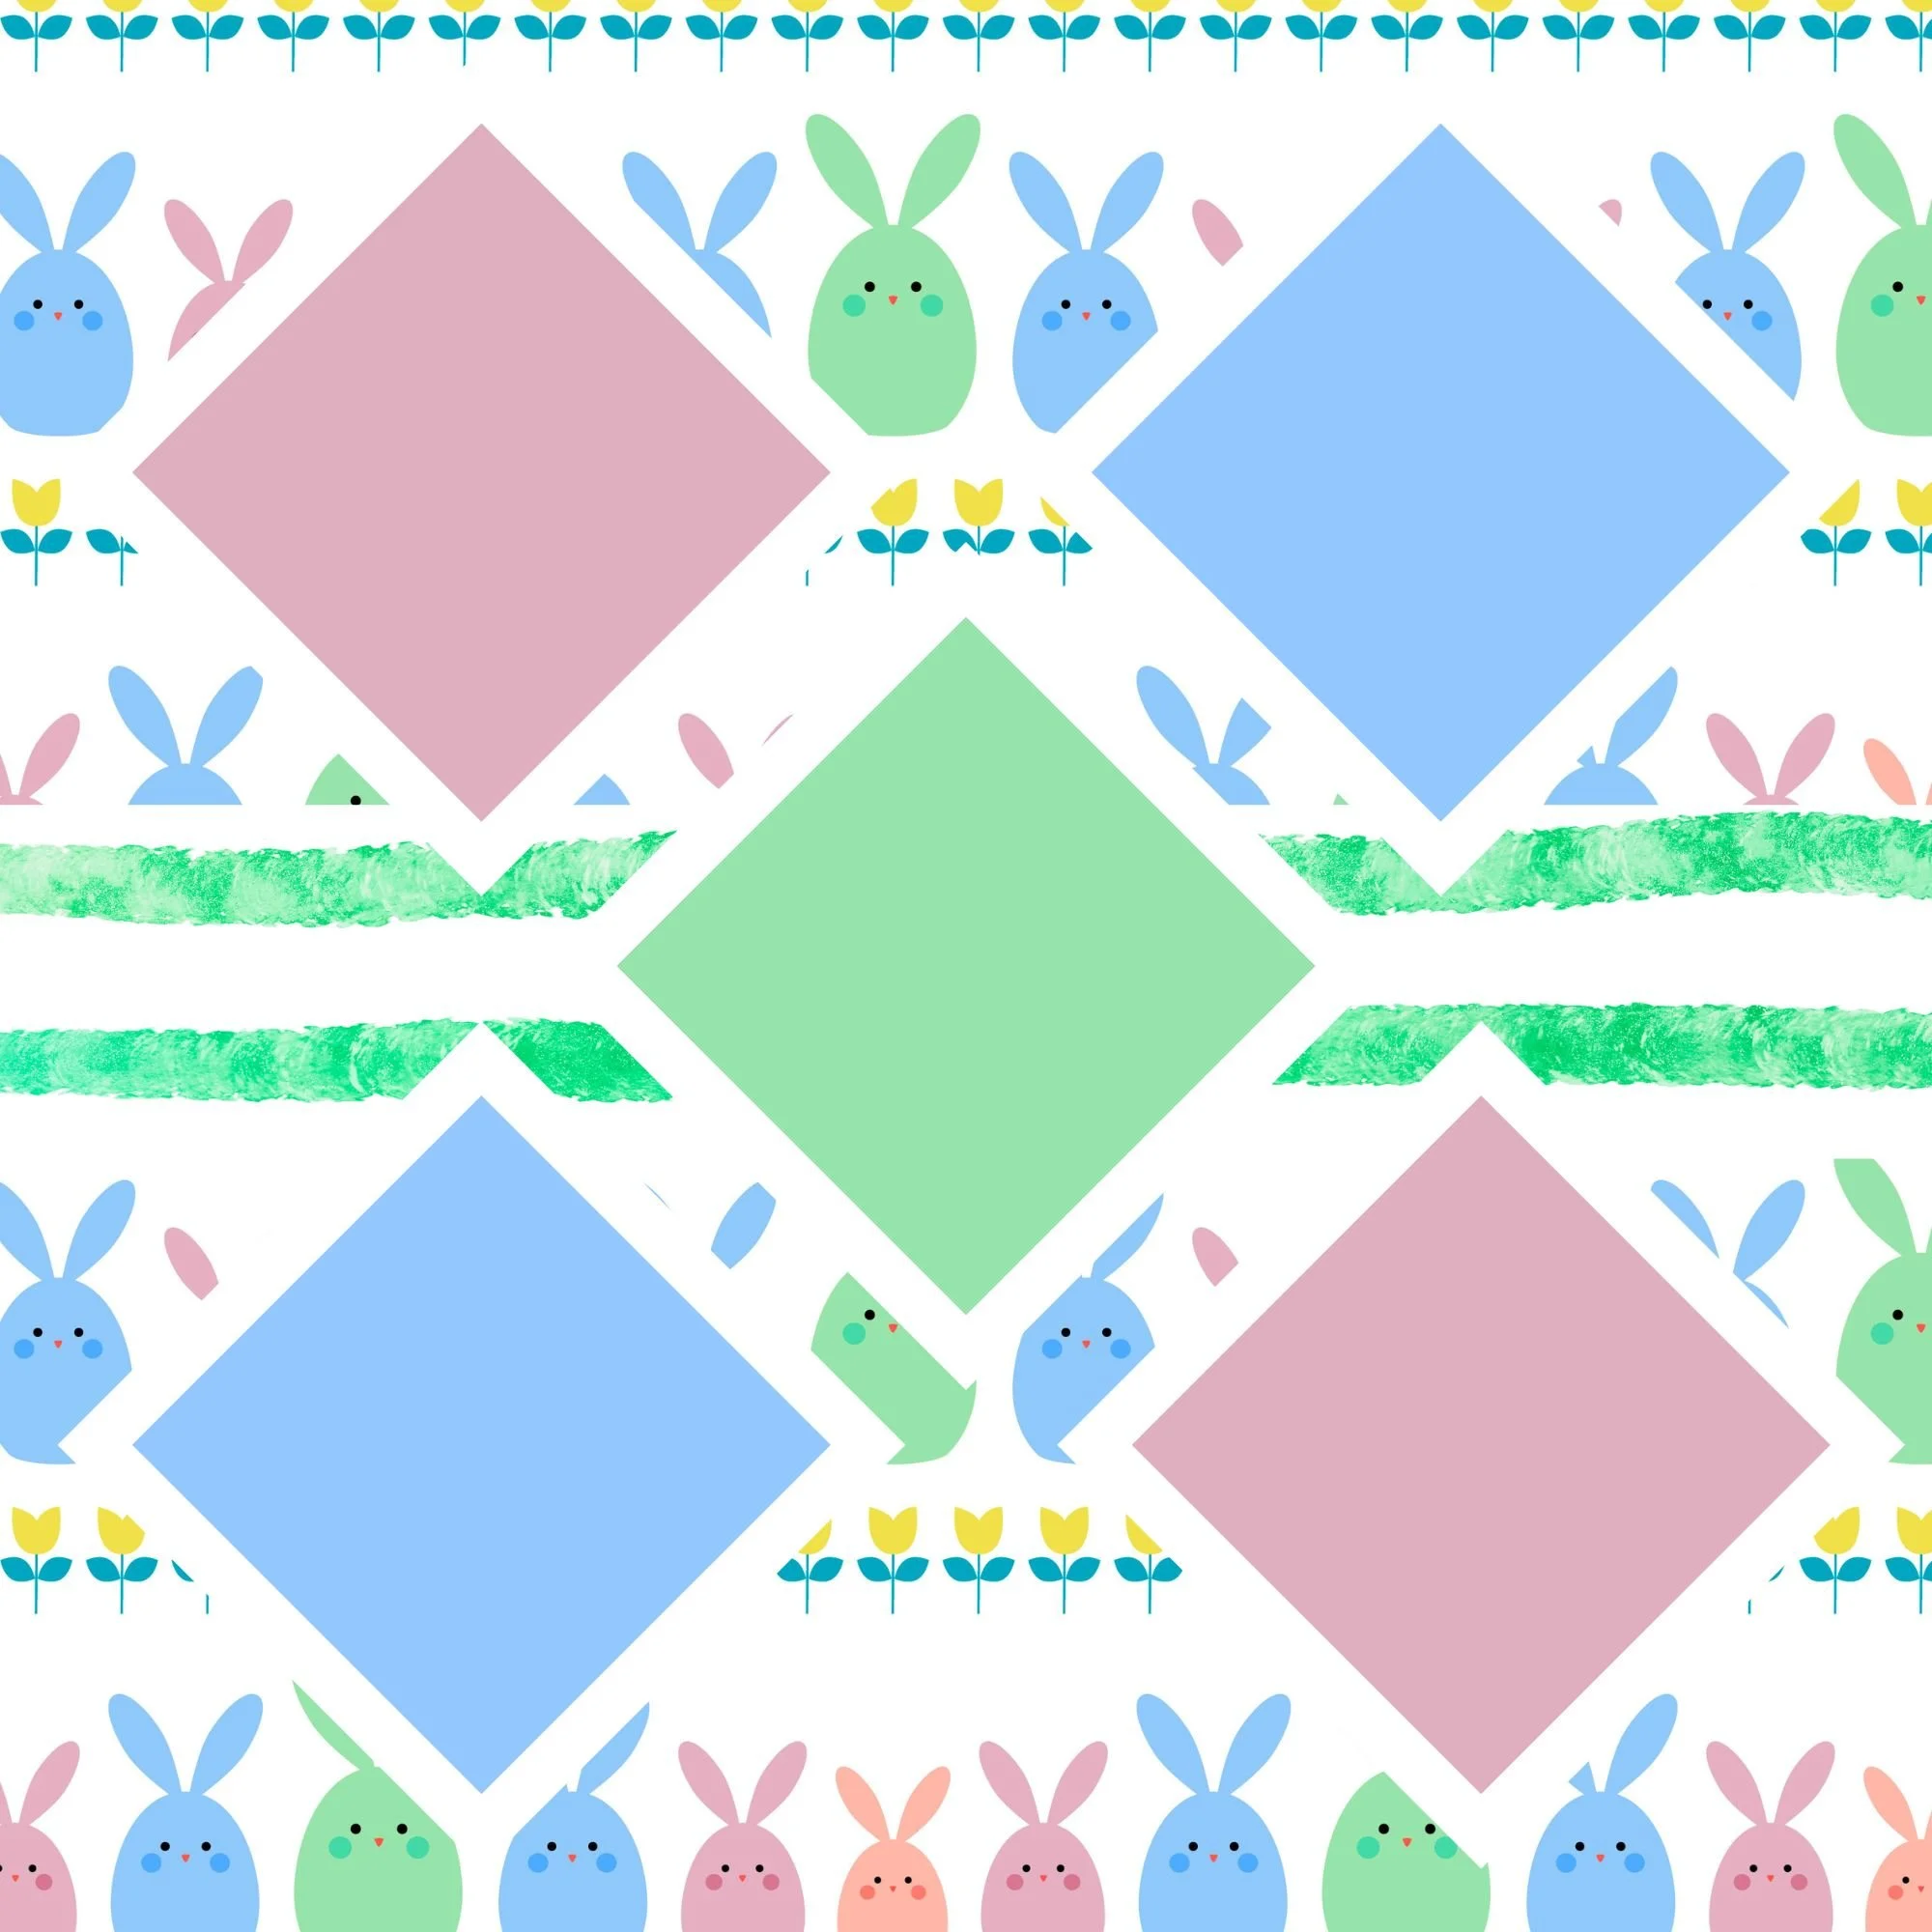
A Color Palette That Makes Layering Easy
The Easter collection includes:
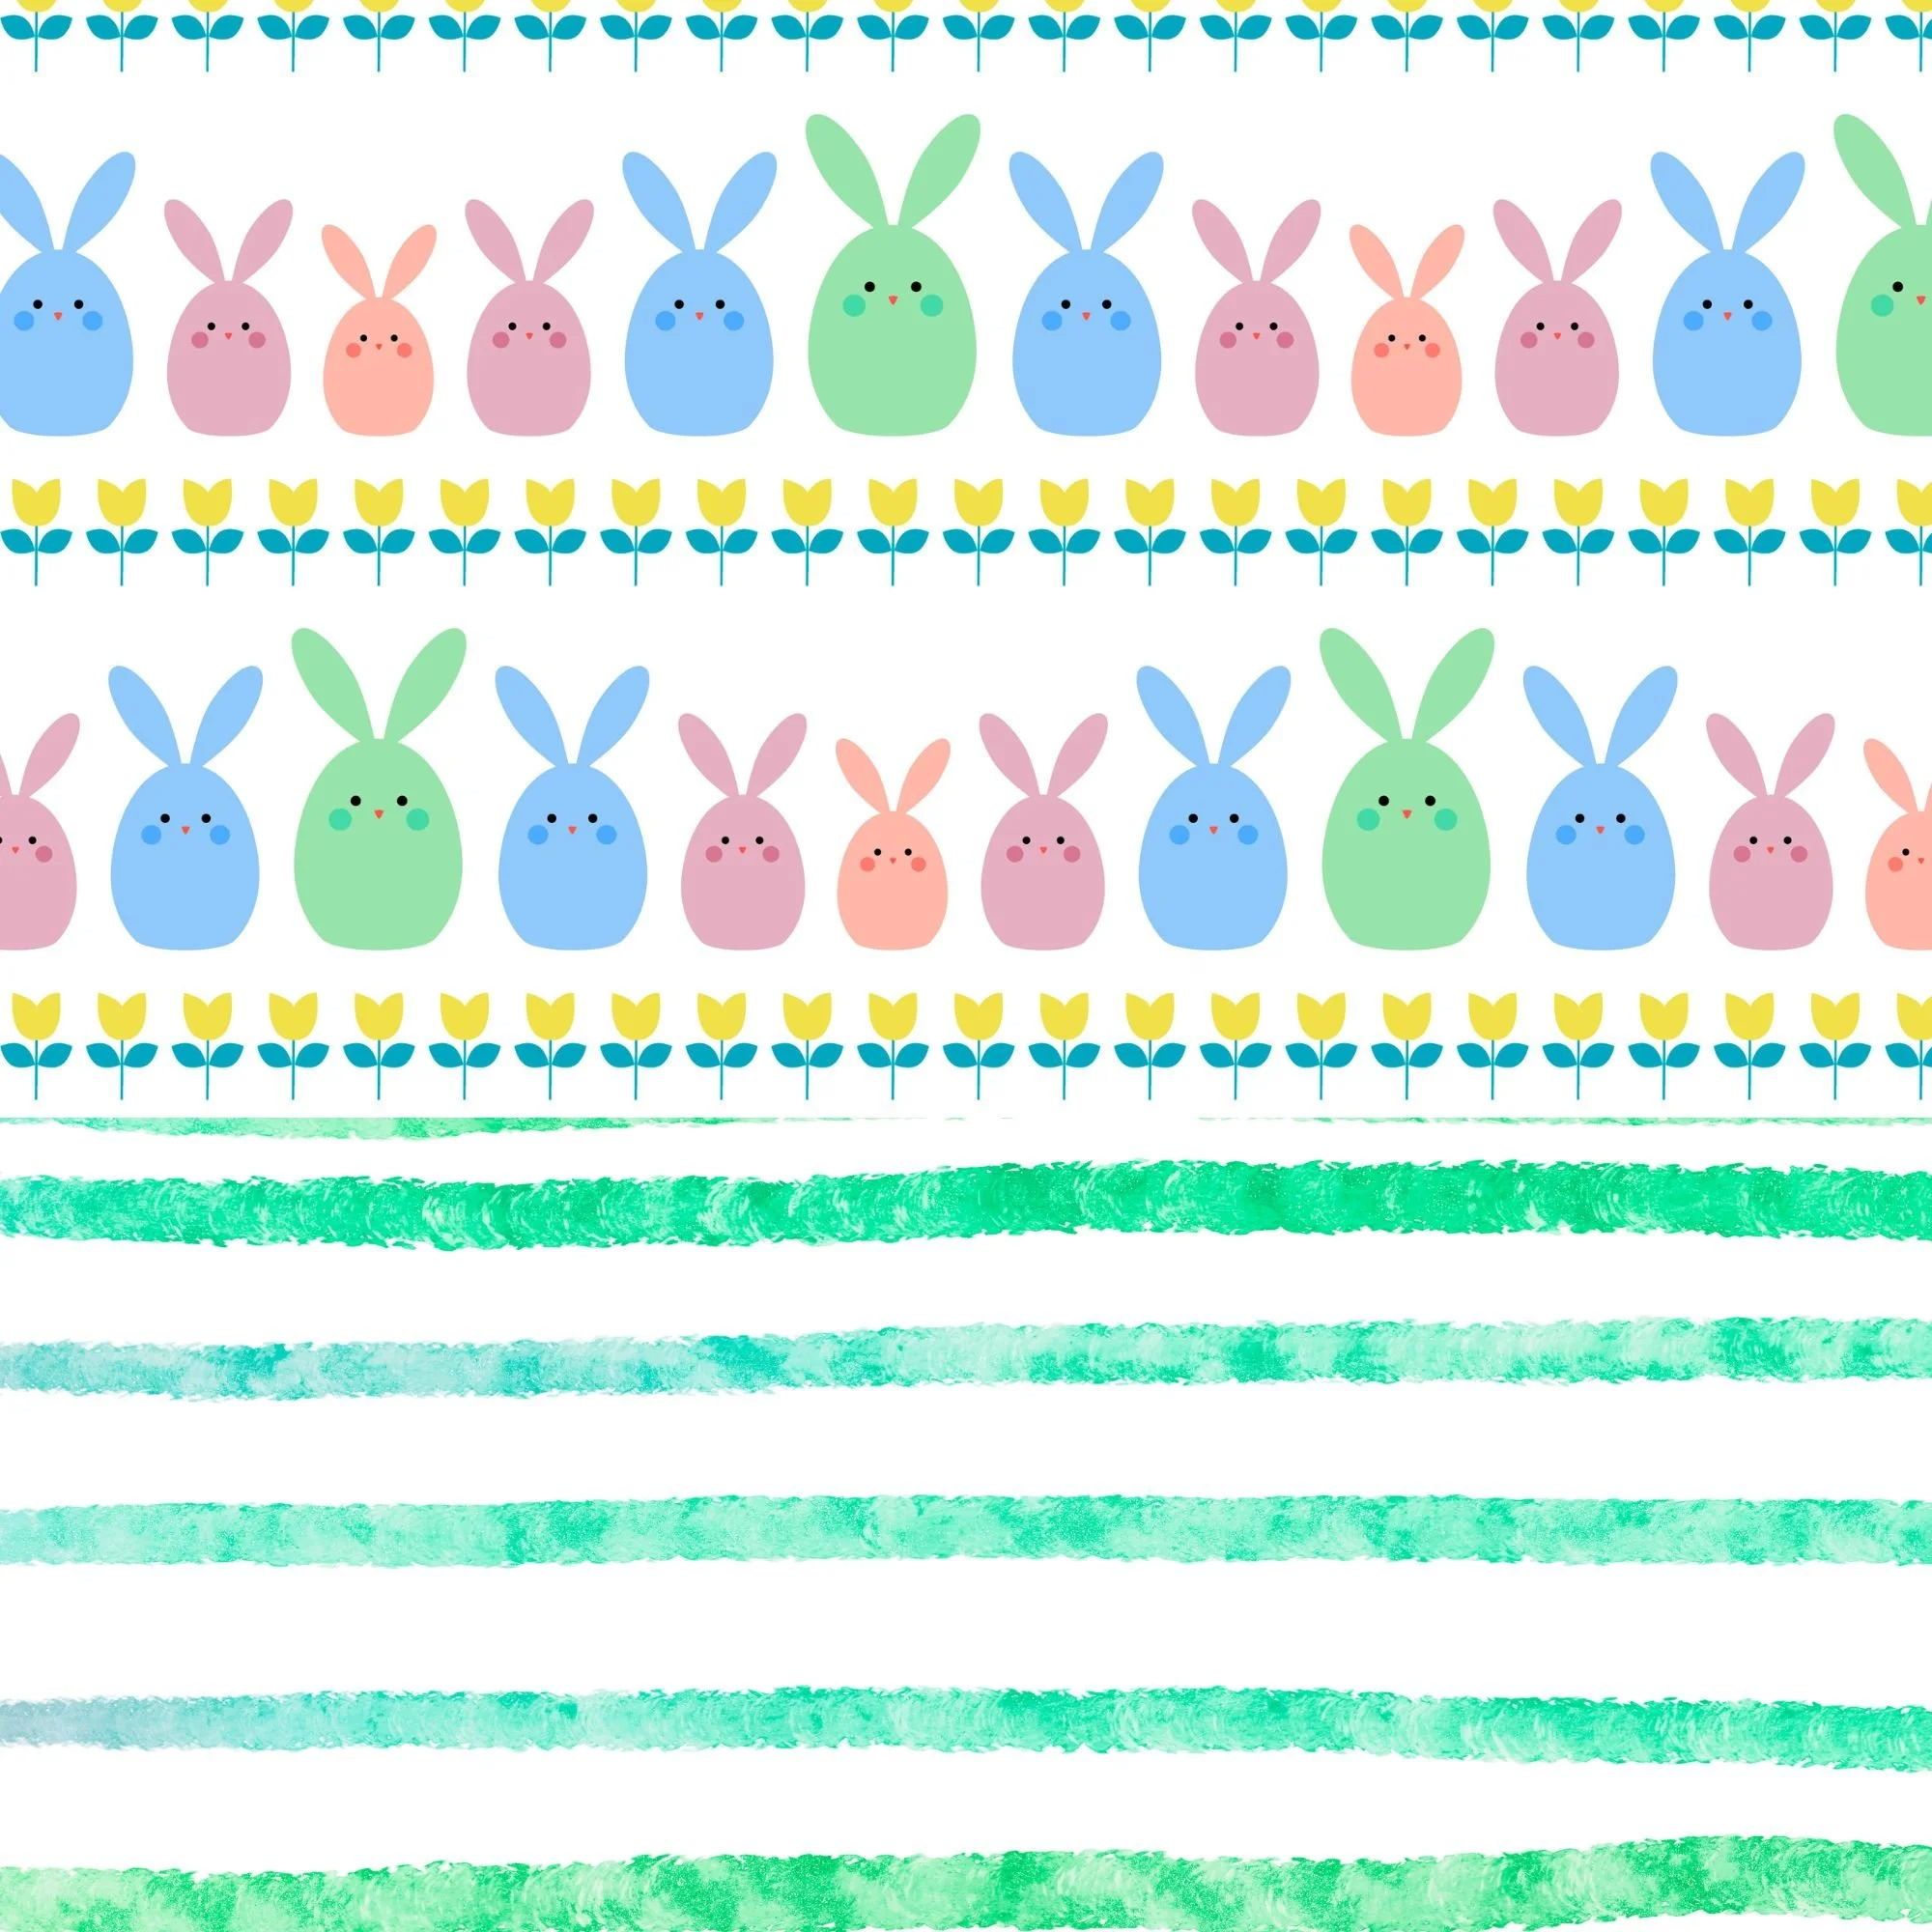
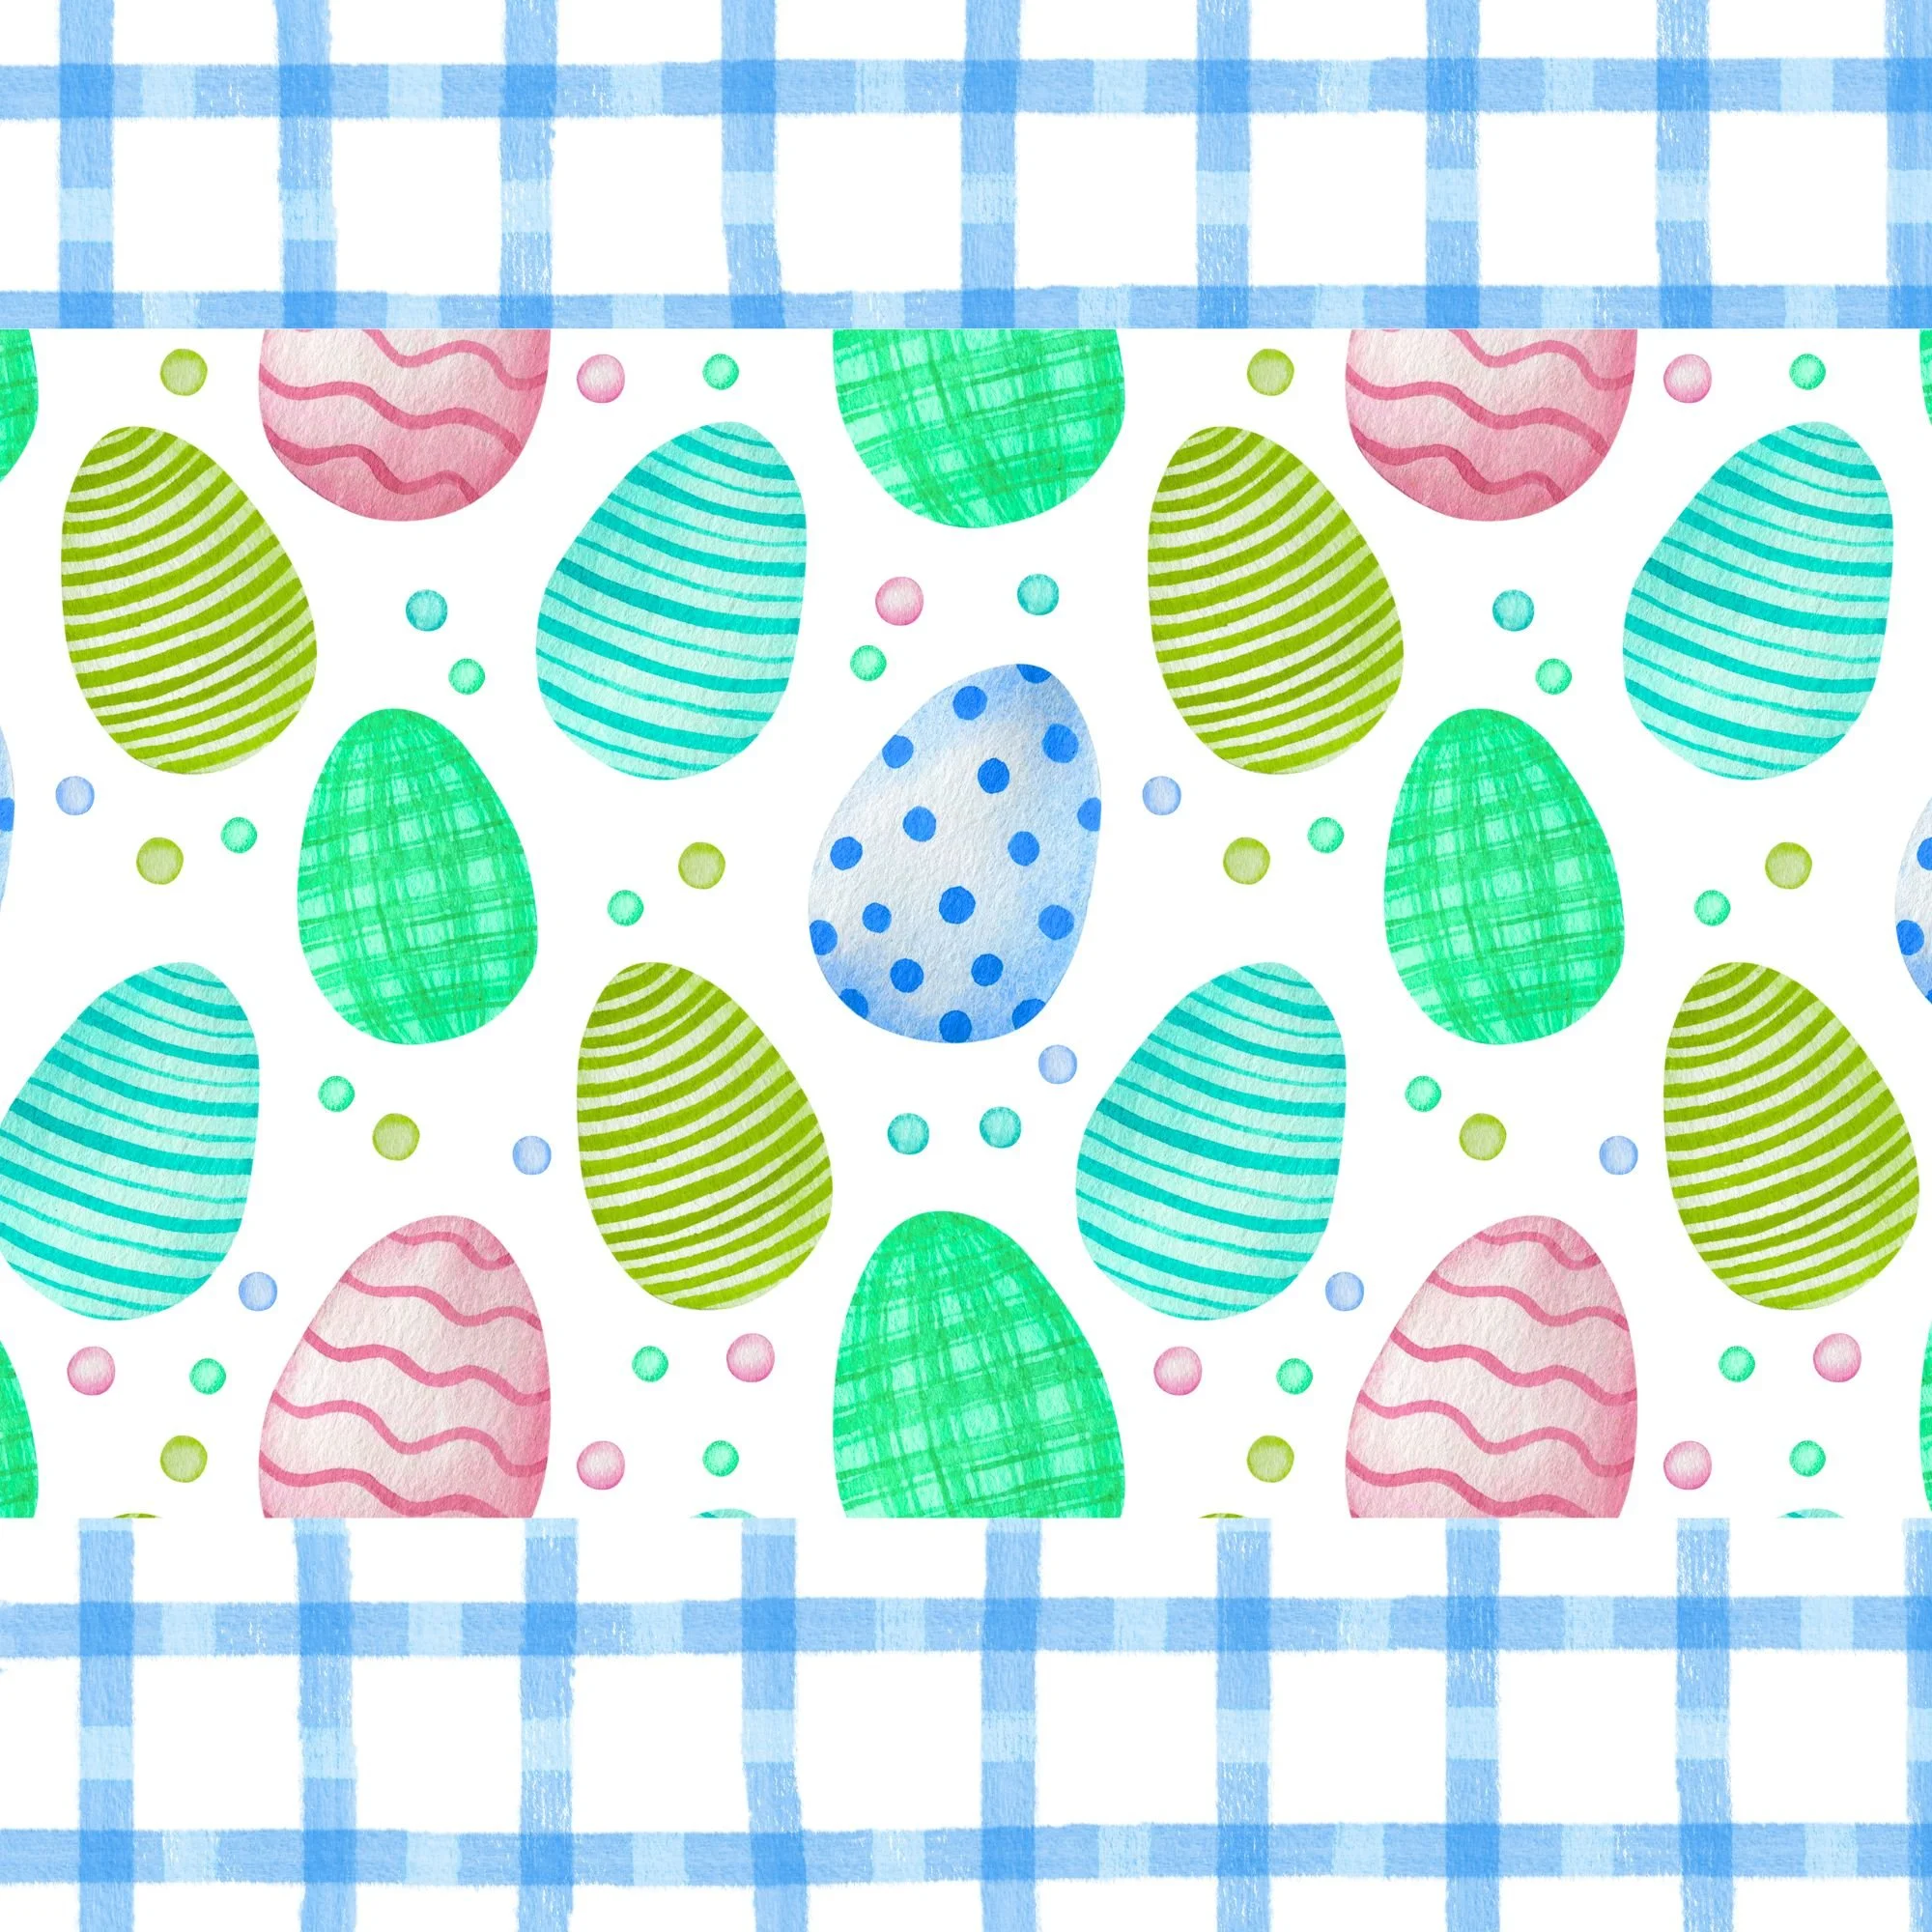

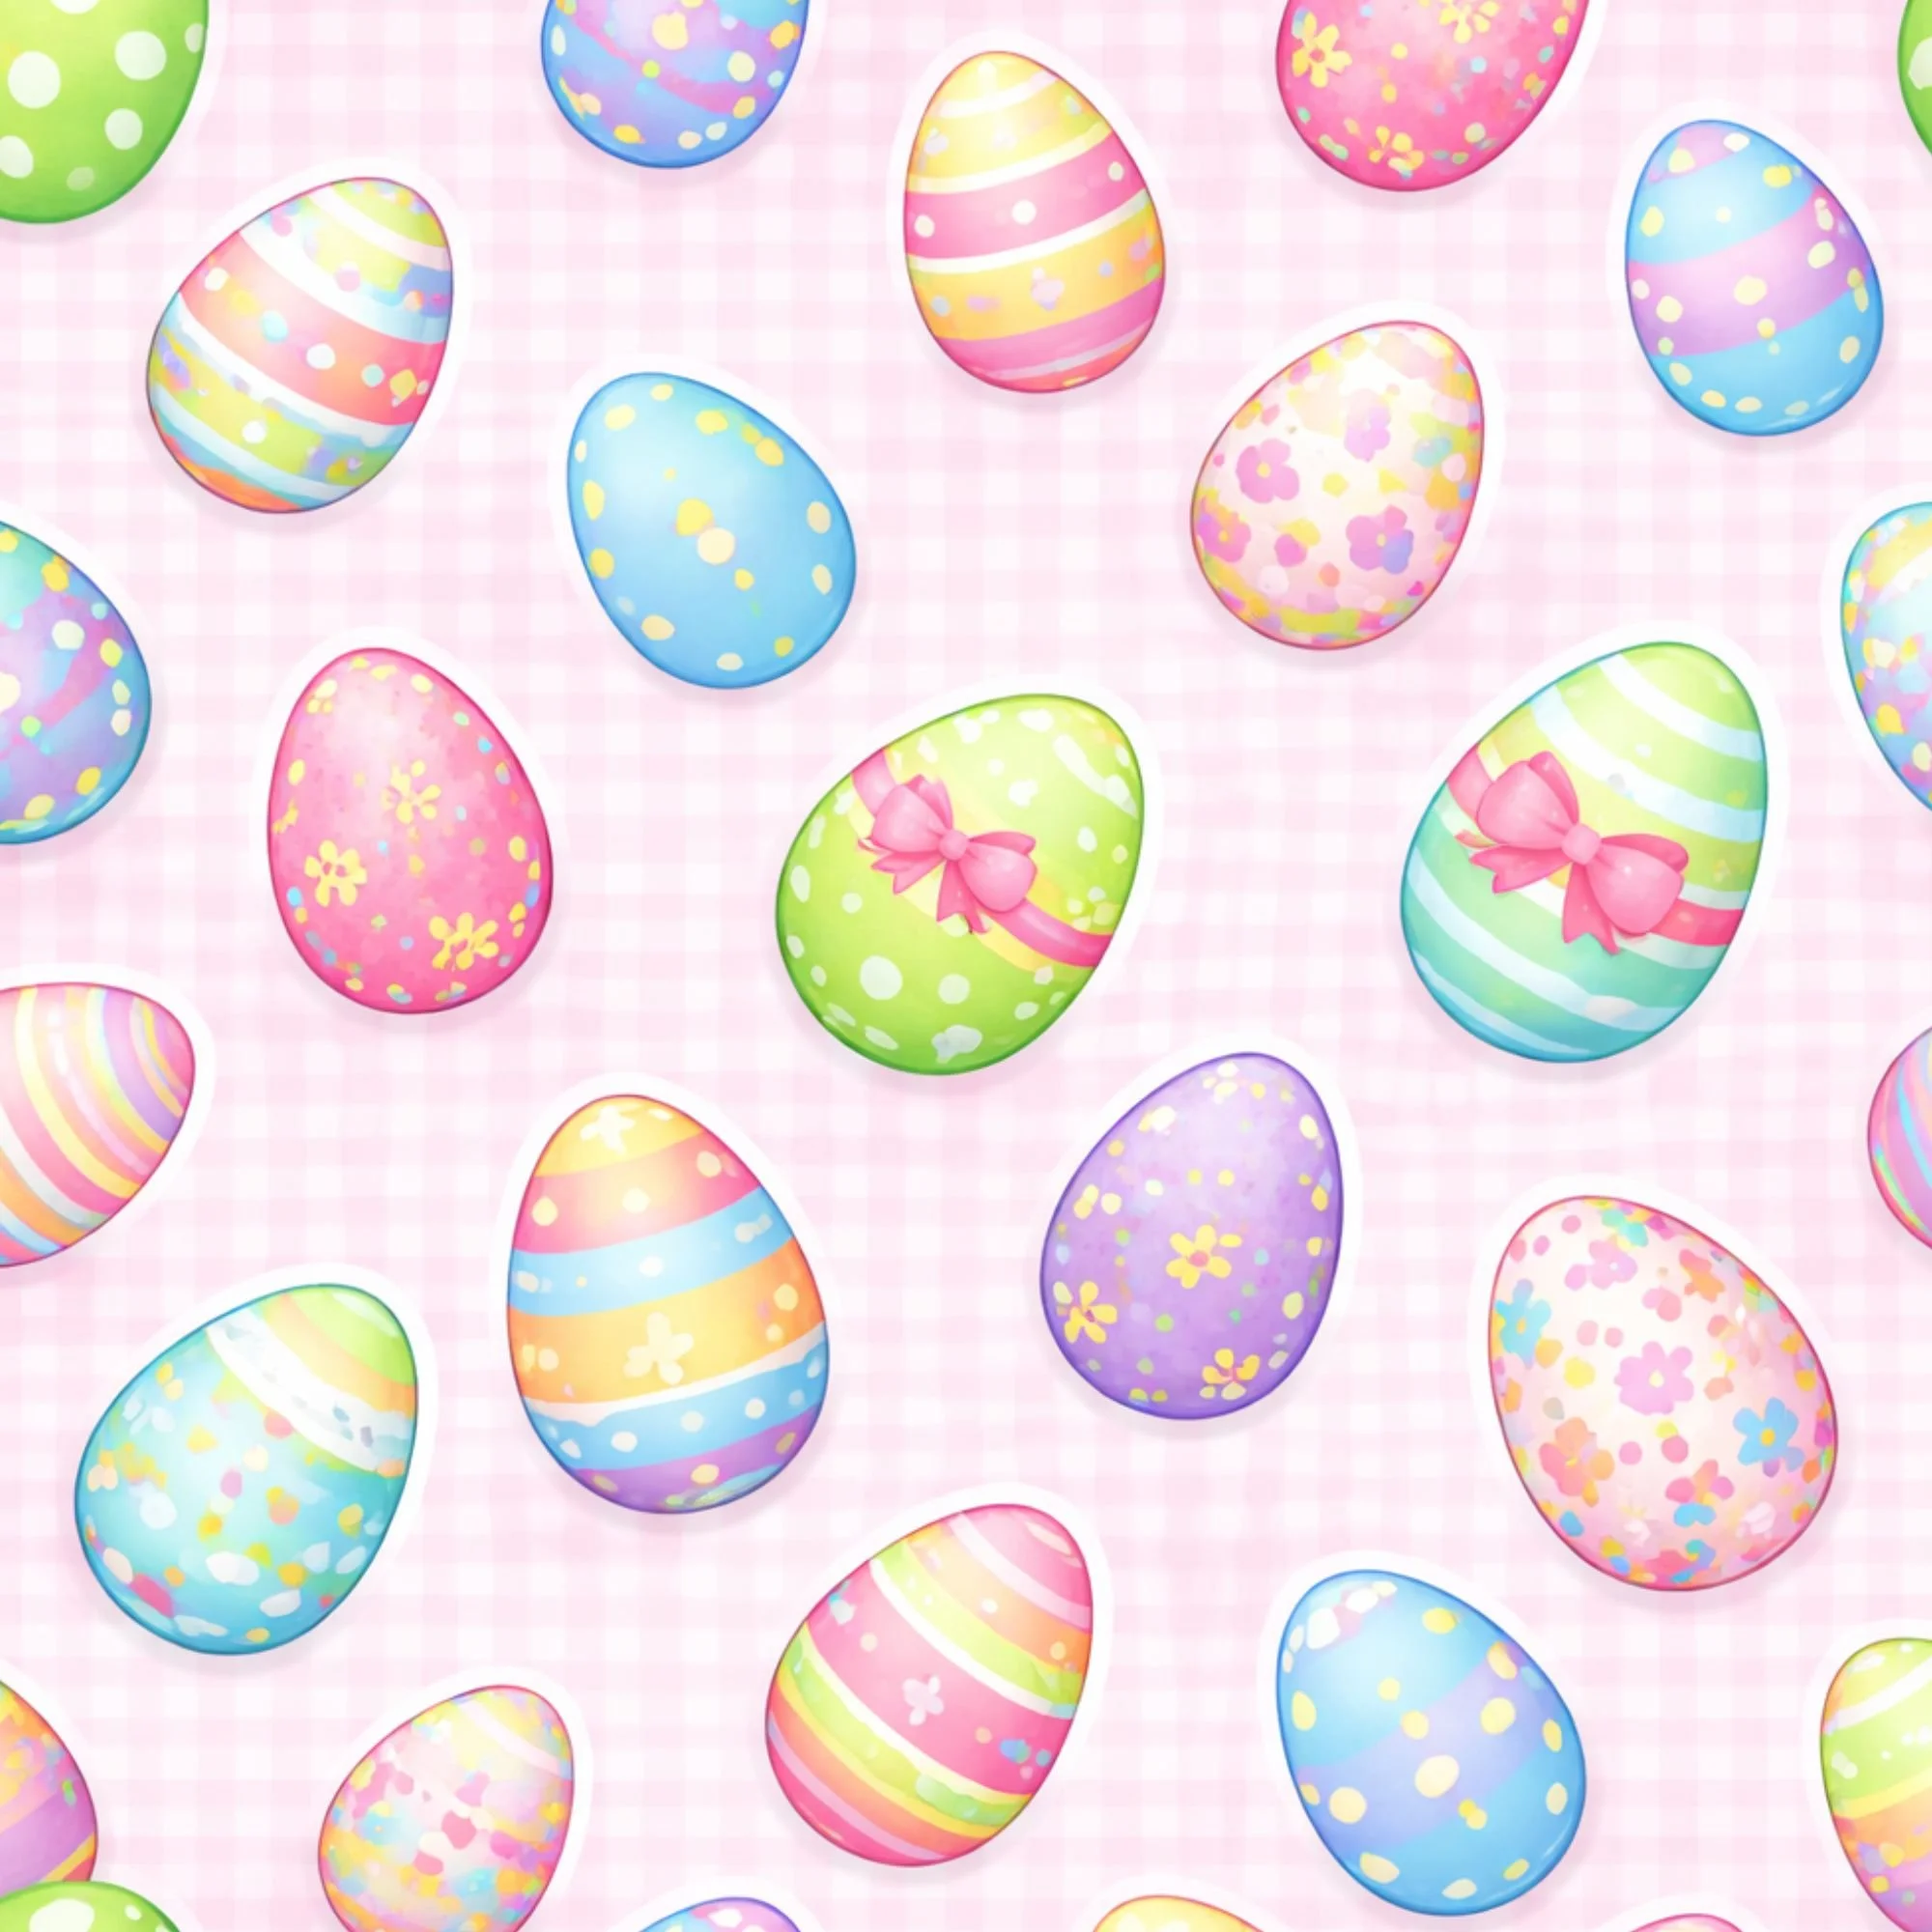

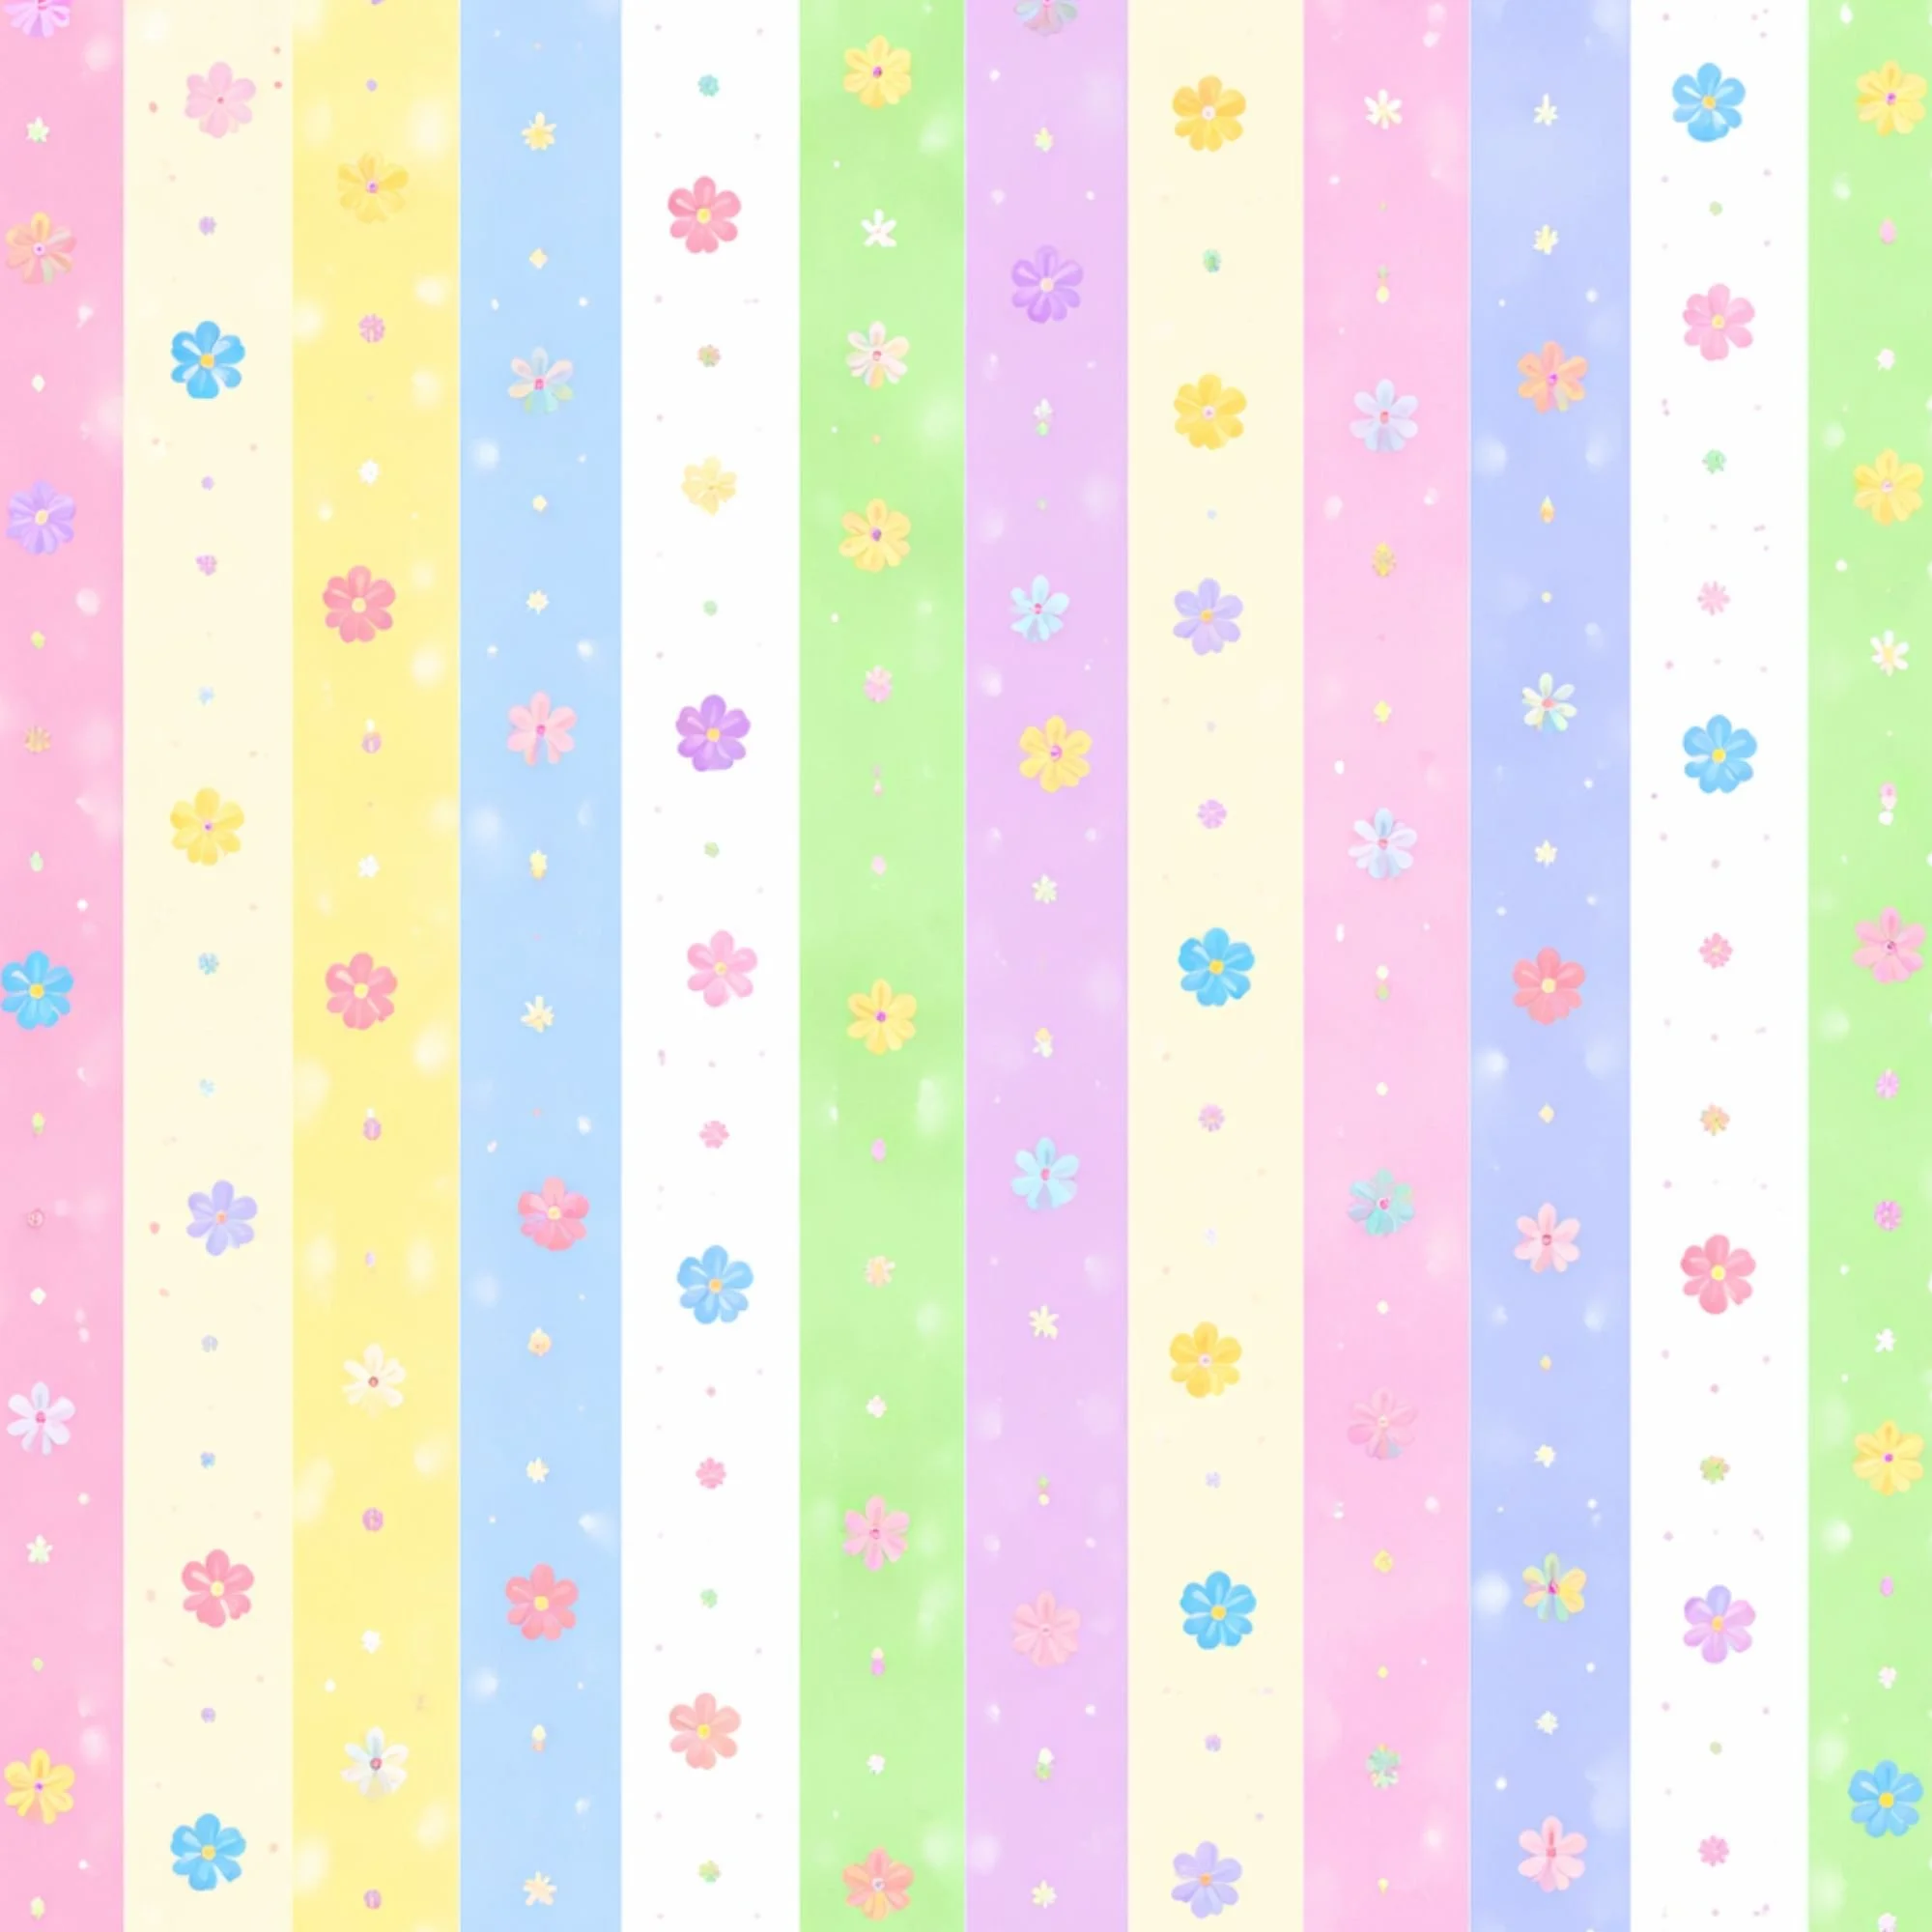
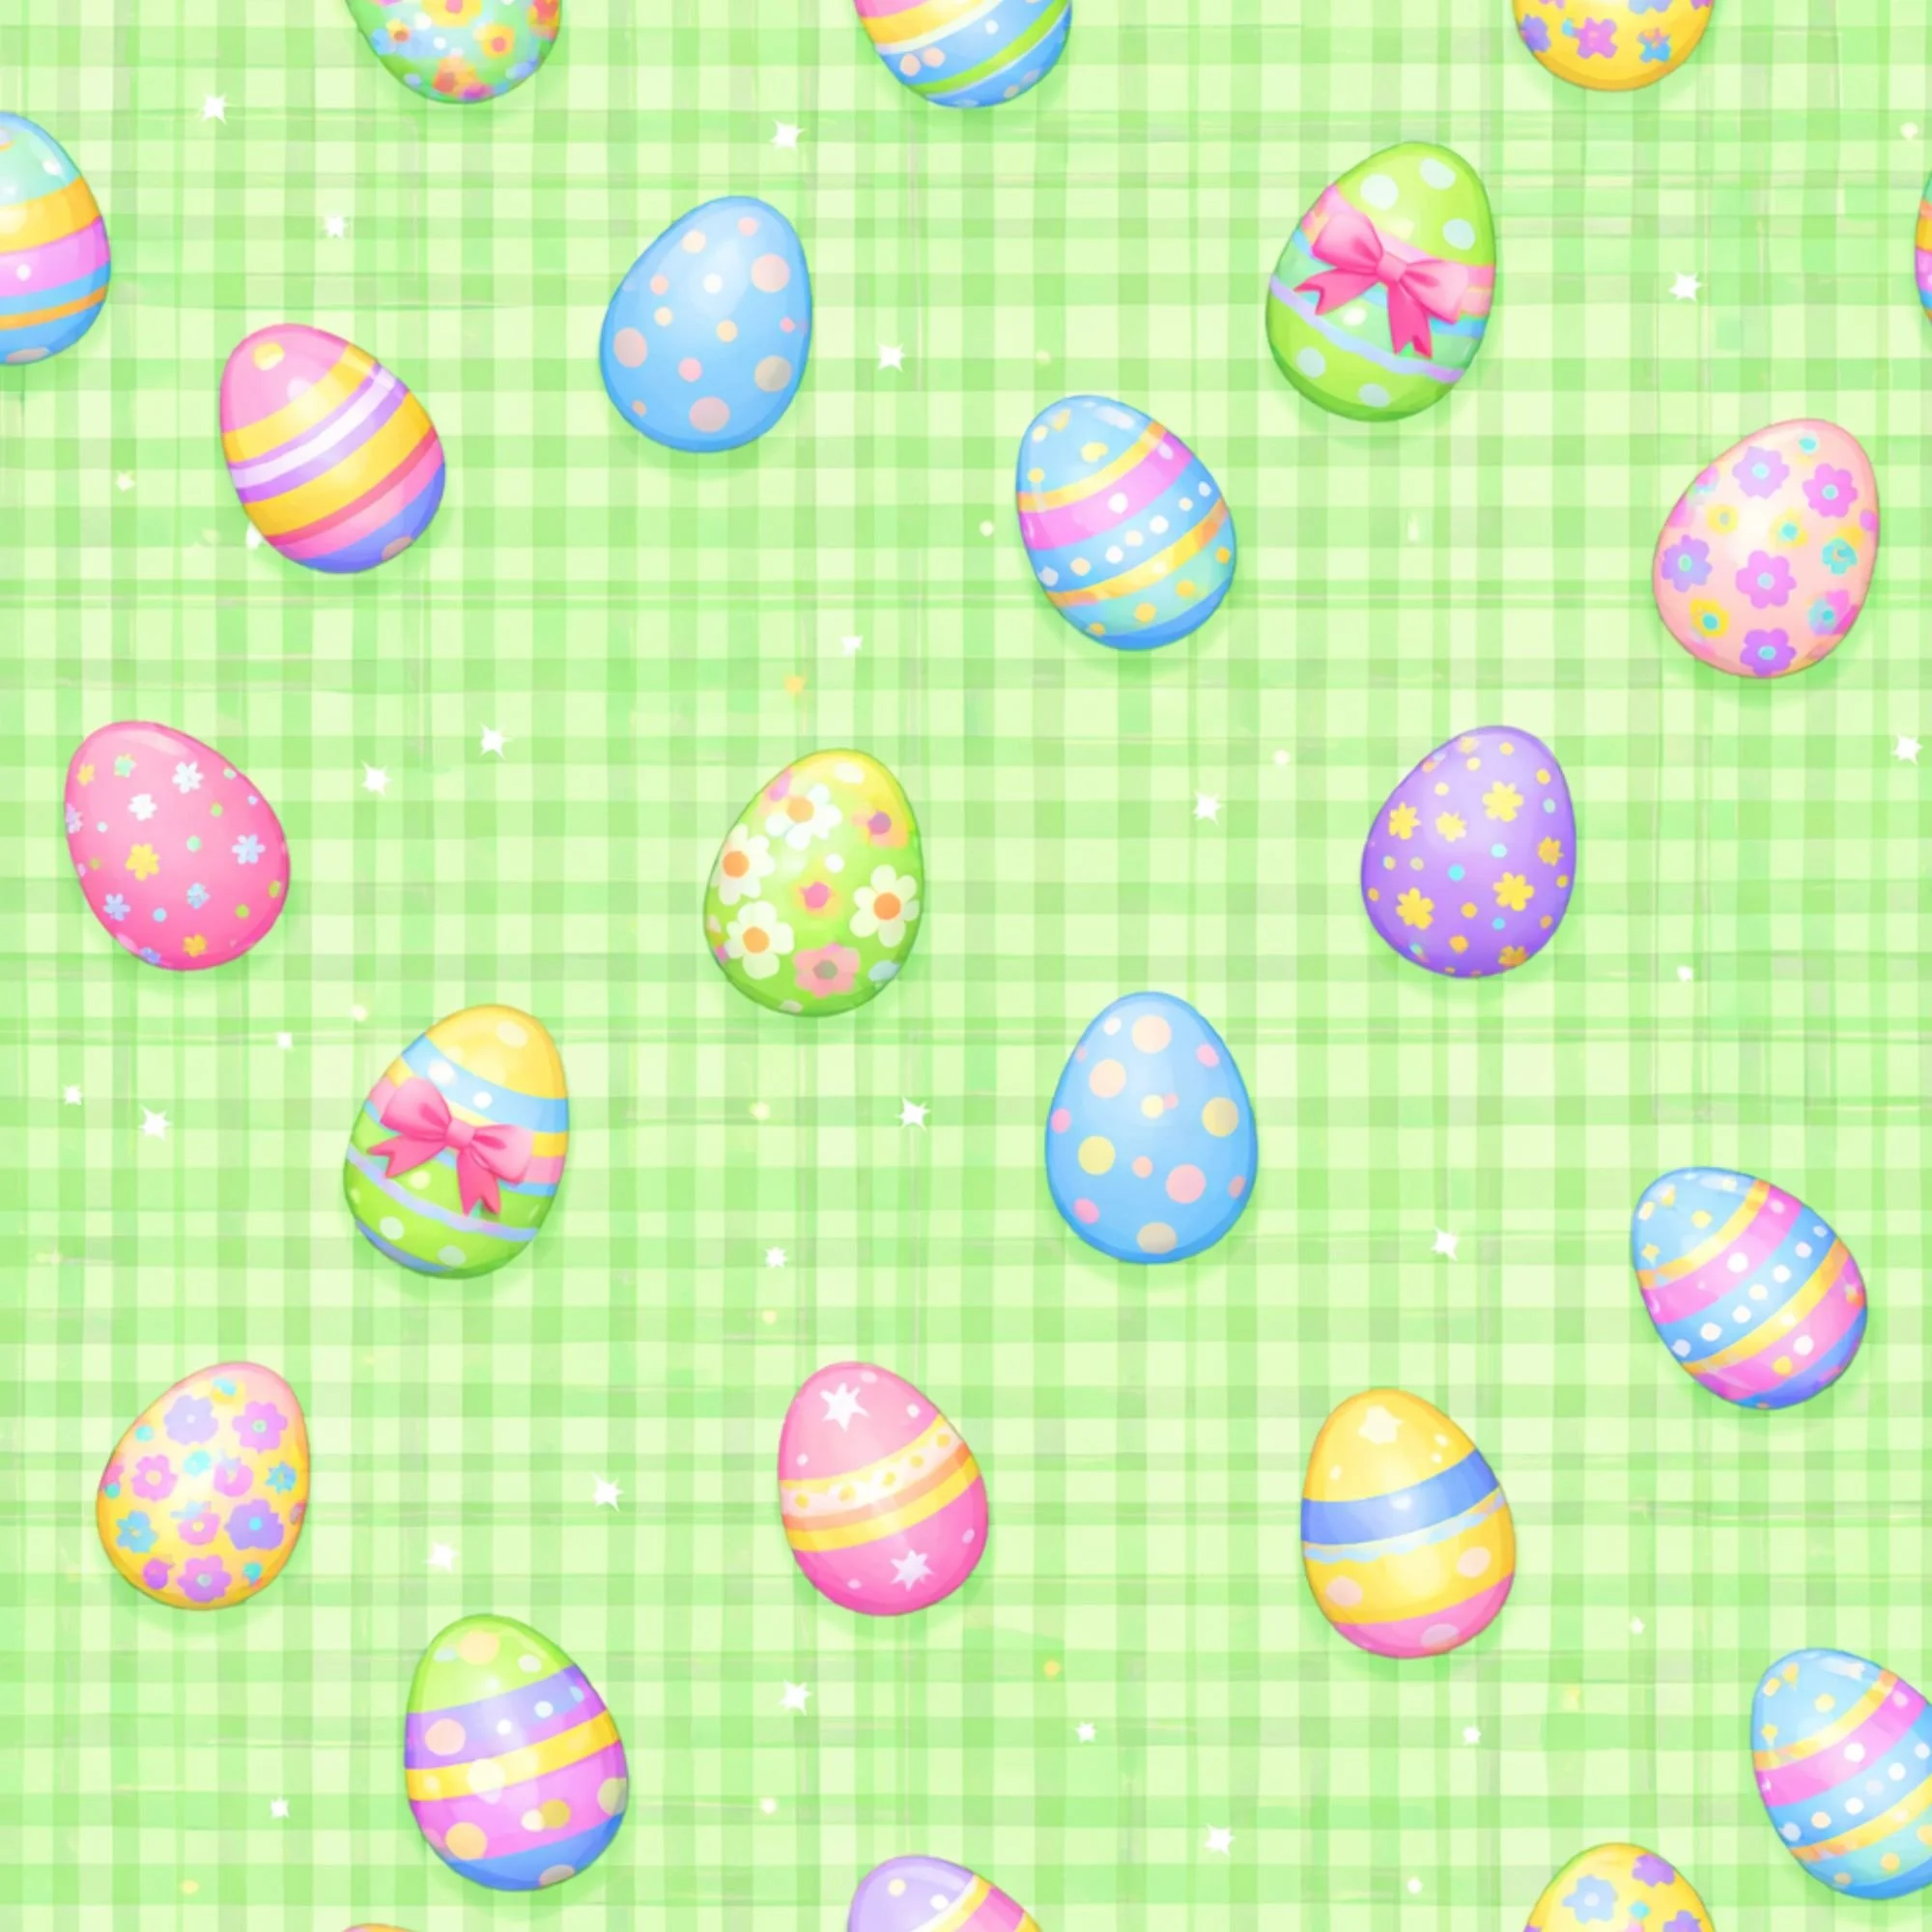
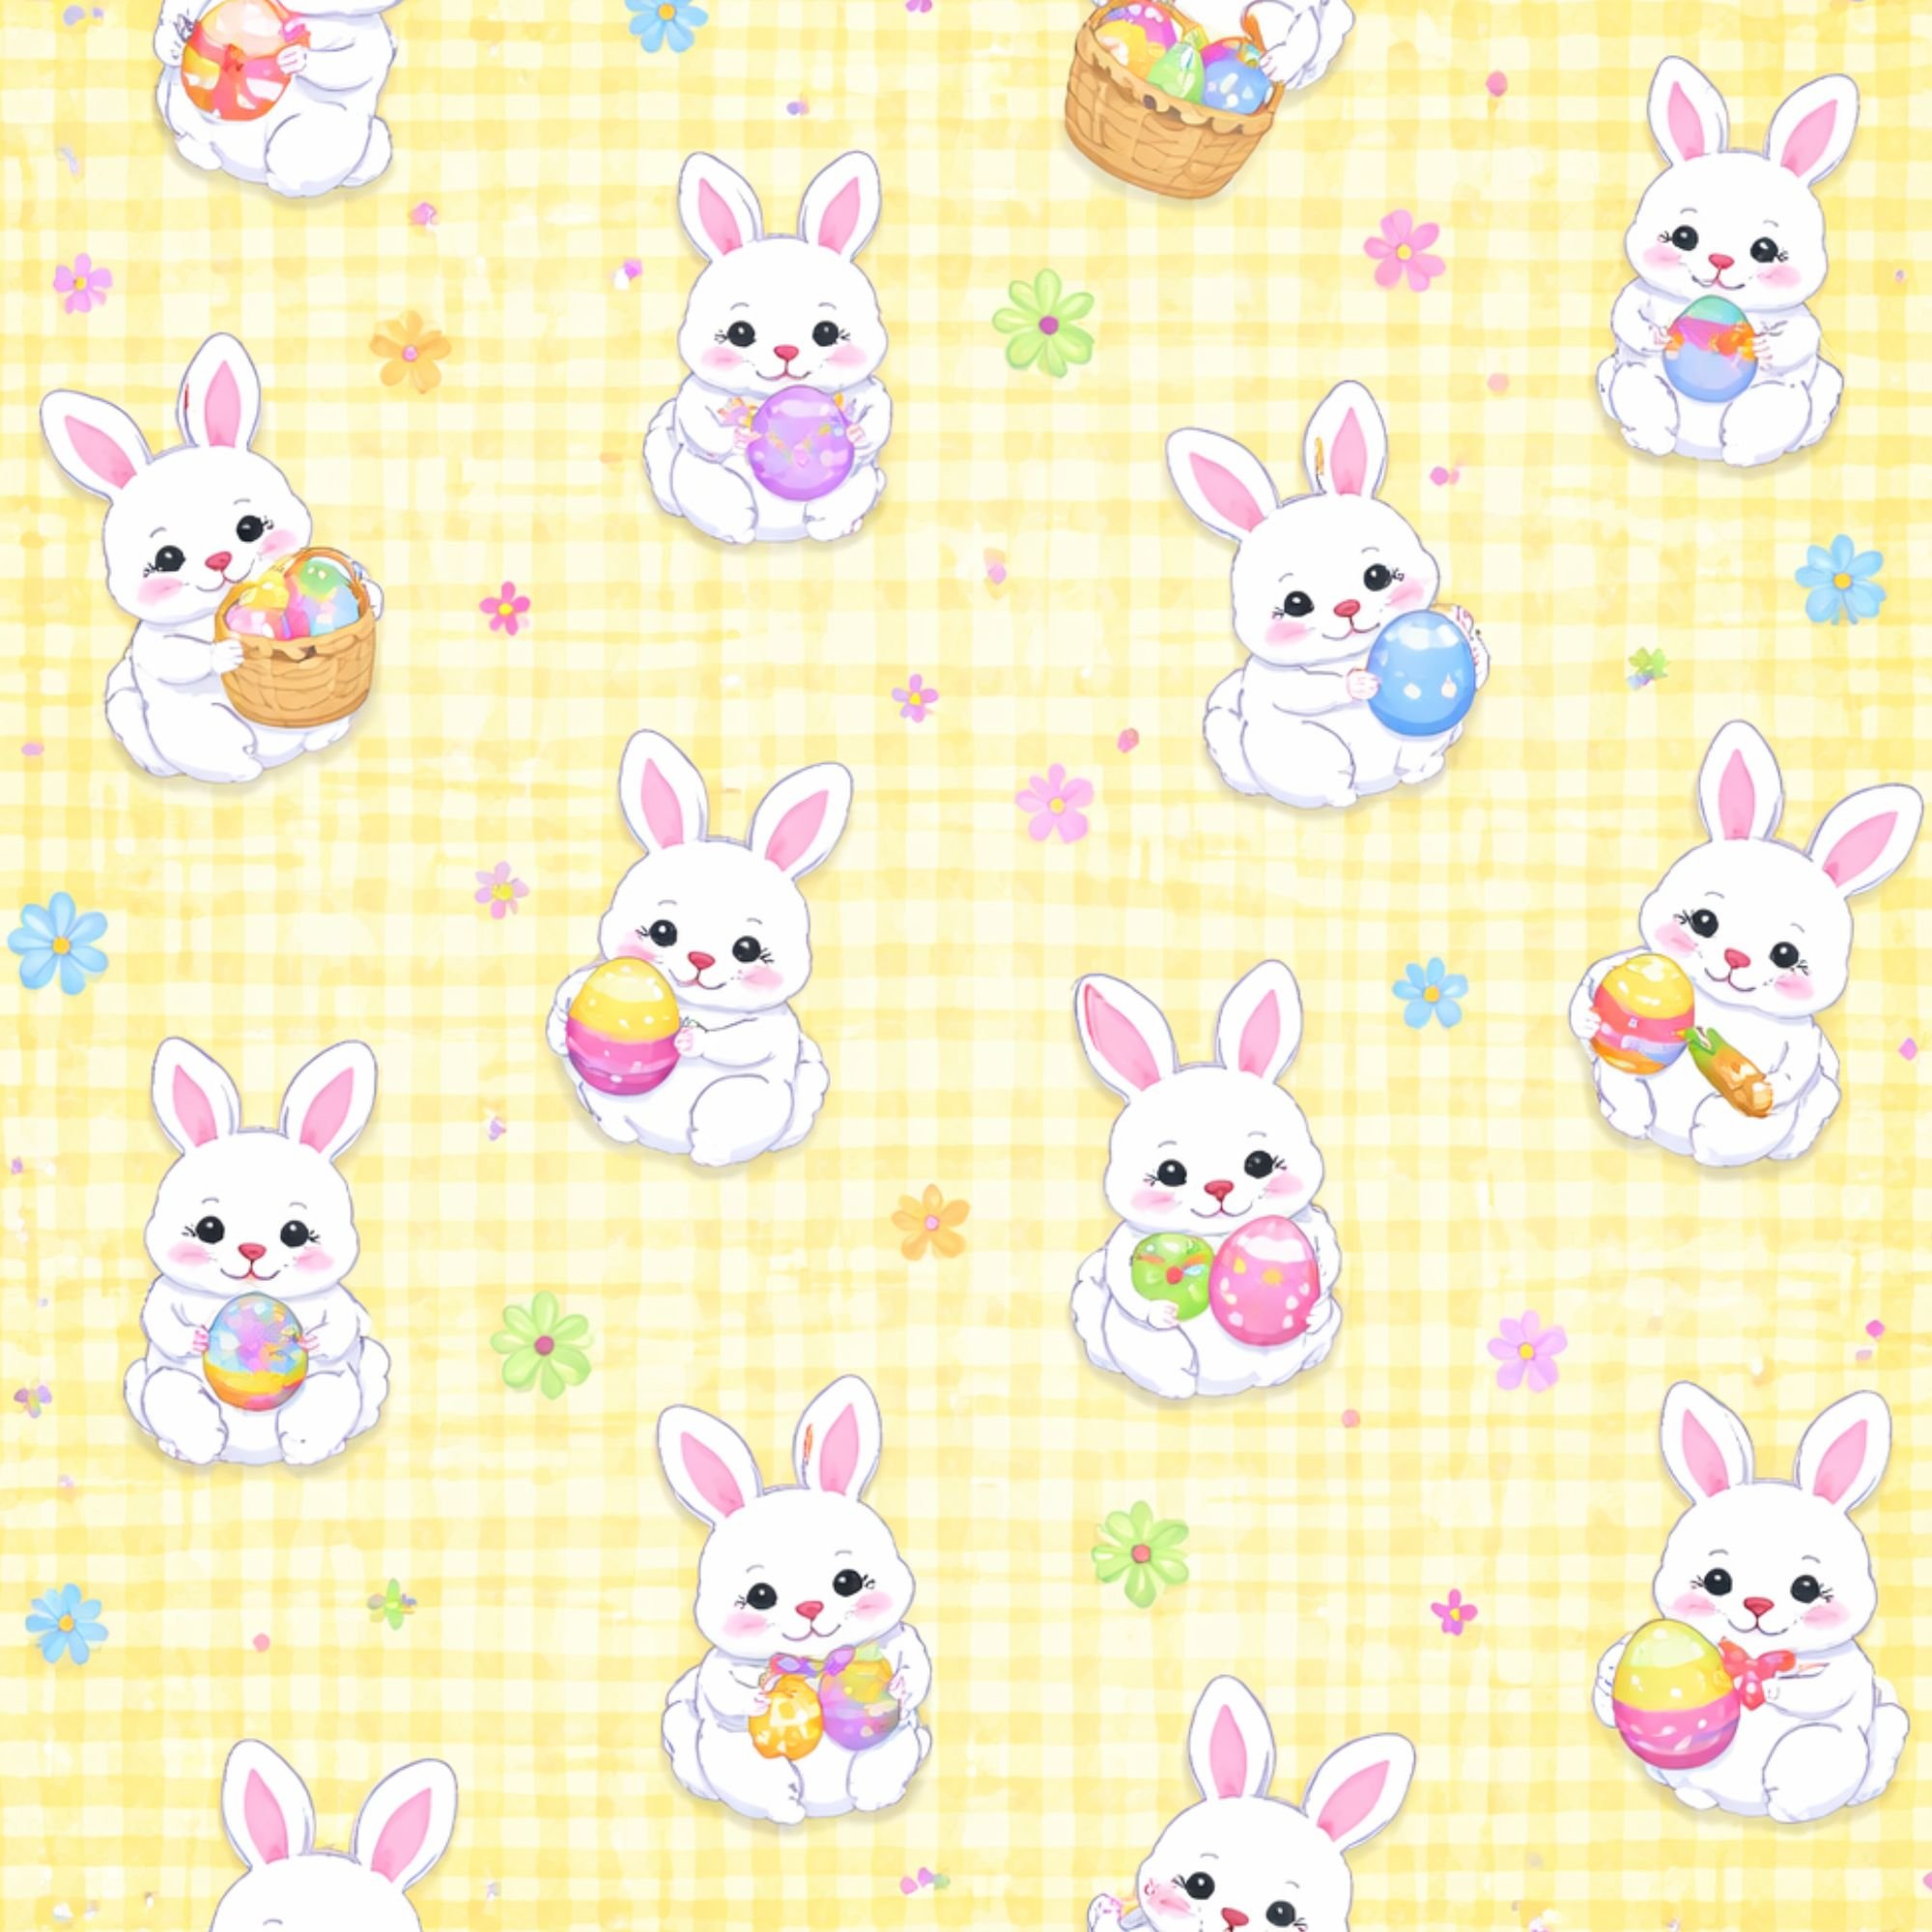
Soft spring pastels
Bright pops of pink, turquoise, purple, green, and yellow
Playful patterns like gingham, polka dots, stripes, and Easter eggs
Because the colors and patterns are already coordinated across the Easter Paper Pack , layering becomes much less intimidating—especially if you’re newer to scrapbooking.
The Building Blocks of Paper Layering
Before you start cutting and gluing, it helps to understand the three main layers used in scrapbooking:
Base Layer
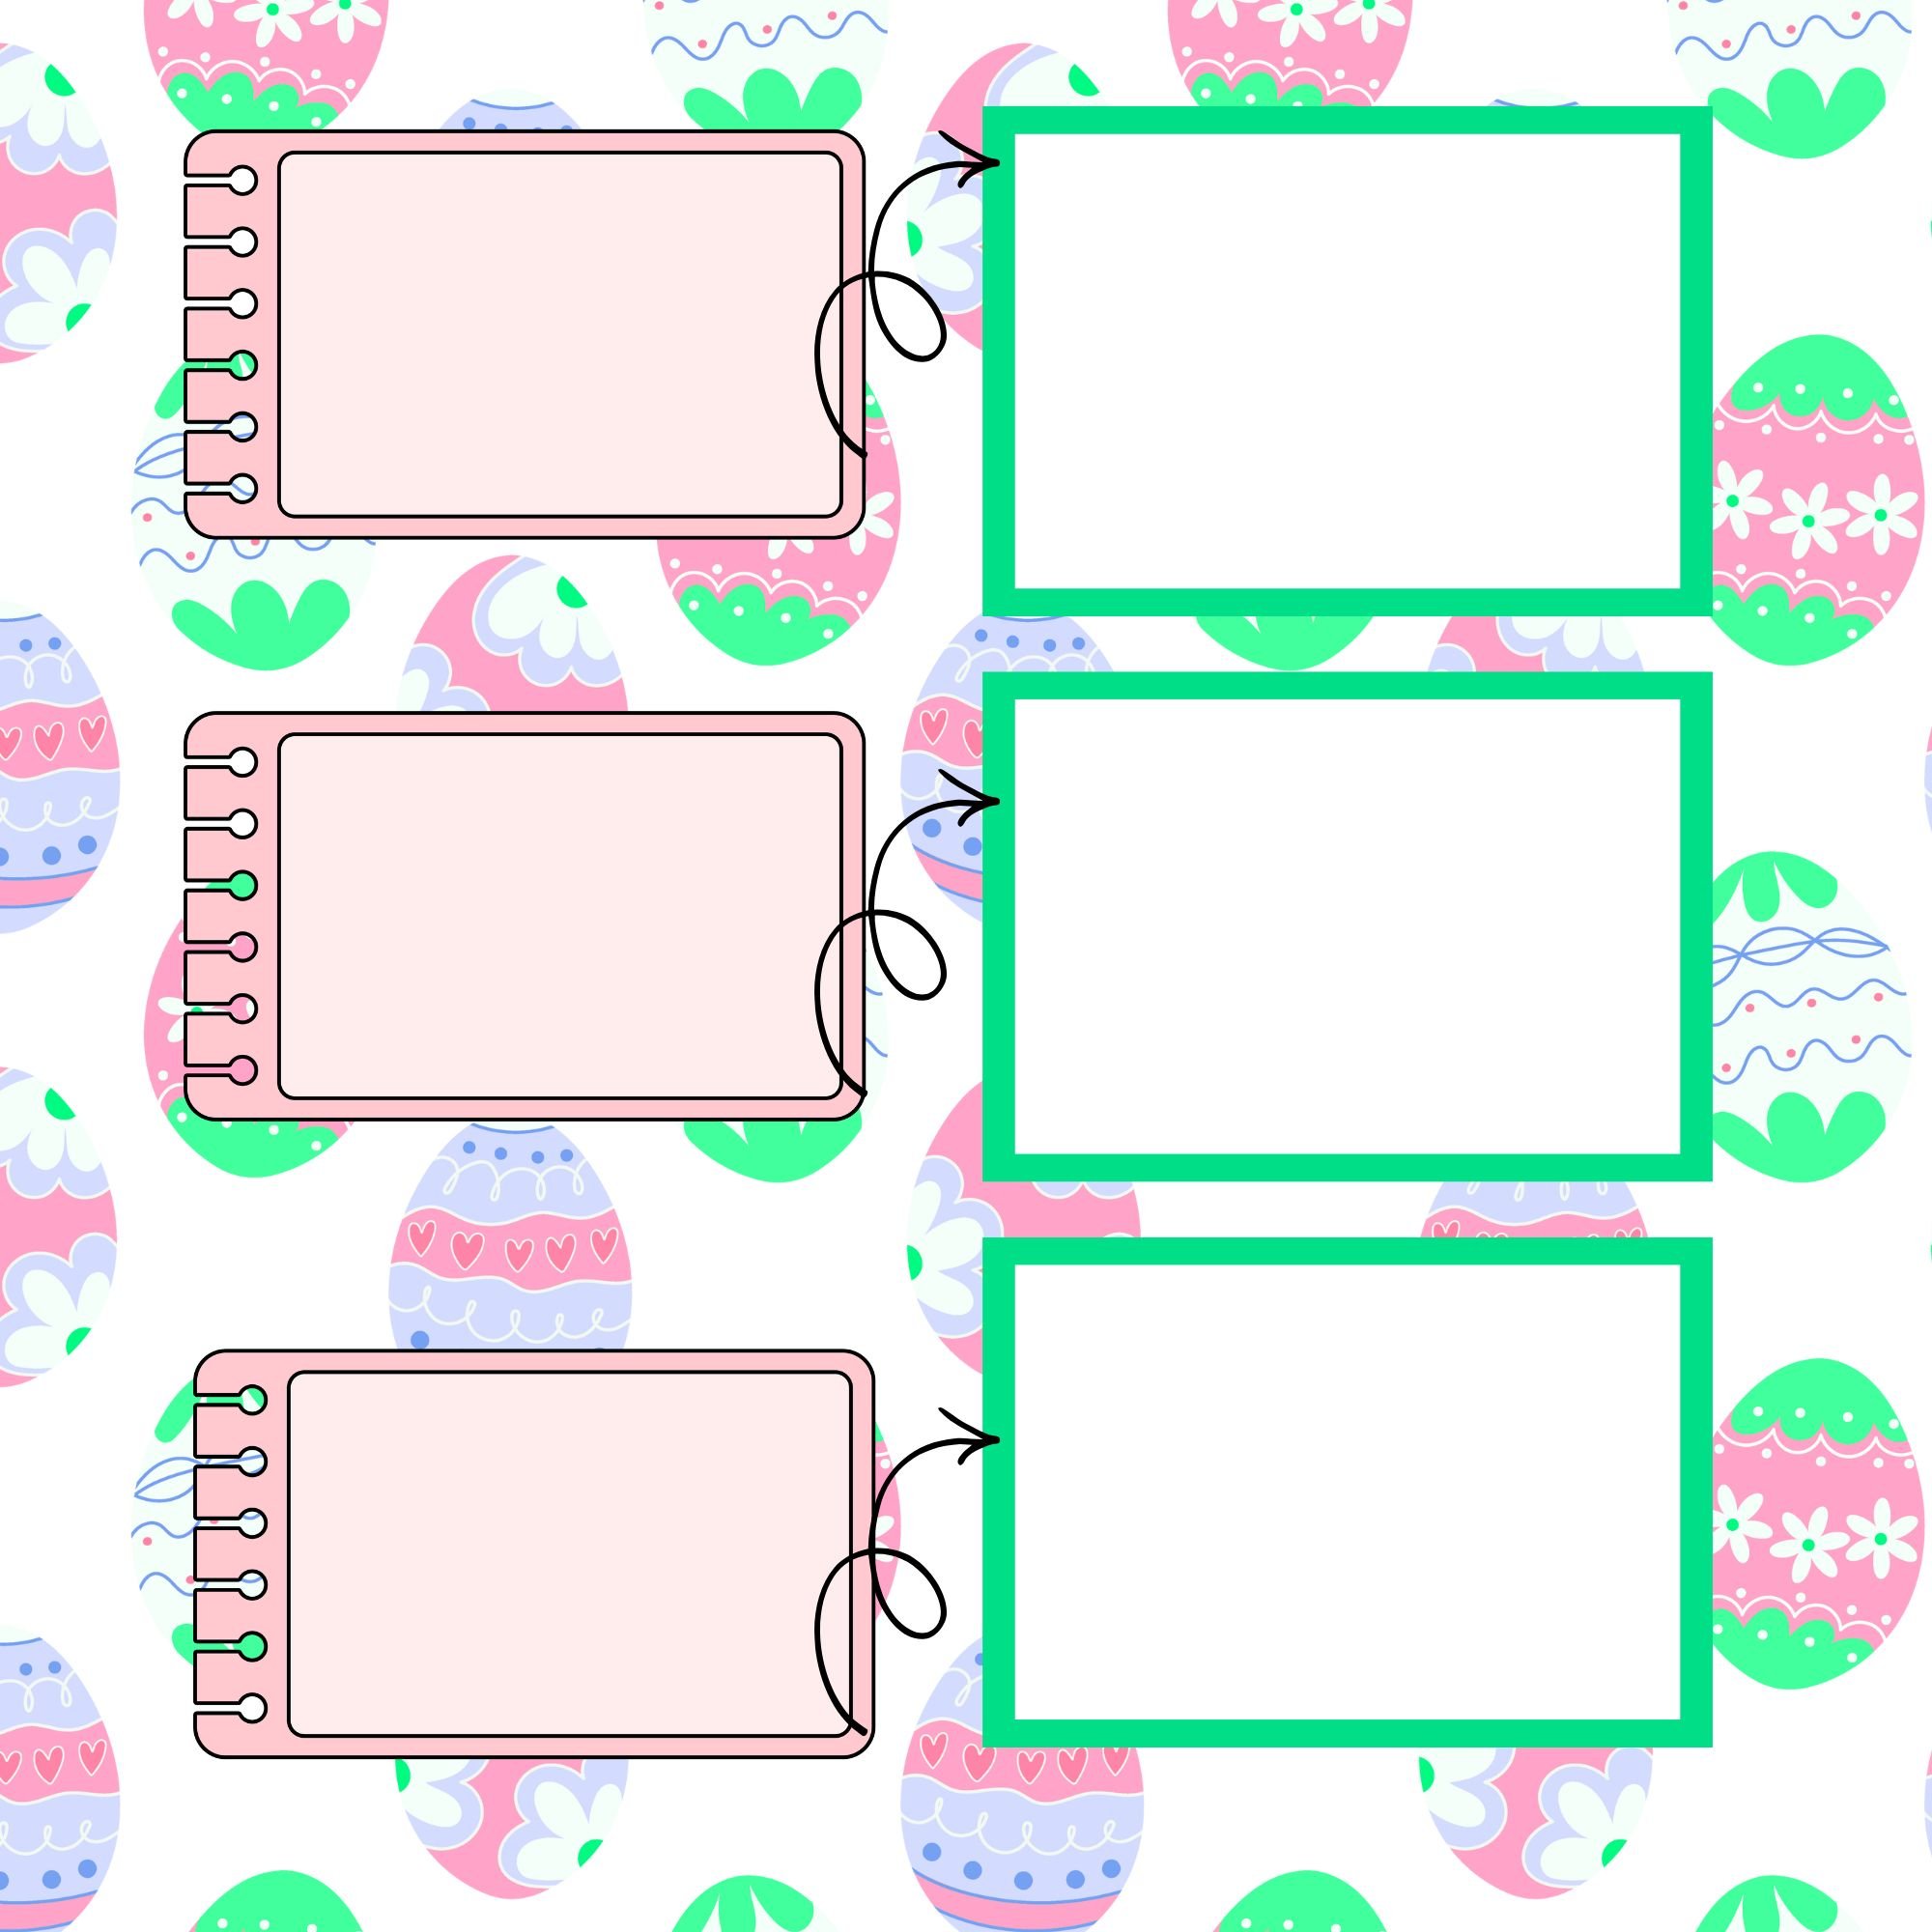
This is your foundation. It usually covers the entire page and can be a solid or patterned paper. Many of the Easter Memorette interior pages work beautifully as base layers on their own.
Background Layer
This layer sits on top of the base and should contrast in either color or pattern. Pulling a paper from the Easter Paper Pack makes this step simple.
Feature Layer
This is where your eye is drawn—typically your photos, journaling, or a focal embellishment. The Easter Page Kit includes pre-designed elements that work perfectly as feature layers.
How to Choose Papers That Layer Well Together
A few simple guidelines make all the difference:
Aim for at least two colors and/or two patterns
Pair bold patterns with more subtle ones
Mix stripes, florals, solids, and textures
Pull colors from your photos when possible
Using a coordinated set—like the Easter Paper Pack —eliminates guesswork and helps your pages feel cohesive.
Easy Layering Structures to Try
Here are a few beginner-friendly layering styles:
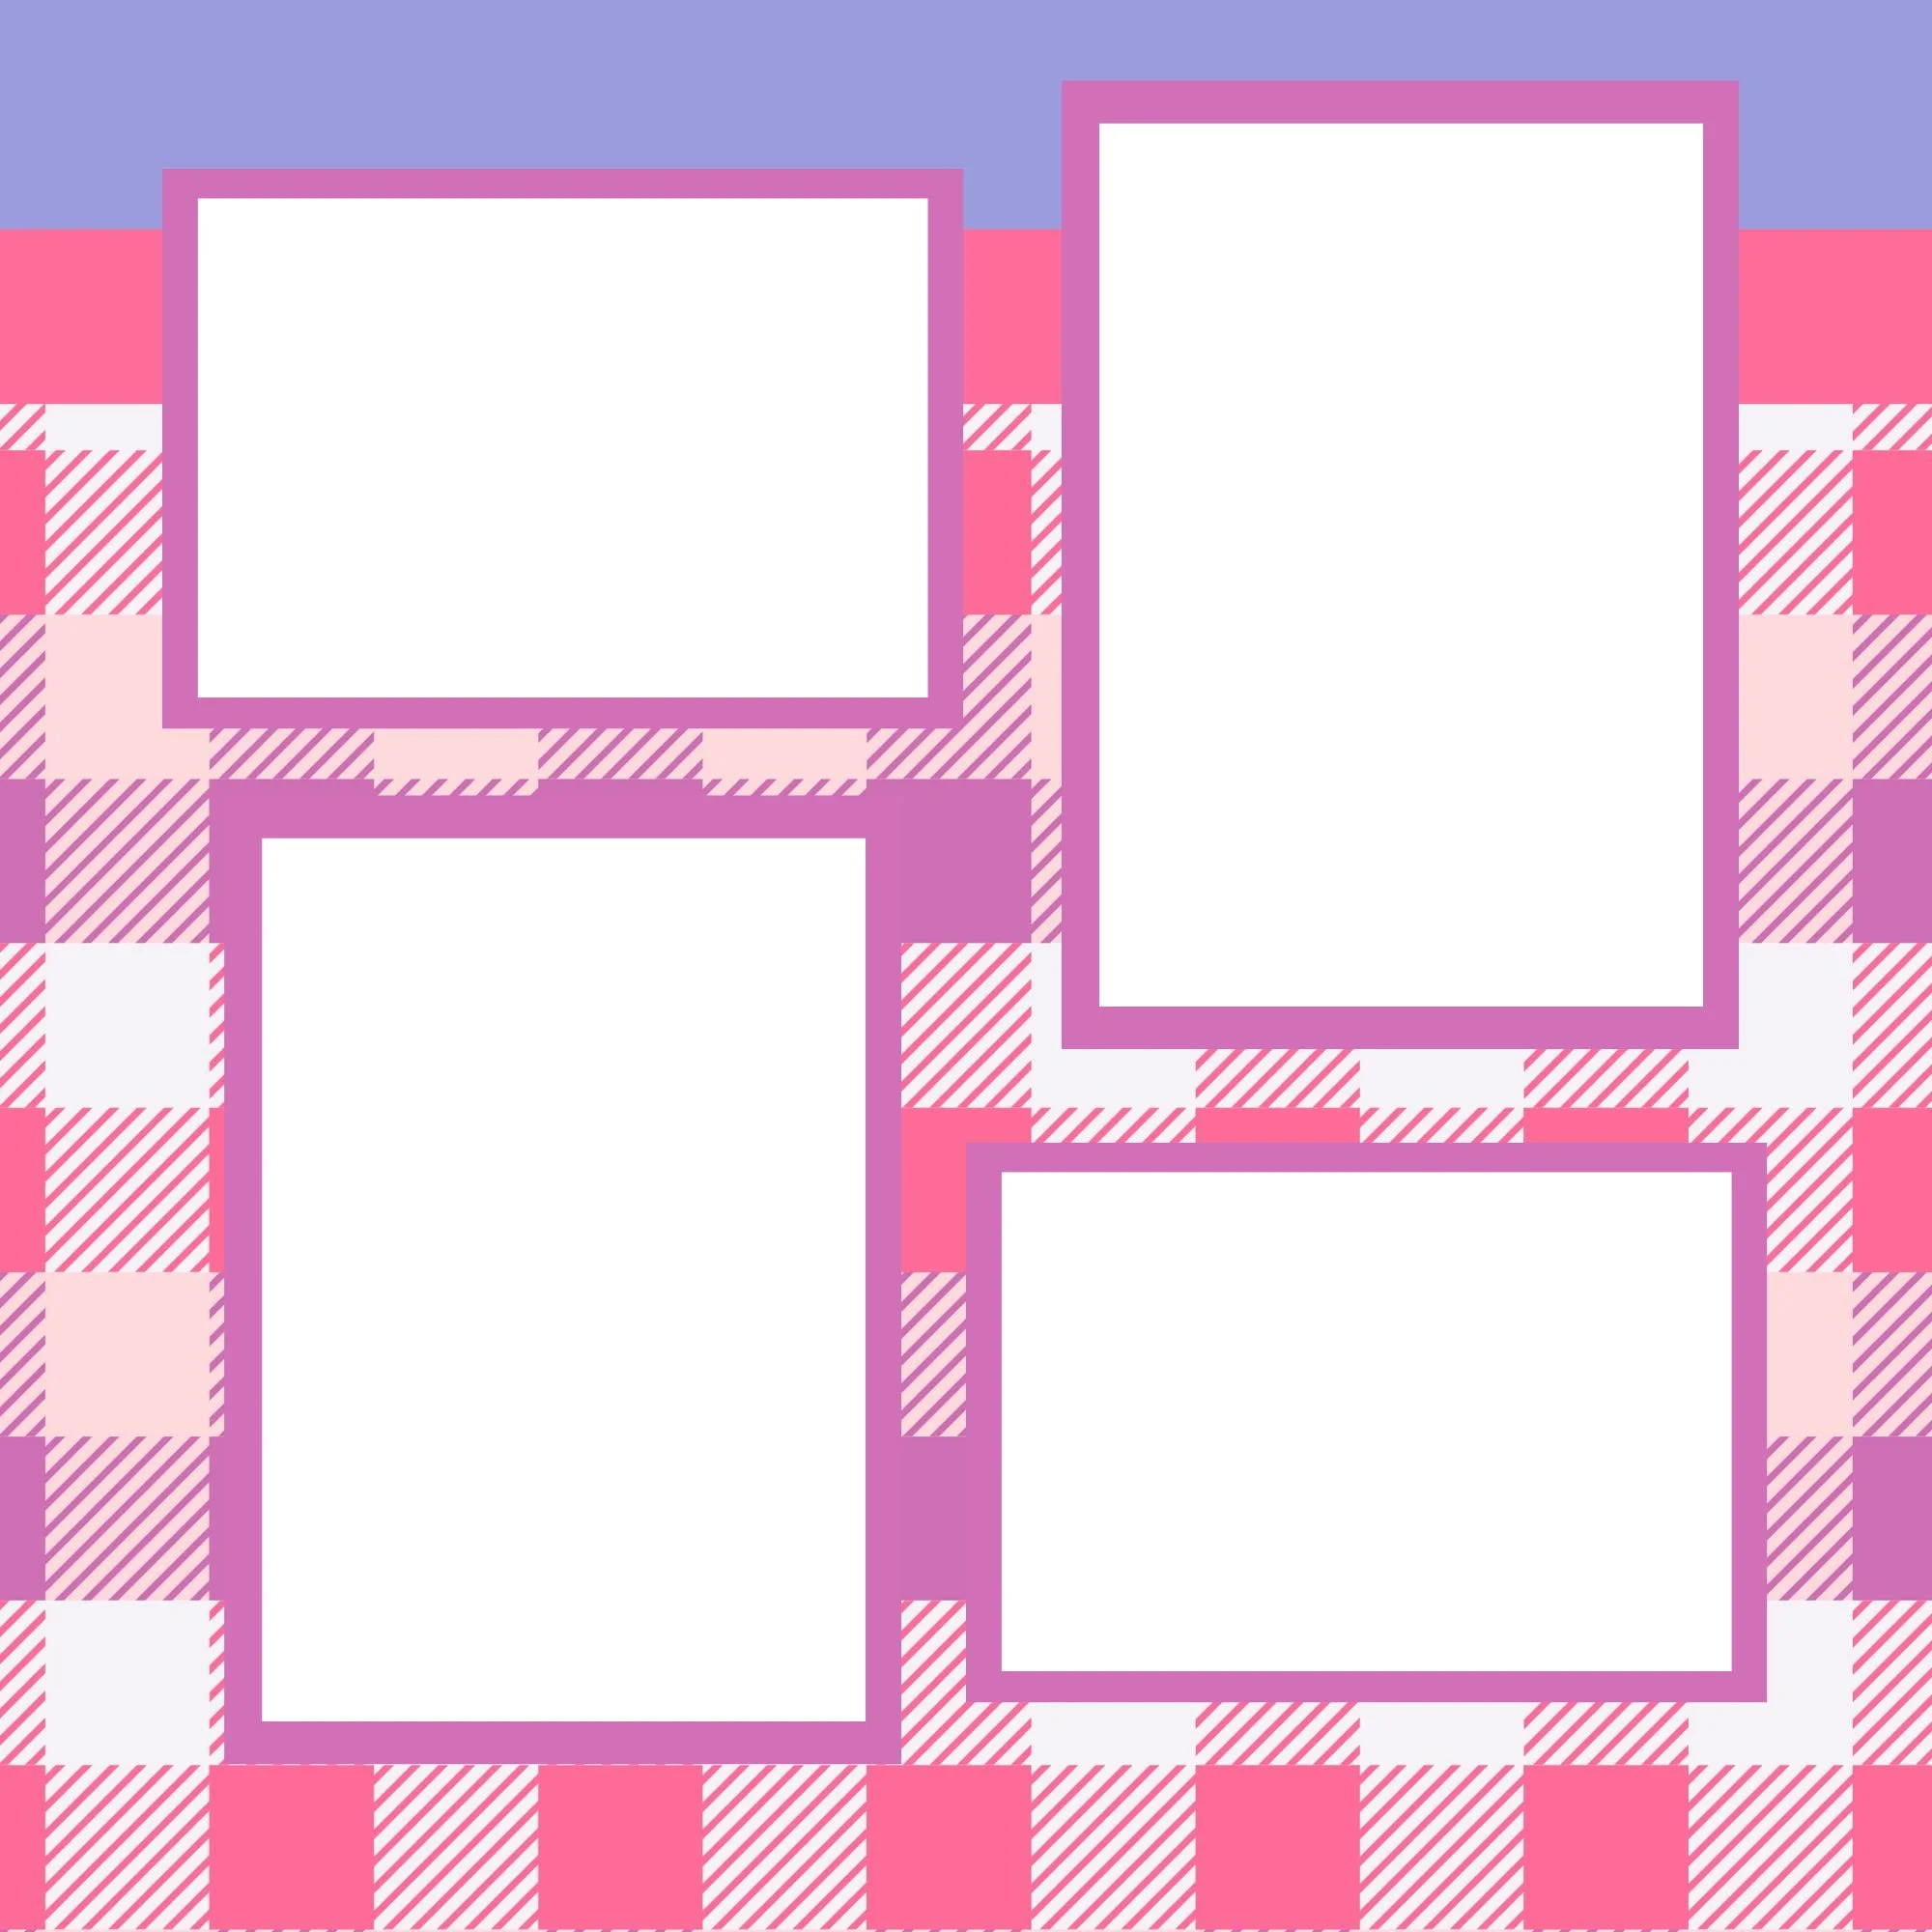
Photo mat layering – clean, straight mats around photos
Offset layering – slightly uneven edges for movement
Clustered layering – grouping papers behind photos
Directional layering – horizontal, vertical, or diagonal placement
Many of these techniques are already built into the layouts included in the Easter Page Kit , making it a great way to practice layering with confidence.
Layering Photos for Impact
Matting photos is one of the easiest ways to add dimension:
Use single or double mats
Combine solids with patterns or textures
Highlight one feature photo with extra layers
For even more depth, try adding vellum or subtle foam adhesive behind layers. Small details make a big impact.
Layering With Embellishments (Without Overdoing It)
Embellishments should enhance your layered base—not overpower it.
A helpful design principle is the rule of three:
Create visual triangles
Use odd numbers (3 or 5)
Layer embellishments on top of paper so they feel “lifted”
The embellishments in the Easter Page Kit are designed specifically for this kind of layered look.
Common Layering Mistakes to Avoid
Too many bold patterns competing for attention
Not enough contrast between layers
Pages that feel bulky or heavy
Placing layers without intention
Forgetting white or breathing space
Always lay everything out before gluing—and trust your eye.

Want Help Remembering All of This?
I’ve created a free Paper Layering Guide that walks you through this technique step by step—perfect to keep nearby while you scrapbook.
👉 Download the free Paper Layering Guide here
Shop & Create With Confidence
Ready to start layering your pages?
Here are my favorite tools and collections to get you started:
Memorette Make & Mingle – party kits for crafting, connection, and memory-making
Stay Inspired
Want more scrapbooking tips, tutorials, and creative inspiration delivered straight to your inbox?
Paper layering doesn’t have to be complicated. With coordinated supplies, simple techniques, and a little practice, you can turn flat pages into wow pages—and preserve the moments that matter most.