How to Crop Photos for Scrapbooks
Have you ever looked at a scrapbook page and thought, Why does this feel off?
More often than not, the issue isn’t the paper, the embellishments, or even the photos themselves — it’s how the photos were cropped.
Photo cropping is one of the most important scrapbooking skills you can learn, and it’s especially powerful when you’re documenting emotional milestones like a gender reveal party. Cropping helps your photos fit the page, highlight reactions, and tell the story clearly — without distraction.
In this post, I’m walking you through how to crop photos for scrapbooks, step by step, using the Gender Reveal Memorette, Gender Reveal Scrapbook Page Kit, and Gender Reveal Coordinating Paper Pack as our creative foundation.
Why Cropping Matters in Scrapbooking
Cropping is more than trimming the edges of a photo — it’s a storytelling tool.
When cropping is done well, it:
Helps photos fit your scrapbook layout
Draws the eye to the most important moment
Makes pages feel balanced, intentional, and finished
Turns snapshots into meaningful keepsakes
This matters even more for gender reveal pages, where emotions and reactions are everything. Cropping allows those expressions — the surprise, the laughter, the tears — to truly shine.
The Gender Reveal Memorette: A Meaningful Canvas

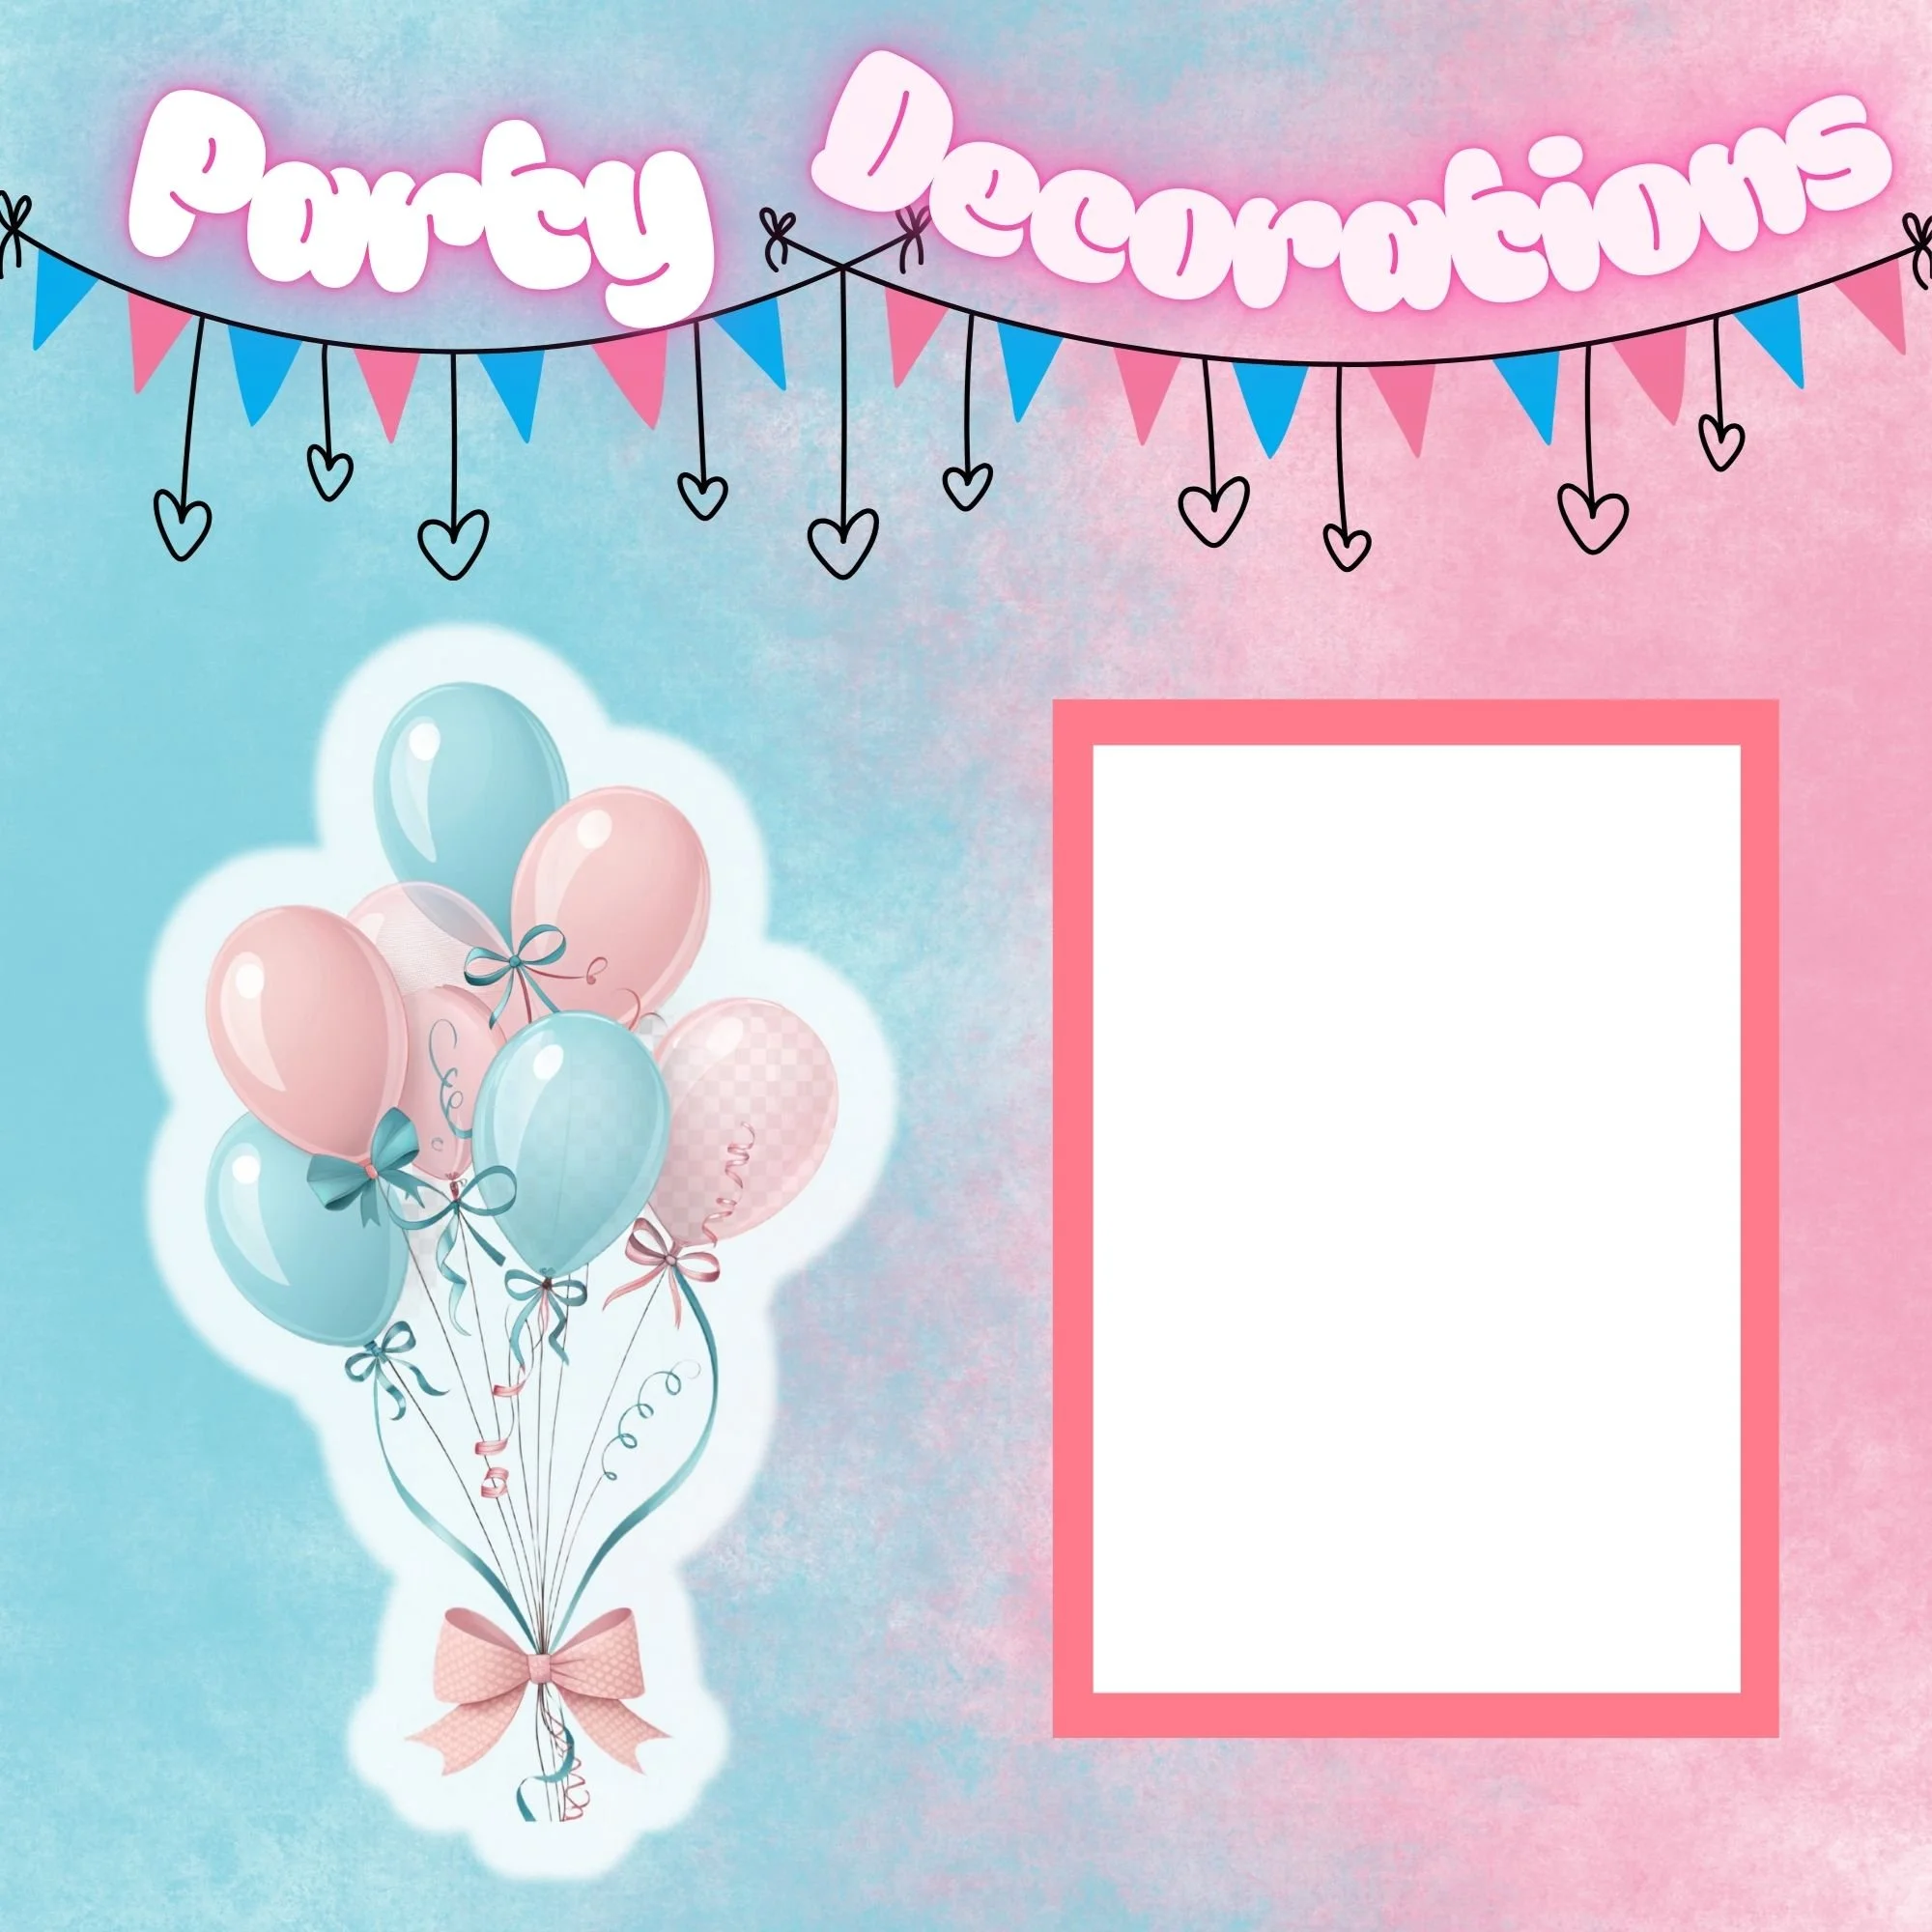


For this project, I’m working with the Gender Reveal Party Memorette, paired with the Gender Reveal Party Scrapbook Page Kit and Coordinating Paper Pack.
This collection is designed to celebrate one of the most exciting moments in the journey to parenthood. Soft, joyful colors and playful, timeless details create the perfect backdrop for preserving anticipation, reactions, and connection.
With space for both photos and written memories, this Memorette doesn’t just document what happened — it captures how it felt. It’s perfect for parents-to-be or as a keepsake created after the celebration.
Supplies You’ll Need
One of the best parts about this project is how simple the supply list is.
You’ll need:
Printed photos
A paper trimmer or scissors
Adhesive (tape runner or glue)
Because everything in this collection is already coordinated, you can focus on storytelling instead of design decisions
The Technique: Cropping Photos Correctly
The technique we’re focusing on today is learning how to crop your photos just right.
This is a foundational skill that every scrapbooker, card maker, or crafter should understand — because your photos are the focal point of your pages.
When someone flips through your memory book, their eyes go straight to the photos. Cropping helps ensure they see exactly what matters most.
We’re not covering everything about photography here — just cropping as it pertains to:
What to keep
What to remove
And how to crop with intention
Cropping a photo the wrong way can completely change the look and feel of a page. Done correctly, it elevates everything.
What NOT to Crop
Before trimming anything, it’s important to know what usually shouldn’t be cut.
Try to avoid cropping:
Faces or heads, especially parents and kids
Hands holding meaningful items like balloons, signs, or reveal props
Background details that add context to the story
A helpful question to ask is: Does this detail add meaning to the moment?
If the answer is yes, keep it.
Basic Photo Cropping Techniques
Start by removing distractions — extra background space, clutter, or anything pulling attention away from the moment.
Then consider placement:
Center cropping works beautifully for emotional reactions
Off-center cropping adds movement and visual interest
Also think about the final shape of your photo:
Square
Vertical
Horizontal
Cropping with your final layout in mind makes page assembly much easier.


Cropping for Different Scrapbook Layouts
Your cropping should always support your layout.
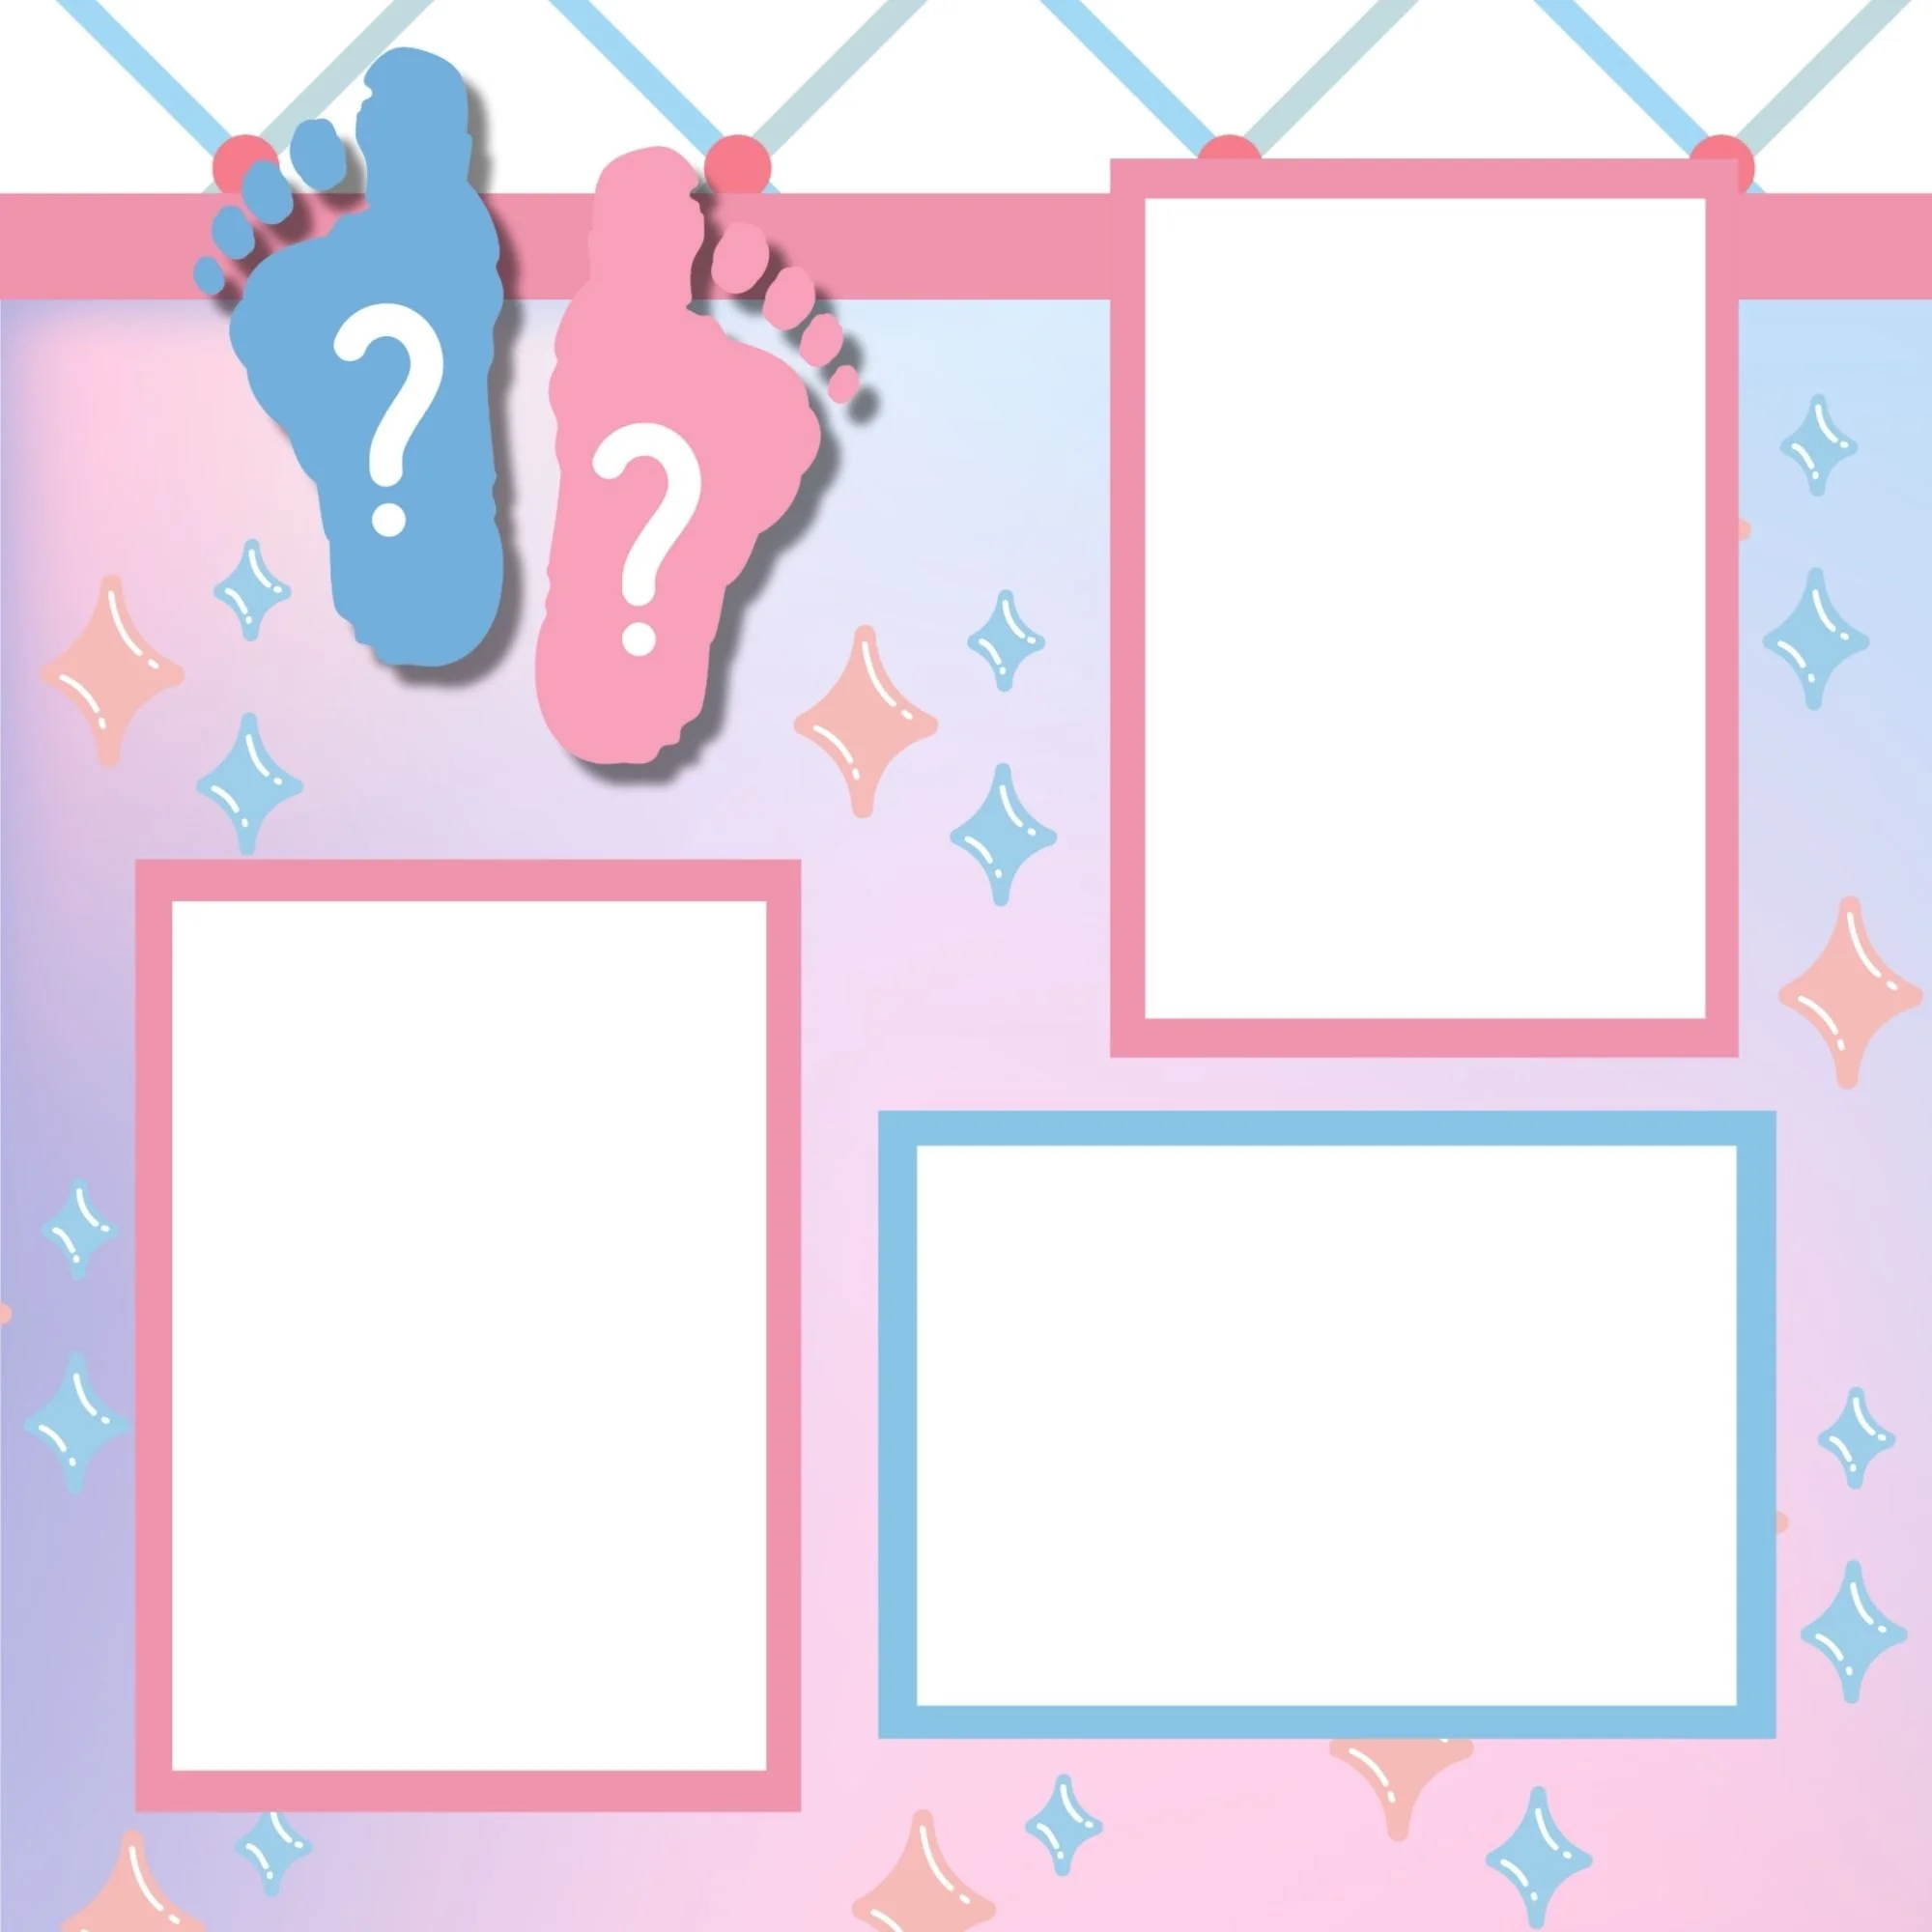
For single-photo focal pages, crop tighter to highlight emotion
For multi-photo layouts, crop consistently so photos feel cohesive
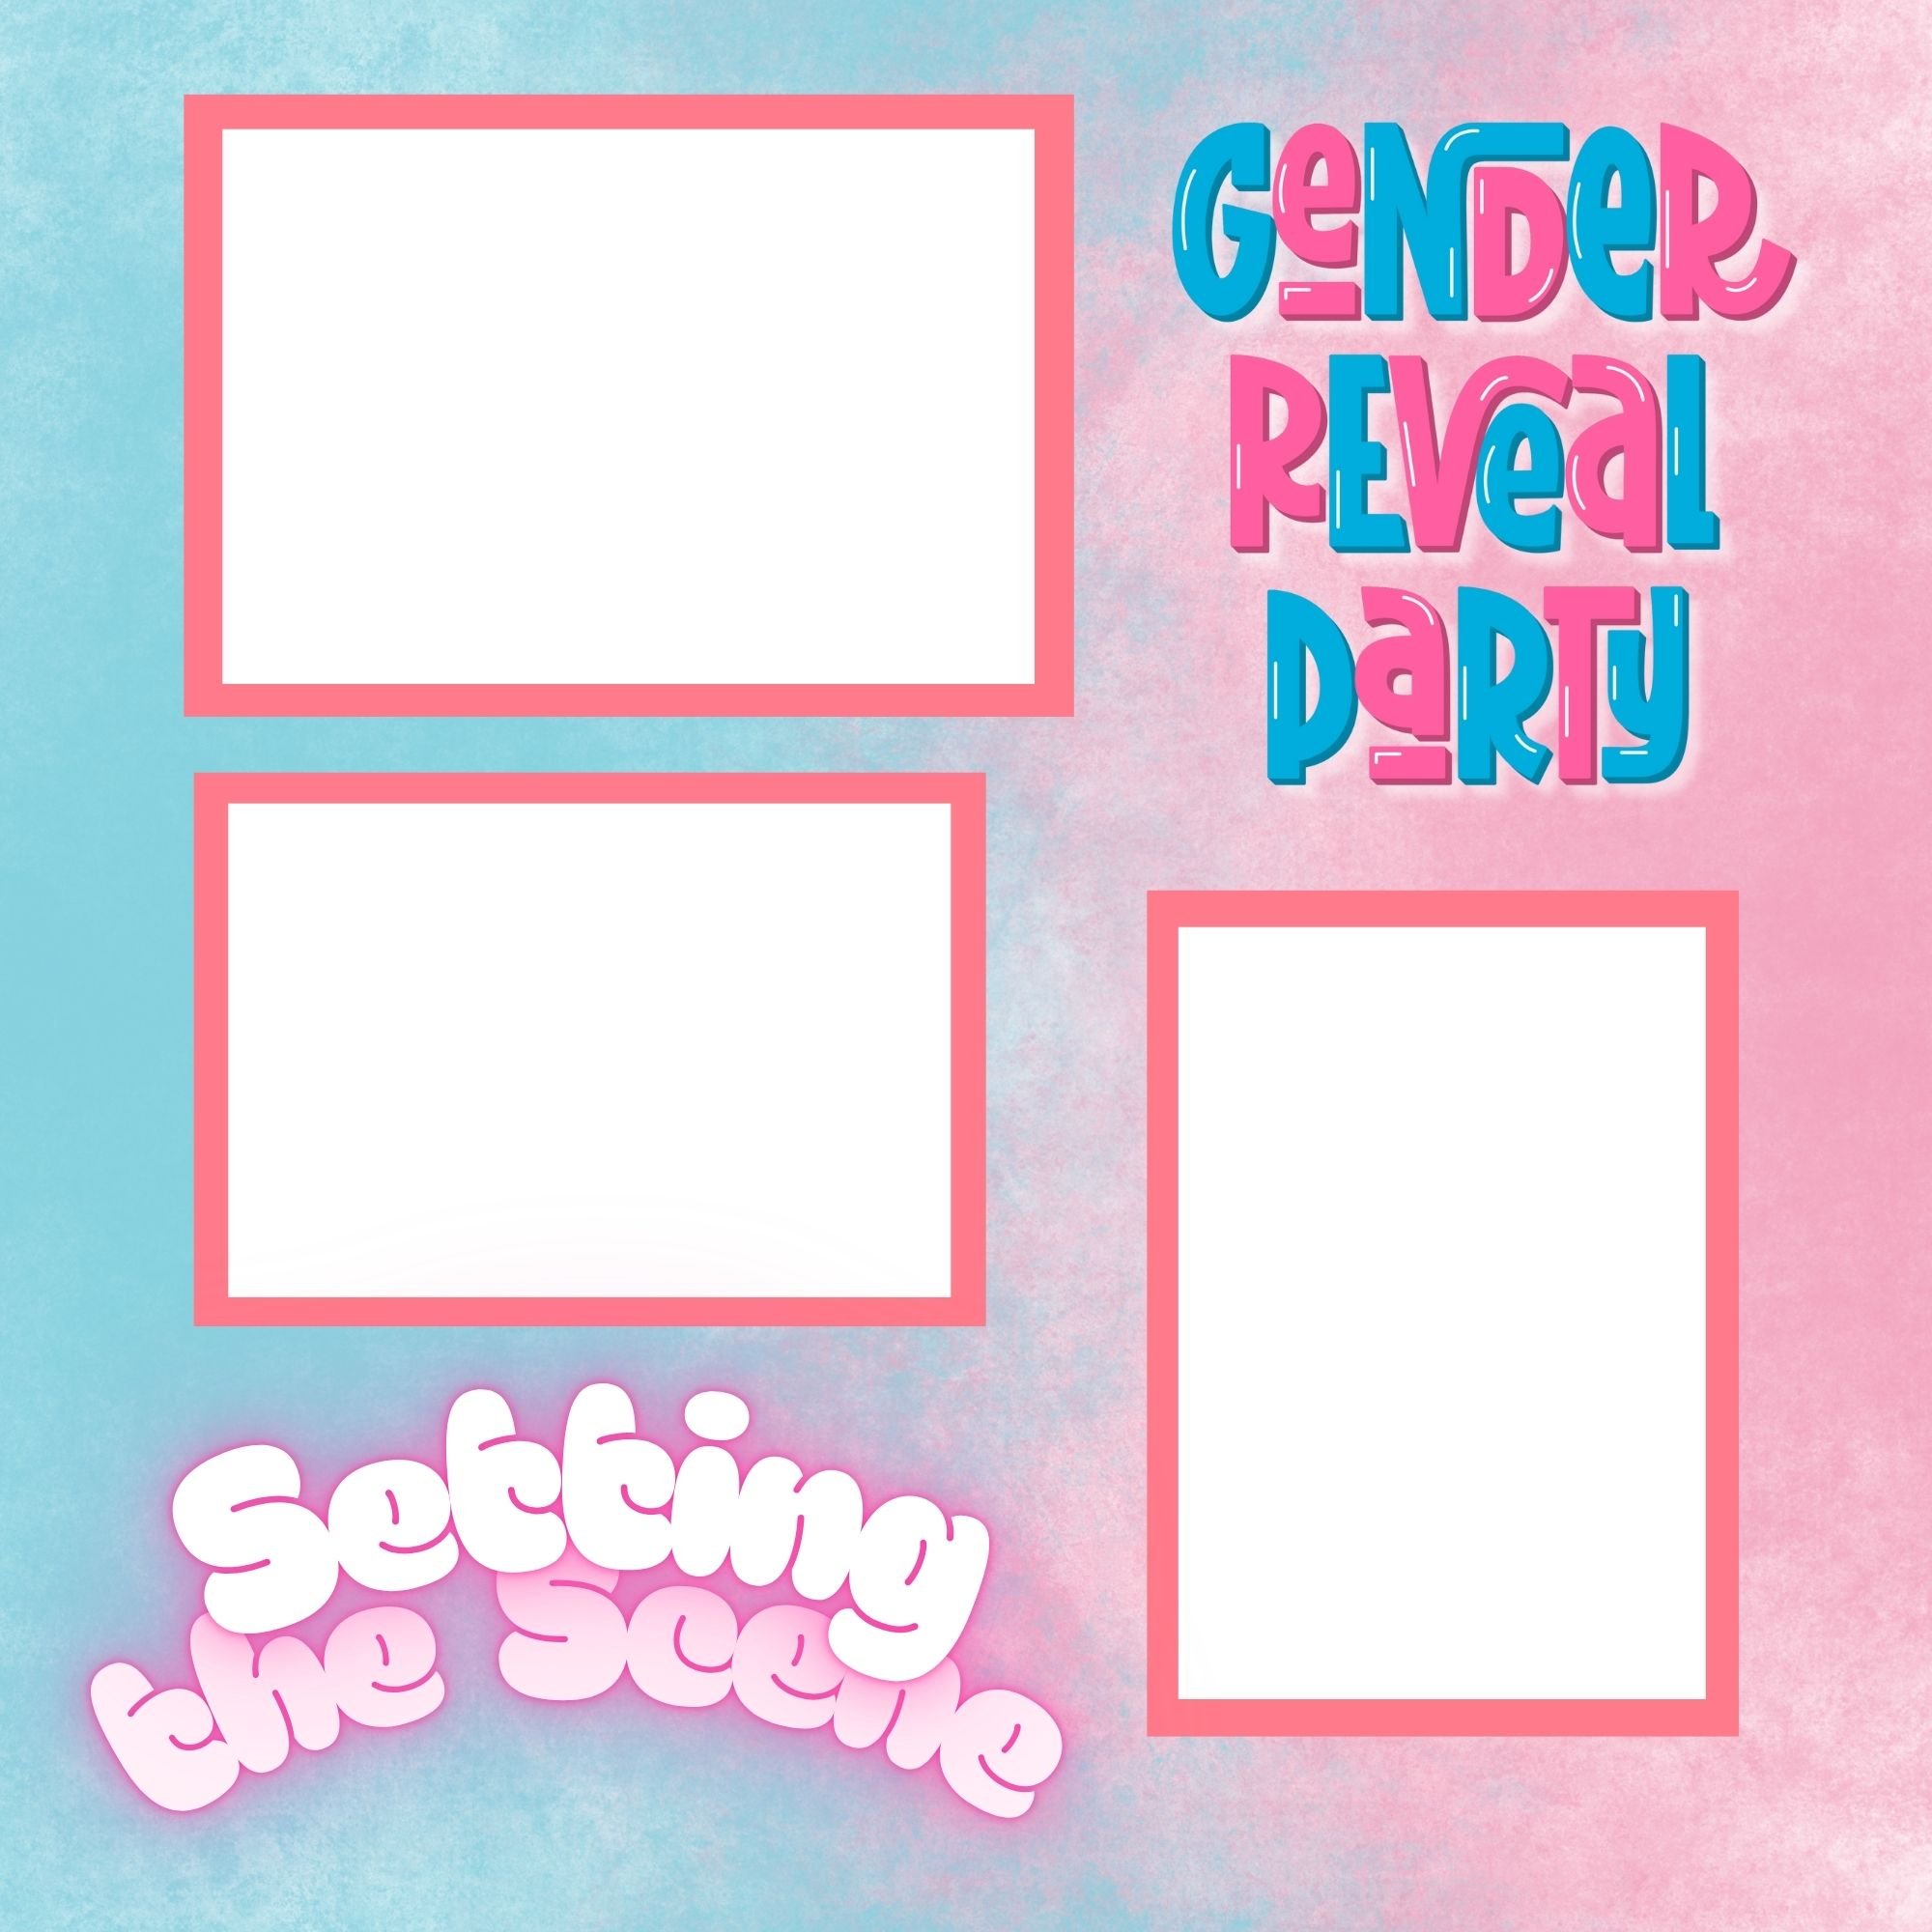
When using a page kit, crop photos to fit the pre-designed mats for quick, polished results
The Gender Reveal Party Page Kit makes this especially easy, since the layouts are already planned for you.
Digital vs. Physical Cropping
You can crop photos digitally on your phone or computer before printing, or physically using a paper trimmer.
Both methods work well.
Leaving a small border around your photos gives you flexibility and helps with layering — especially when working with patterned paper.

Pro Tips for Scrapbookers
A few final tips to keep in mind:
Print photos slightly larger than you think you’ll need
Always test placement before gluing anything down
Crop with storytelling in mind — not perfection
If the emotion is there, the photo is doing its job.
Ready to Practice?
Cropping isn’t about cutting things out — it’s about highlighting what matters most.
If you’re new to this technique, practicing with a coordinated set like the Gender Reveal Party Memorette, Page Kit, and Paper Pack makes the process simple and stress-free.
Free Resource
I’ve created a Free Photo Cropping Guide for Scrapbooking that walks you through this technique step by step.
👉 Download the free guide here
Shop the Collection
If this article helped you, sign-up for our newsletters where you will get the latest and greatest scrapbook tips and tricks articles and videos.