How to Mat Photos in a Scrapbook (So Your Pages Look Polished)
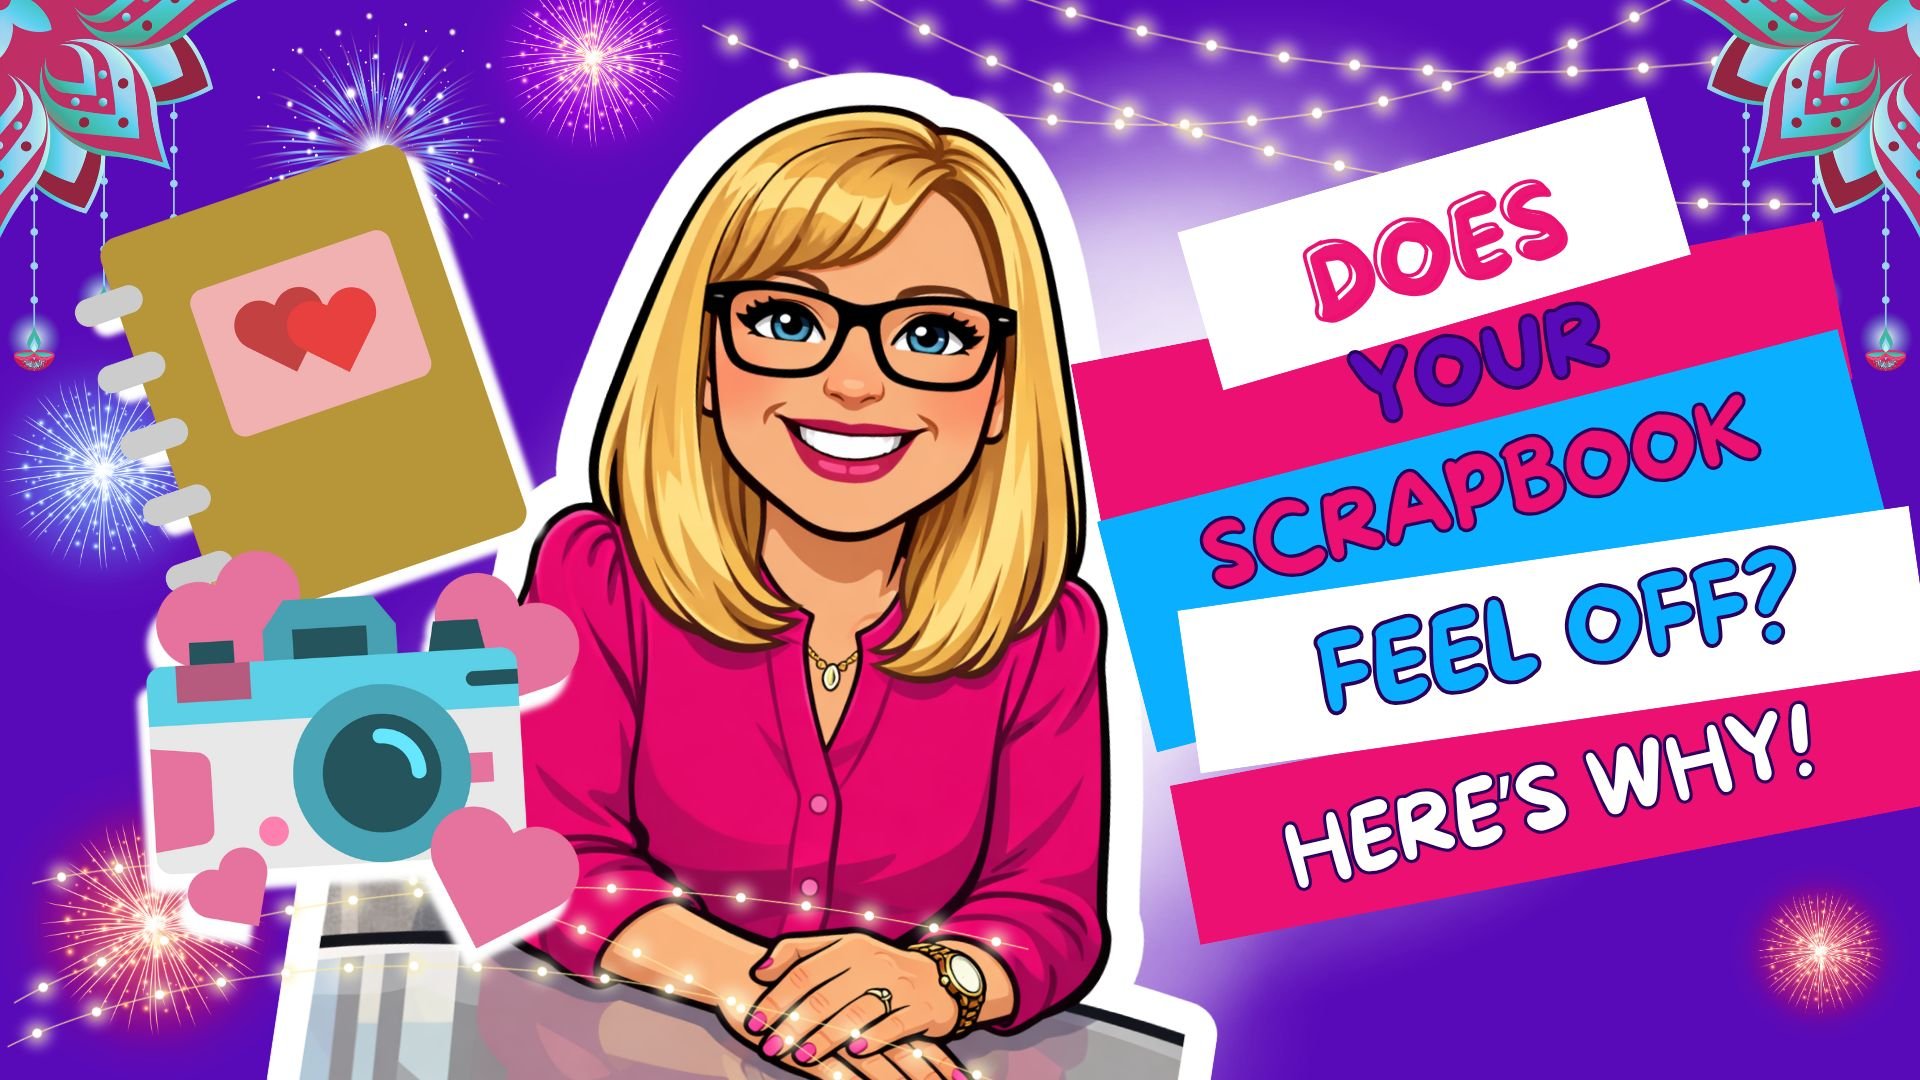
Do you ever look at a scrapbook page and think, Why does this feel unfinished?
More often than not, the missing piece isn’t the photos or the embellishments—it’s the matting.
Photo matting is one of the simplest scrapbooking techniques, yet it makes one of the biggest visual impacts. In this post, I’m walking you through exactly how to mat your photos in a scrapbook so your pages feel intentional, balanced, and finished—without making the process complicated.
If you’re new here, I’m Laura, and I share simple scrapbooking and memory-keeping techniques to help you actually finish your projects and preserve the moments that matter most.
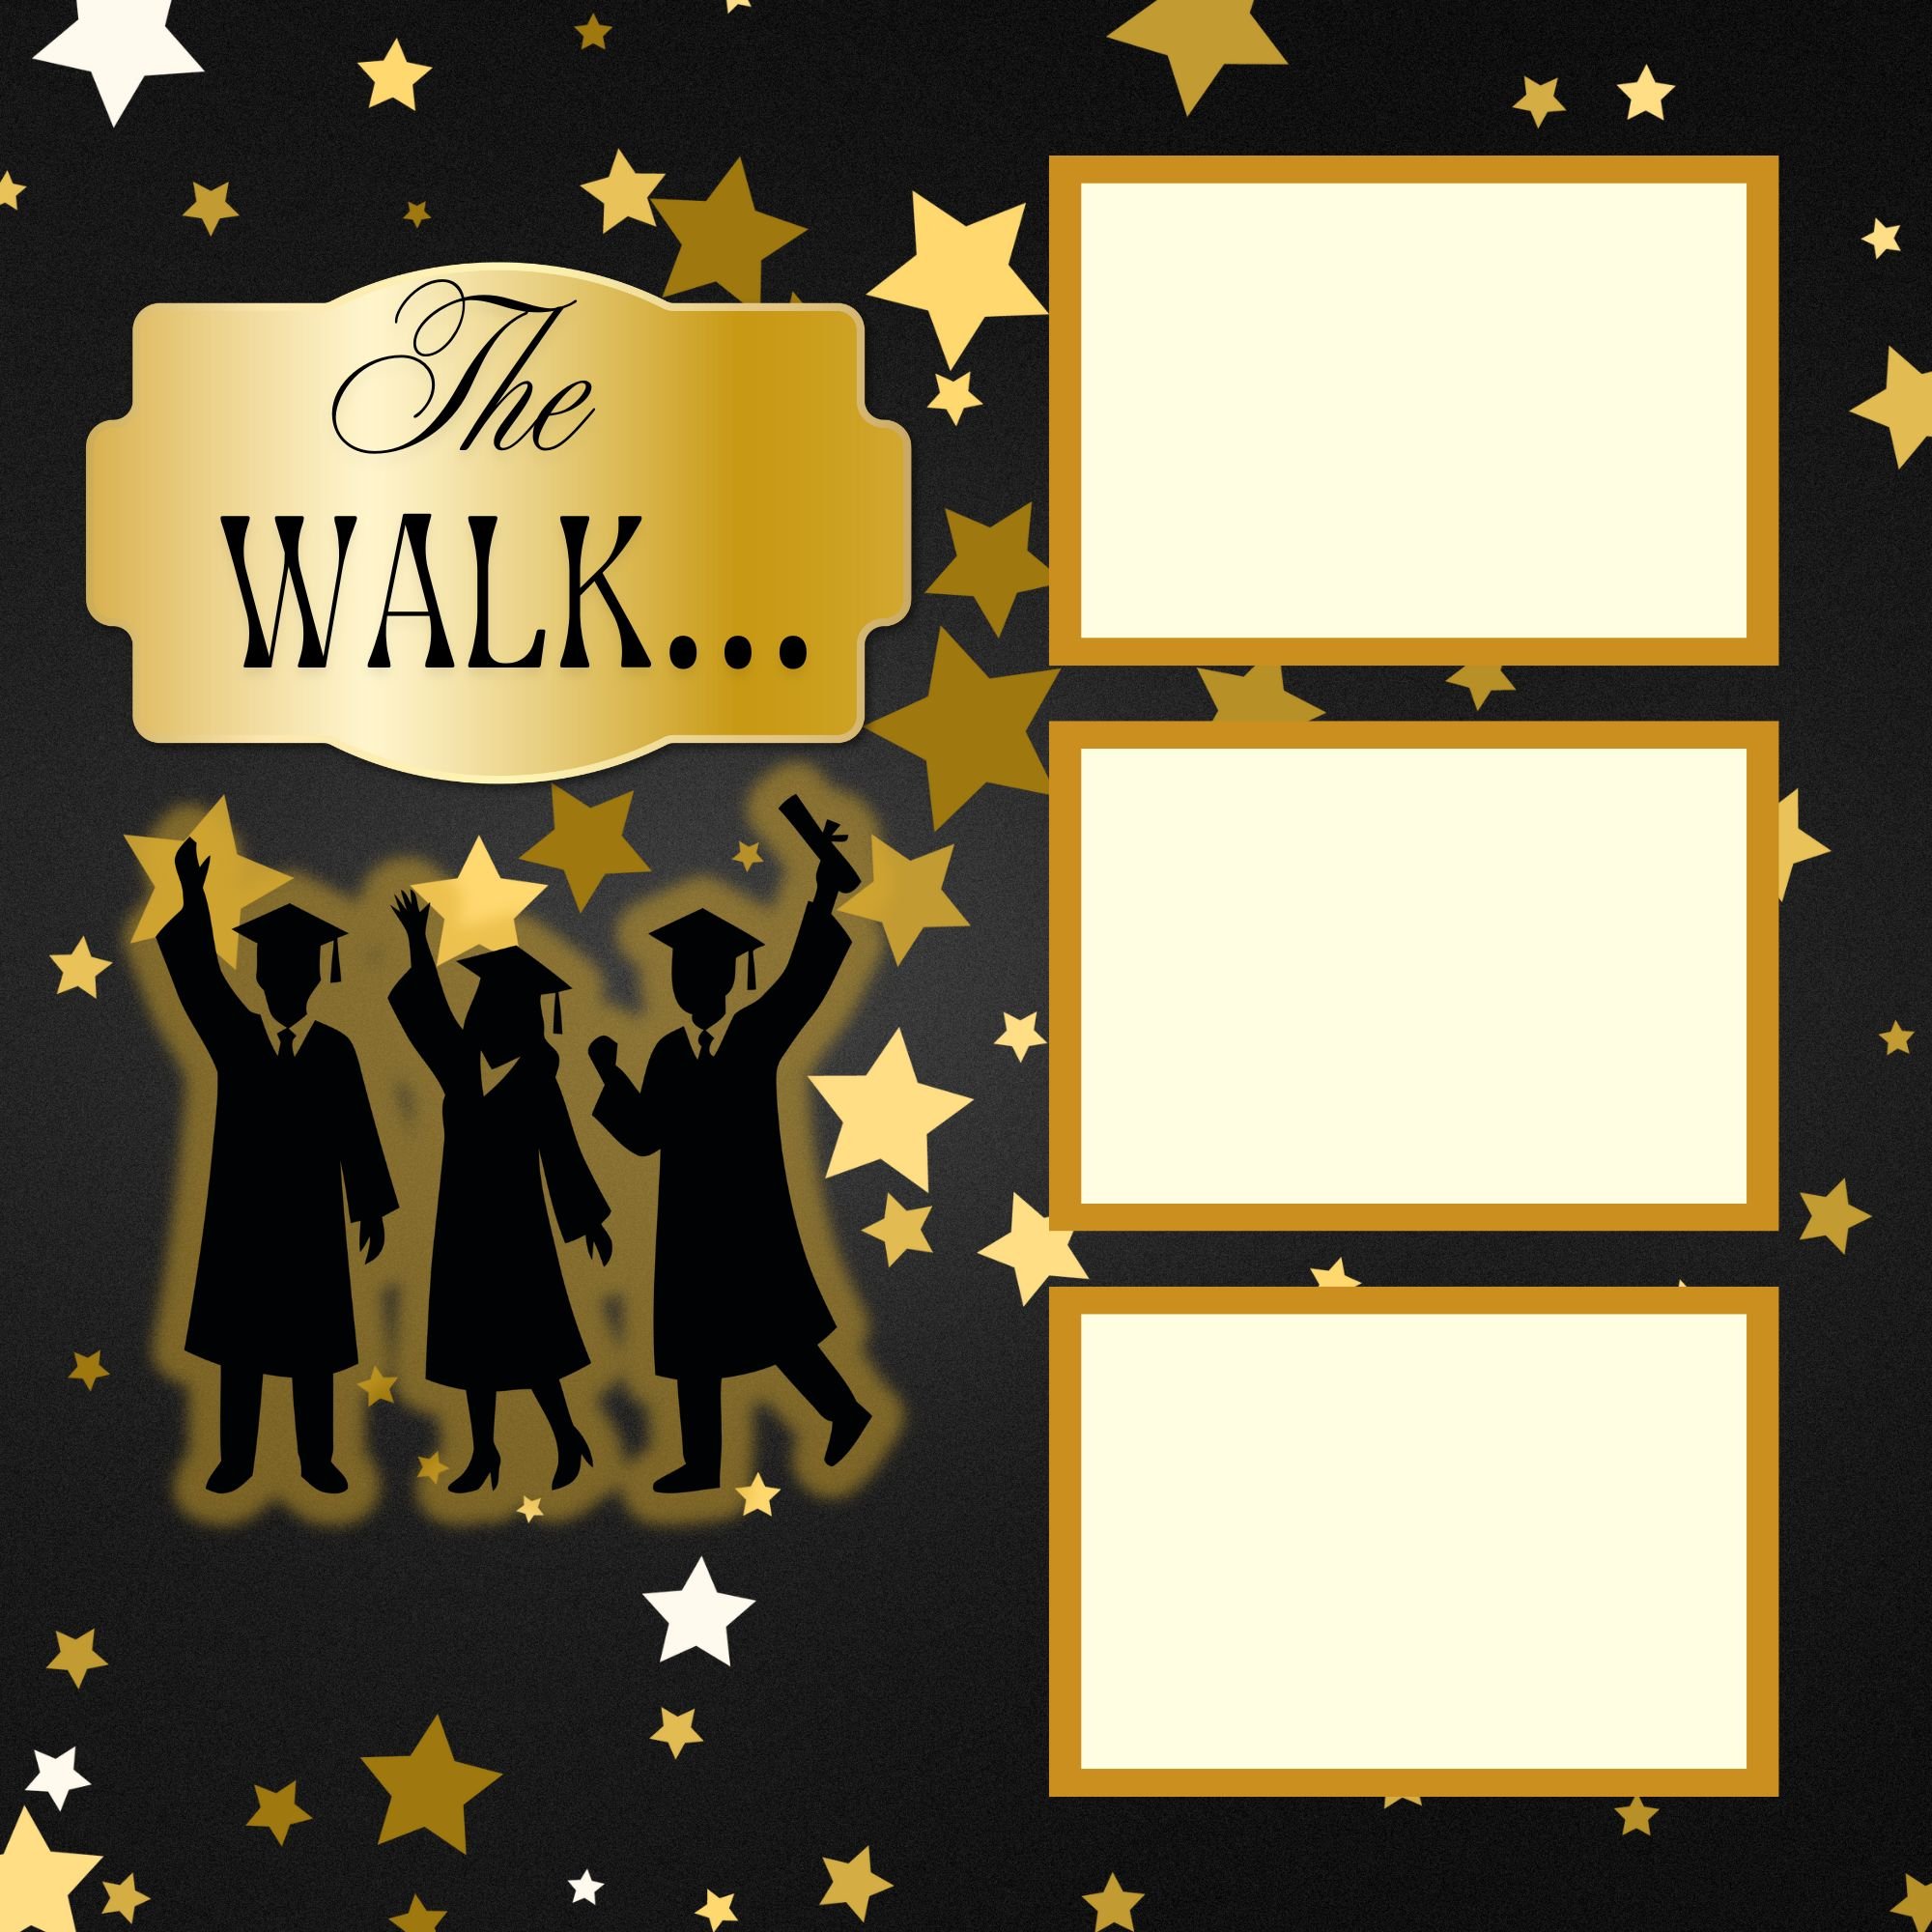
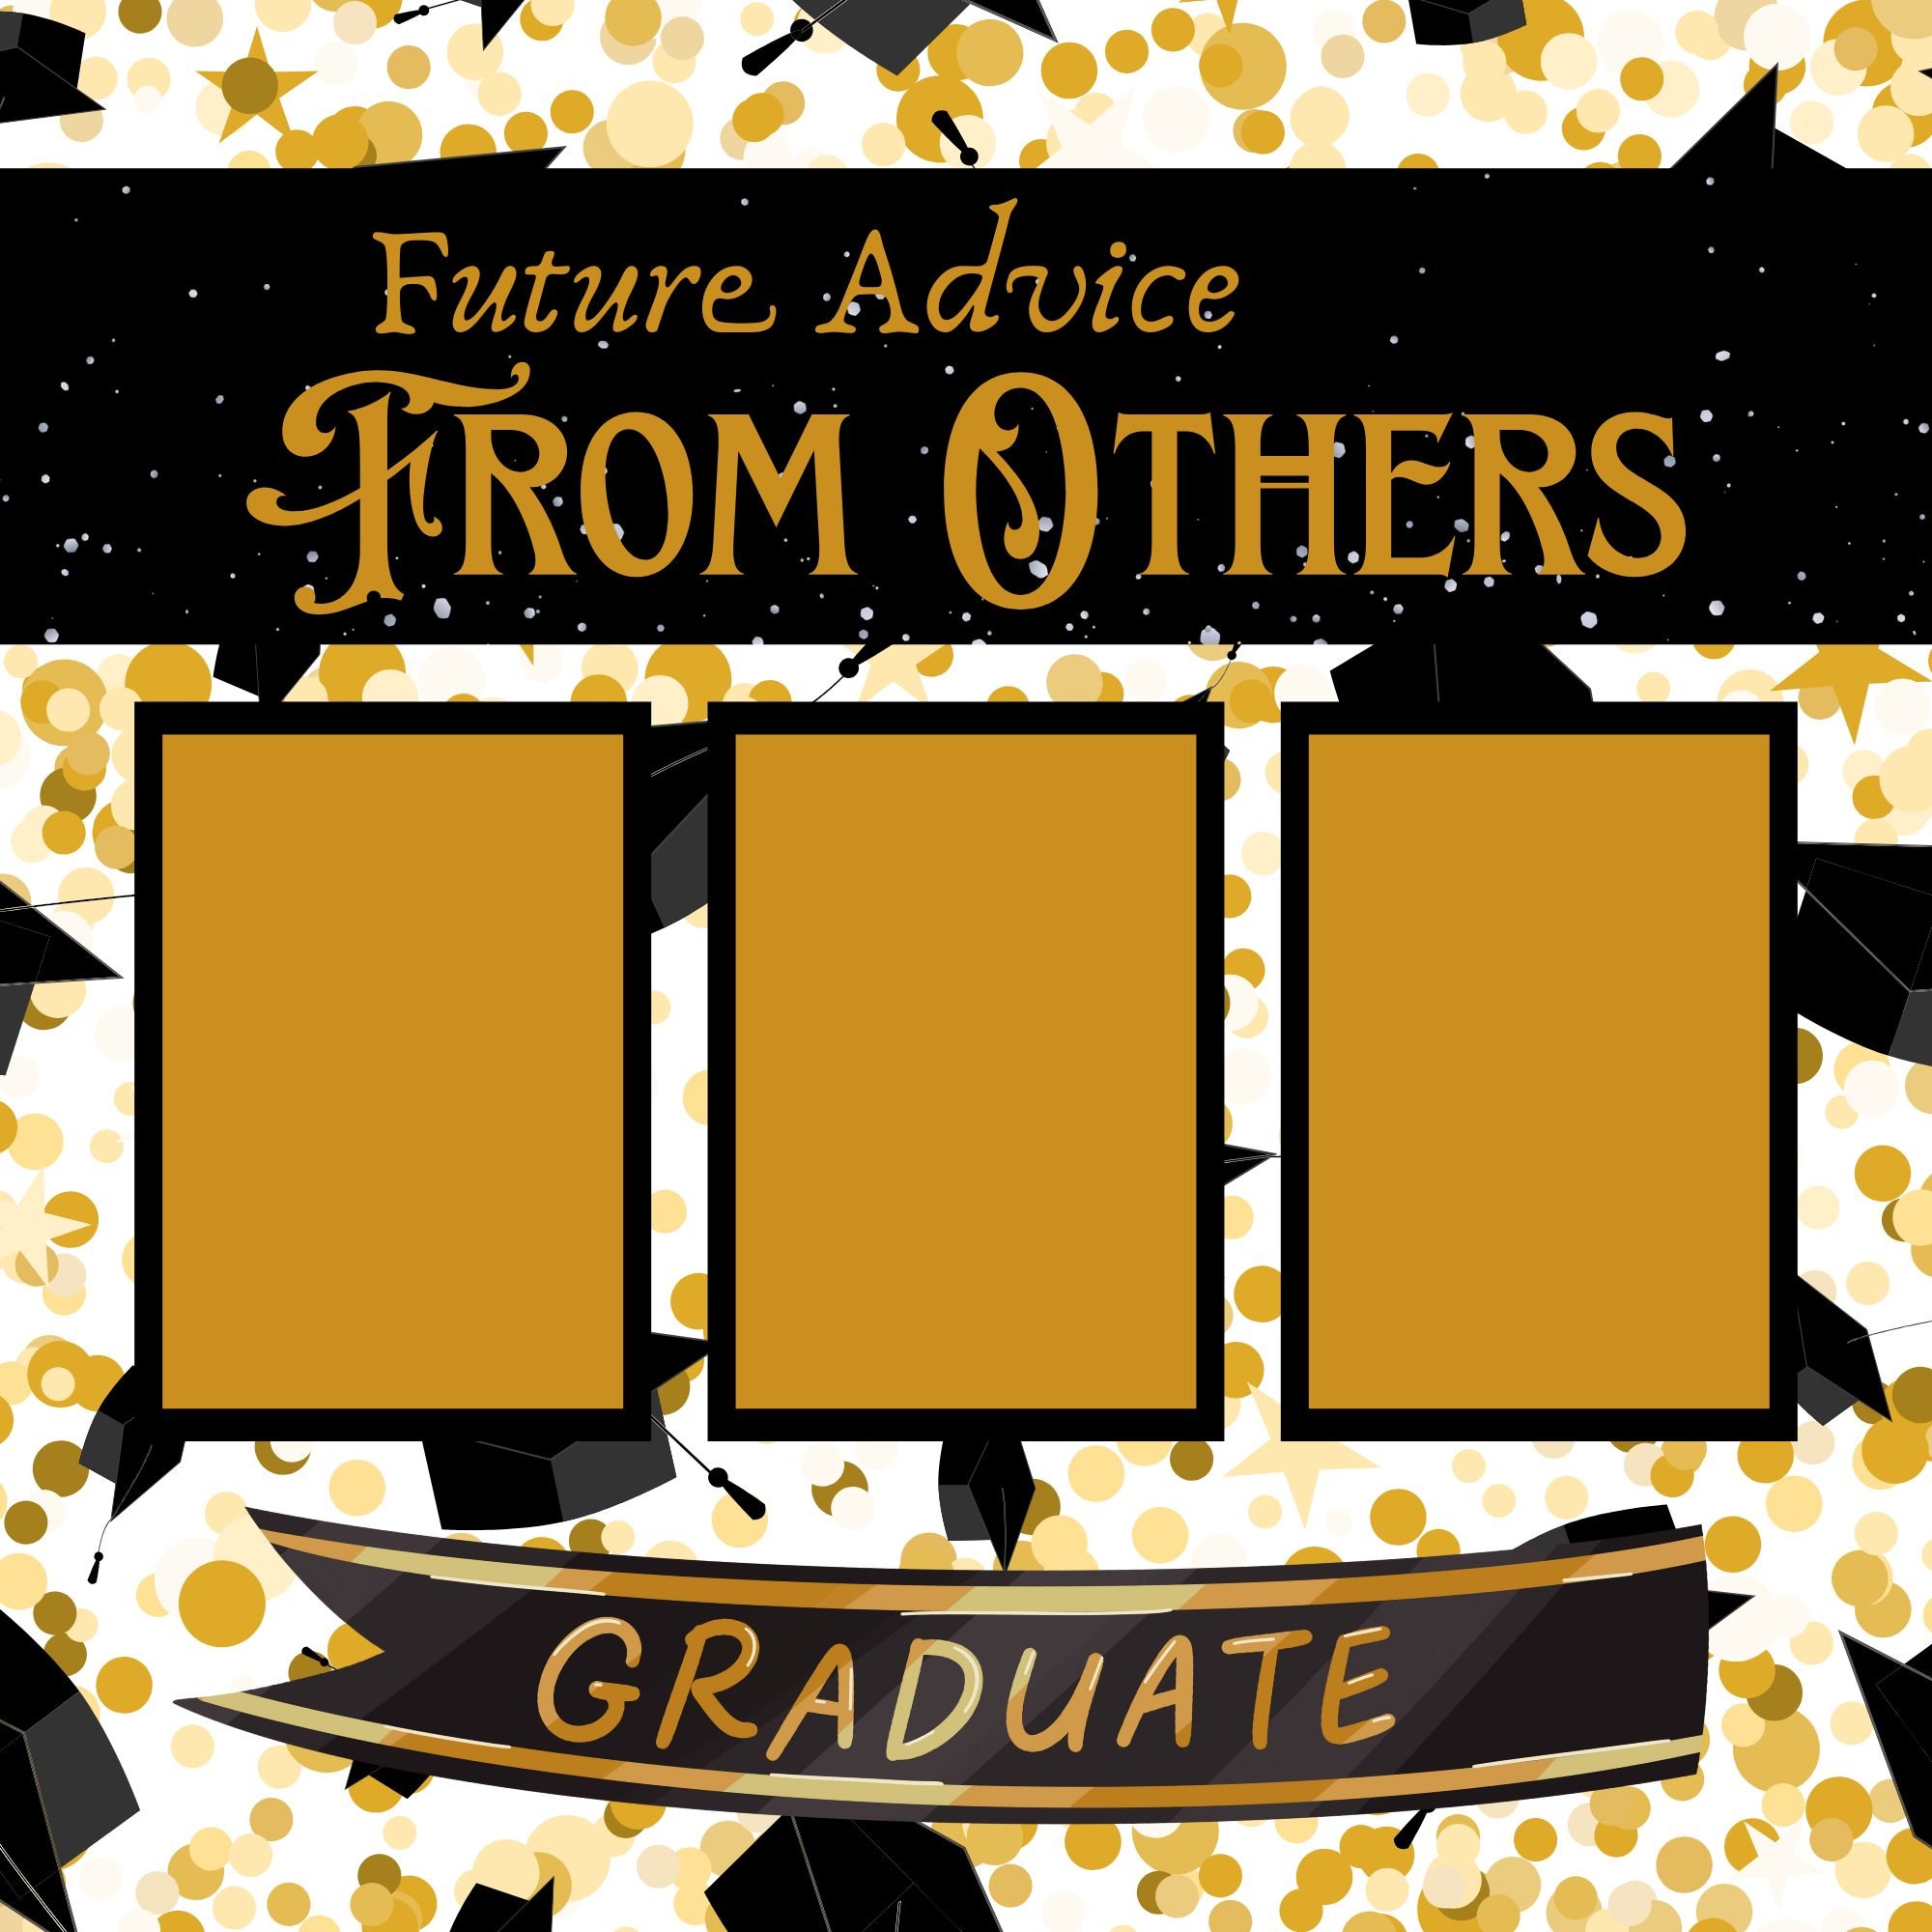
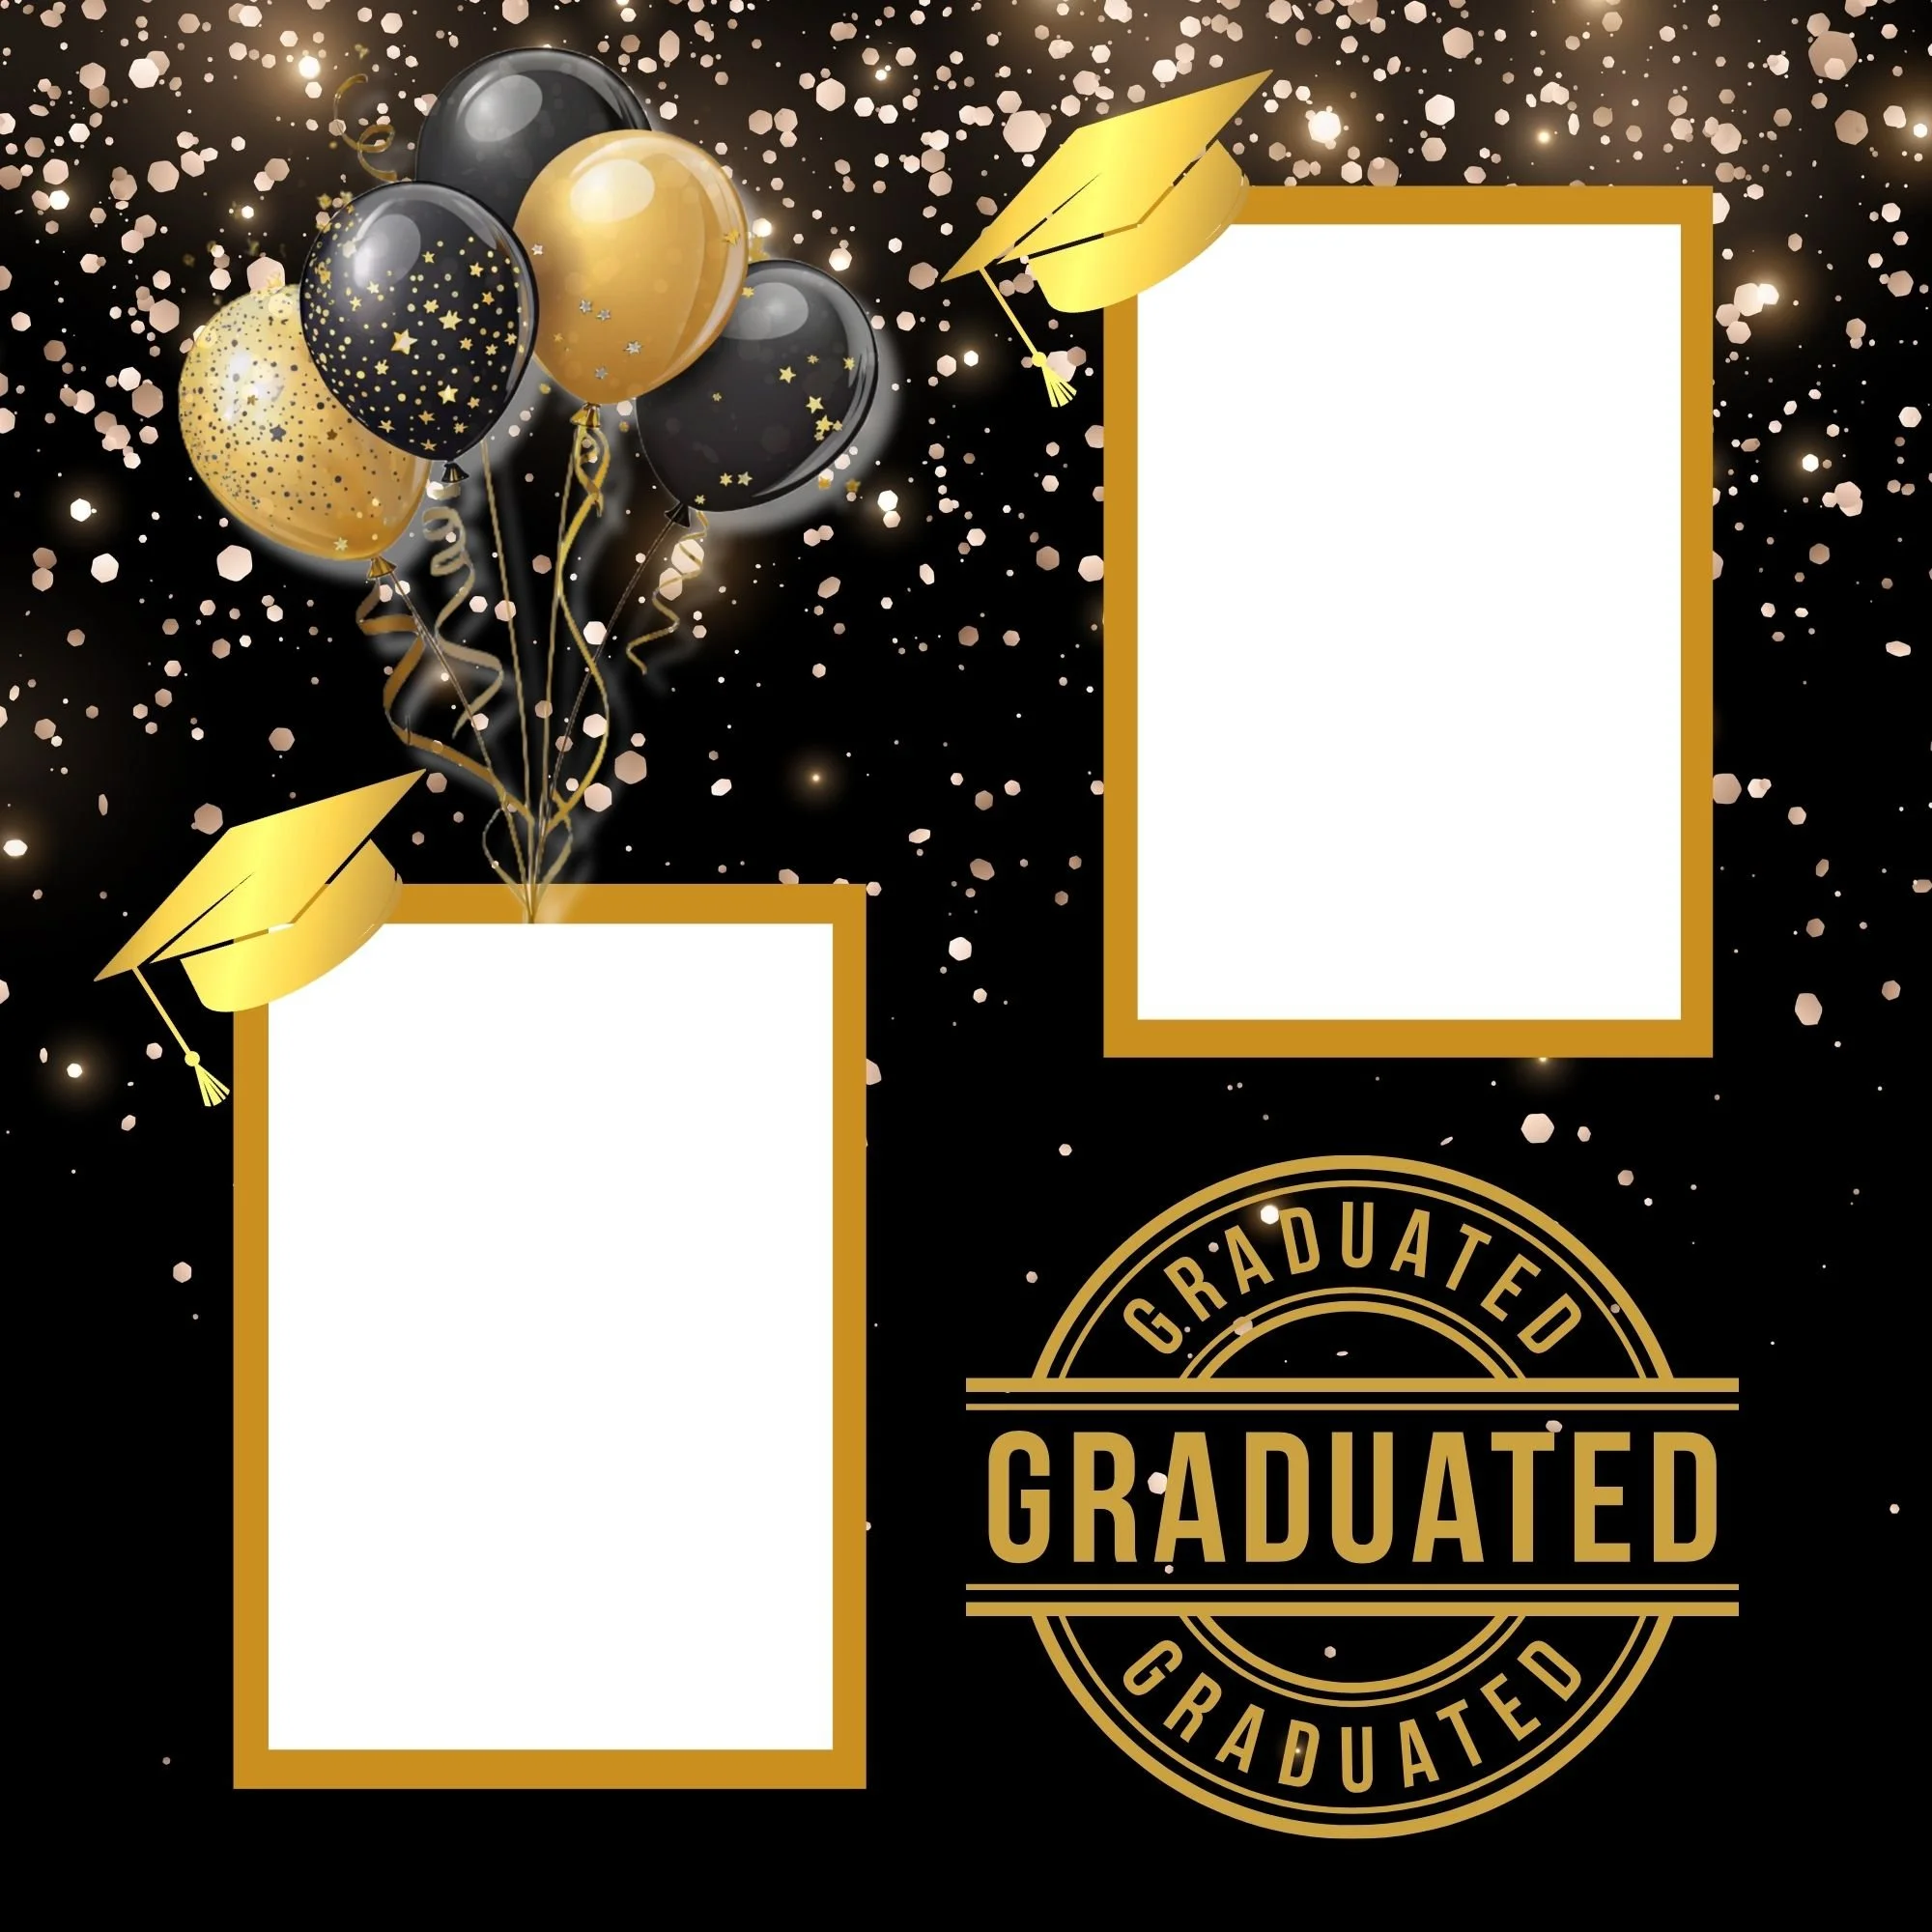
Graduation Scrapbooking Theme: The Graduation Memorette
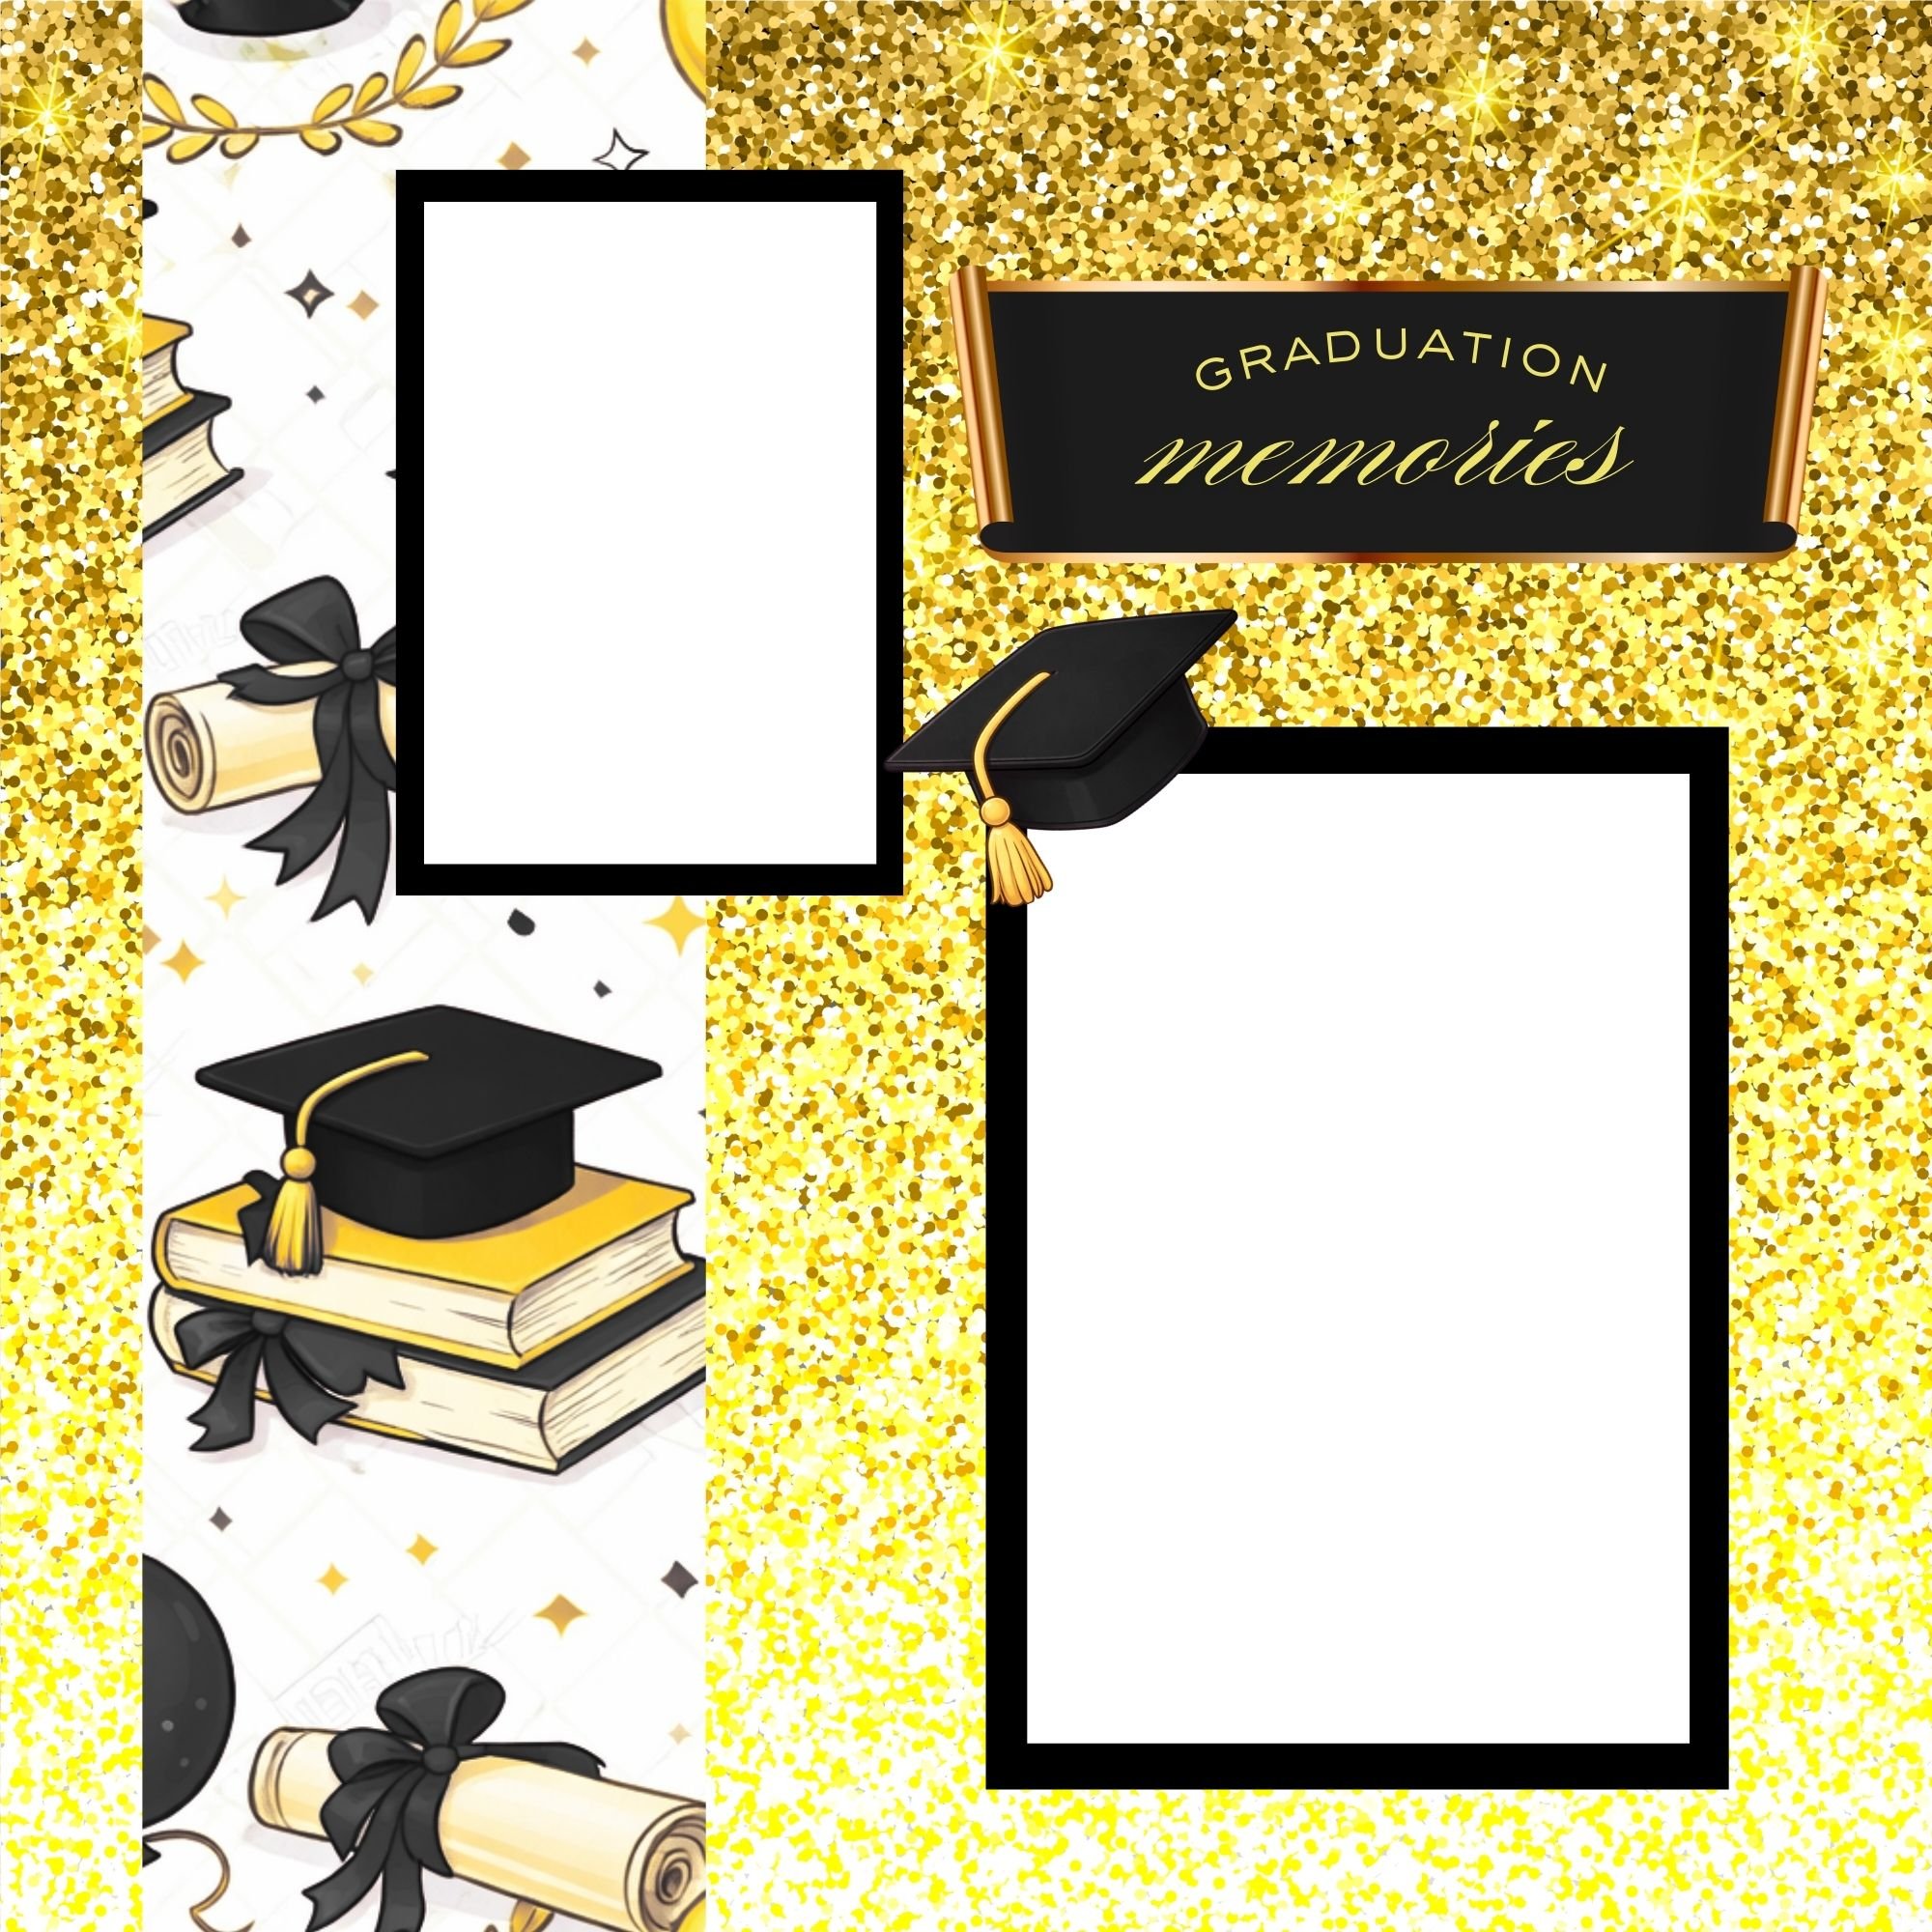
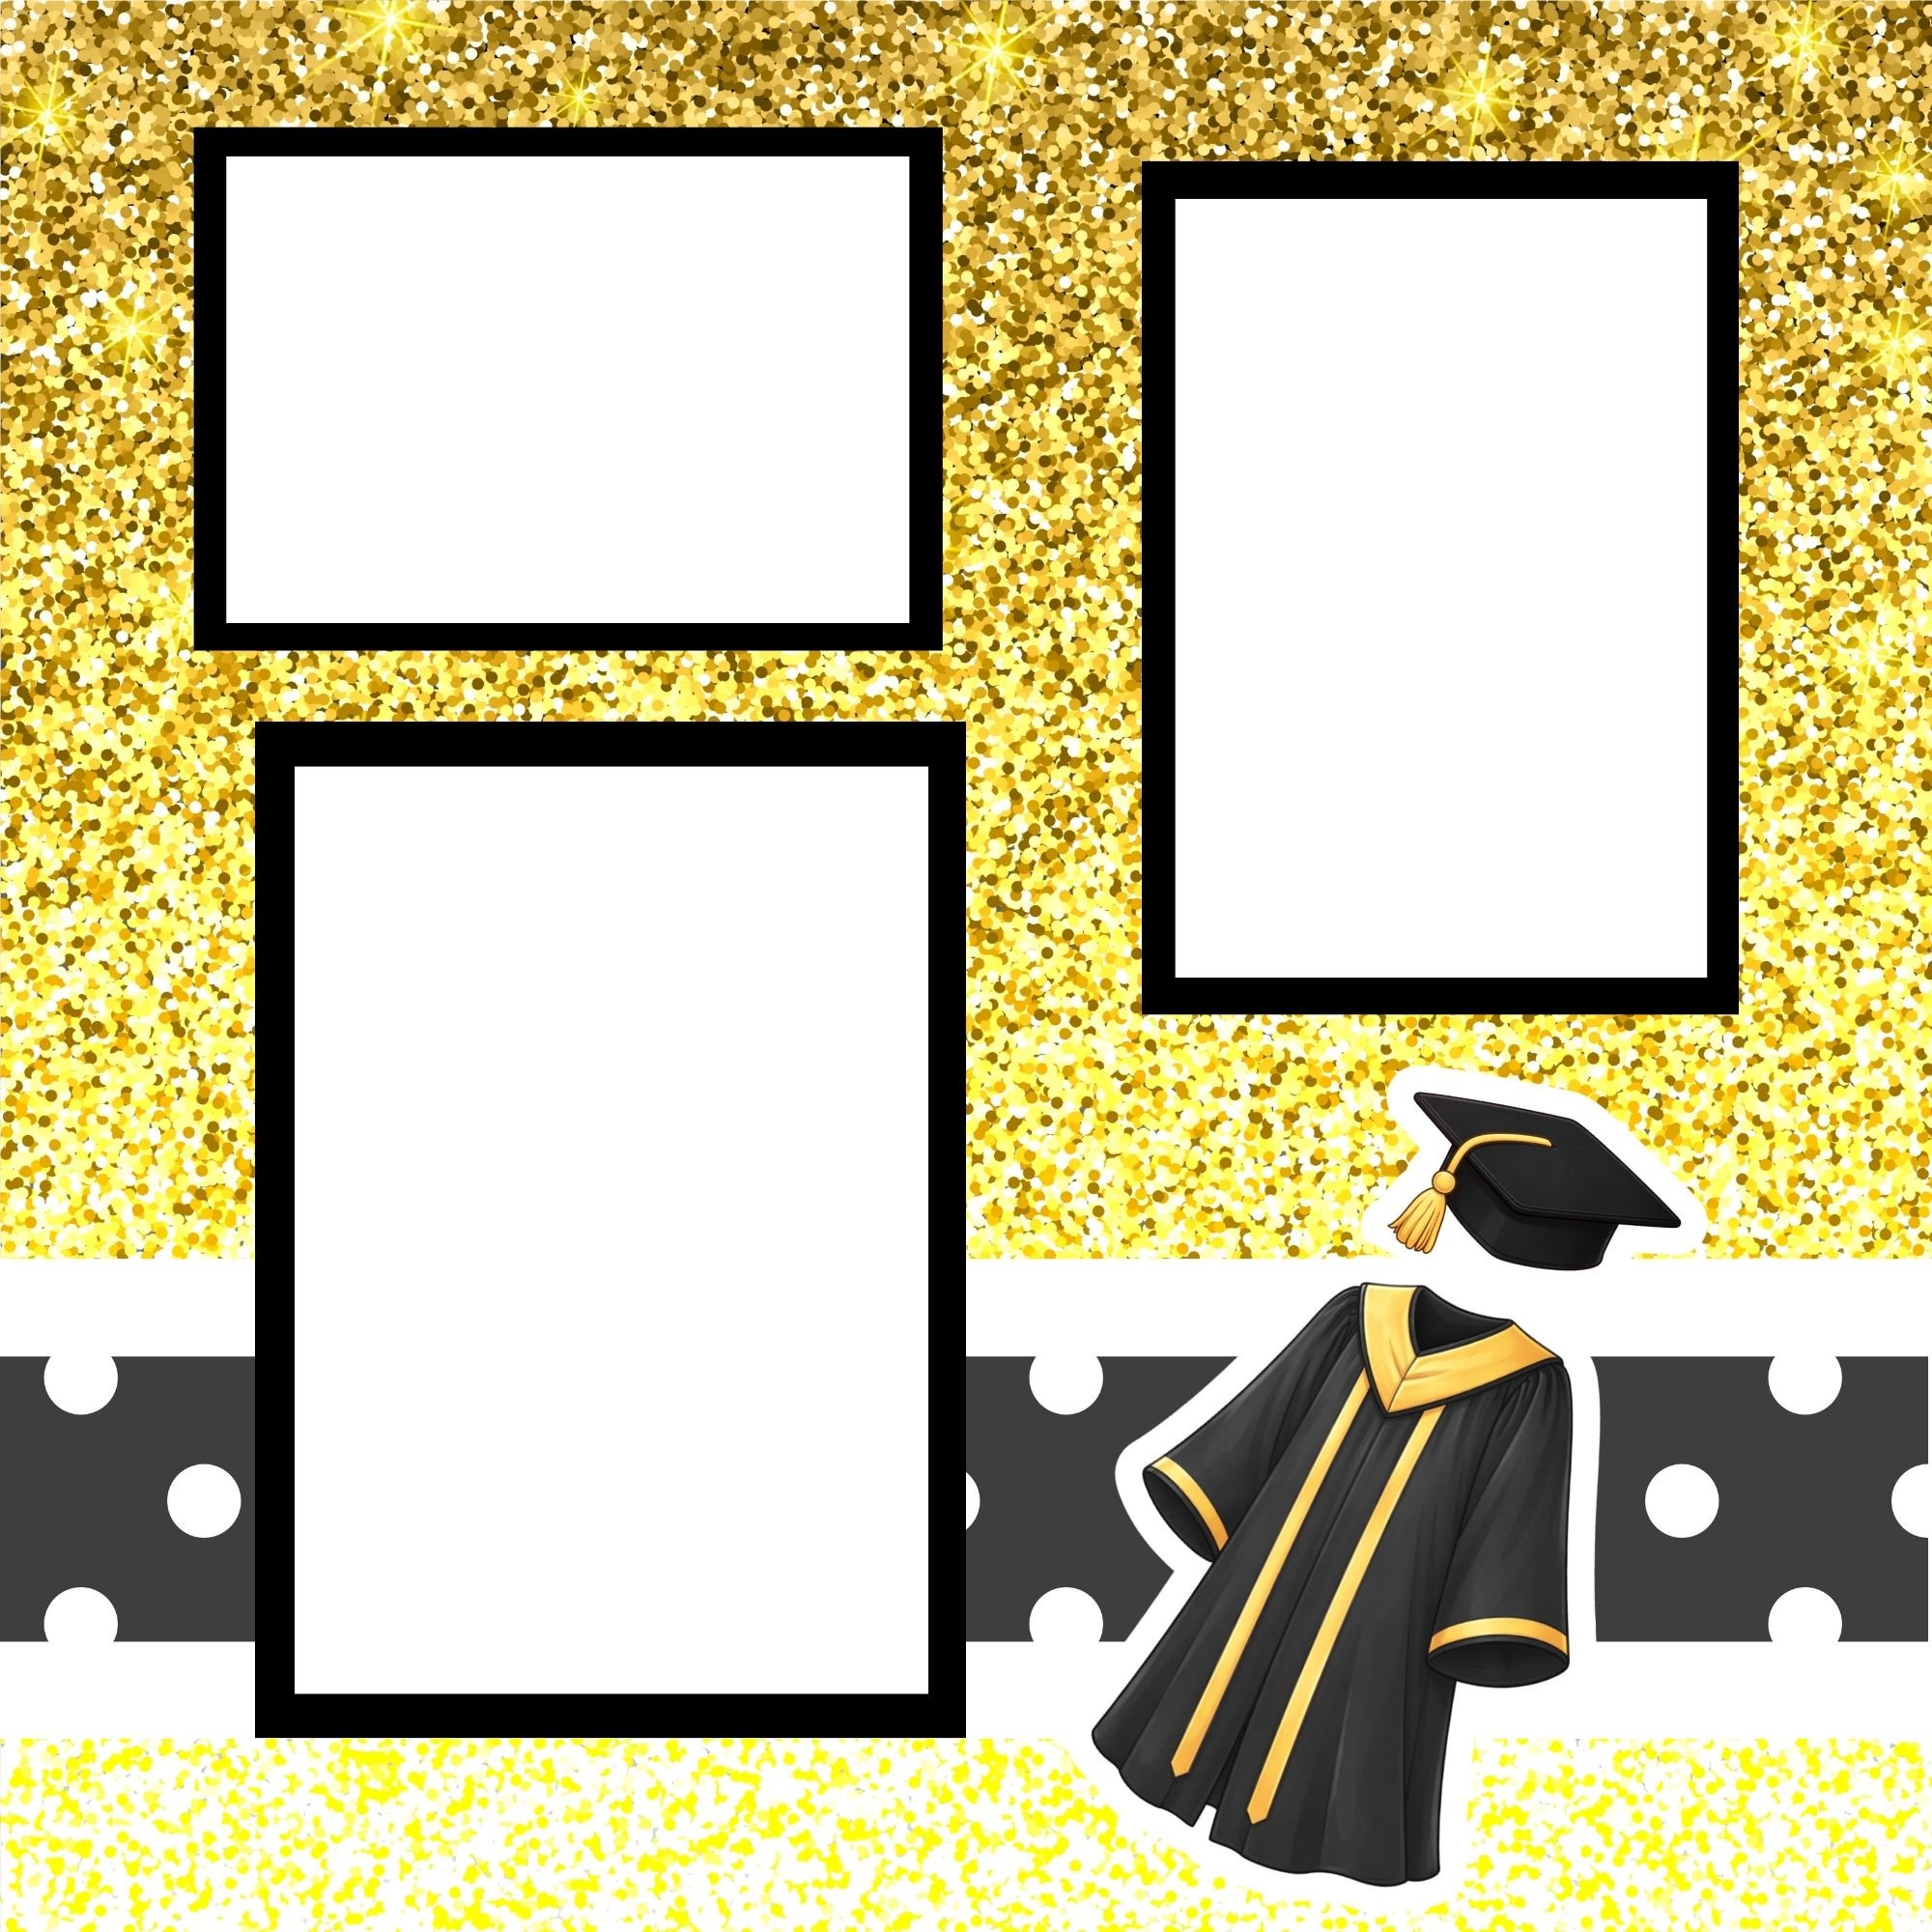
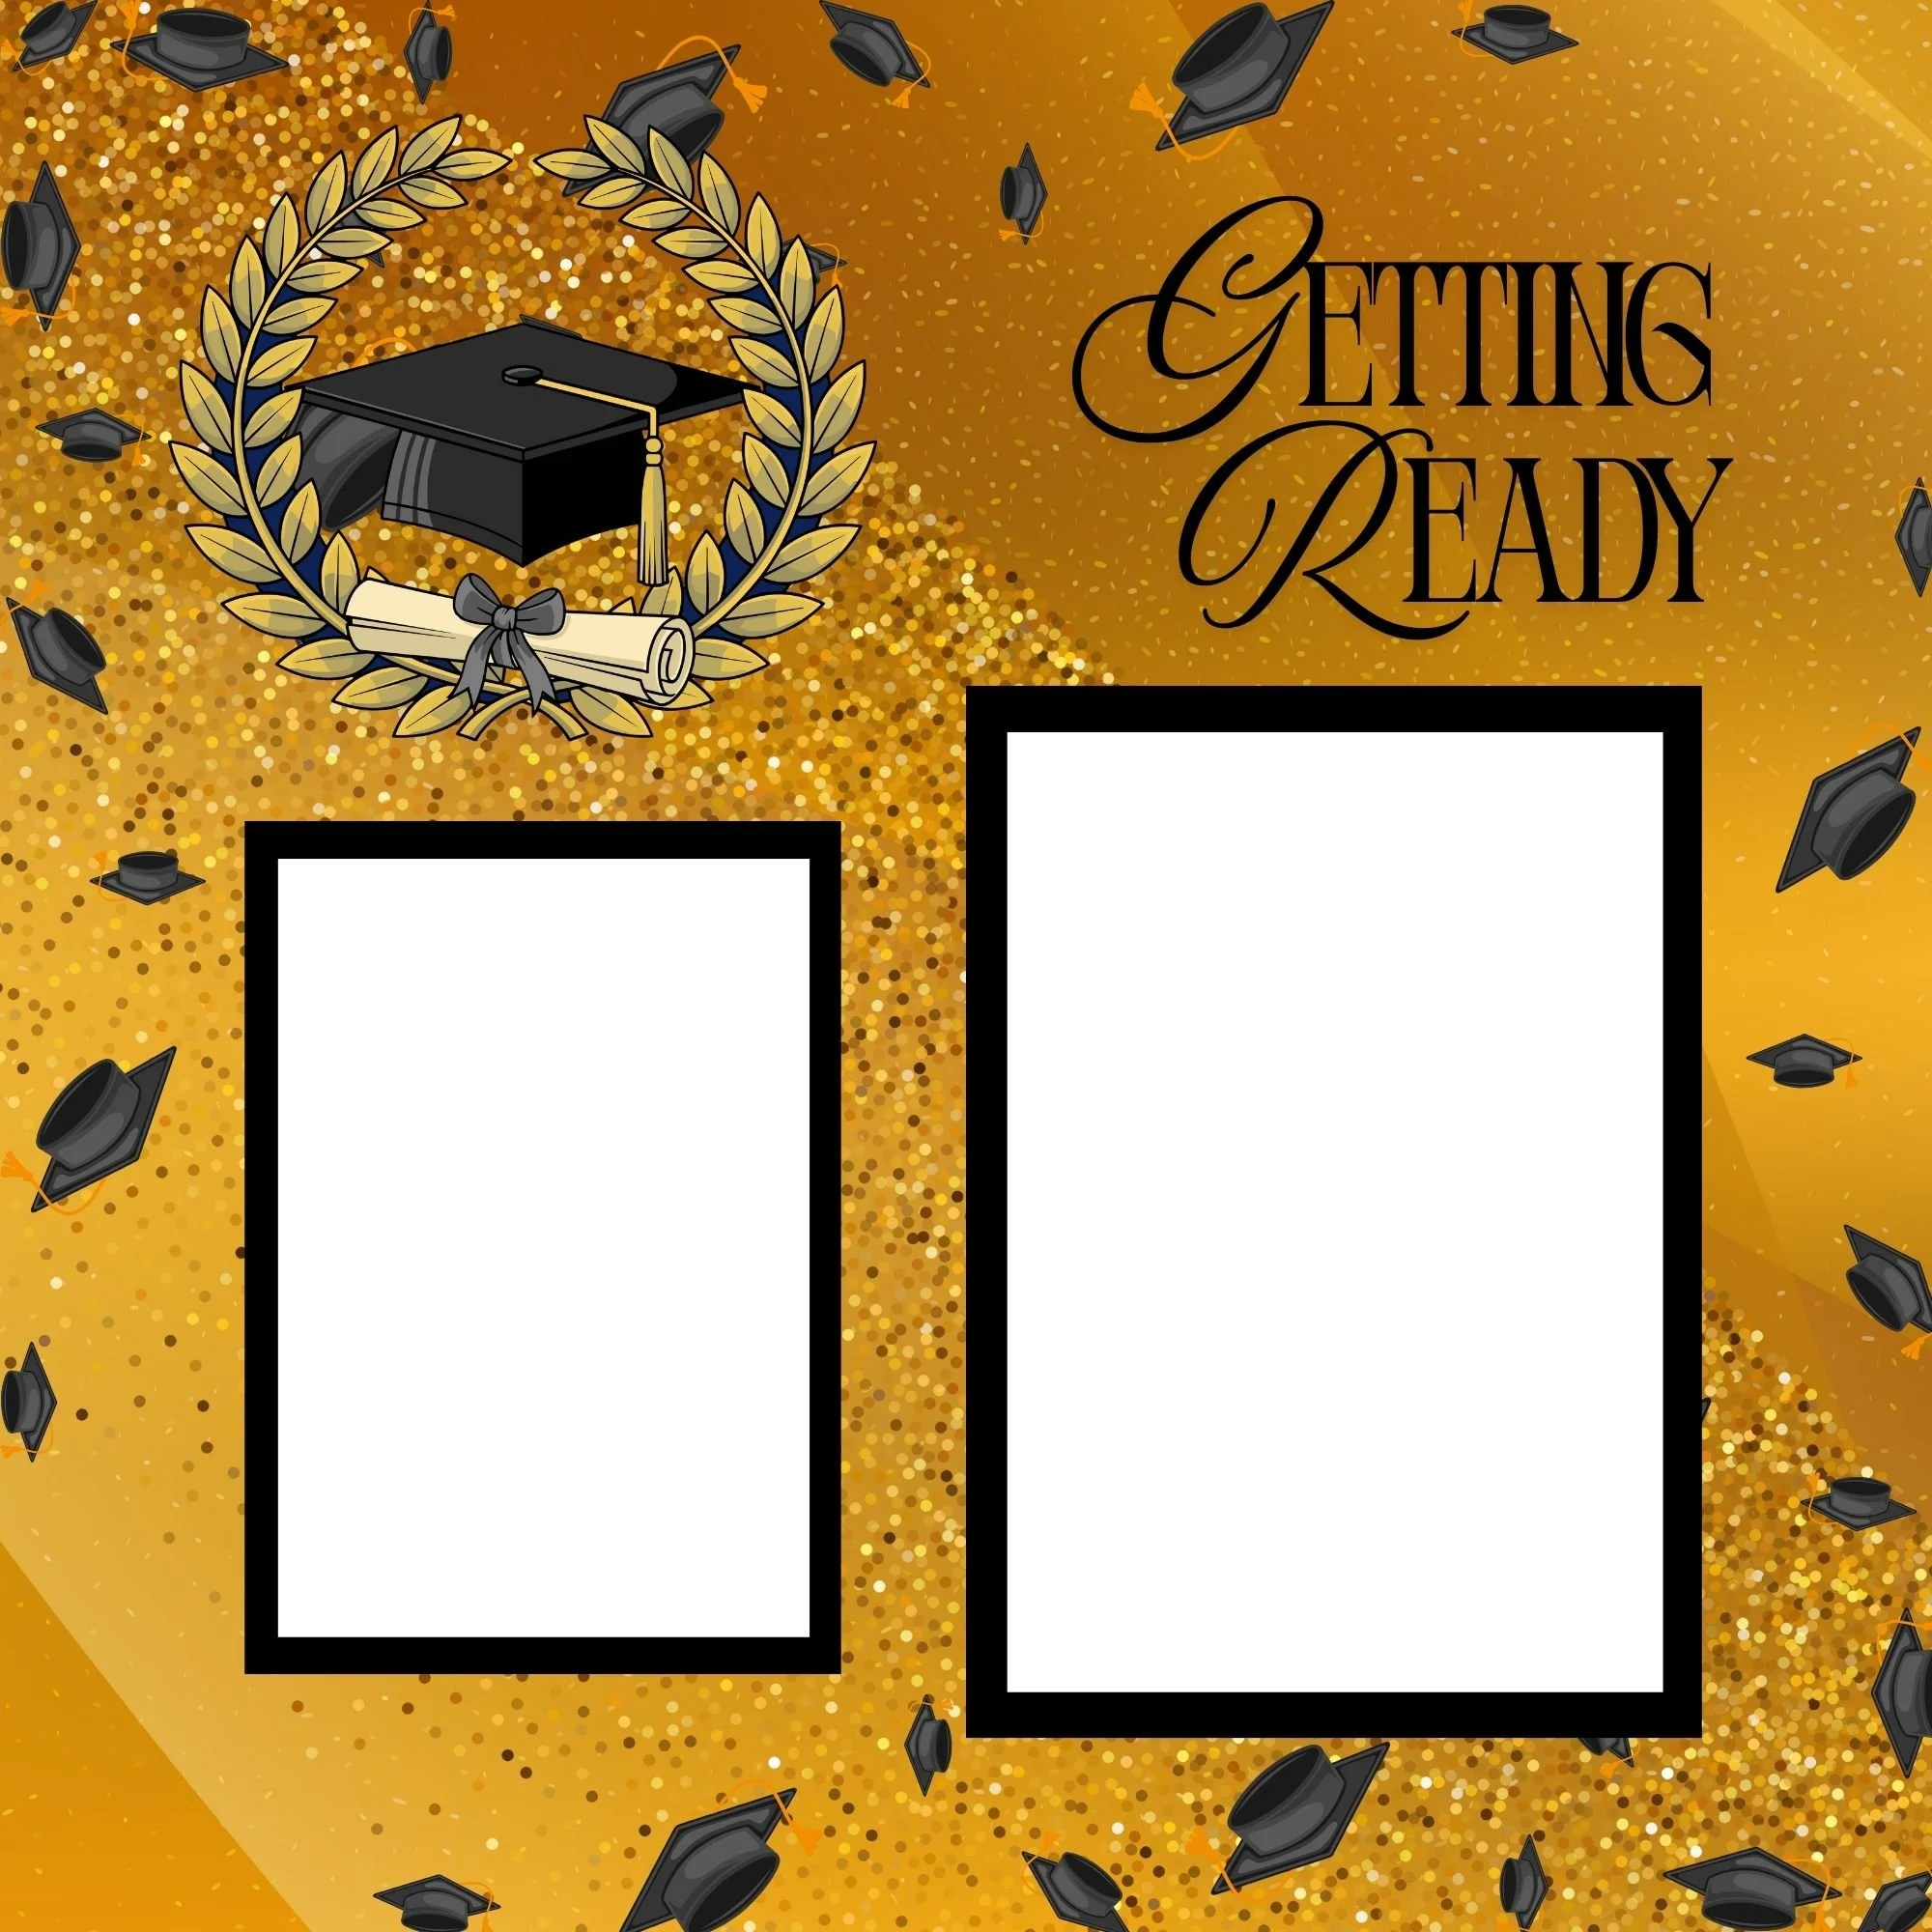

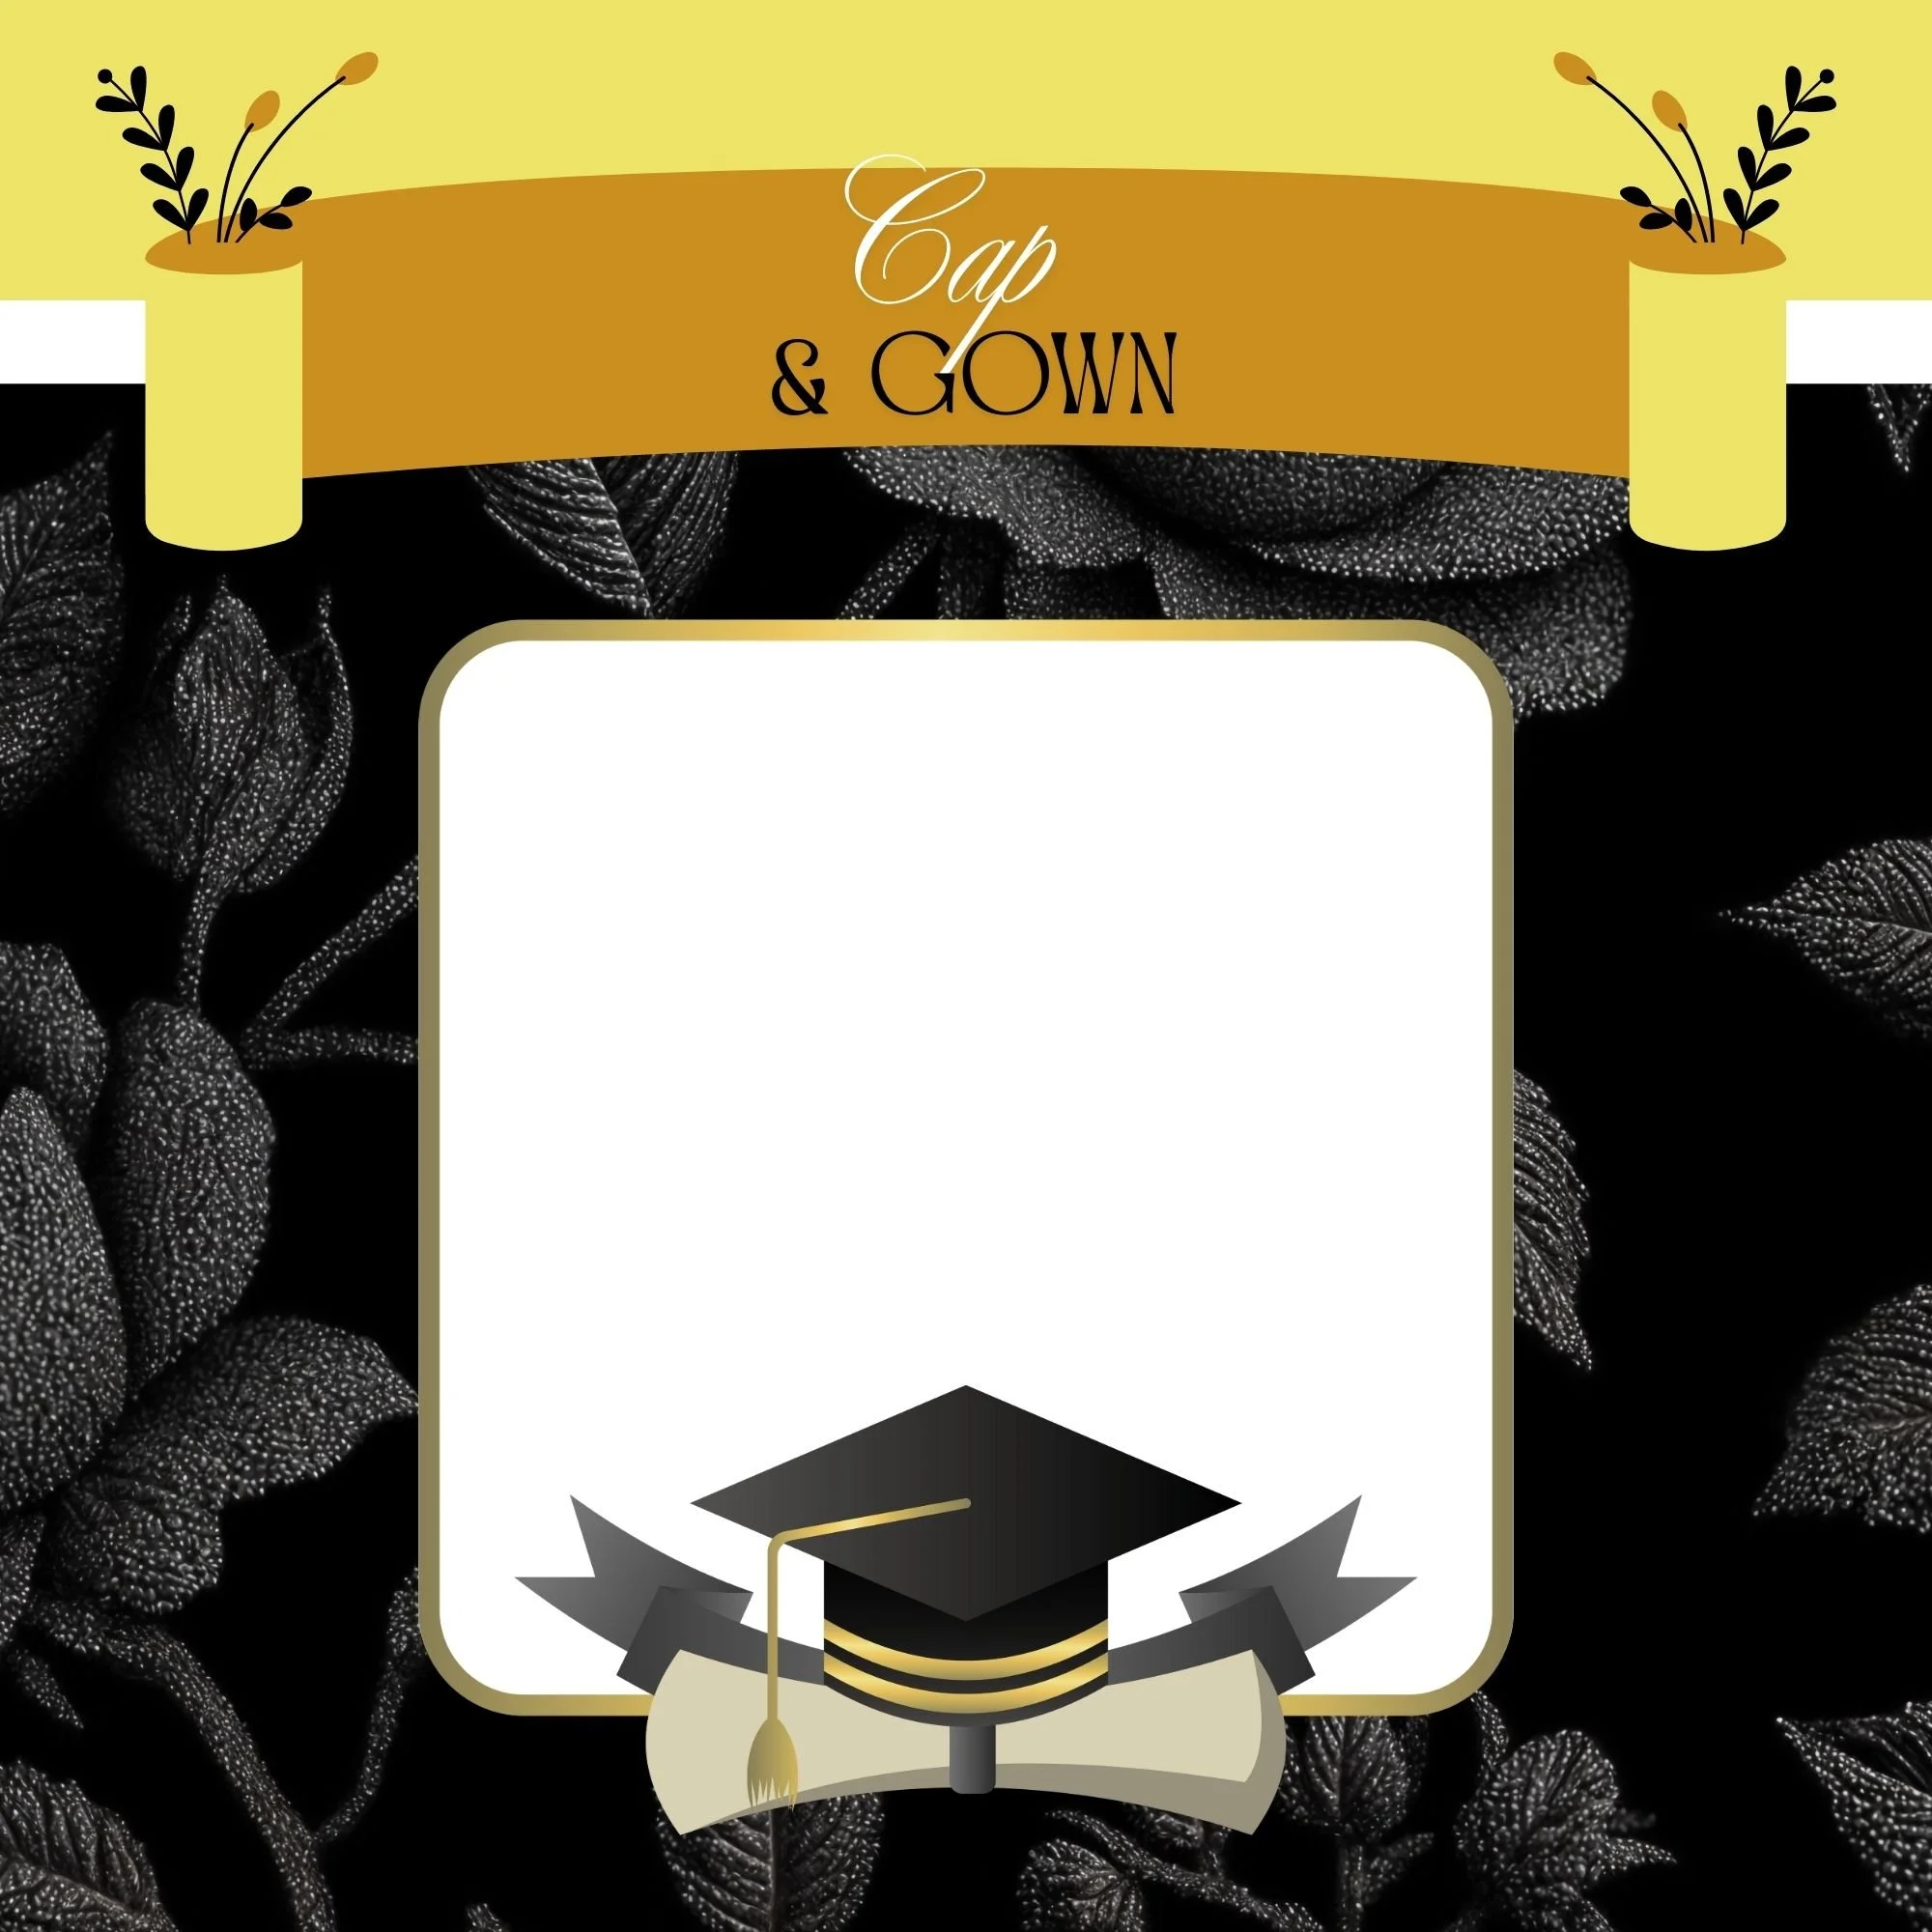

For this project, the theme is graduation, and I’m working with the Graduation Memorette.

This memory book was designed to celebrate achievement, growth, and one of life’s proudest milestones. With classic, timeless details and a subtle celebratory feel, it’s the perfect way to preserve not just graduation day—but the entire journey leading up to it.
What makes the Graduation Memorette special is that it captures more than photos. It includes space for written reflections, allowing you to document the pride, emotion, and meaning behind graduation—from walking the stage to celebrating with family and friends.
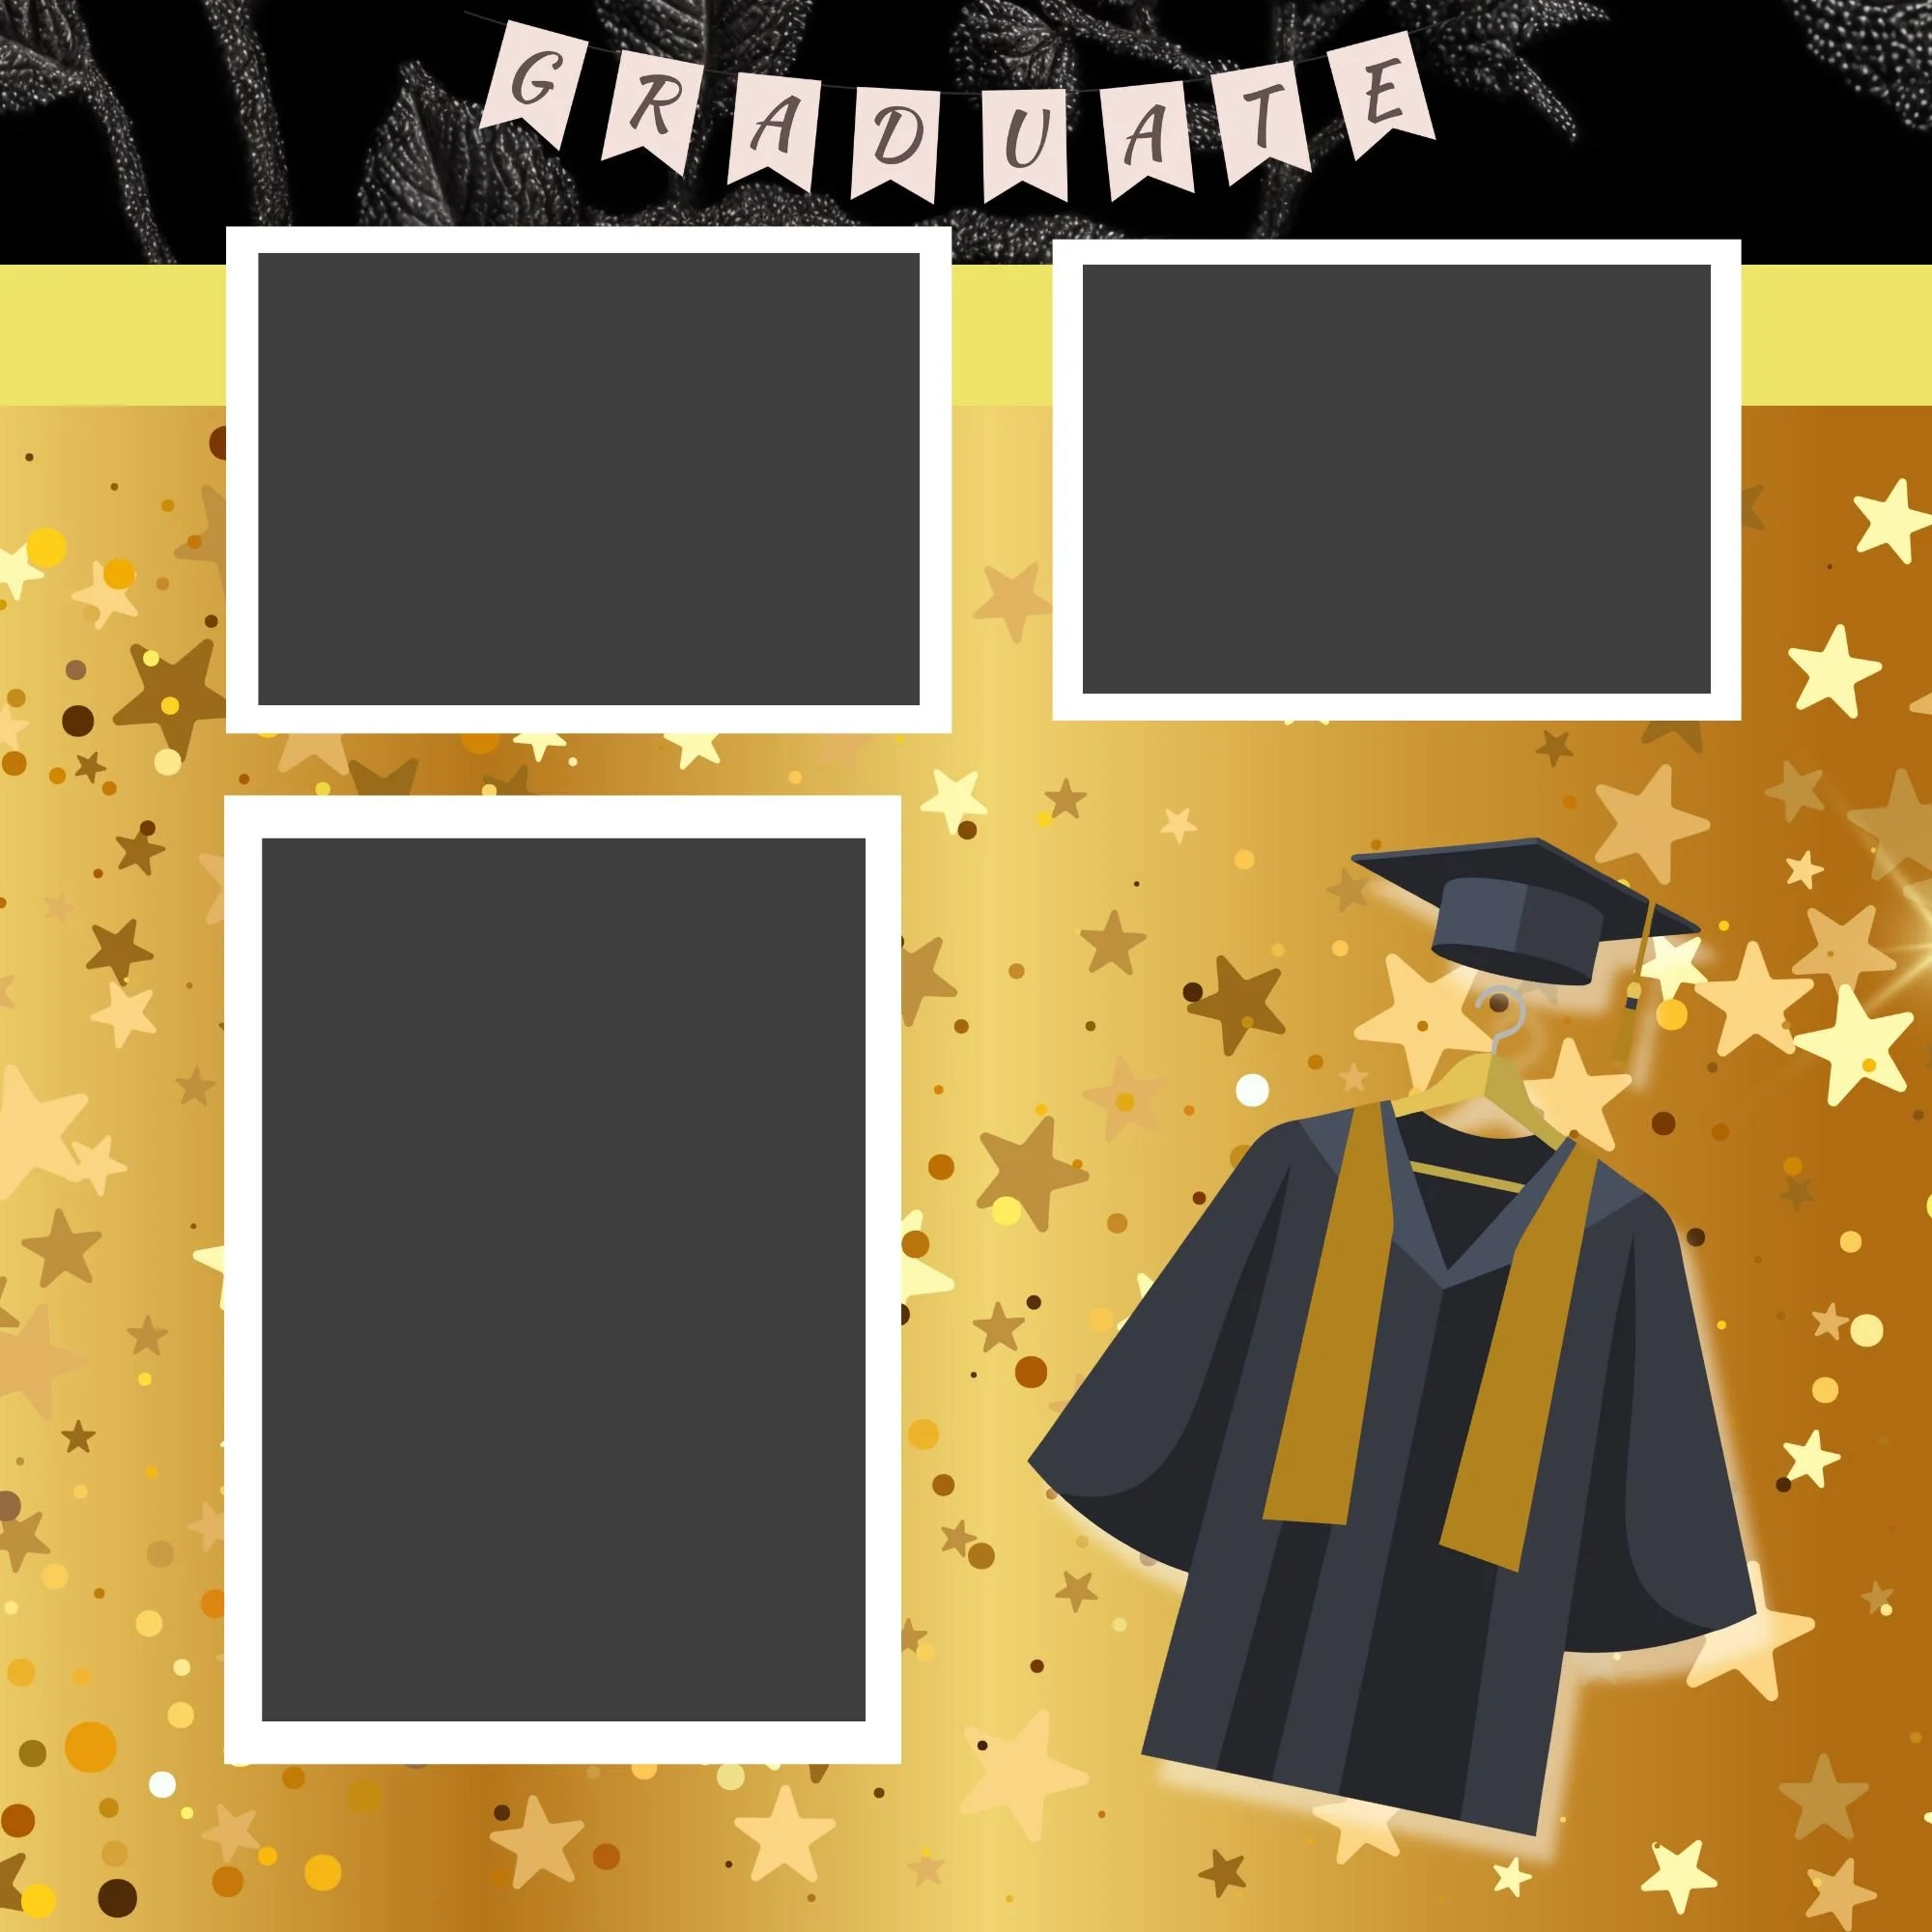
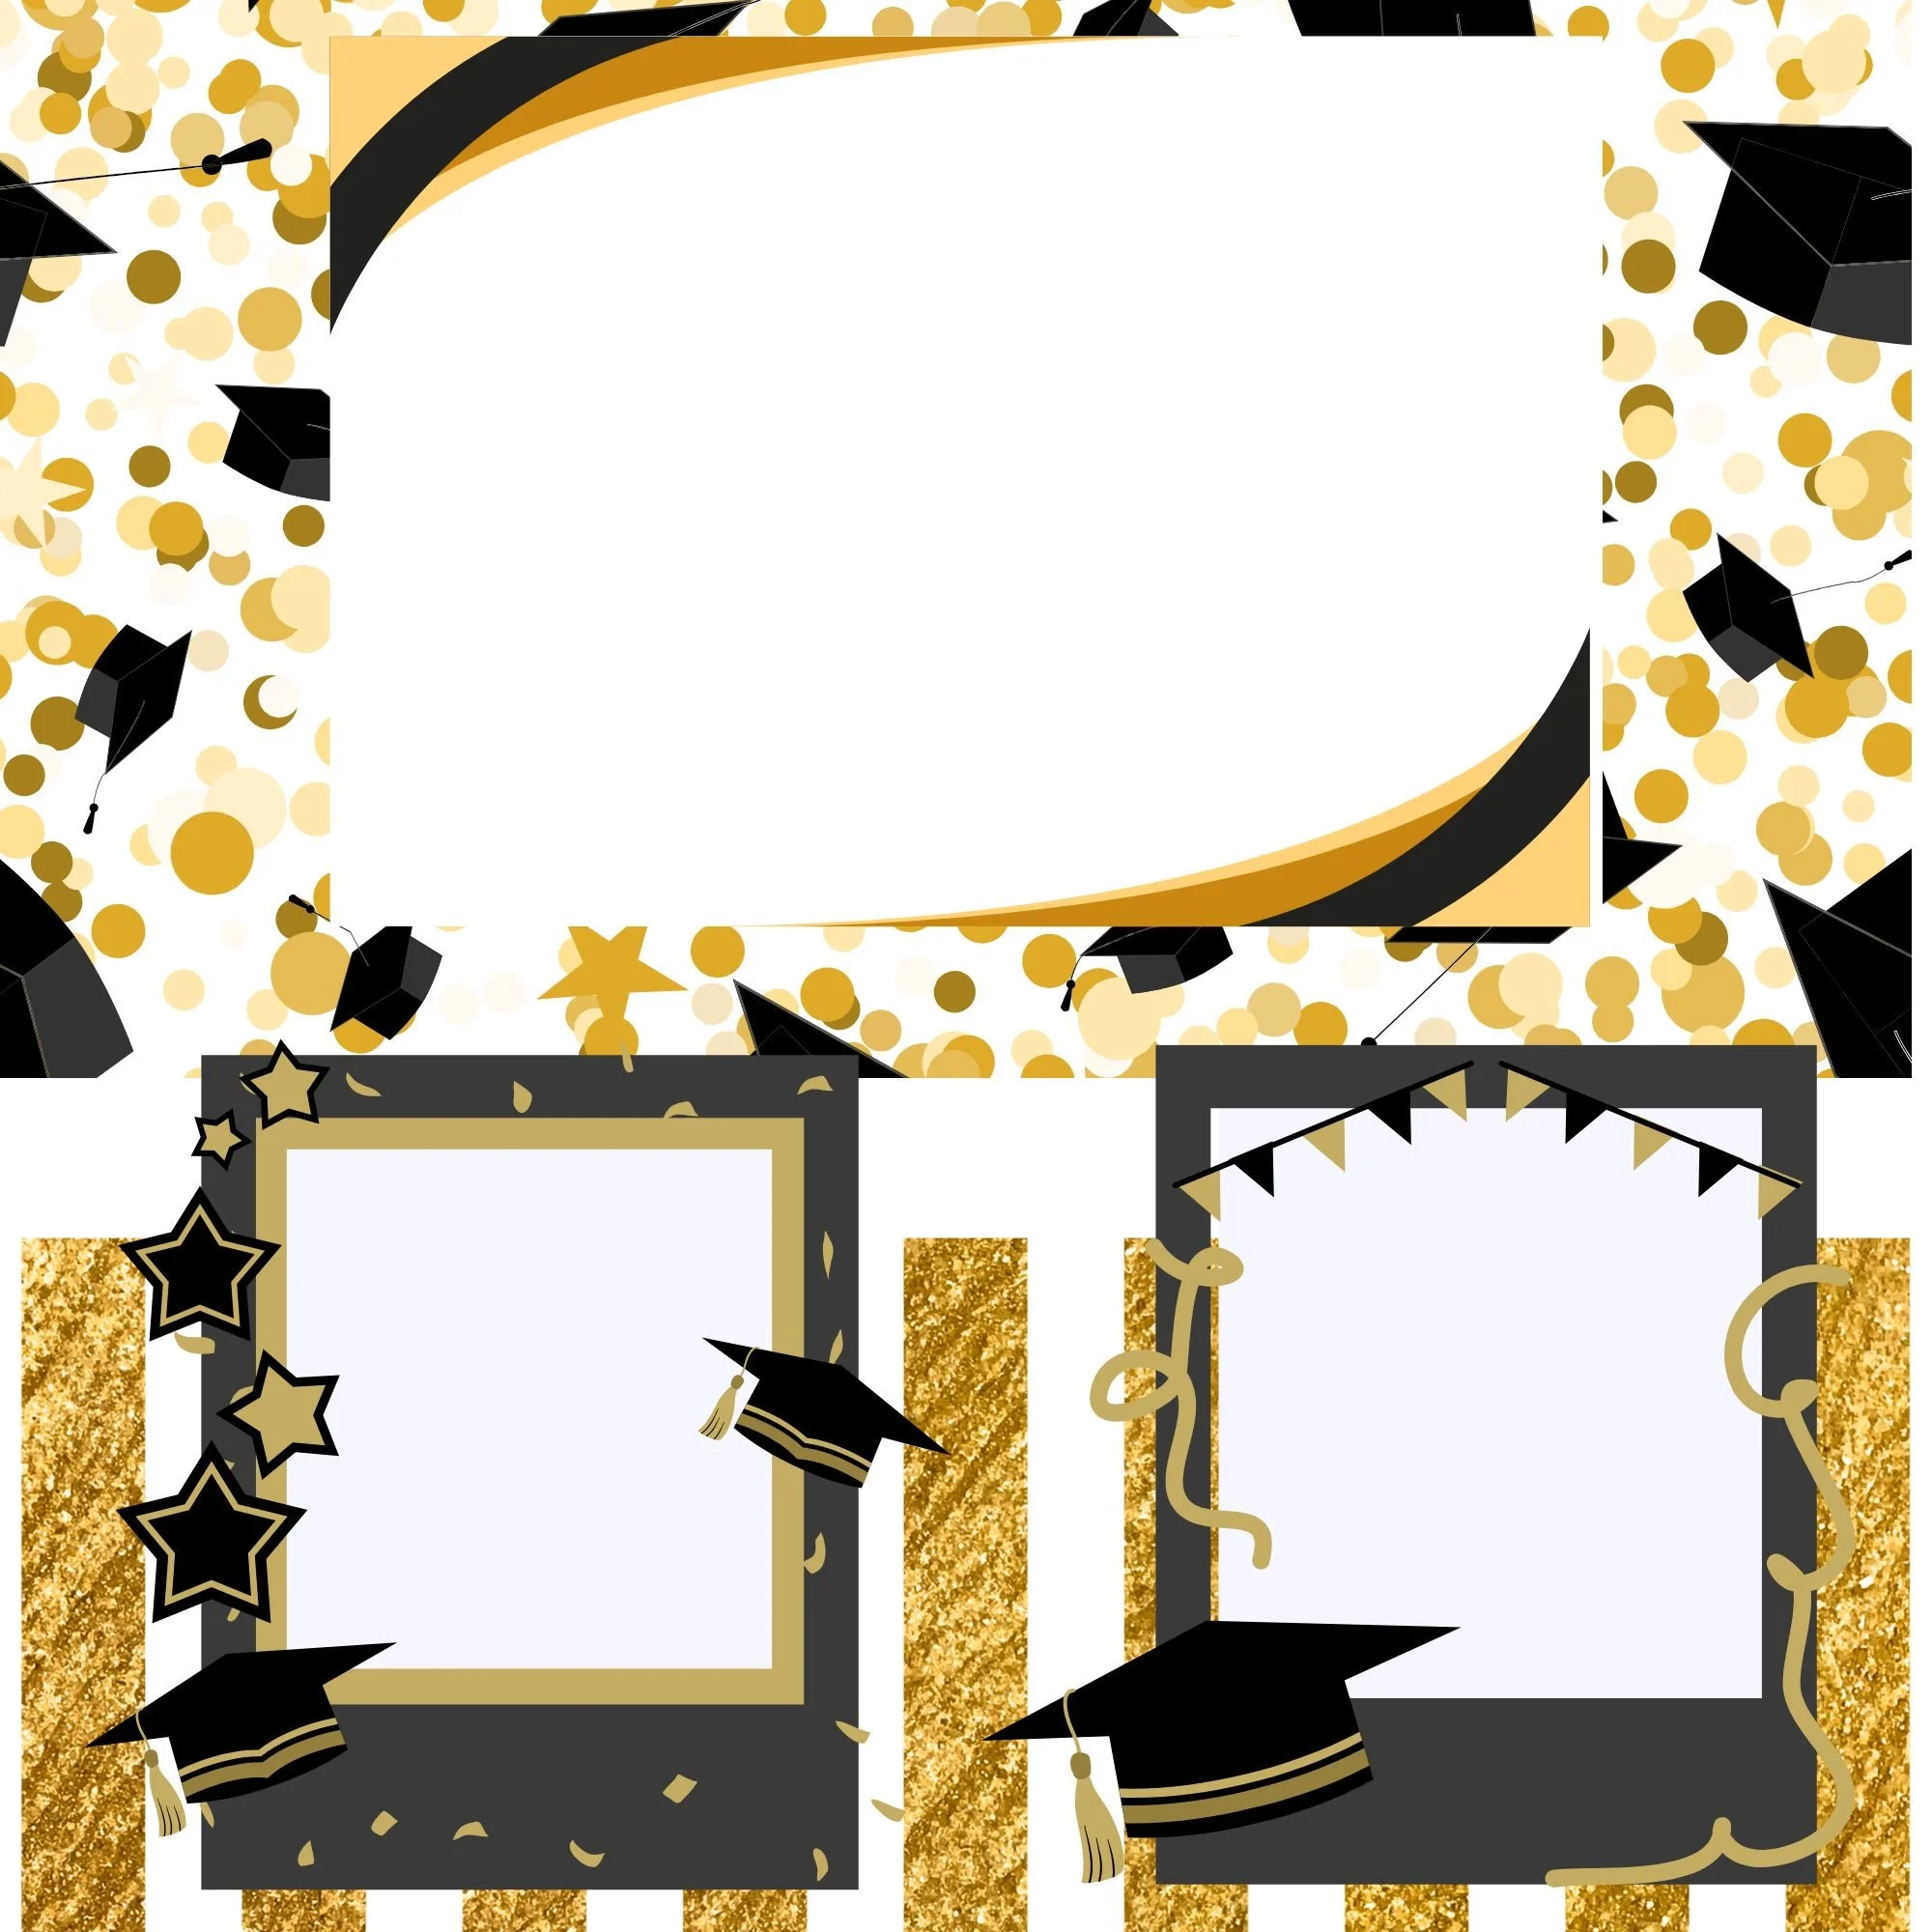
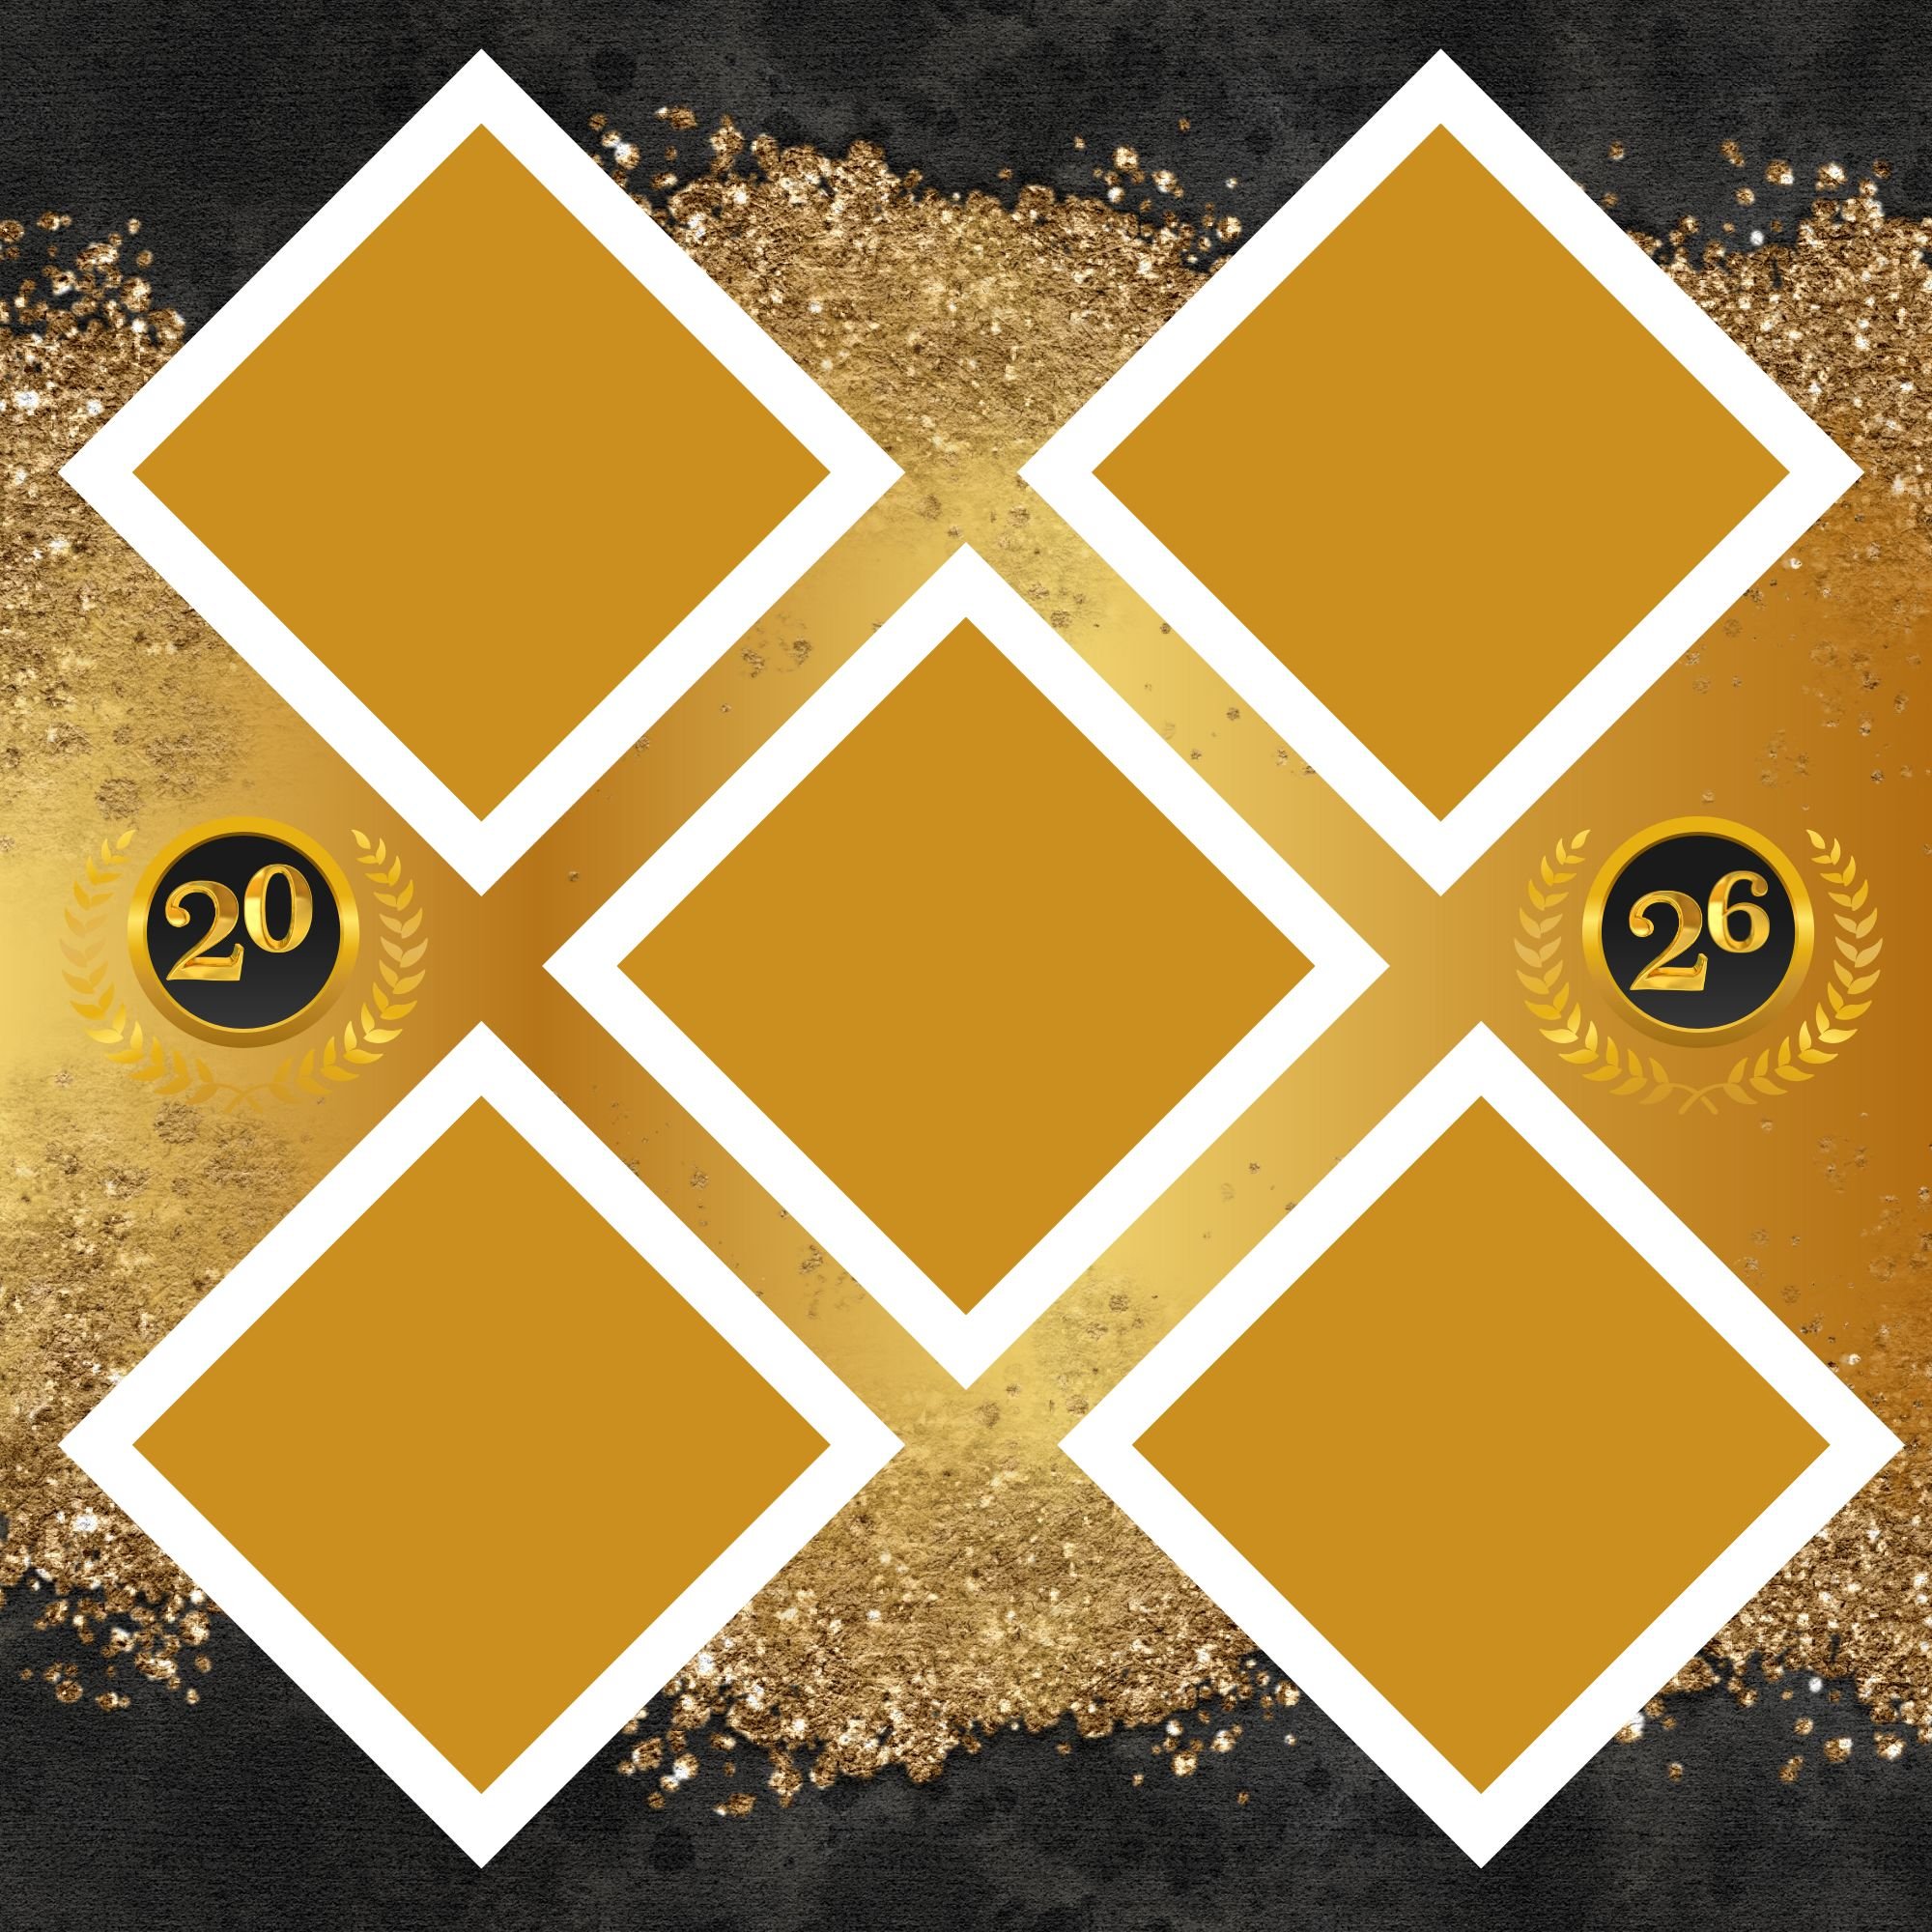
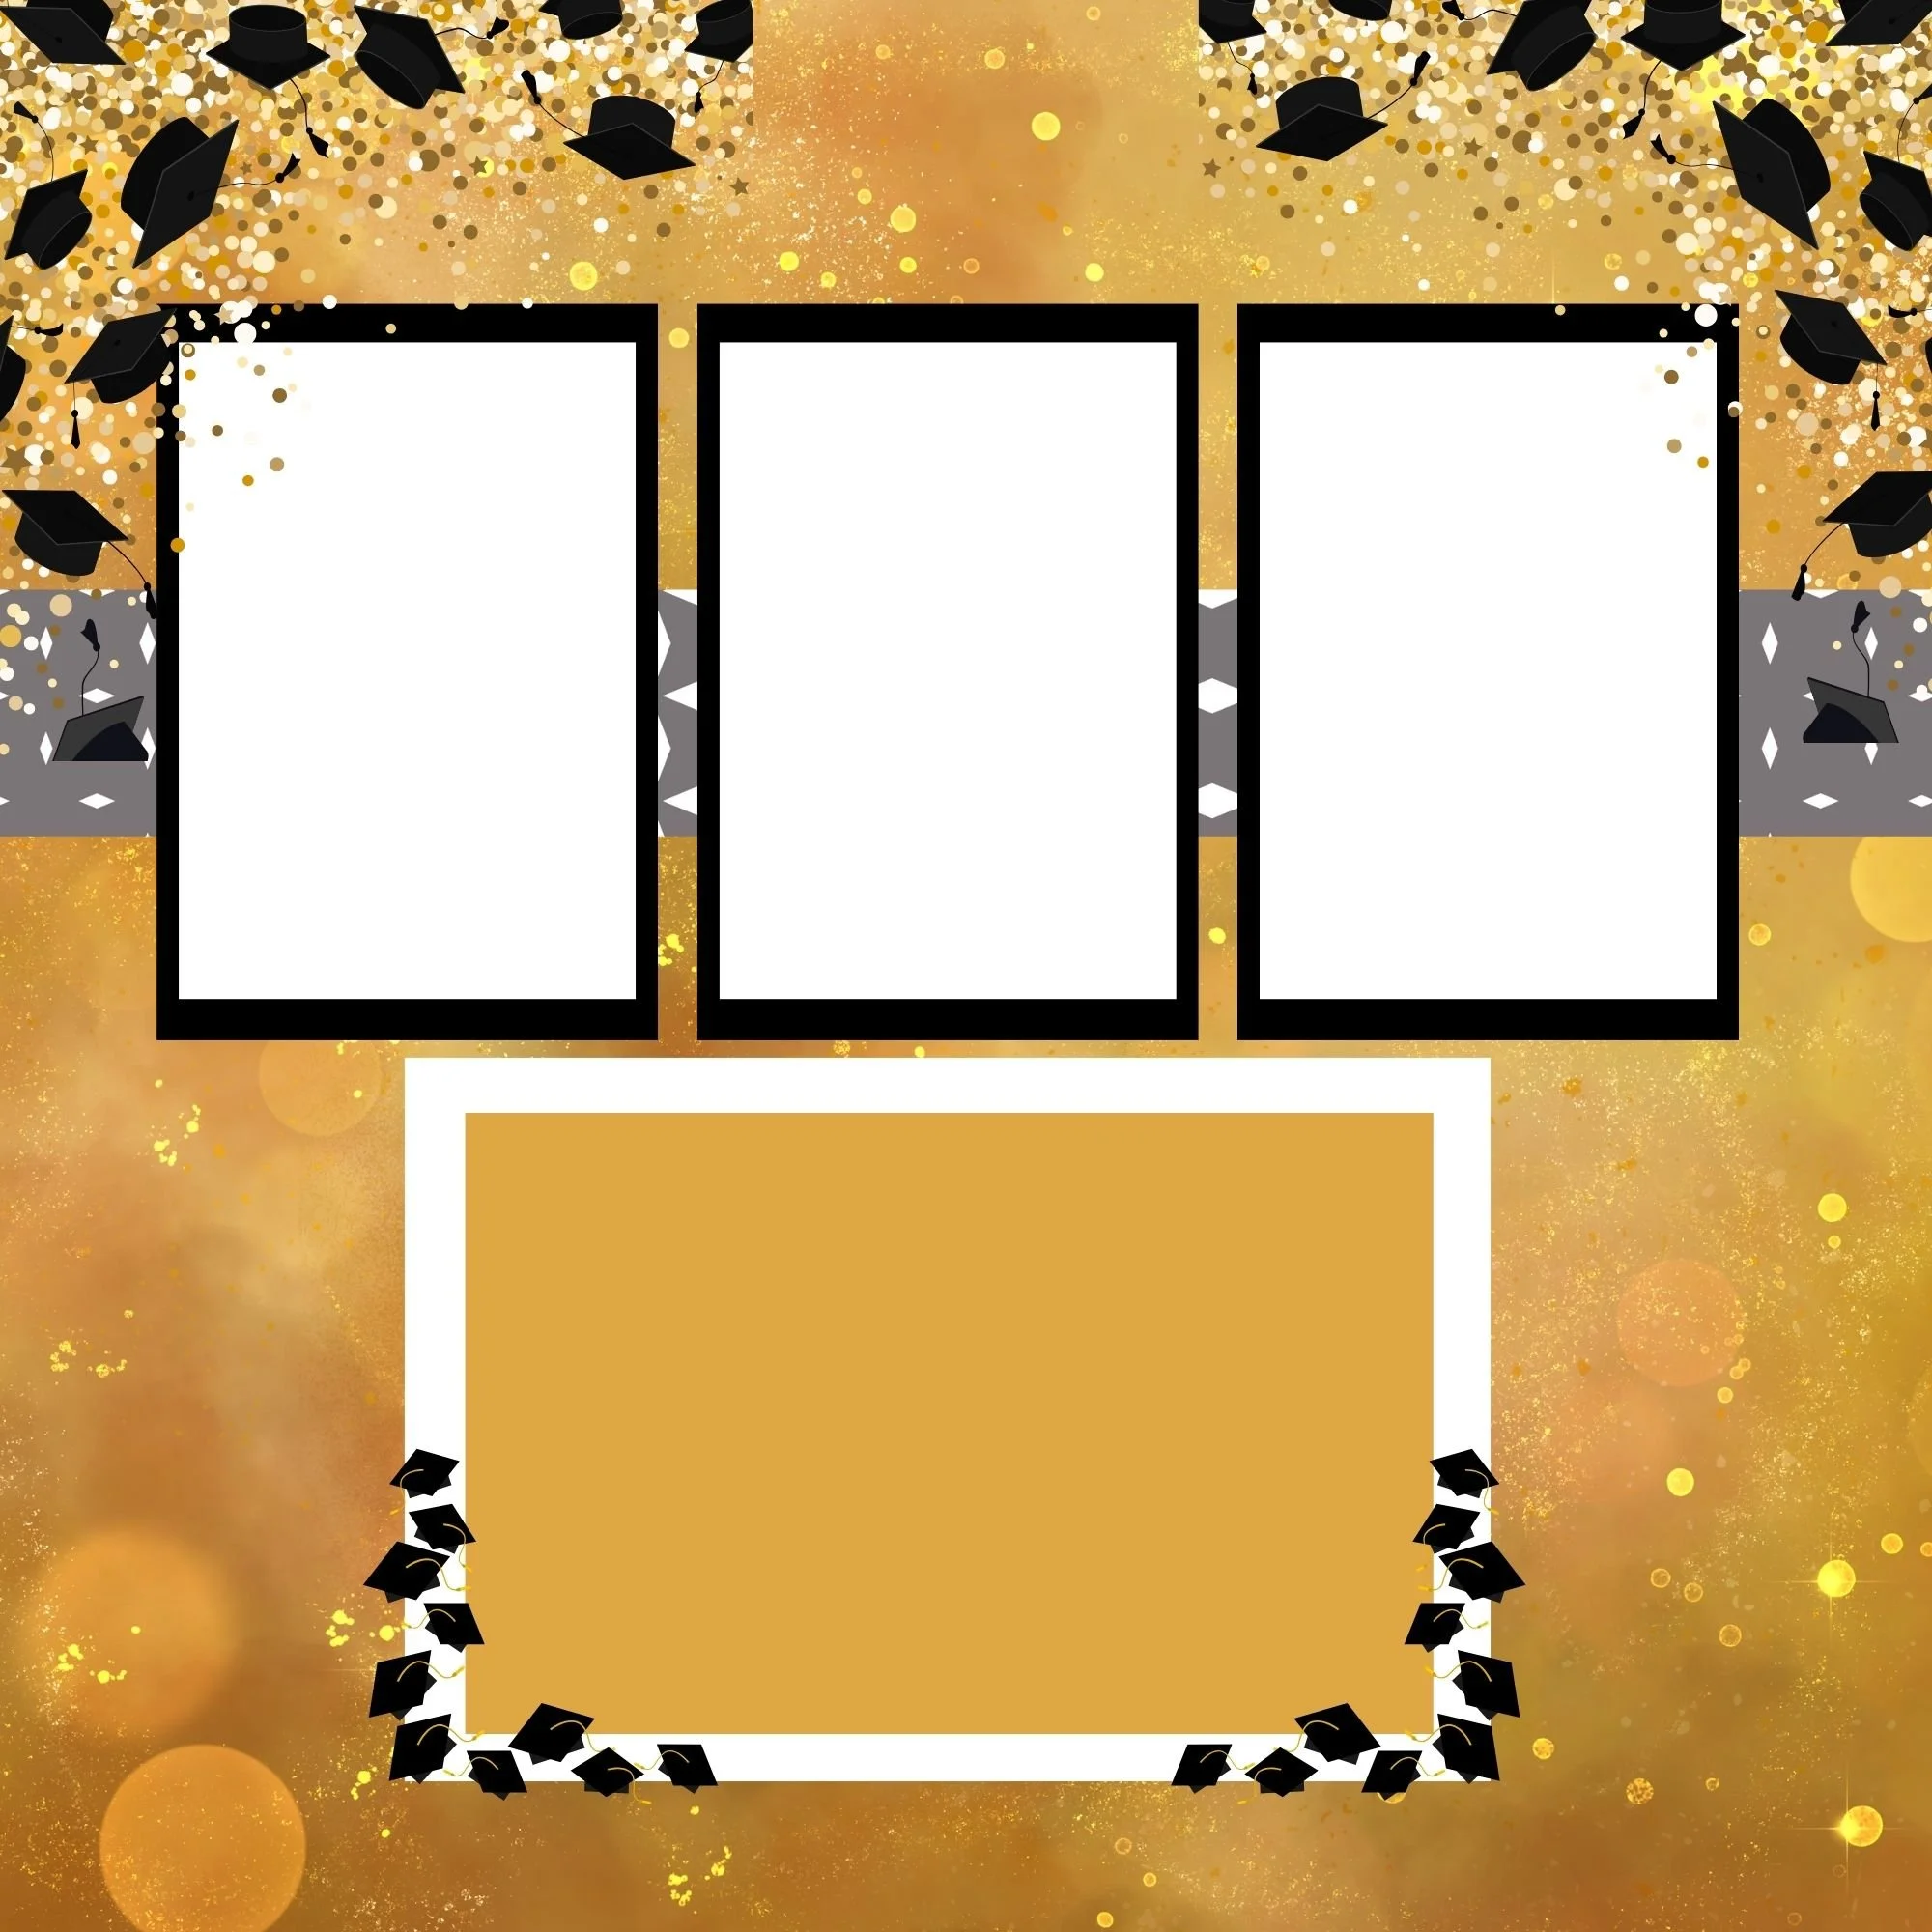
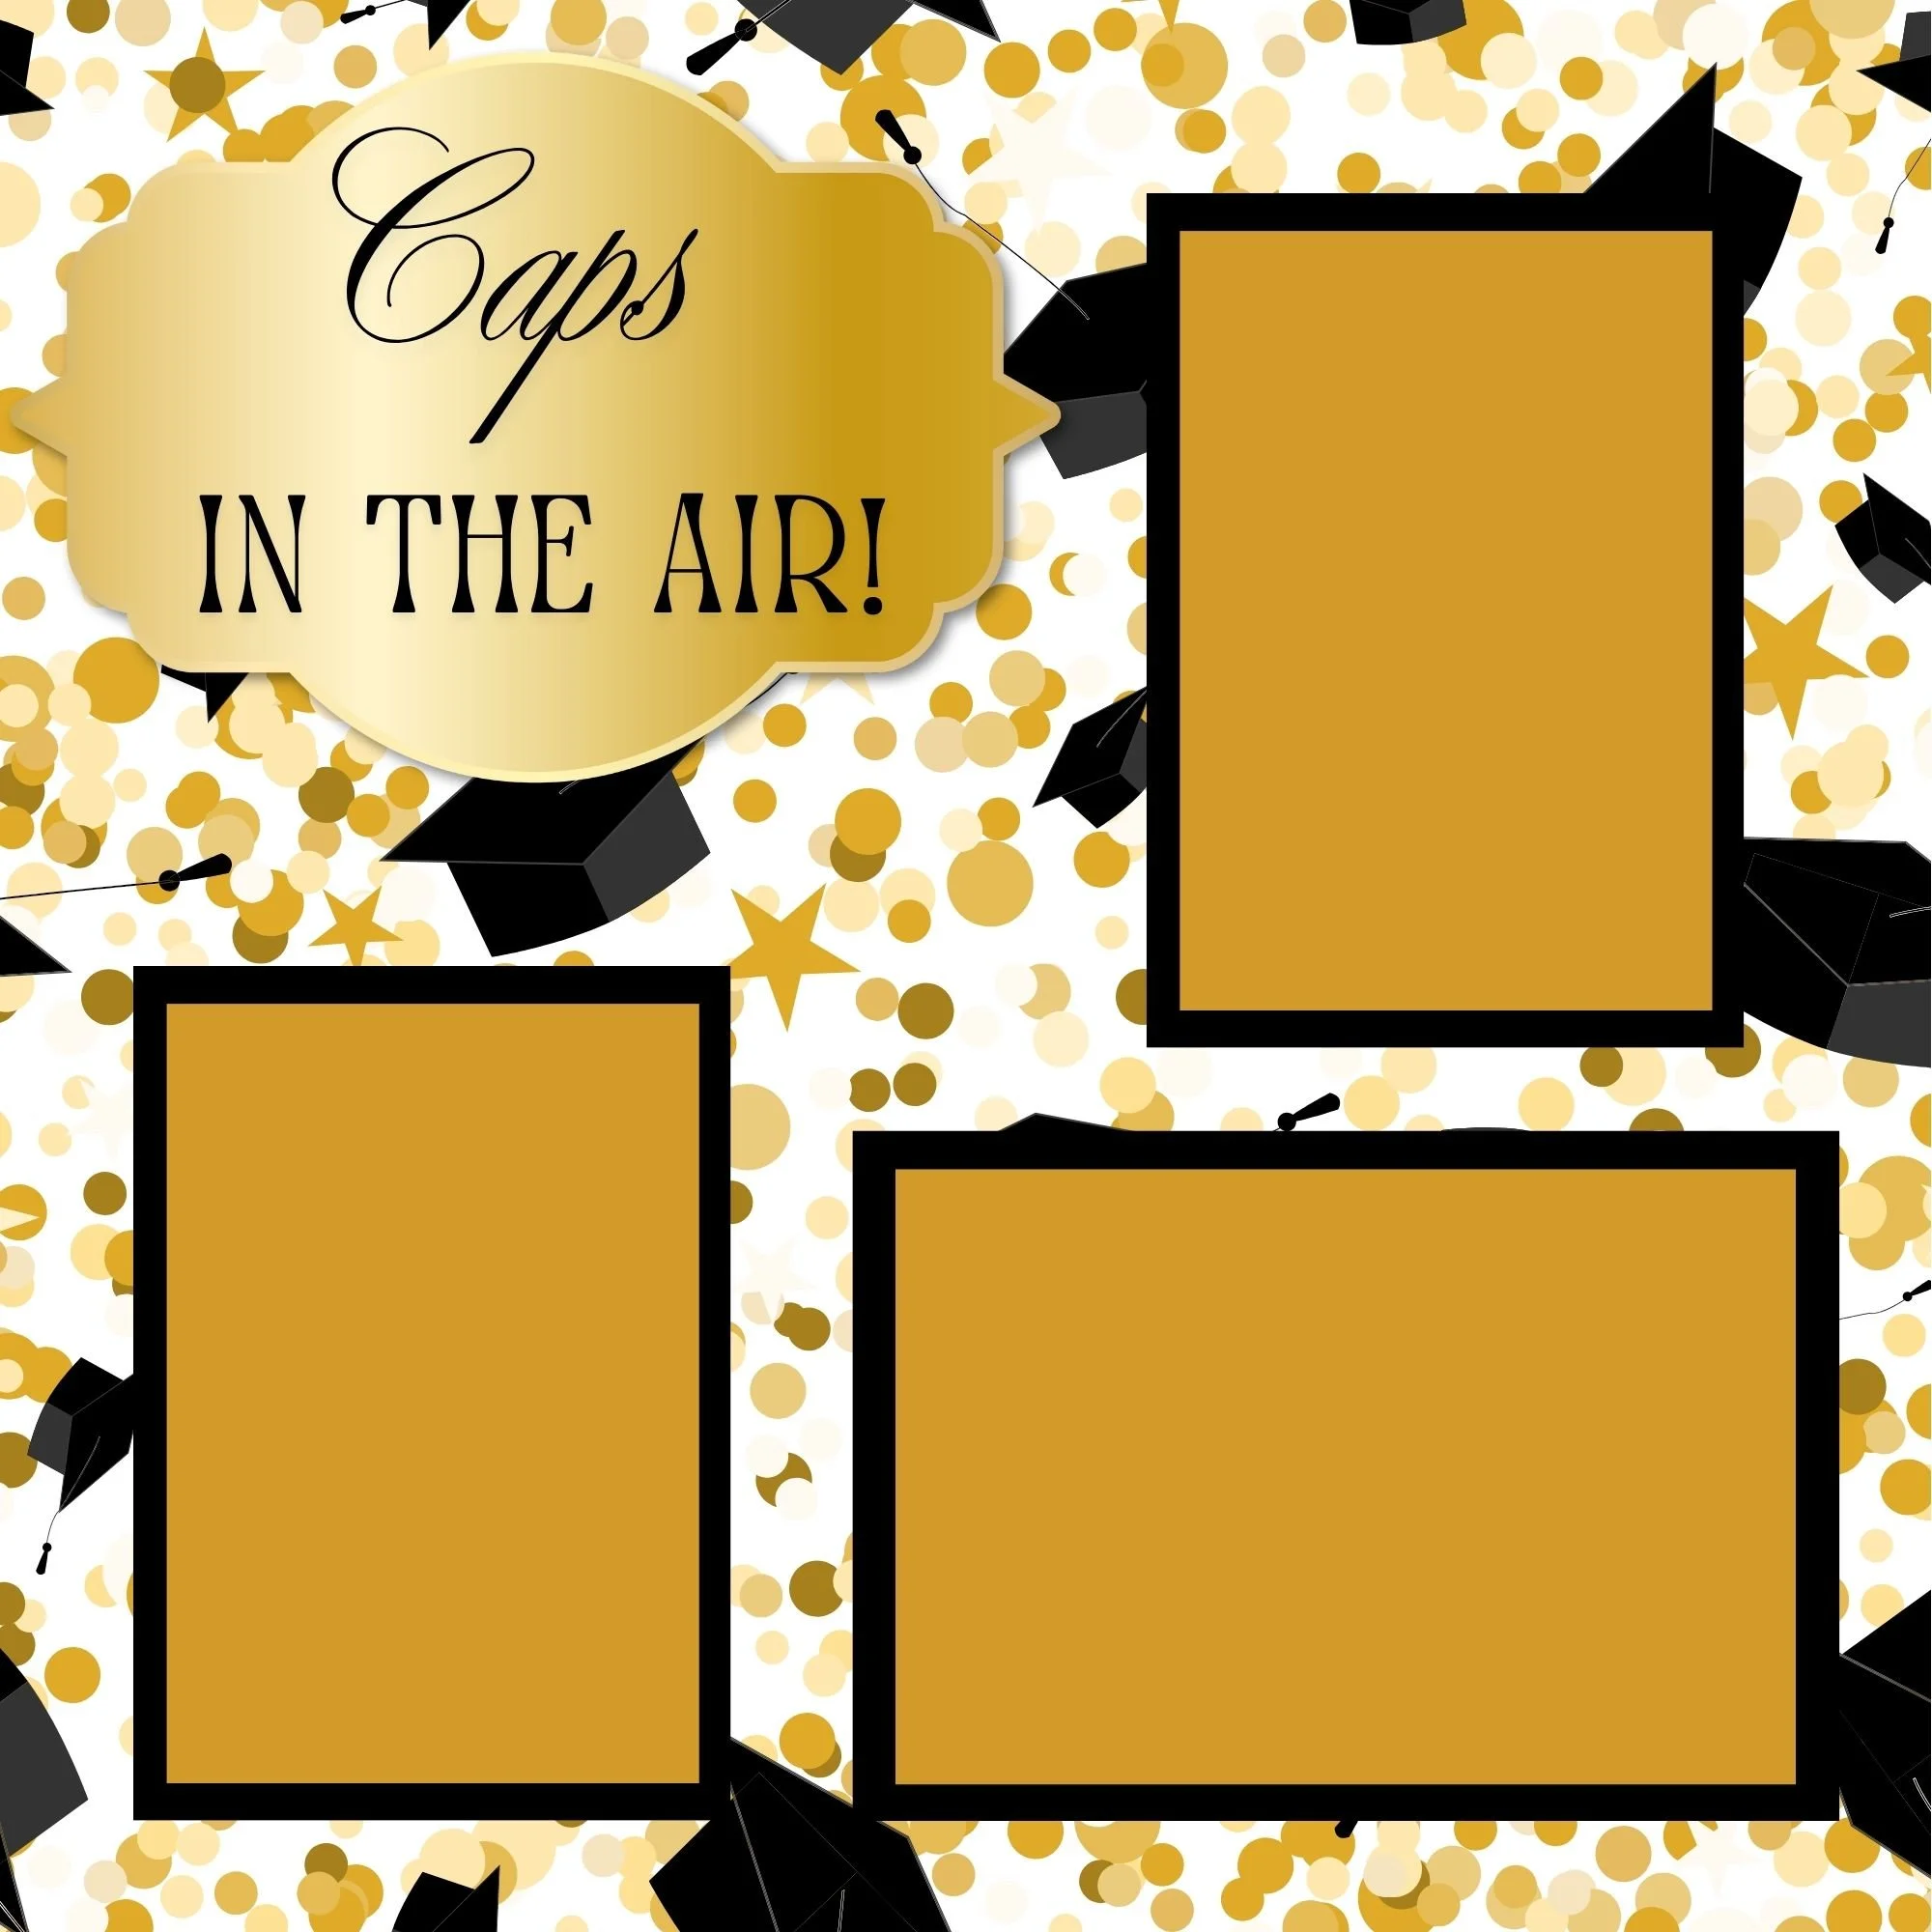
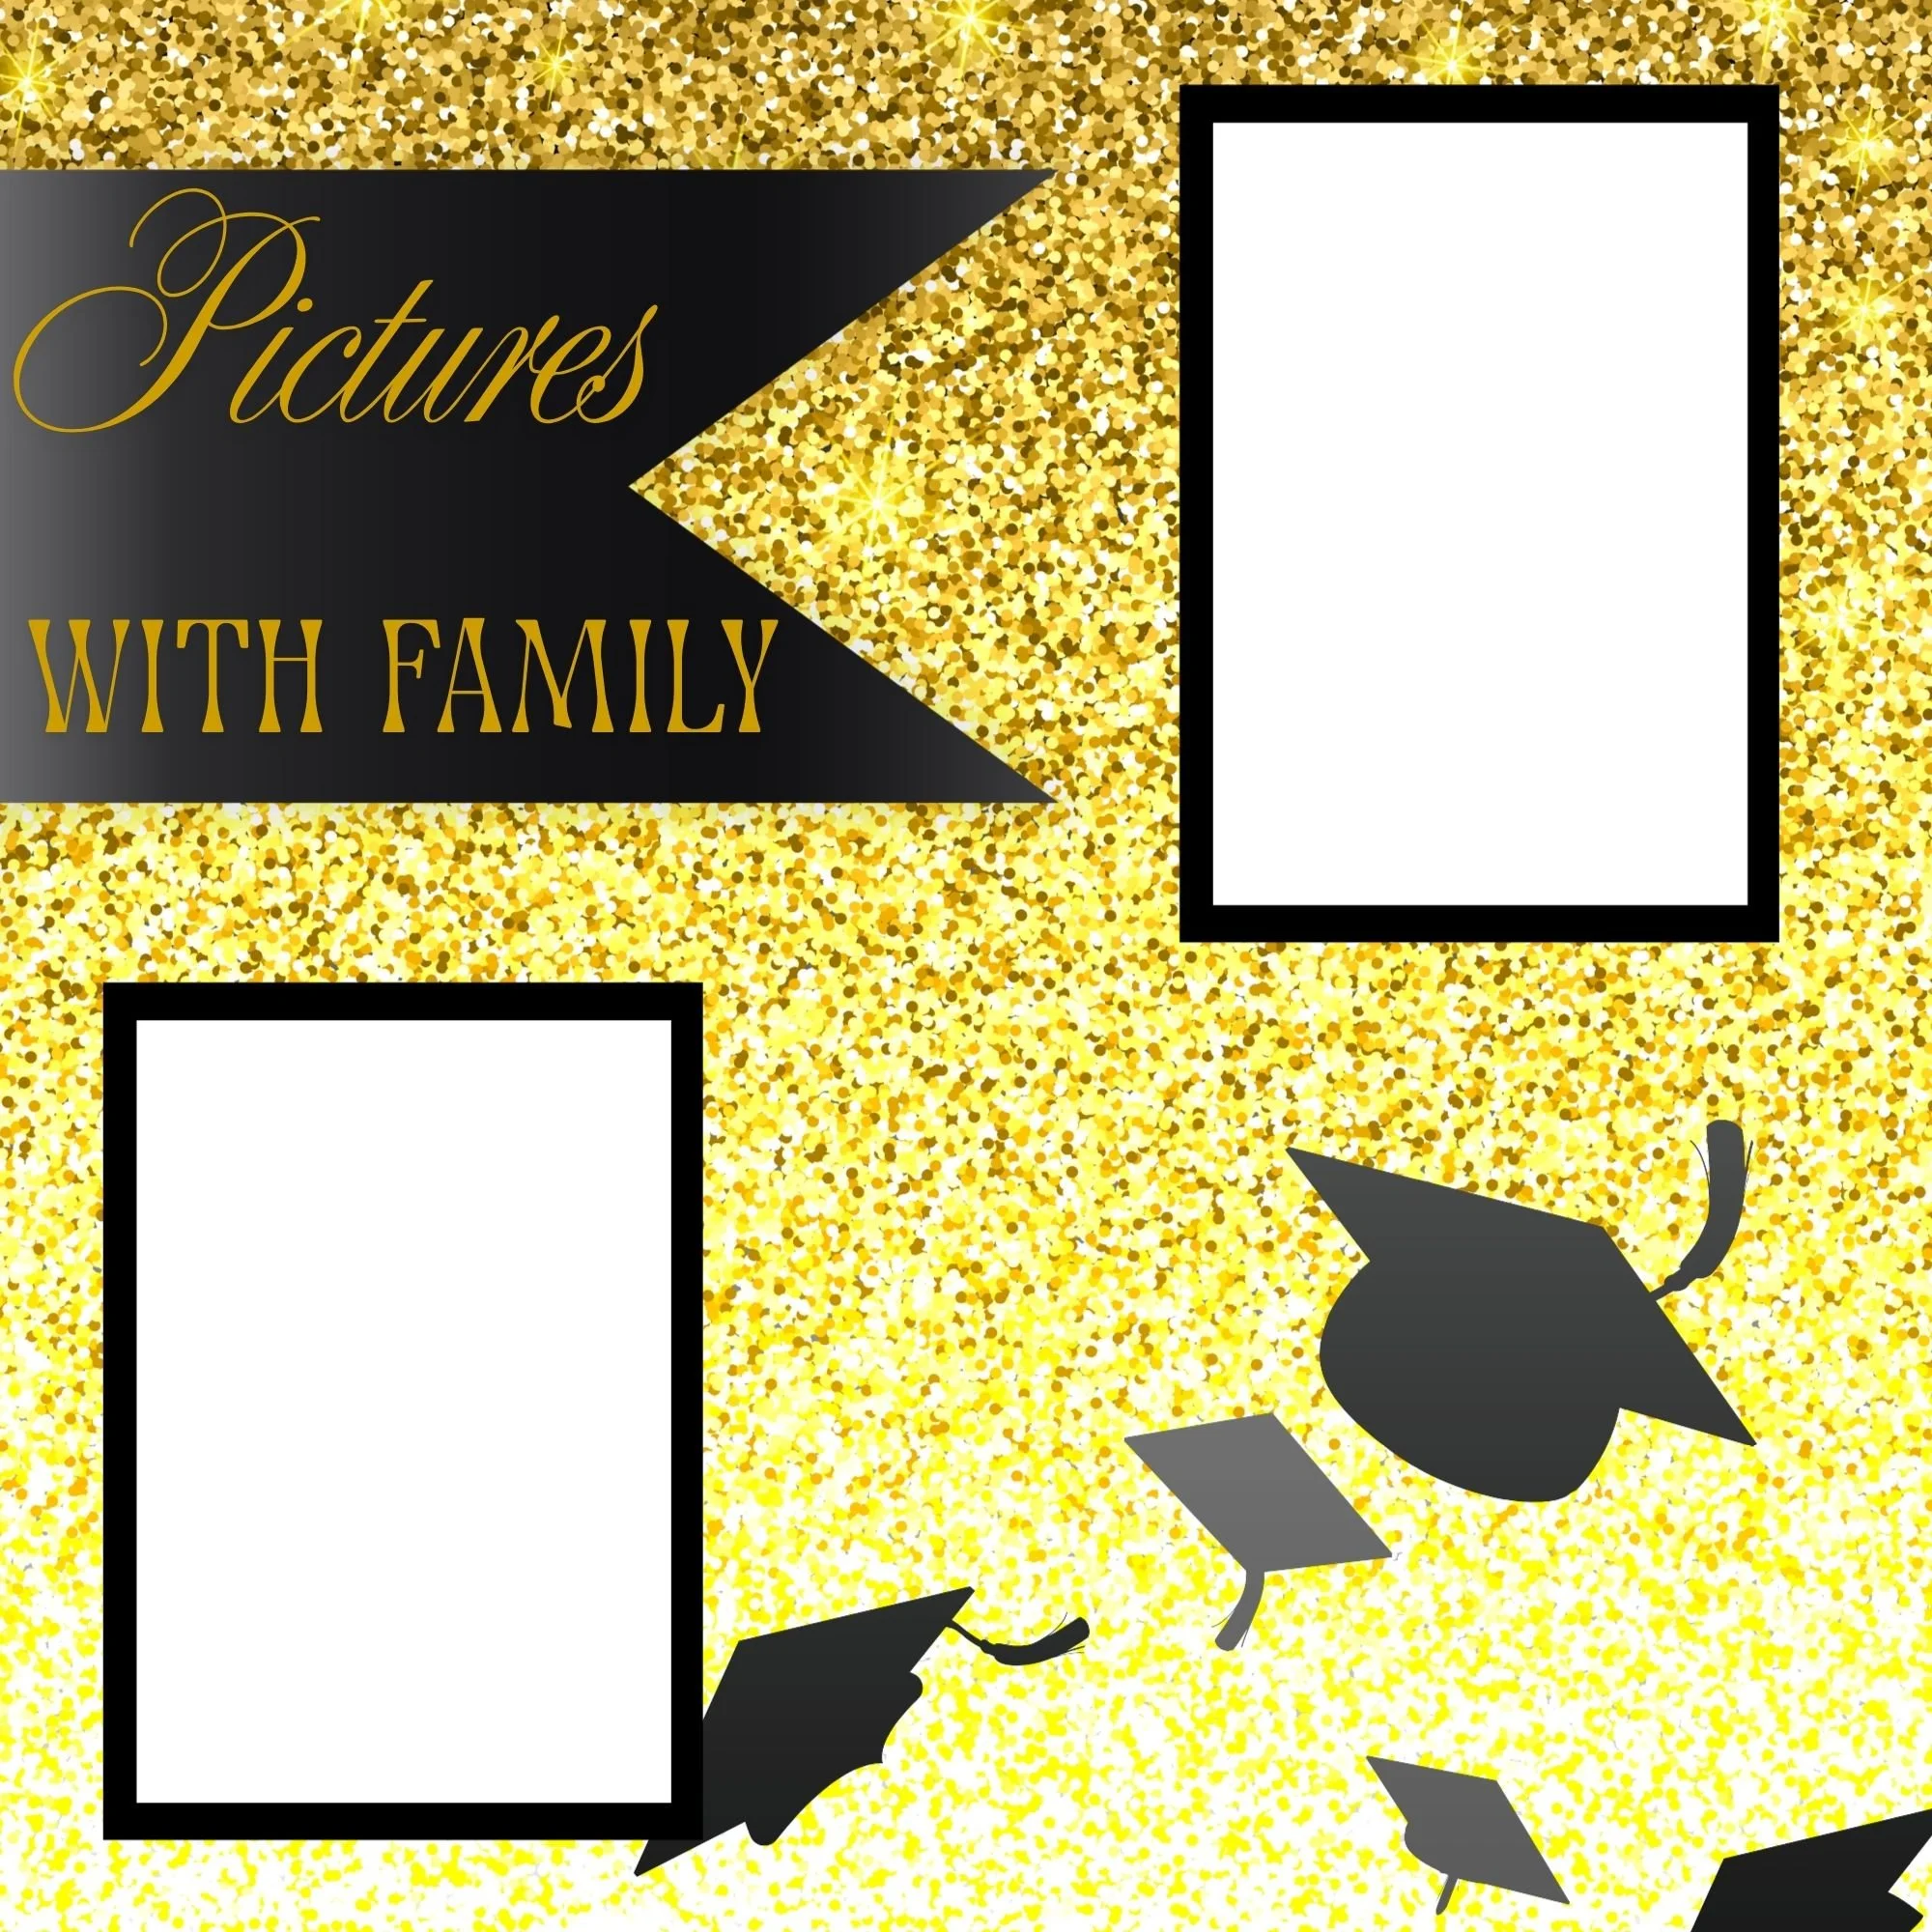
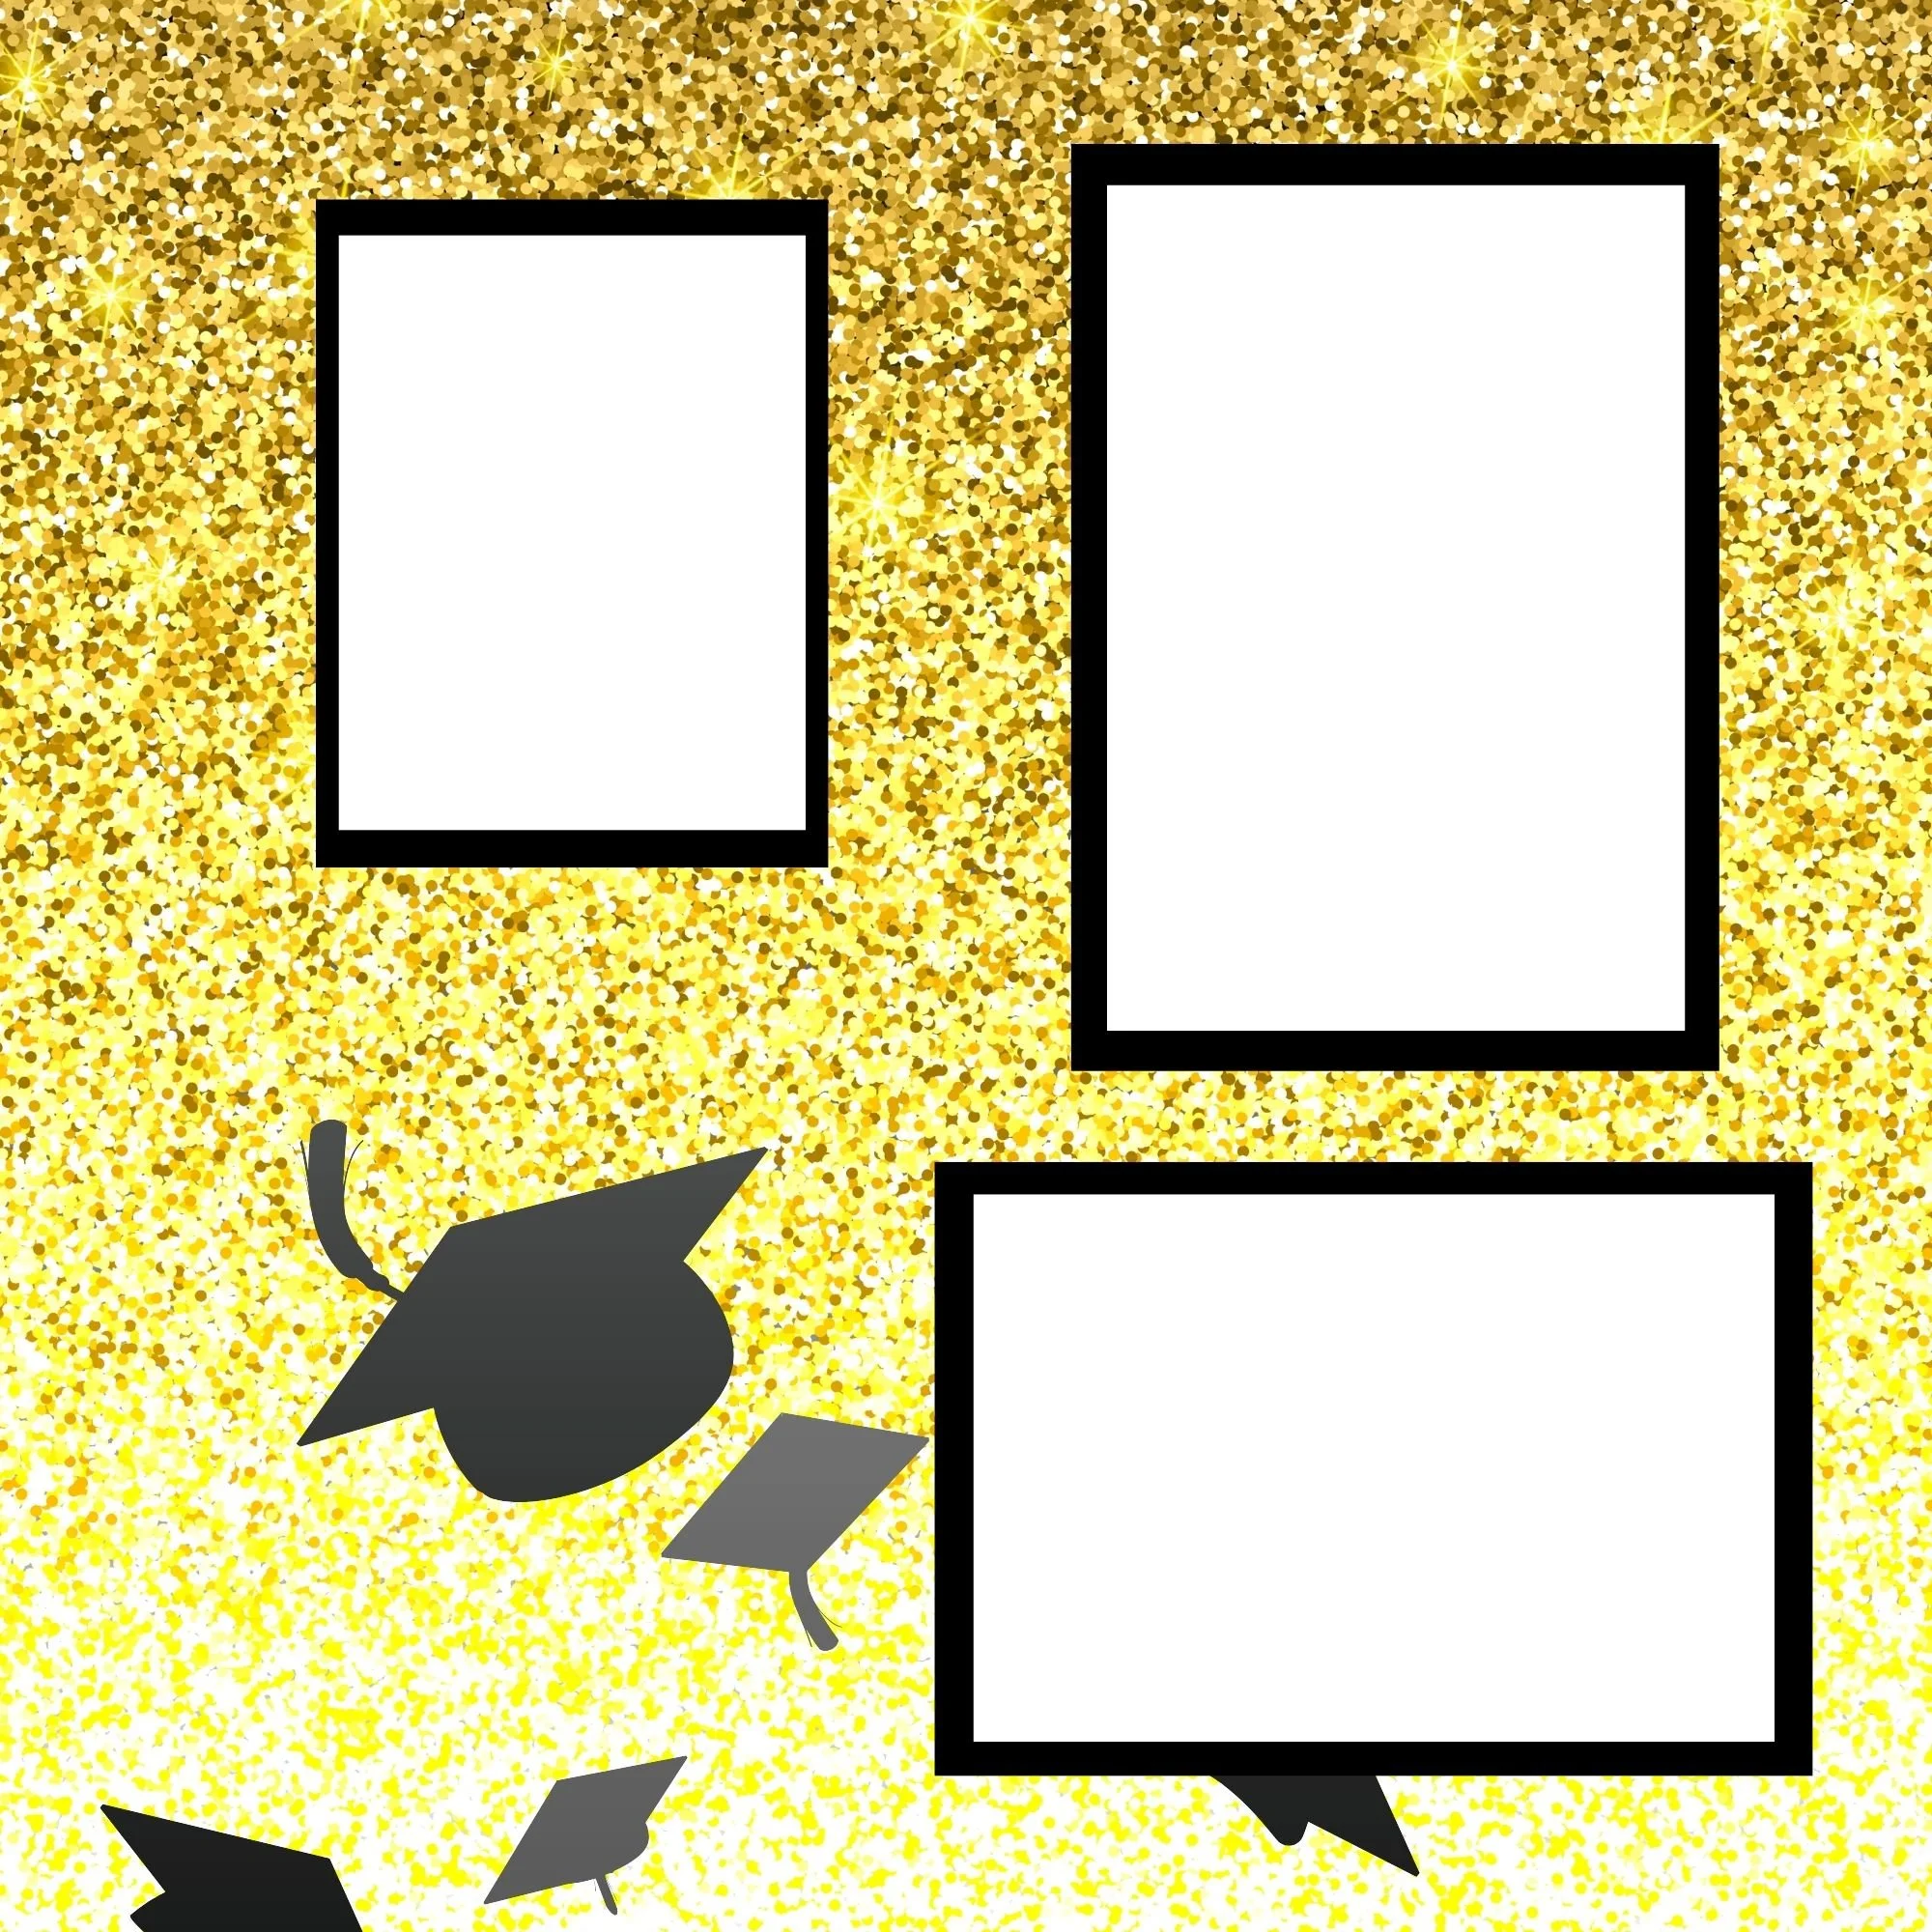
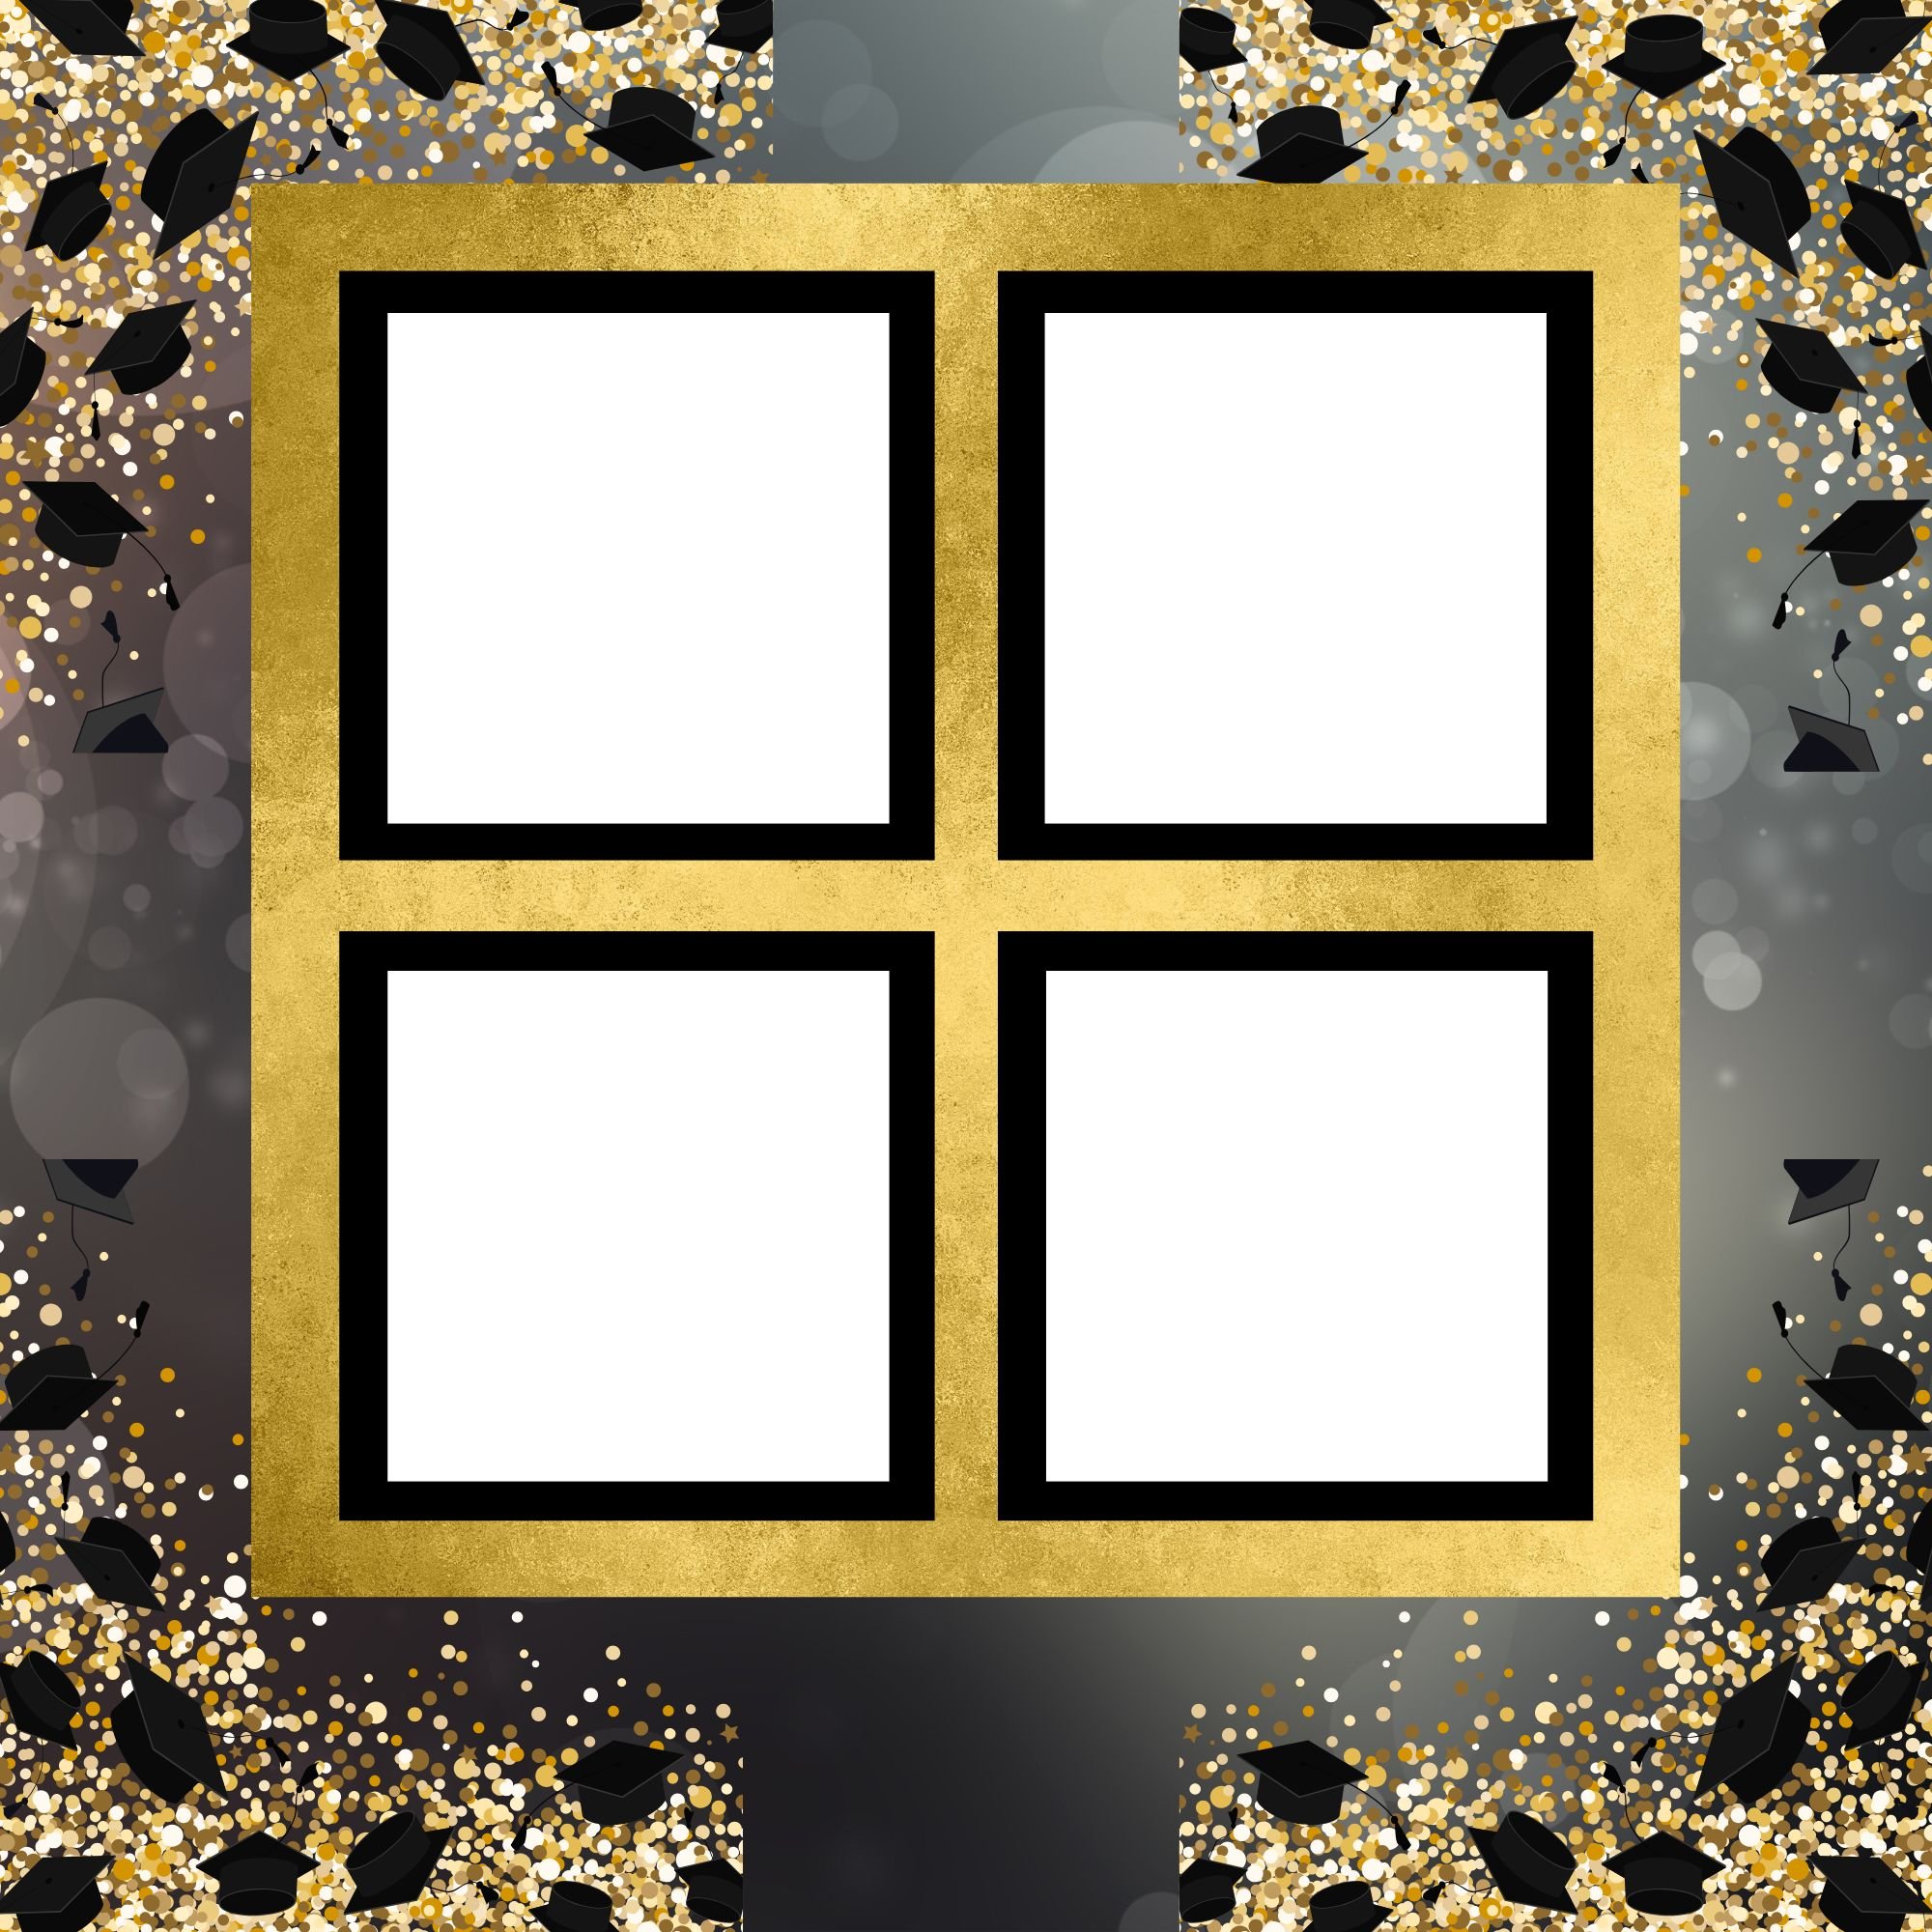
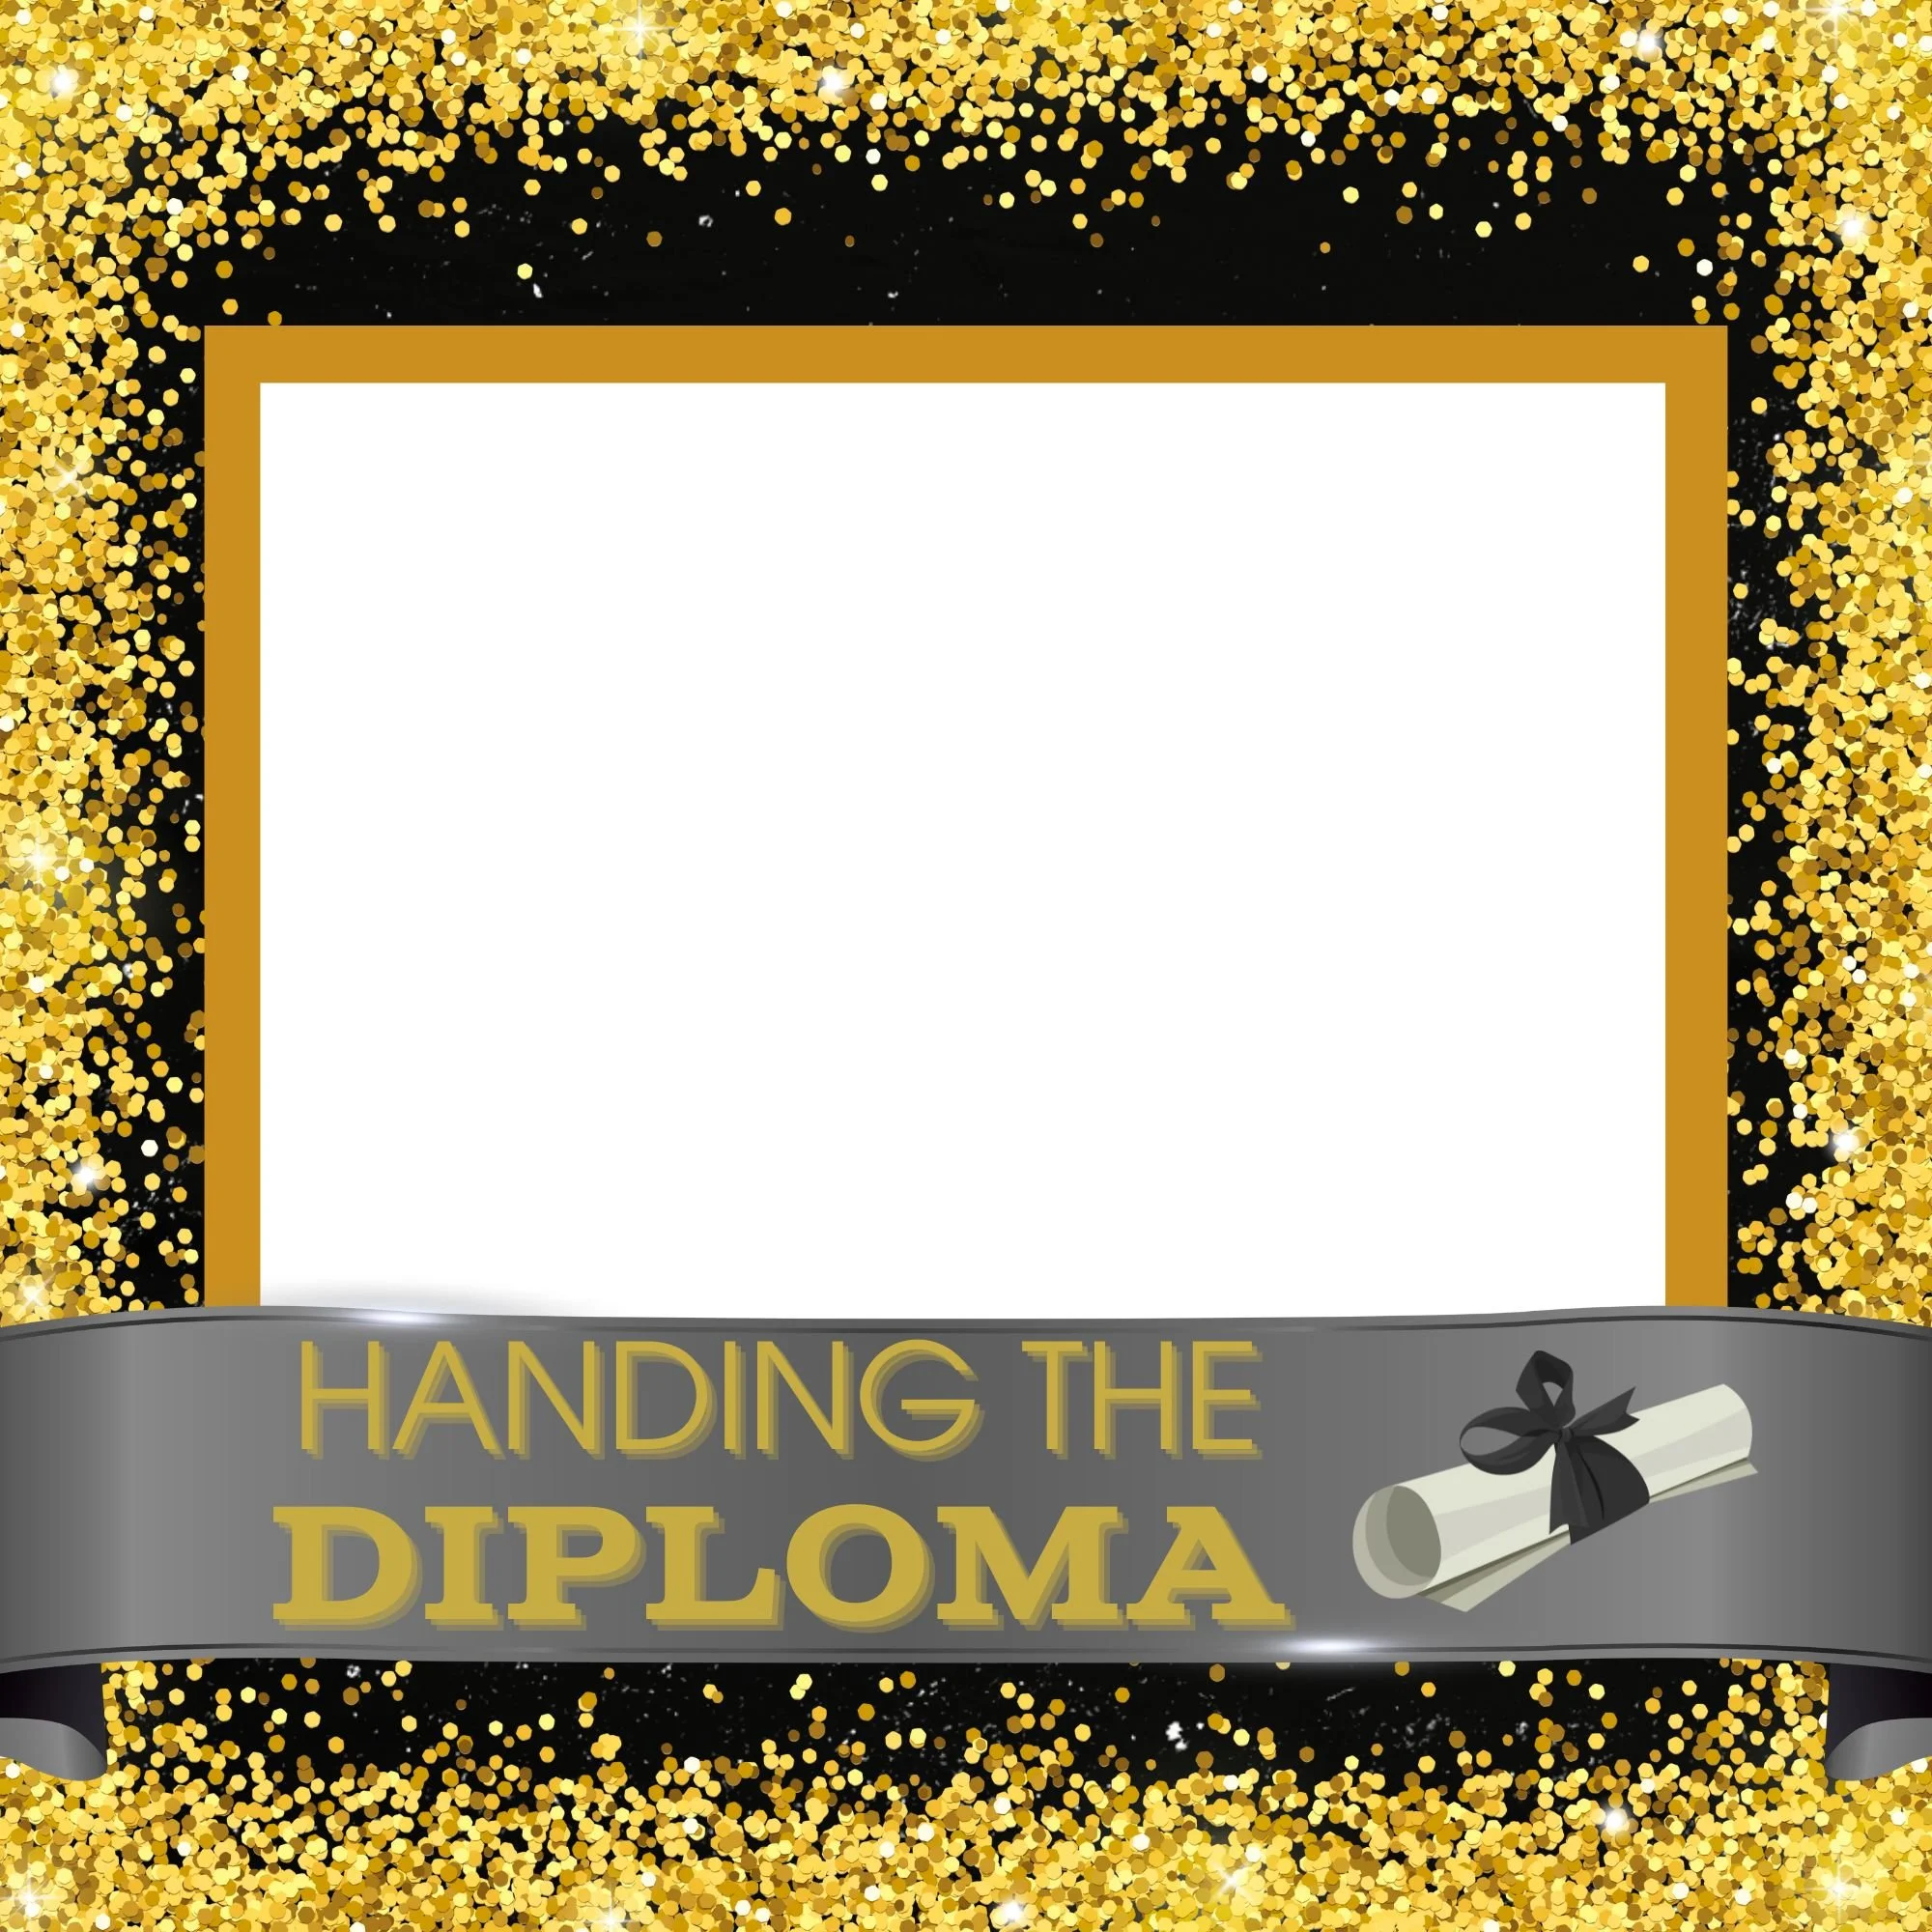
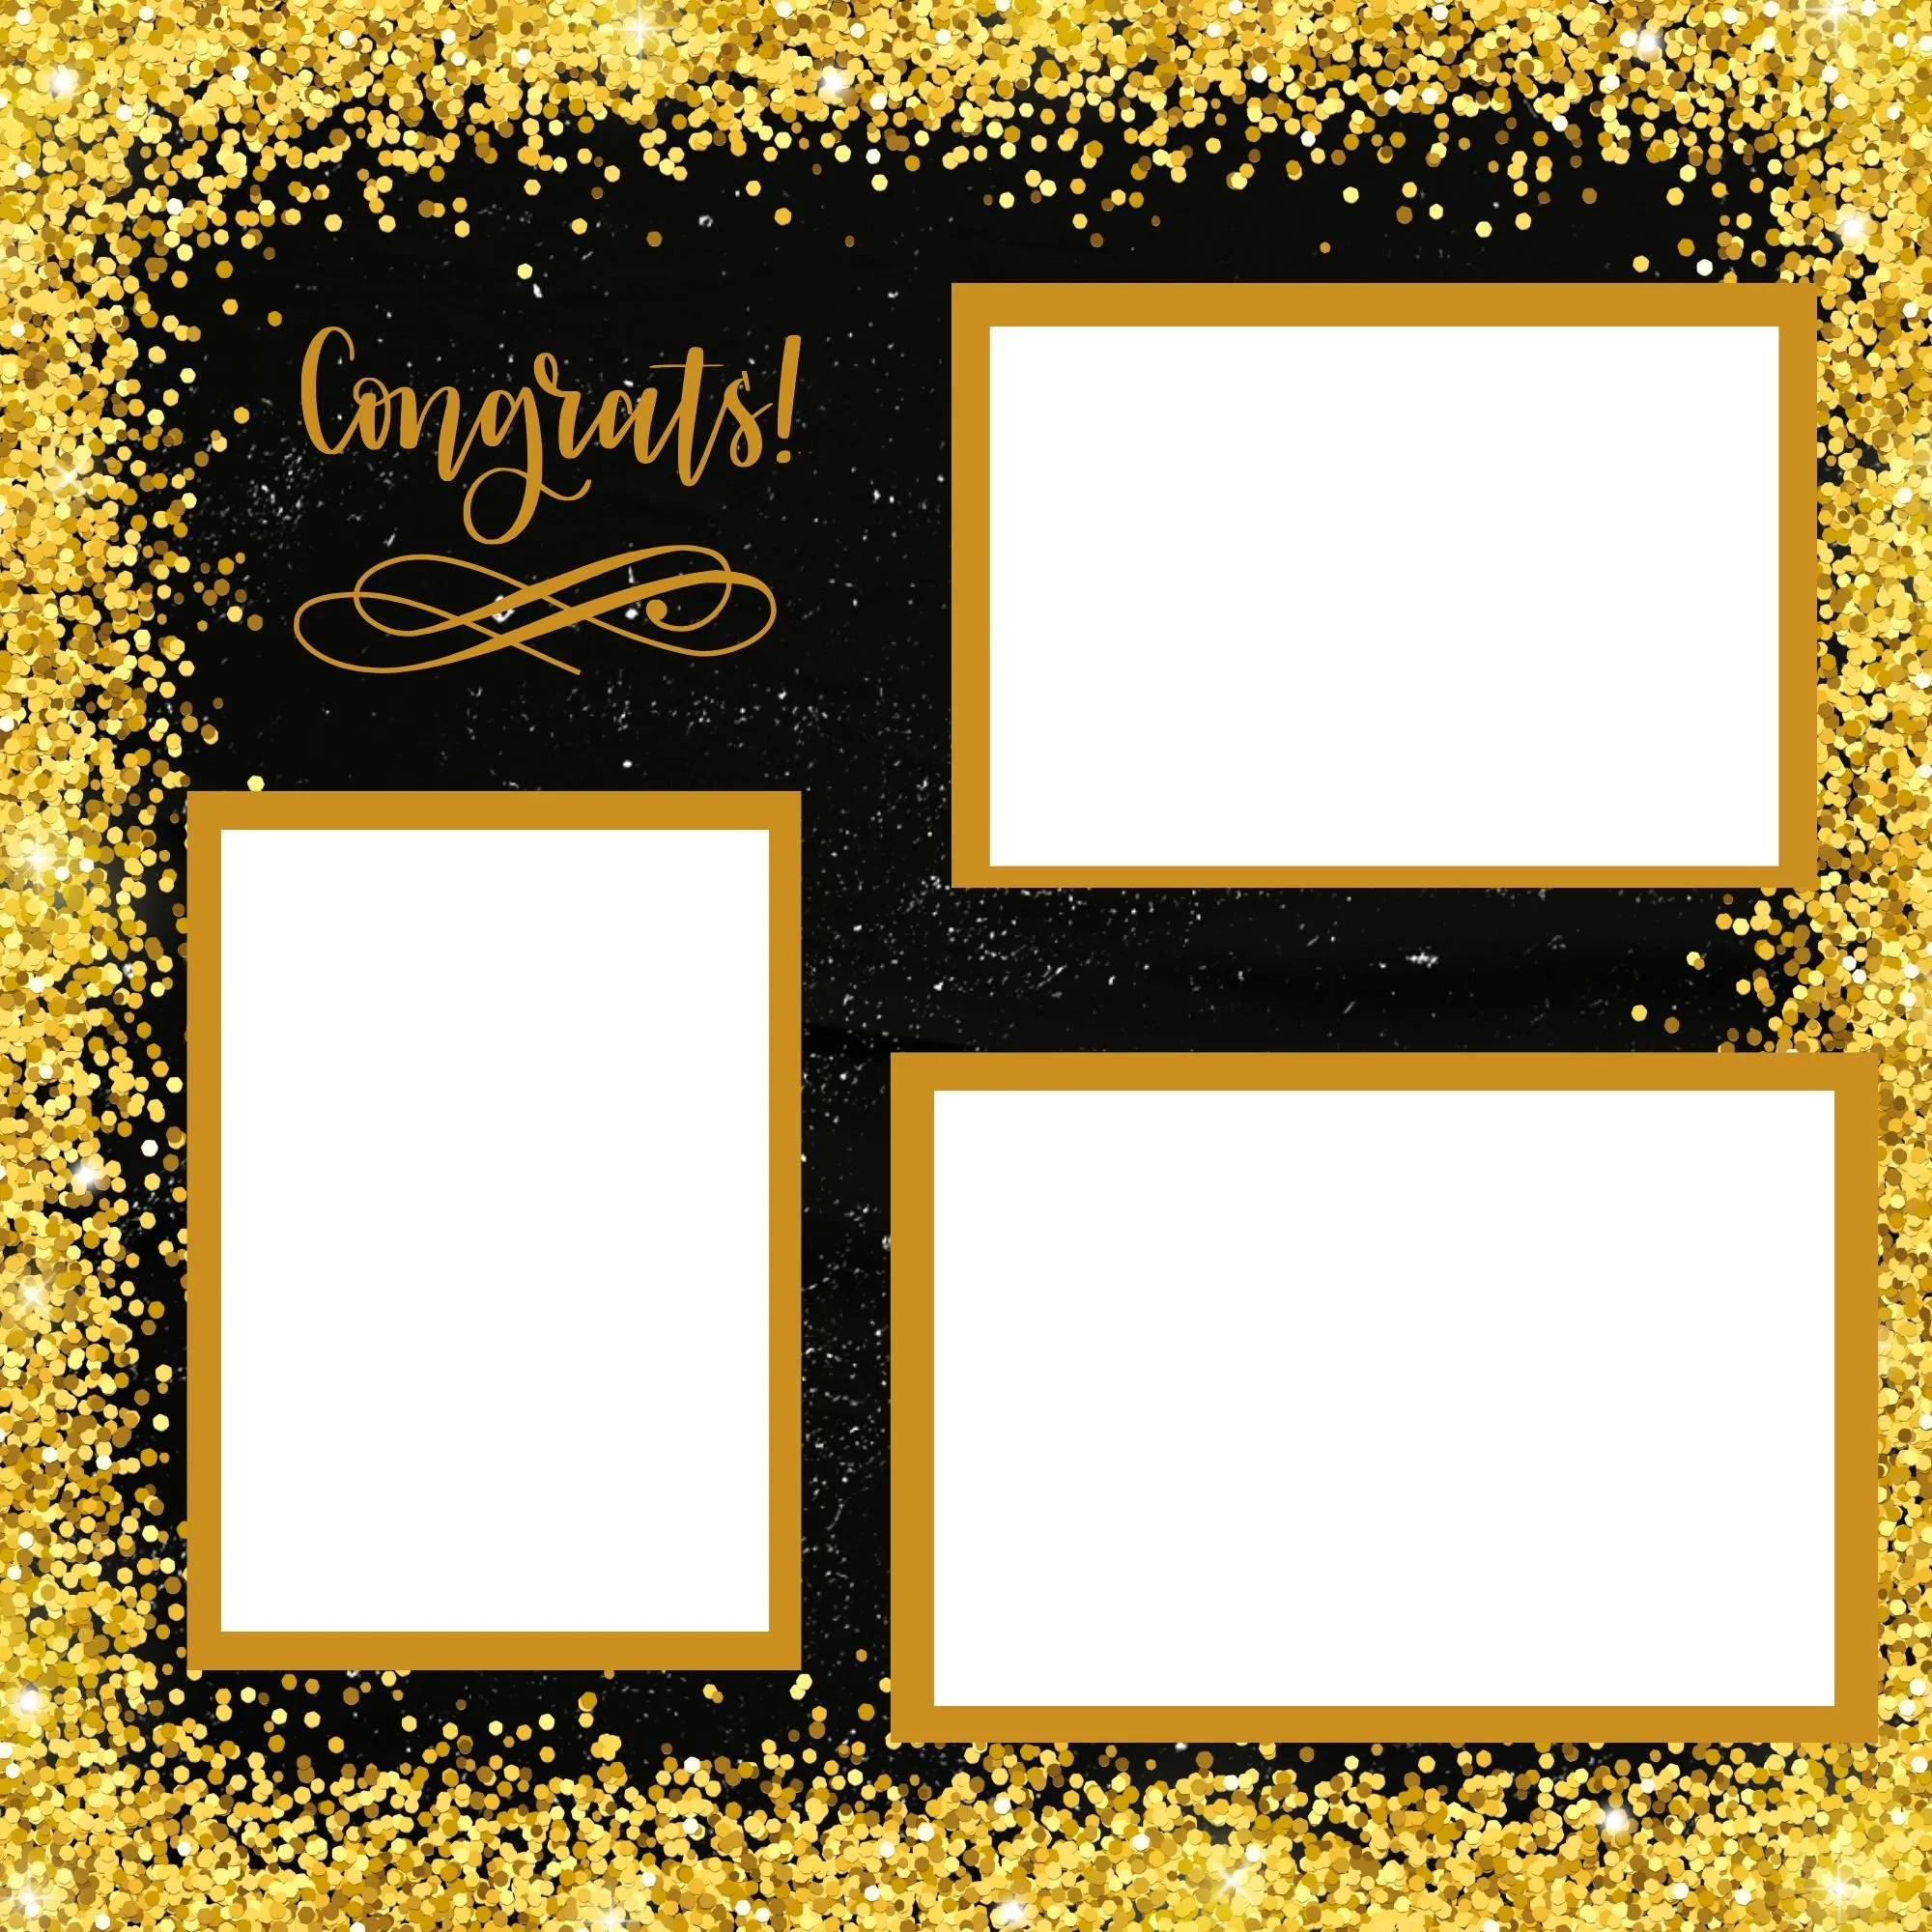
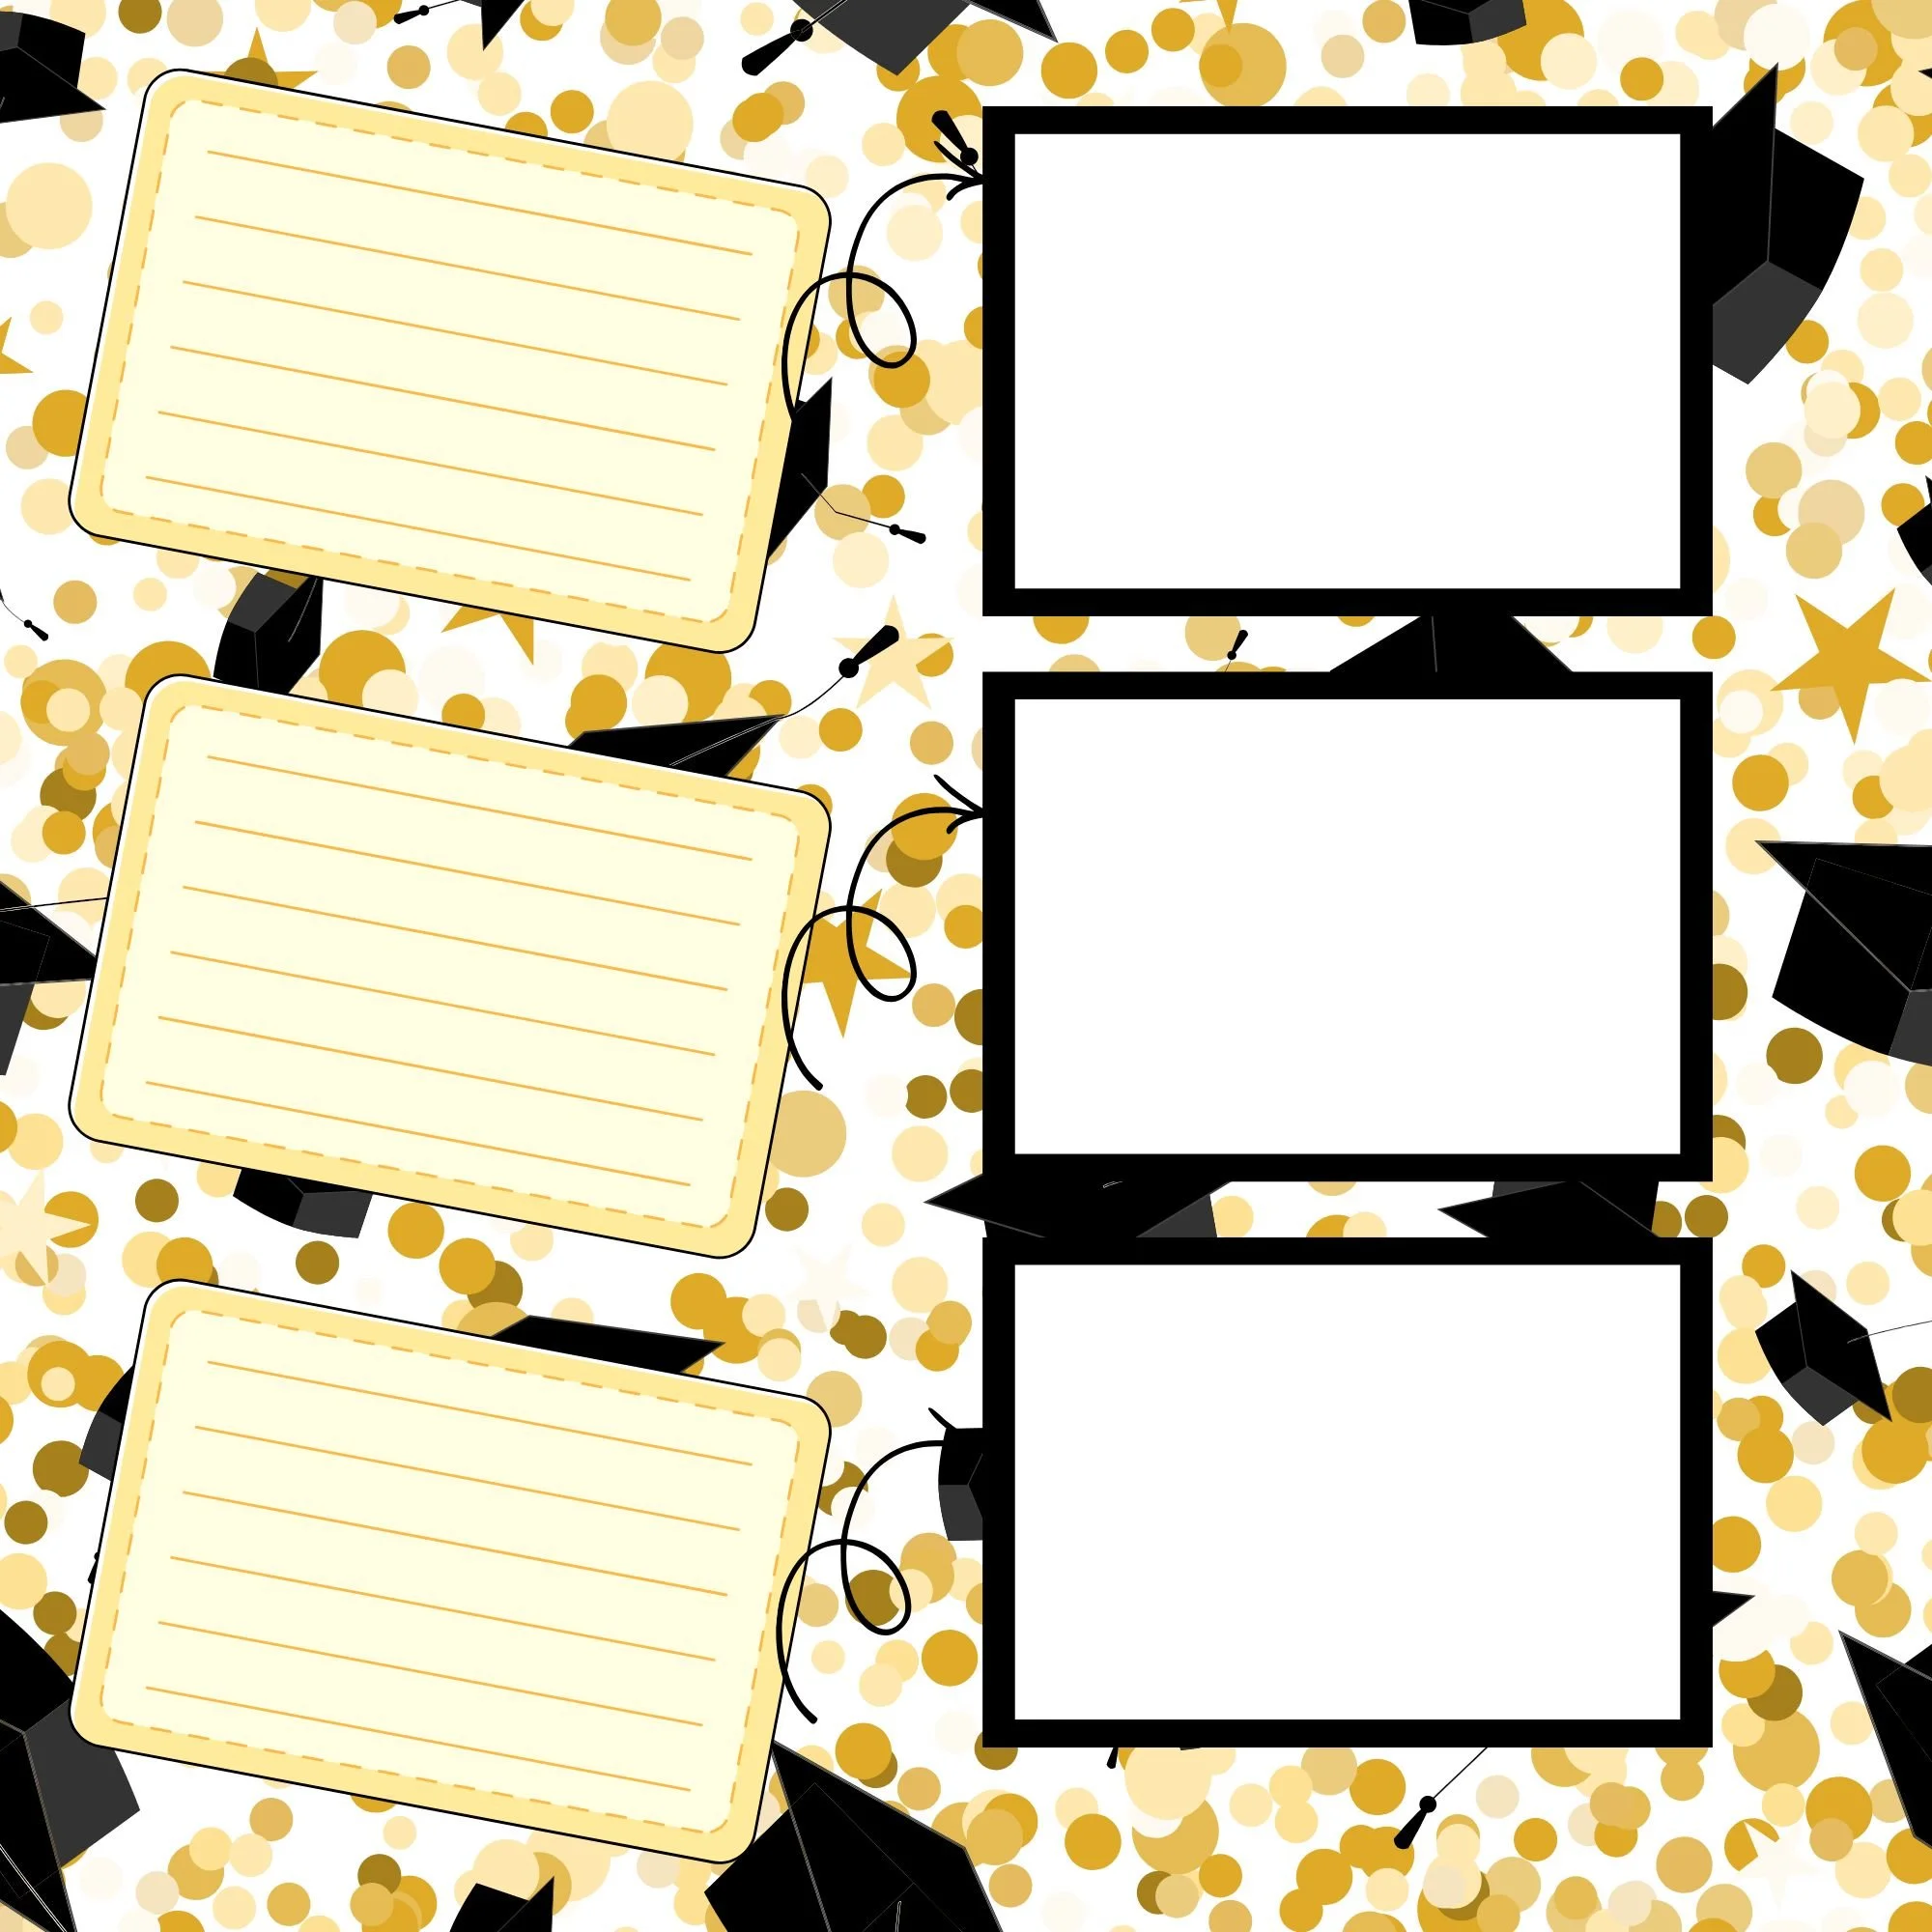
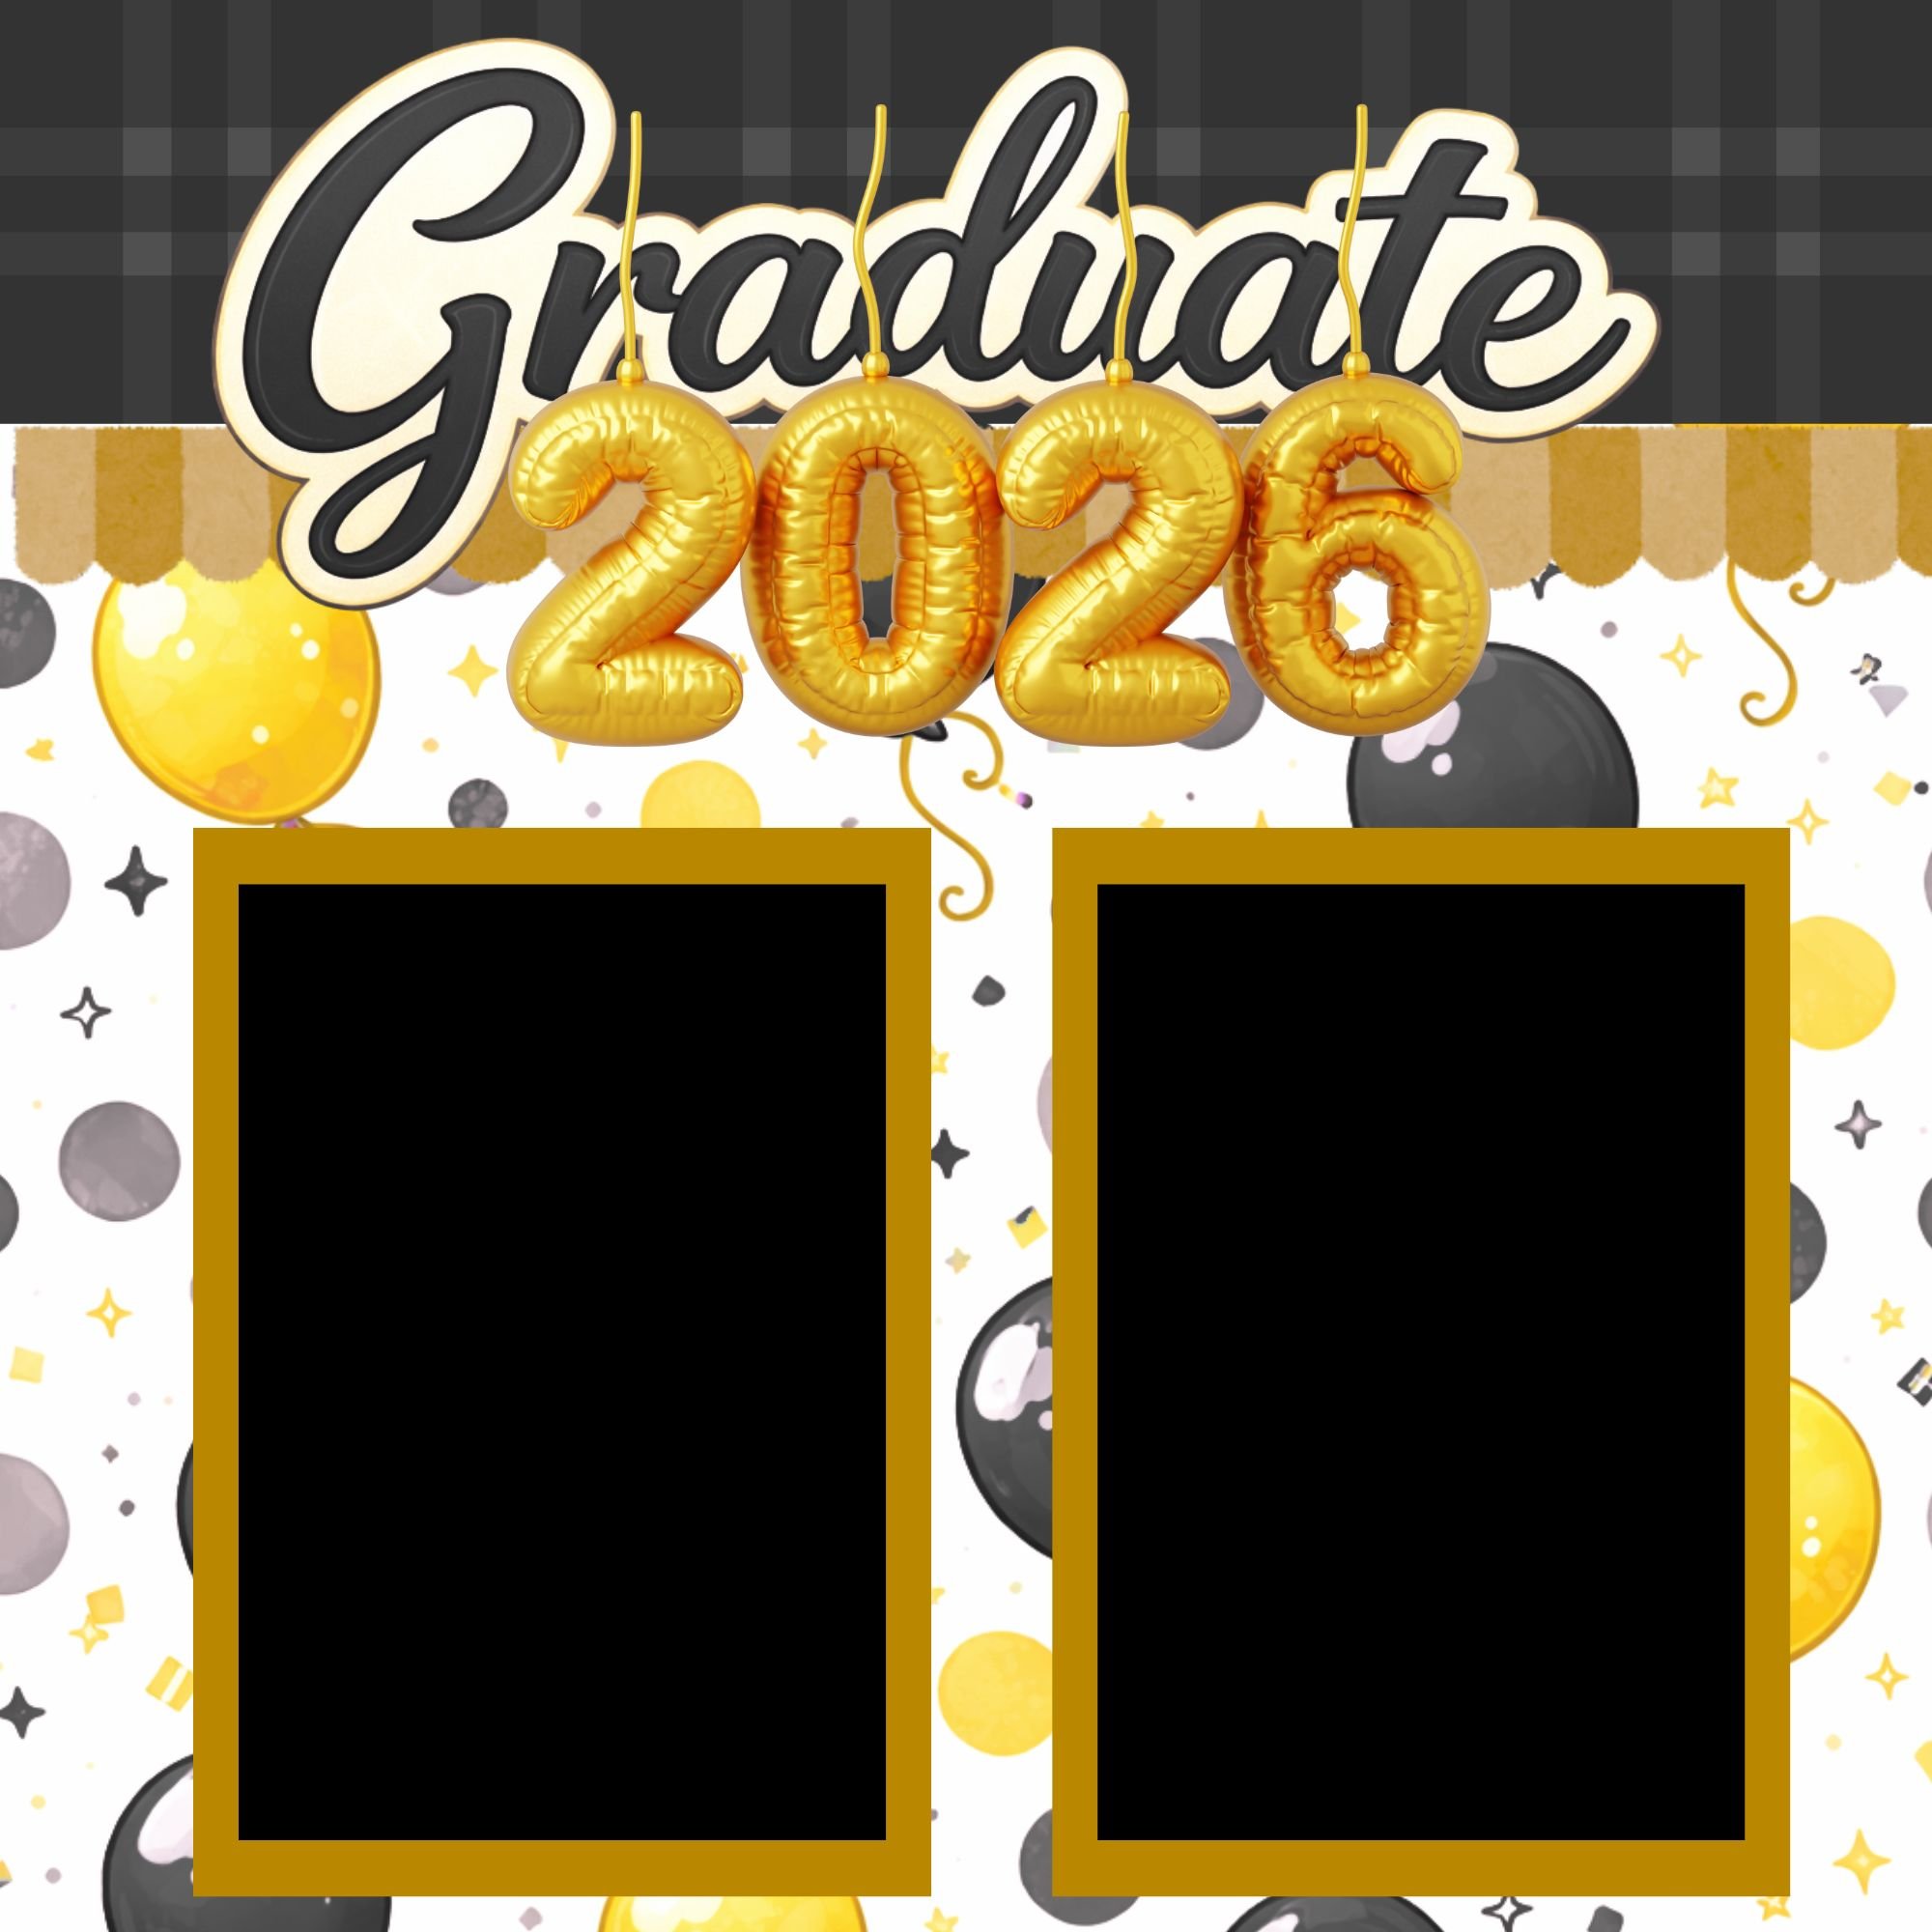
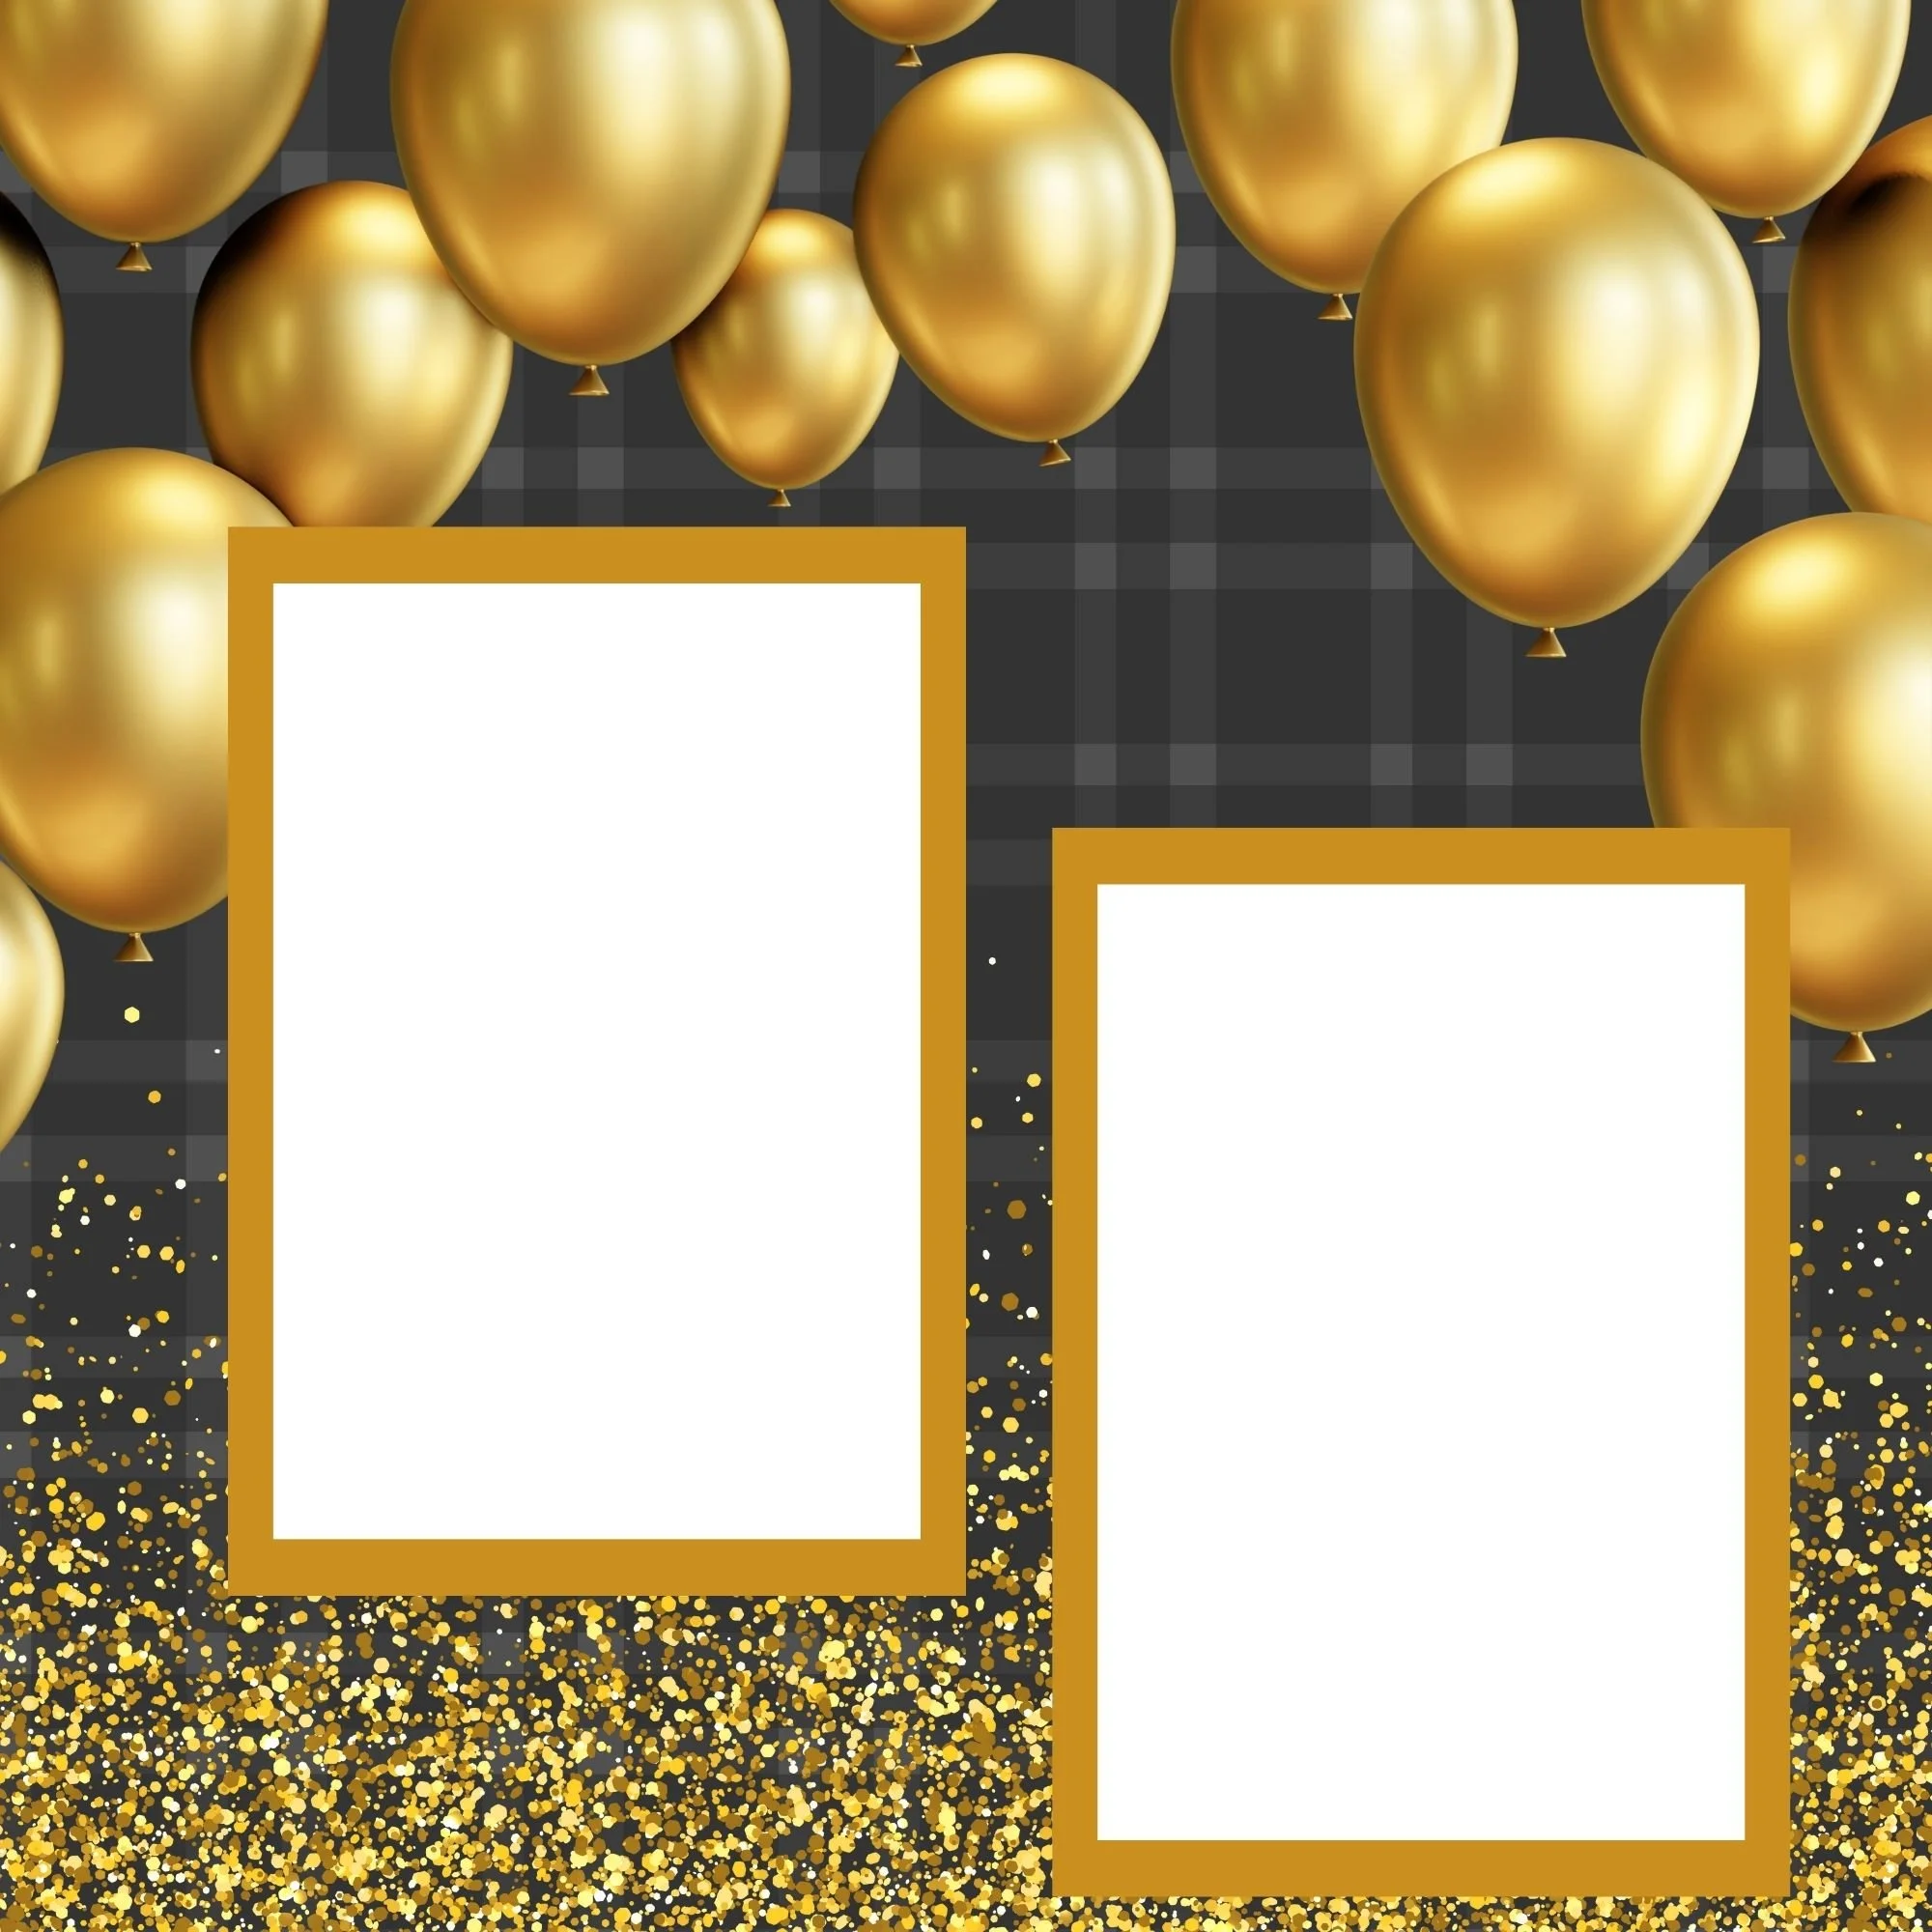
To make this project easy and cohesive, I’m also using the coordinating Graduation Page Kit and Graduation Paper Pack. These pieces are designed to work together, which takes the guesswork out of choosing mat papers and helps your pages look polished from start to finish. This setup works beautifully for both high school and college graduation memory books. These page kits and paper packs also come in coordinating colors for the red, purple, black, and green Graduation Memorettes. Here are the images of the Graduation Blue Paper Pack.


What Is Photo Matting in Scrapbooking?
Photo matting is simply adding a paper border around your photo.
It may seem like a small step, but it makes a big difference. Matting:
Helps photos stand out
Adds color and contrast
Creates structure on the page
Makes layouts feel complete and intentional
Even a simple mat can elevate your entire scrapbook layout.
Supplies You’ll Need to Mat Photos
You don’t need a lot of tools to get started. Here’s what you’ll need:
Photos
Cardstock or patterned paper
Paper trimmer or scissors
Adhesive
Optional tools: a ruler, corner rounder, or ink for edging—but none of these are required to get great results. Not sure, where to find these, check out My Favorite Accessories page for suggested supplies.
How to Choose the Right Mat Papers


When choosing mat paper, the goal is to support the photo—not compete with it.
A great place to start is by pulling colors directly from your photo. For graduation pages, this might include:
School colors
The graduation gown
Background elements from the photo
Solid cardstock creates a clean, classic look, while subtle patterns add interest without distraction. When you use a coordinating page kit and paper pack, the colors and patterns are already designed to work together, making this step simple and stress-free.
Cutting and Sizing Your Photo Mats


Place your photo on top of the mat paper and decide how much of a border you want showing.
A thin, even border feels clean and timeless
A thicker border adds visual weight and helps highlight milestone photos
Your photo doesn’t need to be perfectly centered. Slightly offsetting it can add movement and interest to your page. Once you’re happy with the look, trim your mat to size and double-check everything before attaching.
Layering and Attaching Your Photos
If you want to add depth, try double matting.
Start with a thinner mat directly under the photo, then layer it on top of a slightly larger mat in a coordinating color or pattern. This creates dimension while keeping the focus on the photo.
Attach the photo to the top mat first, then adhere the full layered piece to your scrapbook page.


Optional Finishing Touches
These finishing touches are optional, but they can really elevate your layout:
Ink the edges of your mats for softness
Round corners for a classic look
Lightly distress edges for added texture
Step back and make sure your mat complements the page design and supports the story you’re telling.
Common Photo Matting Mistakes to Avoid
Here are a few things to watch out for:
Mats that overpower the photo
Too many bold patterns layered together
Uneven or crooked borders
Your mat should frame the photo and highlight the moment—not distract from it.
Final Thoughts on Photo Matting
Photo matting is a simple technique, but it makes a huge difference—especially when you’re documenting a milestone as meaningful as graduation.
If you’d like to use the same supplies featured in this tutorial, be sure to check out the Graduation Memorette, the Graduation Page Kit, and the Graduation Paper Pack. Everything is designed to work together so you can create cohesive, polished pages without feeling overwhelmed.
You can also grab the free Photo Matting Quick Reference Guide, a printable cheat sheet with tips for sizing, layering, and choosing mat papers—perfect to keep nearby while you scrapbook.
And if you love memory-keeping tips, techniques, and project ideas, be sure to join my newsletter for more inspiration delivered straight to your inbox.