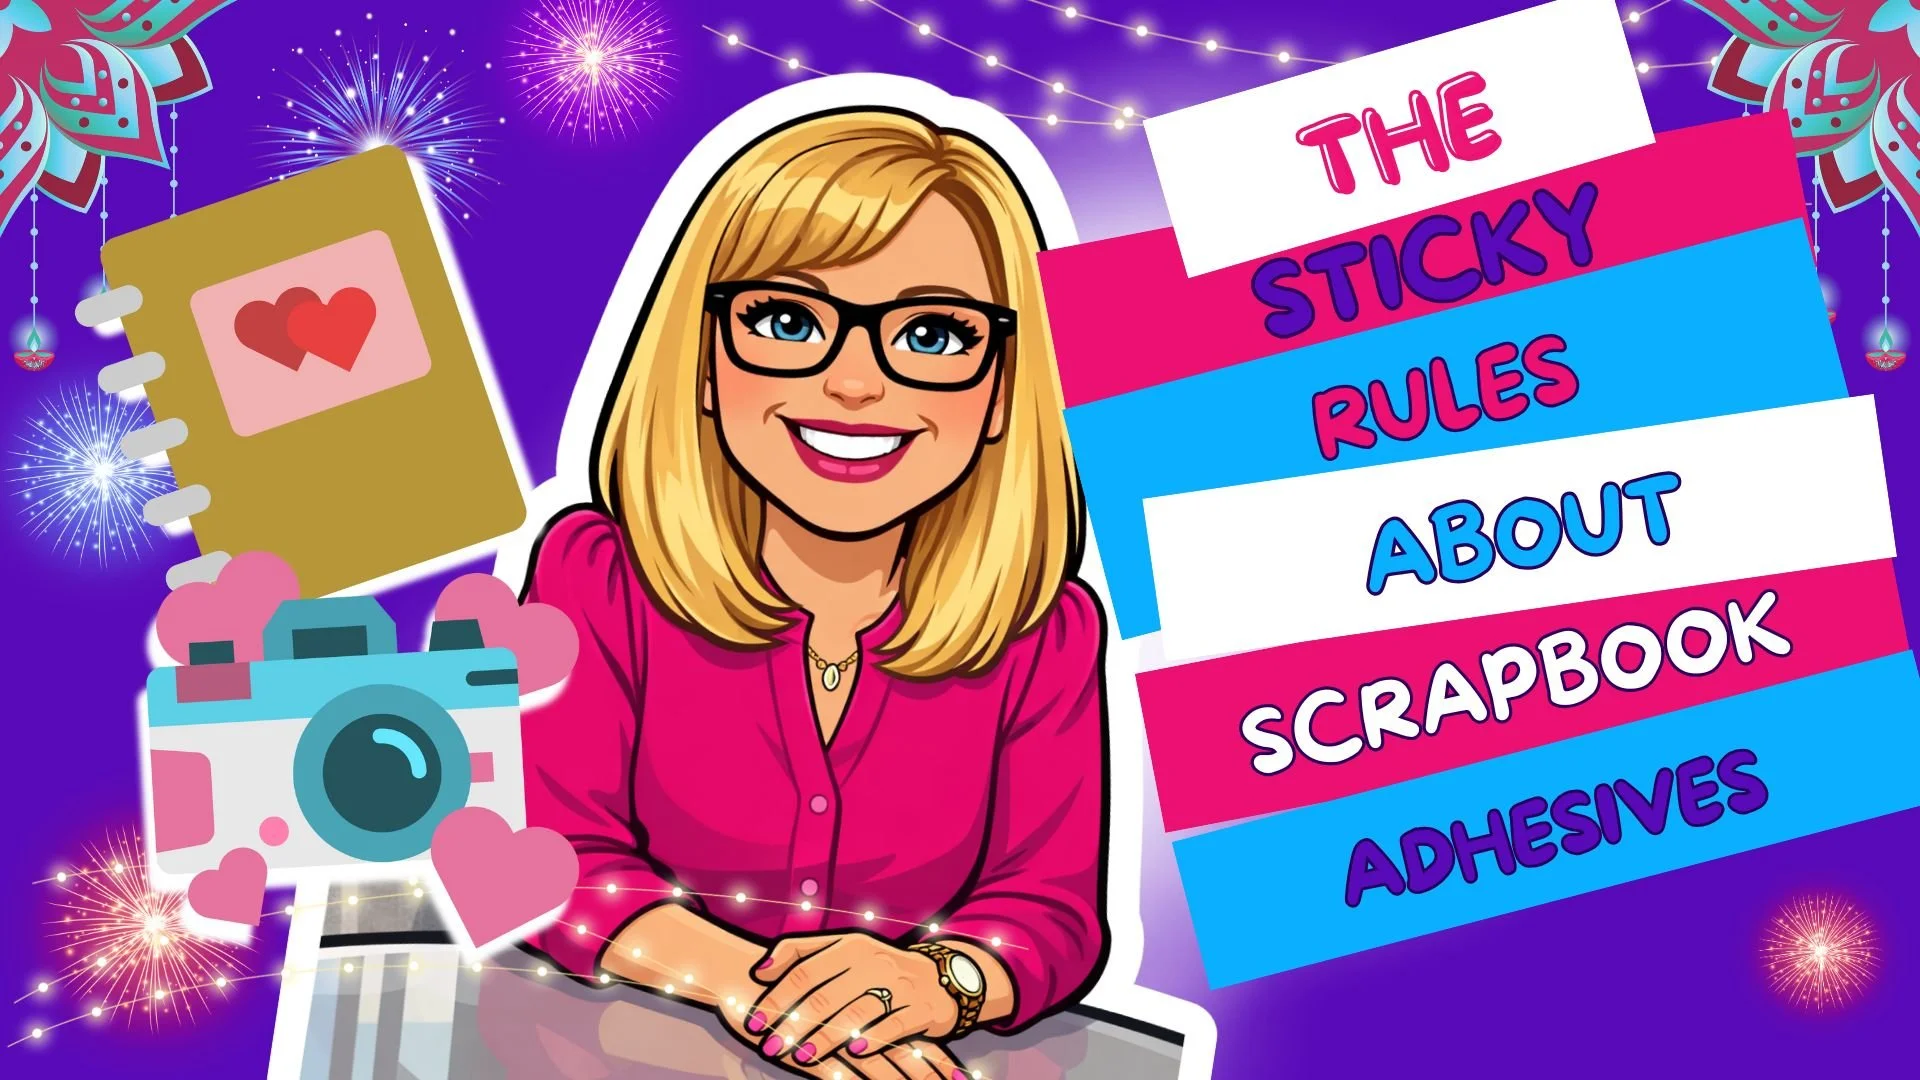
Scrapbooking Adhesives 101: The Basics You Need to Know
Have you ever finished a scrapbook page, closed the book… and later noticed photos lifting, corners curling, or embellishments falling off?
More often than not, the problem isn’t your design—it’s the adhesive.
Using the right adhesive (and using it correctly) is one of the most important scrapbooking skills you can learn. In this guide, I’m breaking down Scrapbooking Adhesives 101 so your pages stay secure, look clean, and hold up over time—especially when you’re documenting something as active and meaningful as a baseball season.
If you’re new here, I’m Laura, and I share simple memory-keeping techniques to help you actually finish your scrapbook projects and preserve the moments that matter.
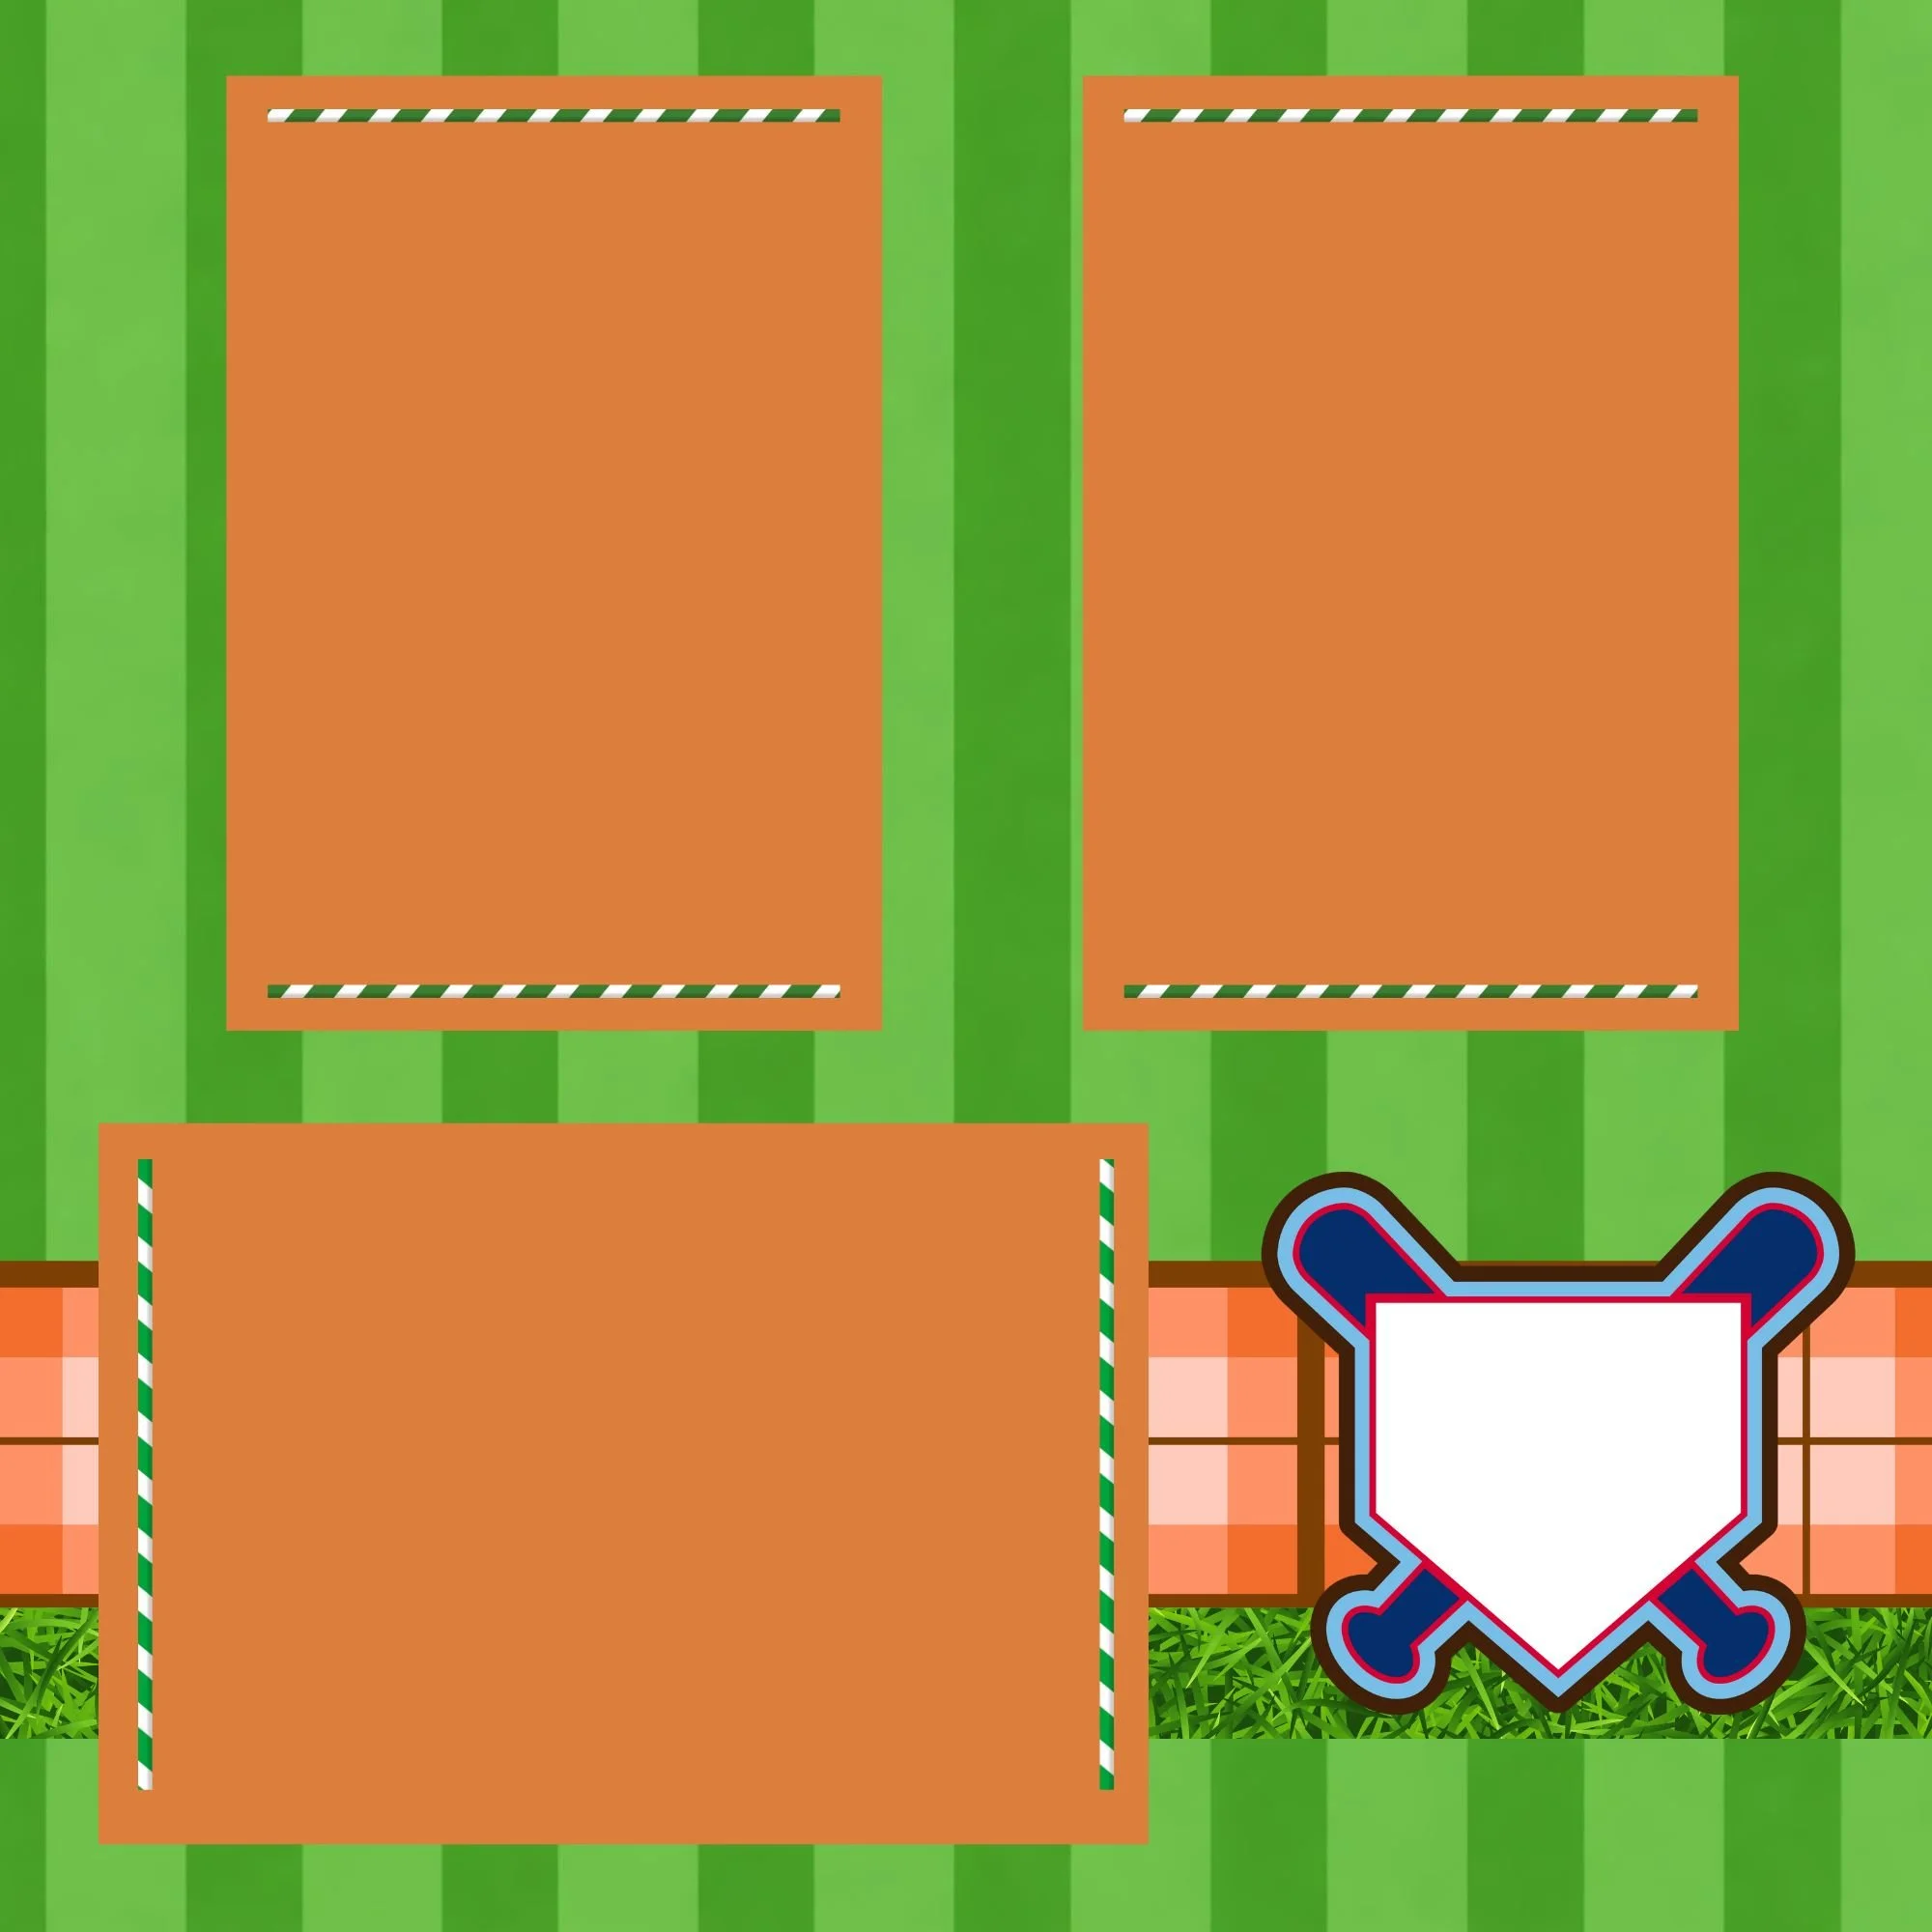
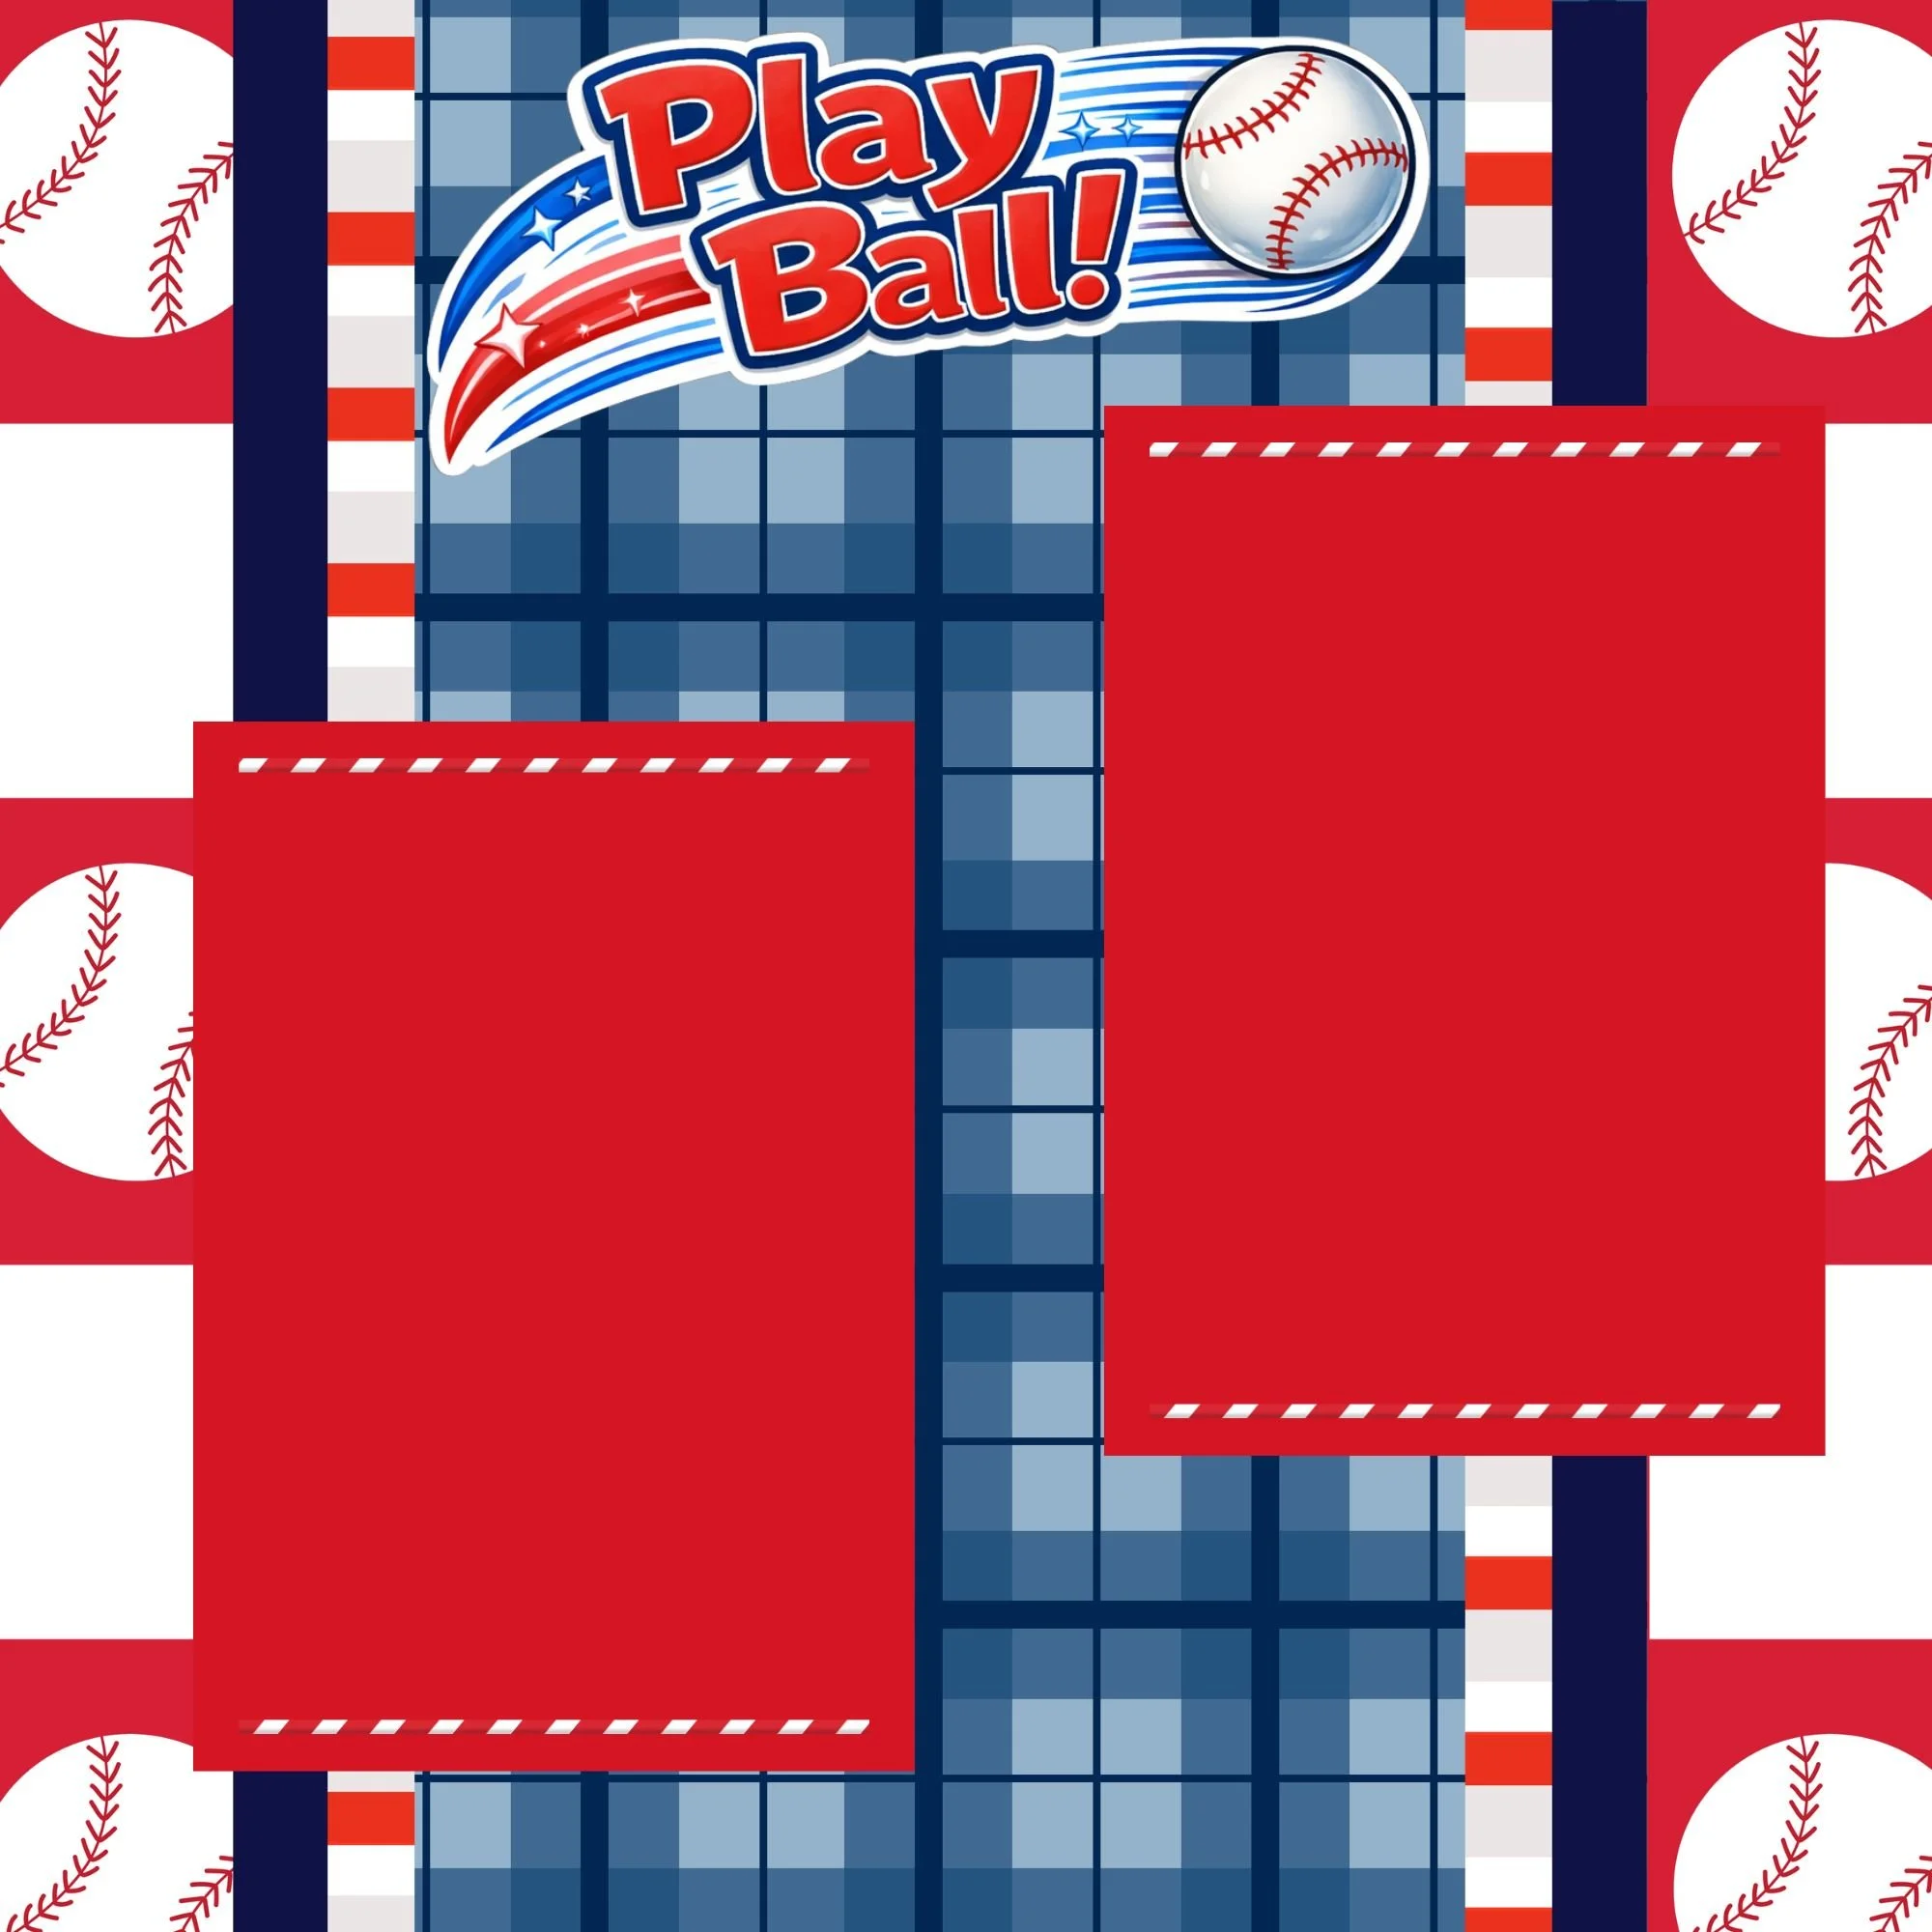
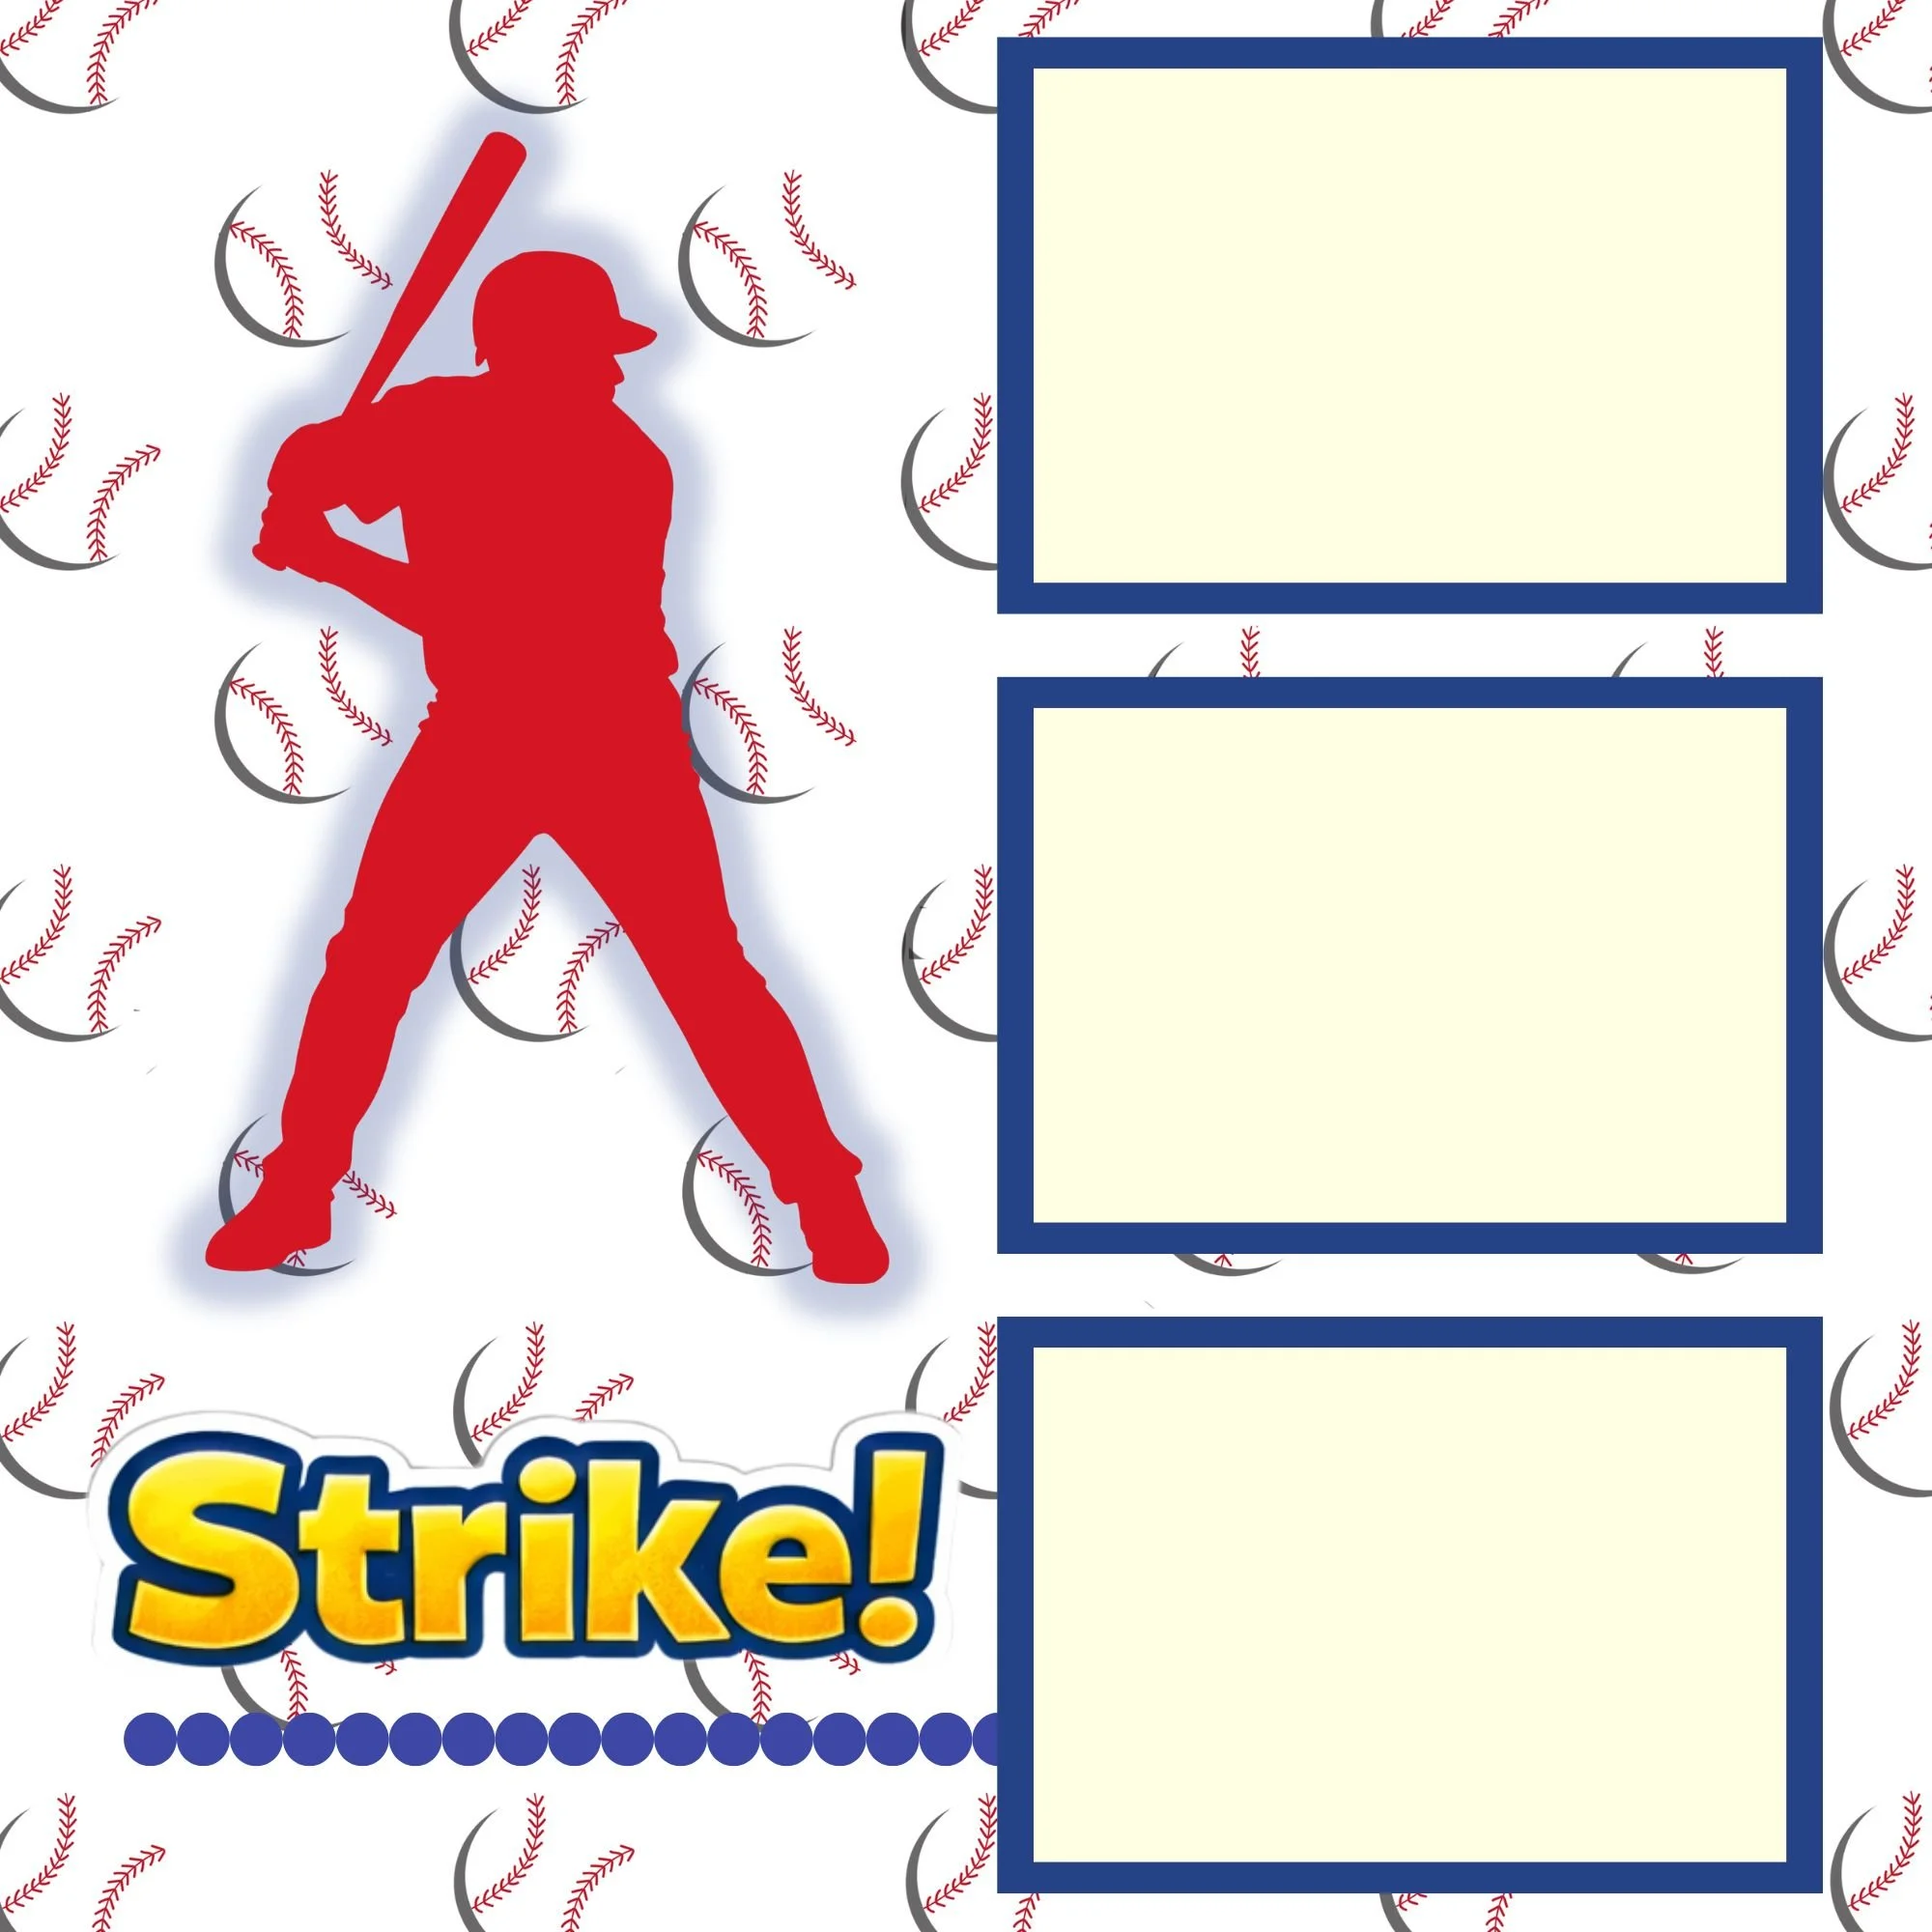
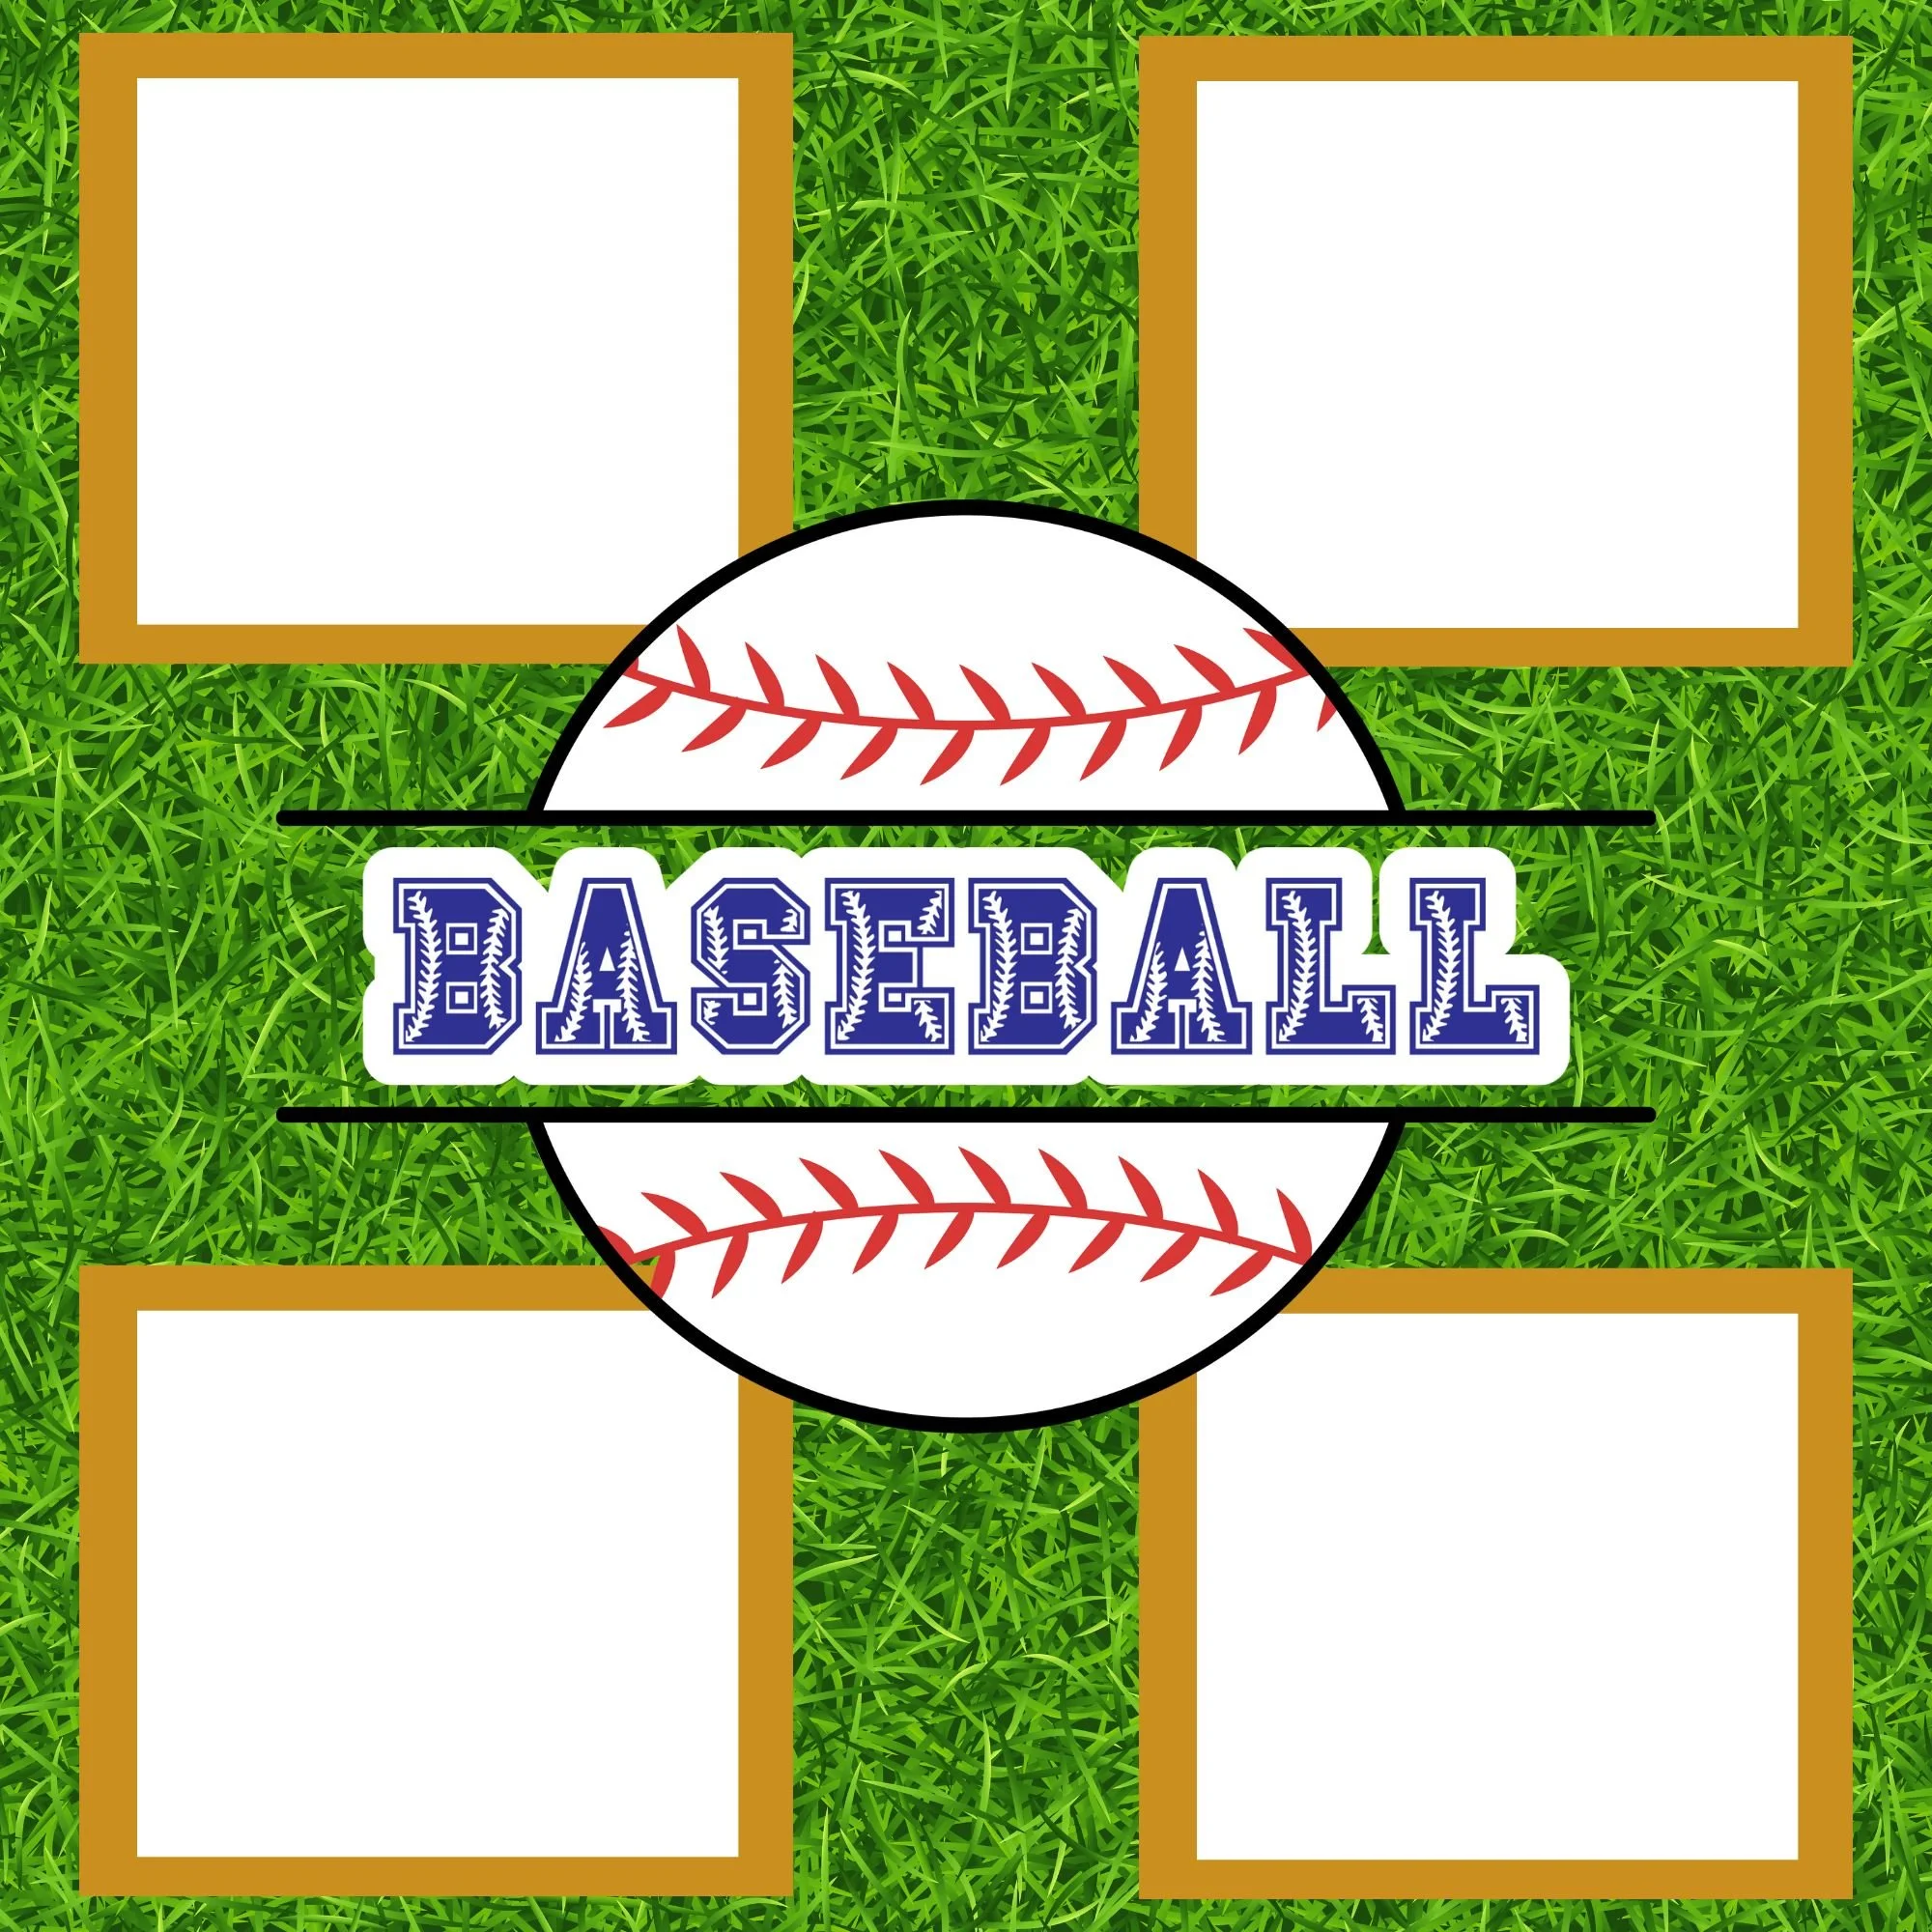
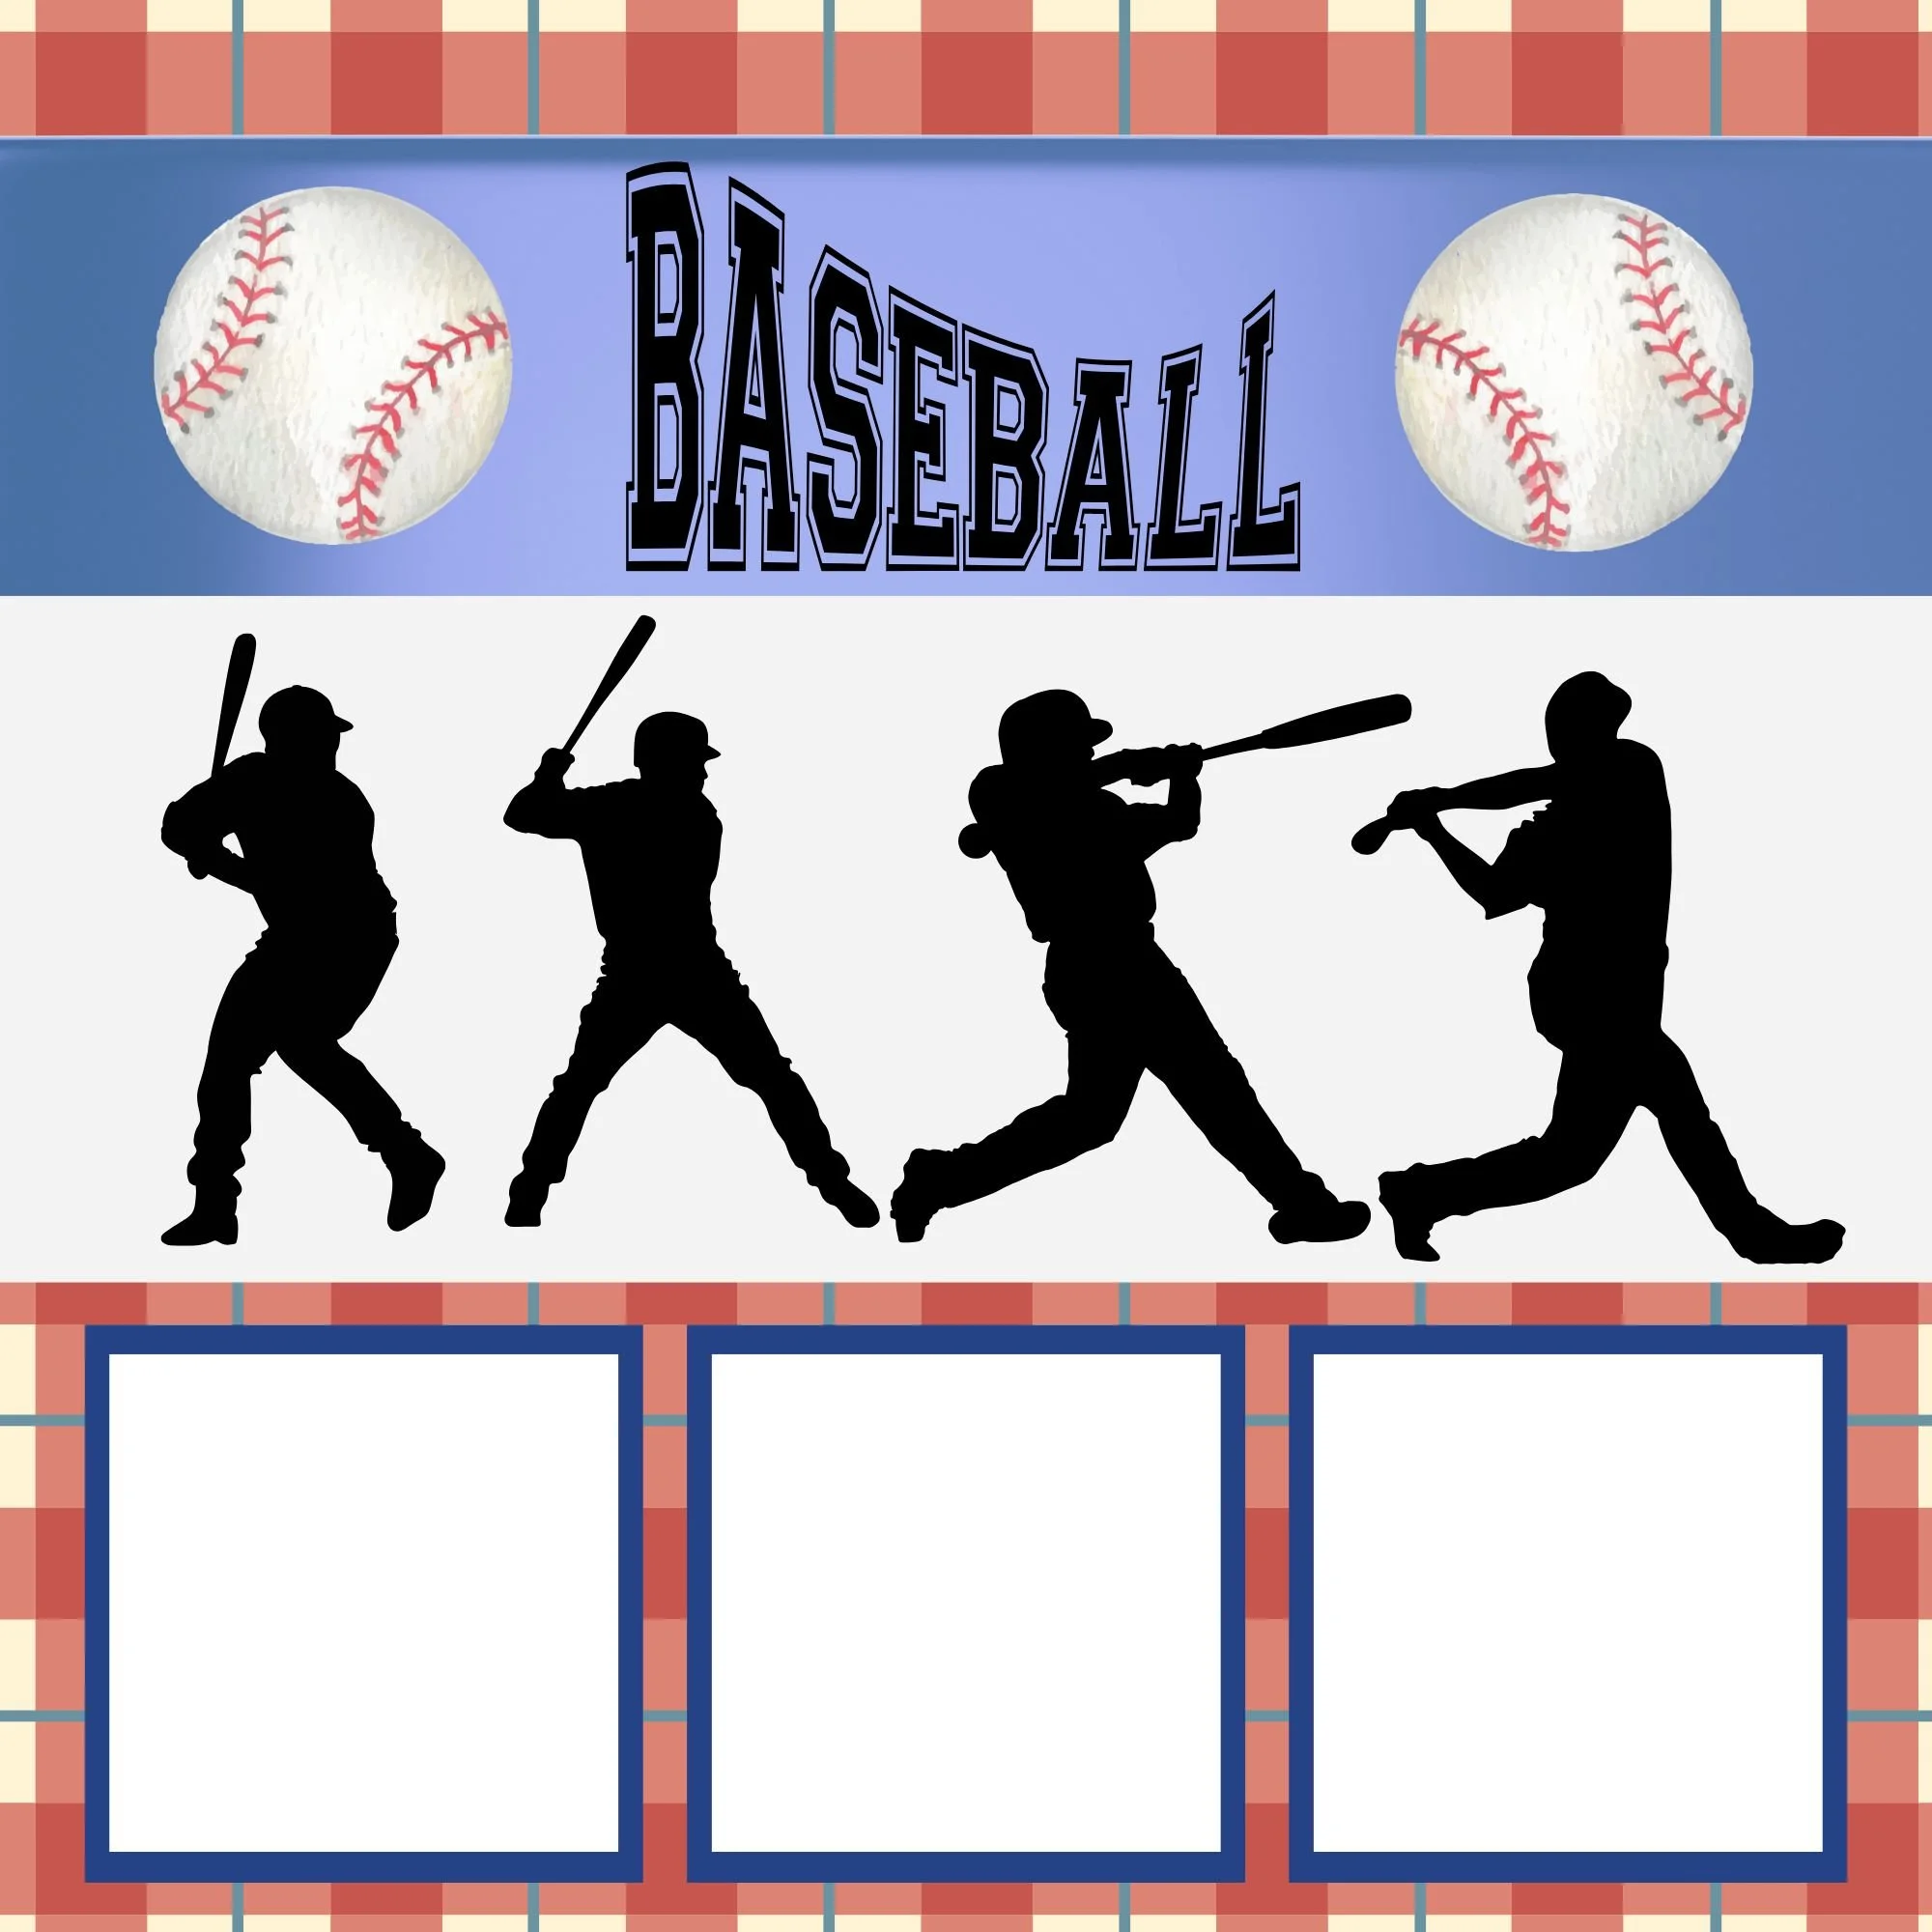
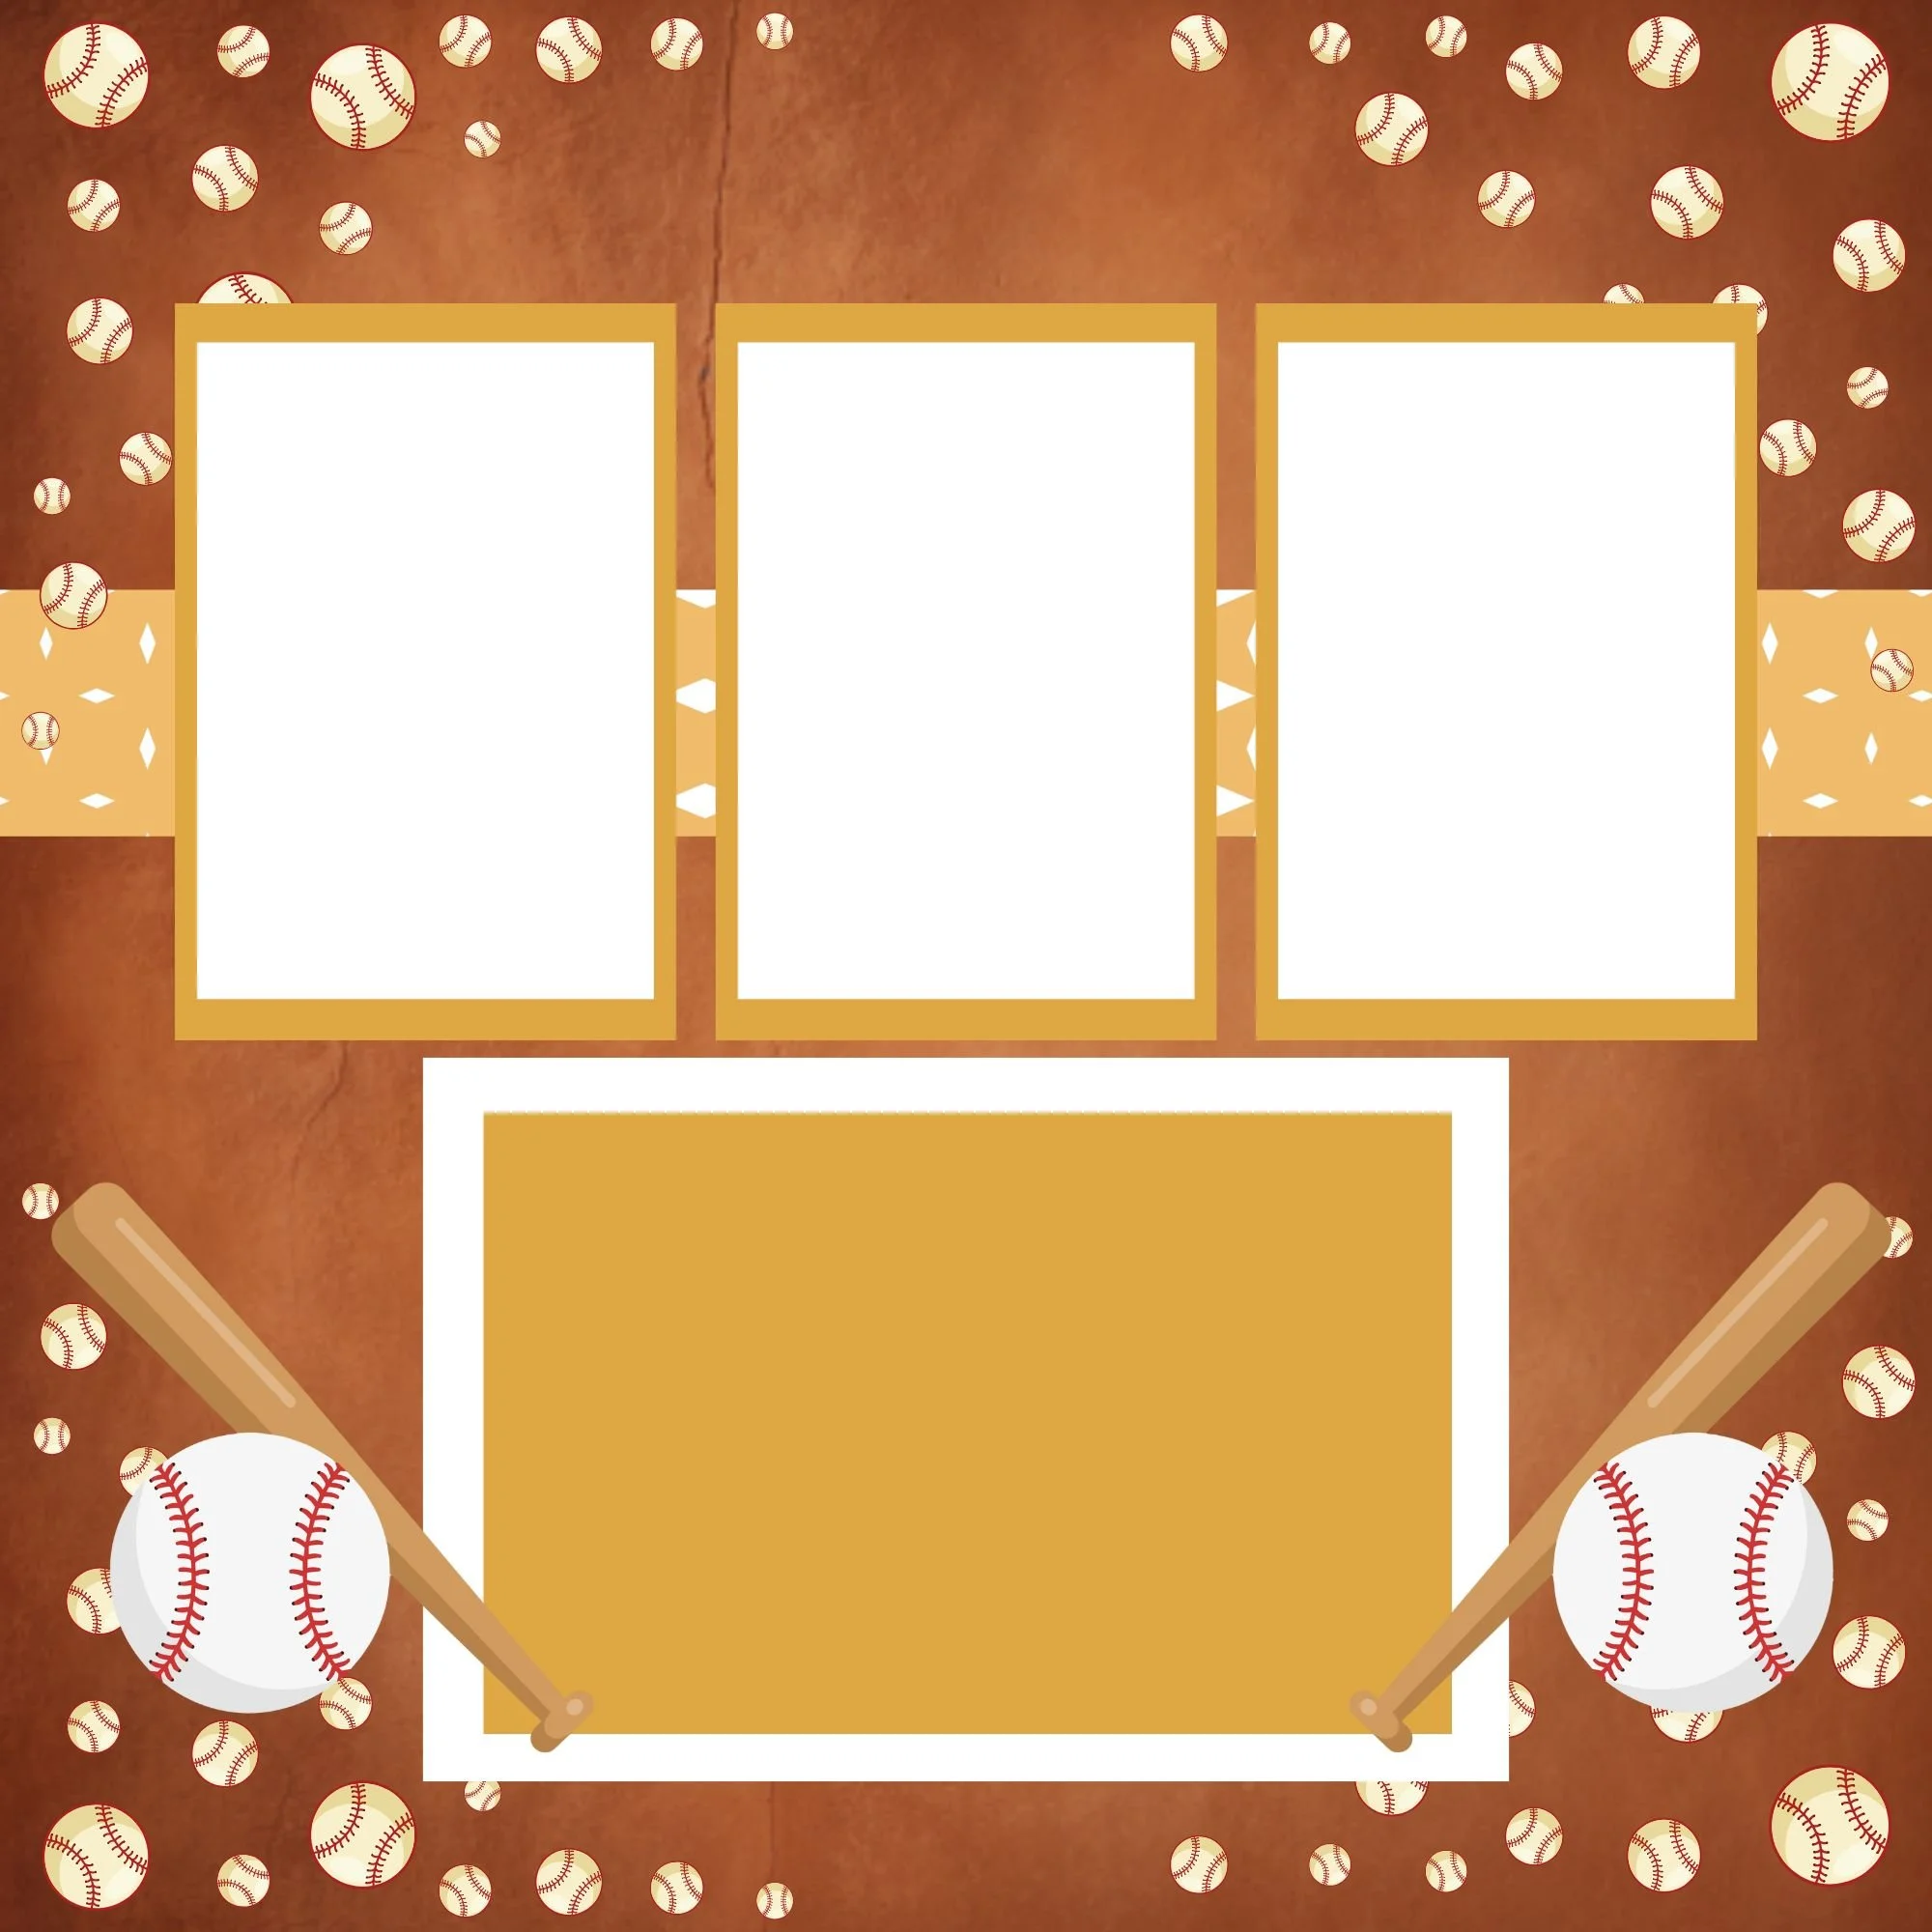
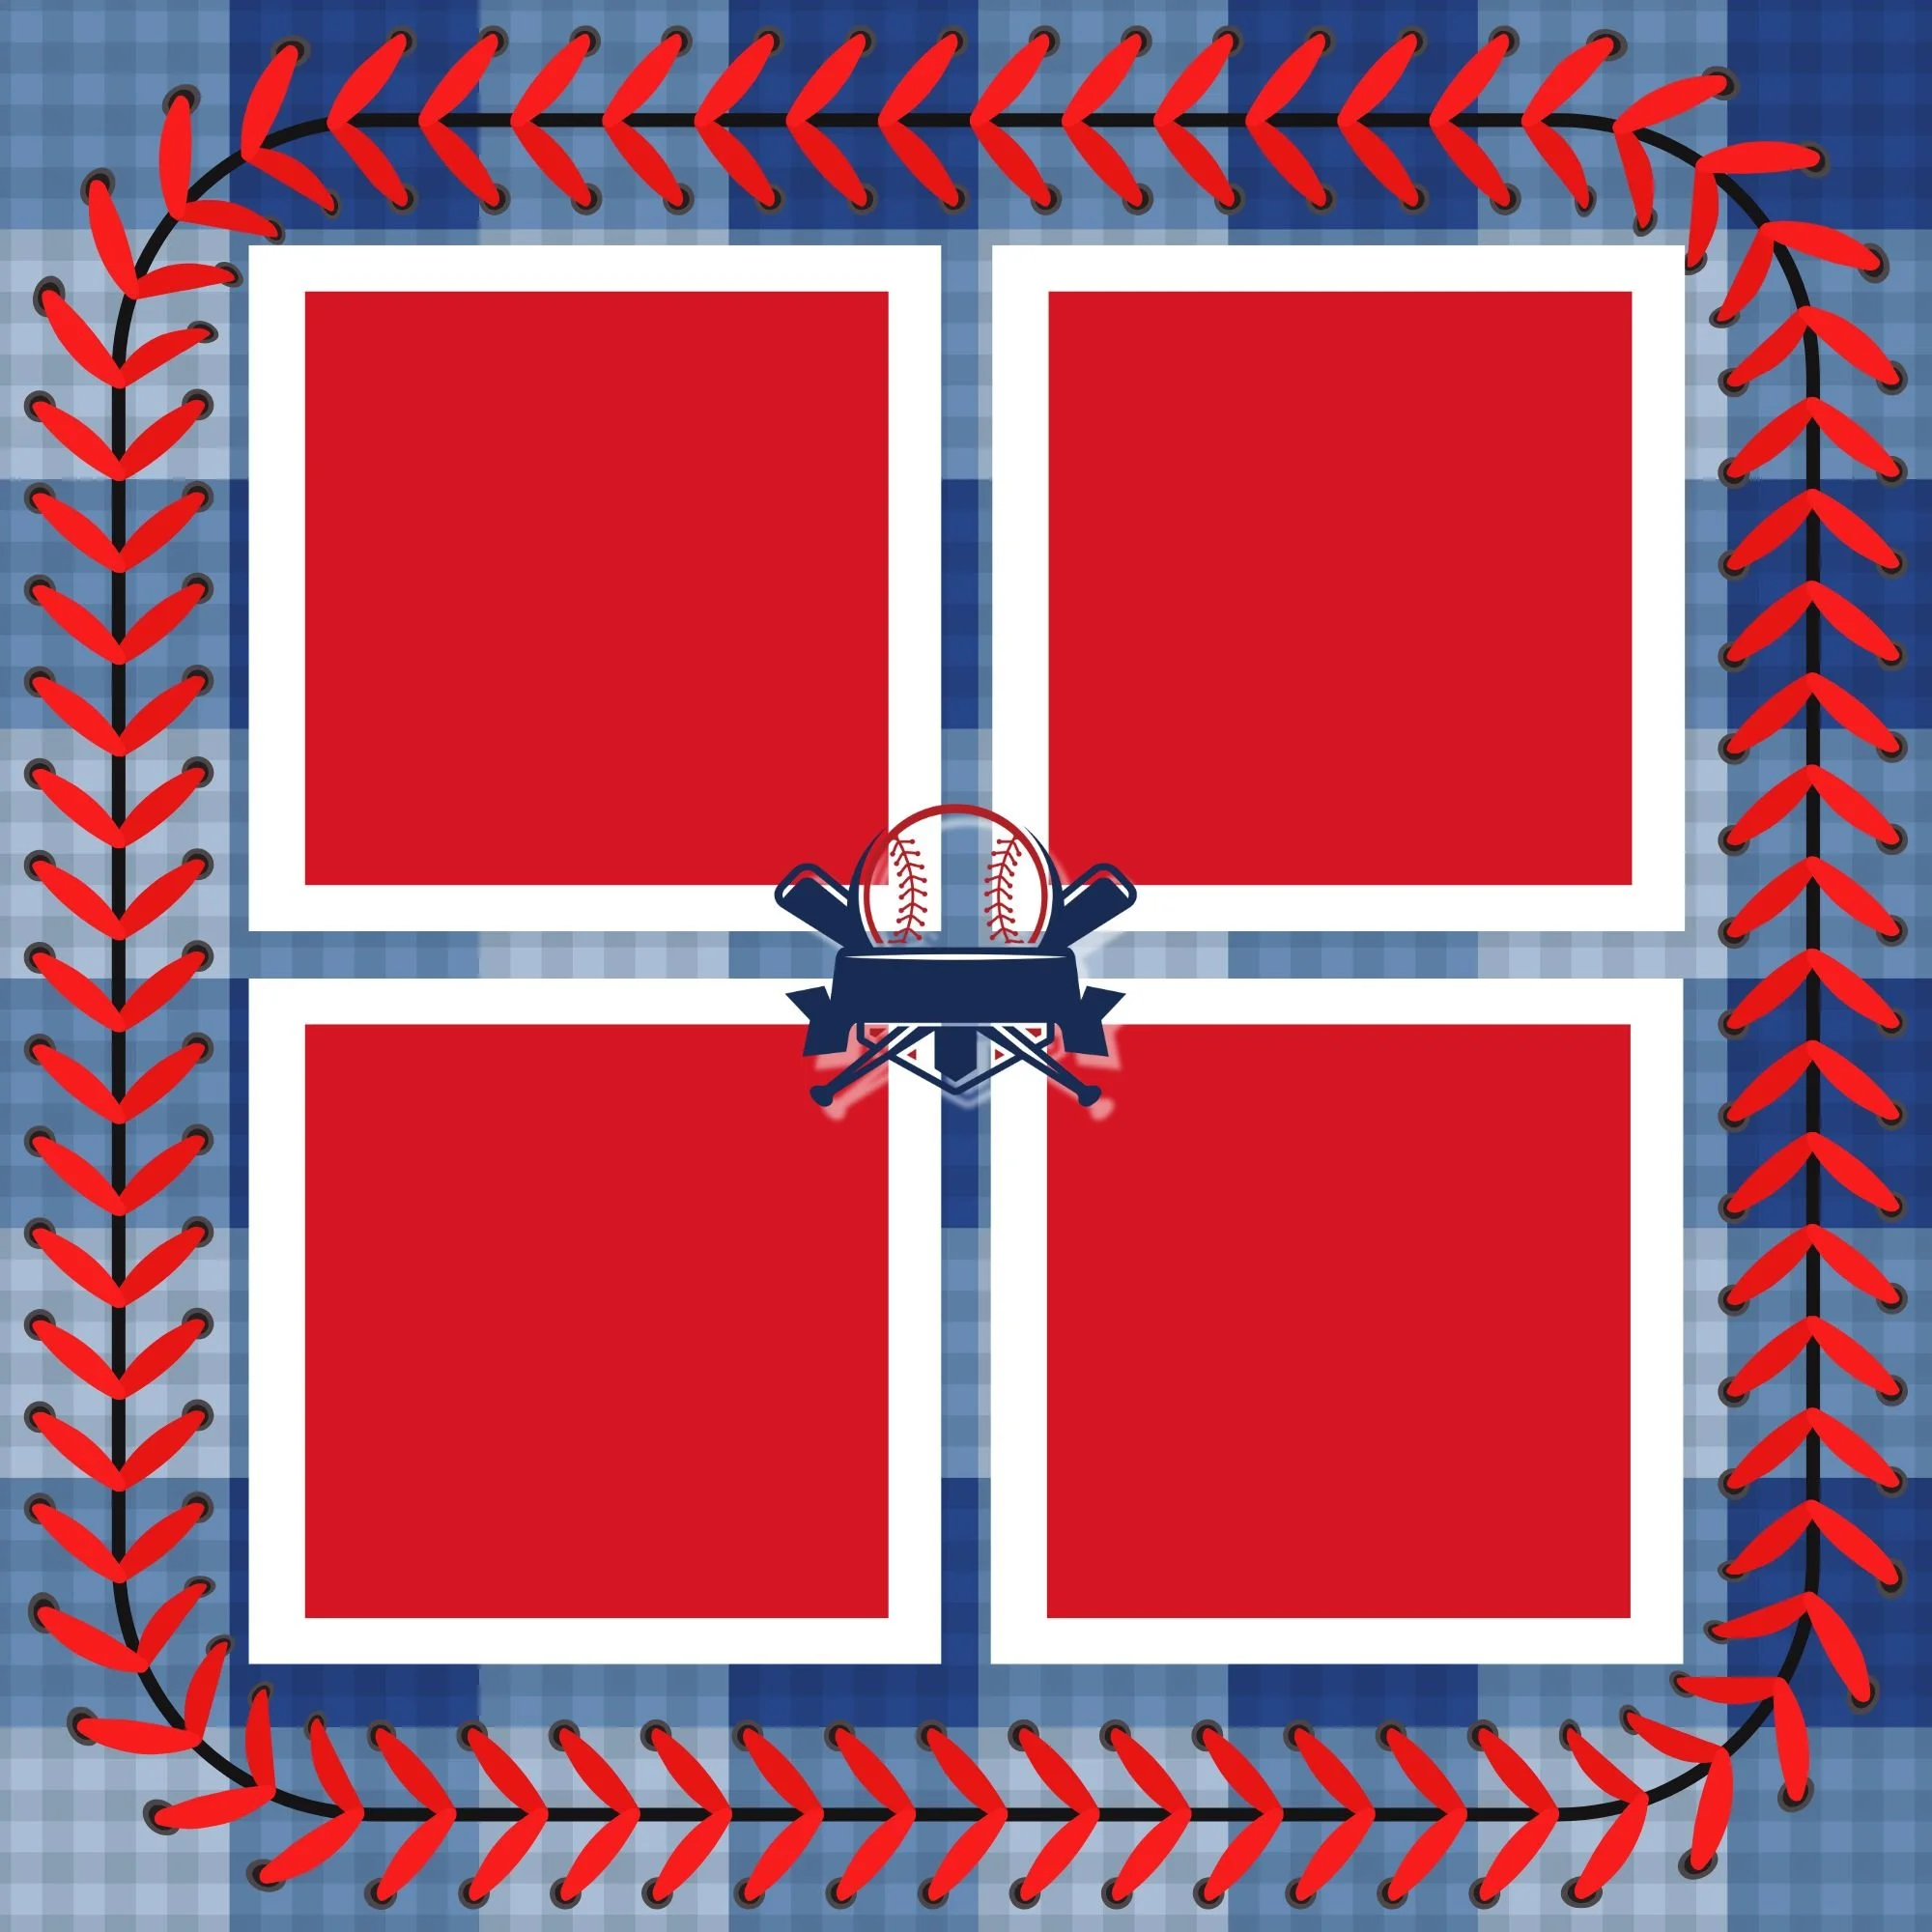
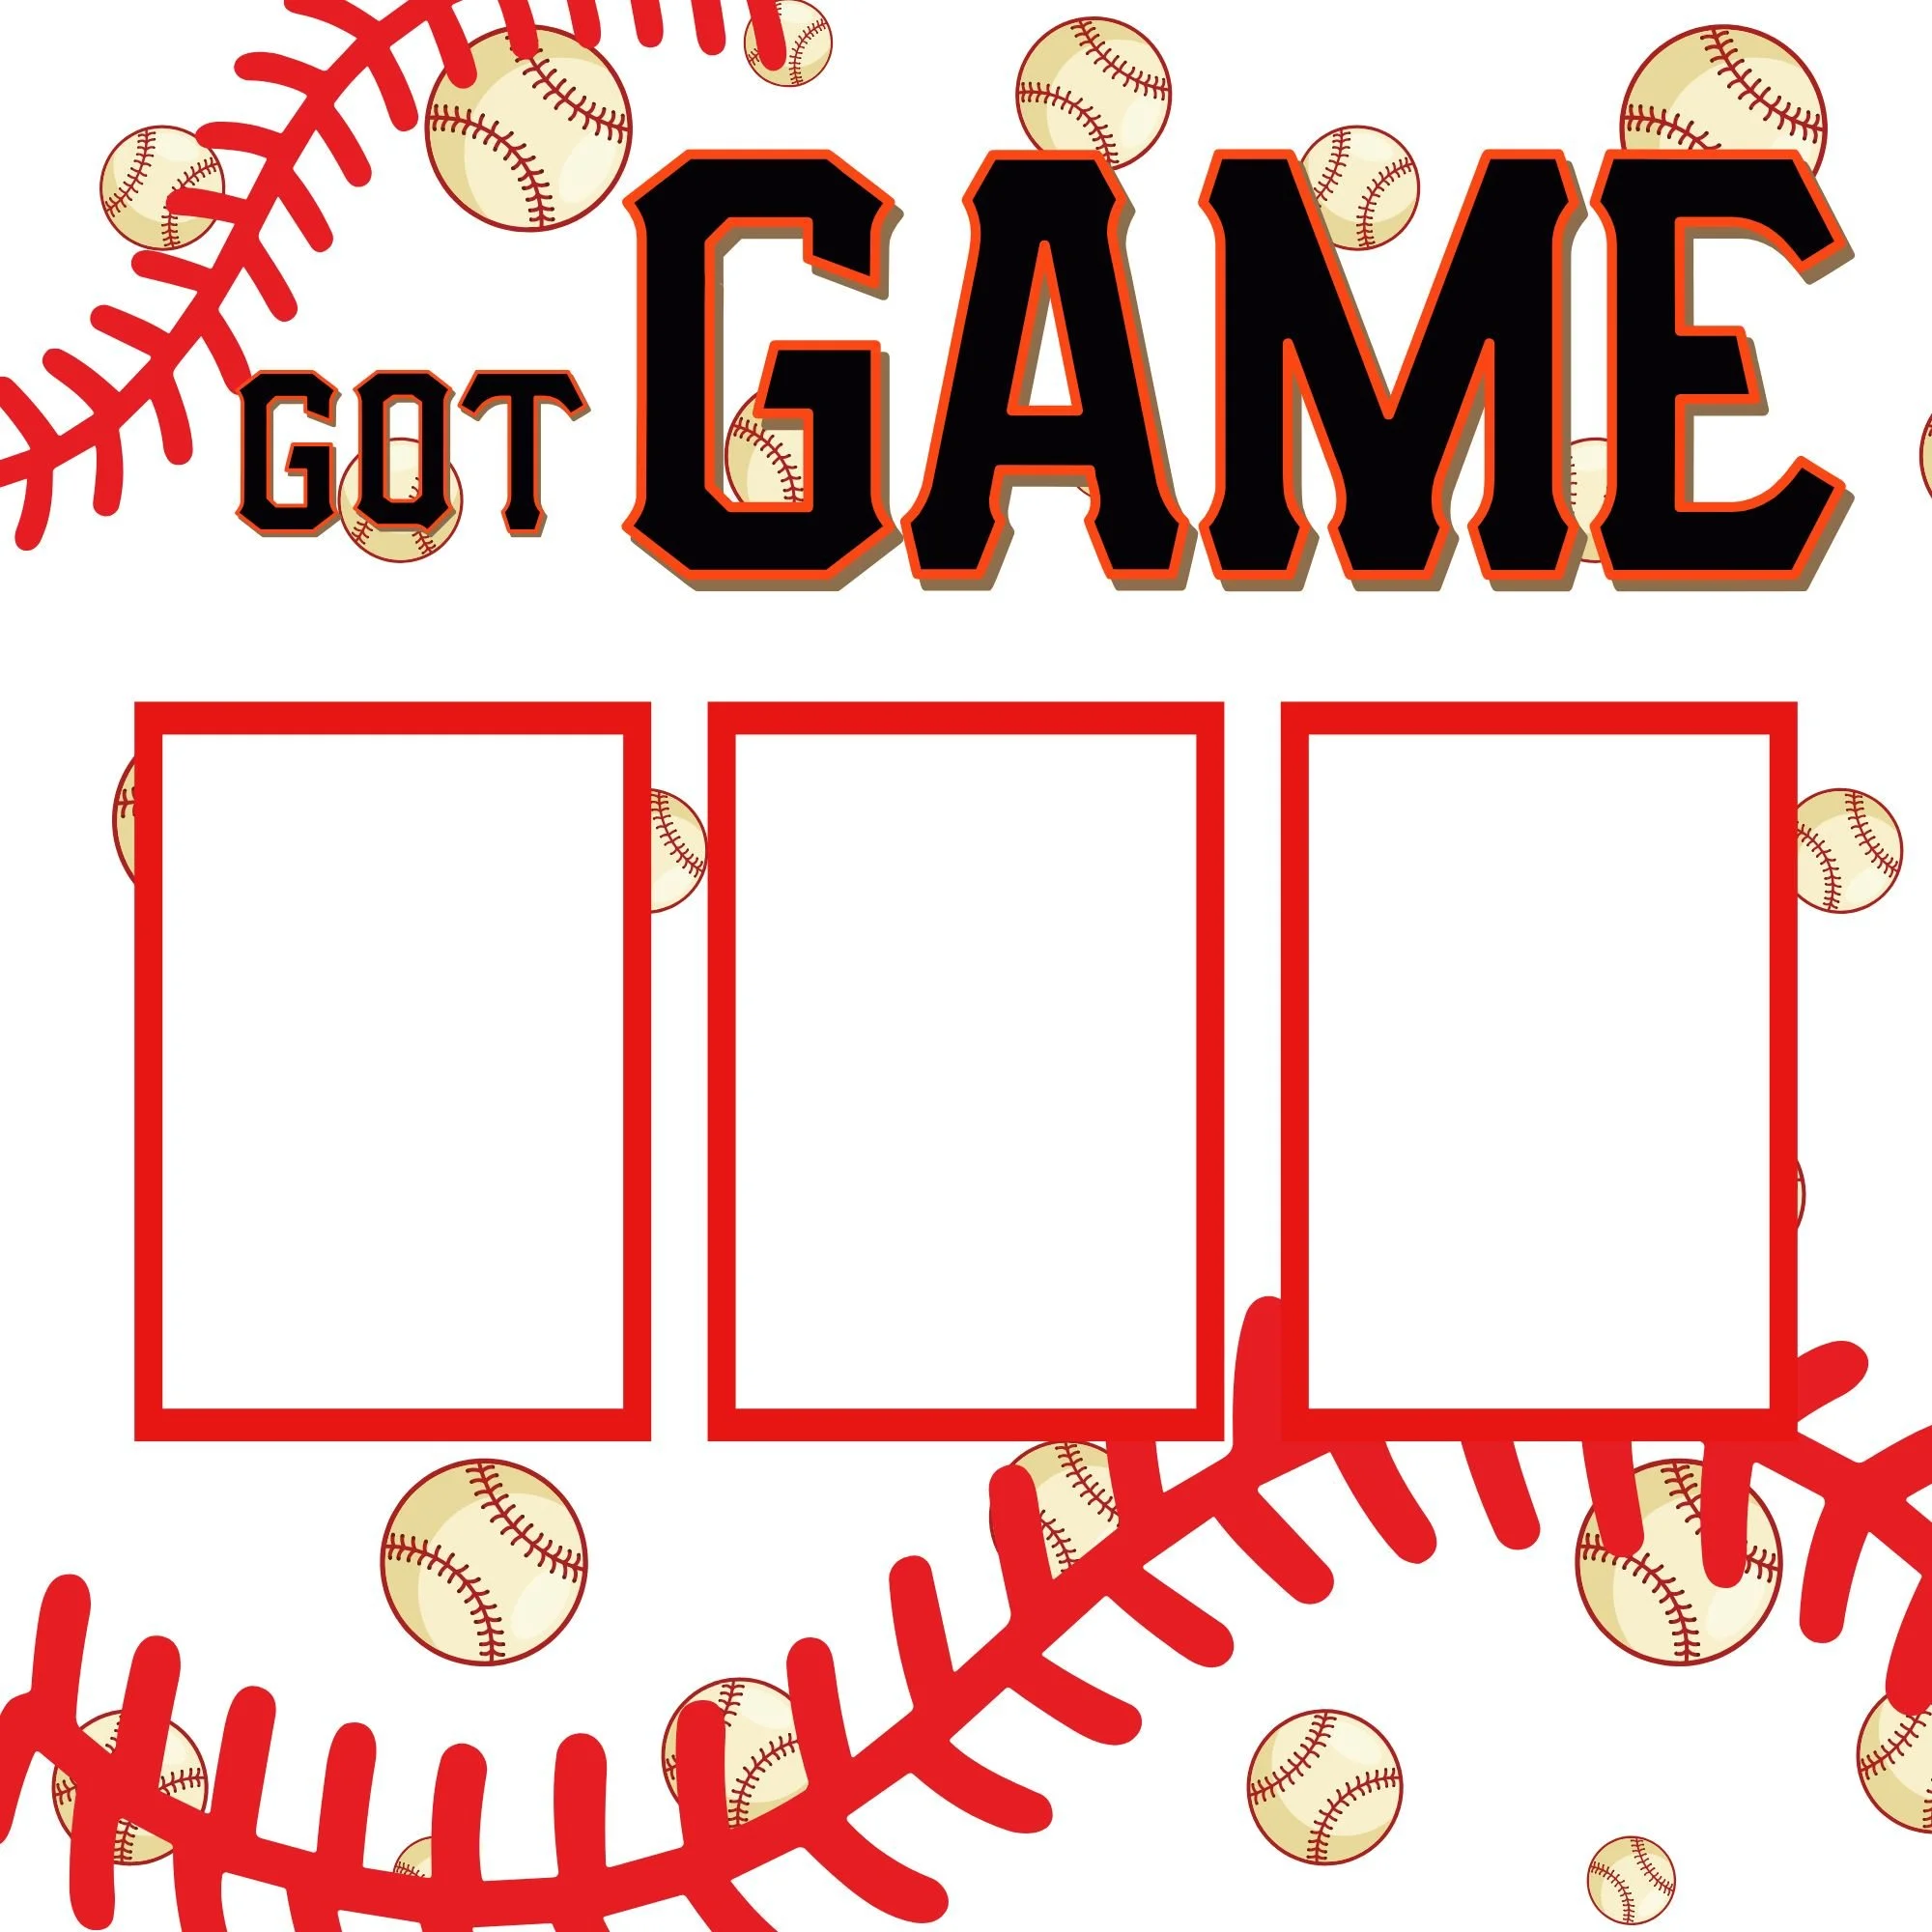
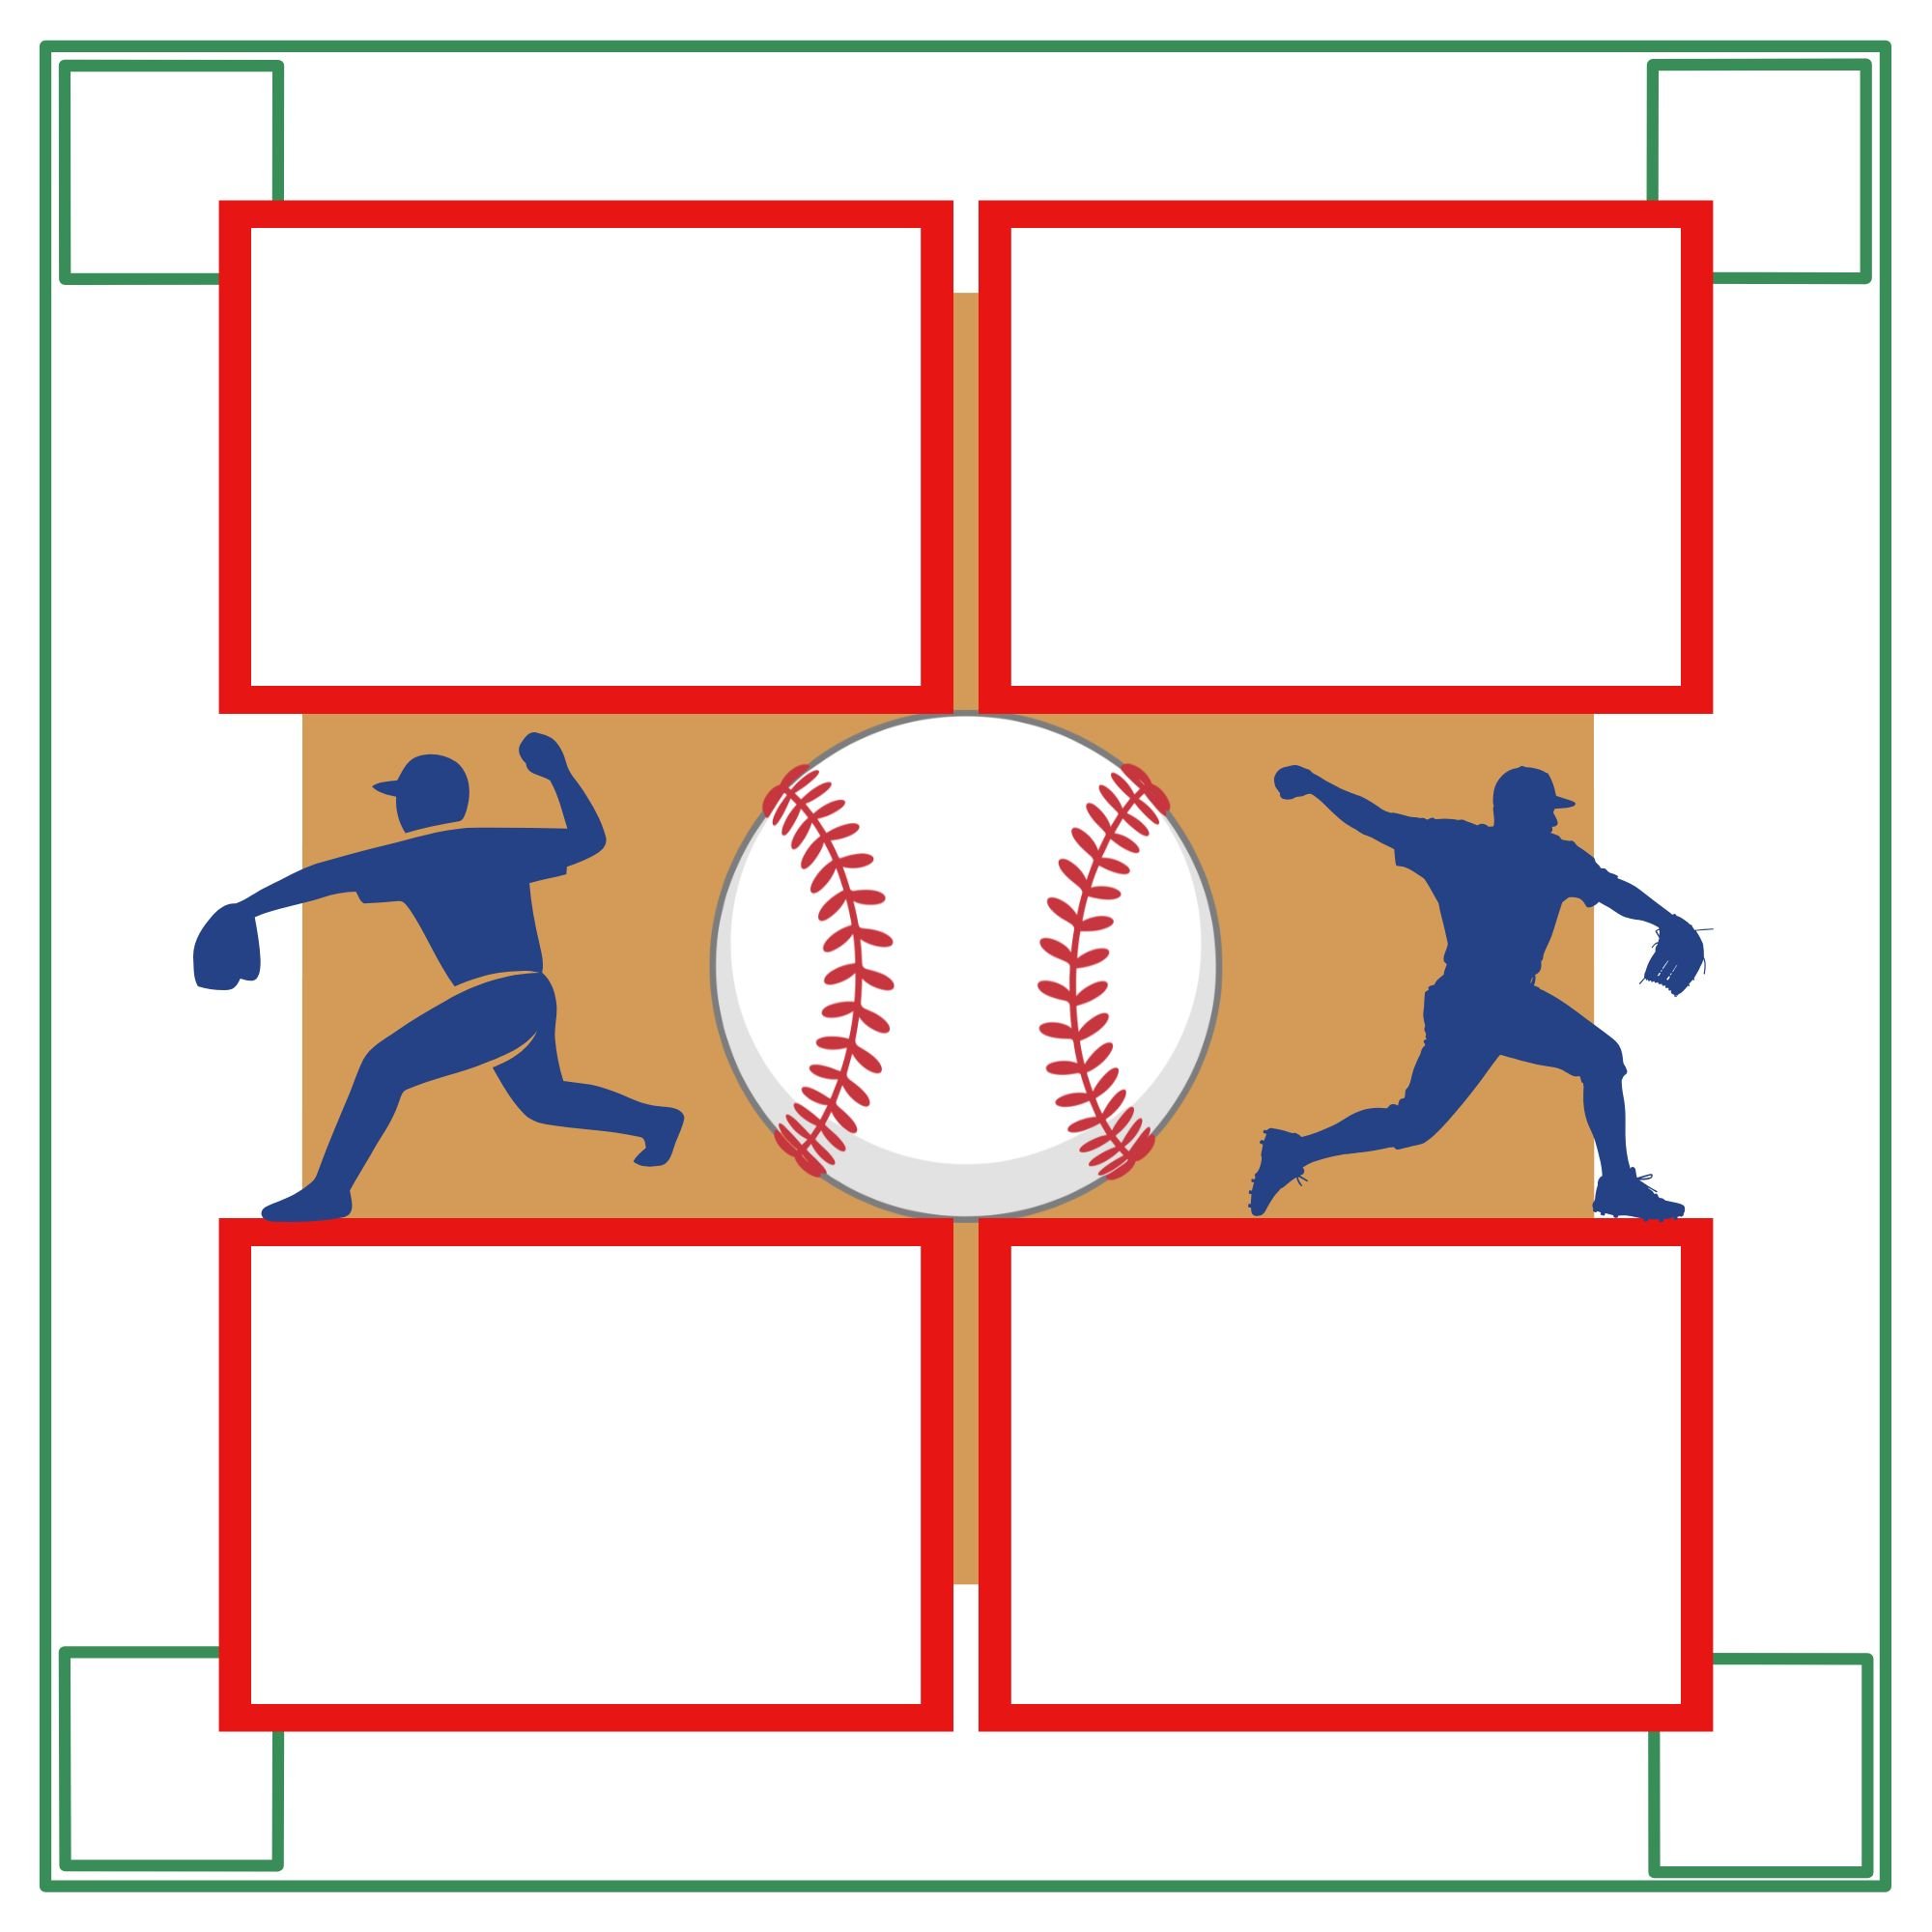
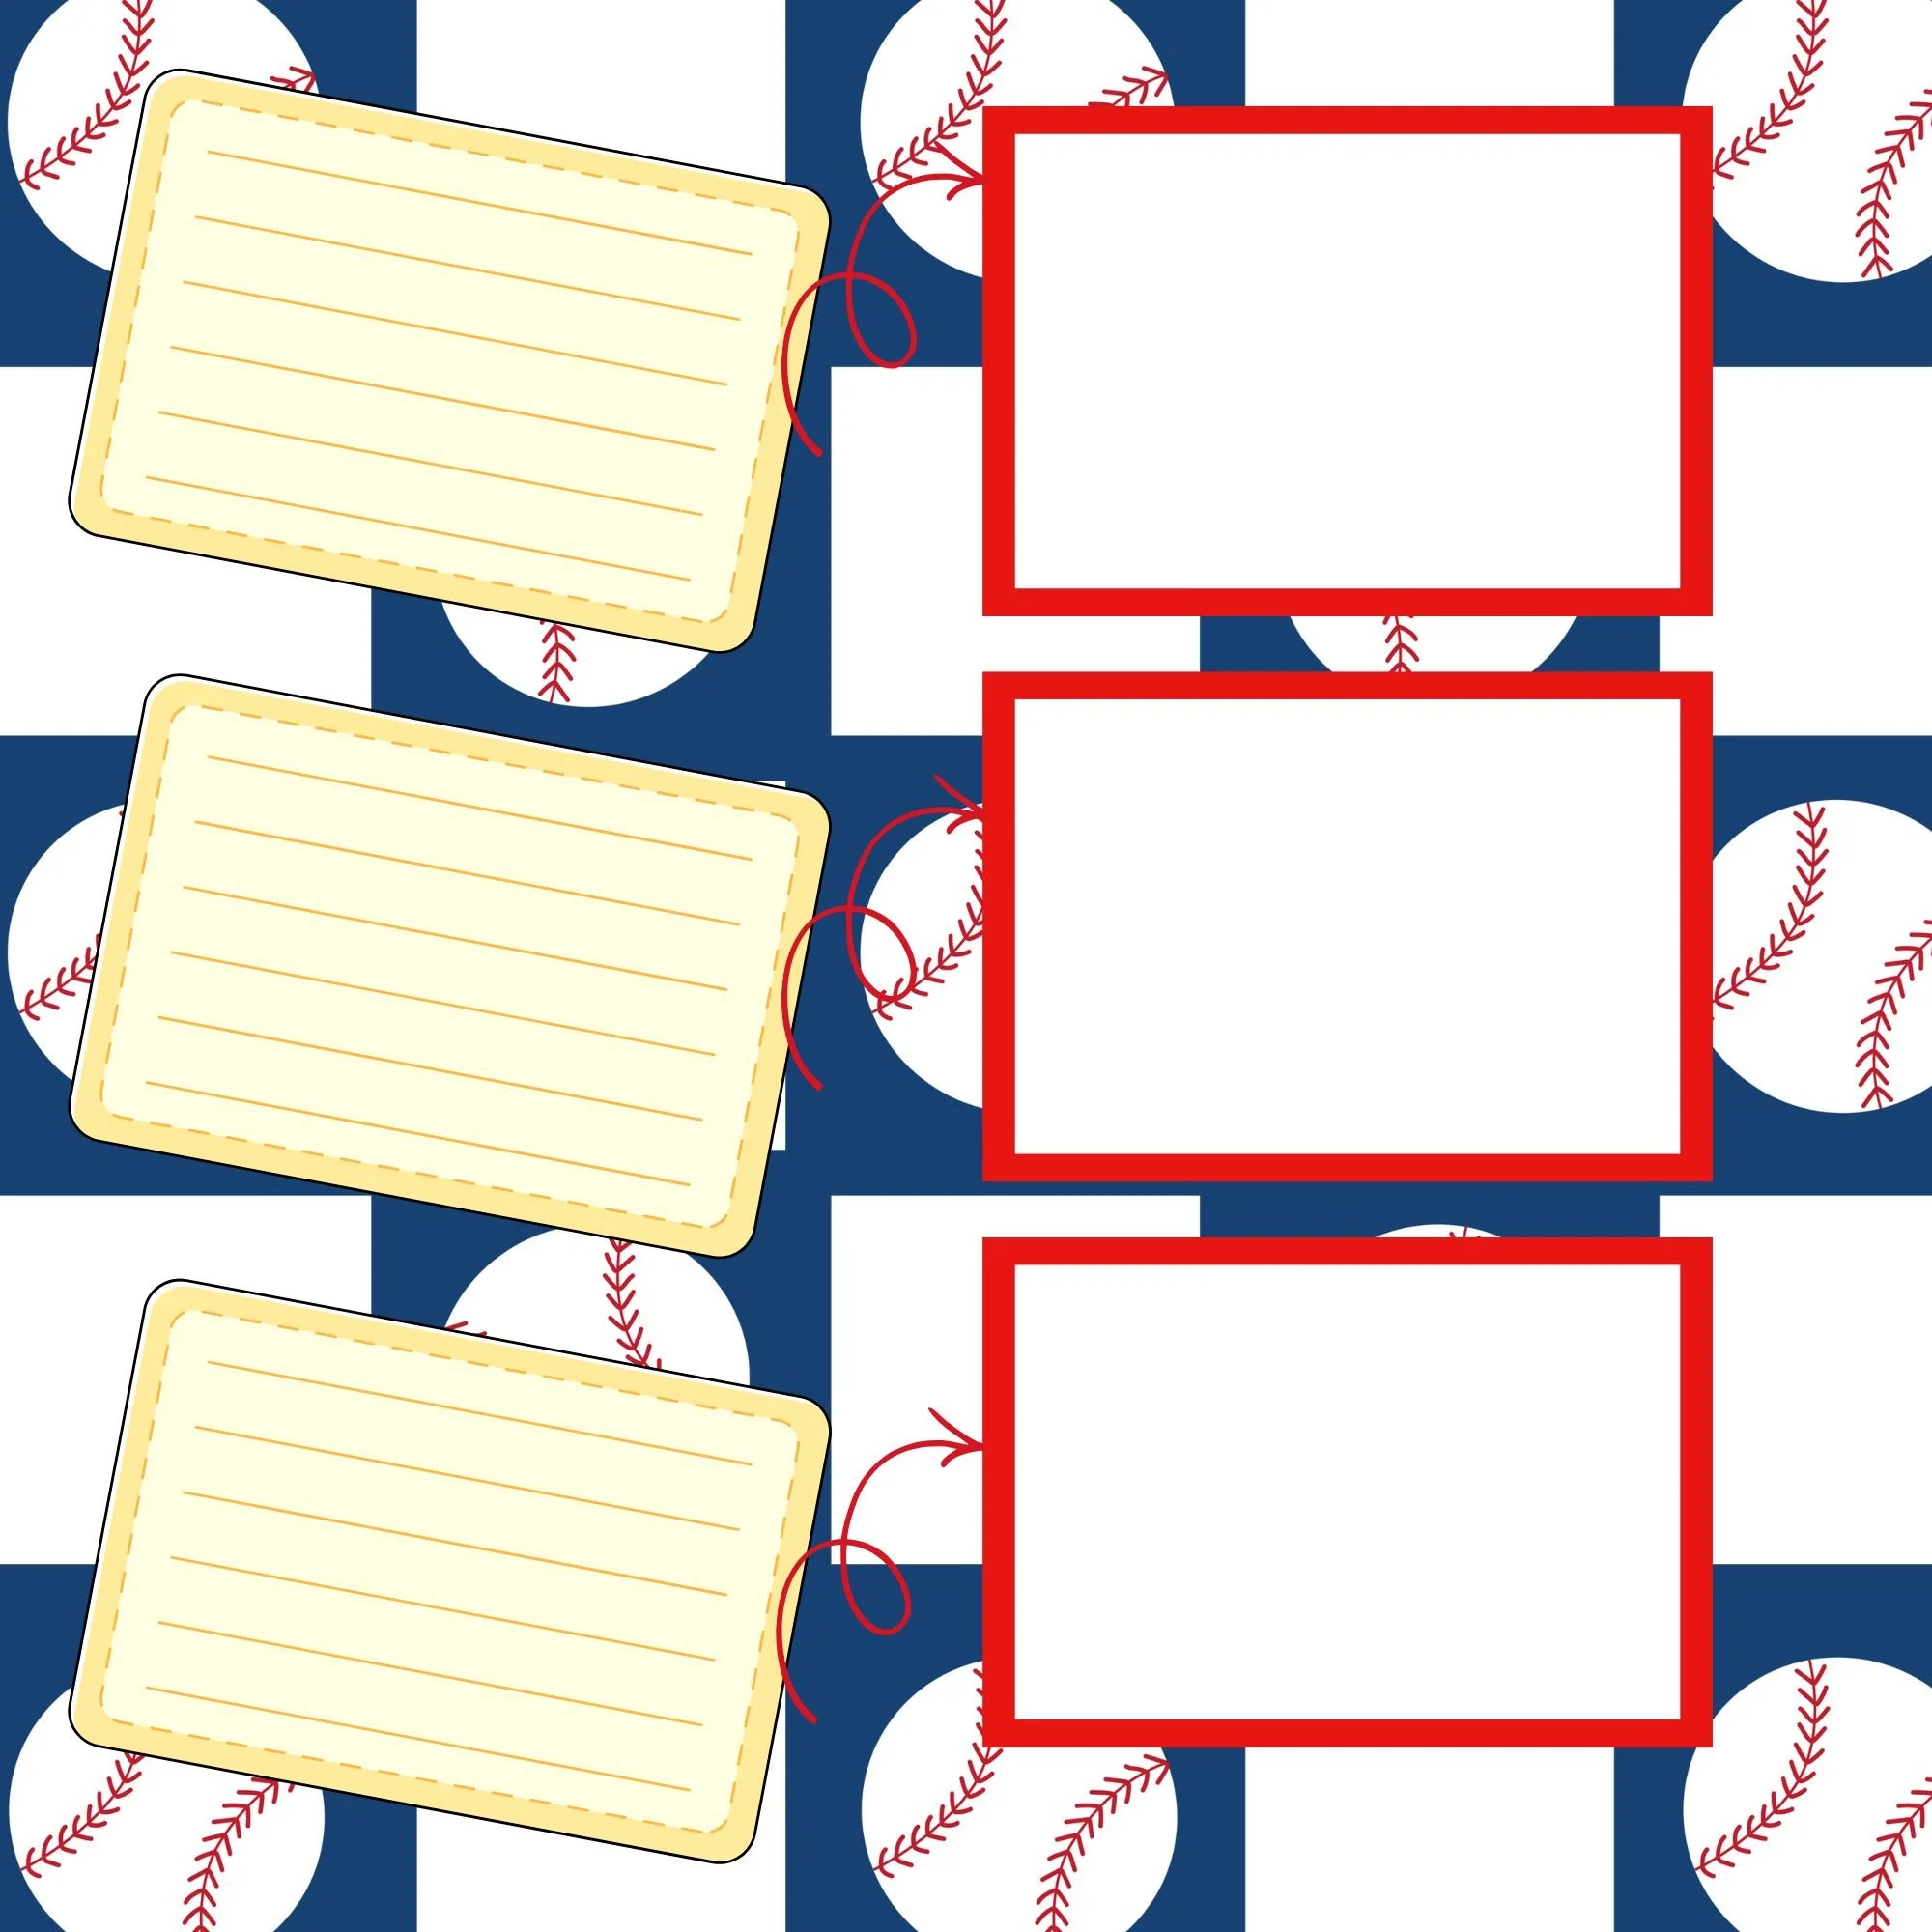
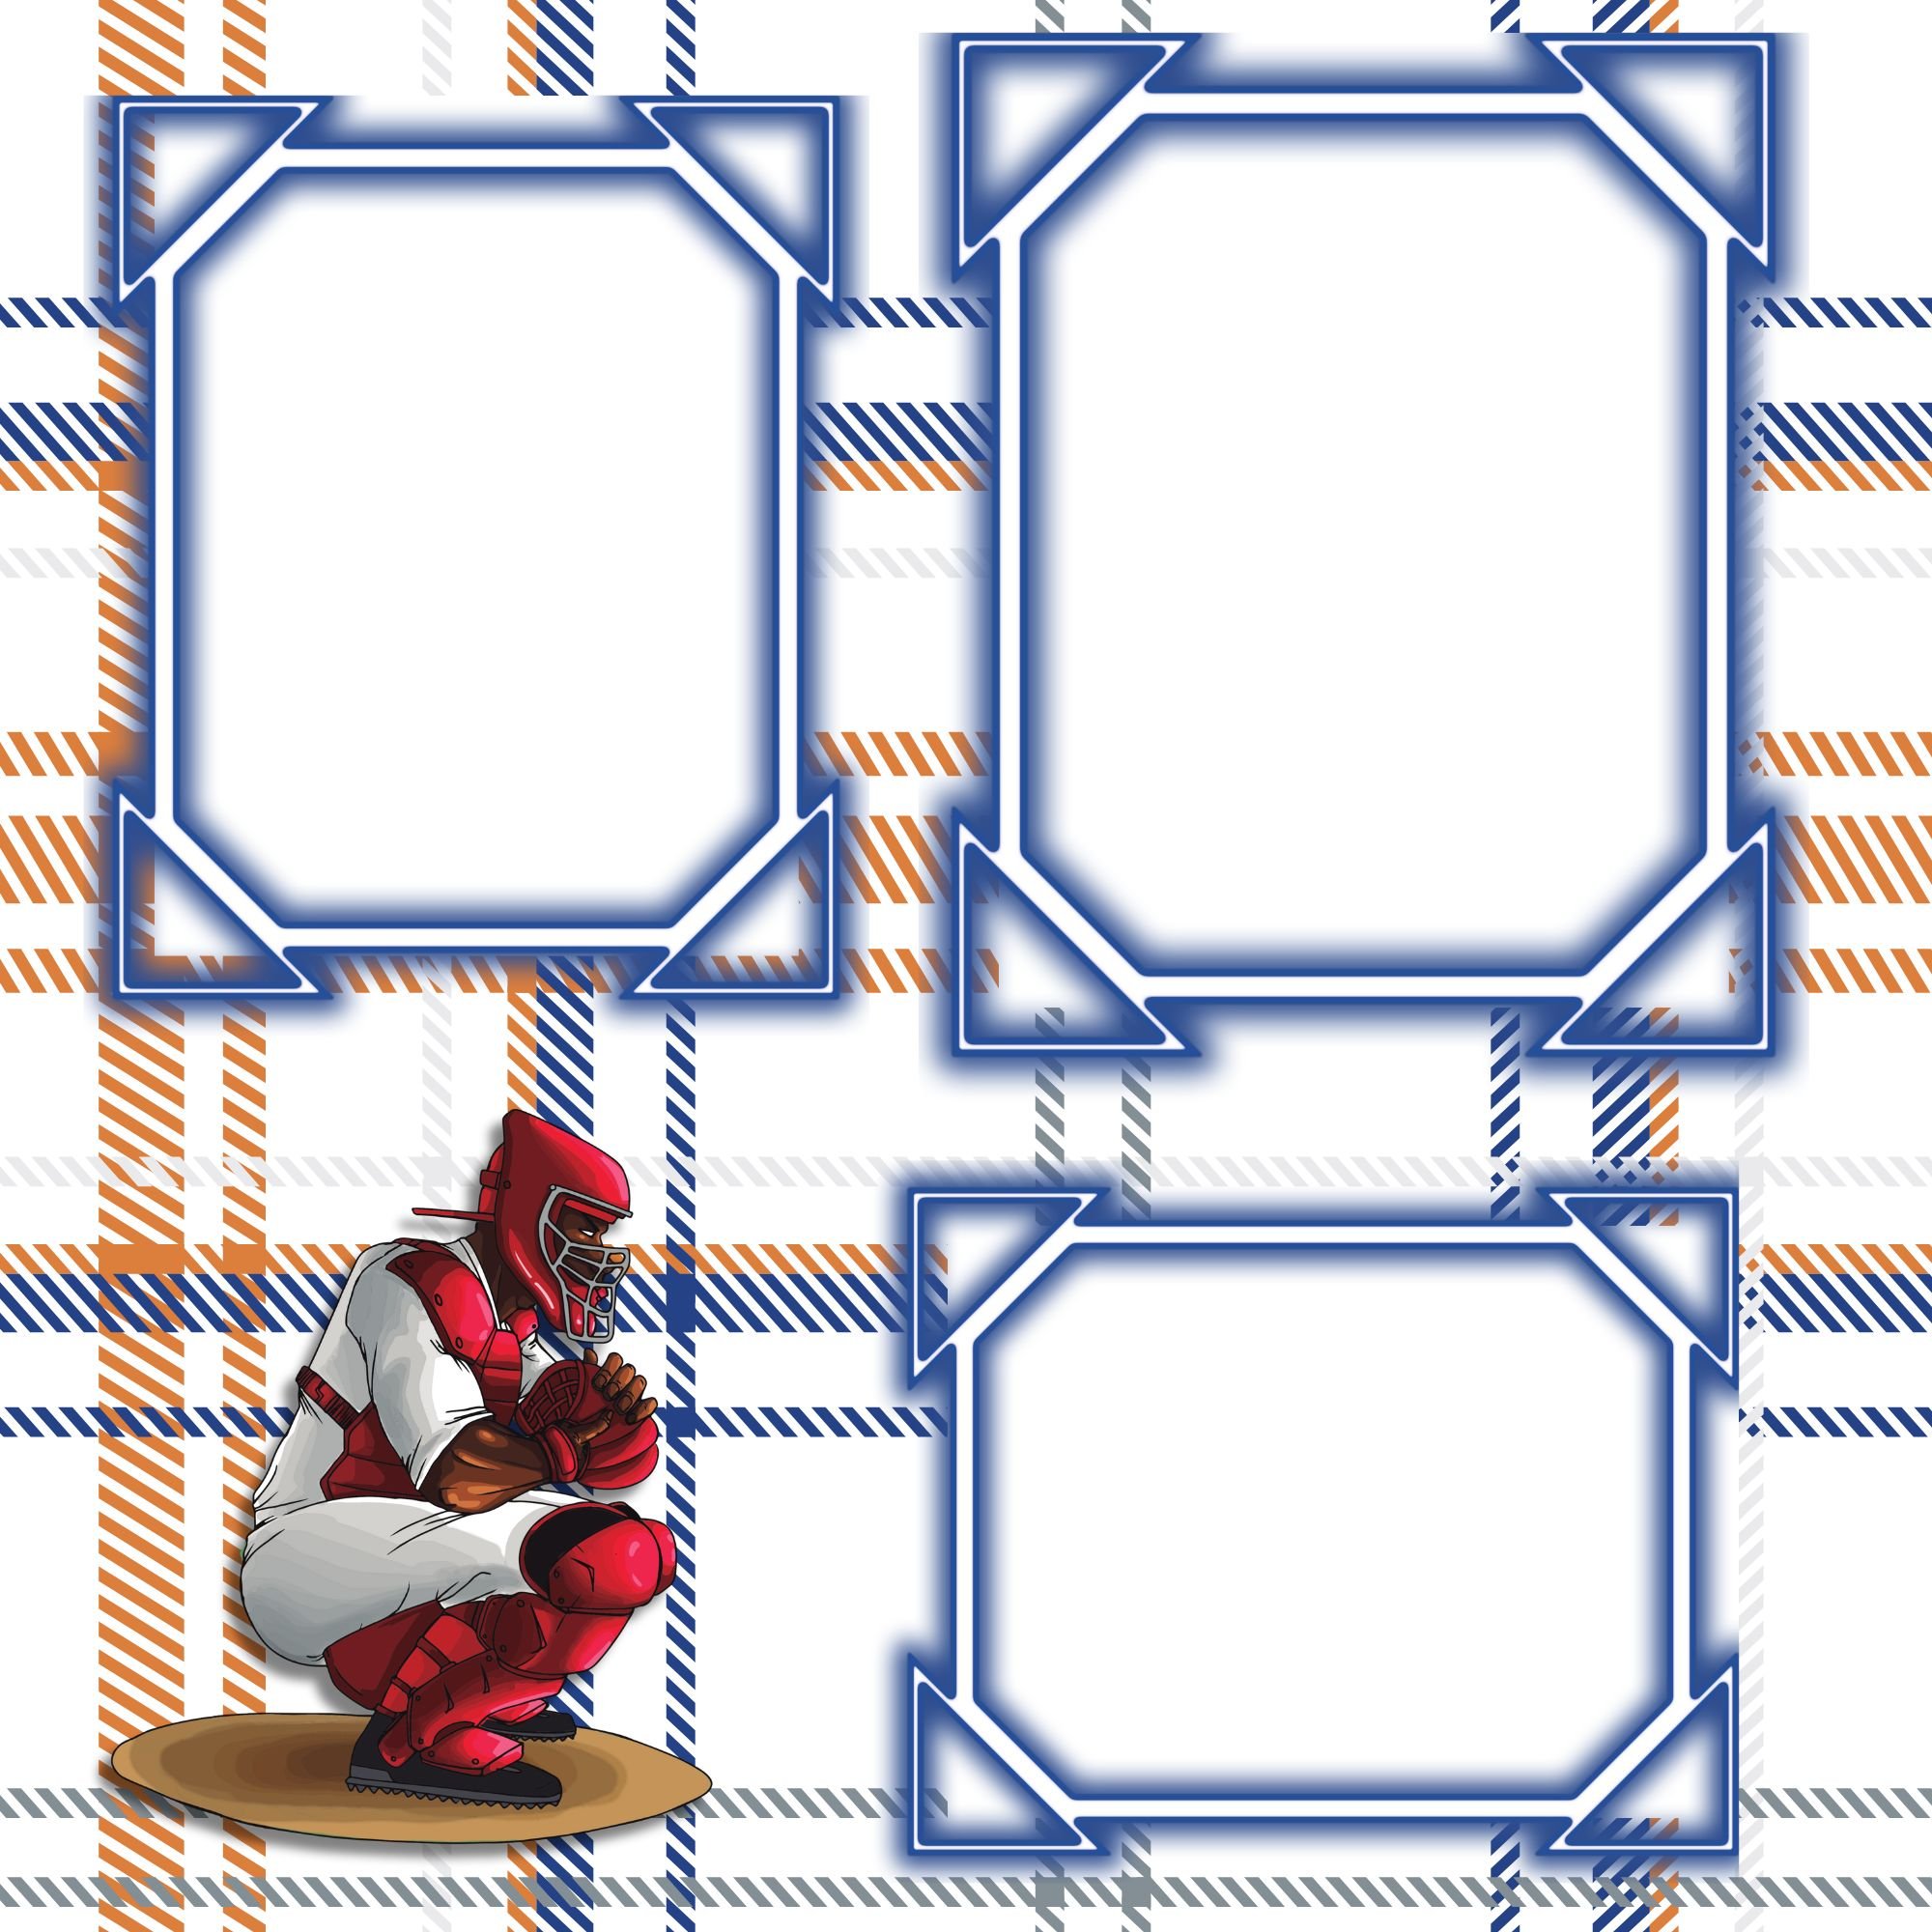
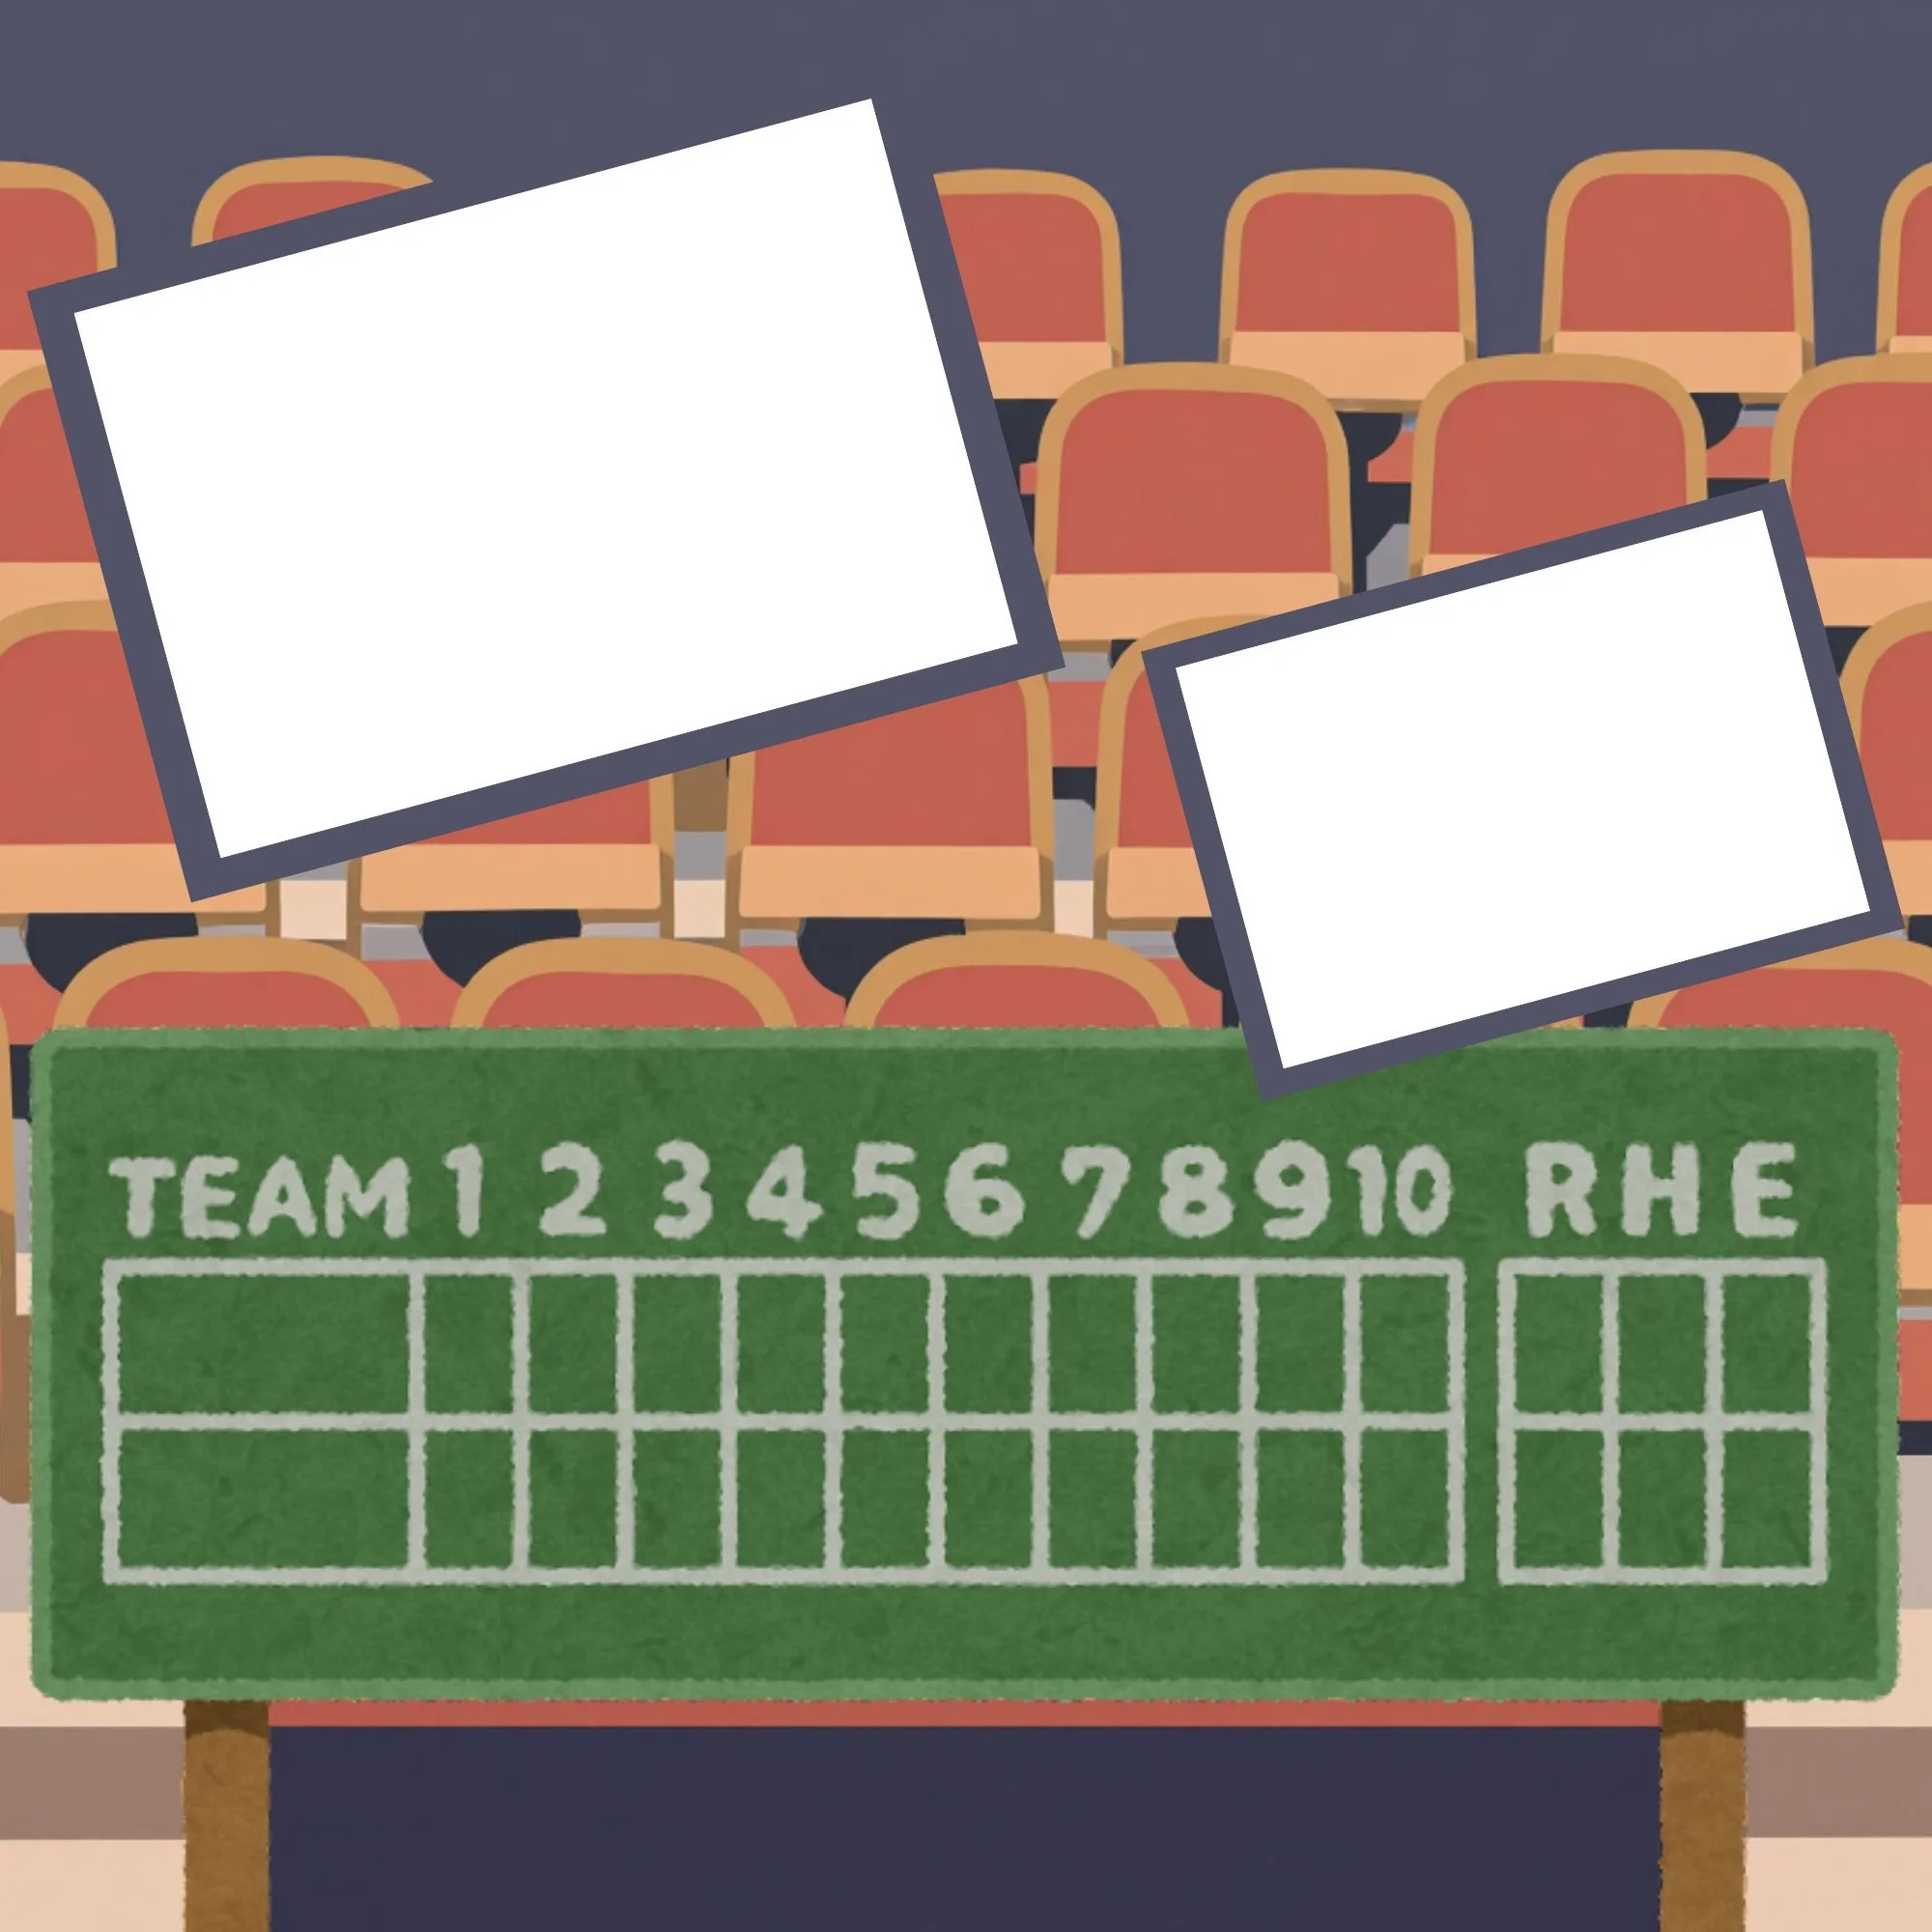
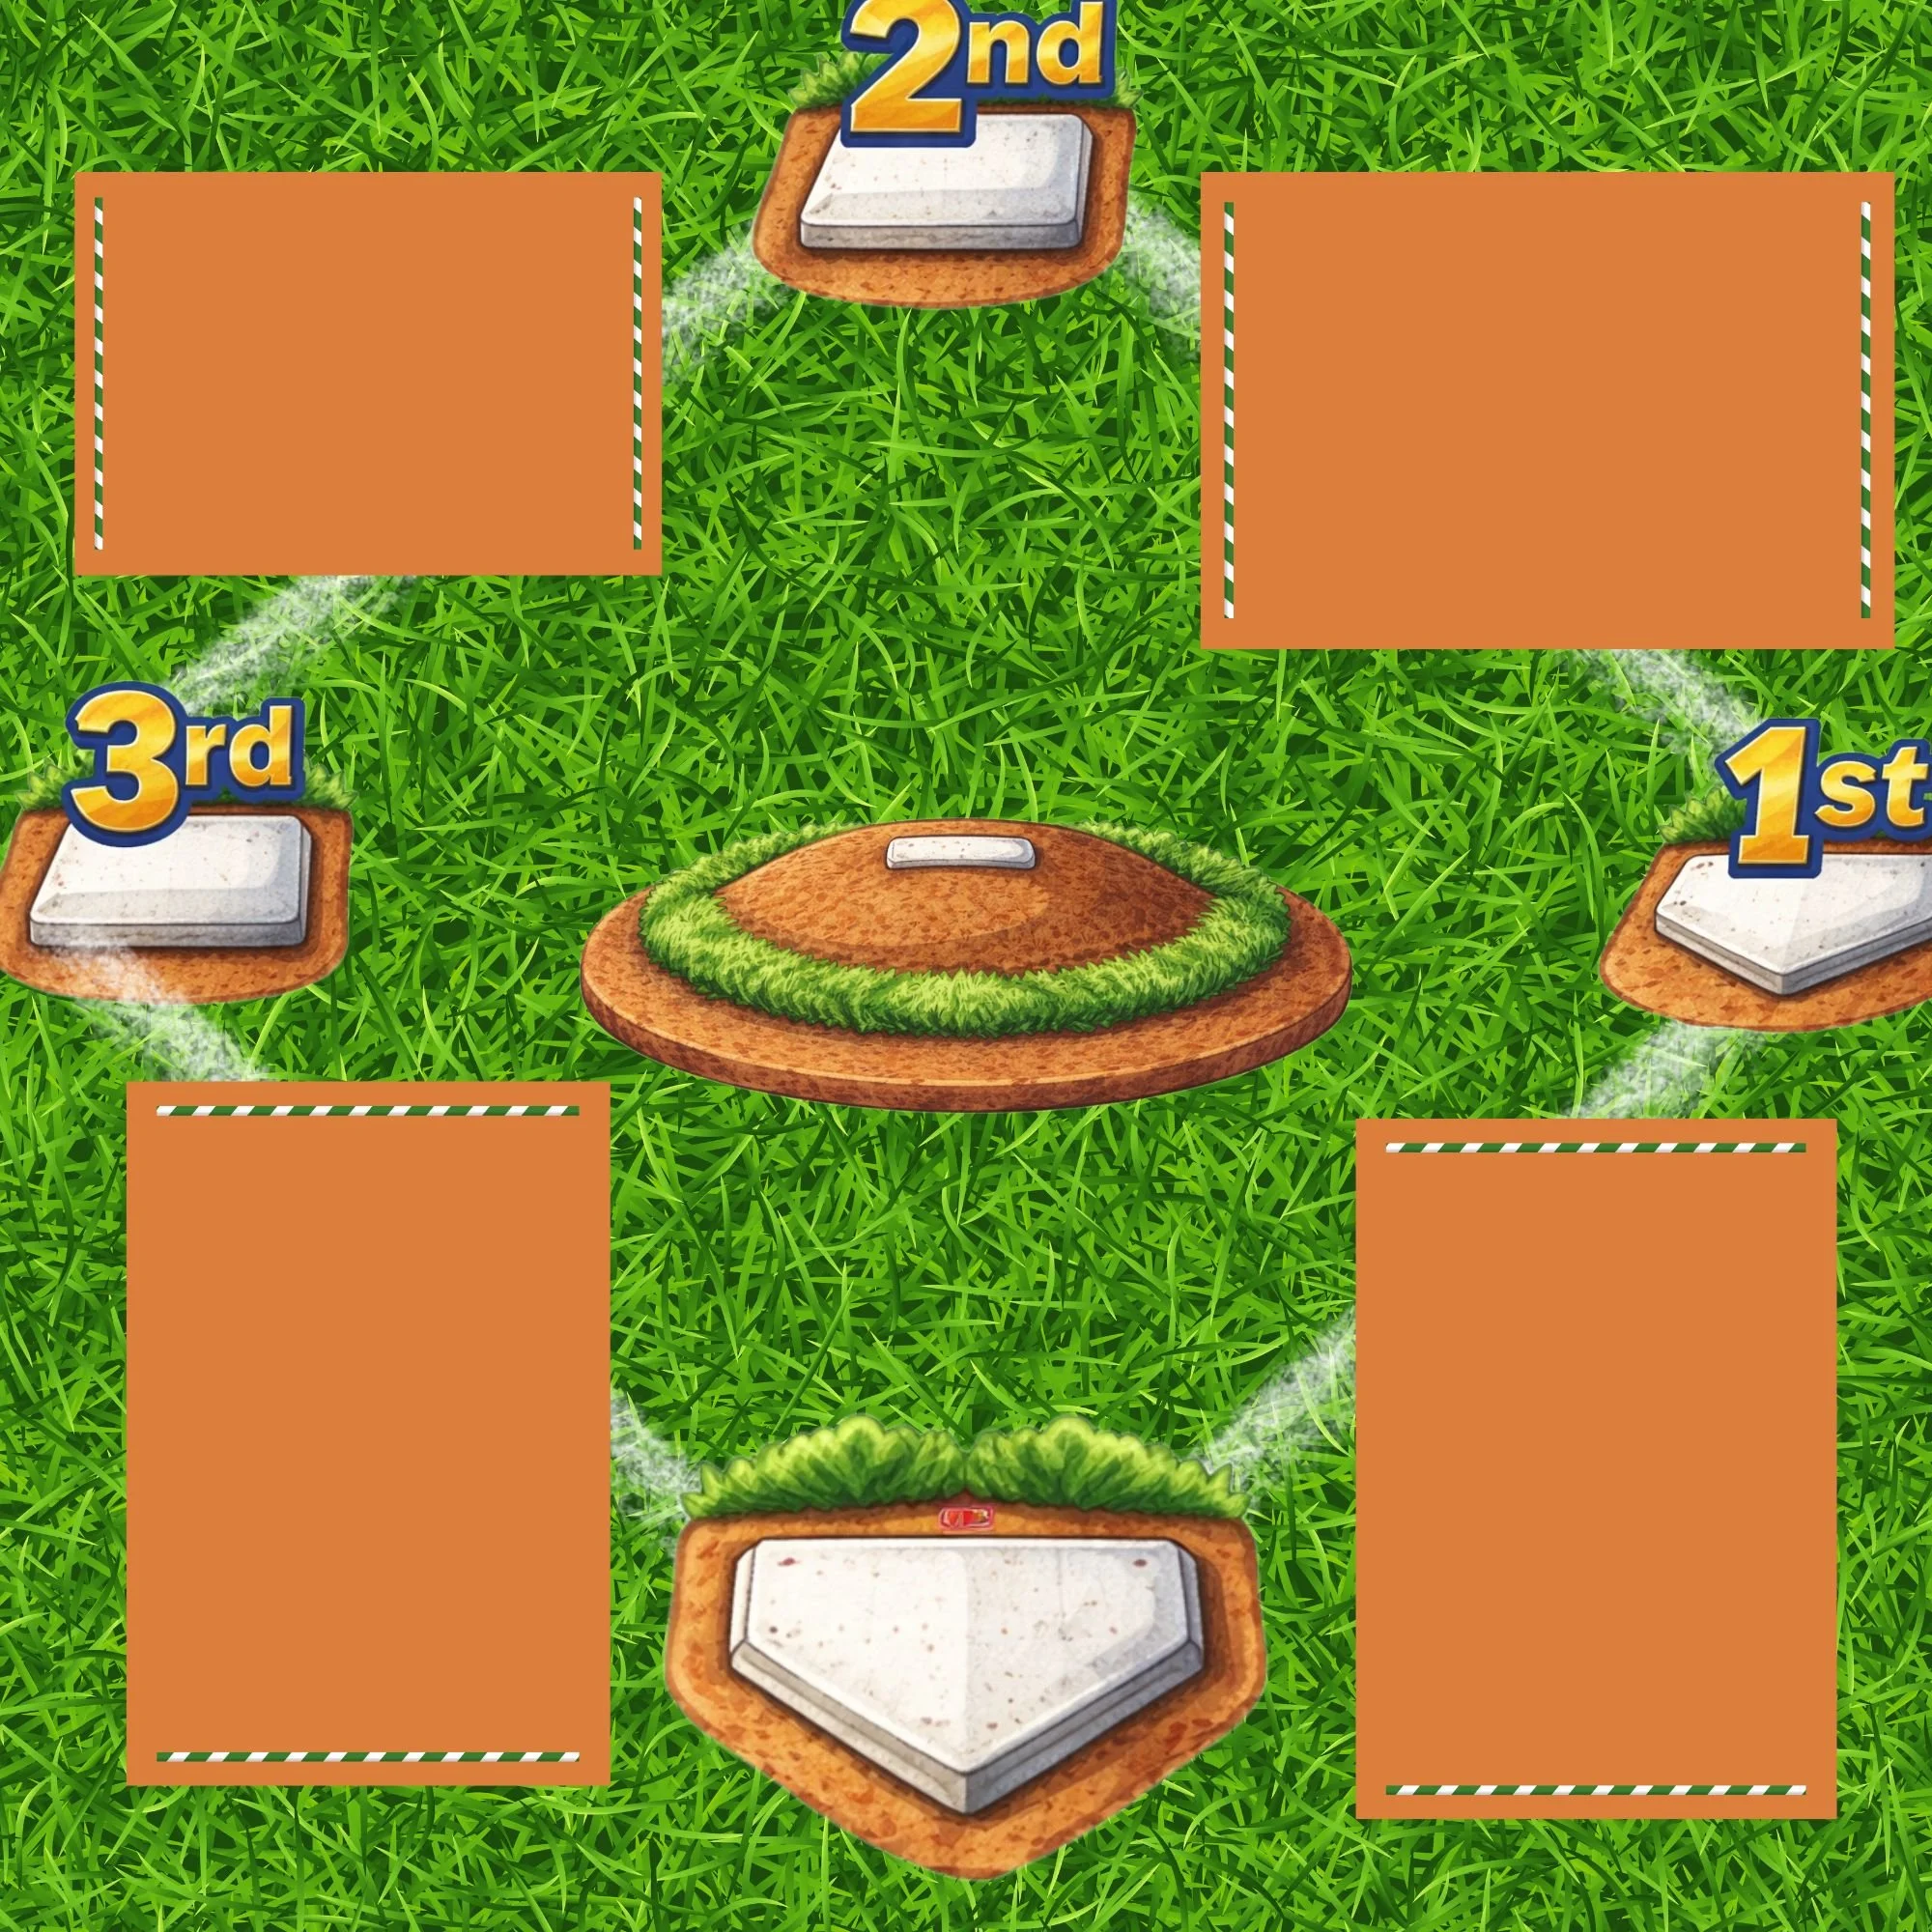
Scrapbooking Theme: The Baseball Memorette

For this project, the theme is baseball, and I’m working with the Baseball Memorette, along with the coordinating Baseball Page Kit and Baseball Paper Pack.
Baseball memories are full of action—games, practices, tournaments, wins, losses, and all the in-between moments. These pages often include lots of photos, layered elements, and keepsakes, which makes choosing the right adhesive especially important.
The Baseball Memorette gives you space to capture both photos and written reflections, allowing you to document not just individual games, but the entire season—the growth, effort, and memories made along the way. Using the coordinating page kit and paper pack keeps everything cohesive, even when you’re layering photos, journaling, and embellishments across multiple pages.
The Technique: Using Adhesives Intentionally
The technique we’re focusing on here is using adhesives intentionally, not just sticking things down and hoping for the best.
Adhesives are a foundational scrapbooking technique. The way you choose and apply them affects:
How long your pages last
How clean and polished your layouts look
How well layered and dimensional elements hold up
Different materials—photos, cardstock, embellishments, and memorabilia—require different types of adhesive. When you understand why you’re using a certain adhesive, your pages stay secure and your layouts feel more intentional.
This matters even more for baseball albums, which tend to be flipped through often and include heavier layers and interactive elements.

Supplies You’ll Need
To follow along with this project, you’ll need:
Photos from games, practices, or the season
Paper trimmer or scissors
Adhesive
Optional but helpful tools:
Liquid glue for detailed elements
Glue dots for embellishments
Foam adhesive for dimension
Having a small variety of adhesives on hand makes it easier to match the adhesive to the element you’re attaching. If you’re not sure what to buy, check out My Favorite Accessories page for recommended supply suggestions.
Why Adhesives Matter in Scrapbooking
Adhesives do more than just hold things in place.
The right adhesive:
Keeps photos and memorabilia secure
Prevents lifting, warping, and peeling
Helps your layouts look clean and professional
When you’re documenting a baseball season—with lots of page turning and handling—using the correct adhesive helps ensure your pages last for years.
Types of Scrapbooking Adhesives
Here are the most common adhesives you’ll use in scrapbooking:
Tape Runners or Adhesive Rollers
Great for everyday use and flat elements like photos, journaling cards, and background papers.
Liquid Glue
Best for small die cuts, titles, and detailed pieces. Use sparingly to avoid warping.
Glue Dots
Perfect for embellishments, badges, and layered accents.
Foam Adhesive
Adds dimension and helps key elements—like player photos or season titles—stand out.
Photo-Safe Adhesives
Always choose photo-safe adhesives to protect your baseball memories over time.
When to Use Each Adhesive
Use flat adhesives for:
Photos
Background papers
Journaling blocks
Use stronger or dimensional adhesives for:
Embellishments
Layered pieces
Thicker or heavier elements
If you’re adding memorabilia, reinforce it with extra adhesive for durability.
How Much Adhesive to Use
More adhesive doesn’t mean better results—it’s about placement.
For flat items:
Secure the corners and center
Make sure edges are fully adhered
For layered or heavier pieces:
Reinforce stress points
Add support where pages are handled most
Avoid overusing liquid glue, which can cause paper to wrinkle or warp.
Common Adhesive Mistakes to Avoid
Watch out for:
Using too much glue
Using non photo-safe adhesives
Relying on one adhesive for every element
Not accounting for page thickness or weight
A small variety of adhesives goes a long way toward creating durable, polished pages.

Tips for Clean, Professional Scrapbook Pages
A few simple habits can elevate your layouts:
Keep adhesive away from visible edges
Reinforce layered elements
Press items firmly before moving on
Let liquid glue dry fully before closing your Memorette
These steps help your baseball pages stay neat and secure season after season.
Final Thoughts on Scrapbooking Adhesives
Scrapbooking adhesives don’t have to be confusing.
When you use the right adhesive for the right job, your Baseball Memorette pages will stay secure, polished, and ready to flip through for years to come.
If you’d like to use the same supplies featured here, be sure to check out the Baseball Memorette, Baseball Page Kit, and Baseball Paper Pack.
You can also download the free Scrapbooking Adhesives Quick Guide, a printable reference with tips for choosing adhesives, placement, and long-lasting results—perfect to keep nearby while you scrapbook.
And if you love memory-keeping tips, techniques, and project ideas, don’t forget to sign up for my newsletter for more inspiration delivered straight to your inbox.
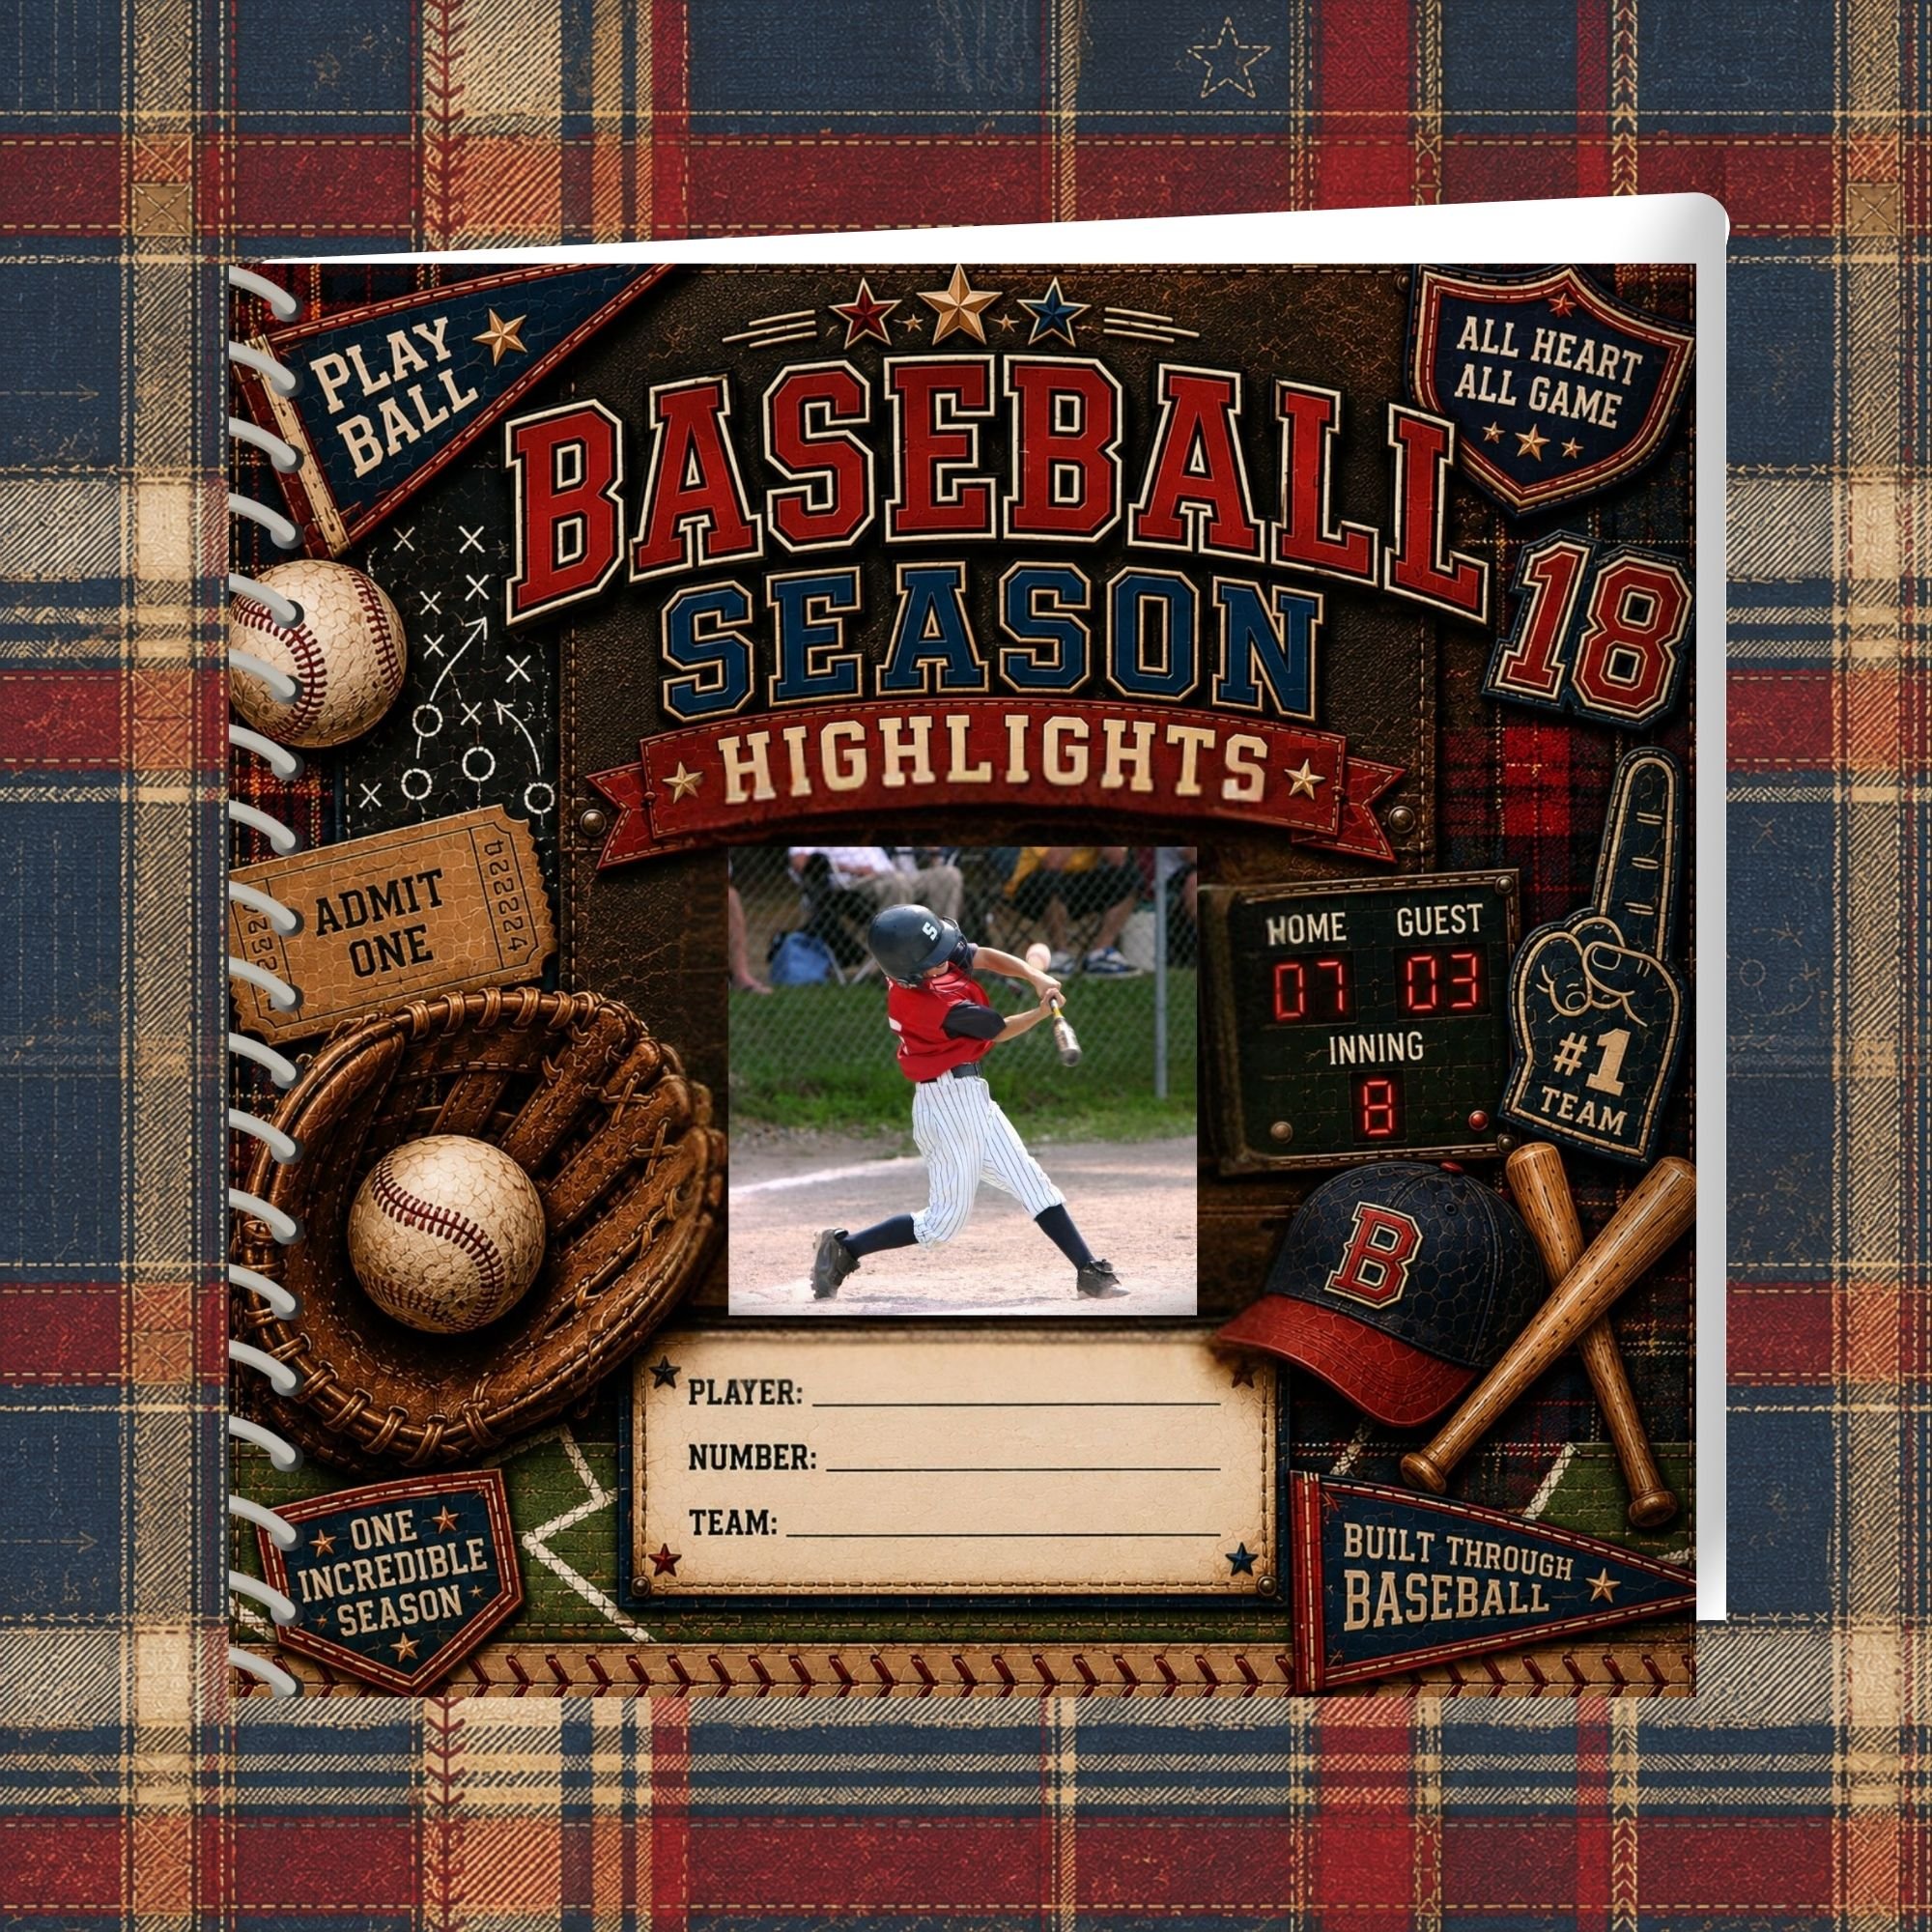
The Baseball Season Memorette is the perfect themed scrapbook designed to capture all the unforgettable moments from your season. Unlike anything you’ll find in stores, this memory book is thoughtfully created to reflect the excitement, teamwork, and once-in-a-lifetime memories that make baseball so special. From game days and big wins to team celebrations and the moments in between, it gives you a beautiful, coordinated way to turn your photos into a keepsake you’ll actually want to go back and relive.
This memory book comes complete with fully designed layouts so all you have to do is add your photos. Super easy, simple, and fun!
What’s Included
• Personalized cover page with your photo and season details
• Personalized back cover page with your photo
• Personalized title page with your photo
• 36 fully designed layouts — just add your photos
• 3 Journaling Pages with prompts to capture all the game details and stats
• Spiral Bound
• 11 x 11 inches
Perfect For
• Baseball seasons and team highlights
• Game days and tournament memories
• Capturing big plays, wins, and milestones
• Team celebrations and bonding moments
• Preserving a season you never want to forget
Happy scrapbooking—and if you’re documenting a baseball season, I’d love to know which team or season you’re working on