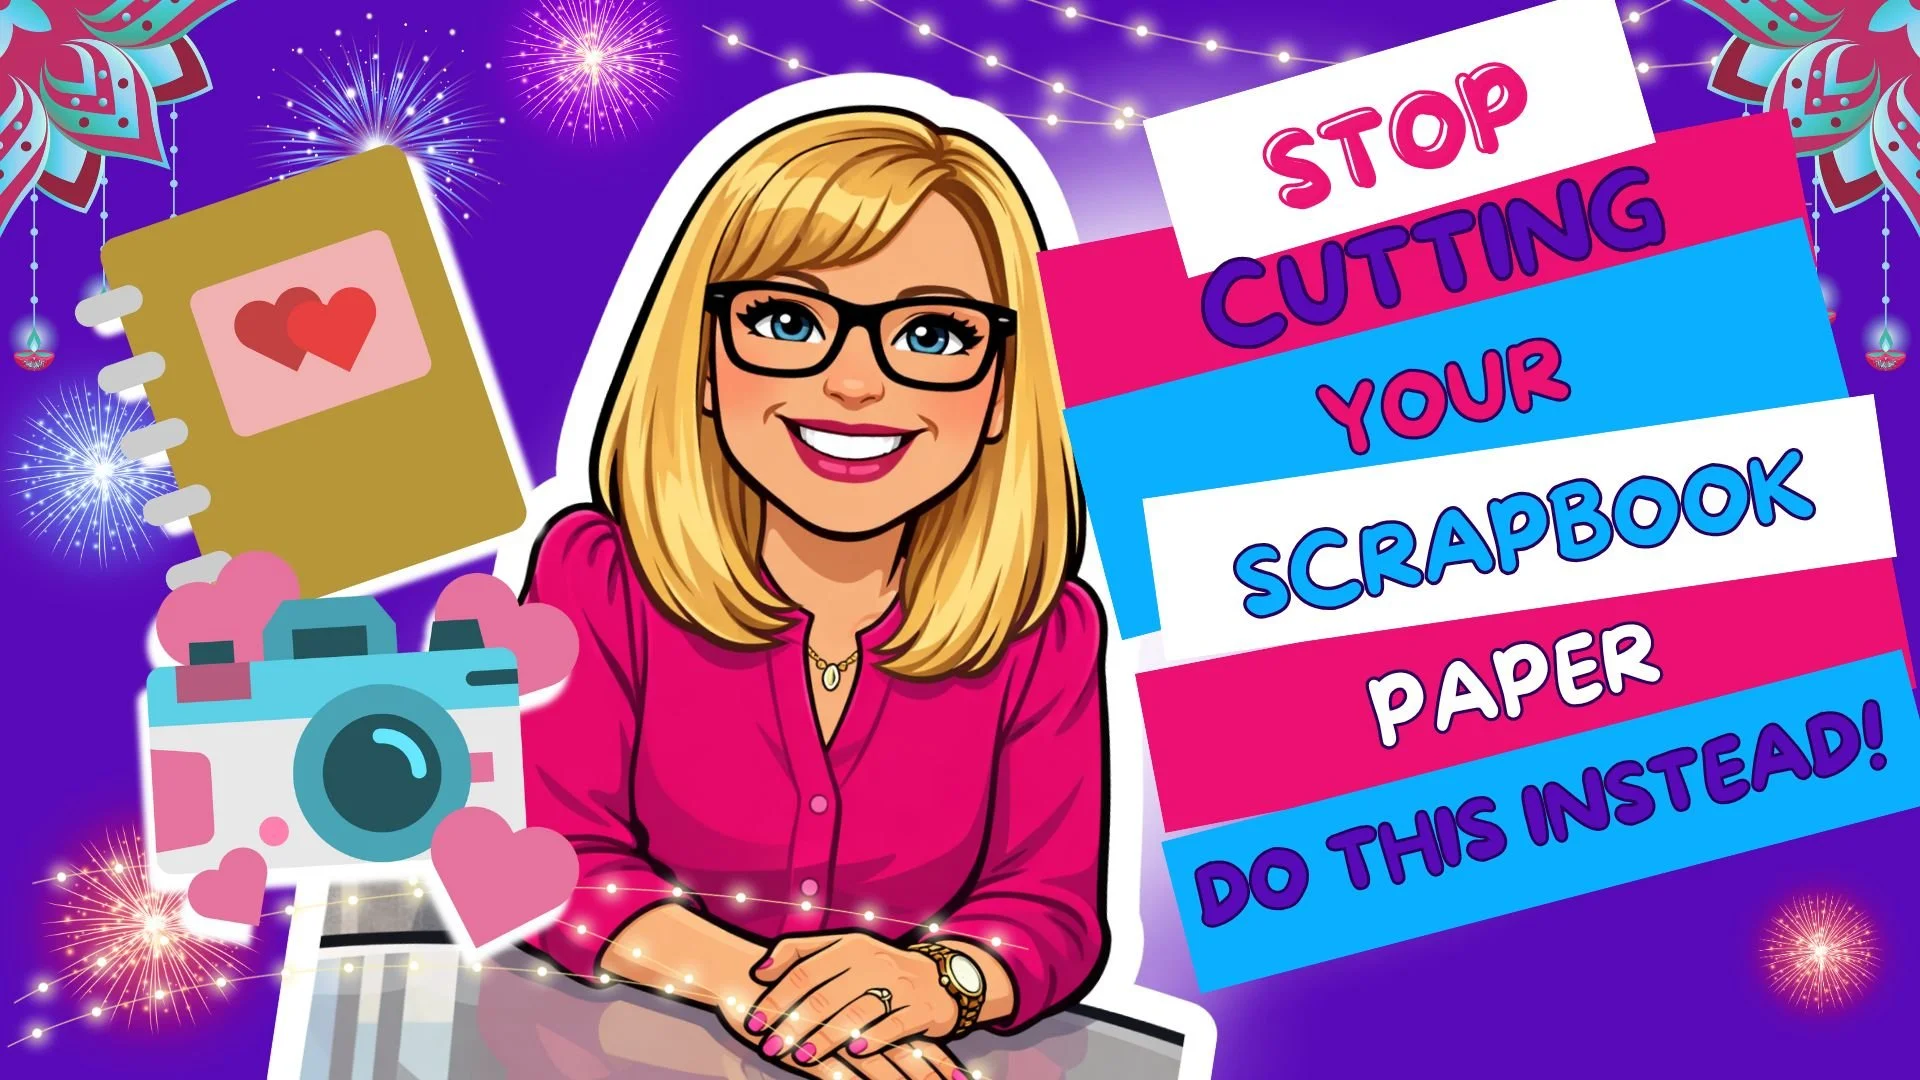
How to Tear & Rip Paper to Add Texture to Scrapbook Pages
Have you ever looked at a scrapbook page and thought, this feels a little too perfect… or maybe a little flat?
Sometimes straight lines and clean cuts can make a layout feel stiff—especially when you’re documenting something as meaningful and adventurous as travel. Travel memories are full of movement, discovery, and unexpected moments, and your scrapbook pages should reflect that feeling.
One of the easiest ways to do that? Tearing and ripping paper—intentionally.
In this post, I’m sharing how to tear and rip paper in a simple, controlled way to add texture, movement, and personality to your scrapbook pages—without making them feel messy or overwhelming.
Travel Scrapbooking Theme: The Travel Memorette

For this project, I’m working with the Travel Memorette, along with the coordinating Travel Page Kit and Travel Paper Pack.
Travel memories aren’t just about where you went—they’re about how it felt to be there. The Travel Memorette is designed with space for both photos and written reflections, making it easy to document the experience, not just the destination.
Using the coordinating page kit and paper pack makes experimenting with torn edges stress-free. The colors and patterns are already designed to work together, so you can focus on creativity instead of color matching.


The Technique: Tearing & Ripping Paper for Texture
The technique featured here is intentionally tearing and ripping paper to add visual interest and depth to scrapbook layouts.
This works especially well for travel pages because it:
Adds movement and energy
Softens rigid, boxy layouts
Creates an organic, well-traveled feel
The key is intention—knowing when and how to tear so the texture enhances the story instead of distracting from it.
Supplies You’ll Need
You don’t need a lot of tools to get started. Here’s what you’ll need to follow along:
Photos from your trip
Paper trimmer or scissors
Adhesive
Optional tools:
Ruler (for more controlled tearing)
Ink for edging
Bone folder or your fingers for curling edges
Not sure what supplies to buy? Check out My Favorite Accessories page for links to my recommended items!


When to Tear Paper vs. When to Cut
Knowing when to tear and when to keep clean cuts makes all the difference.
Tear paper for:
Background layers
Accent strips
Decorative edges behind photos
Keep clean cuts for:
Photo mats
Journaling blocks
Structural elements
Mixing torn edges with clean lines keeps your page balanced, grounded, and intentional.
Basic Paper Tearing Techniques
There are a few easy ways to tear paper, depending on the look you want.
Hand tearing creates soft, organic edges that feel relaxed and natural.
Tearing against a ruler or trimmer edge gives you more control while still keeping texture.
Ripping more quickly or in short sections creates bolder, more dramatic edges.
Experiment with each to see what fits your page and your story.
Direction & Placement Tips
How and where you tear matters just as much as the tear itself.
Try:
Tearing one edge for subtle texture
Tearing multiple edges for a more relaxed look
Tearing slightly on an angle to add movement
Layer torn pieces so they peek out from behind photos or journaling. This helps guide the eye across the page and adds visual flow.
Layering with the Travel Page Kit
This is where the Travel Page Kit really shines.
Layer a torn piece of patterned paper behind your photo, then add a solid torn layer underneath for contrast. Let the edges show just a little—enough to add interest without overpowering the layout.
Because everything coordinates, layering feels creative instead of overwhelming.
Optional Finishing Touches
These steps are optional, but they can elevate your page even more:
Ink torn edges for depth
Curl corners for dimension
Lightly distress paper for a lived-in, travel-worn feel
The goal is texture with intention, not chaos.
Common Mistakes to Avoid
A few things to watch out for:
Tearing every single element on the page
Losing structure or balance
Using too many competing textures
Your torn edges should enhance the story—not distract from it.
Final Thoughts on Tearing & Ripping Paper
Tearing and ripping paper is a simple technique, but it makes a big impact—especially for travel memory keeping. It adds movement, texture, and personality in a way clean cuts simply can’t.
If you’d like to use the same supplies featured here, be sure to check out the Travel Memorette, Travel Page Kit, and Travel Paper Pack. They’re designed to work together so you can create cohesive, polished pages without the overwhelm.
You can also download the free Ripping & Tearing Paper Quick Guide, a printable reference with tips for techniques, placement, and layering—perfect to keep nearby while you scrapbook.
And if you love memory-keeping tips, techniques, and project ideas, don’t forget to sign up for my newsletter for even more inspiration delivered straight to your inbox.
Happy Scrapbooking!