How to Create 3D Scrapbook Pages with Dimension & Layered Details
Have you ever looked at a scrapbook page and thought… this feels a little flat?
Sometimes even beautiful papers and meaningful photos can fall short if everything sits on the same level. When you’re documenting something as layered and emotional as motherhood, your pages deserve depth — visually and sentimentally.
One of the easiest ways to elevate your layouts?
Adding intentional 3D elements.
In this post, I’m sharing how to create dimensional scrapbook pages using layering, foam adhesive, die cuts, and thoughtful placement — without making your layout feel bulky or overwhelming.
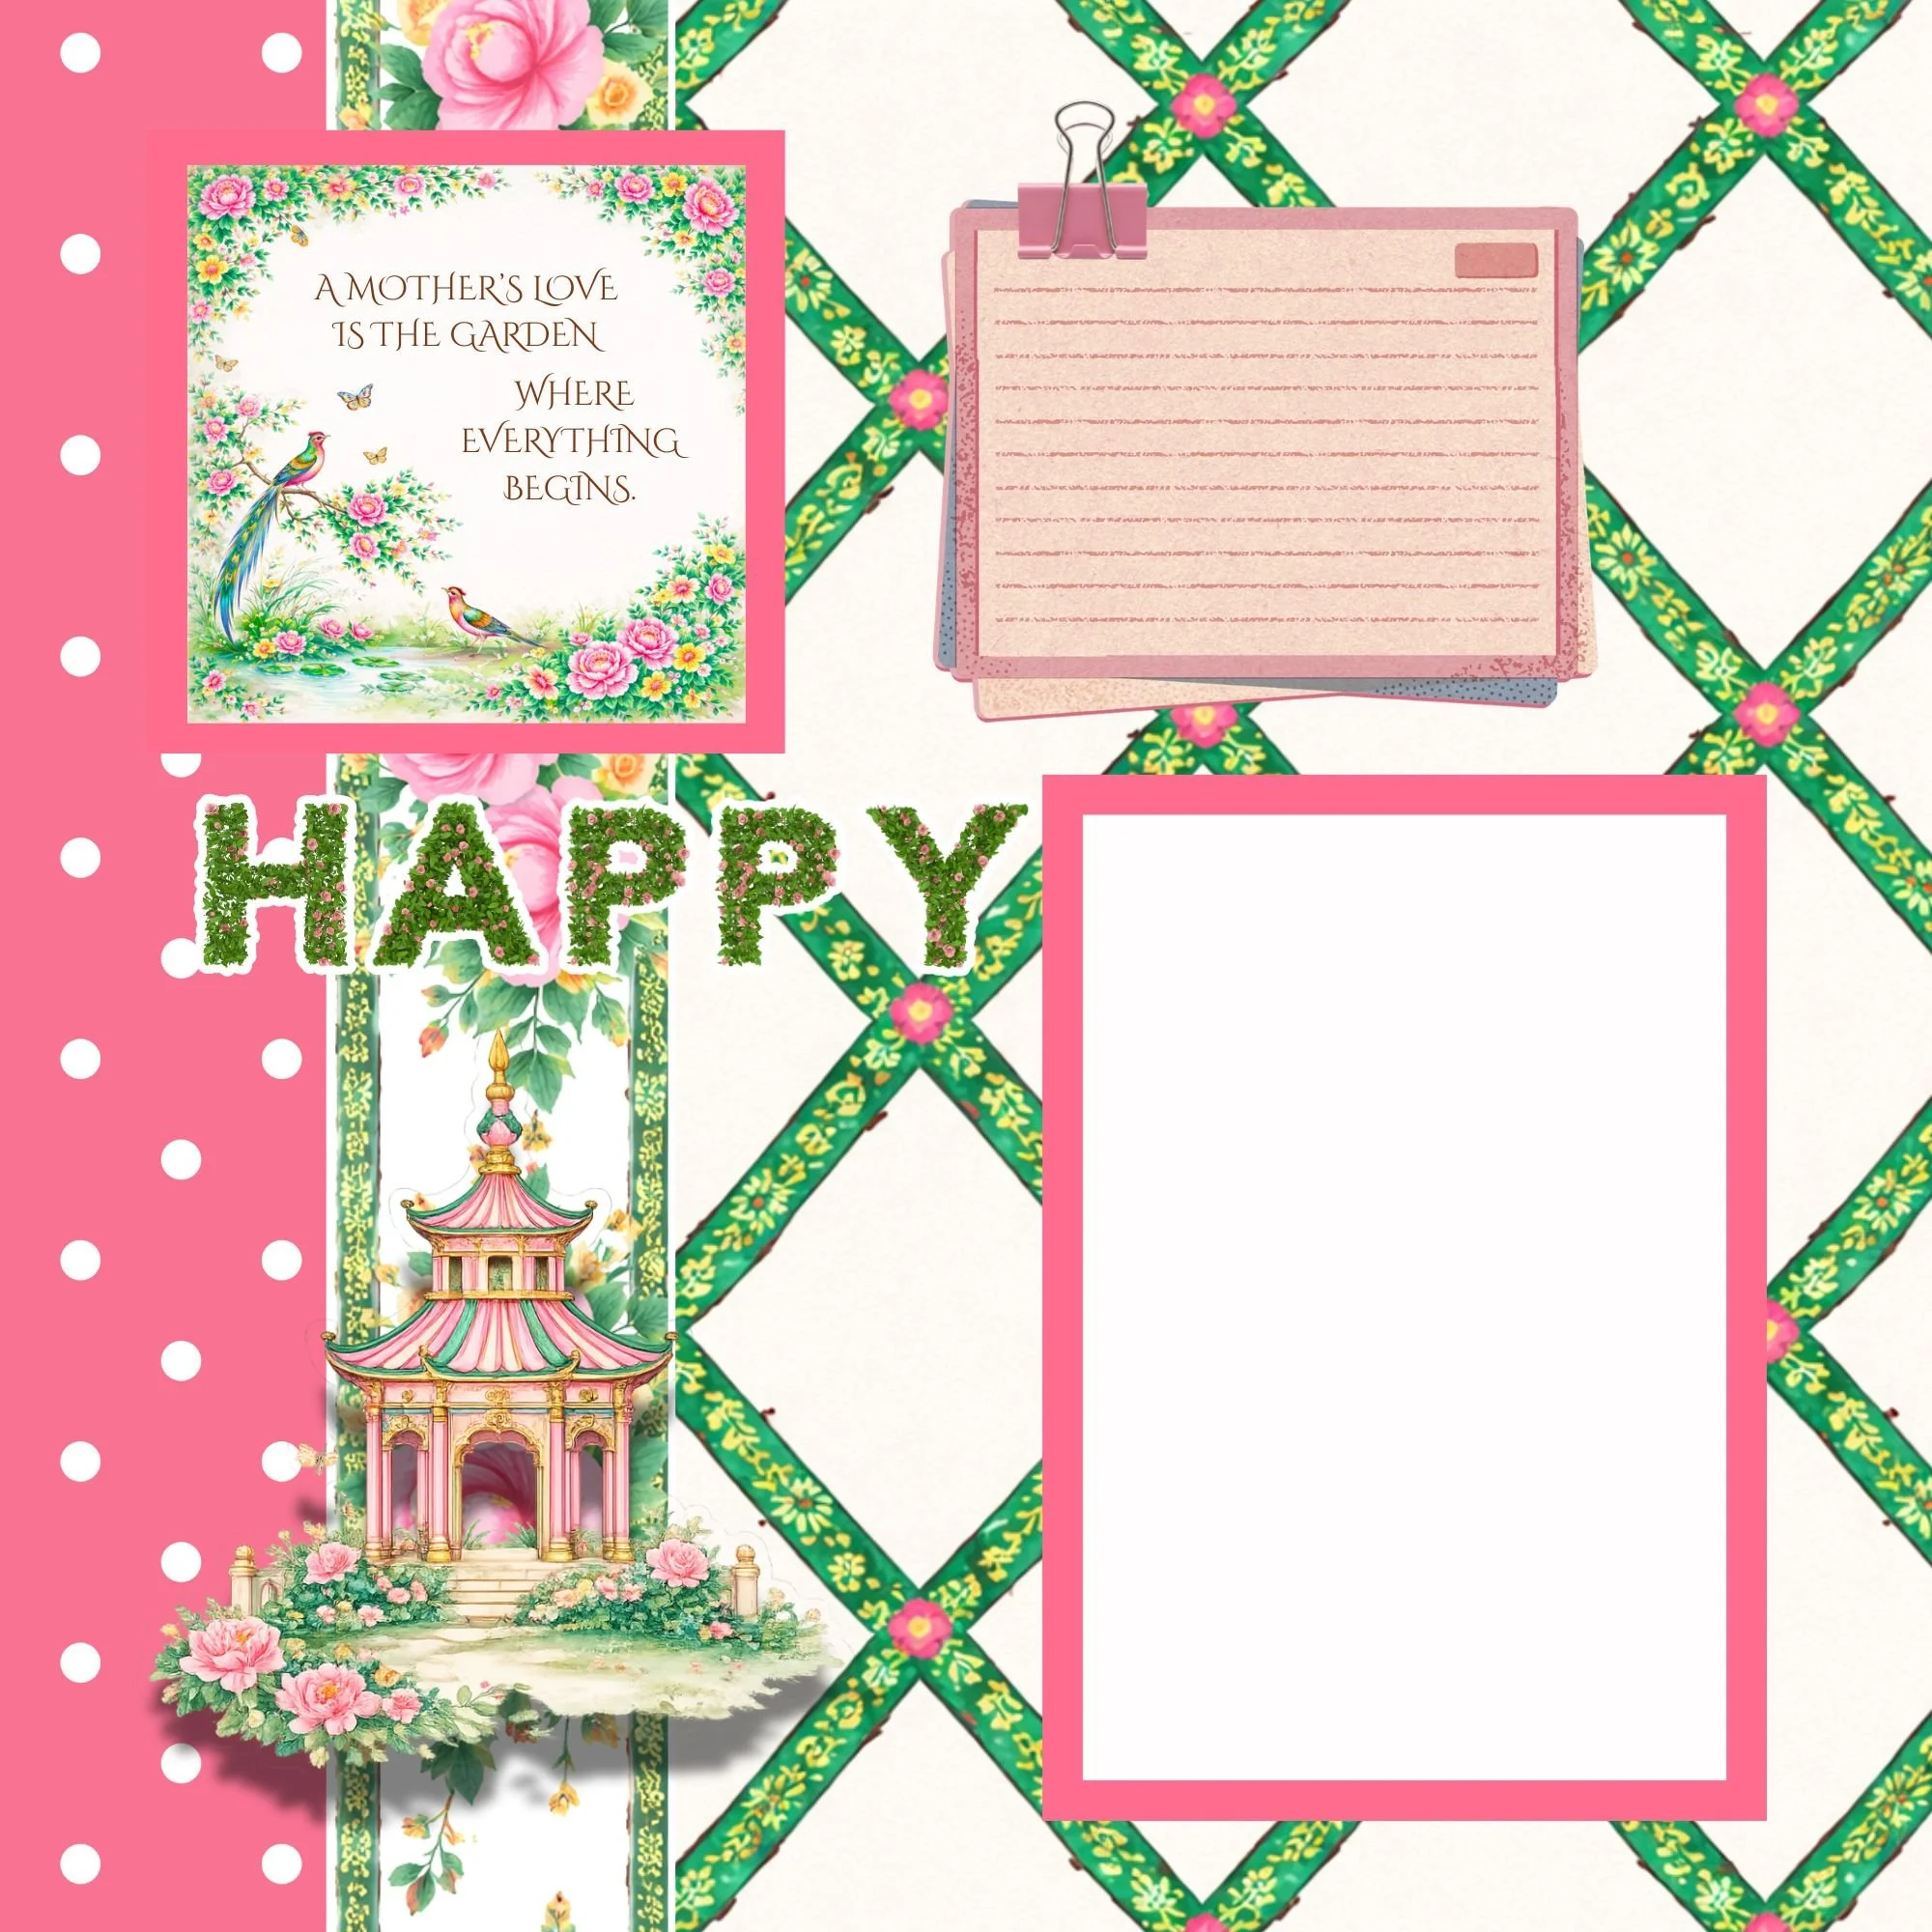
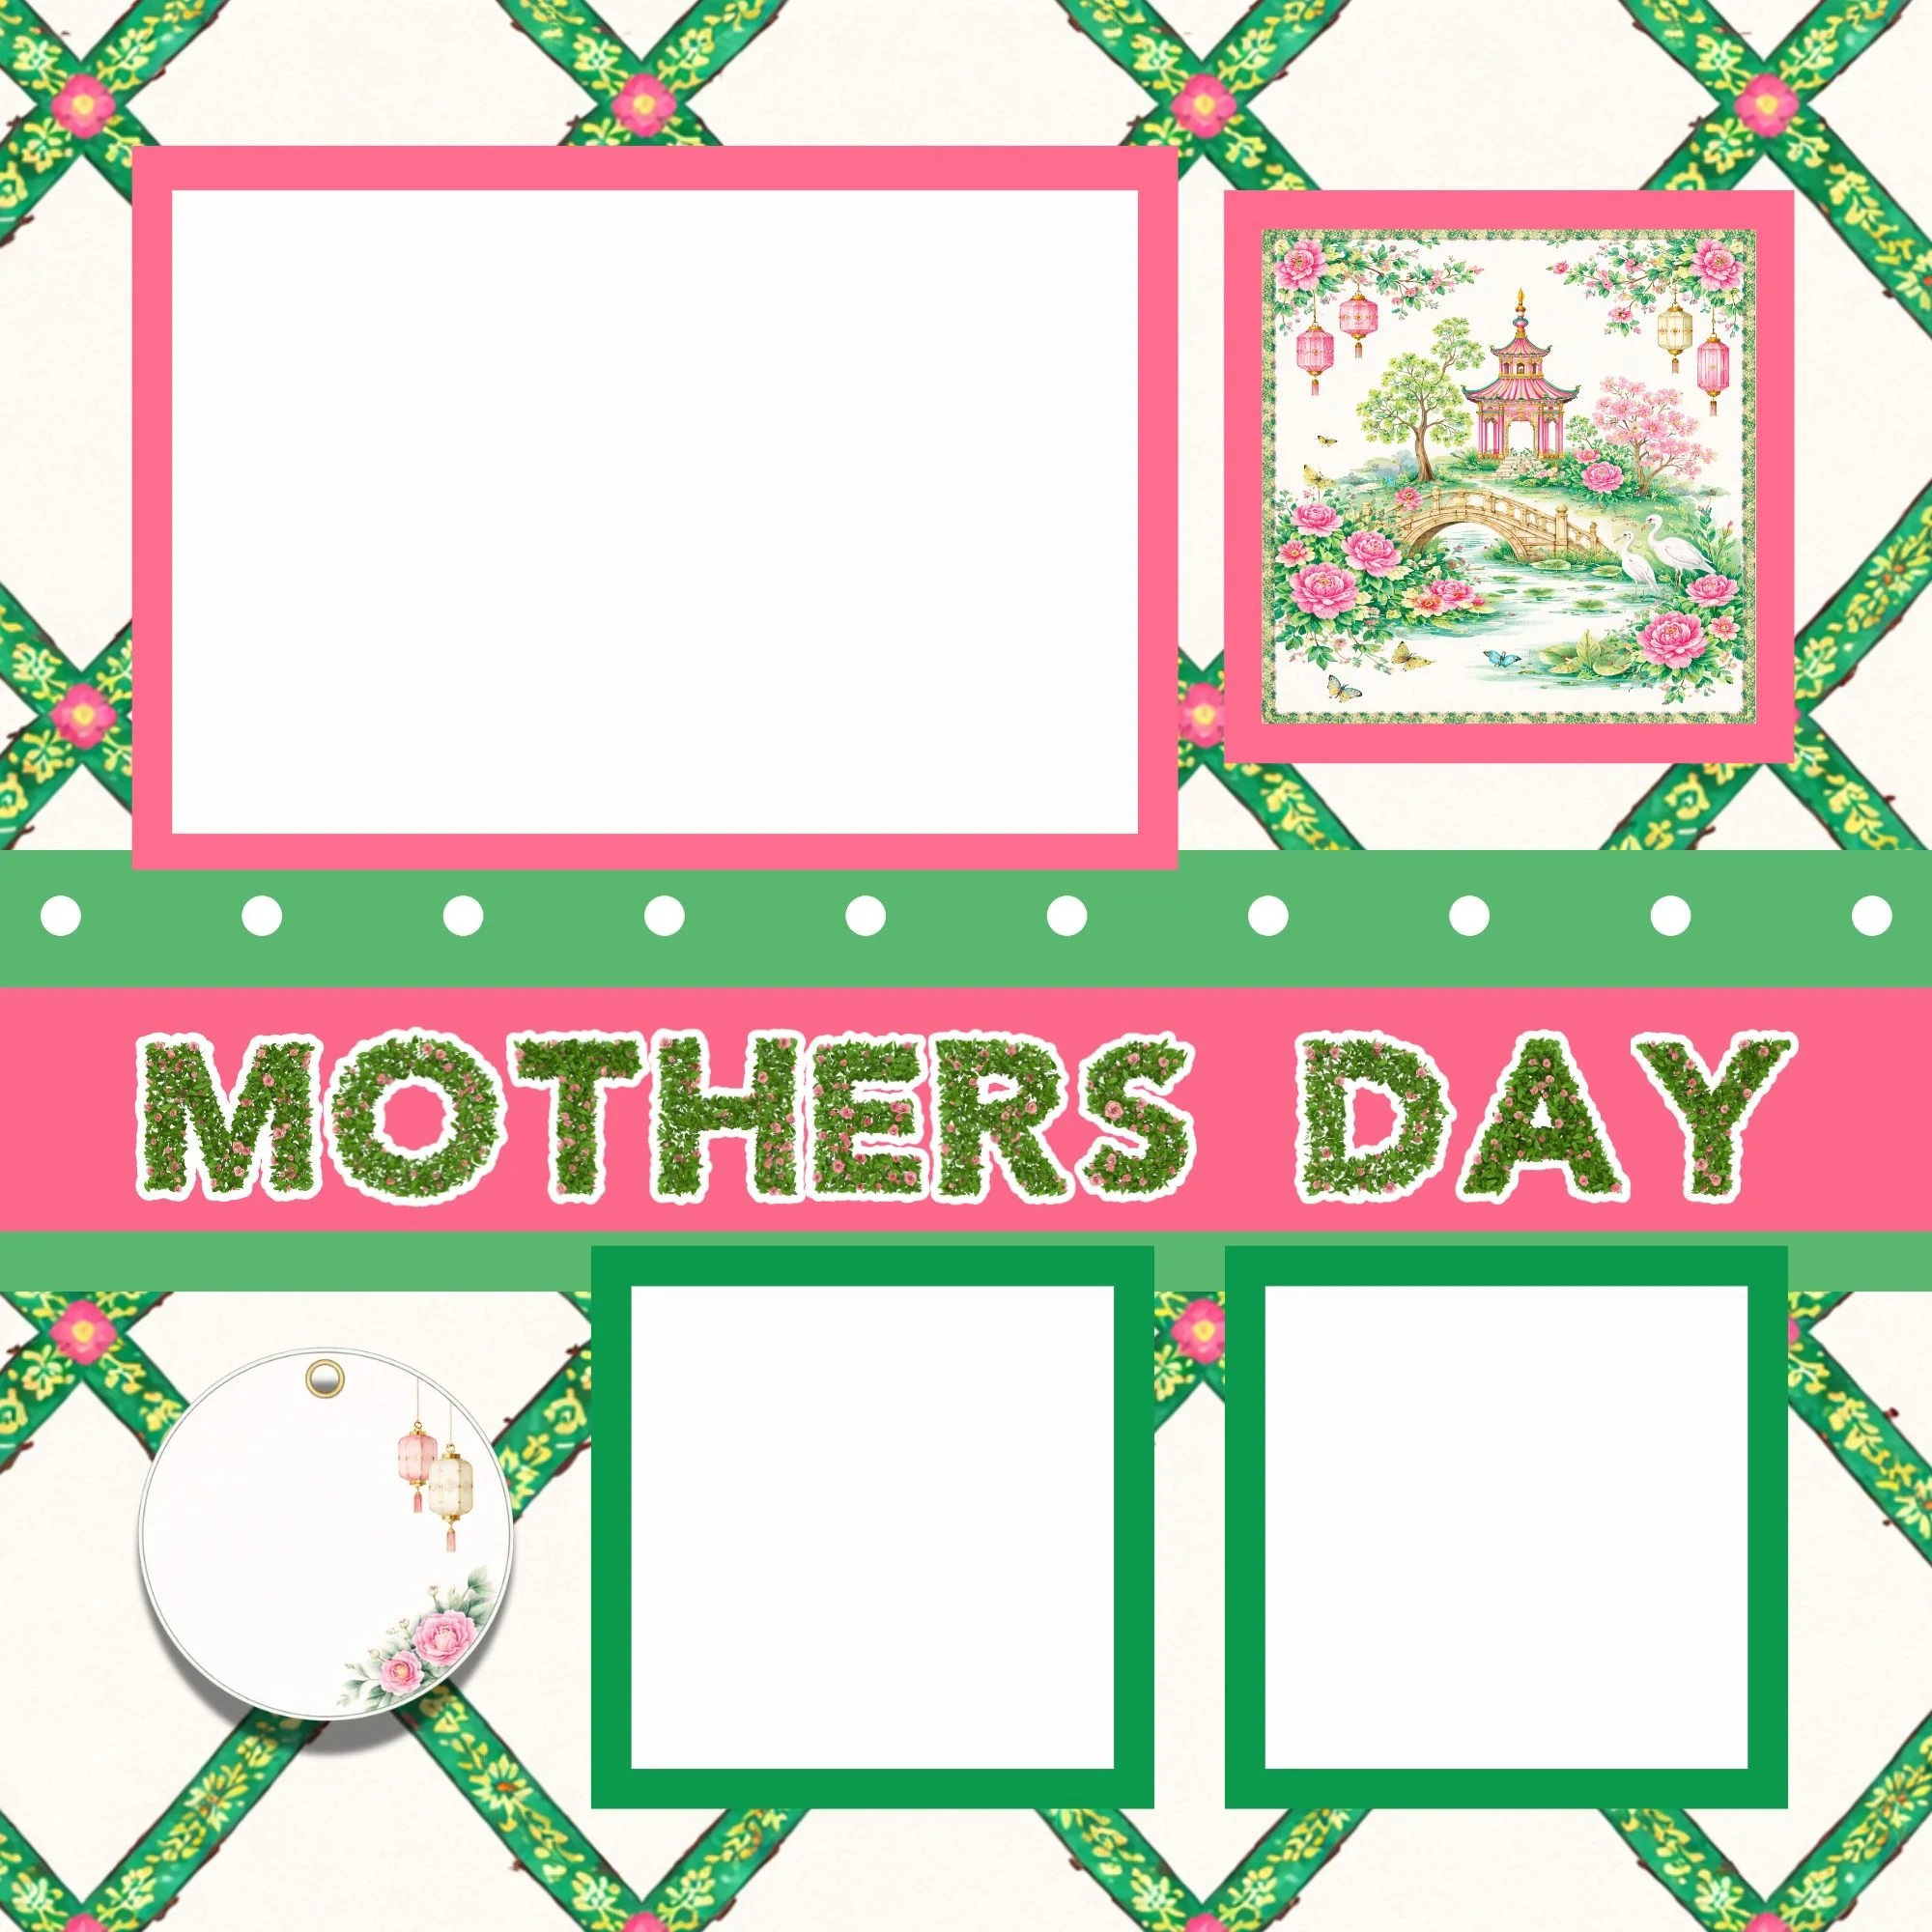
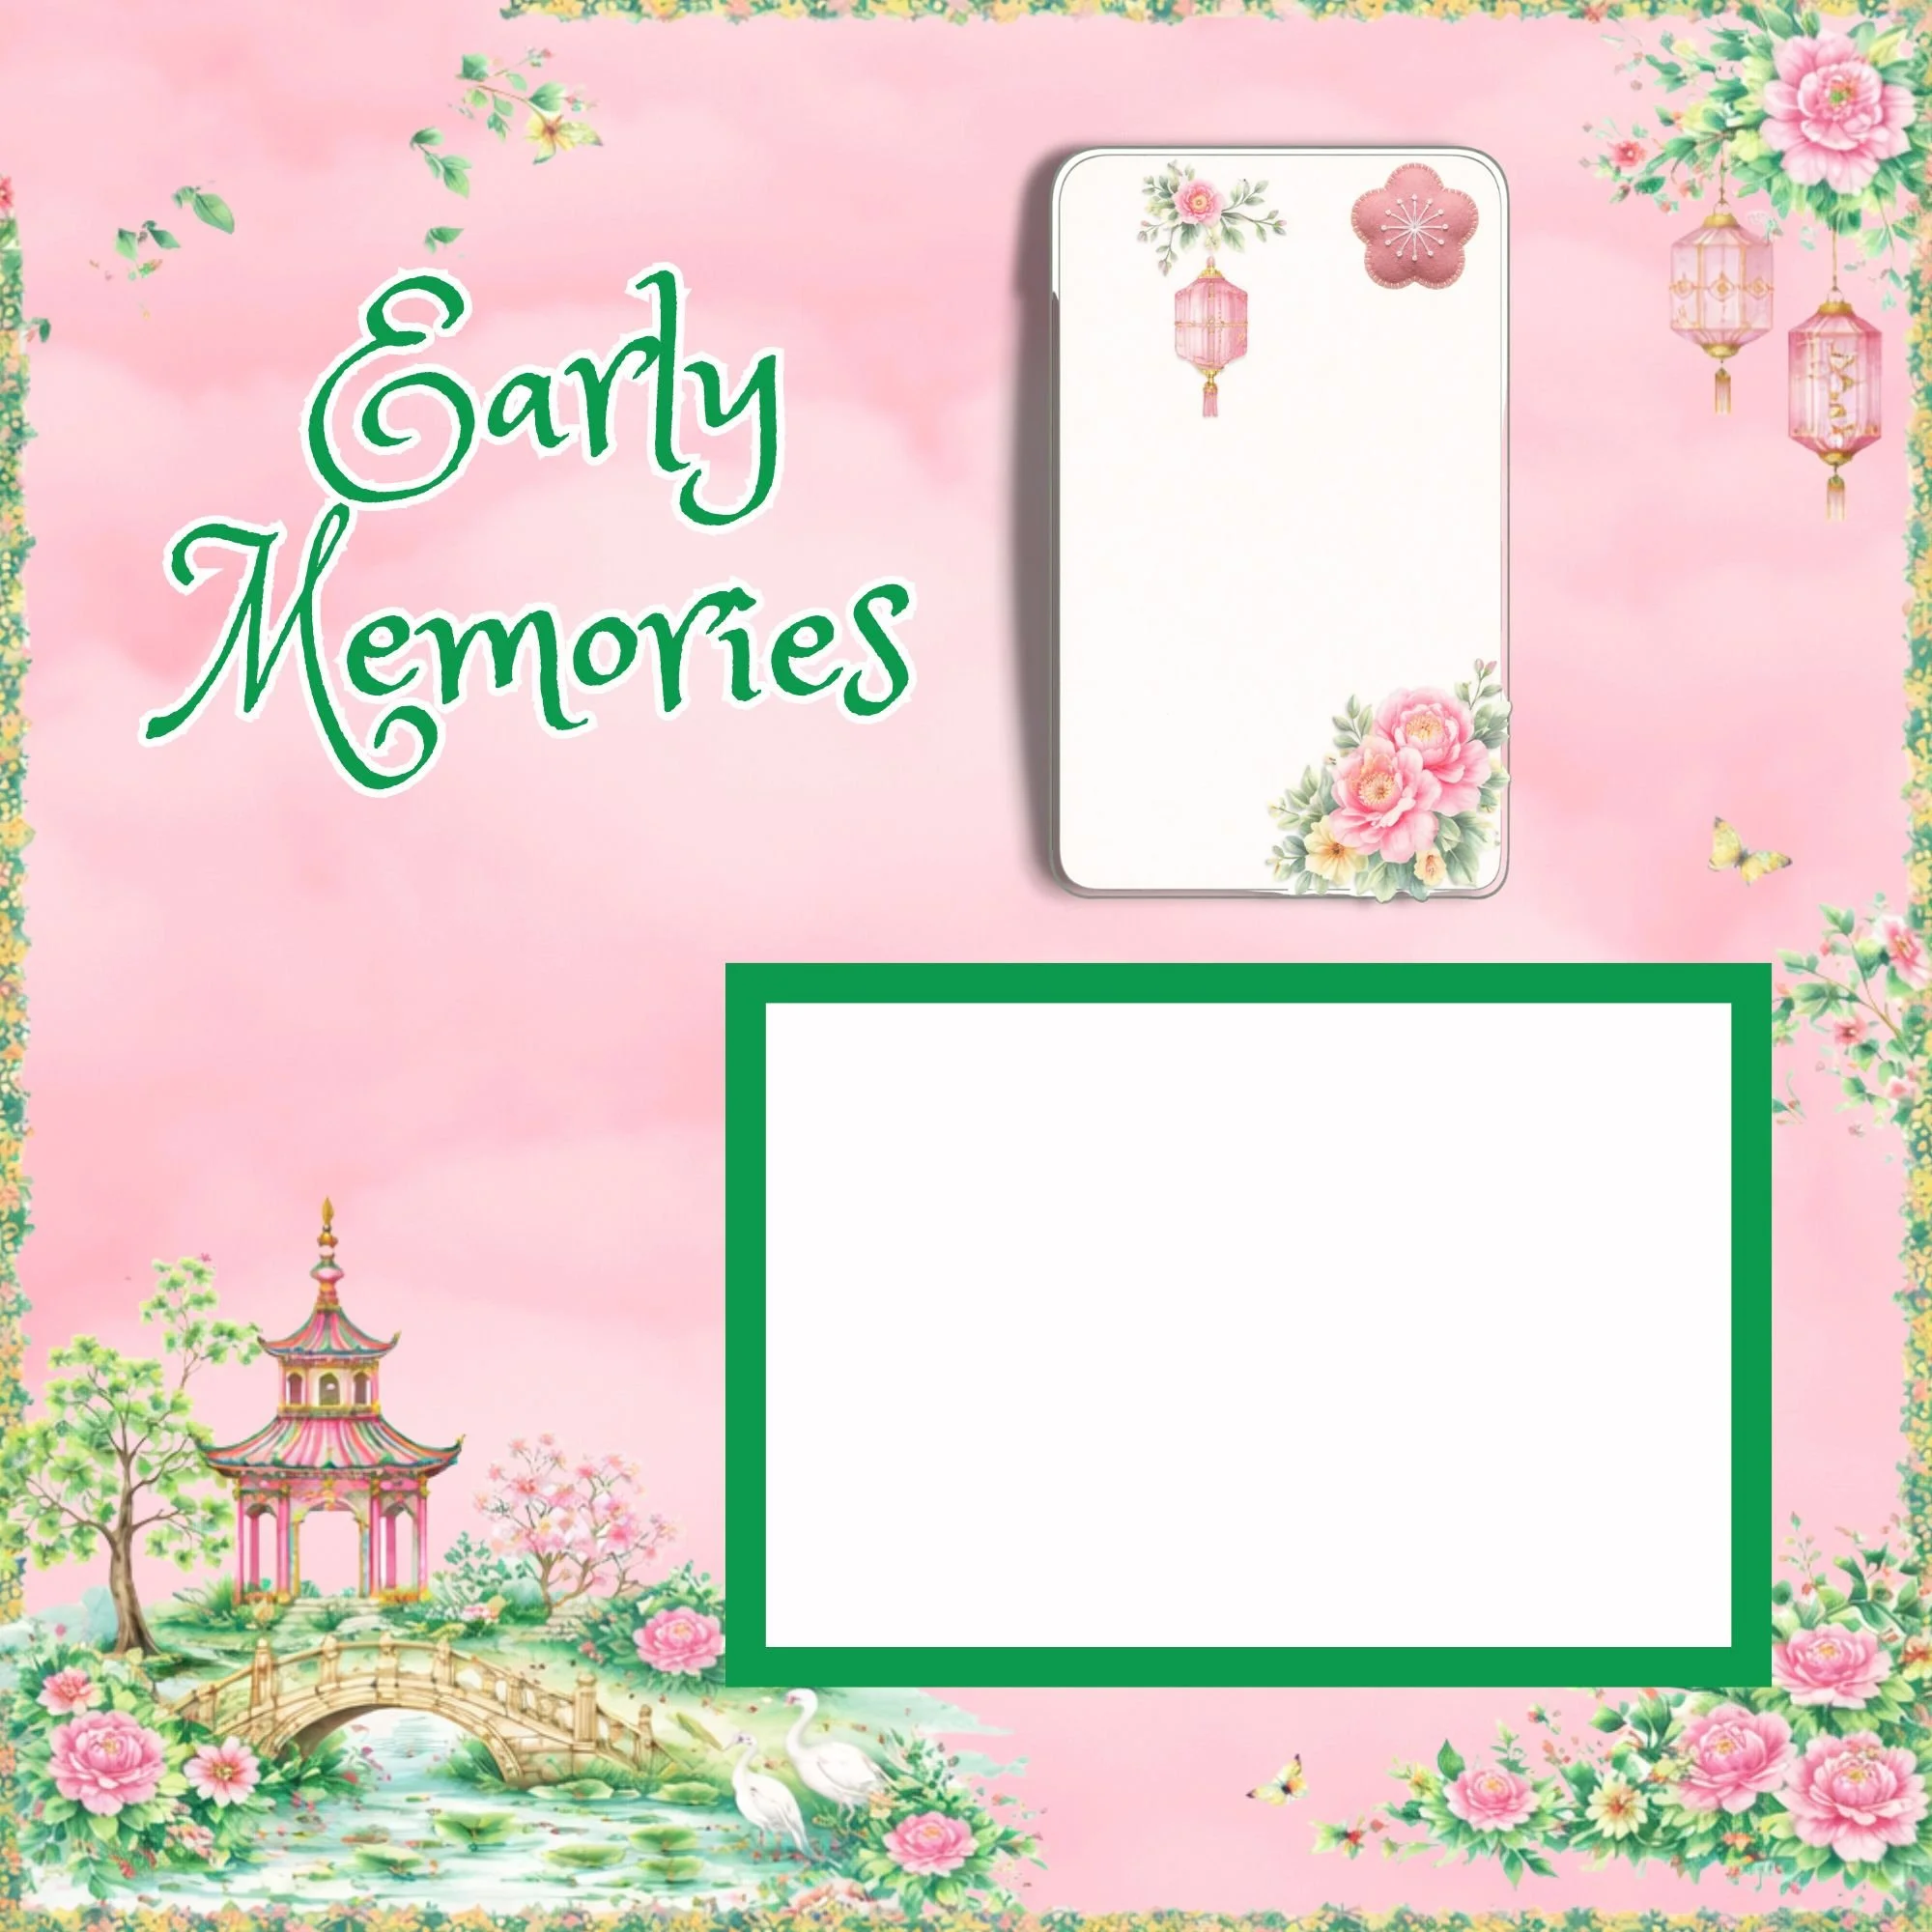
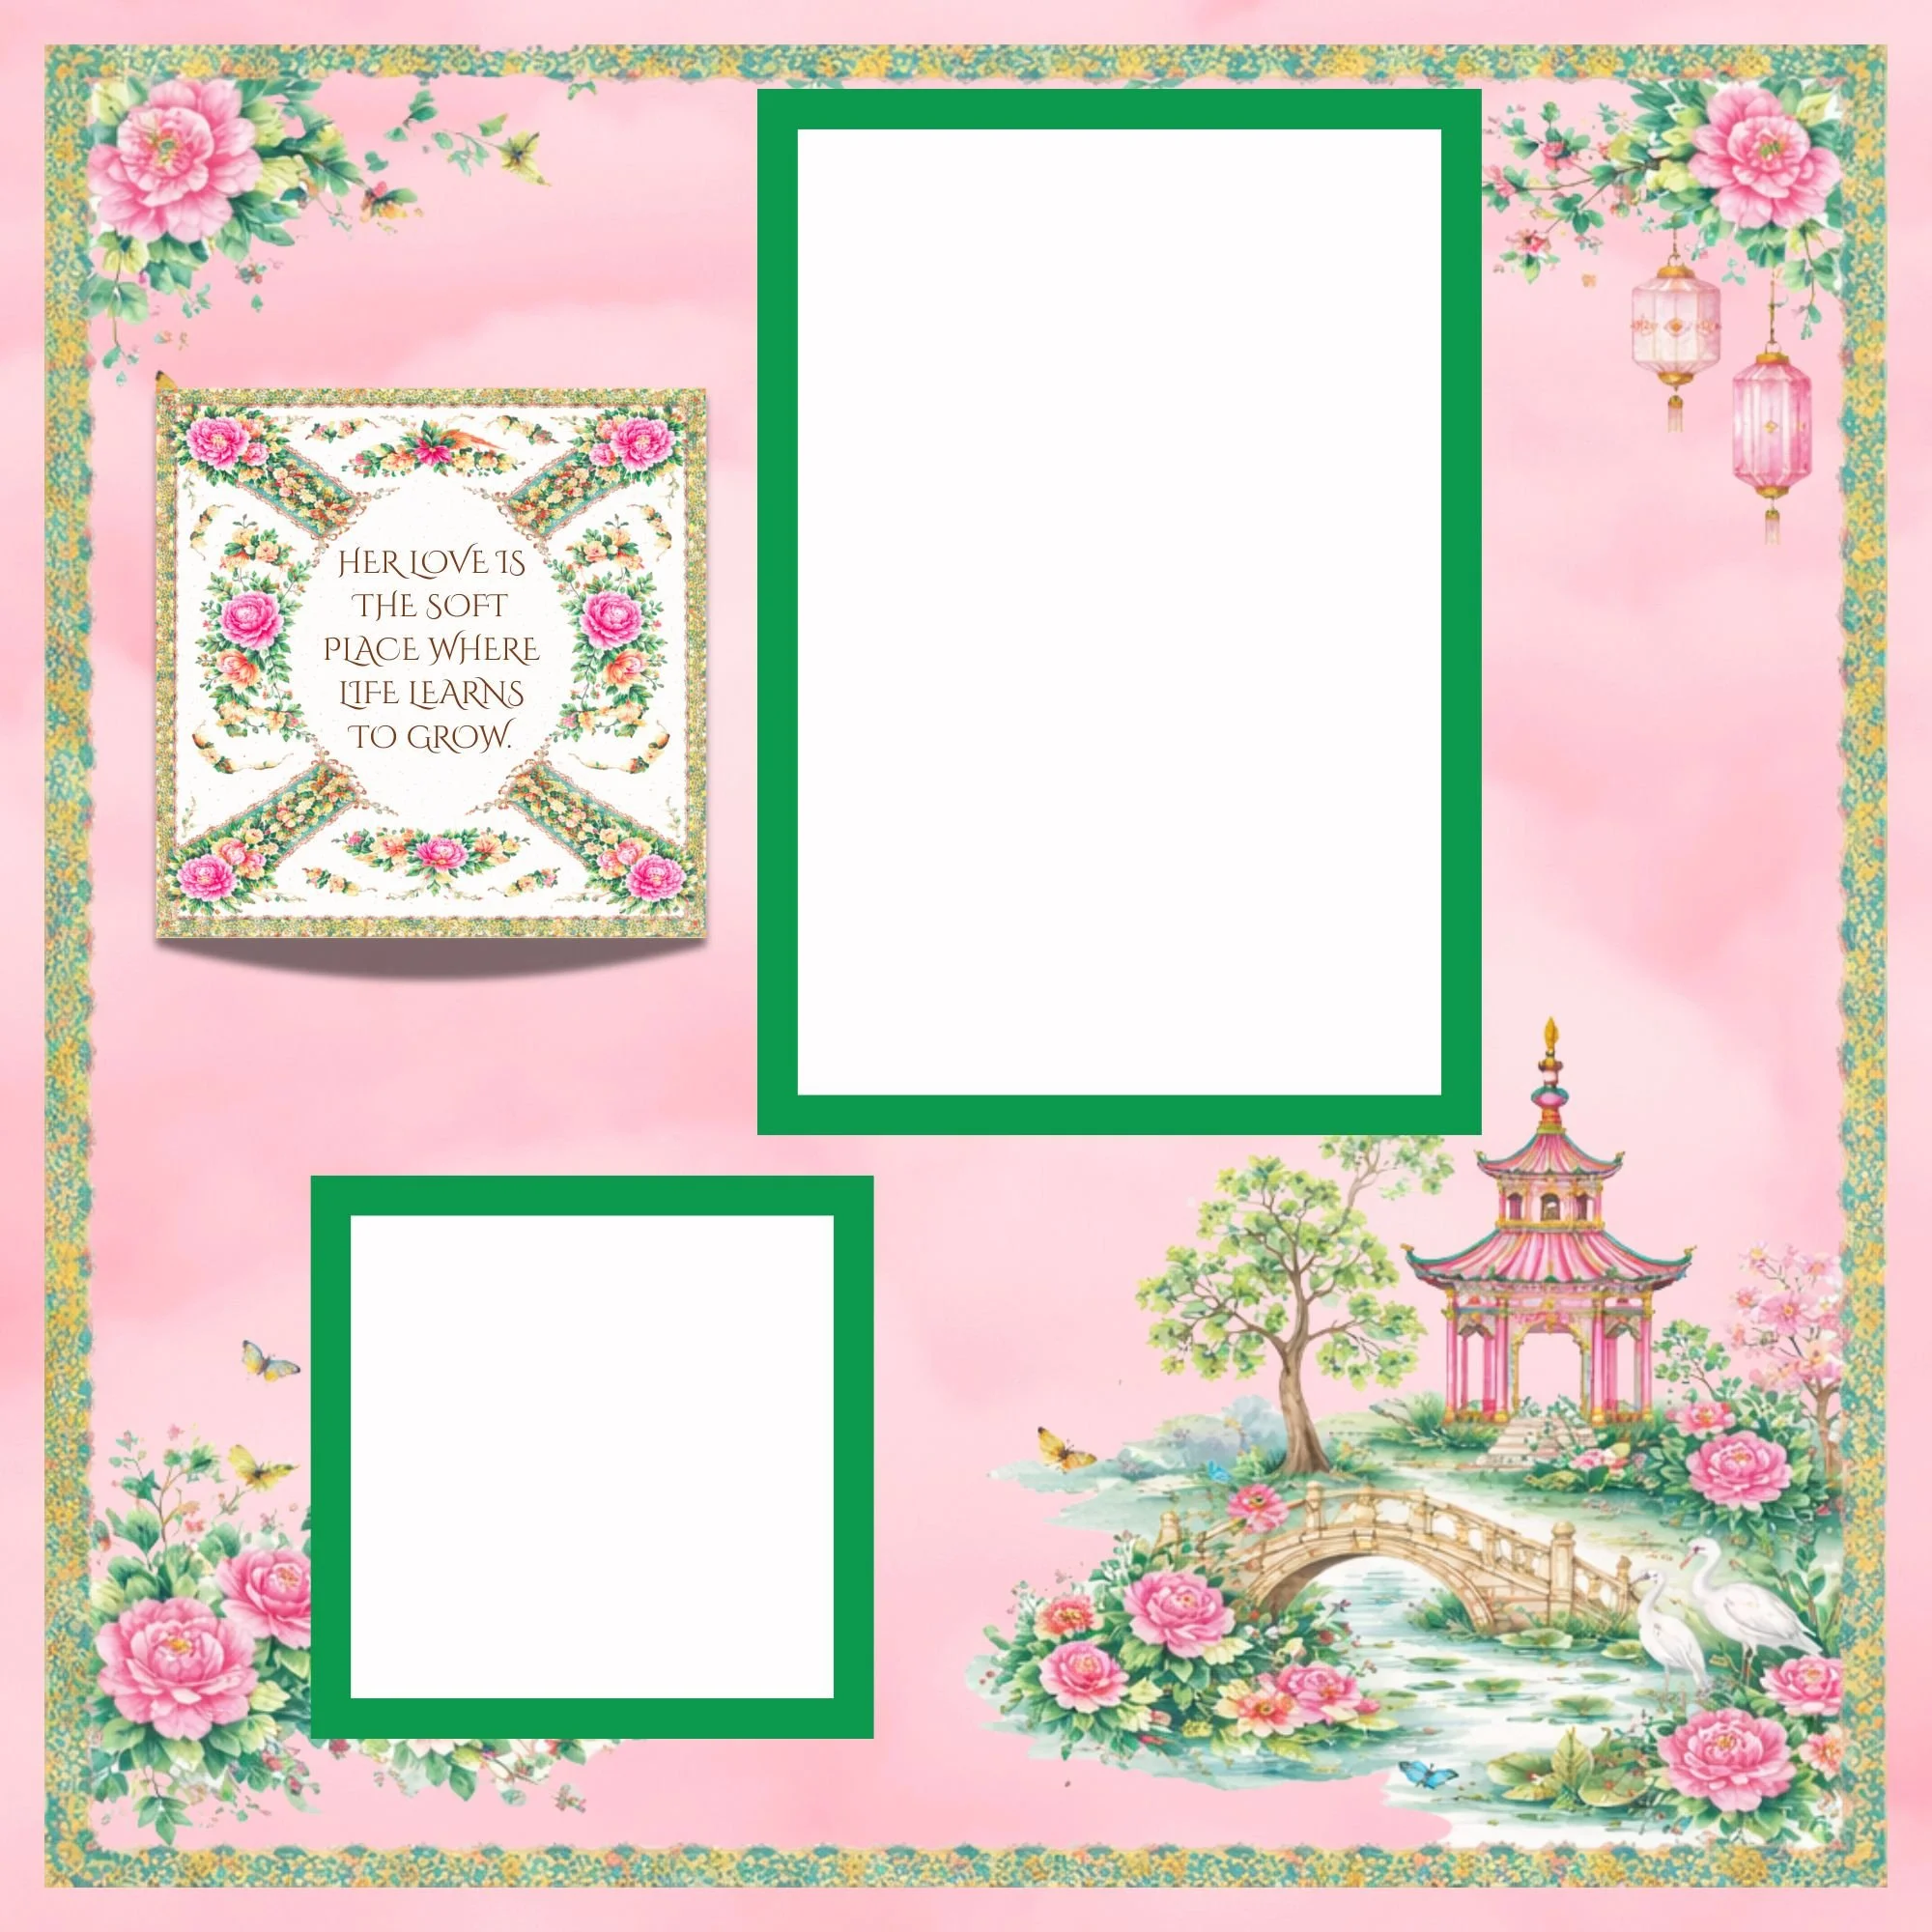
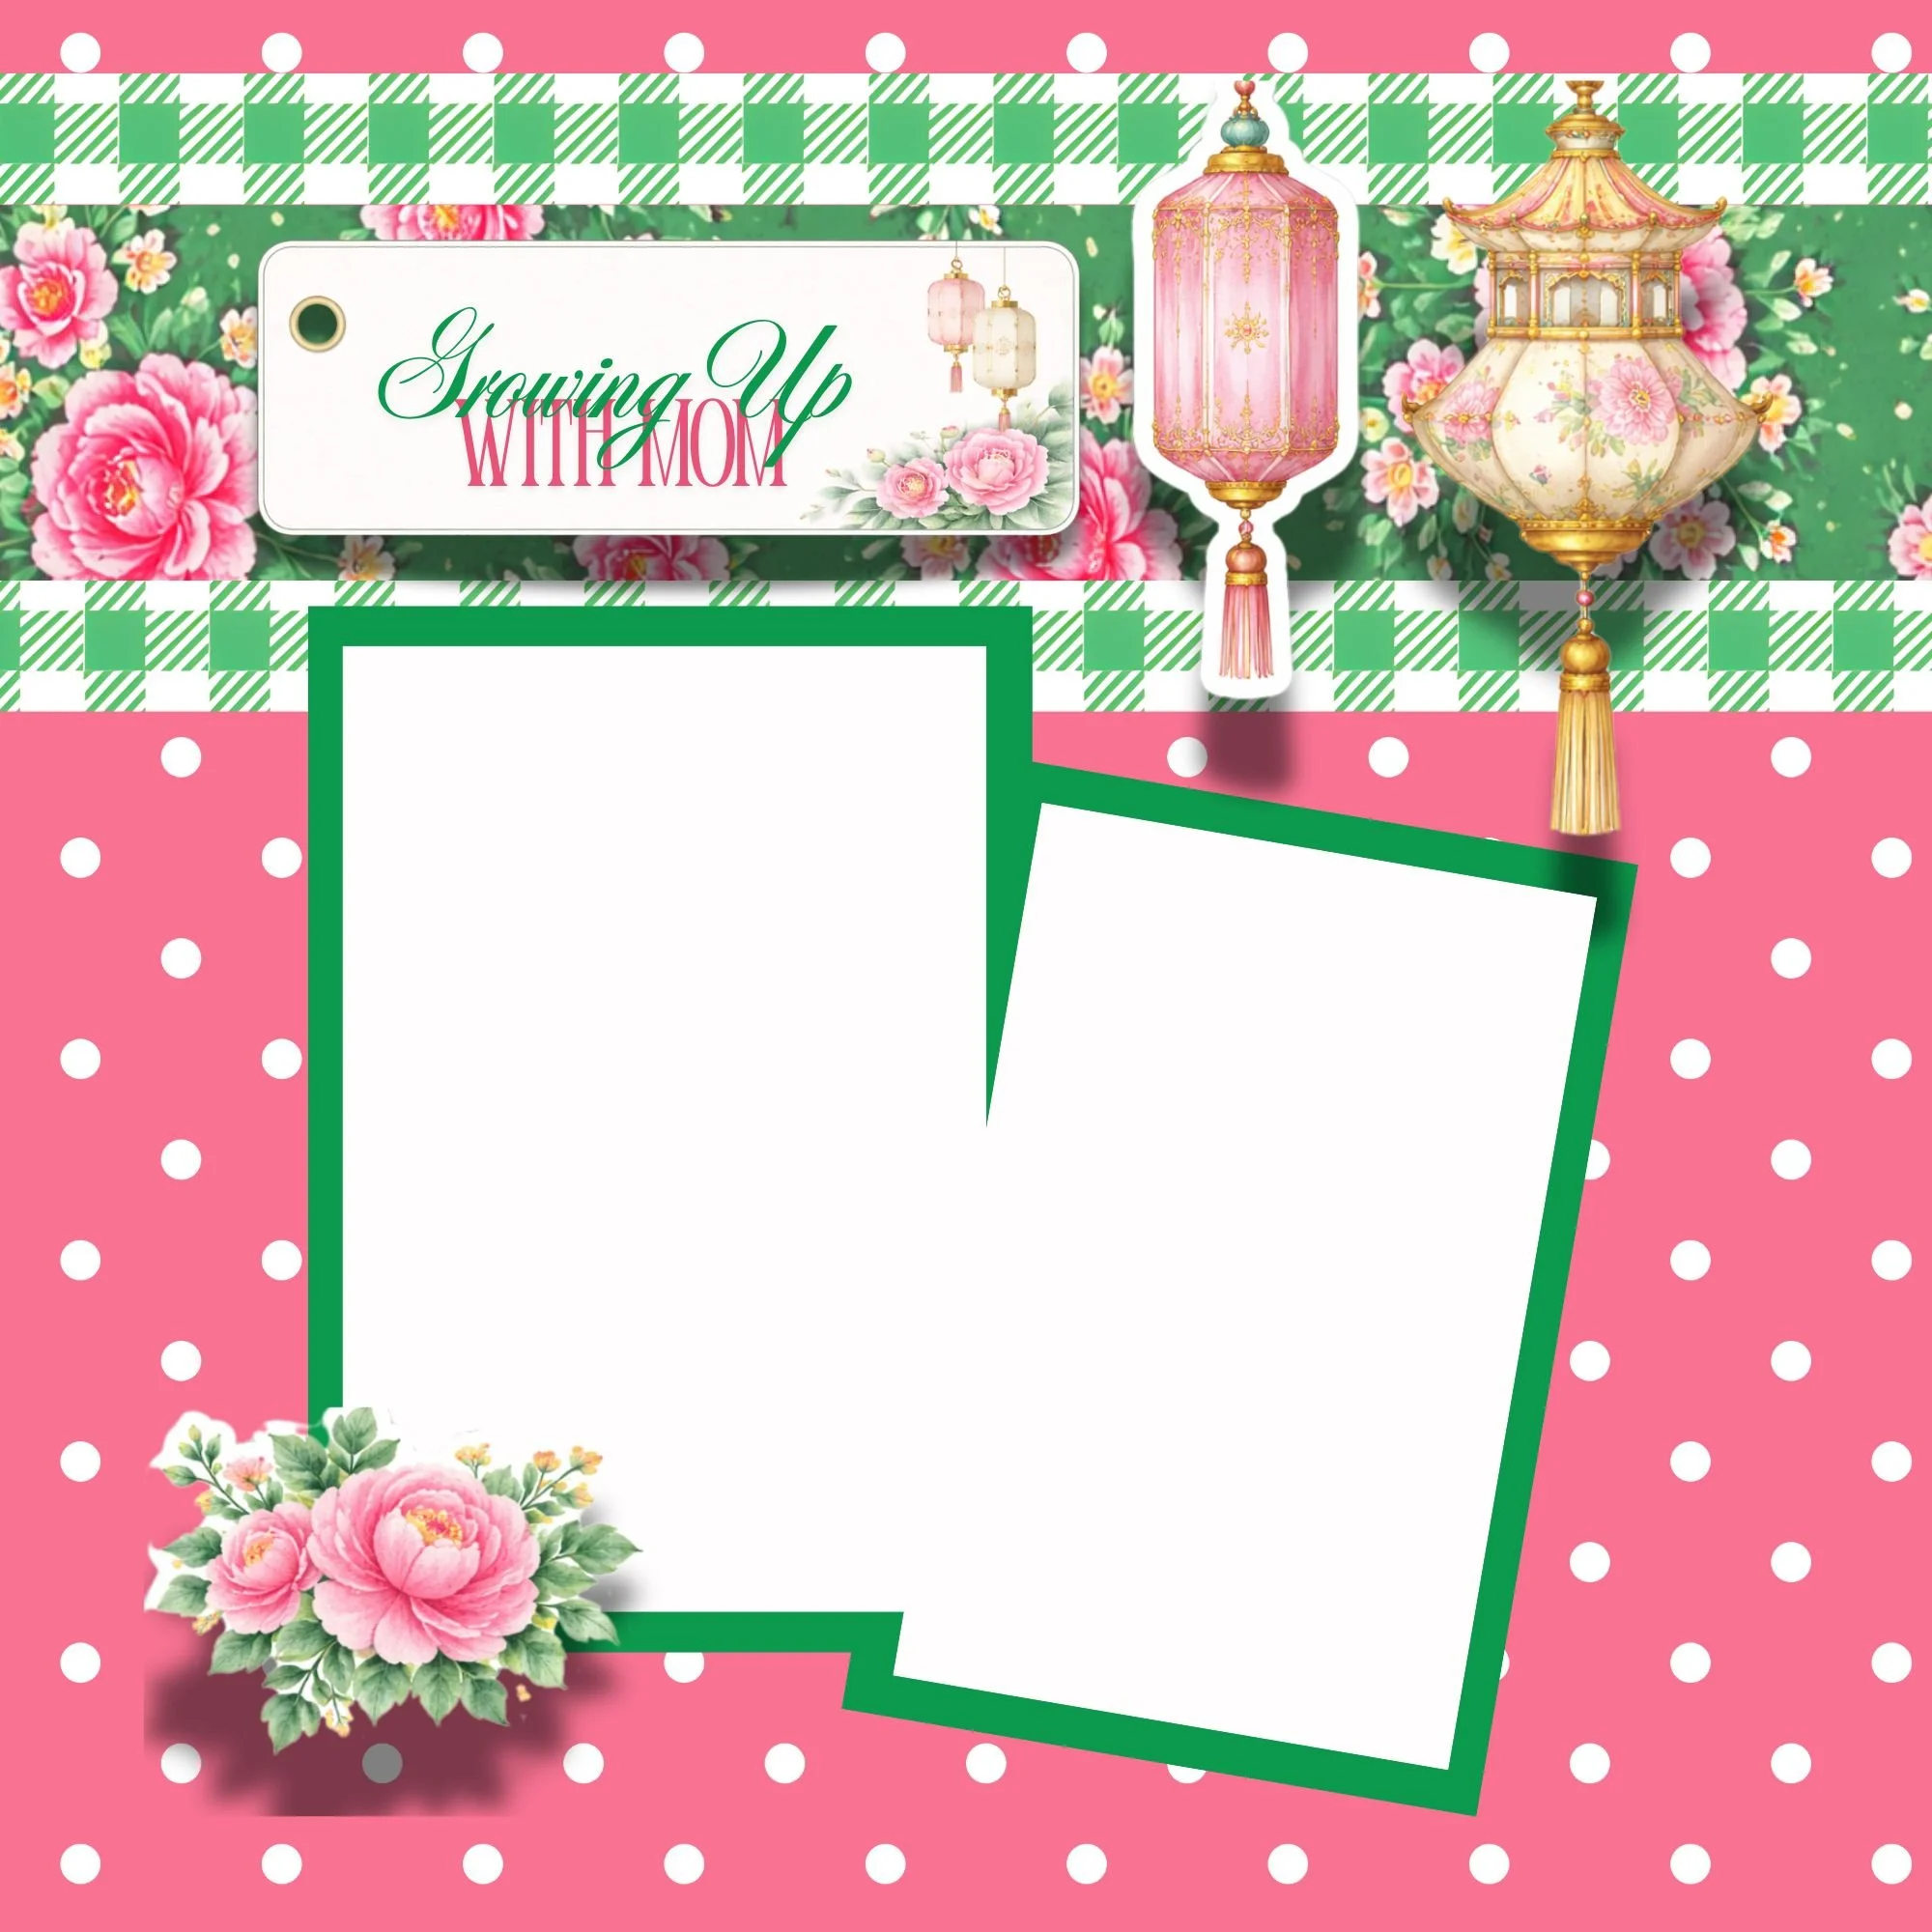
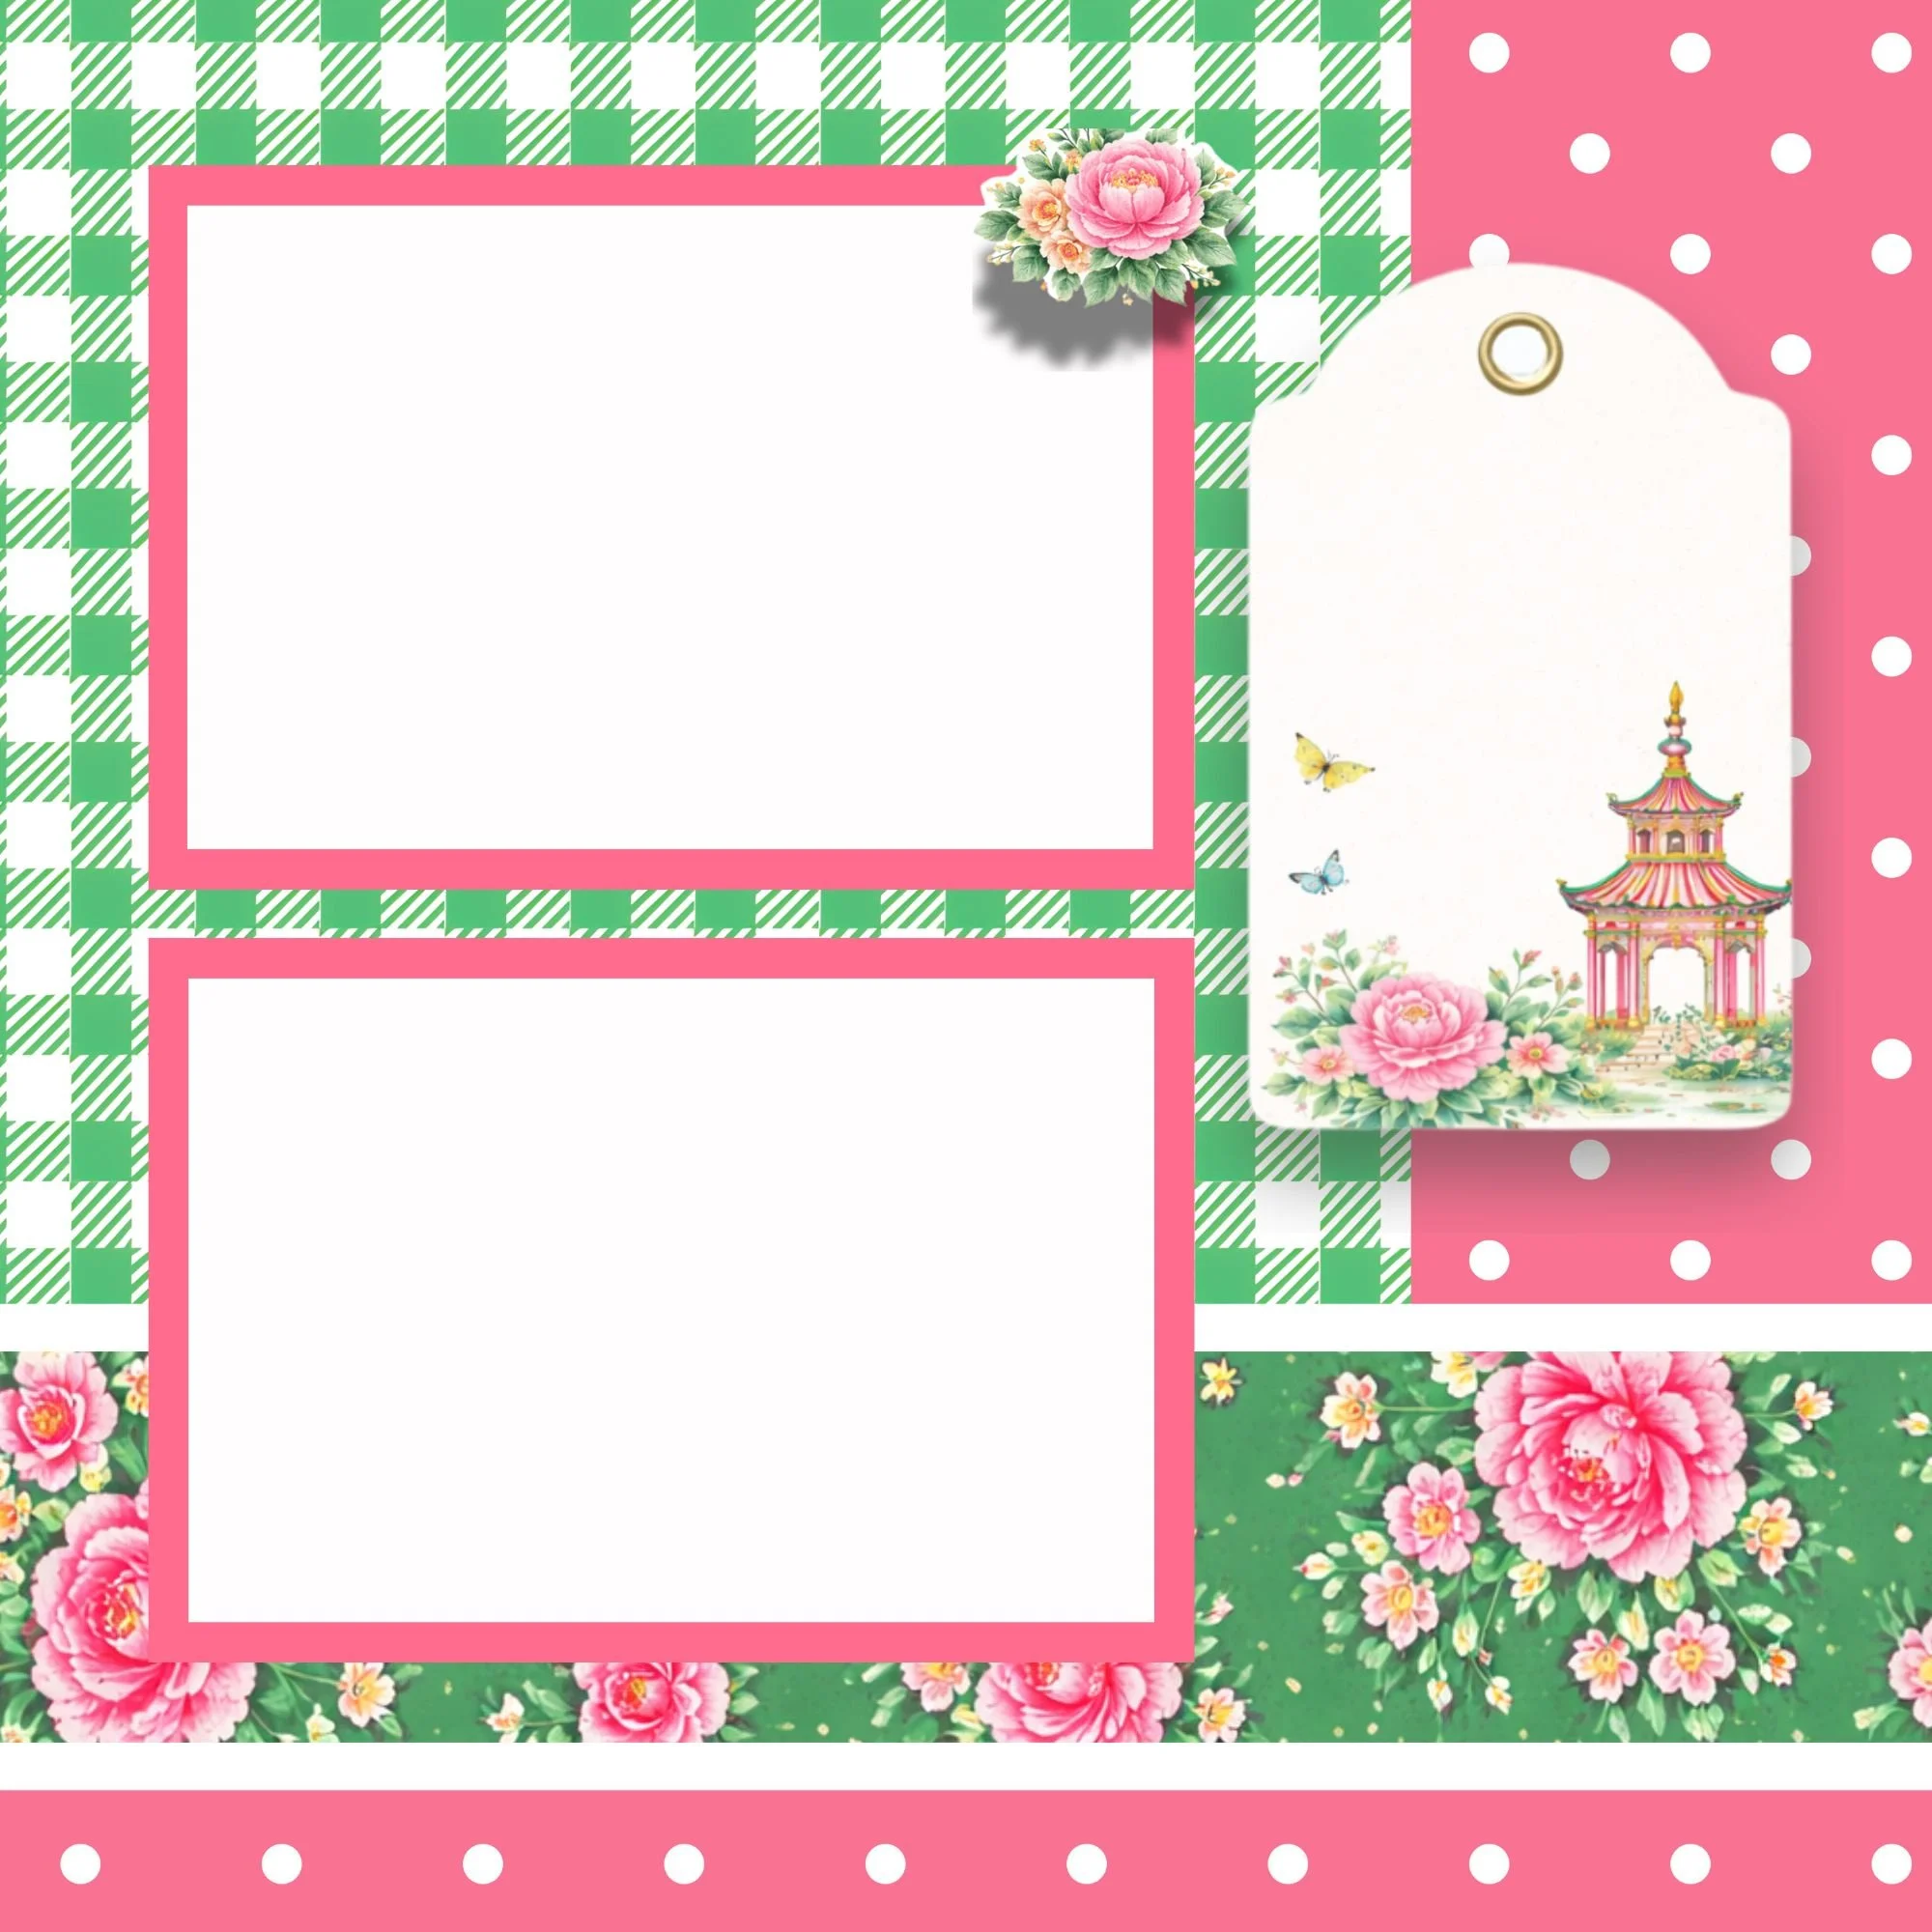
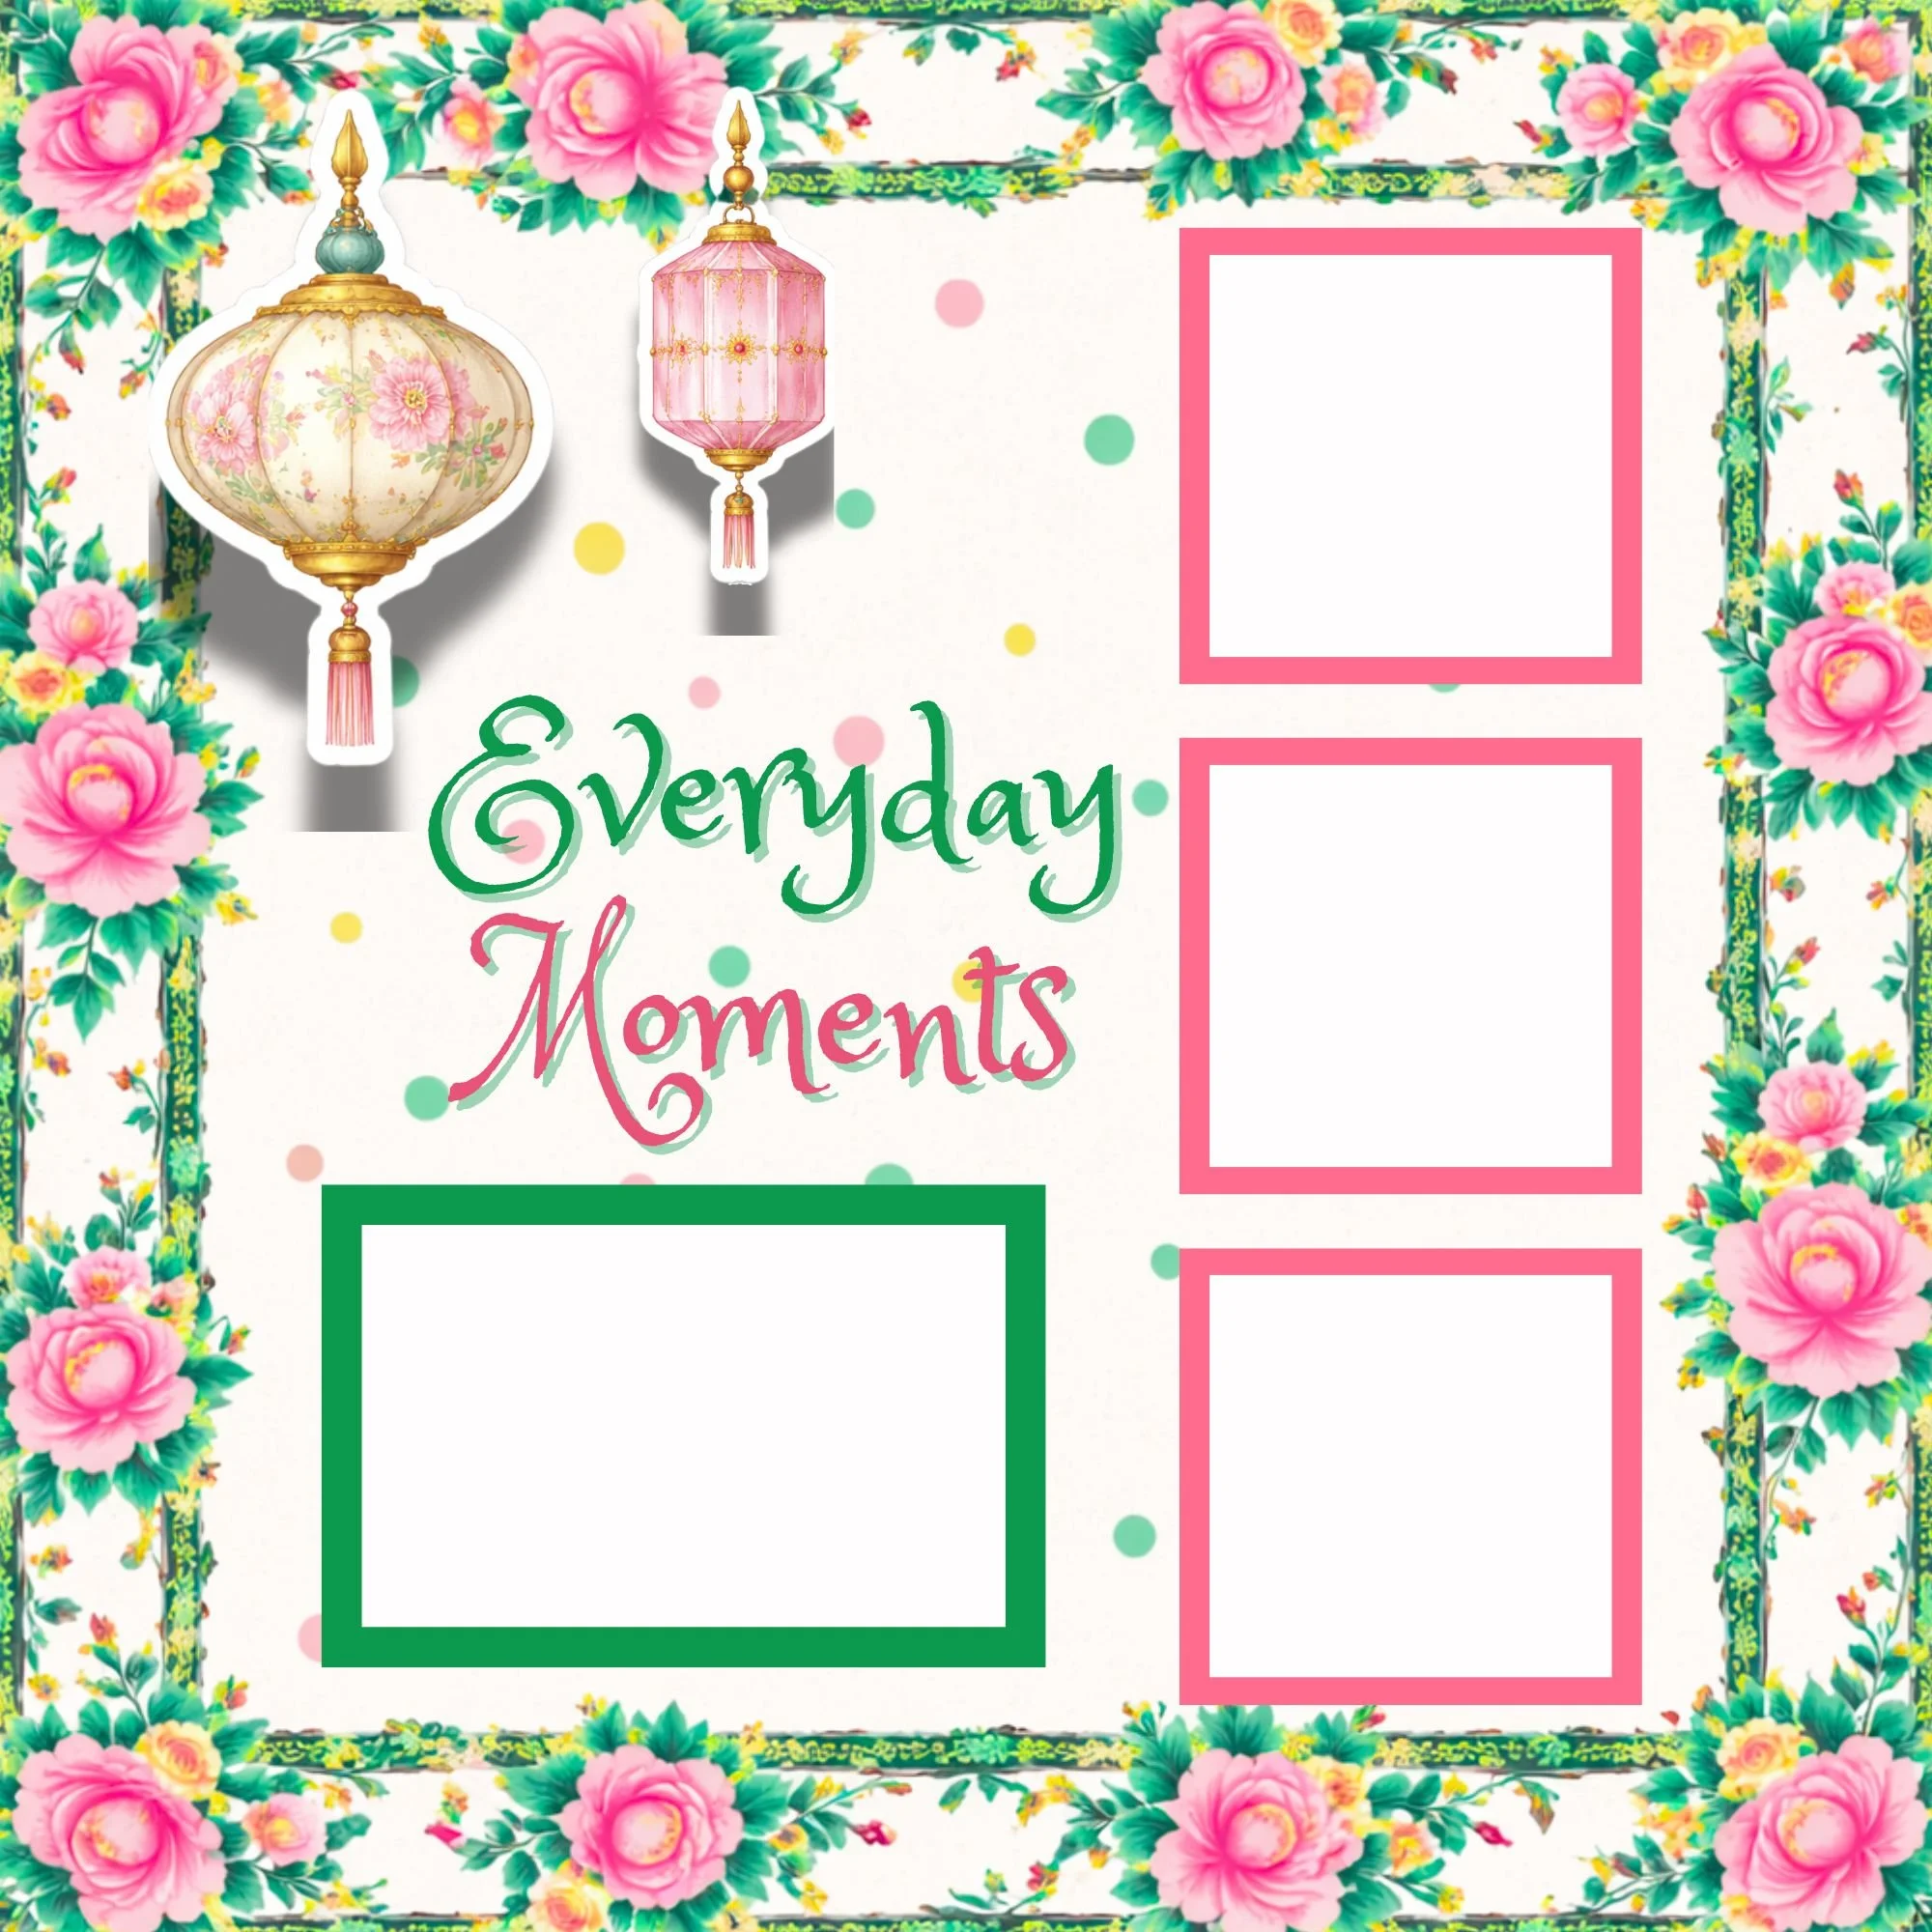
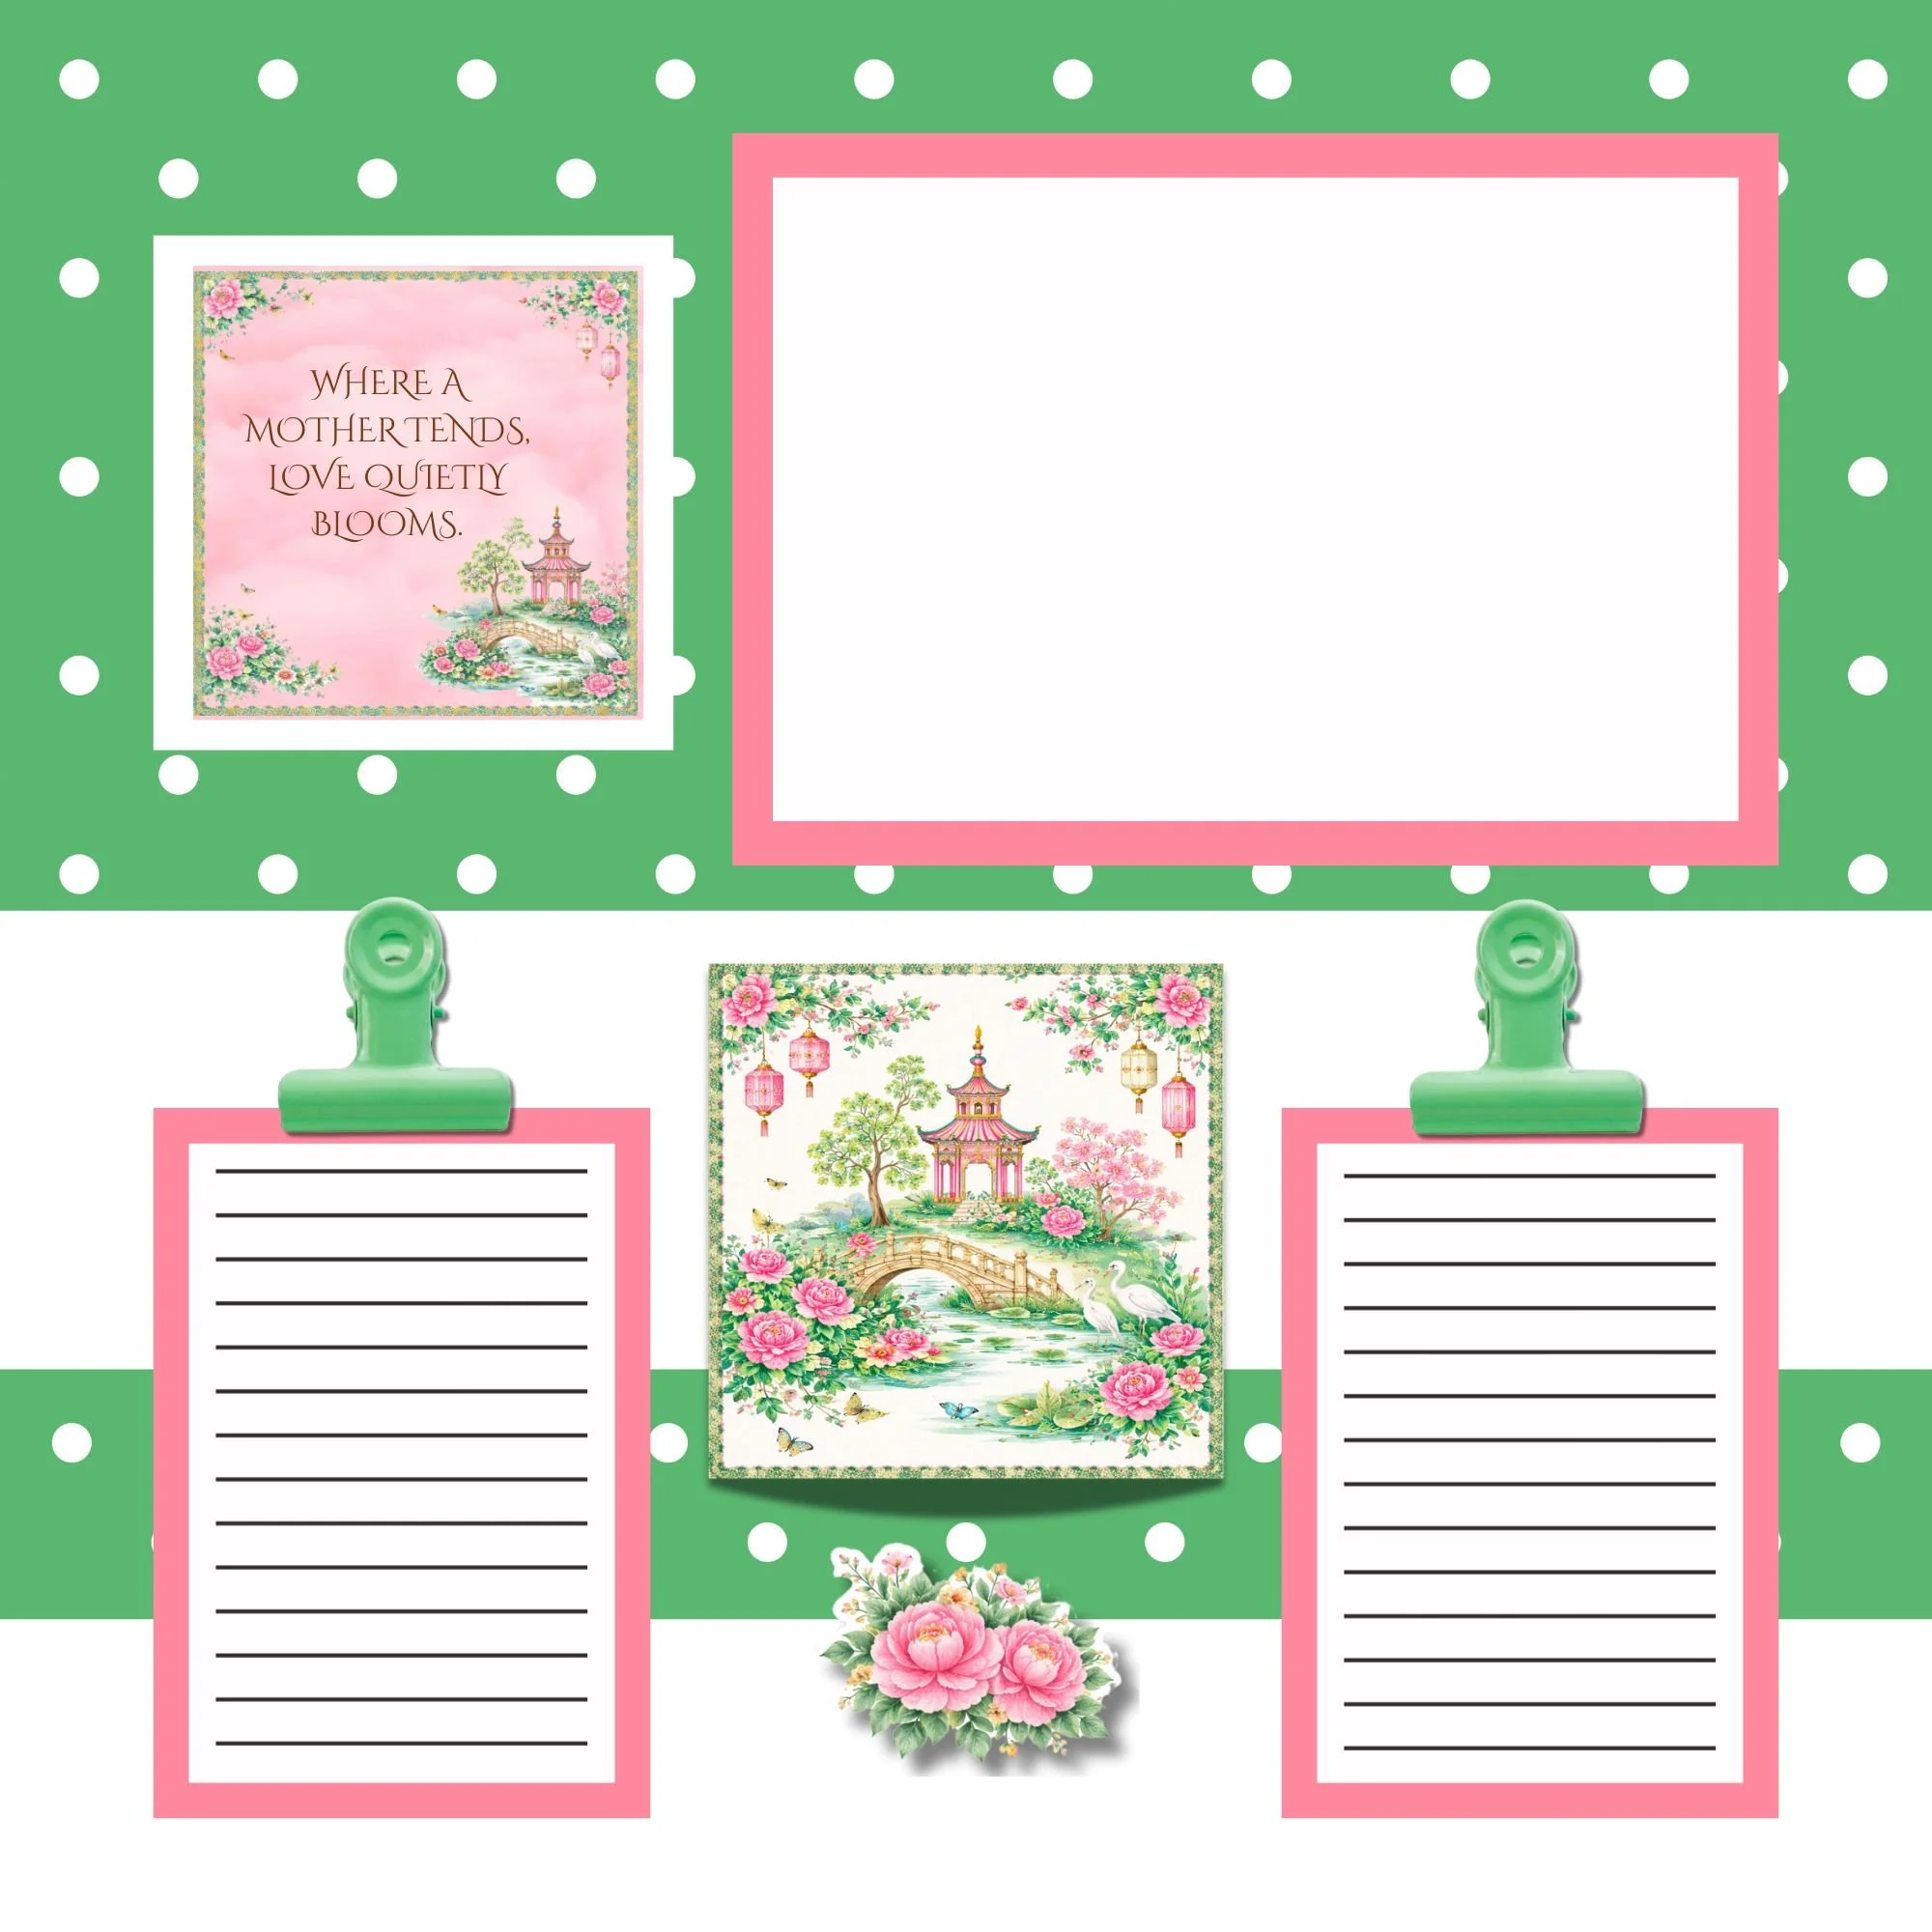
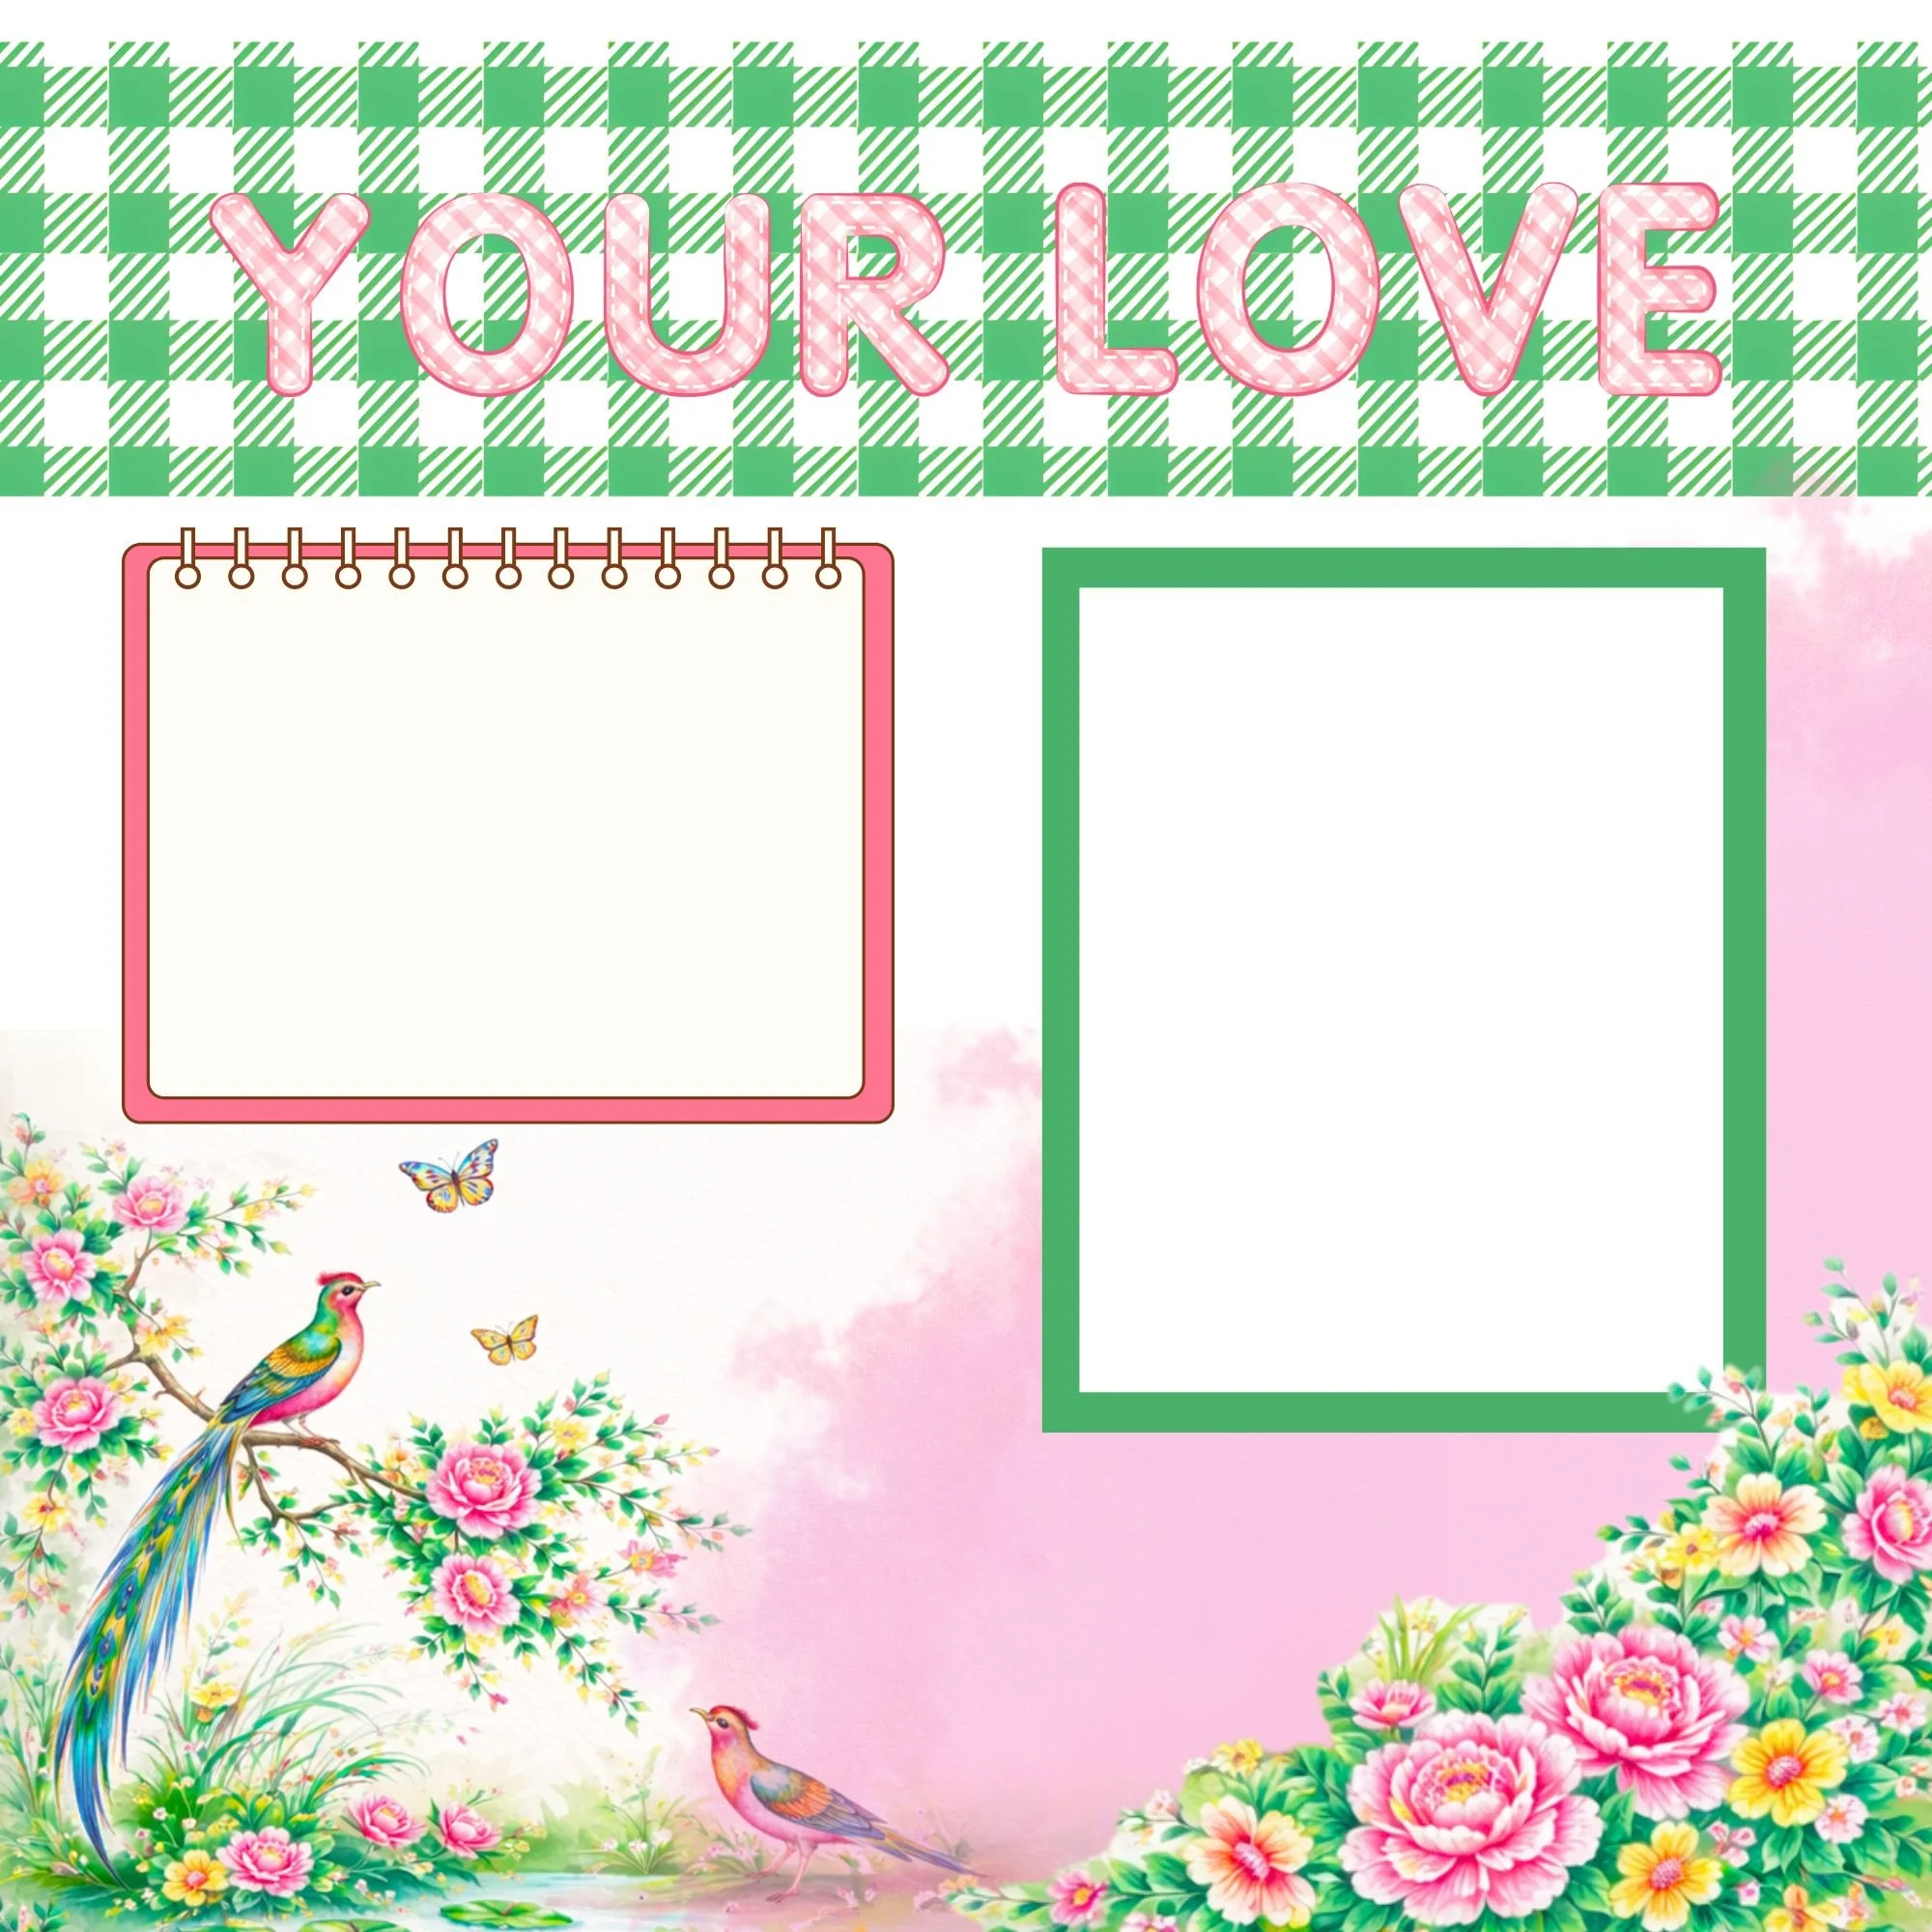
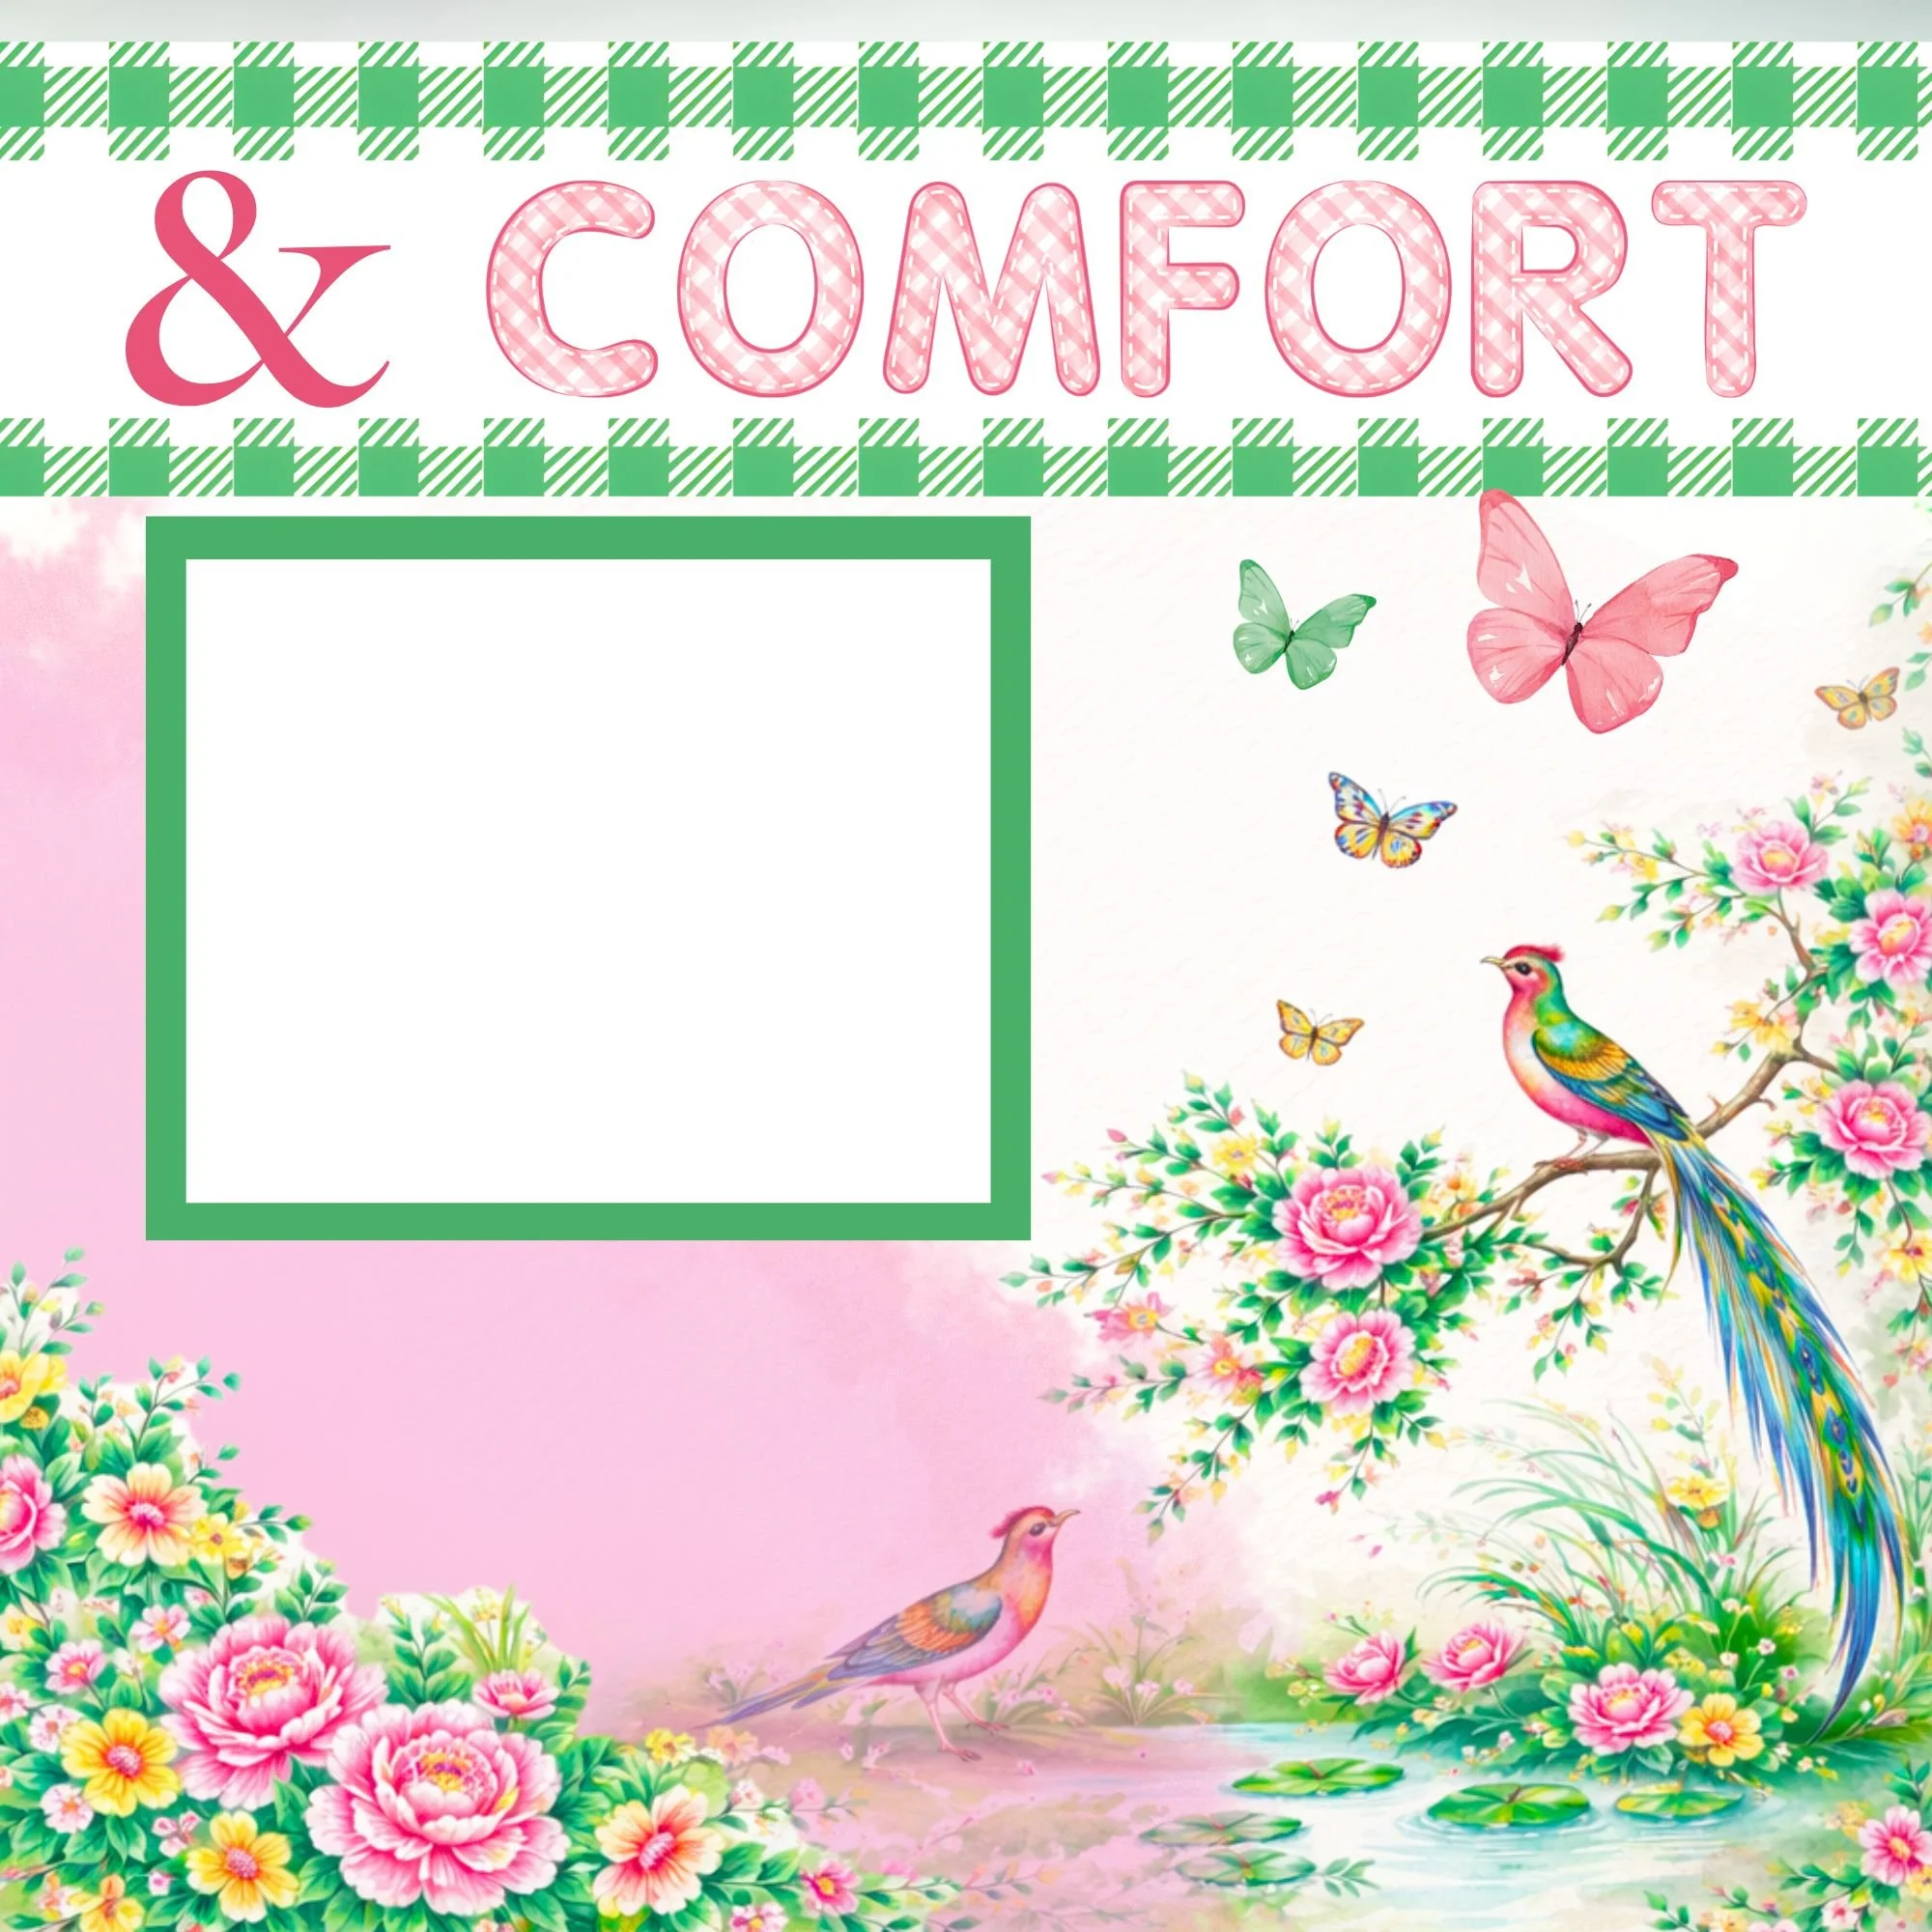
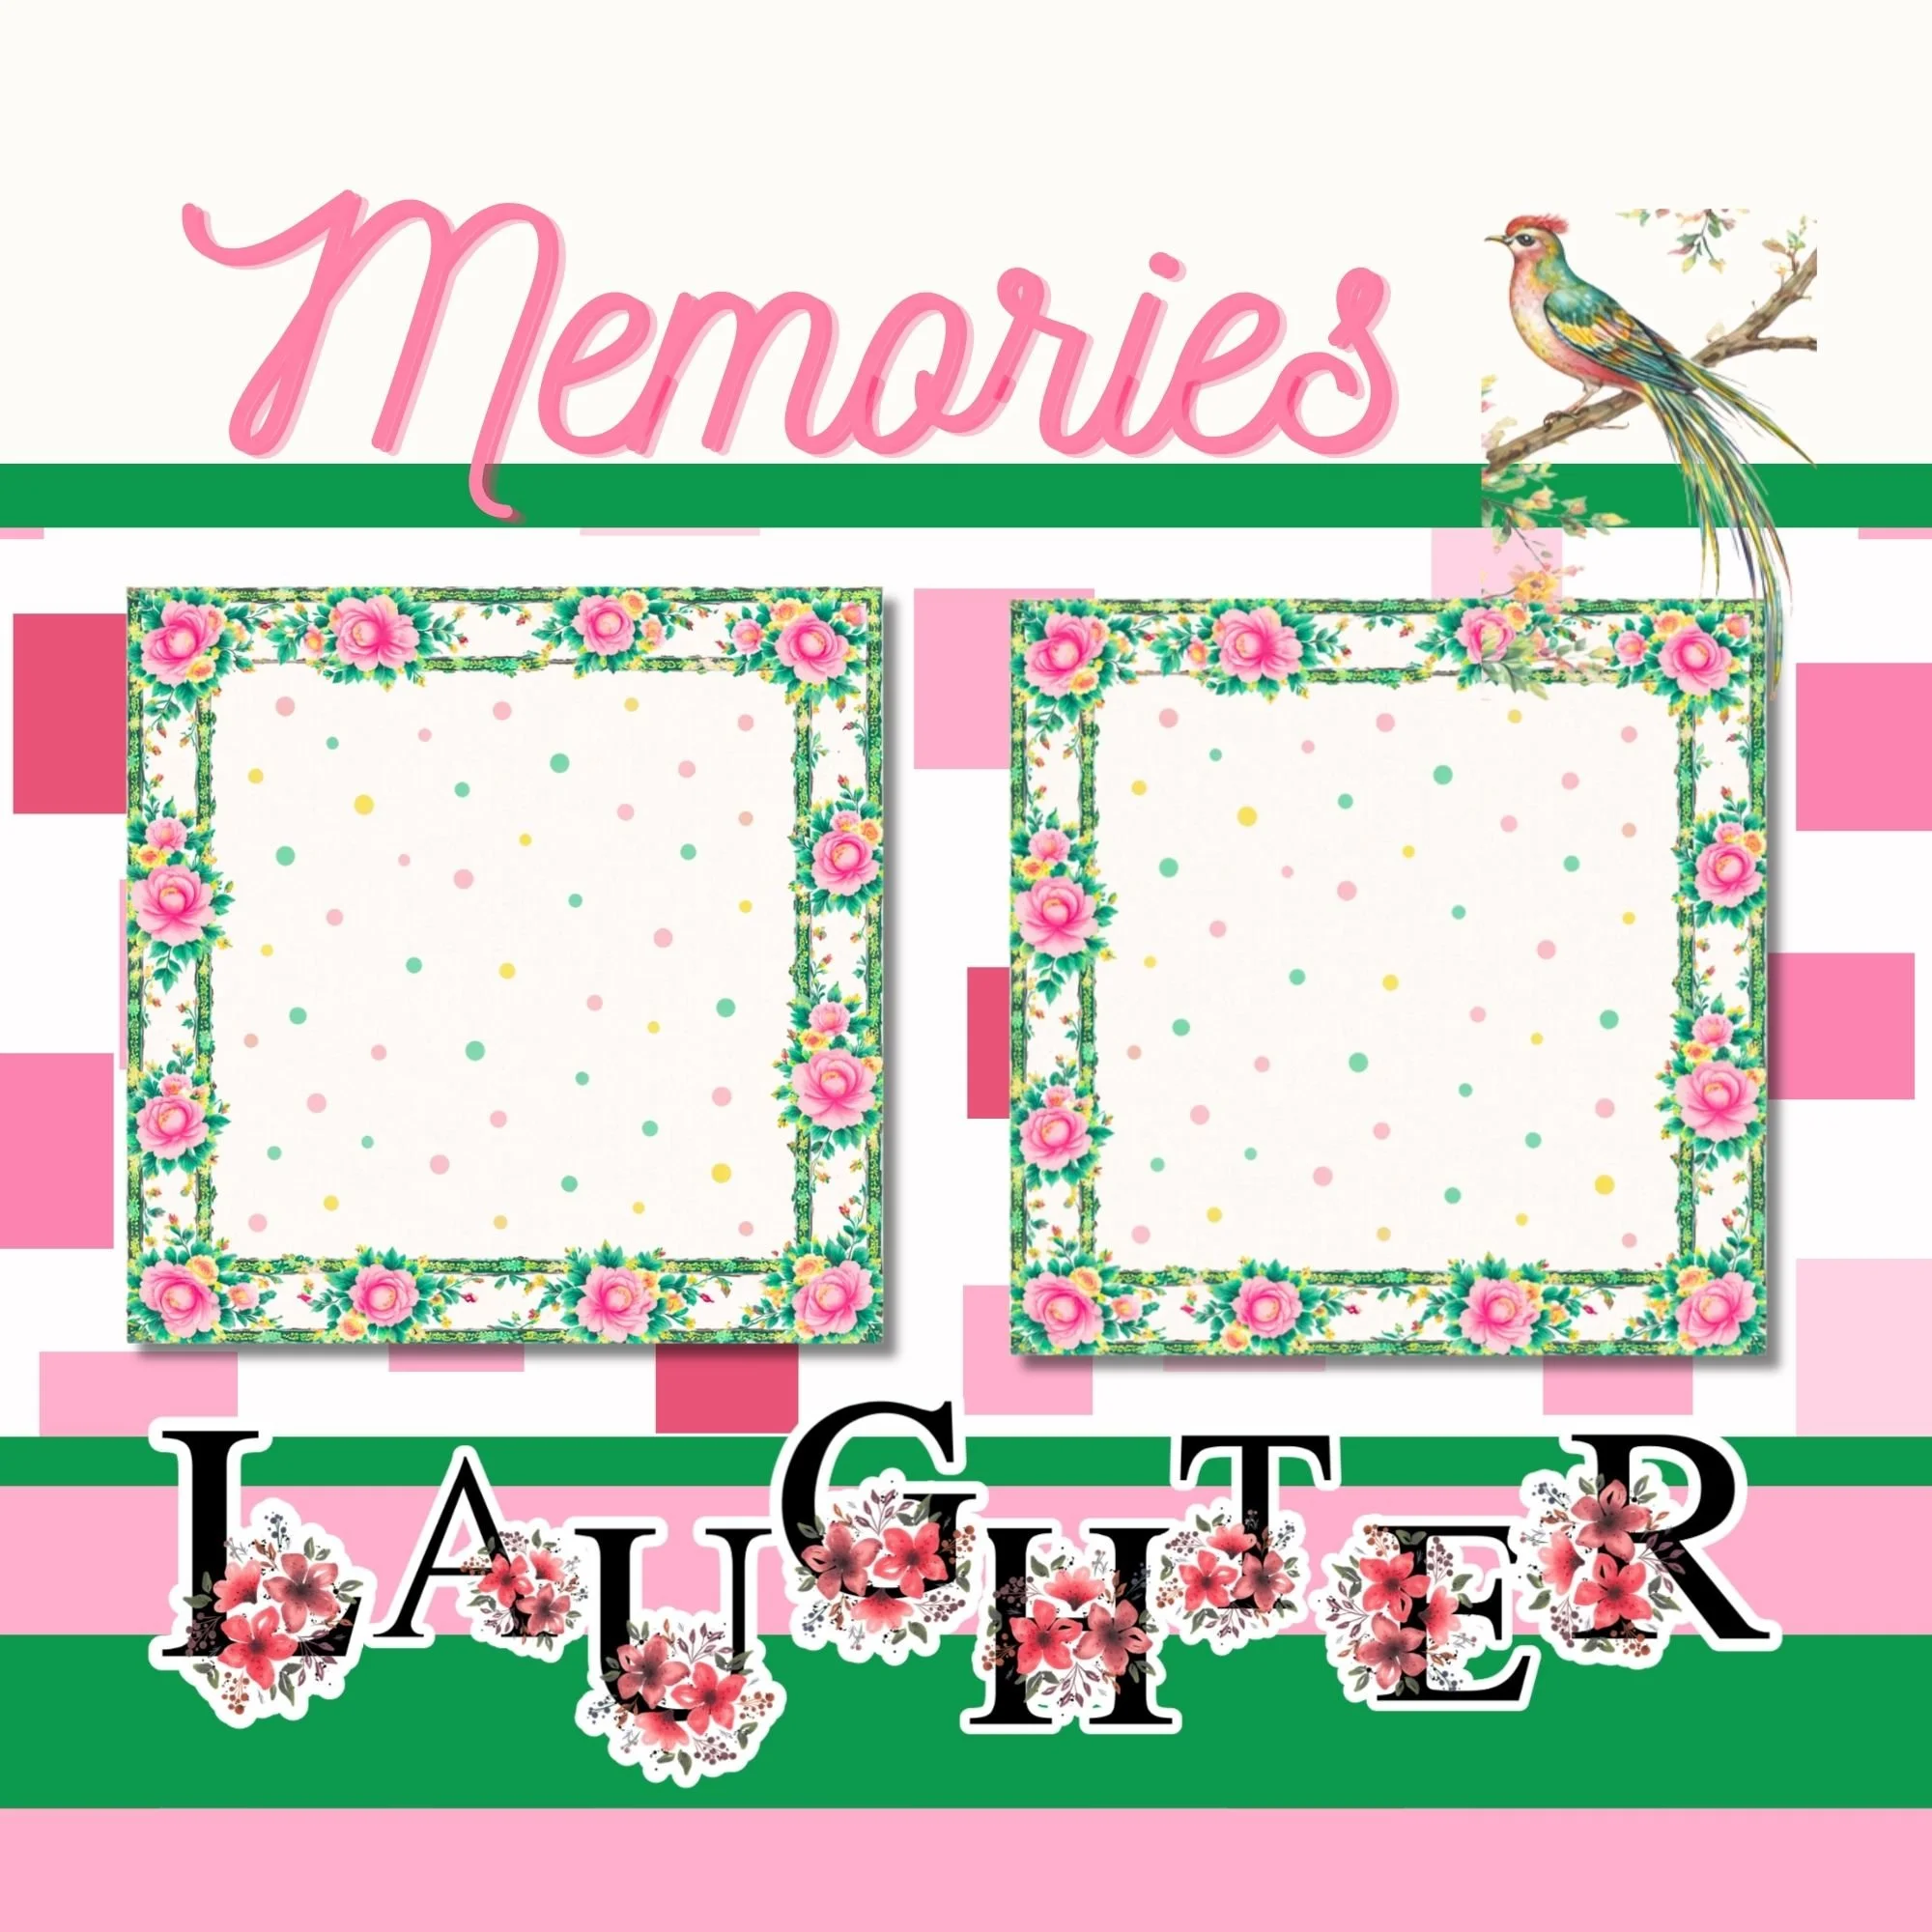
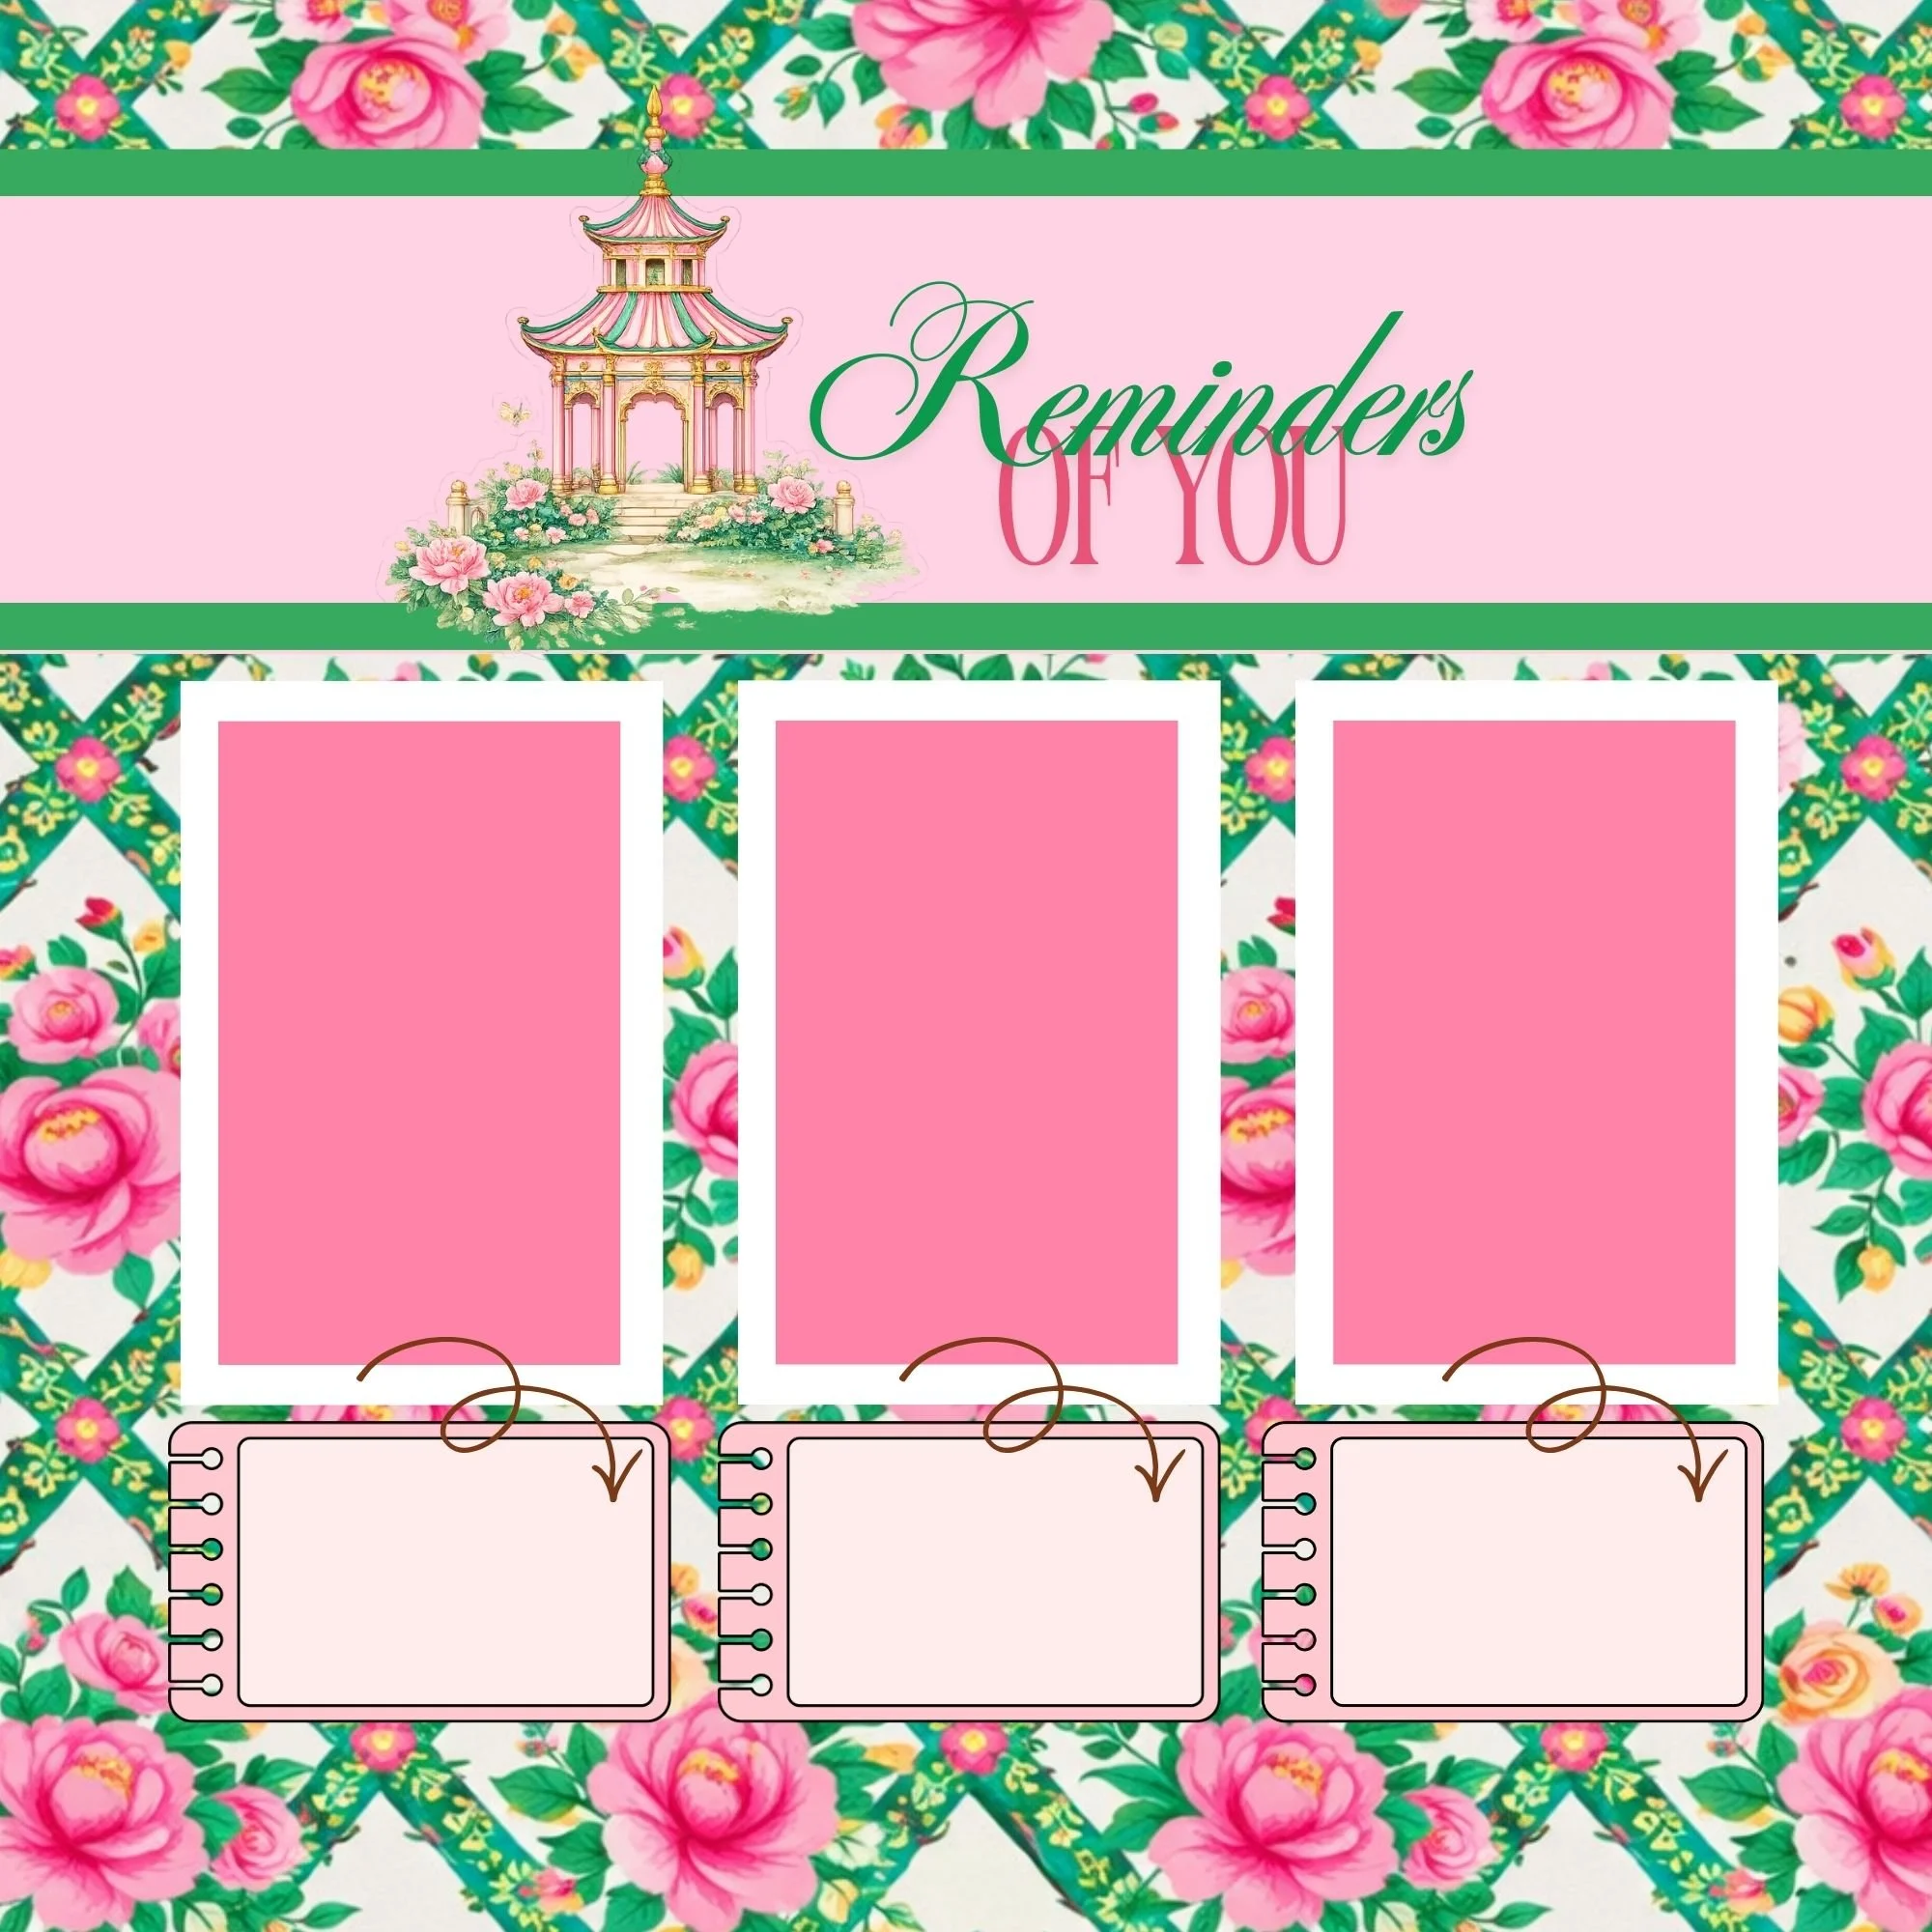
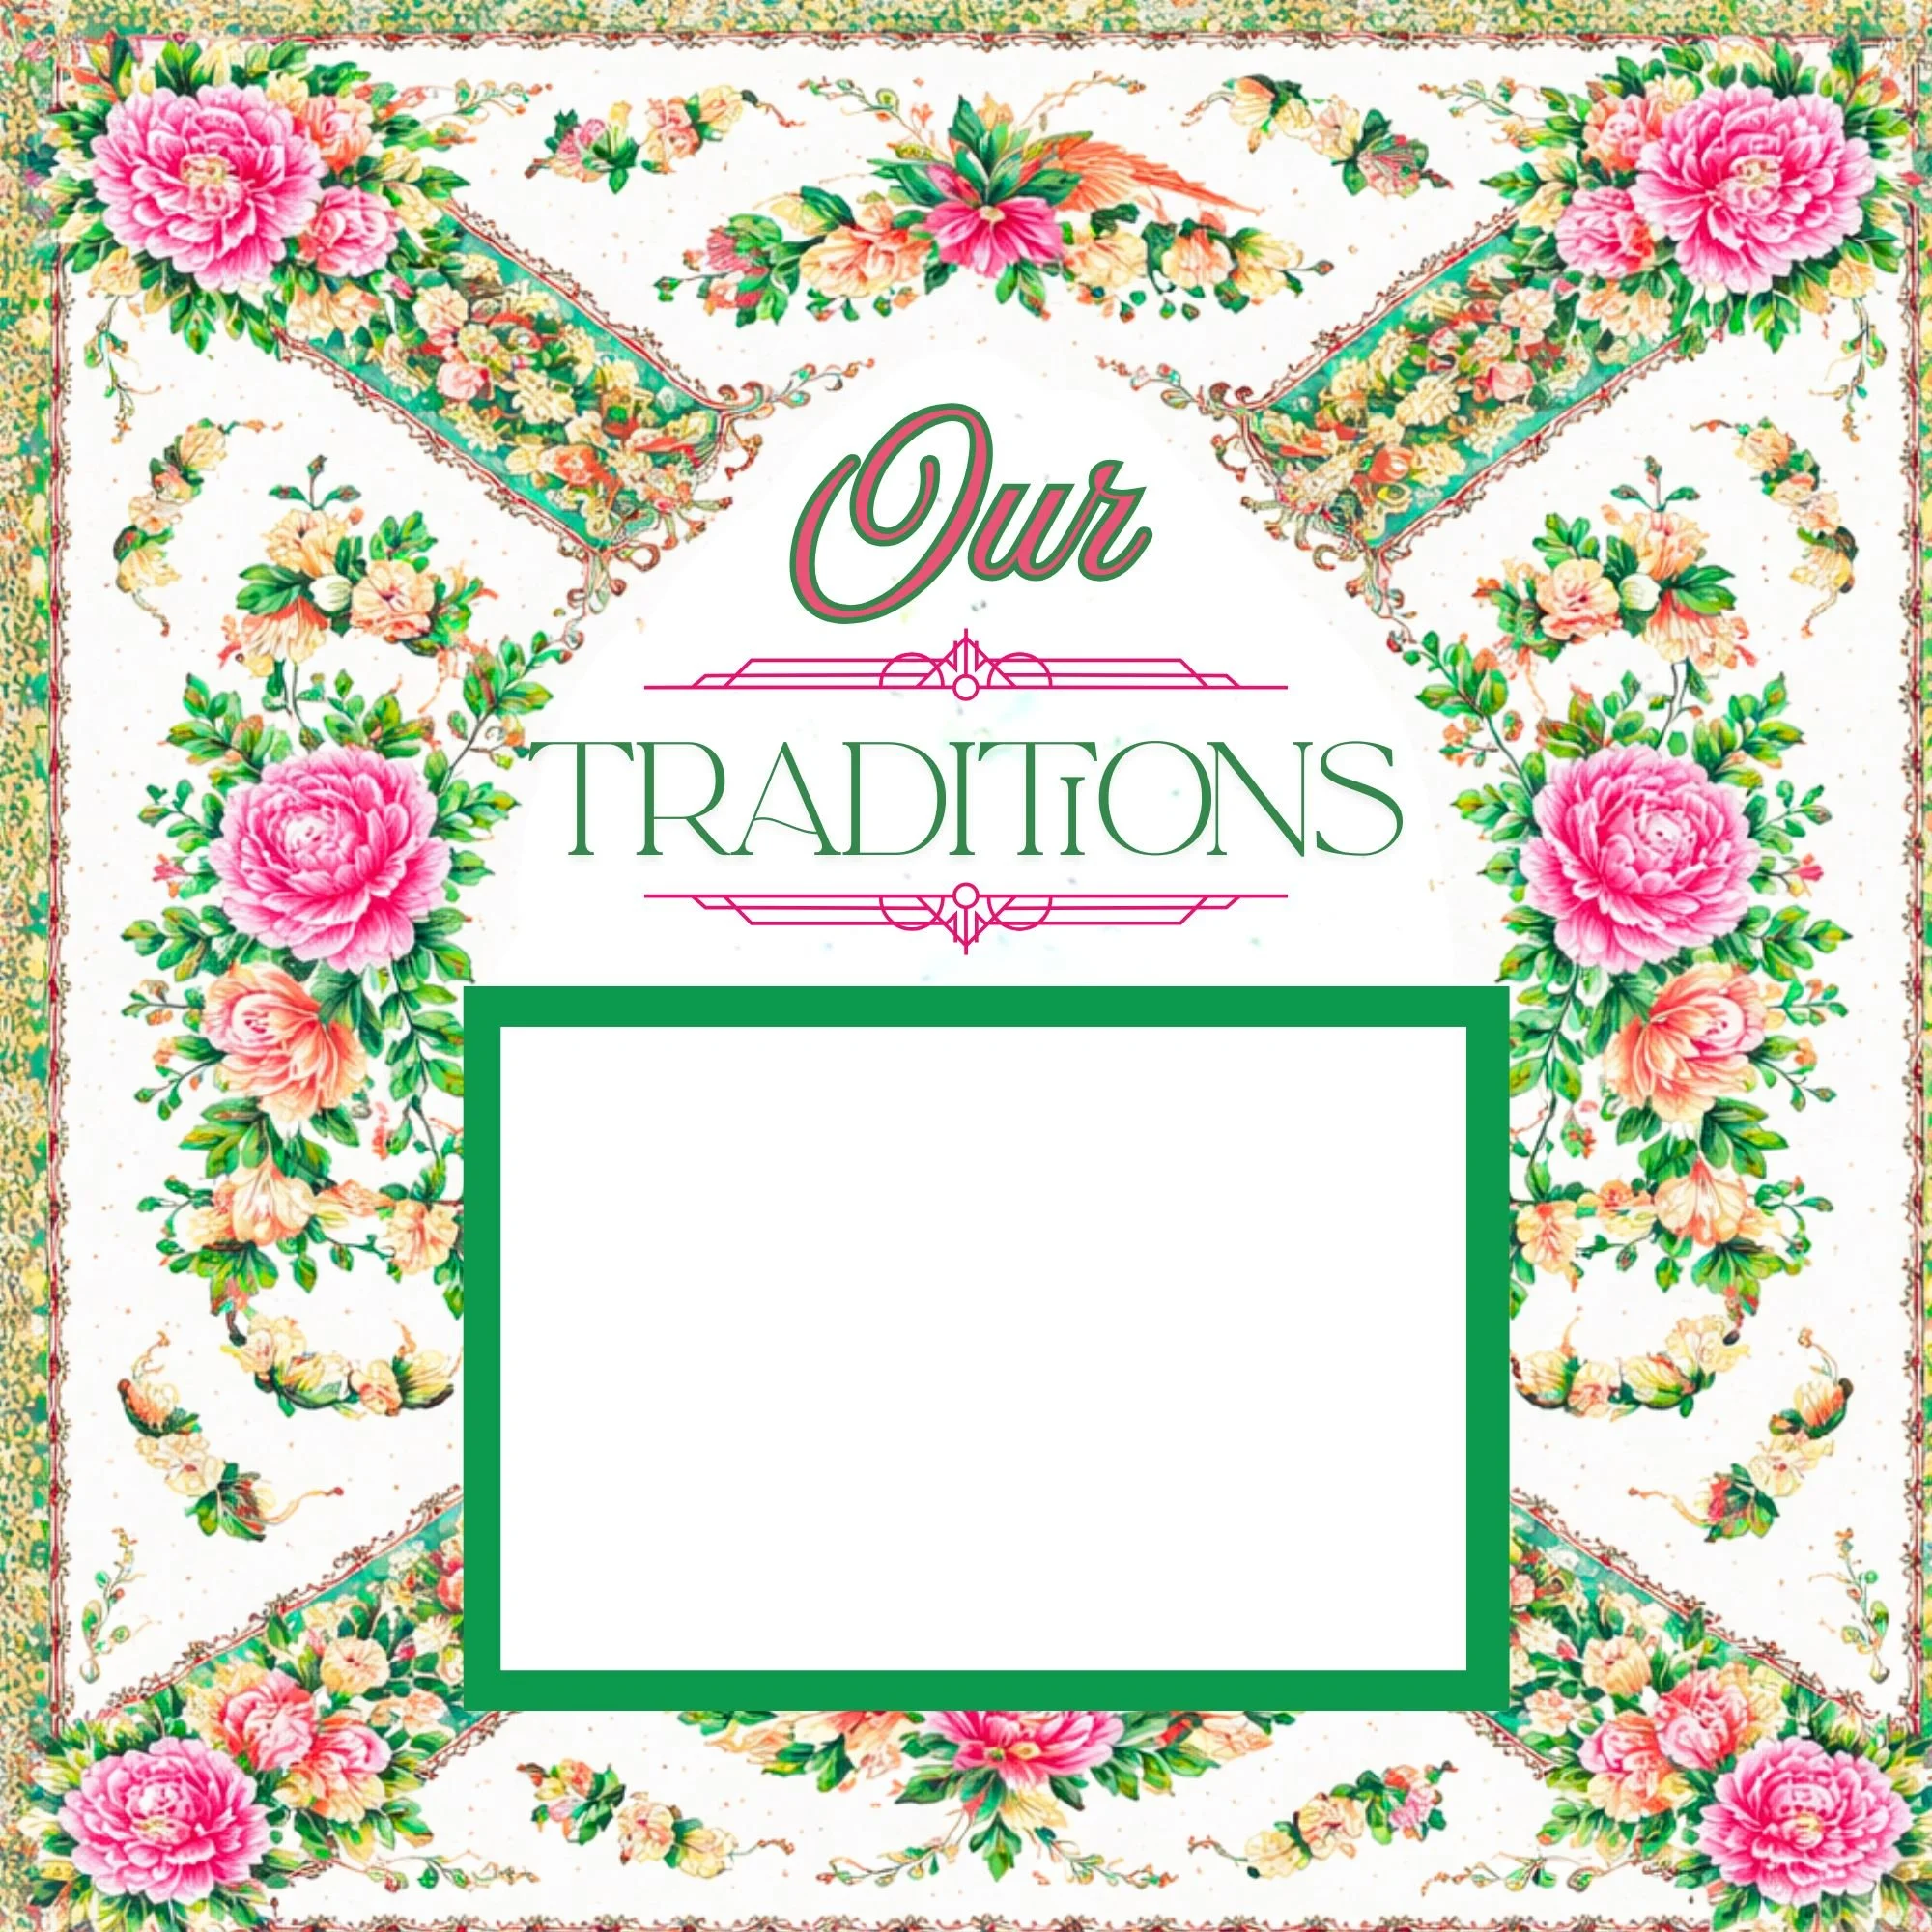
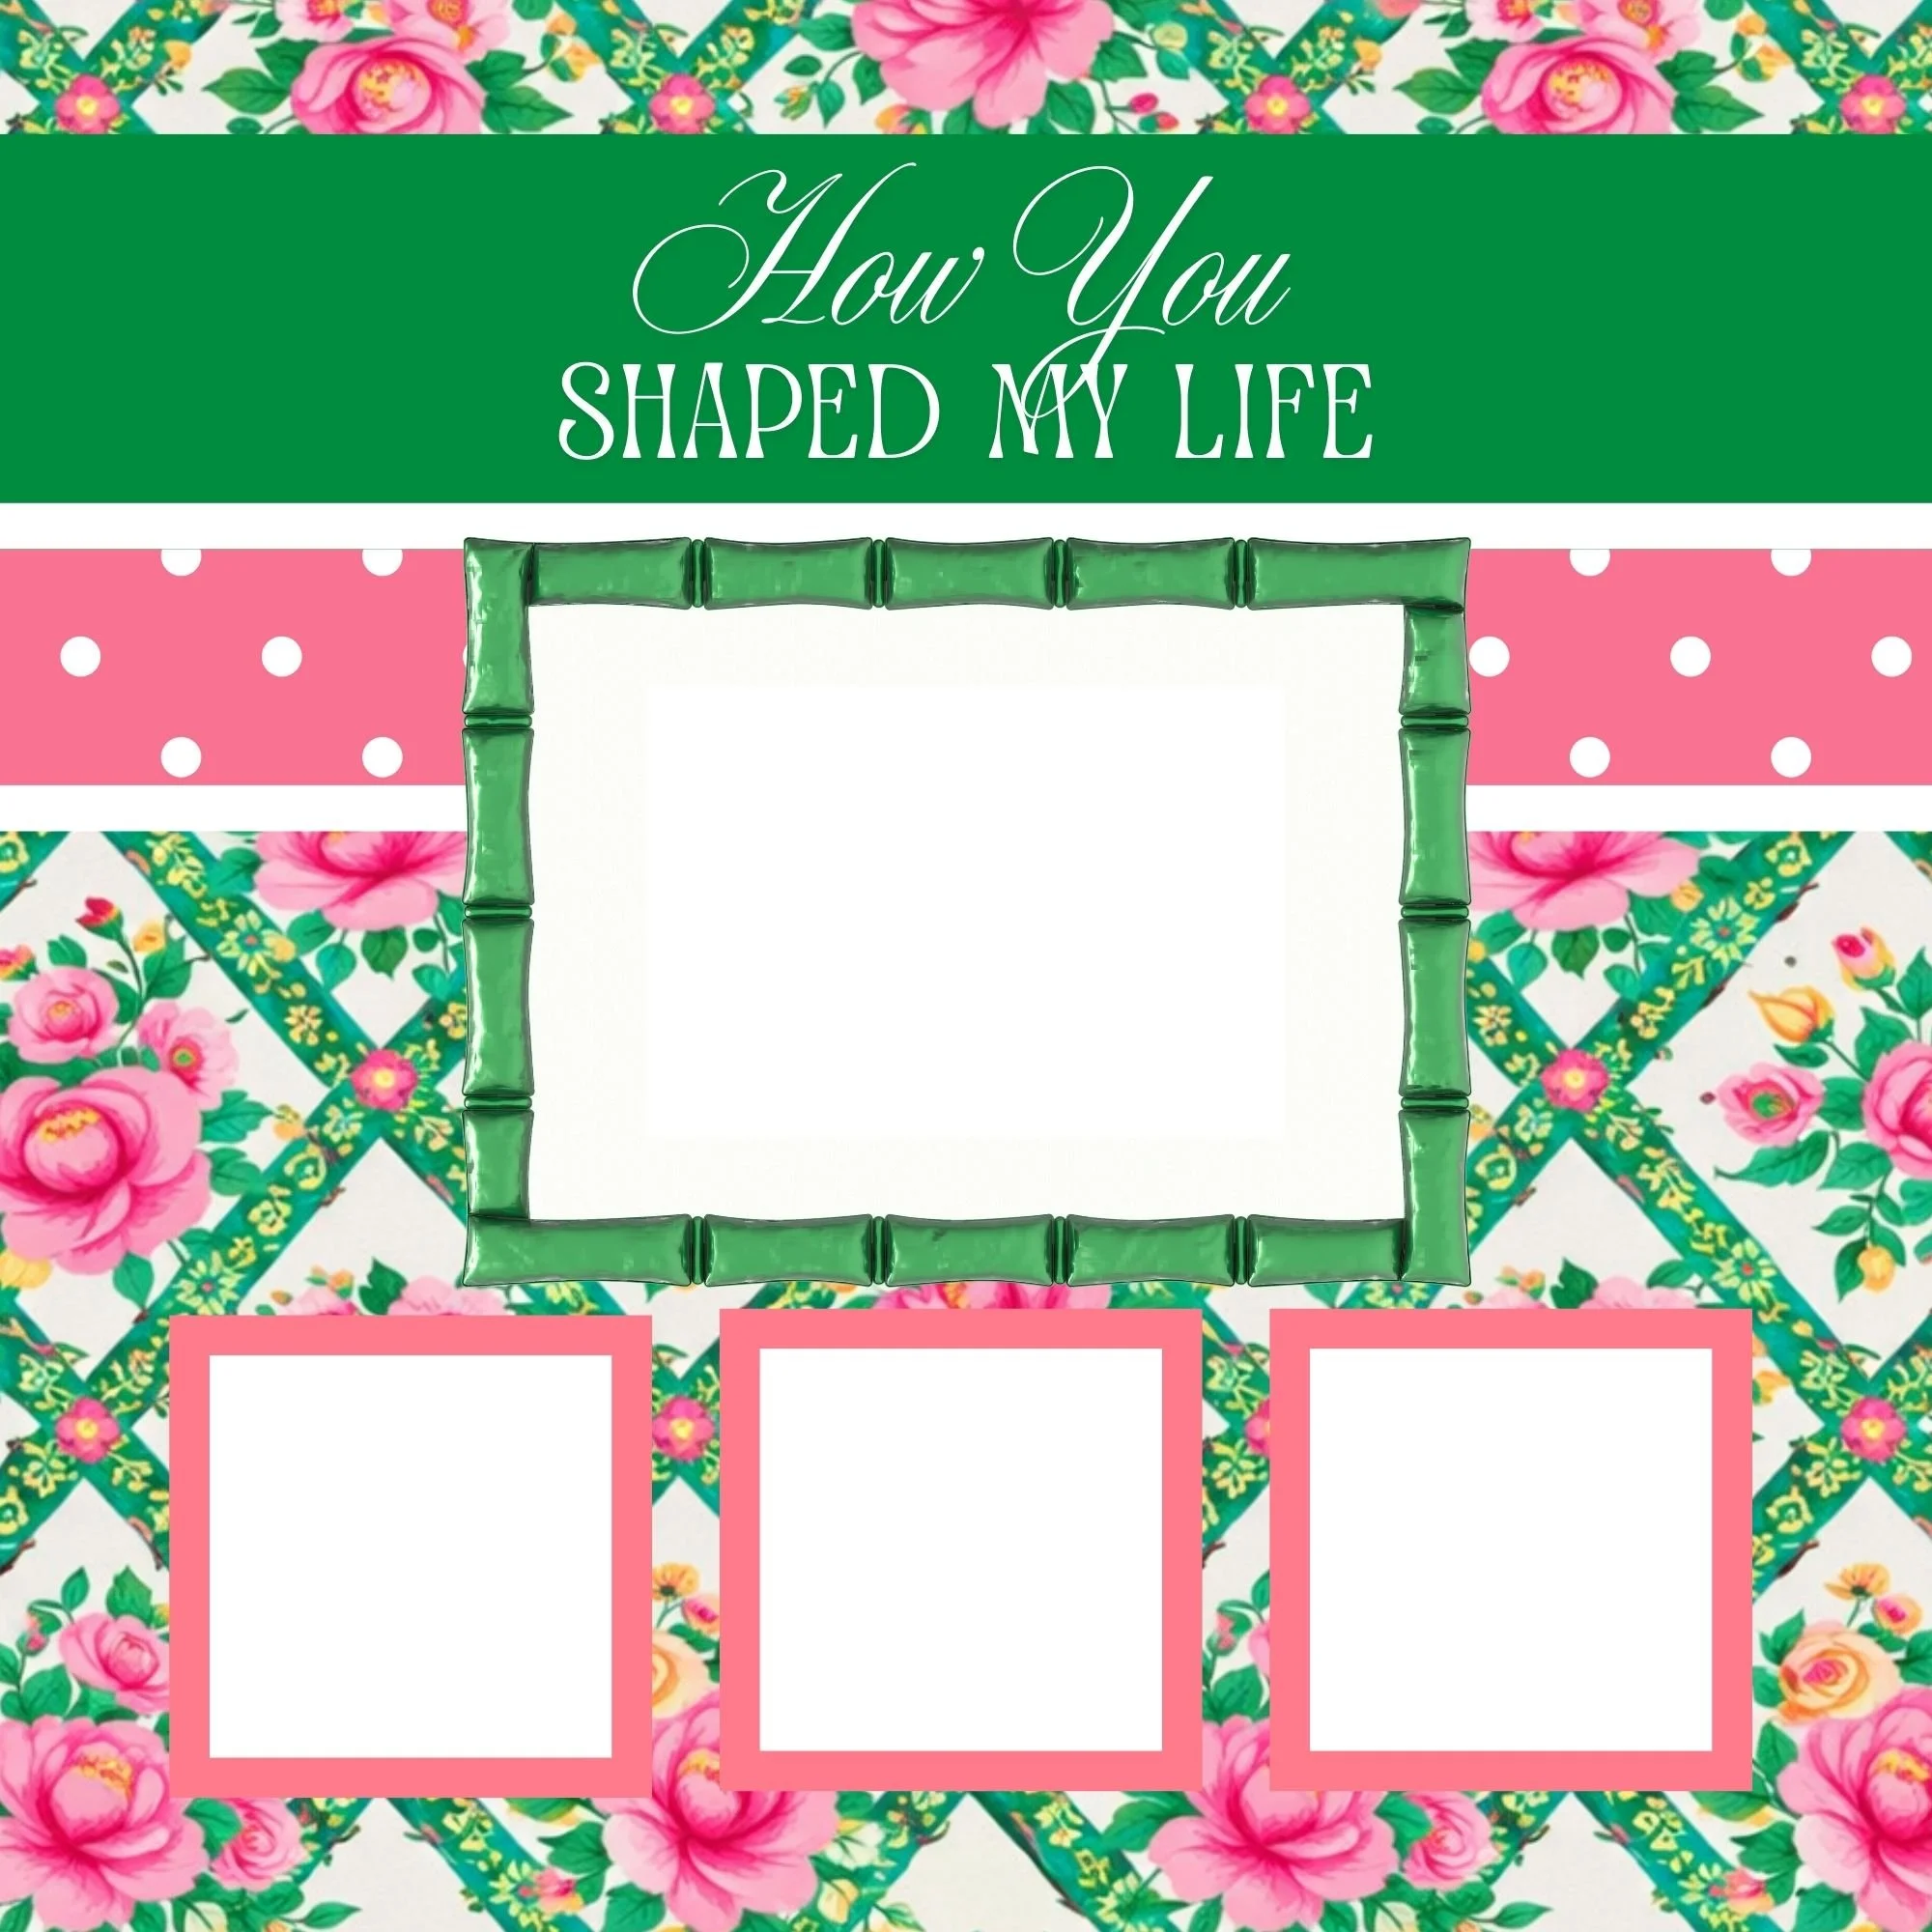
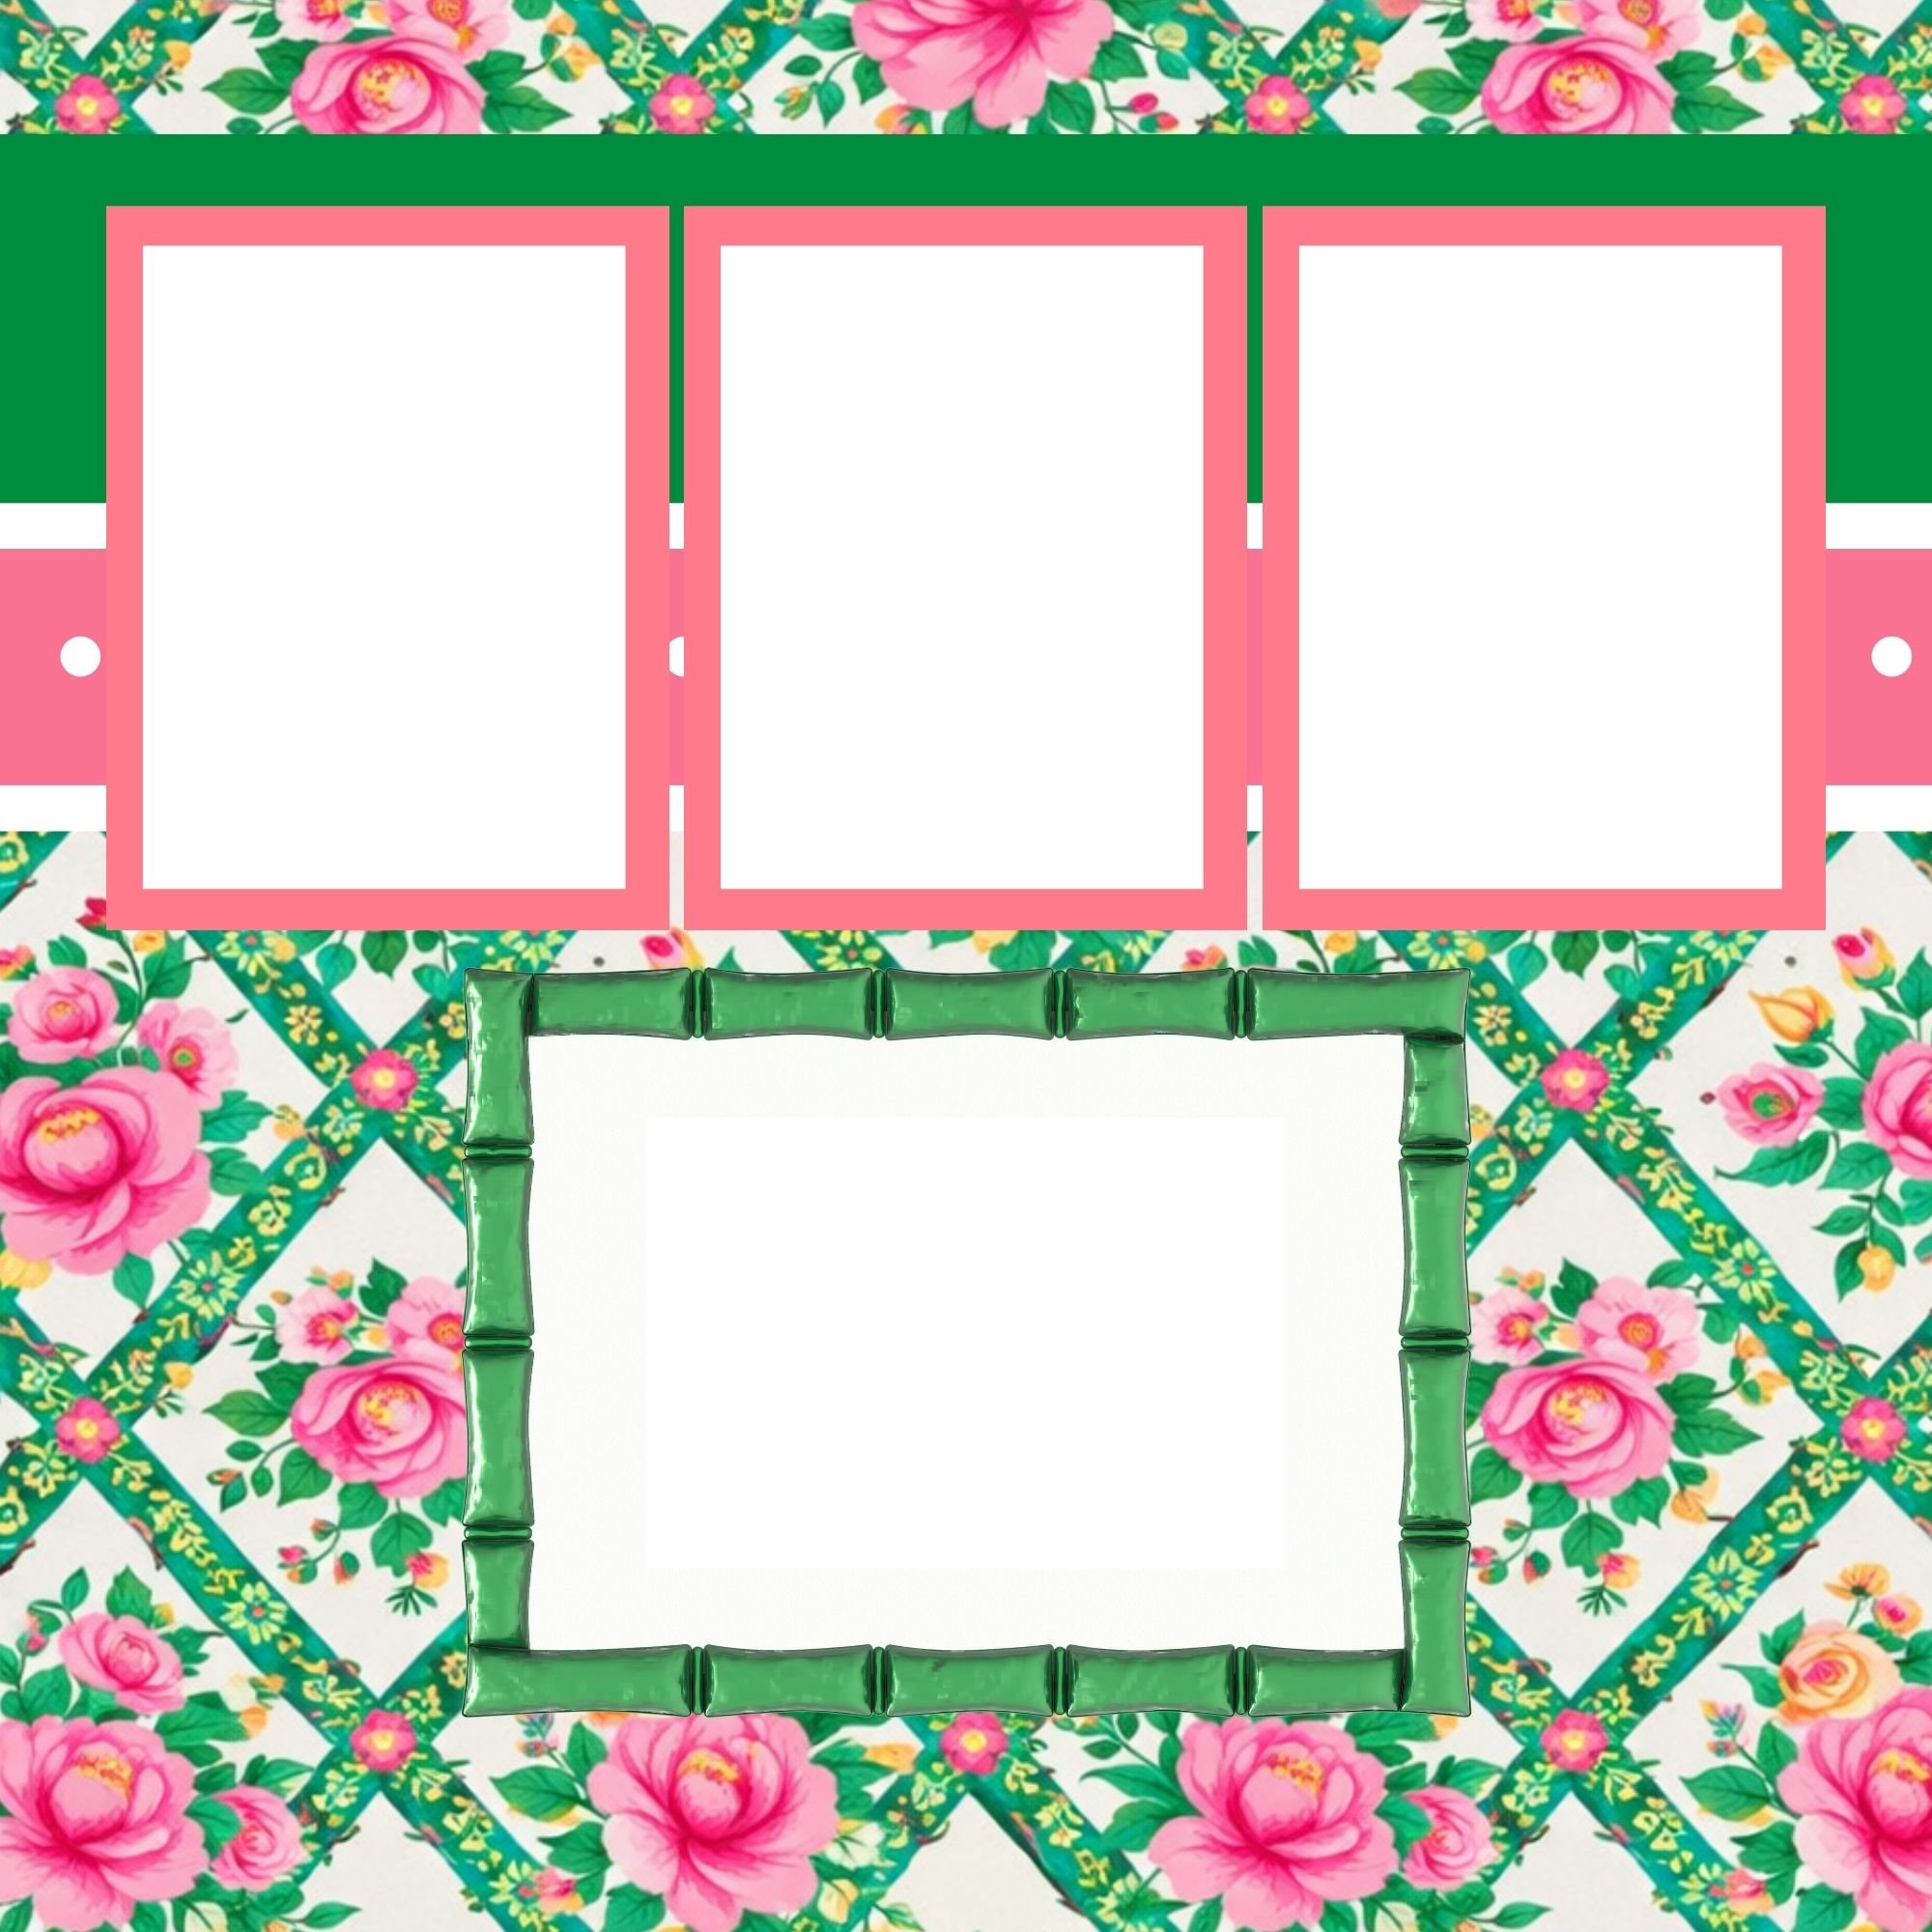
Mother’s Day Theme: The Mother’s Day Memorette (Chinoiserie Edition)

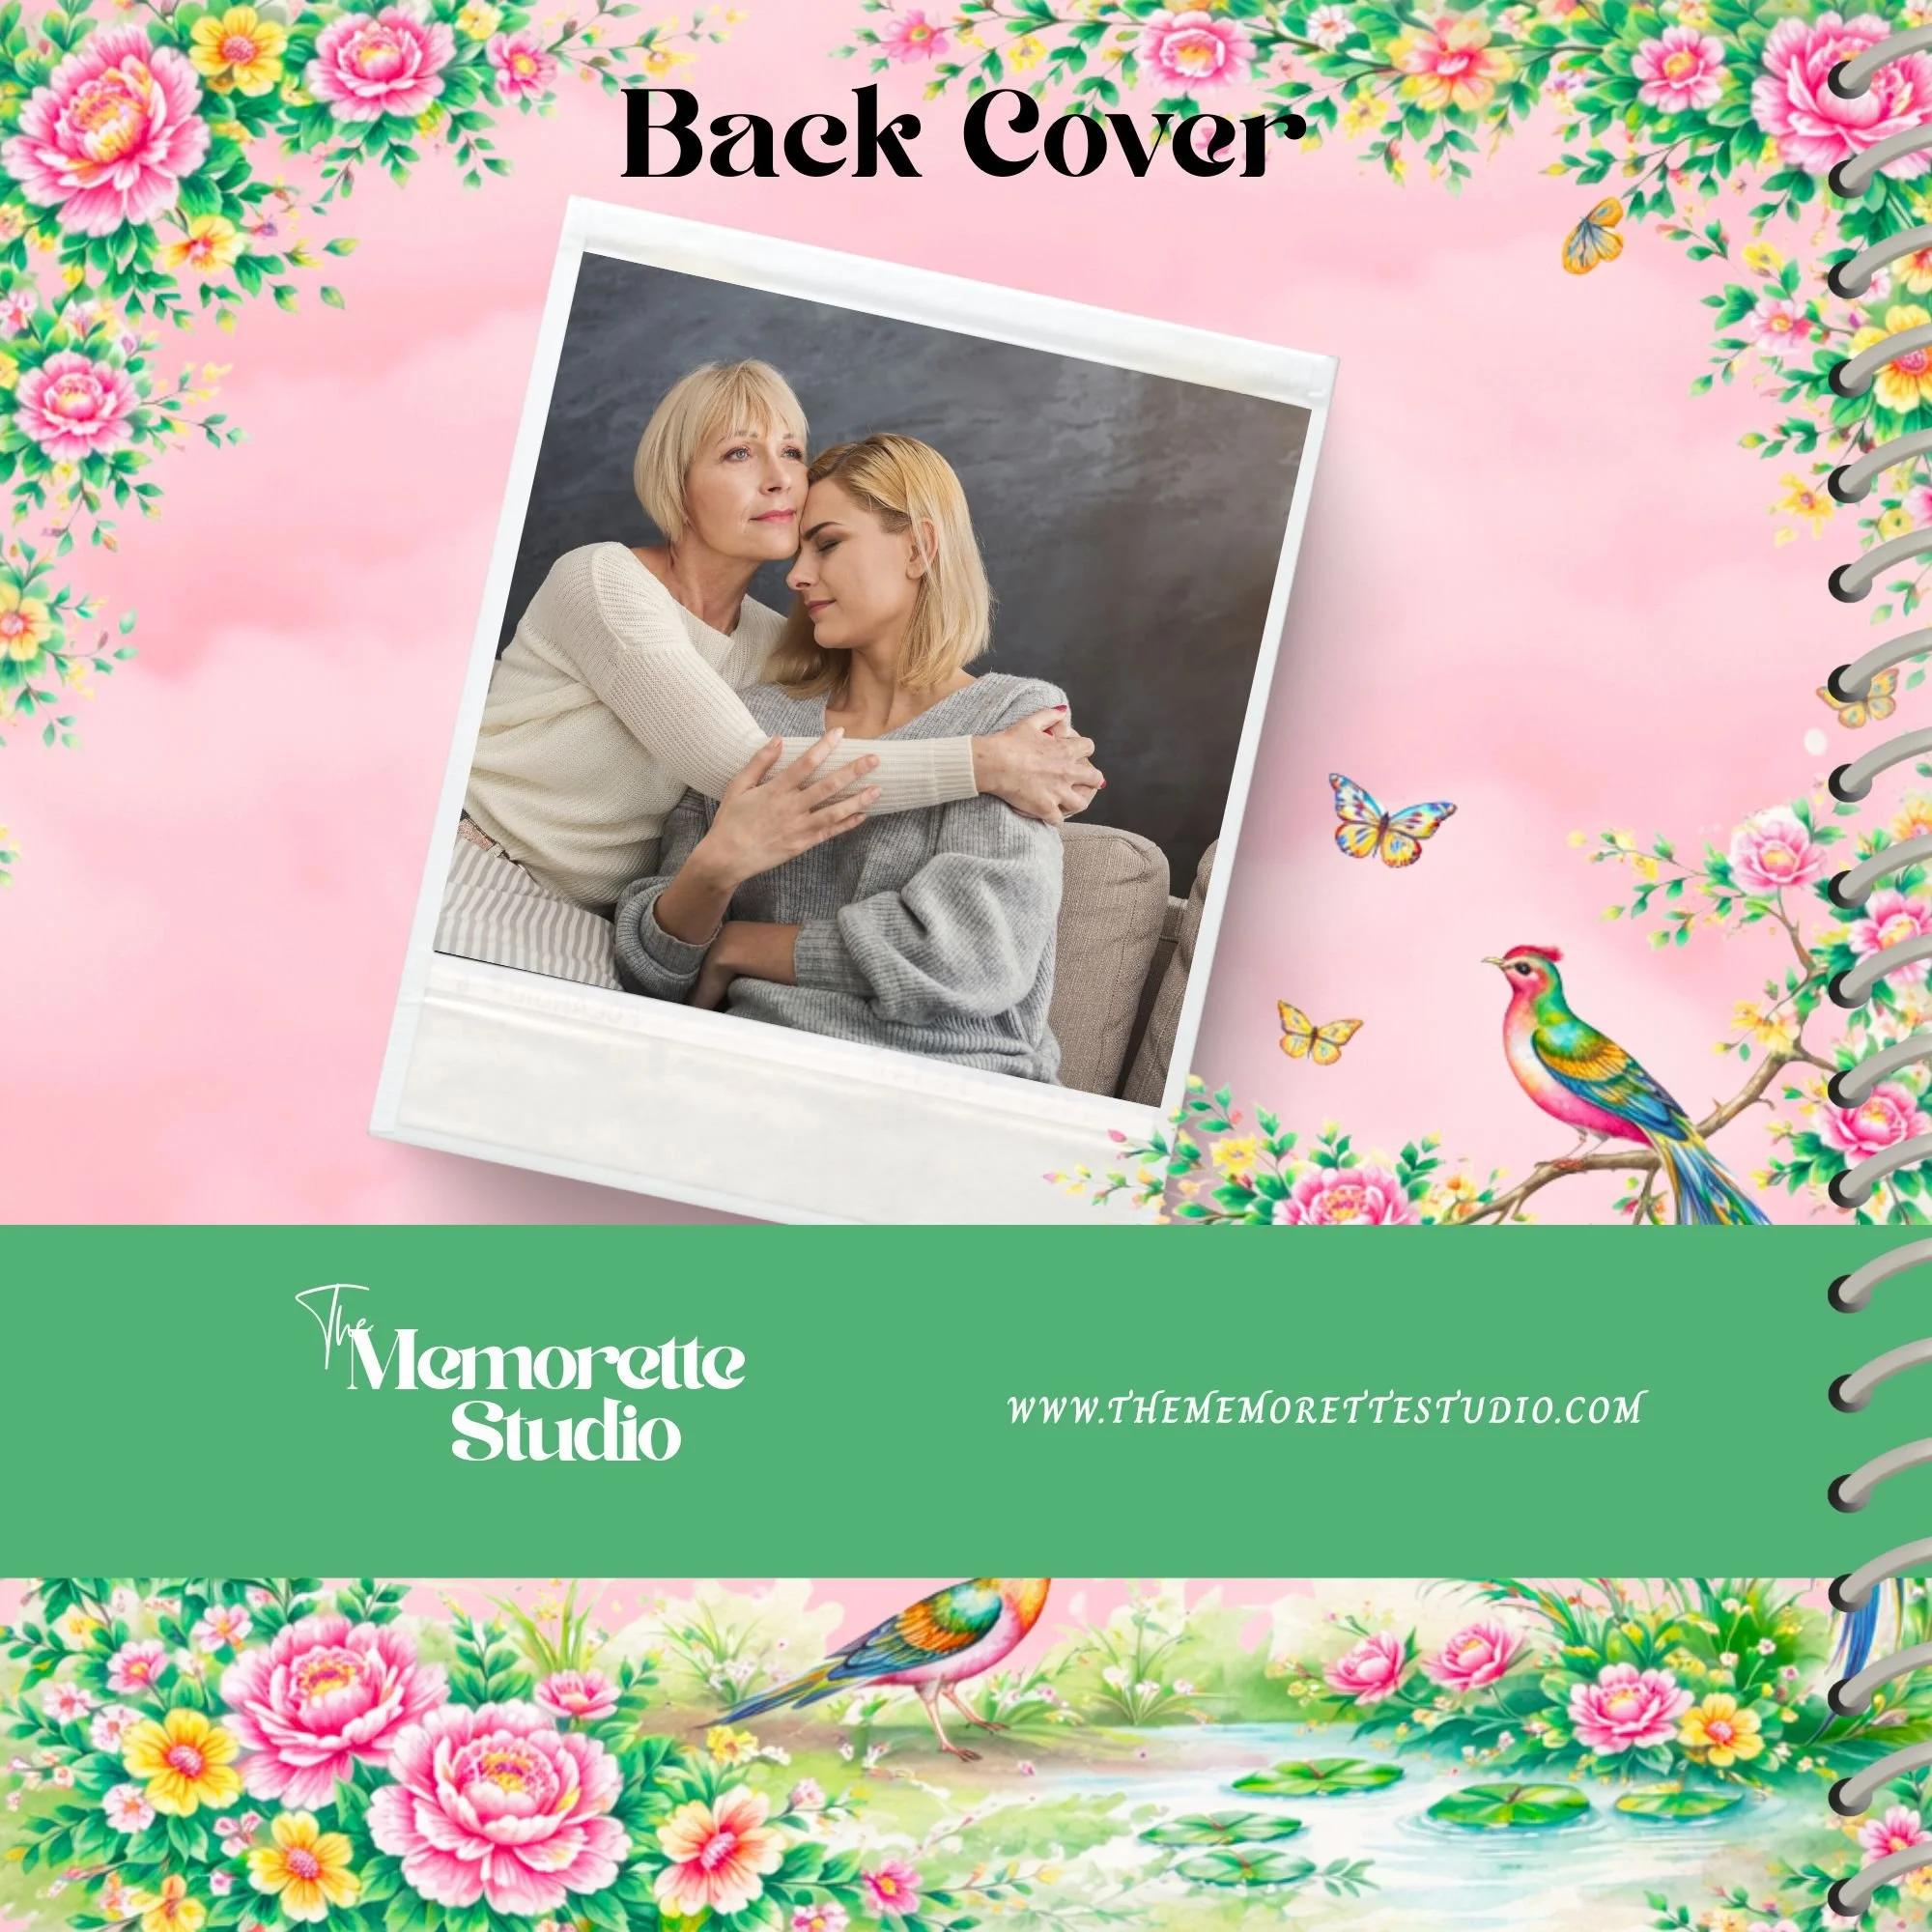
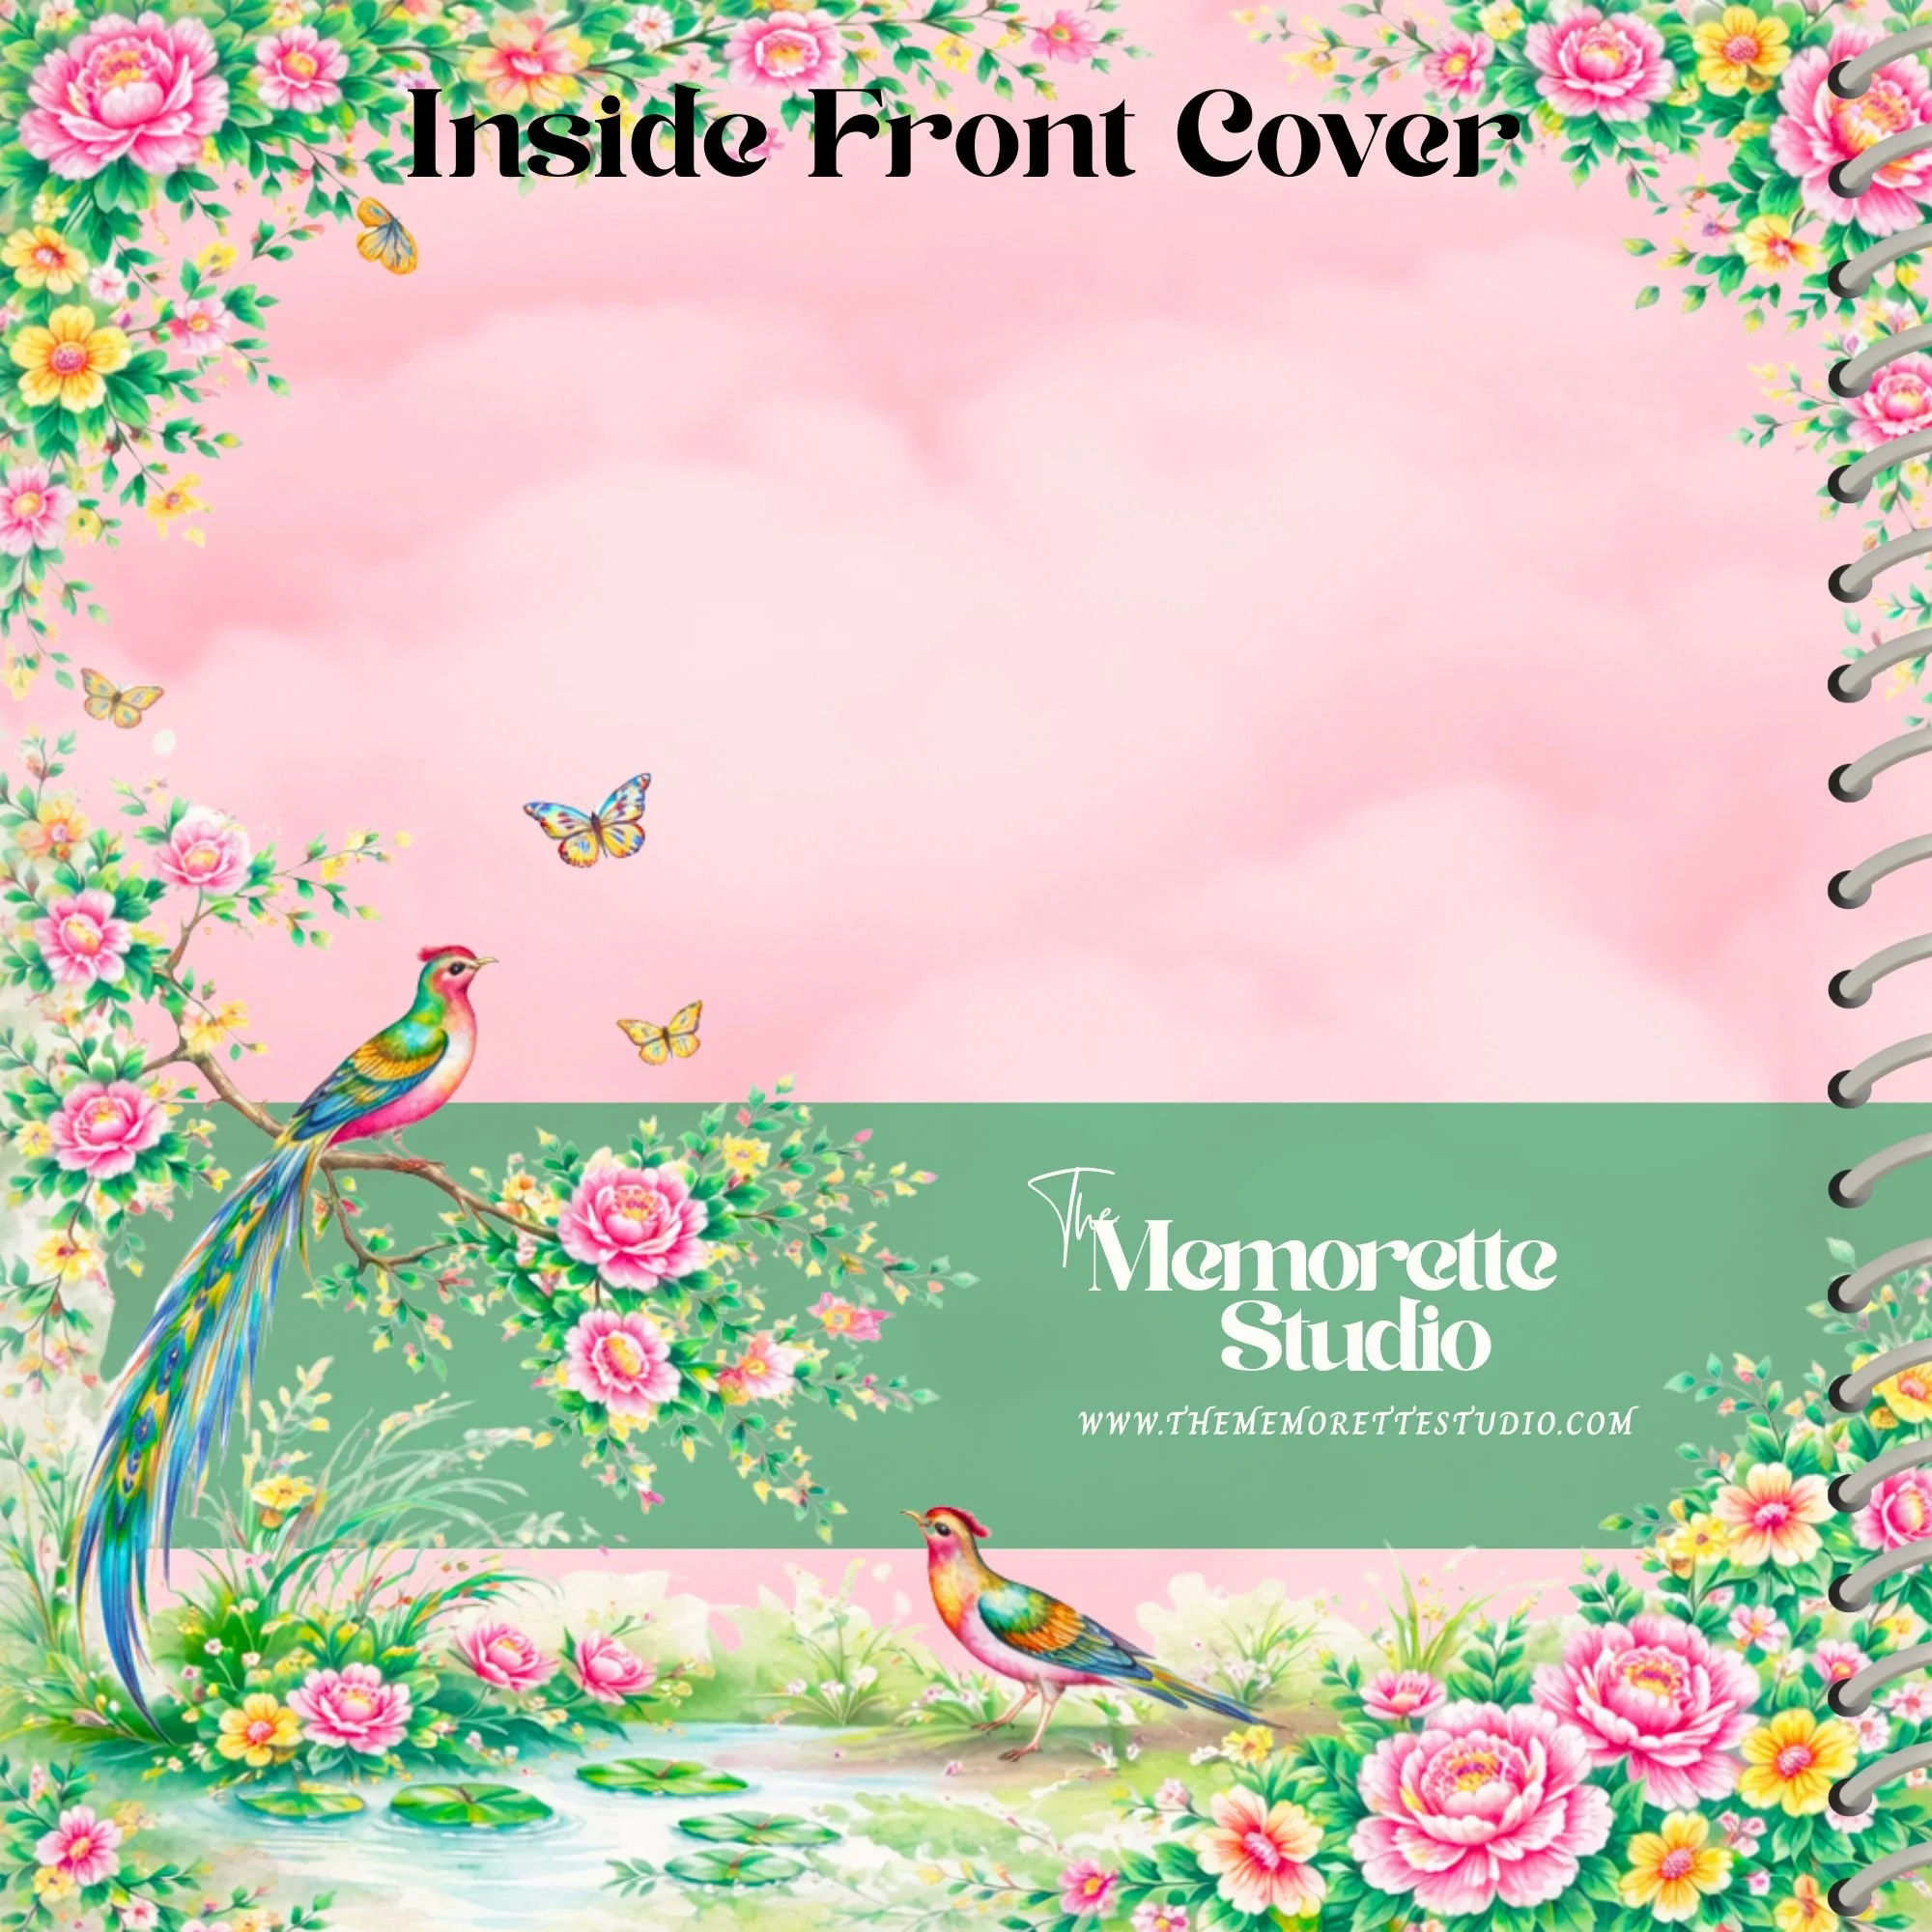
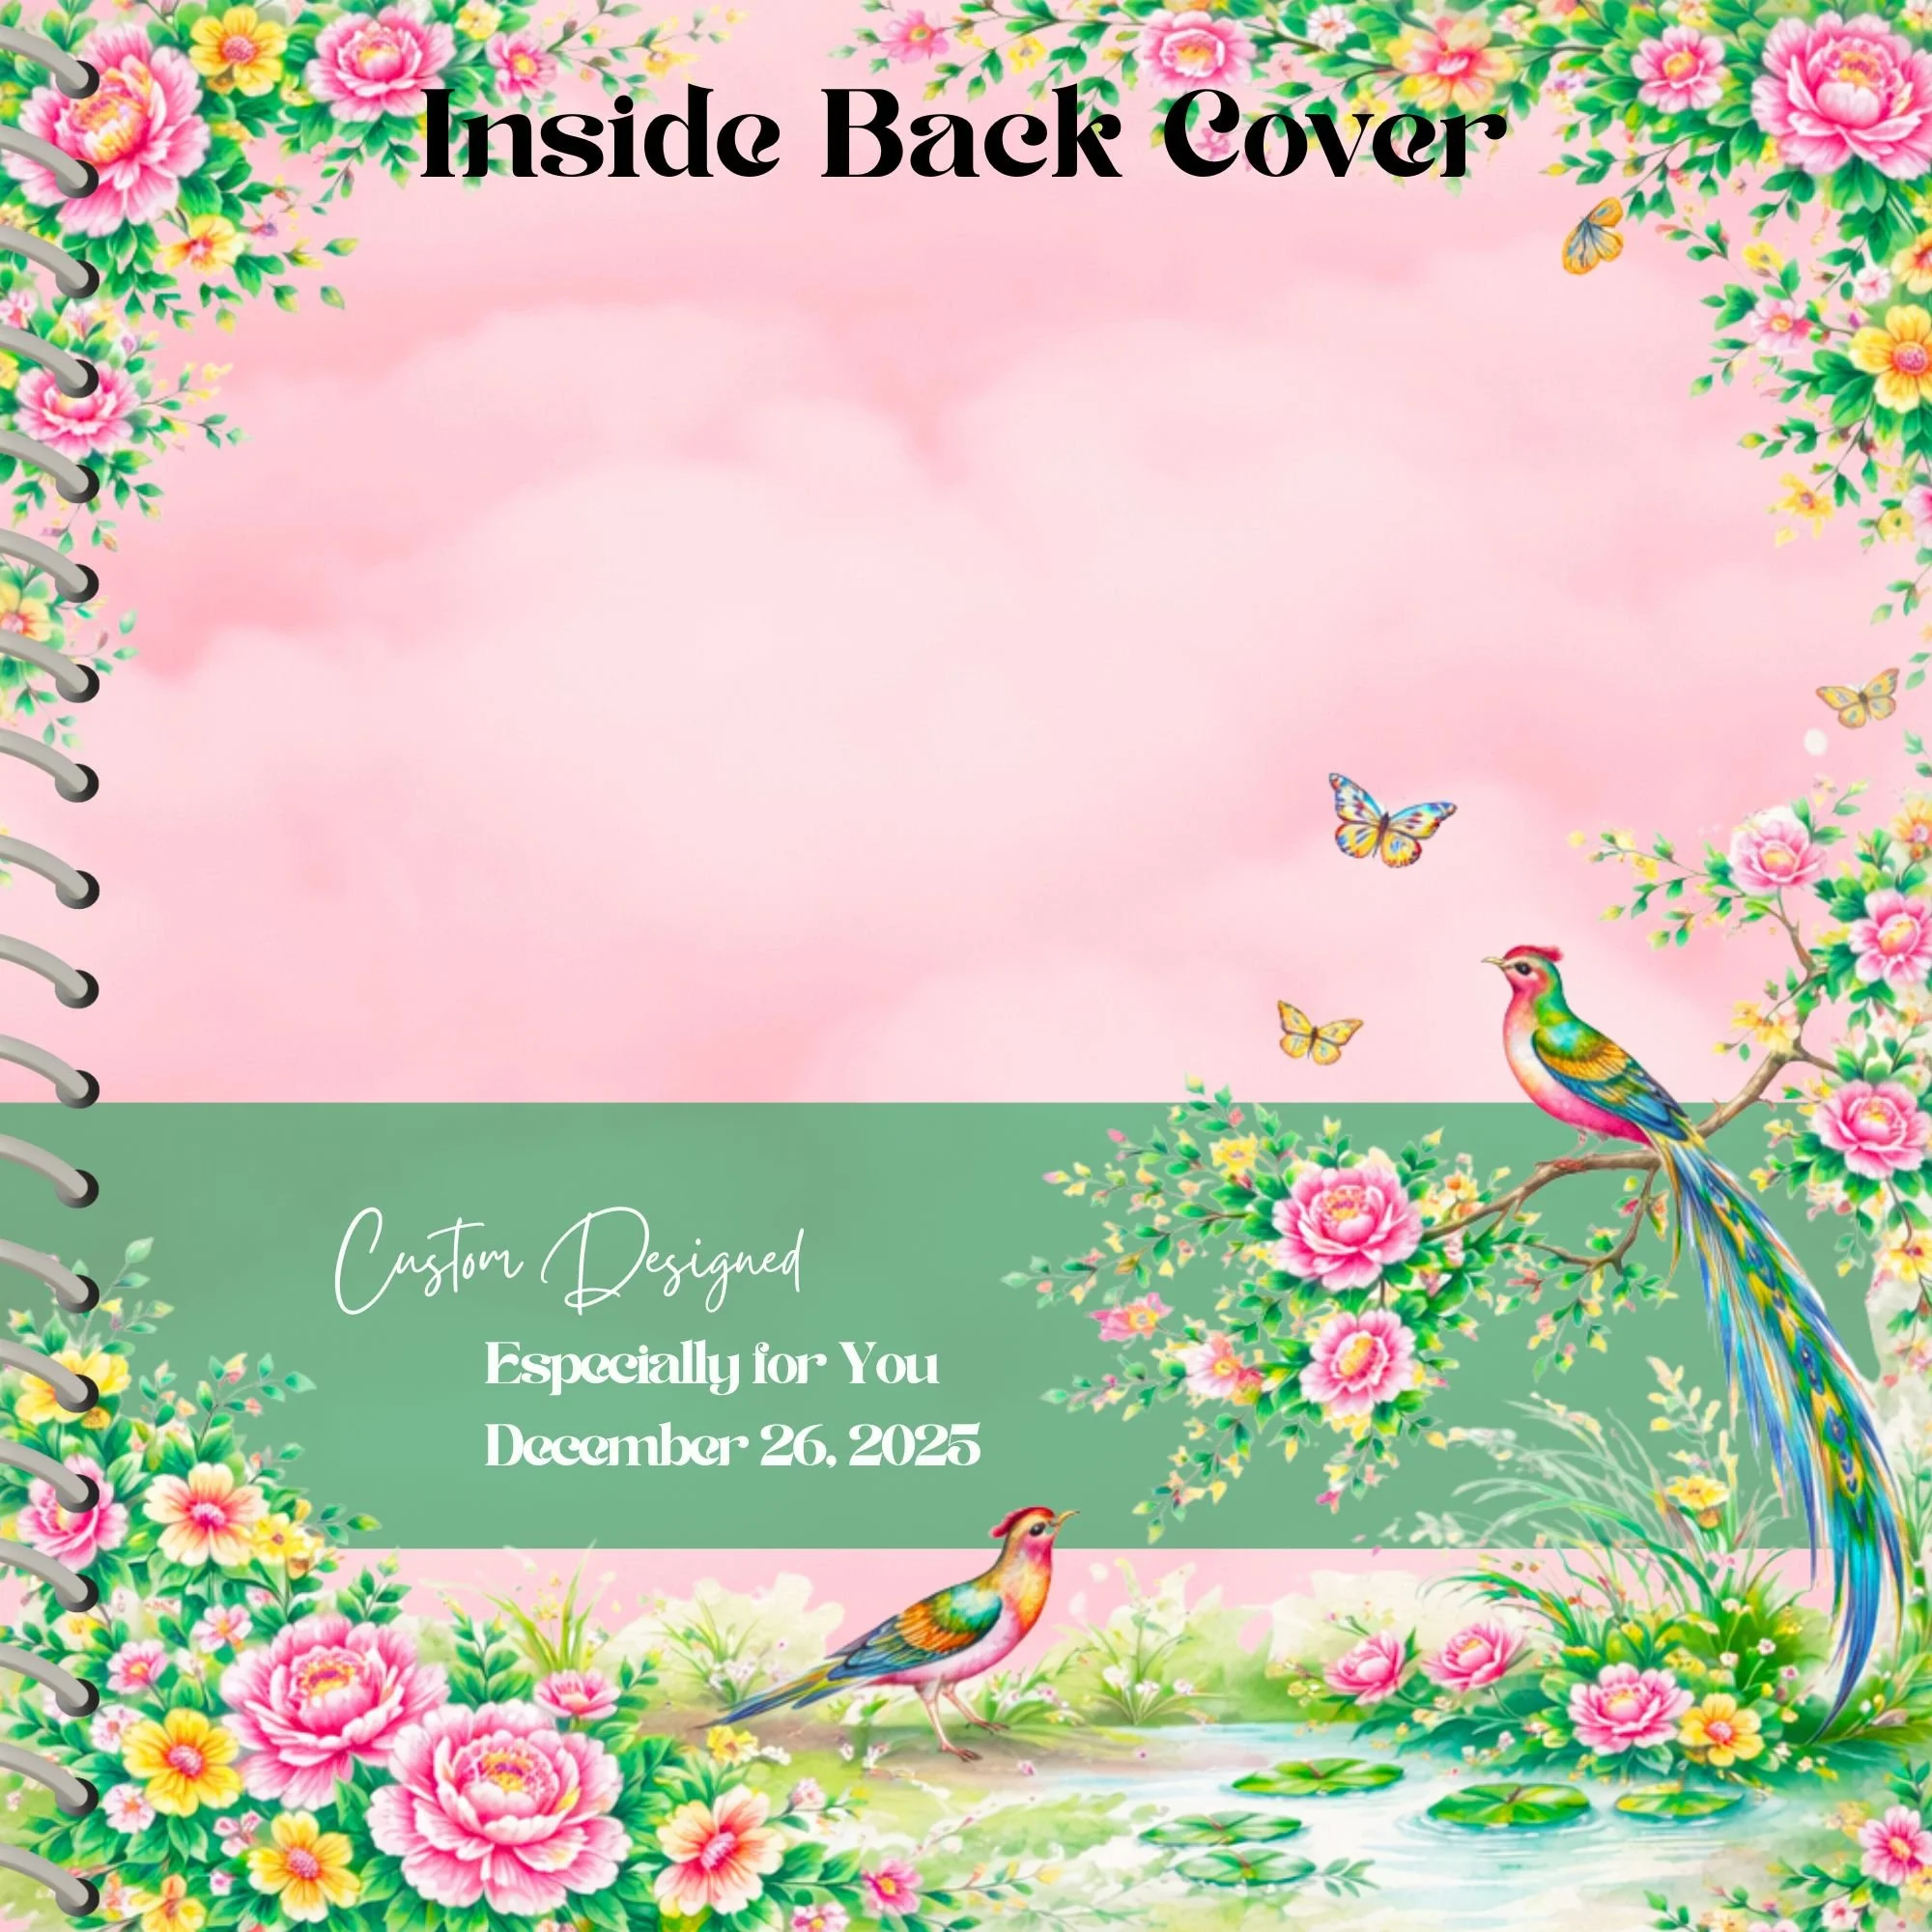
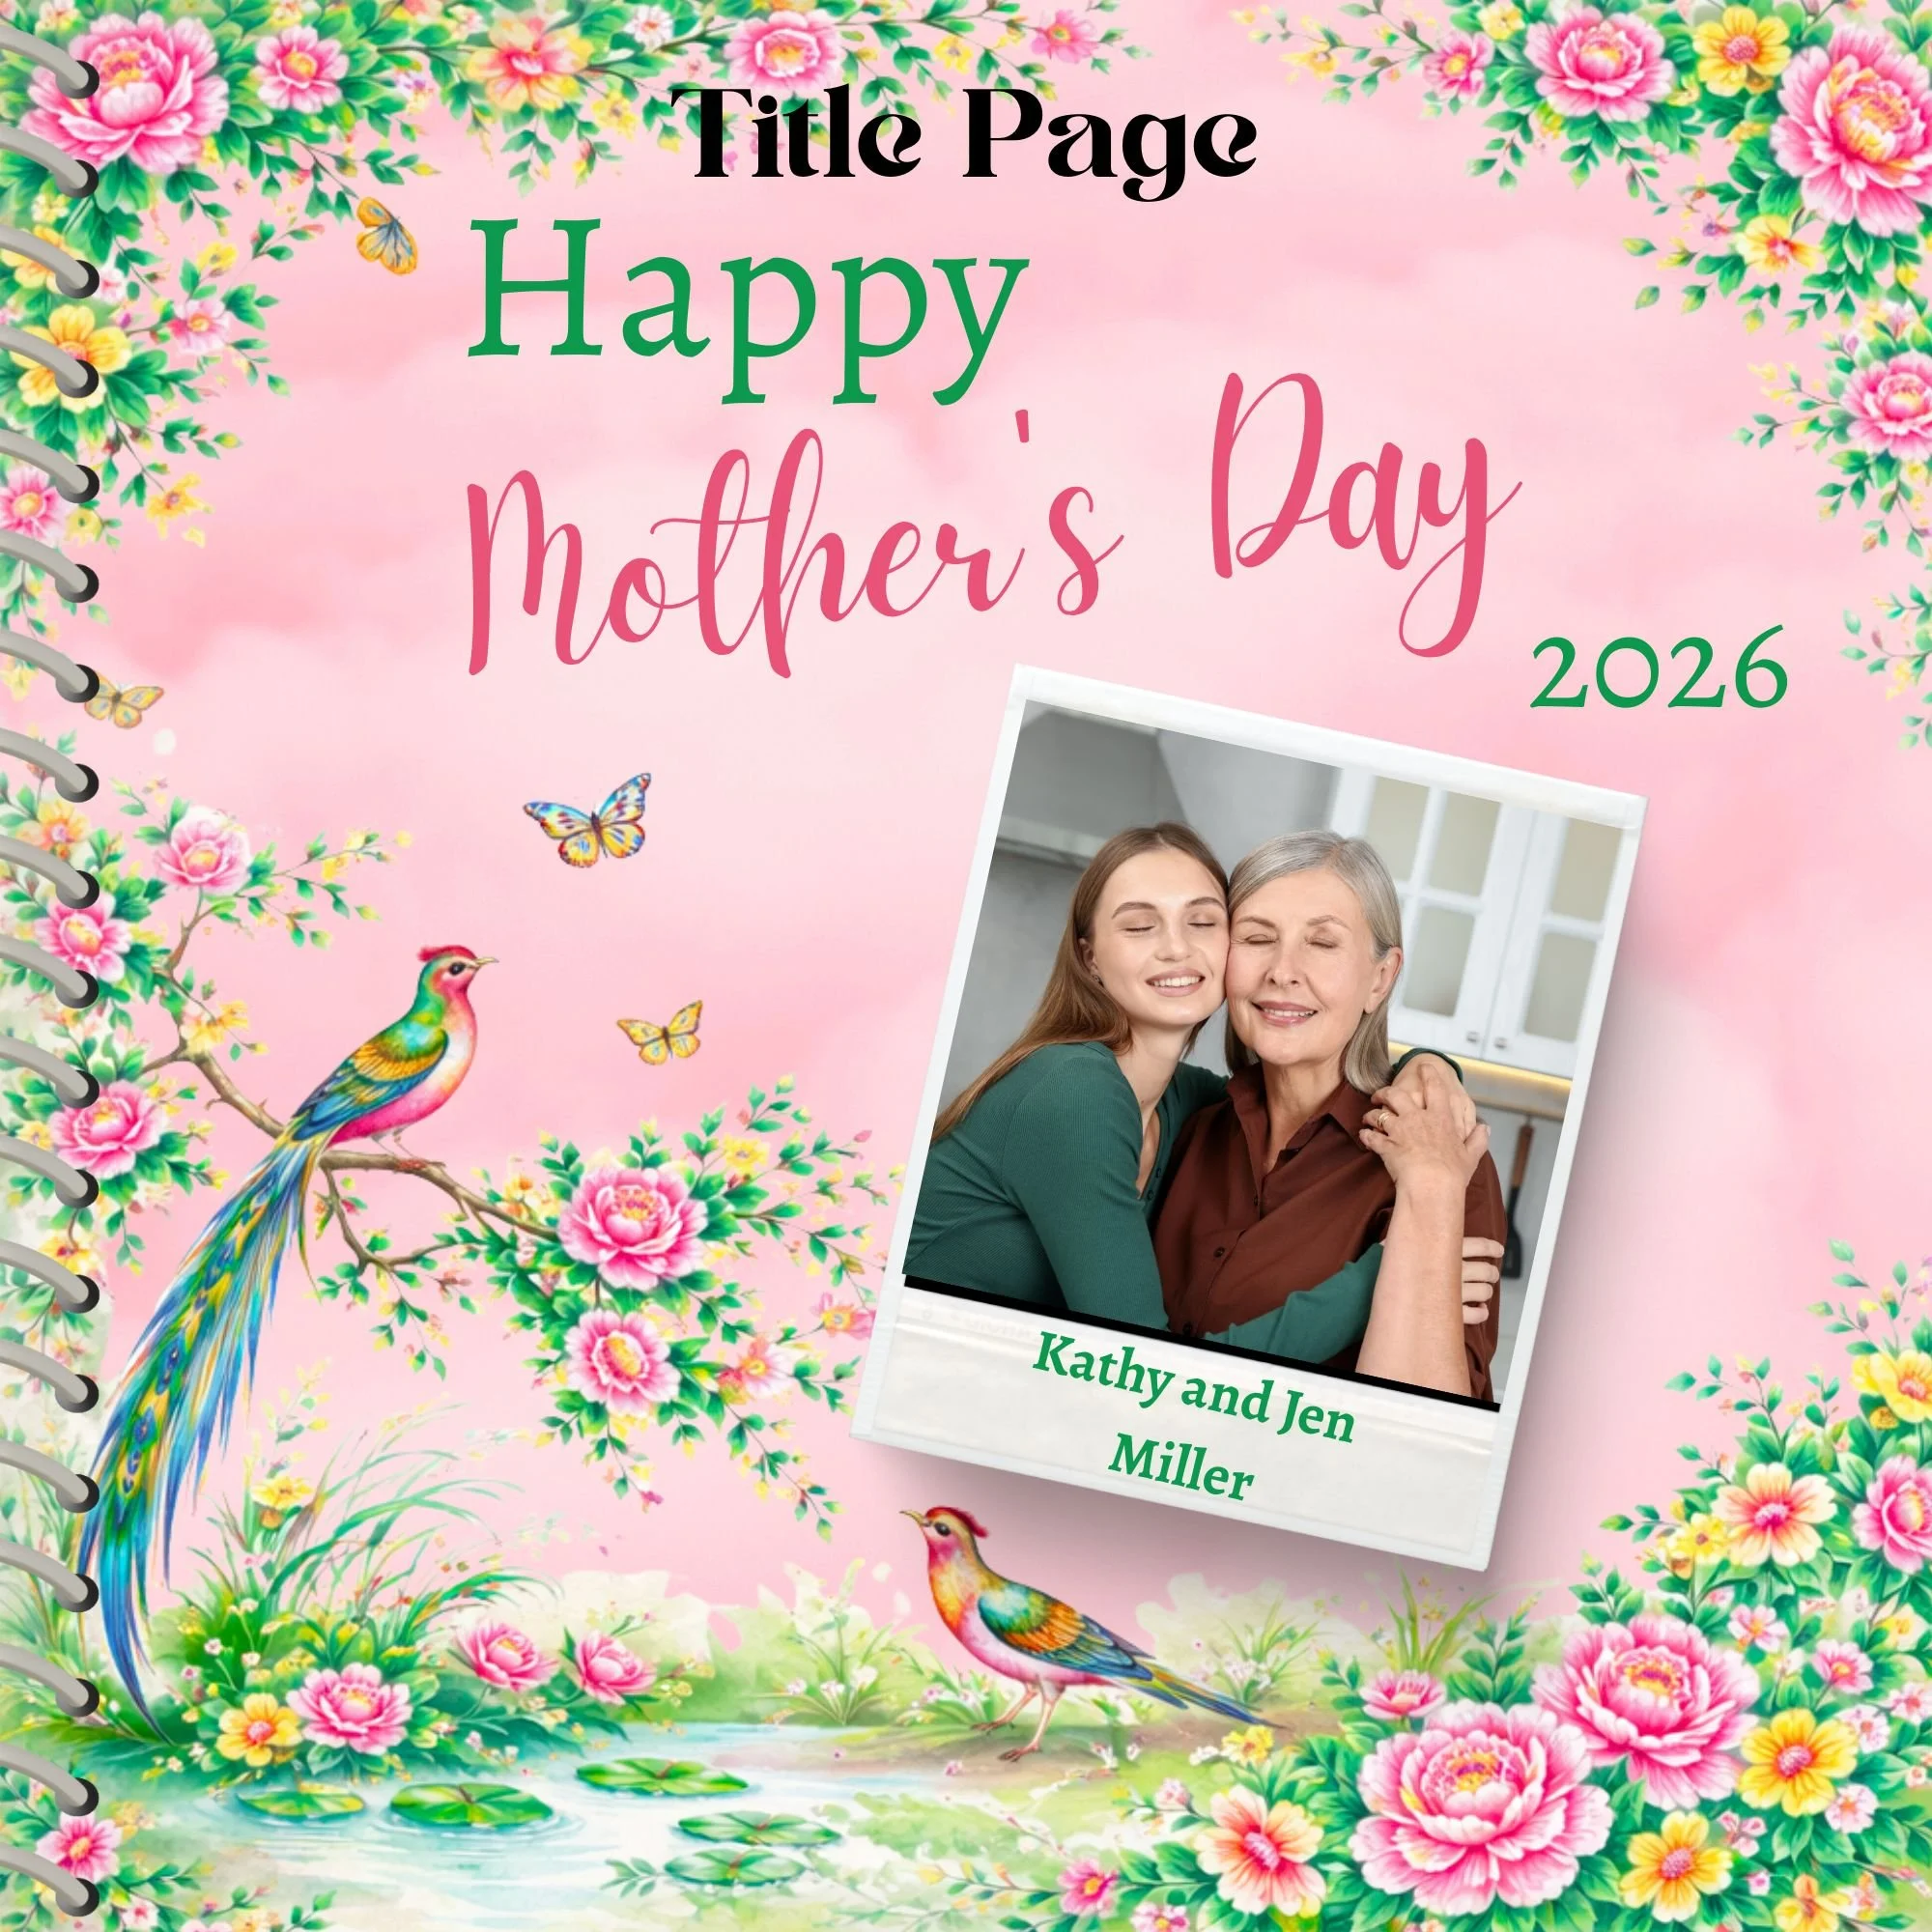
For this project, I’m working with the Mother’s Day Memorette in the green and fuchsia chinoiserie design, along with the coordinating Page Kit, Paper Pack, and Sticker Kit. This Memorette is customized with your photos and personalized with your names!
Inspired by Rose Canton porcelain, this collection features:
Soft fuchsia florals
Grounding greens
Delicate birds
Graceful pagodas
Intricate lattice details
Motherhood is layered. Generational. Textured with stories and traditions. Adding 3D elements to your layouts visually mirrors that depth.
Because the collection is fully coordinated, experimenting with dimension feels creative — not chaotic.
Why 3D Elements Make Such a Difference
Flat layouts can feel structured — sometimes even stiff.
Adding dimension:
Creates visual interest
Draws the eye across the page
Highlights meaningful details
Adds softness and movement
Makes your layout feel intentional and elevated
When done thoughtfully, 3D design doesn’t feel cluttered — it feels curated.
Supplies You’ll Need
To create dimensional scrapbook pages, gather:
Mother’s Day Memorette (Signature, Curated, or Creator Edition)
Coordinating Paper Pack
Page Kit
Die Cuts Pack
Sticker Kit
Photos
Adhesive
Foam adhesive dots or strips
Optional tools:
Pop dots
Chipboard accents
Scissors
Bone folder (for slight curling)
The Key to 3D Design: Layering with Intention
The secret isn’t adding more.
It’s layering thoughtfully.
Here’s a simple structure that works beautifully:
1. Start Flat
Anchor your page with a 12x12 background paper.
2. Add a Base Layer
Use a 6x6 sheet or a solid from the paper pack behind your photo.
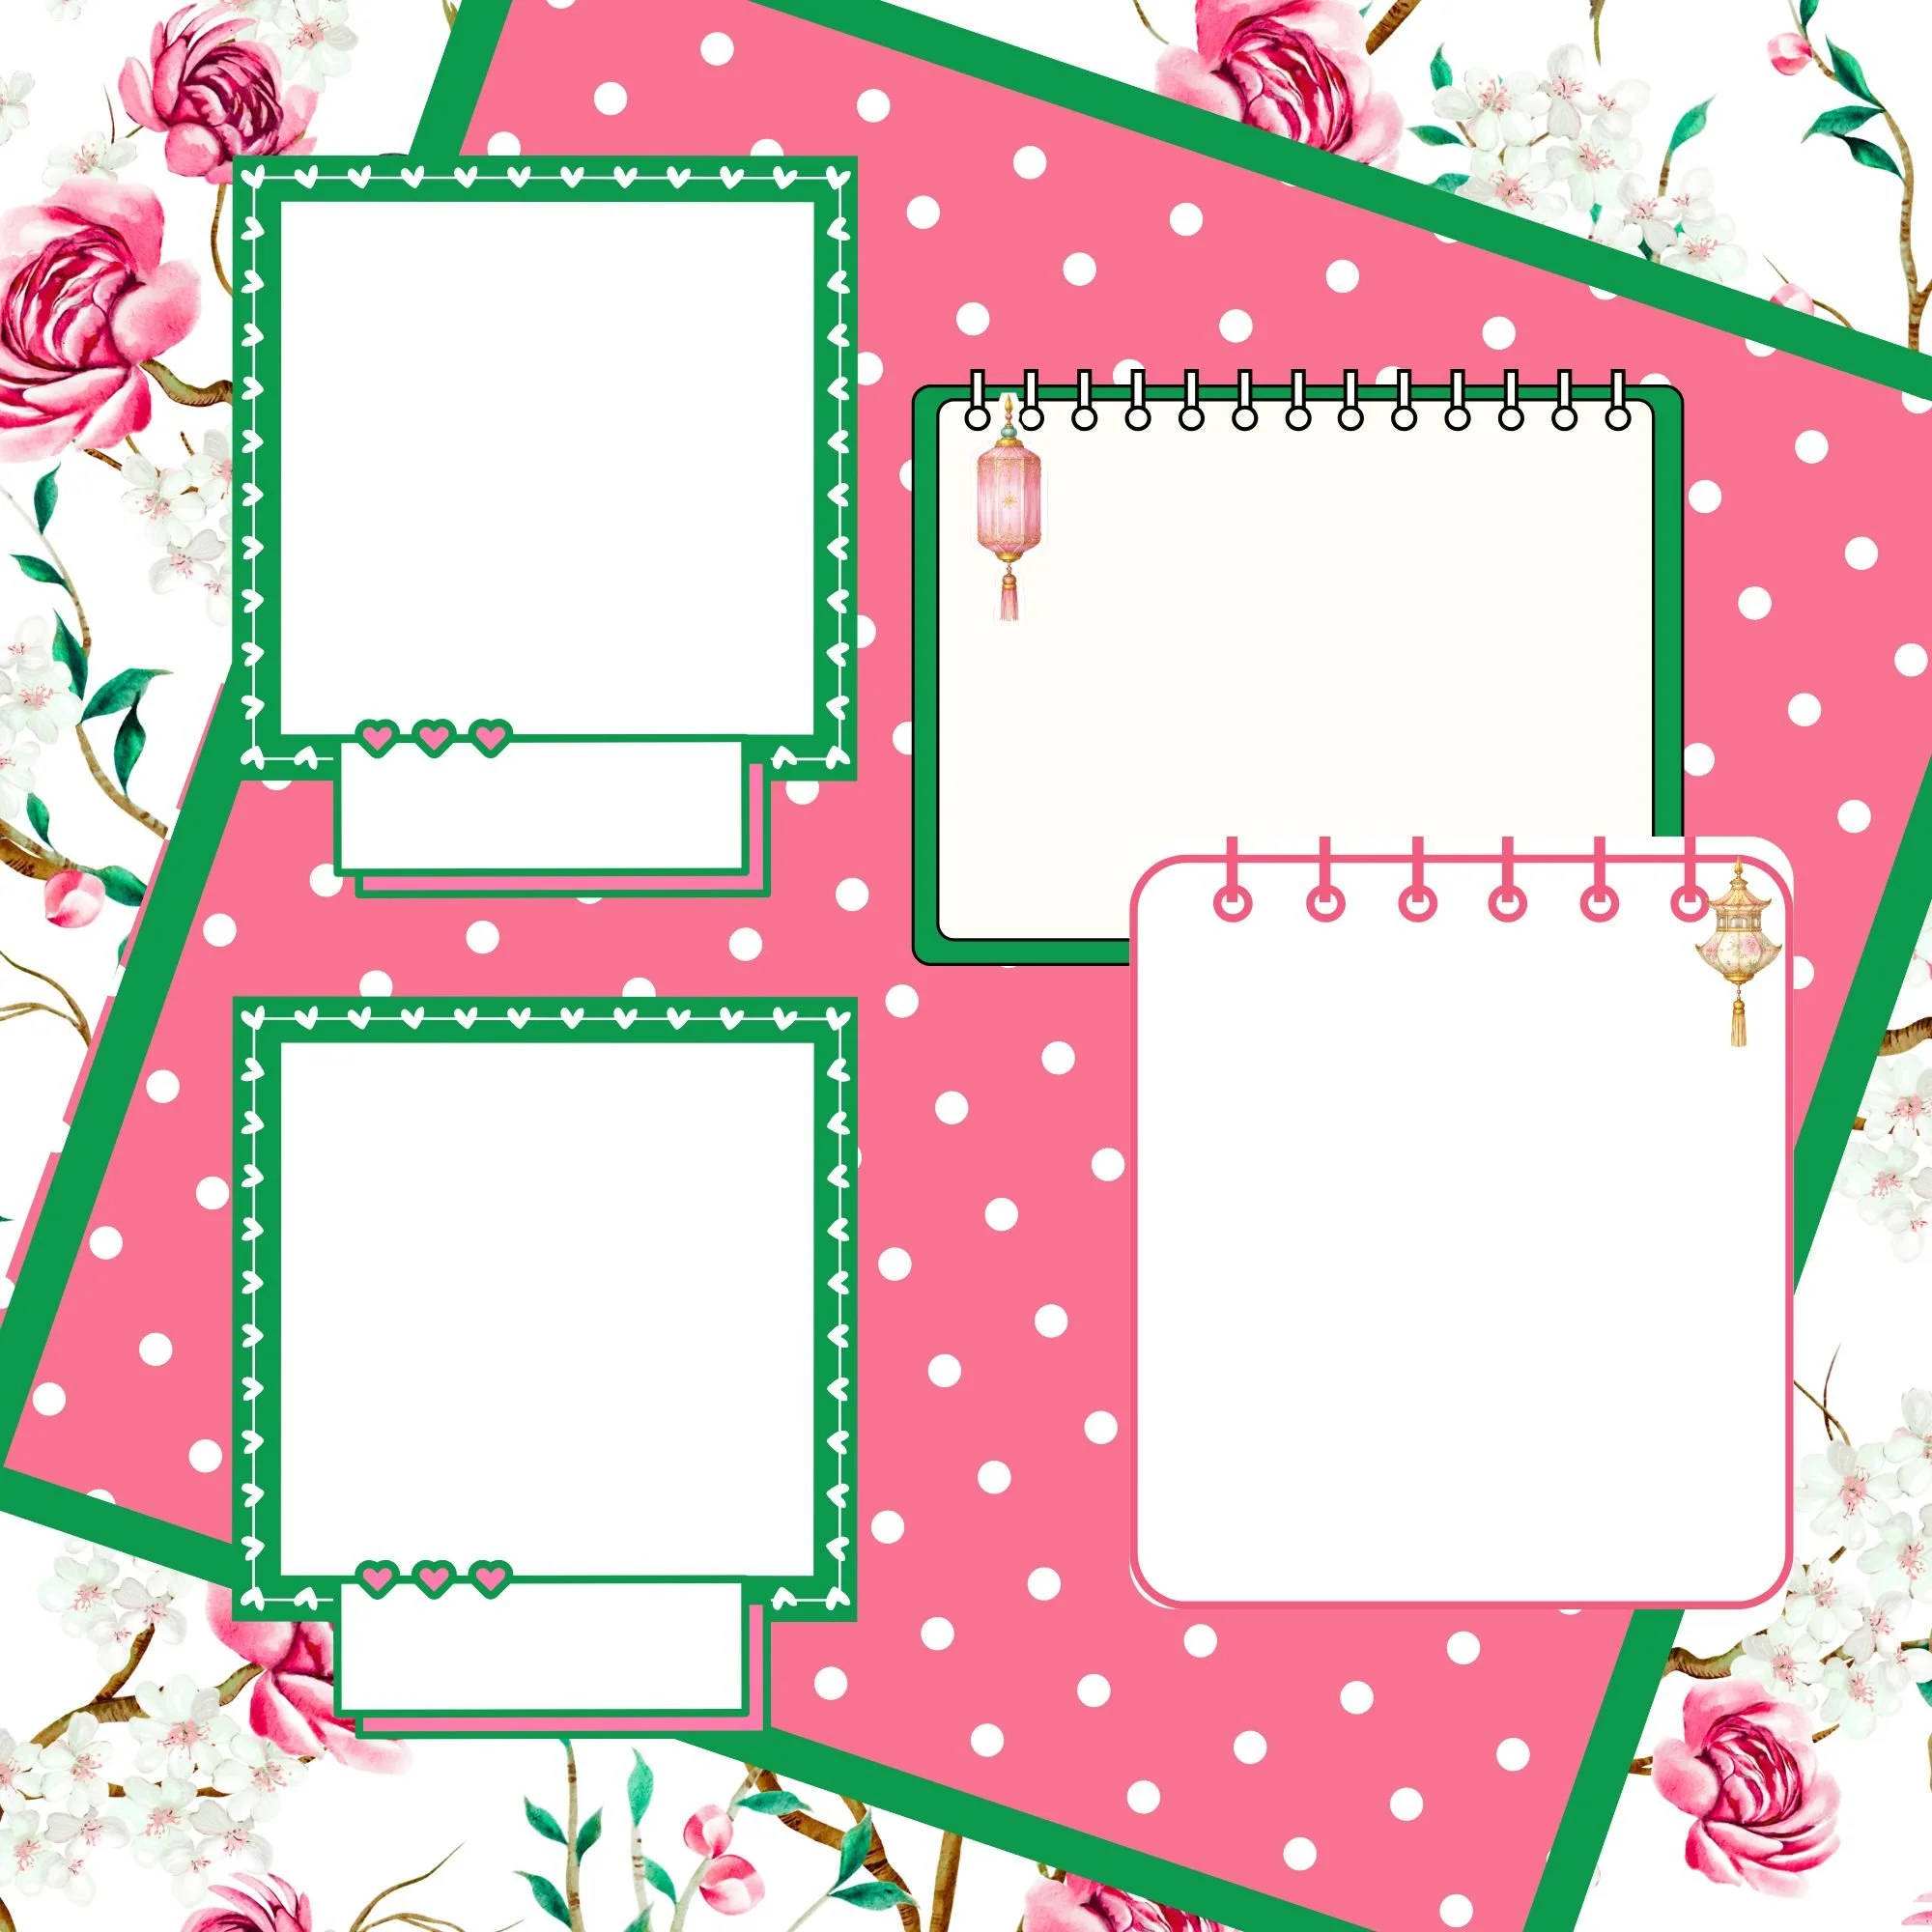
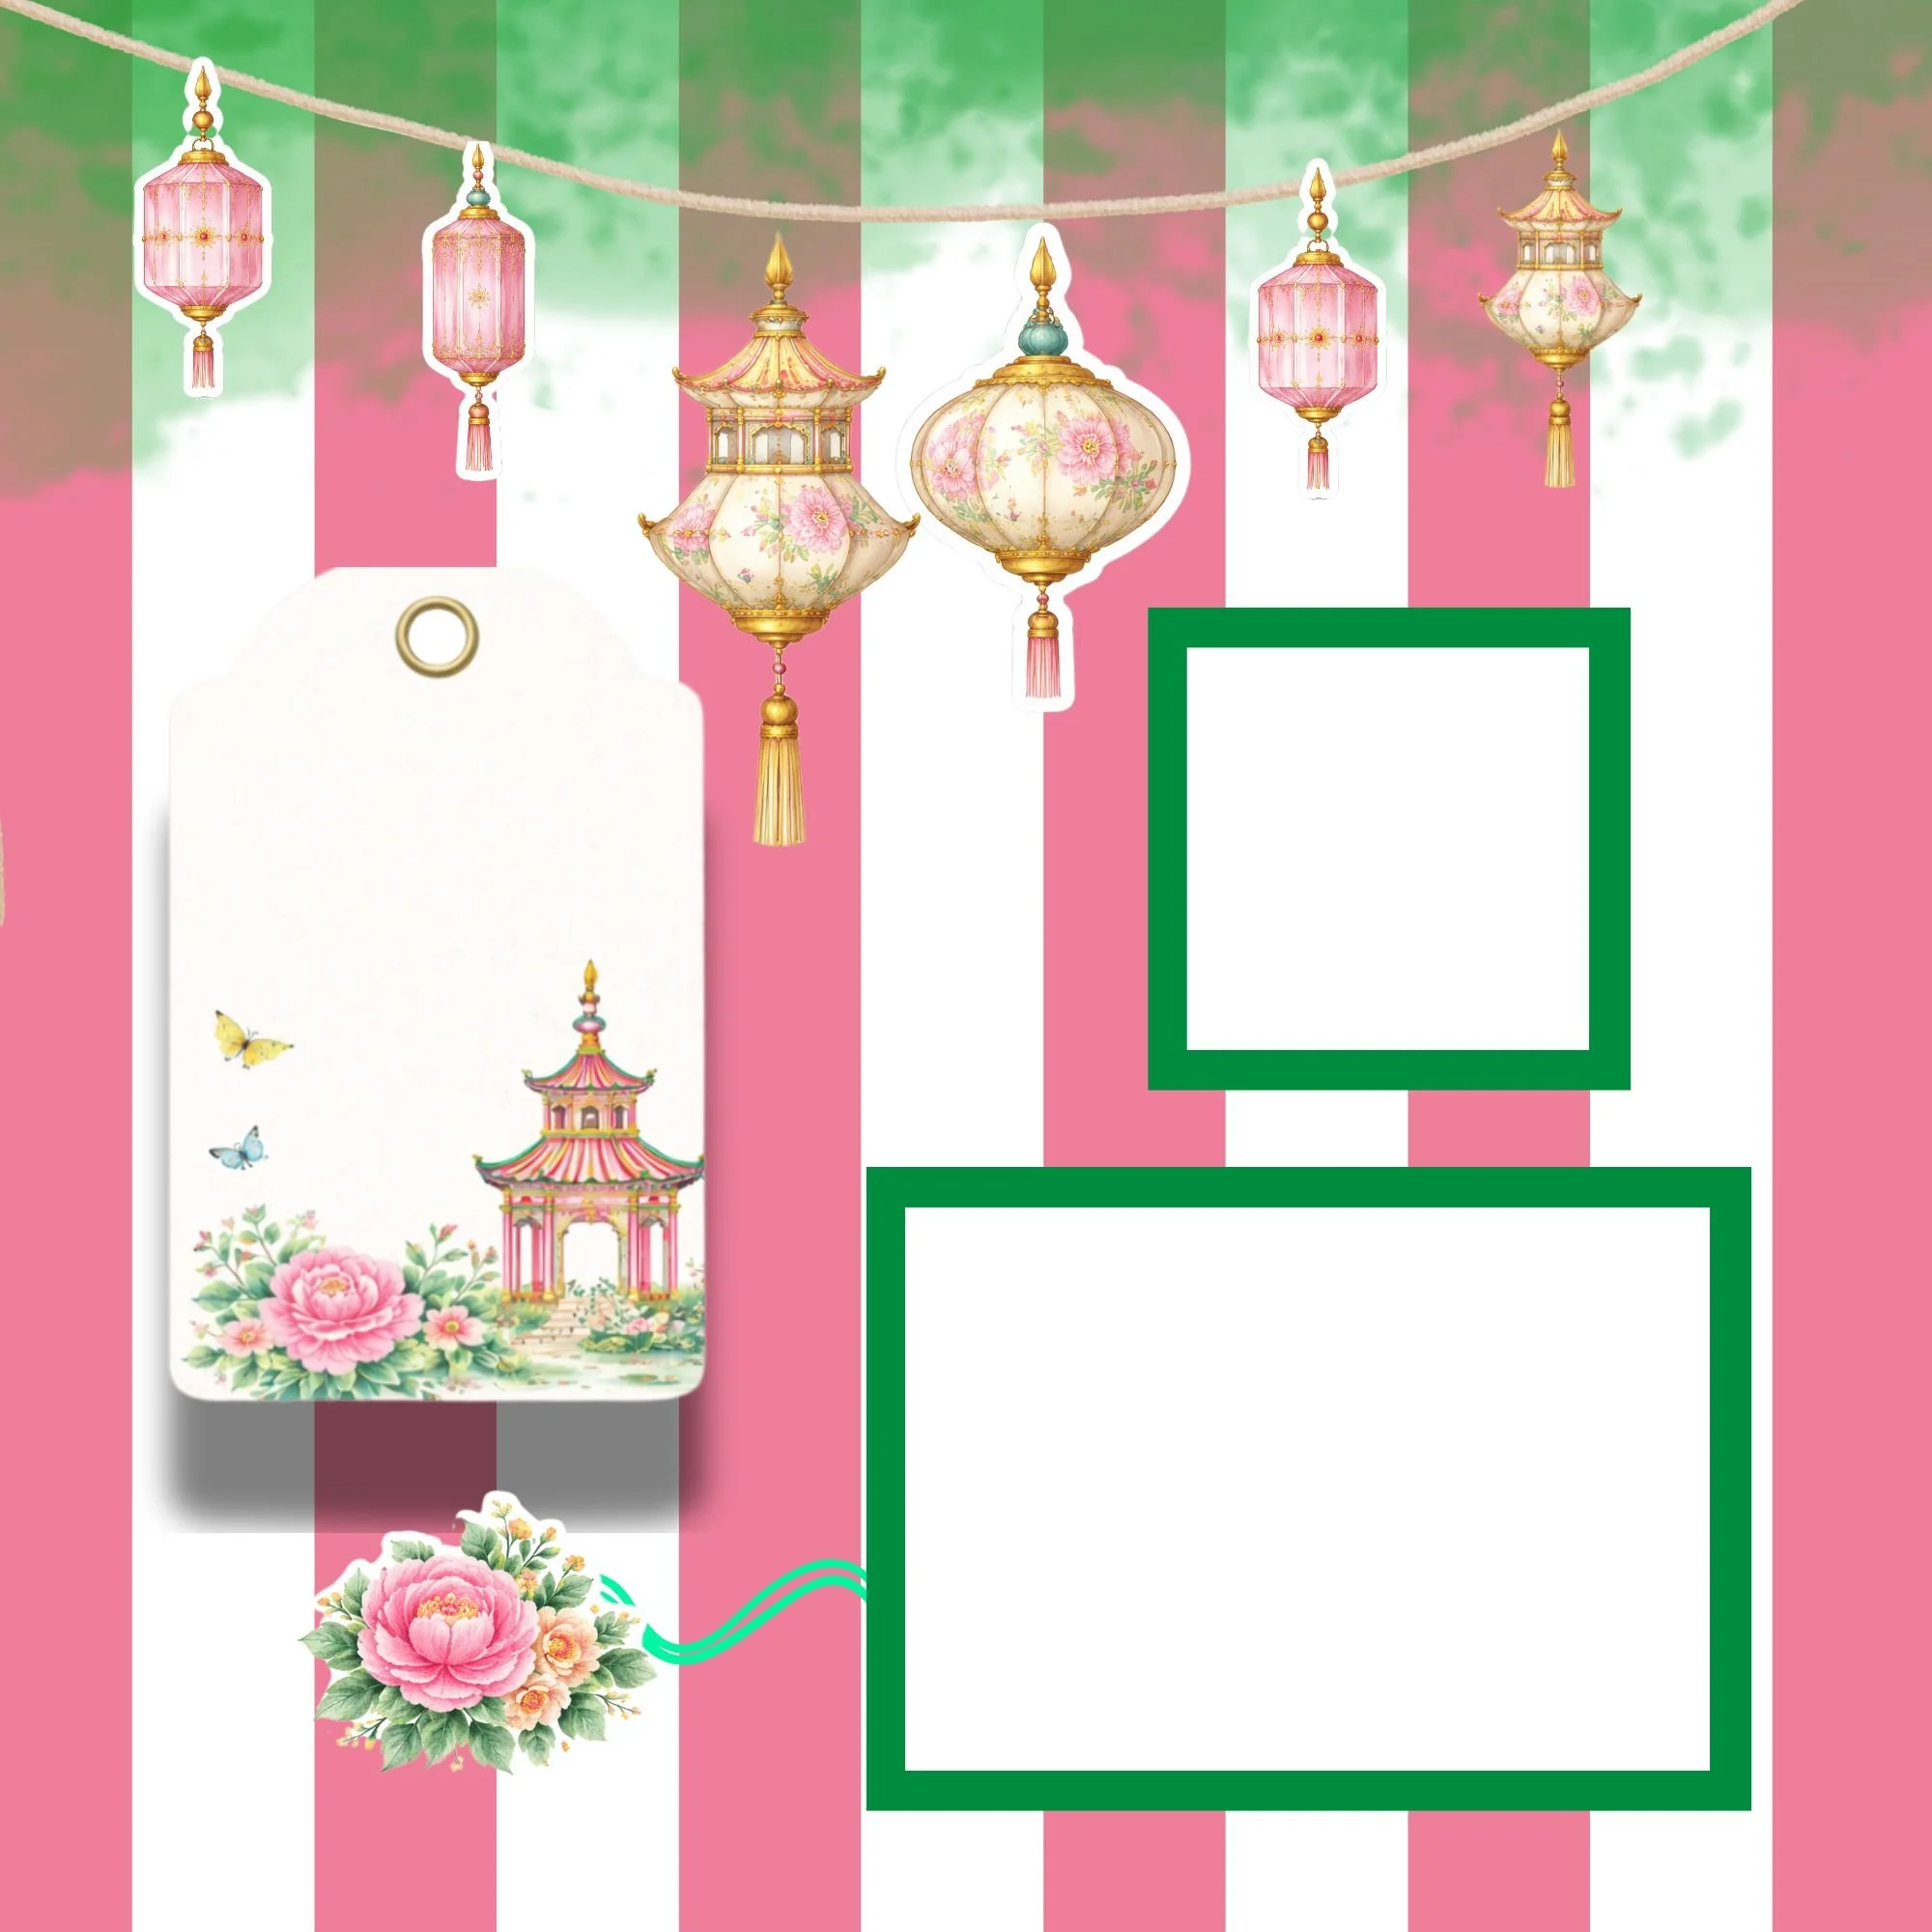
3. Introduce Raised Elements
Choose 1–3 die cuts (a bird, floral cluster, or pagoda) and attach them with foam adhesive.
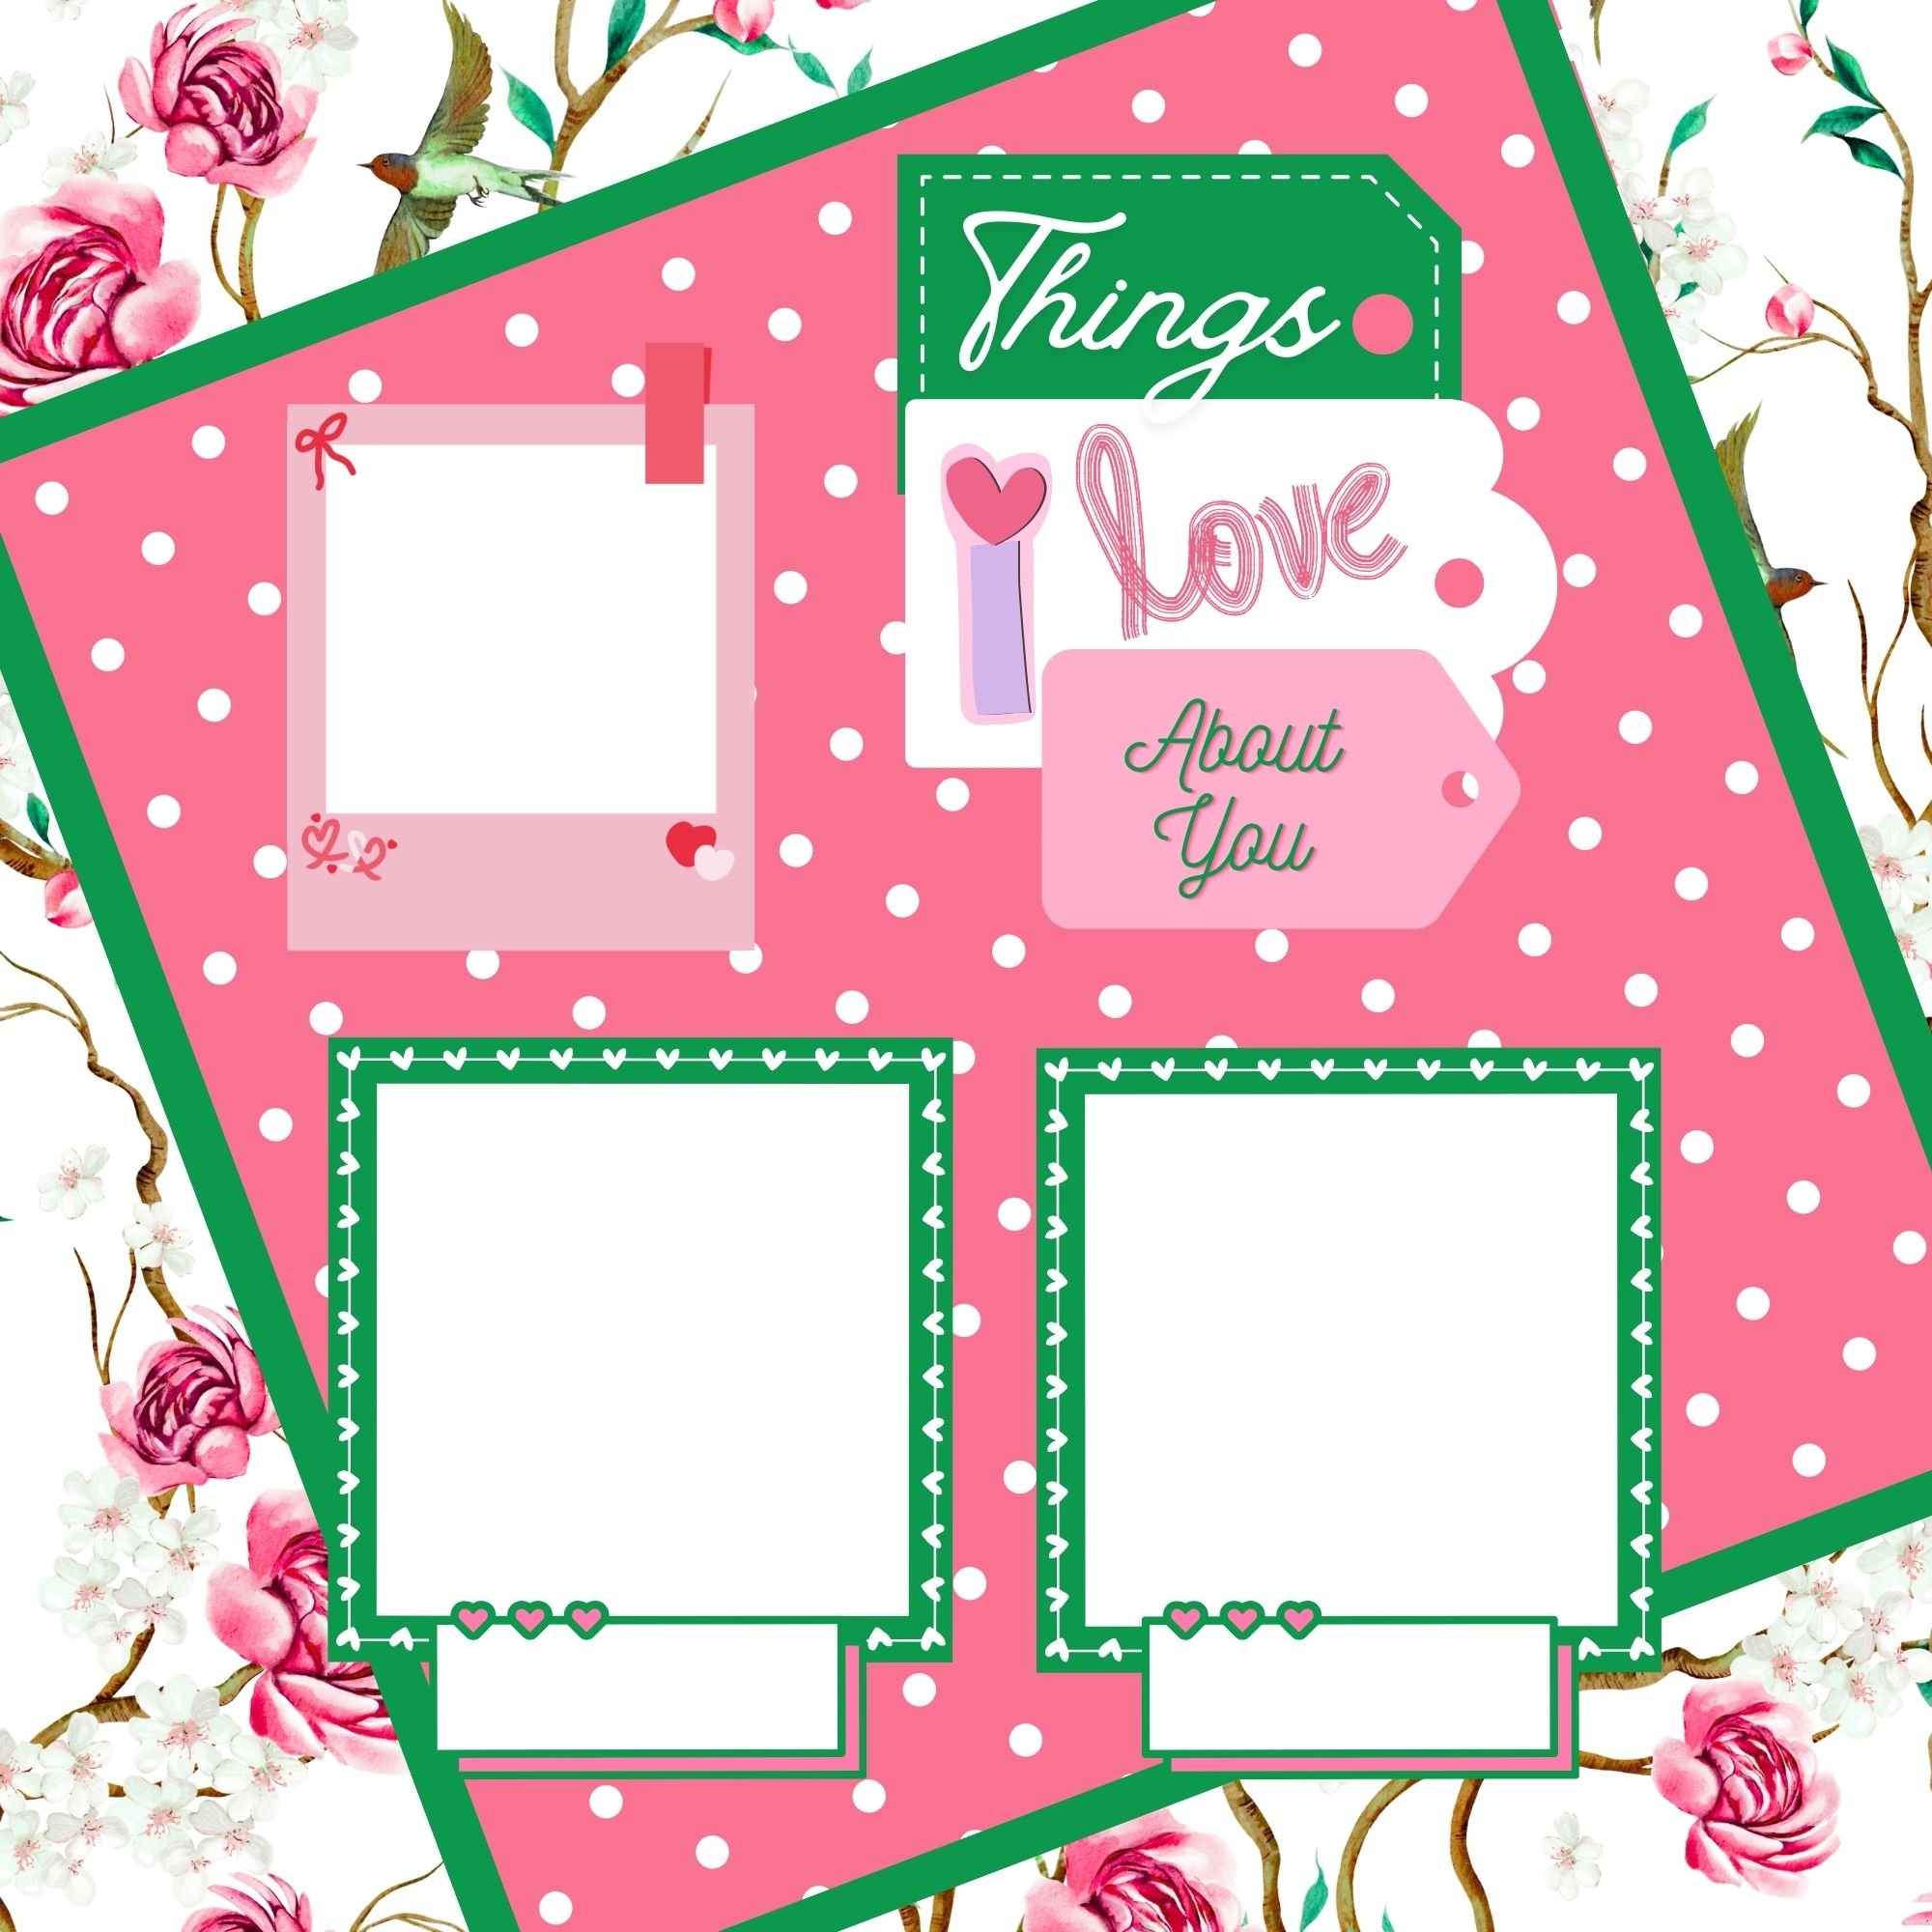
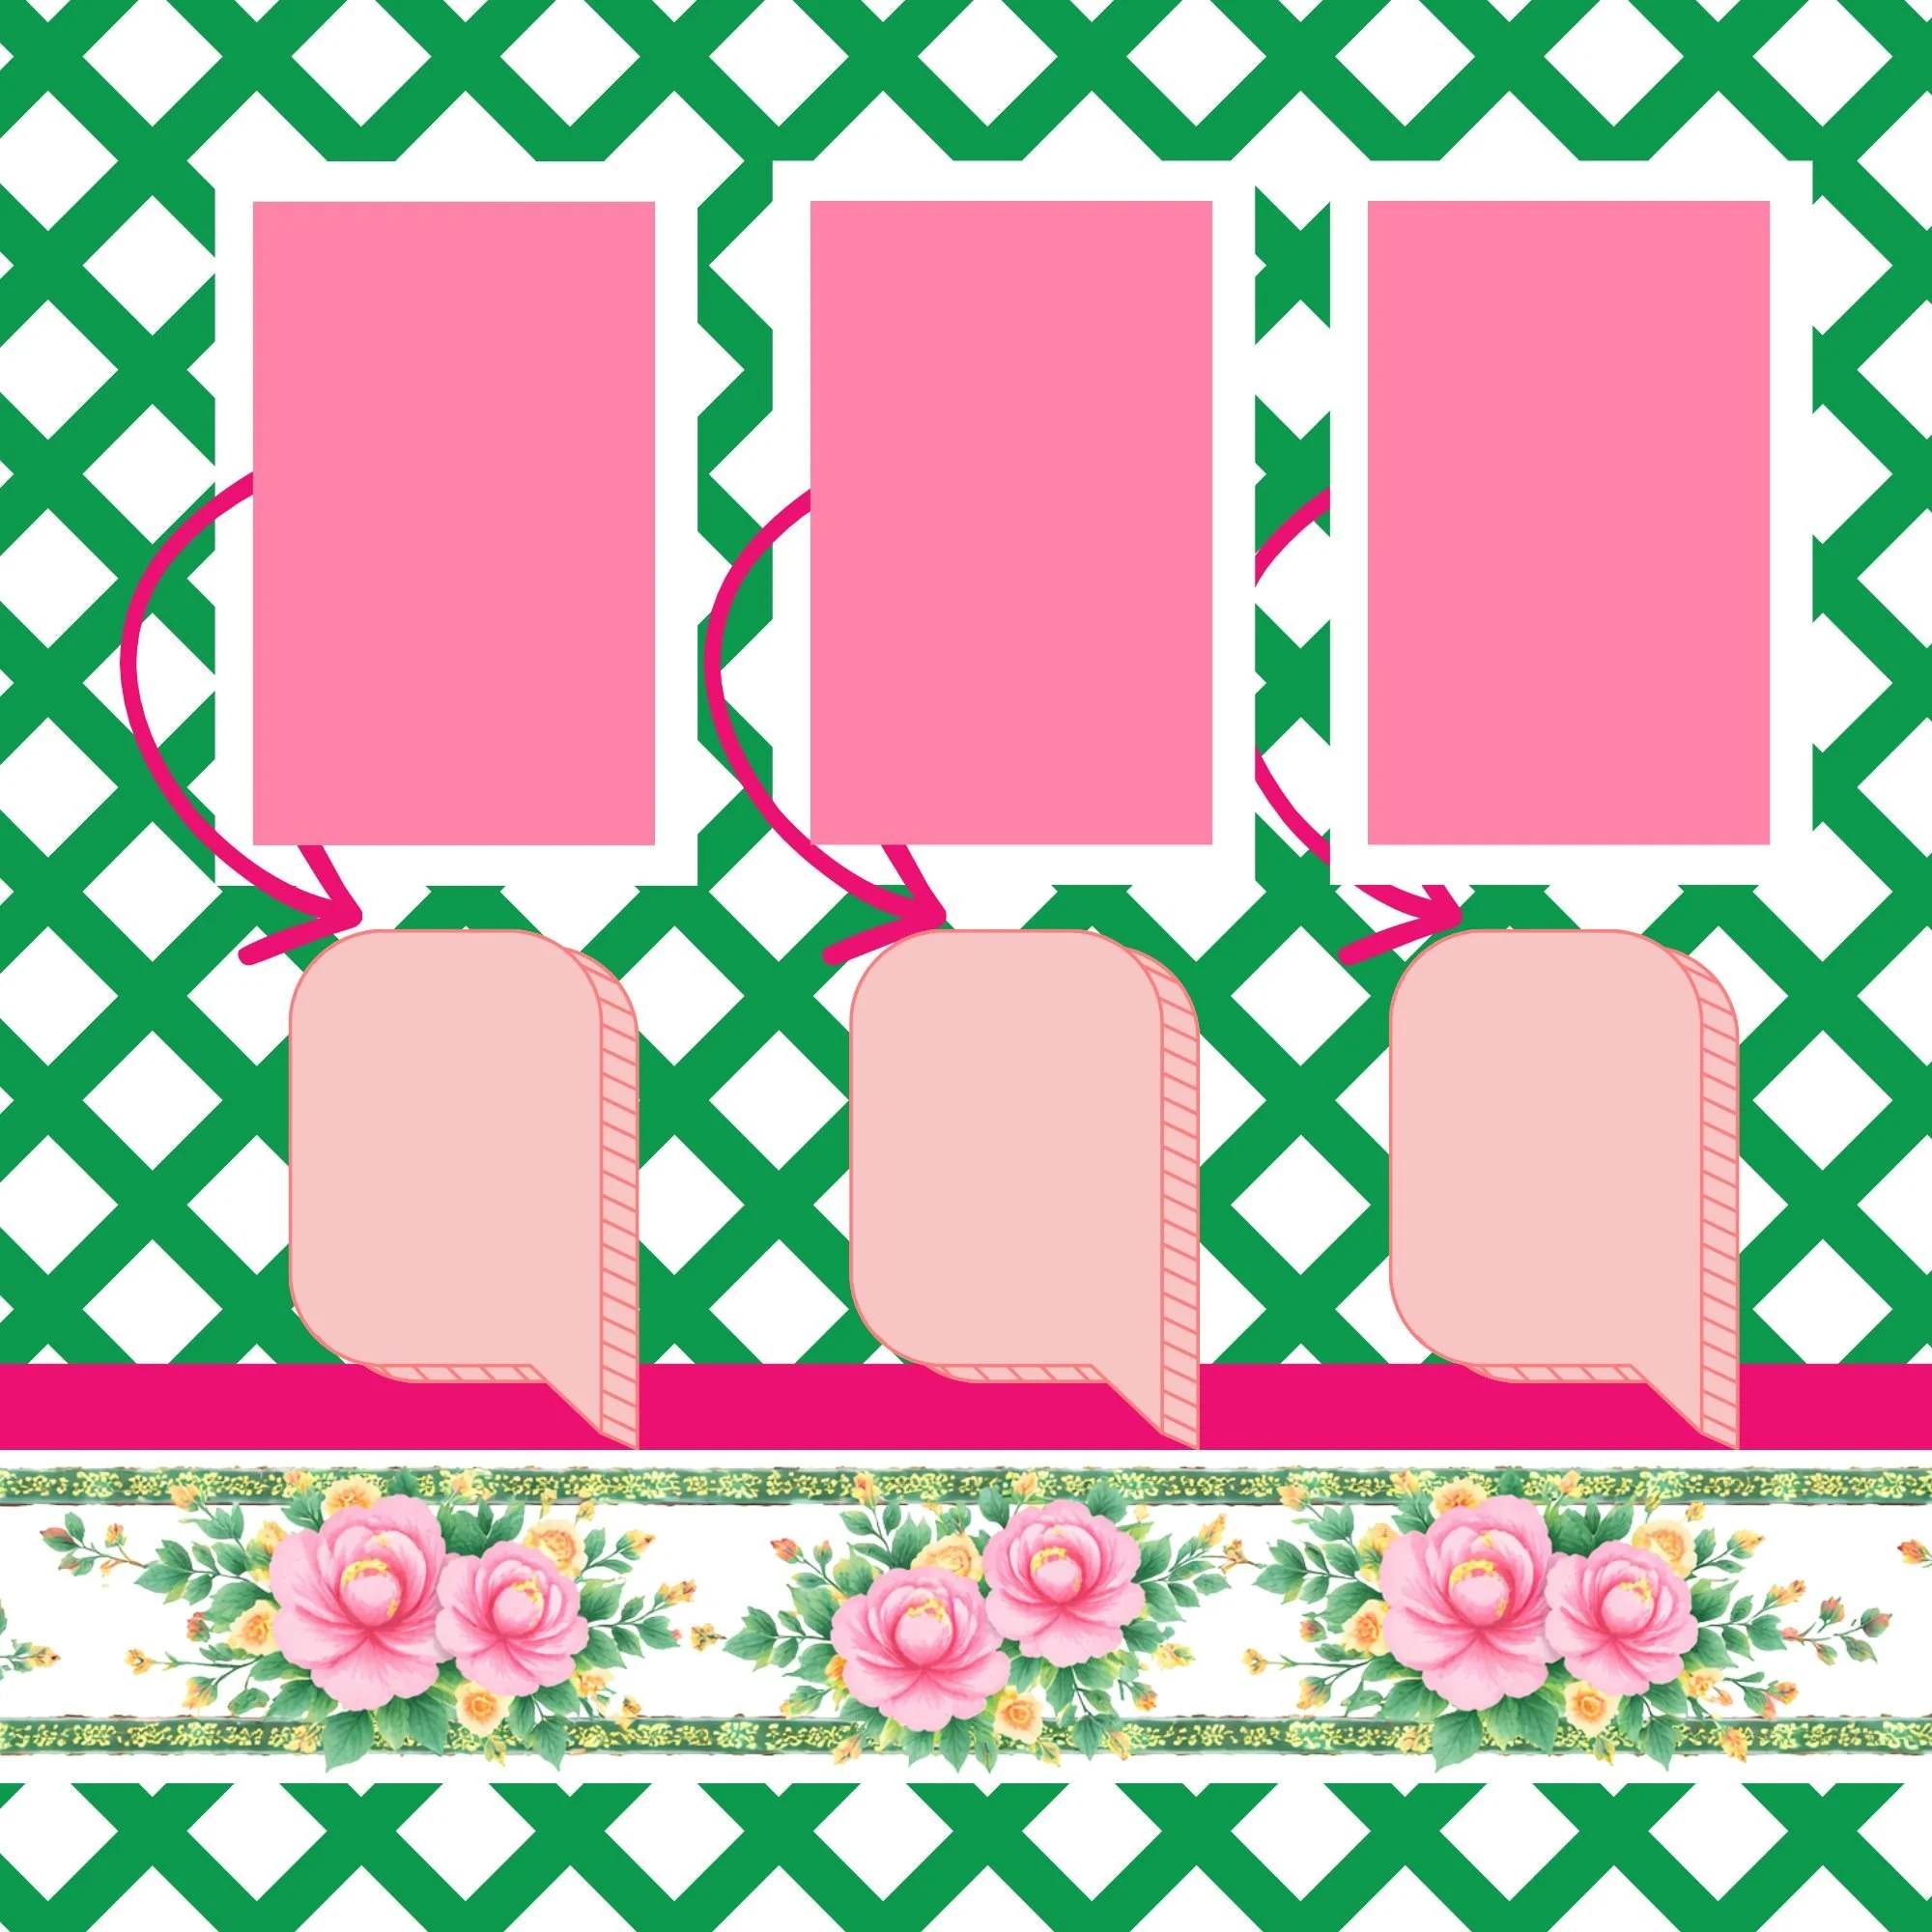
4. Tuck & Overlap
Layer tags or quote cards partially under your photo mat. Let edges peek out.
5. Finish with Light Detail
Add stickers or small accents flat to avoid too much bulk.
This creates depth without heaviness.

Where to Add Dimension (and Where Not To)
Balance is everything.
Add Dimension To:
Die cuts (birds, florals, pagodas)
Frames around focal photos
Small layered clusters
Titles
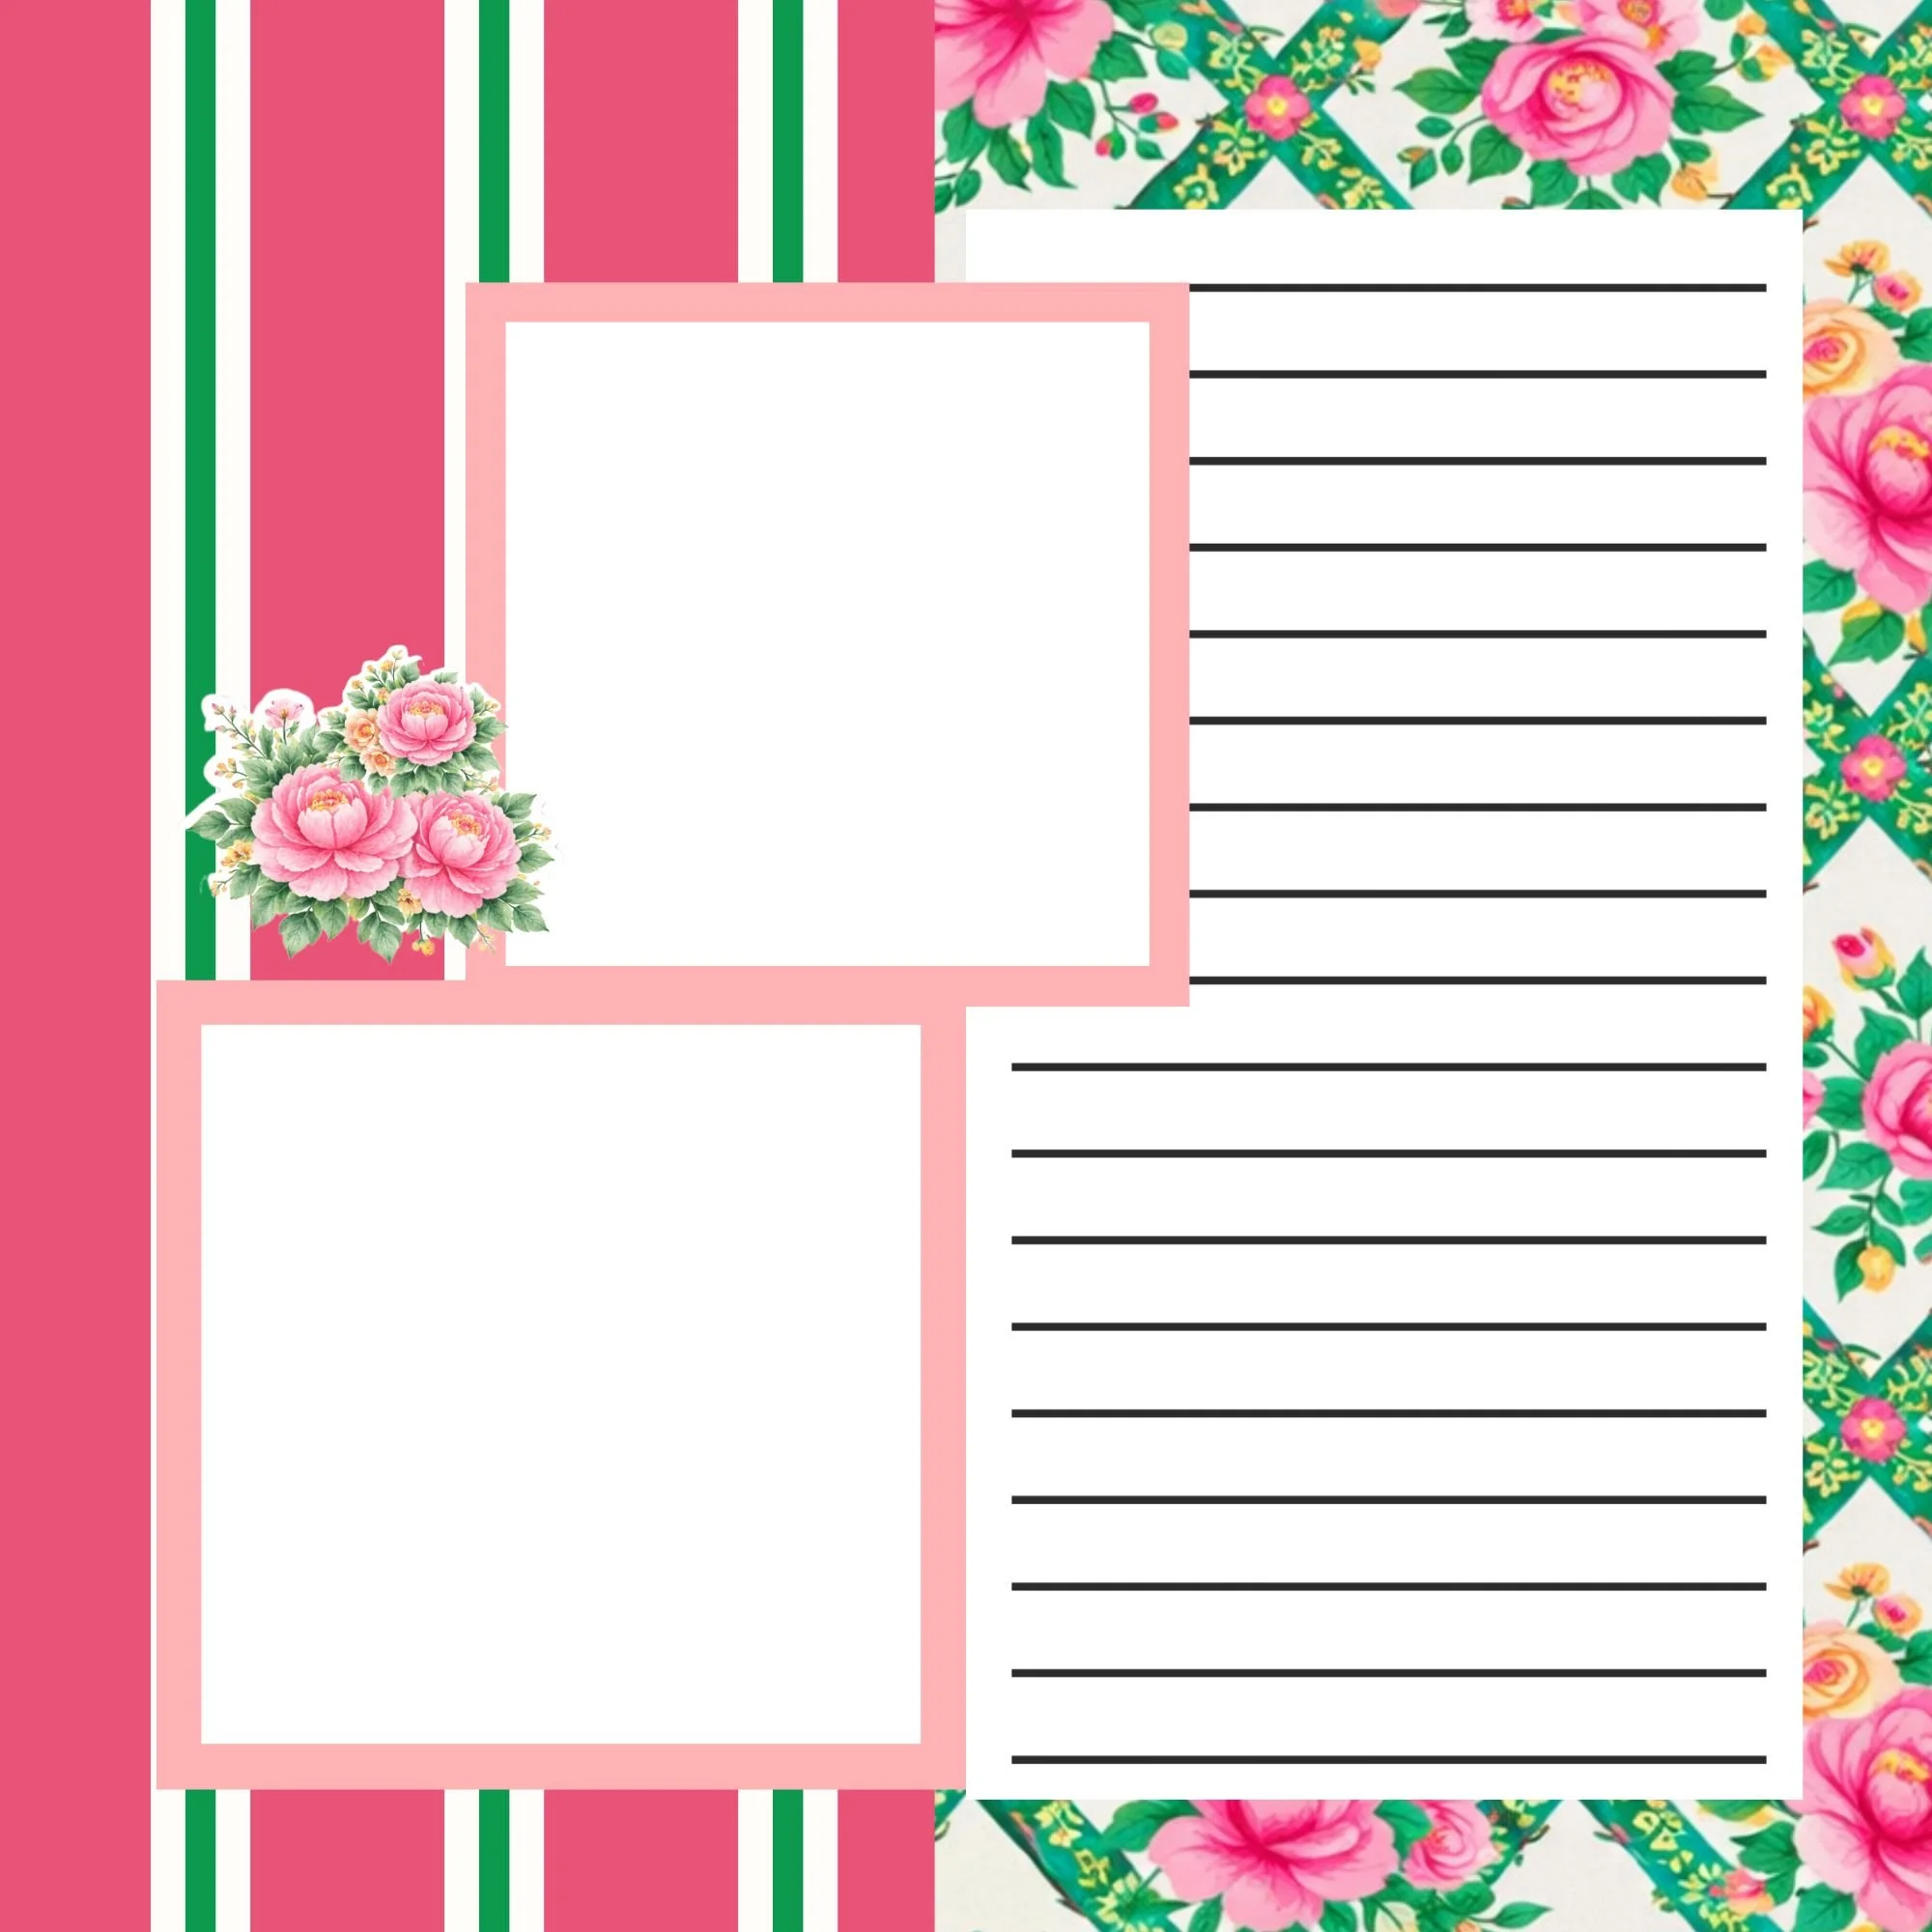
Keep Flat:
Large background papers
Journaling blocks
Structural layout pieces
This contrast keeps your page grounded and polished.
Small Techniques That Make a Big Impact
You don’t need thick embellishments to create dimension.
Try:
Slightly curling the edges of florals
Lifting just one side of a die cut
Layering two thin pieces with a small foam dot
Overlapping tags at different heights
Even subtle lift adds visual softness.
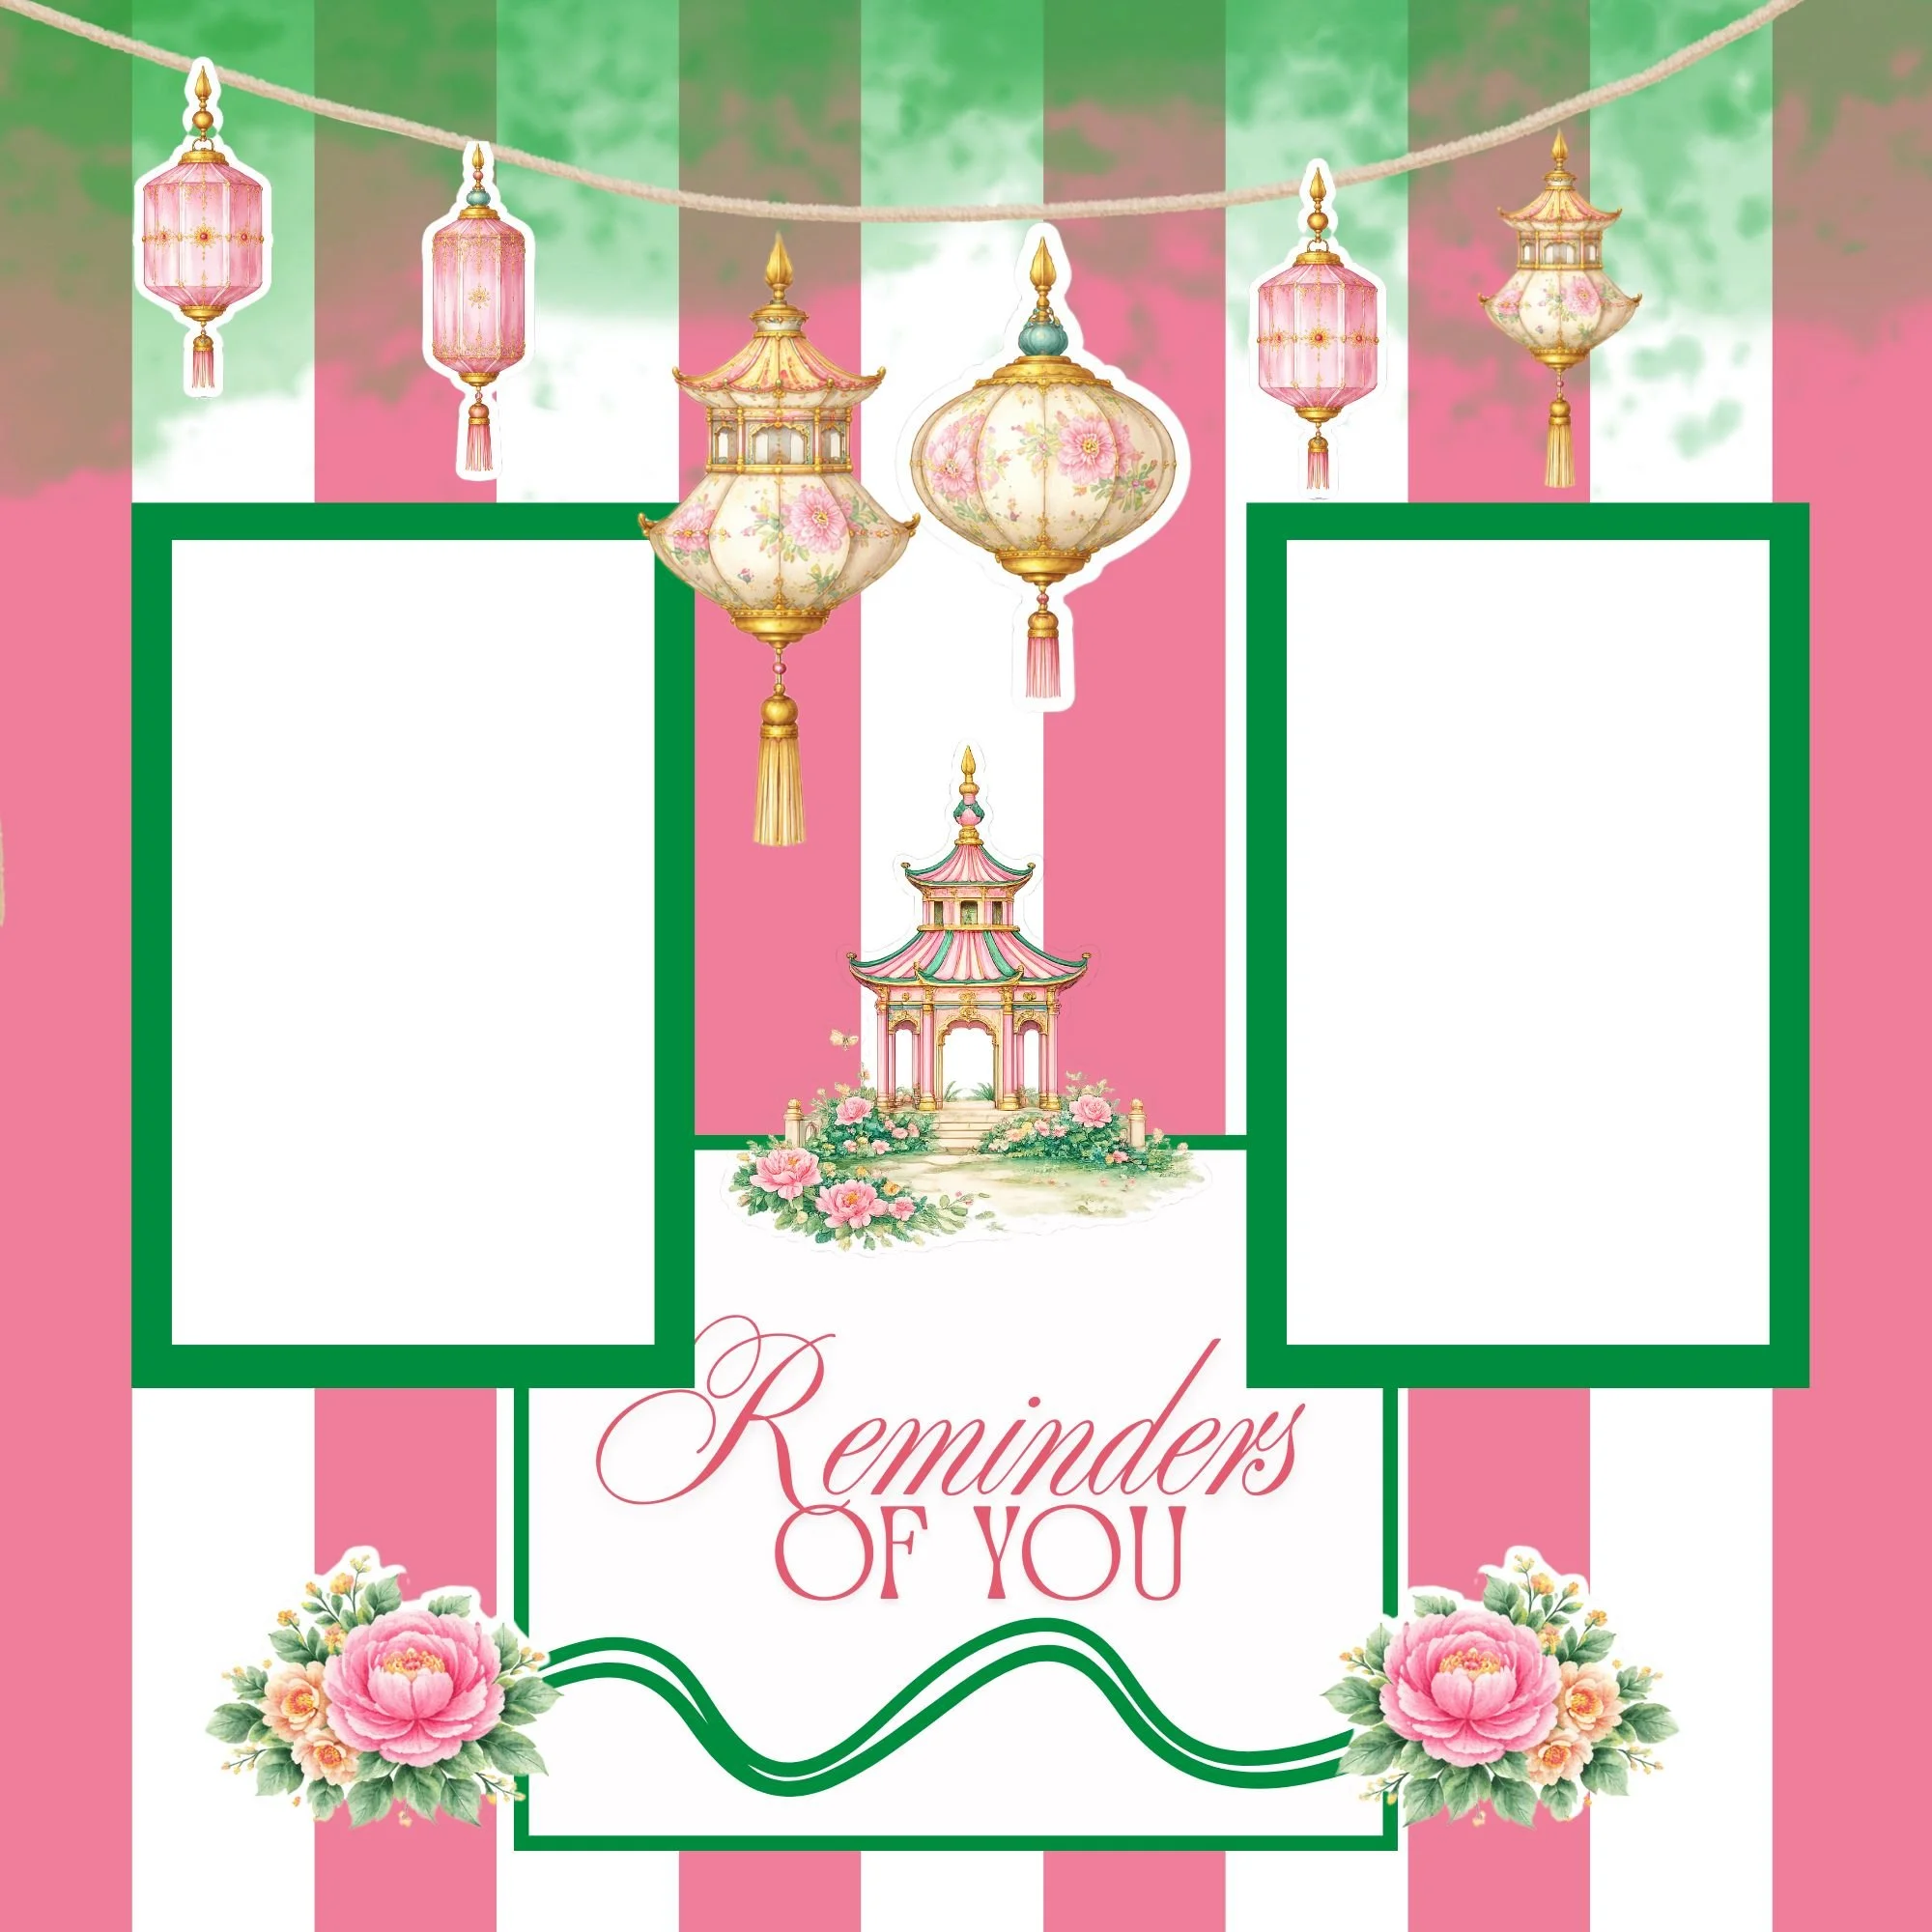
Using the Mother’s Day Collection for 3D Design
The chinoiserie motifs in this collection are perfect for dimension.
Layer a bird slightly above a floral cluster.
Raise a pagoda element so it becomes a focal point.
Let lattice details frame your photo without overpowering it.
Because the greens and fuchsias are balanced and coordinated, layering feels cohesive instead of busy.


Common Mistakes to Avoid
A few things to watch for:
Adding foam to every single element
Creating too many raised clusters
Overlapping without visual flow
Losing space for journaling
Dimension should enhance your story — not compete with it.
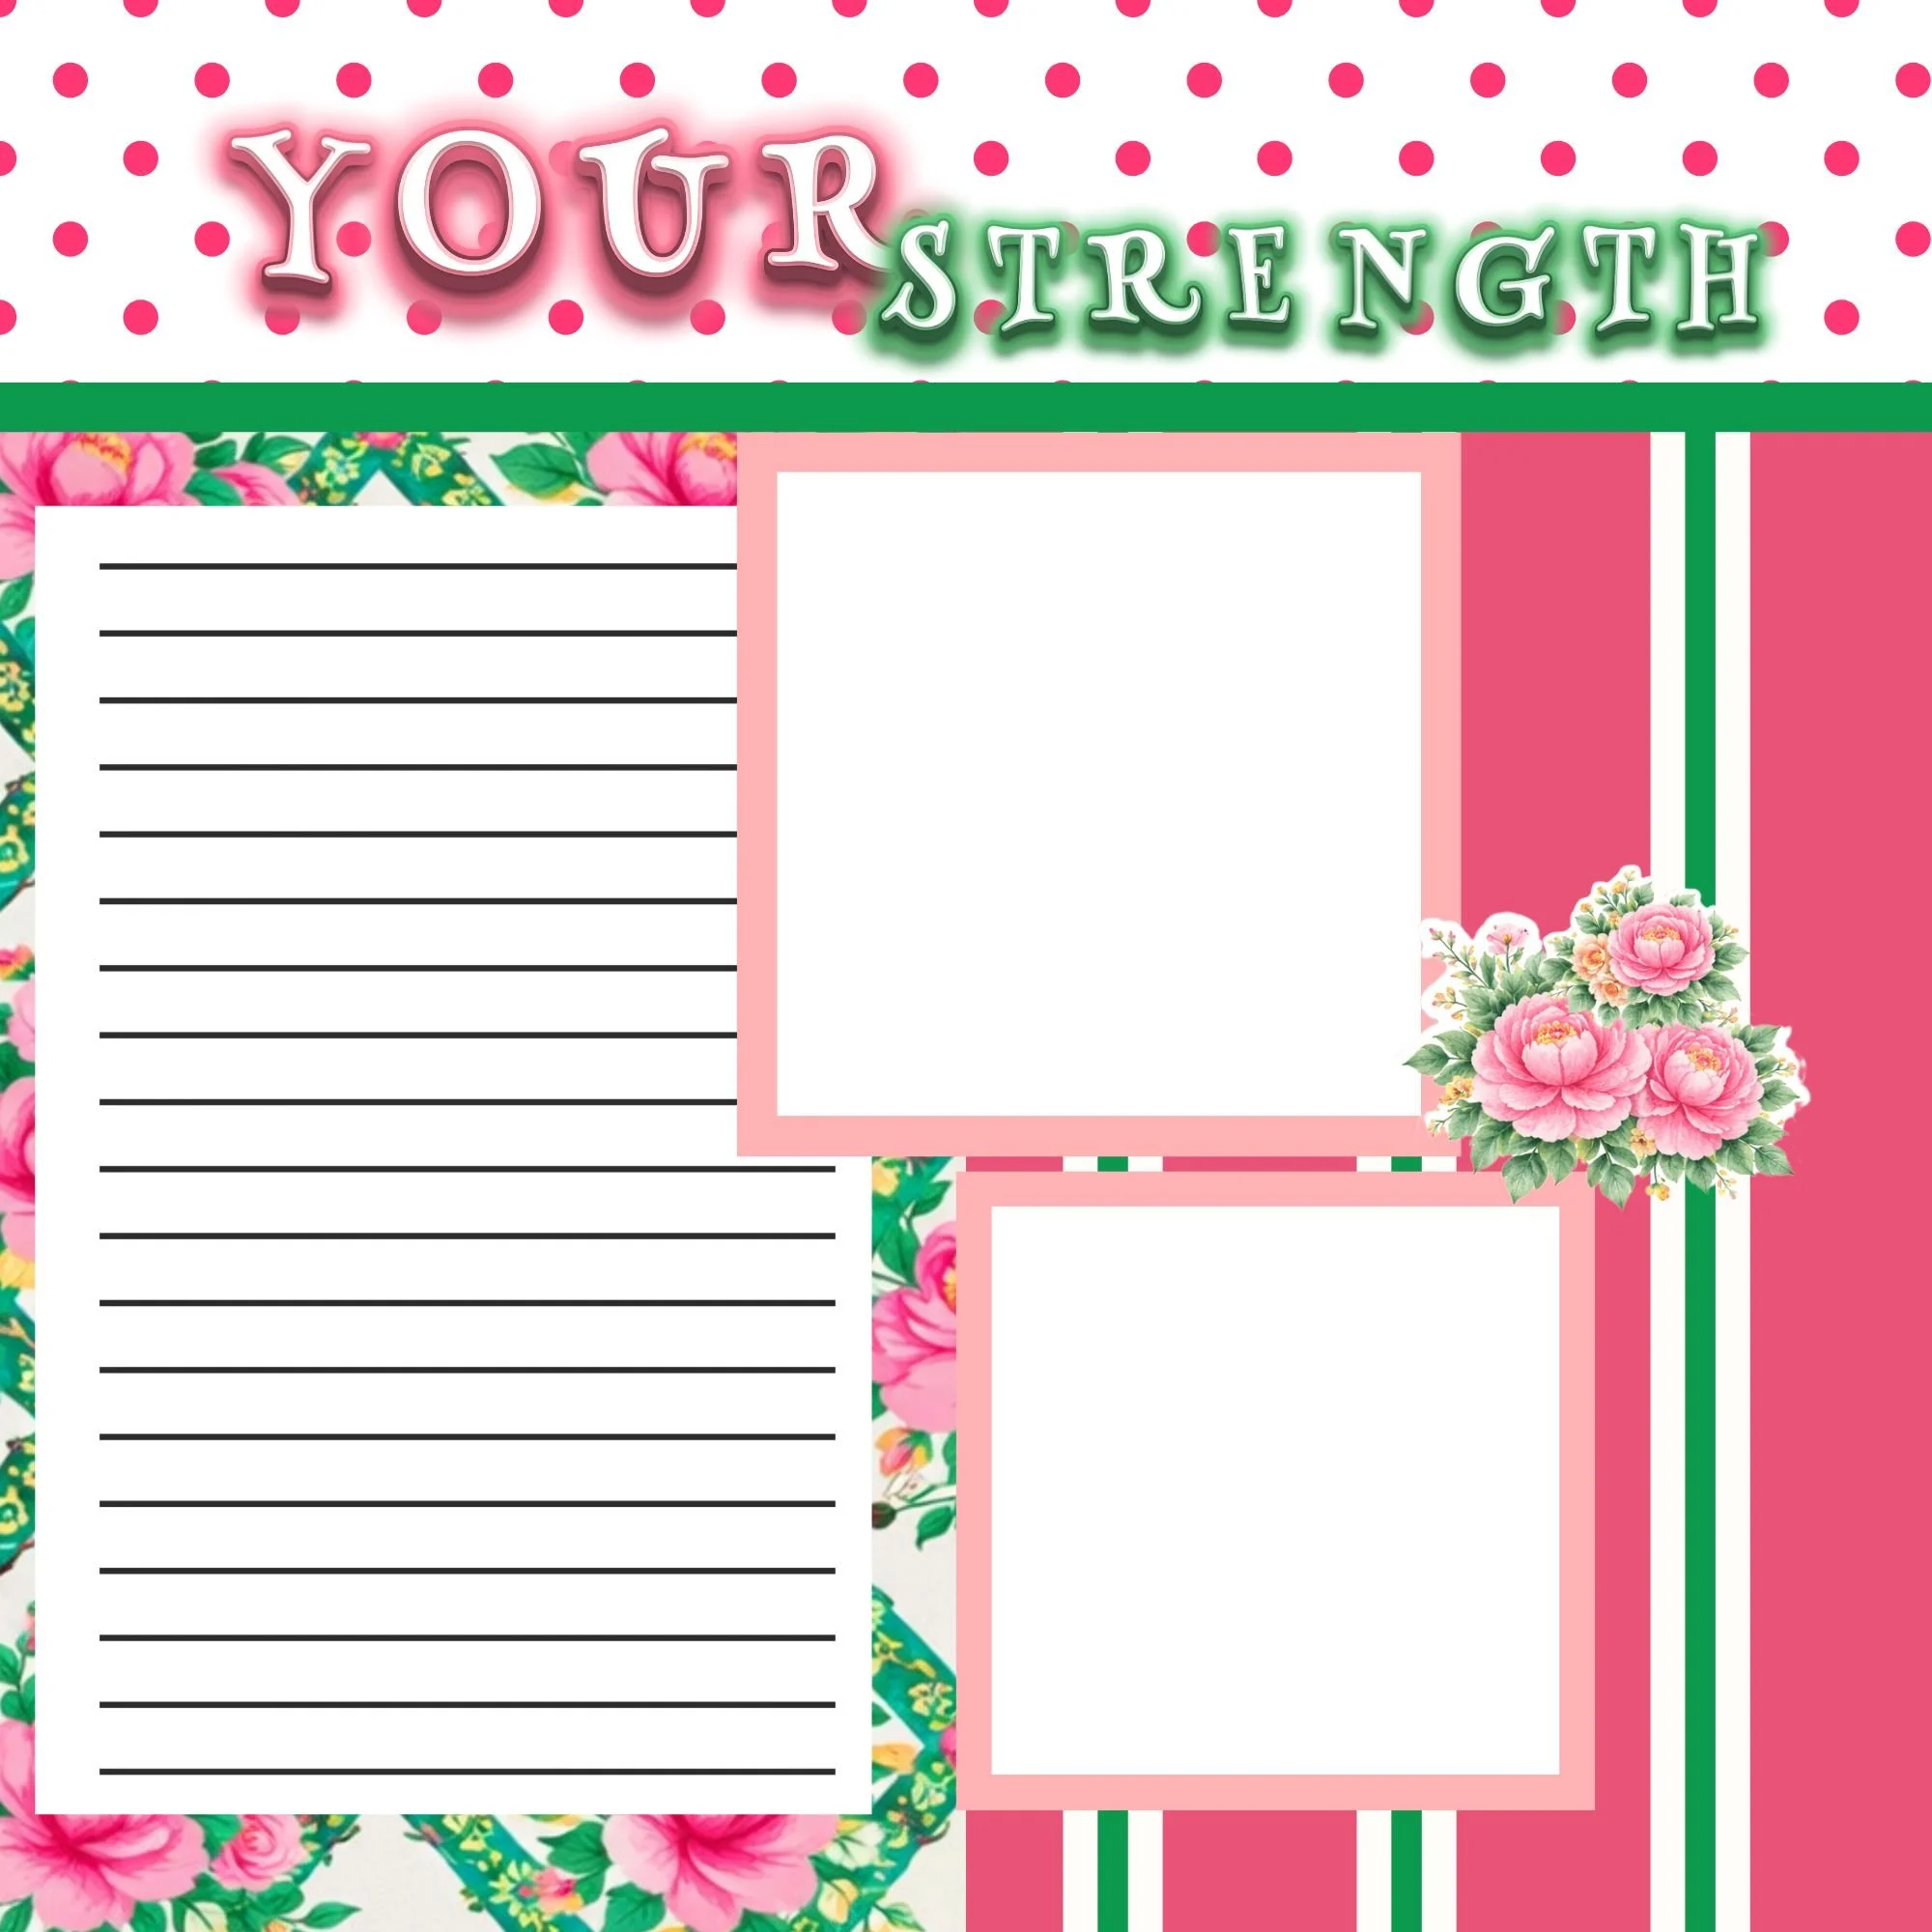
Final Thoughts on 3D Scrapbook Design
Motherhood isn’t flat.
It’s layered with strength, tenderness, history, and growth.
Adding intentional 3D elements to your scrapbook pages reflects that beautifully. With the Mother’s Day Memorette and coordinating collection, you can create pages that feel elegant, heirloom-inspired, and full of depth — without overwhelm.
If you’d like to create with the same supplies featured here, explore:
Each piece was designed to work seamlessly together so you can focus on telling the story — not color matching.
You can also download the free 3D Scrapbook Layering Quick Guide, a printable reference for placement, layering order, and dimension tips to keep nearby while you create.
And if you love memory-keeping techniques and thoughtful design inspiration, be sure to join my newsletter for more ideas delivered straight to your inbox.
Happy scrapbooking 🤍