How to Create Professional-Looking Scrapbook Layouts(Even If You’re Just Getting Started)
Have you ever admired those polished, professional-looking scrapbook pages and wondered how to create them yourself? Maybe you’ve tried putting a few photos on a page, but the layout still feels flat or unfinished.
The good news? Creating a dynamic, colorful, and truly memorable scrapbook layout doesn’t require fancy tools or years of experience—it just takes a clear process.
Today, I’m sharing my step-by-step approach to designing professional-looking scrapbook layouts, using one of my favorite memory books: the Girl’s Trip Memorette from The Memorette Studio. Stick with me until the end, because I’ll also share free resources and links to everything you need to get started.
Meet the Creator Behind the Pages
Hi, I’m Laura, and I help memory keepers create beautiful, meaningful scrapbook pages with confidence. Whether you’re brand new to scrapbooking or looking to elevate your layouts, my goal is to give you simple techniques, creative inspiration, and tools that actually work.
If you love scrapbooking, storytelling, and preserving memories in a way that feels fun—not overwhelming—you’re in the right place.
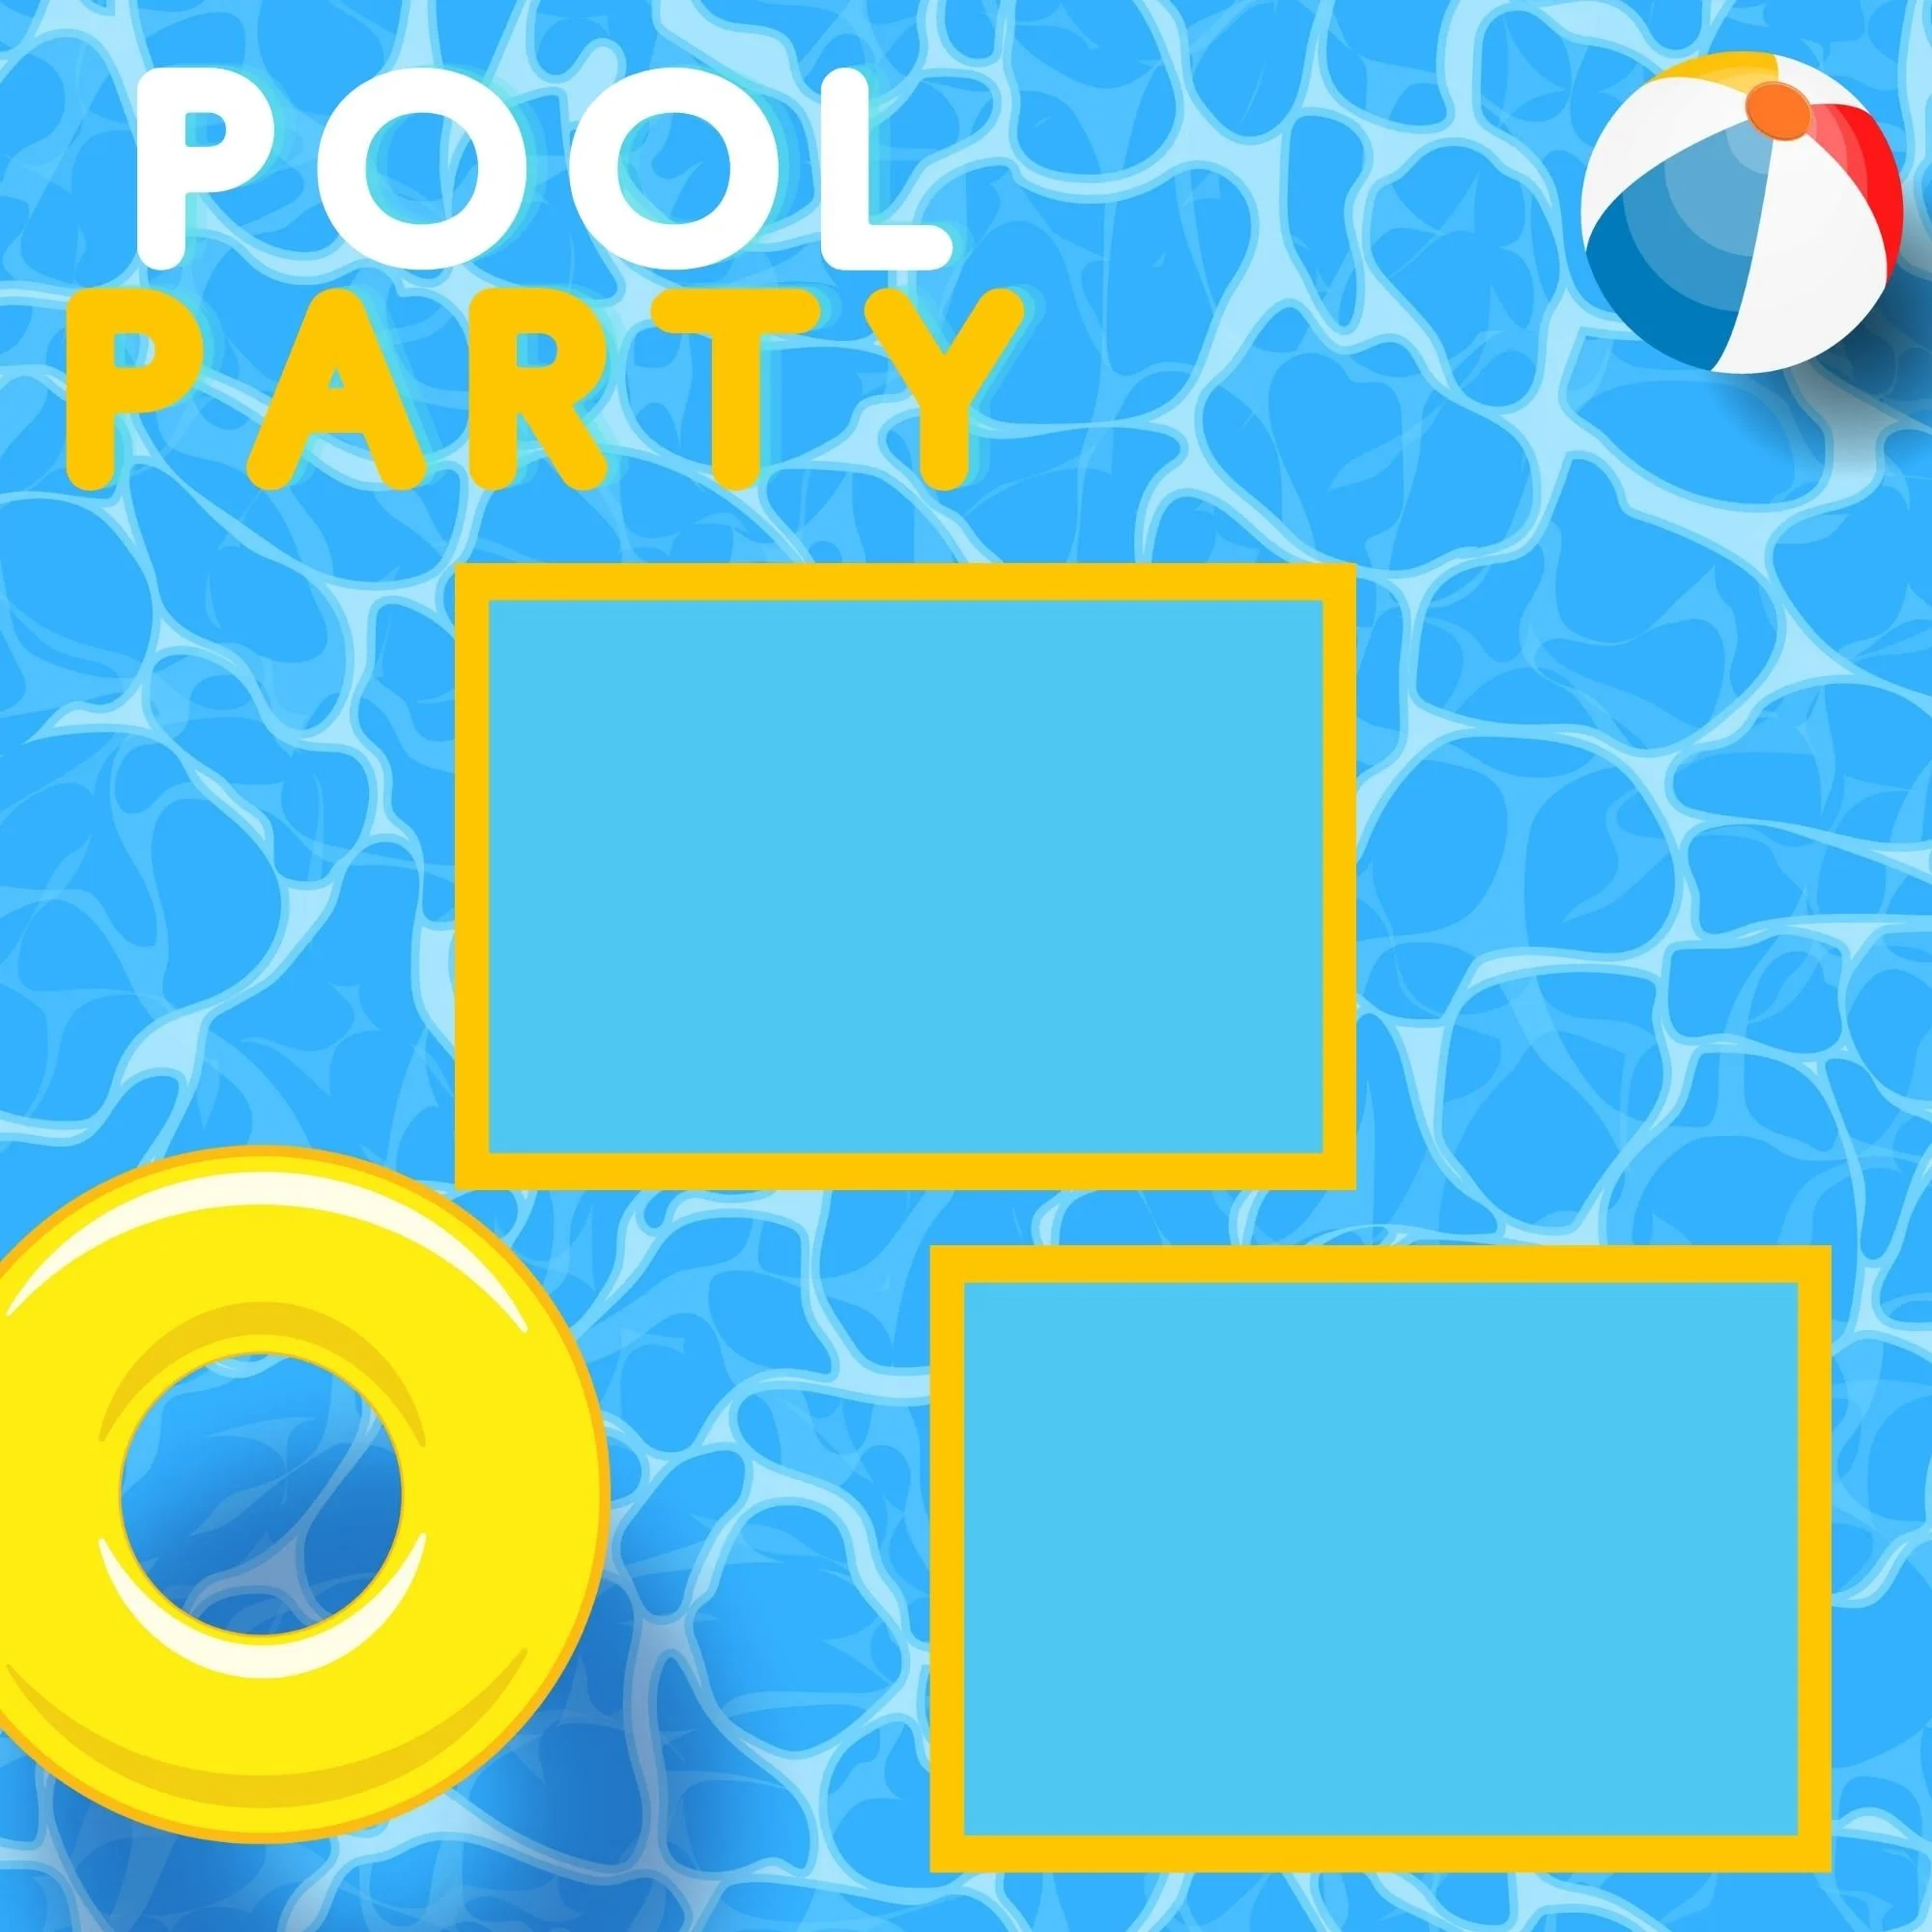
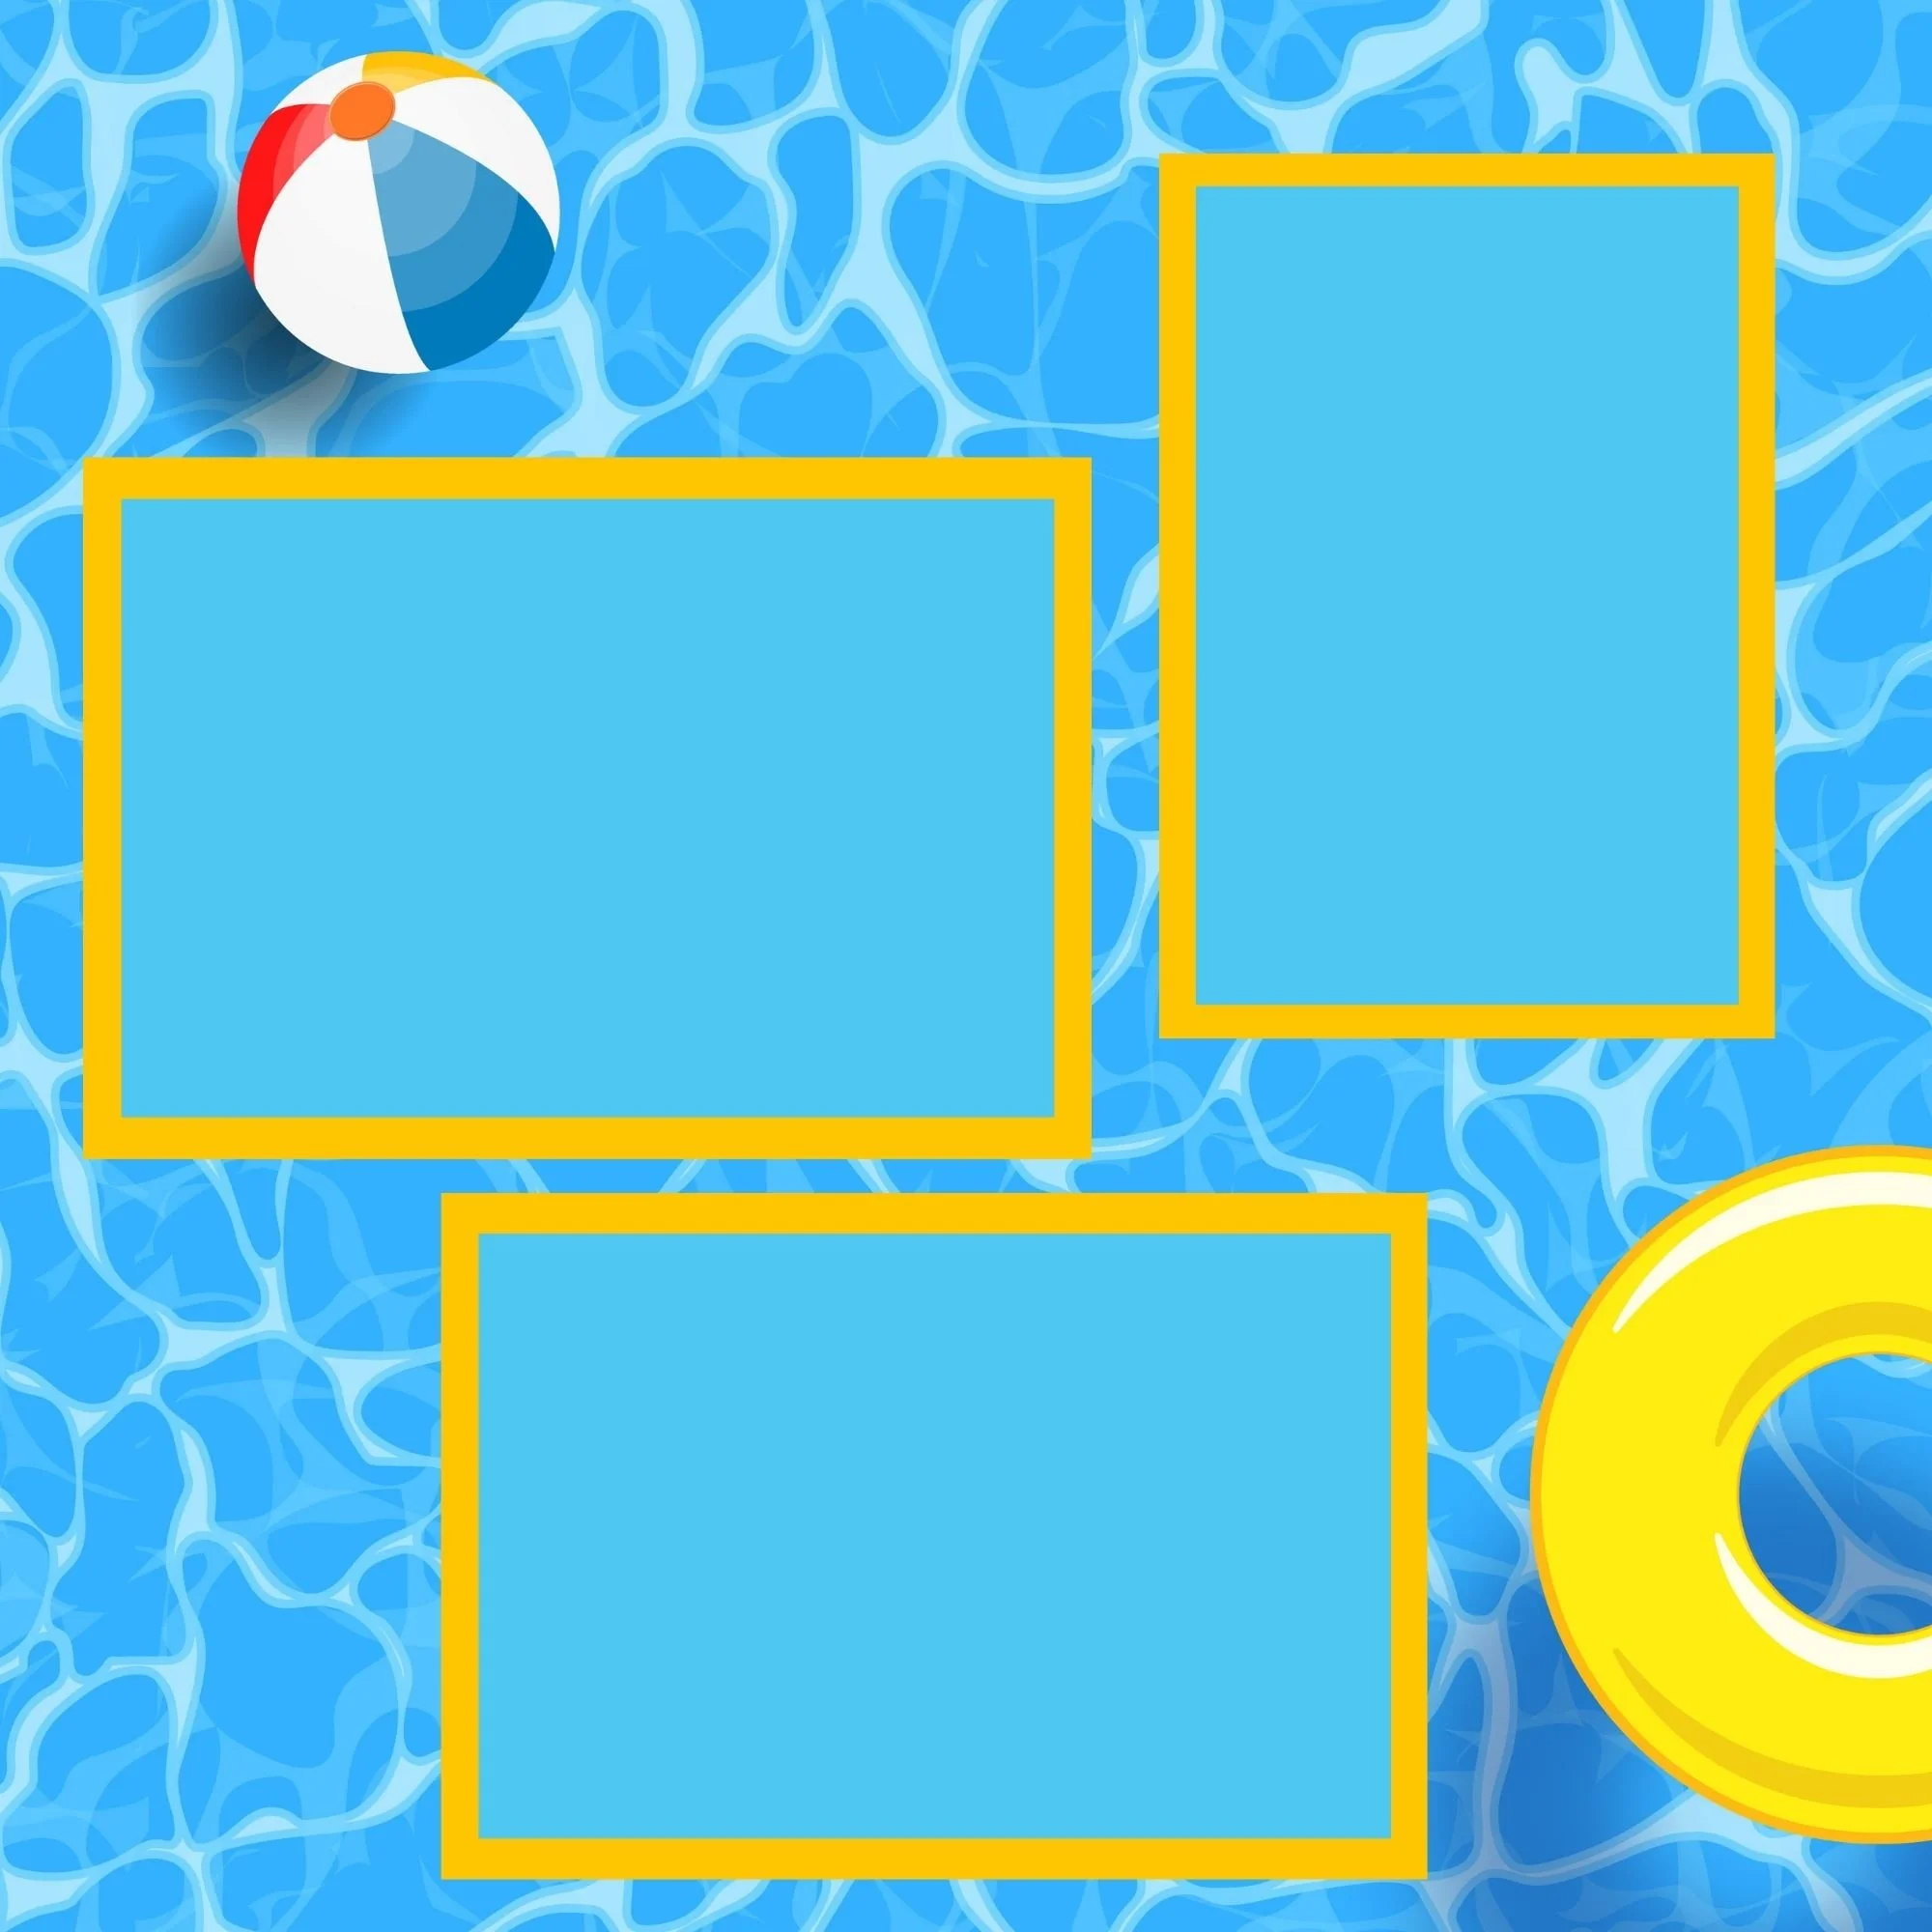
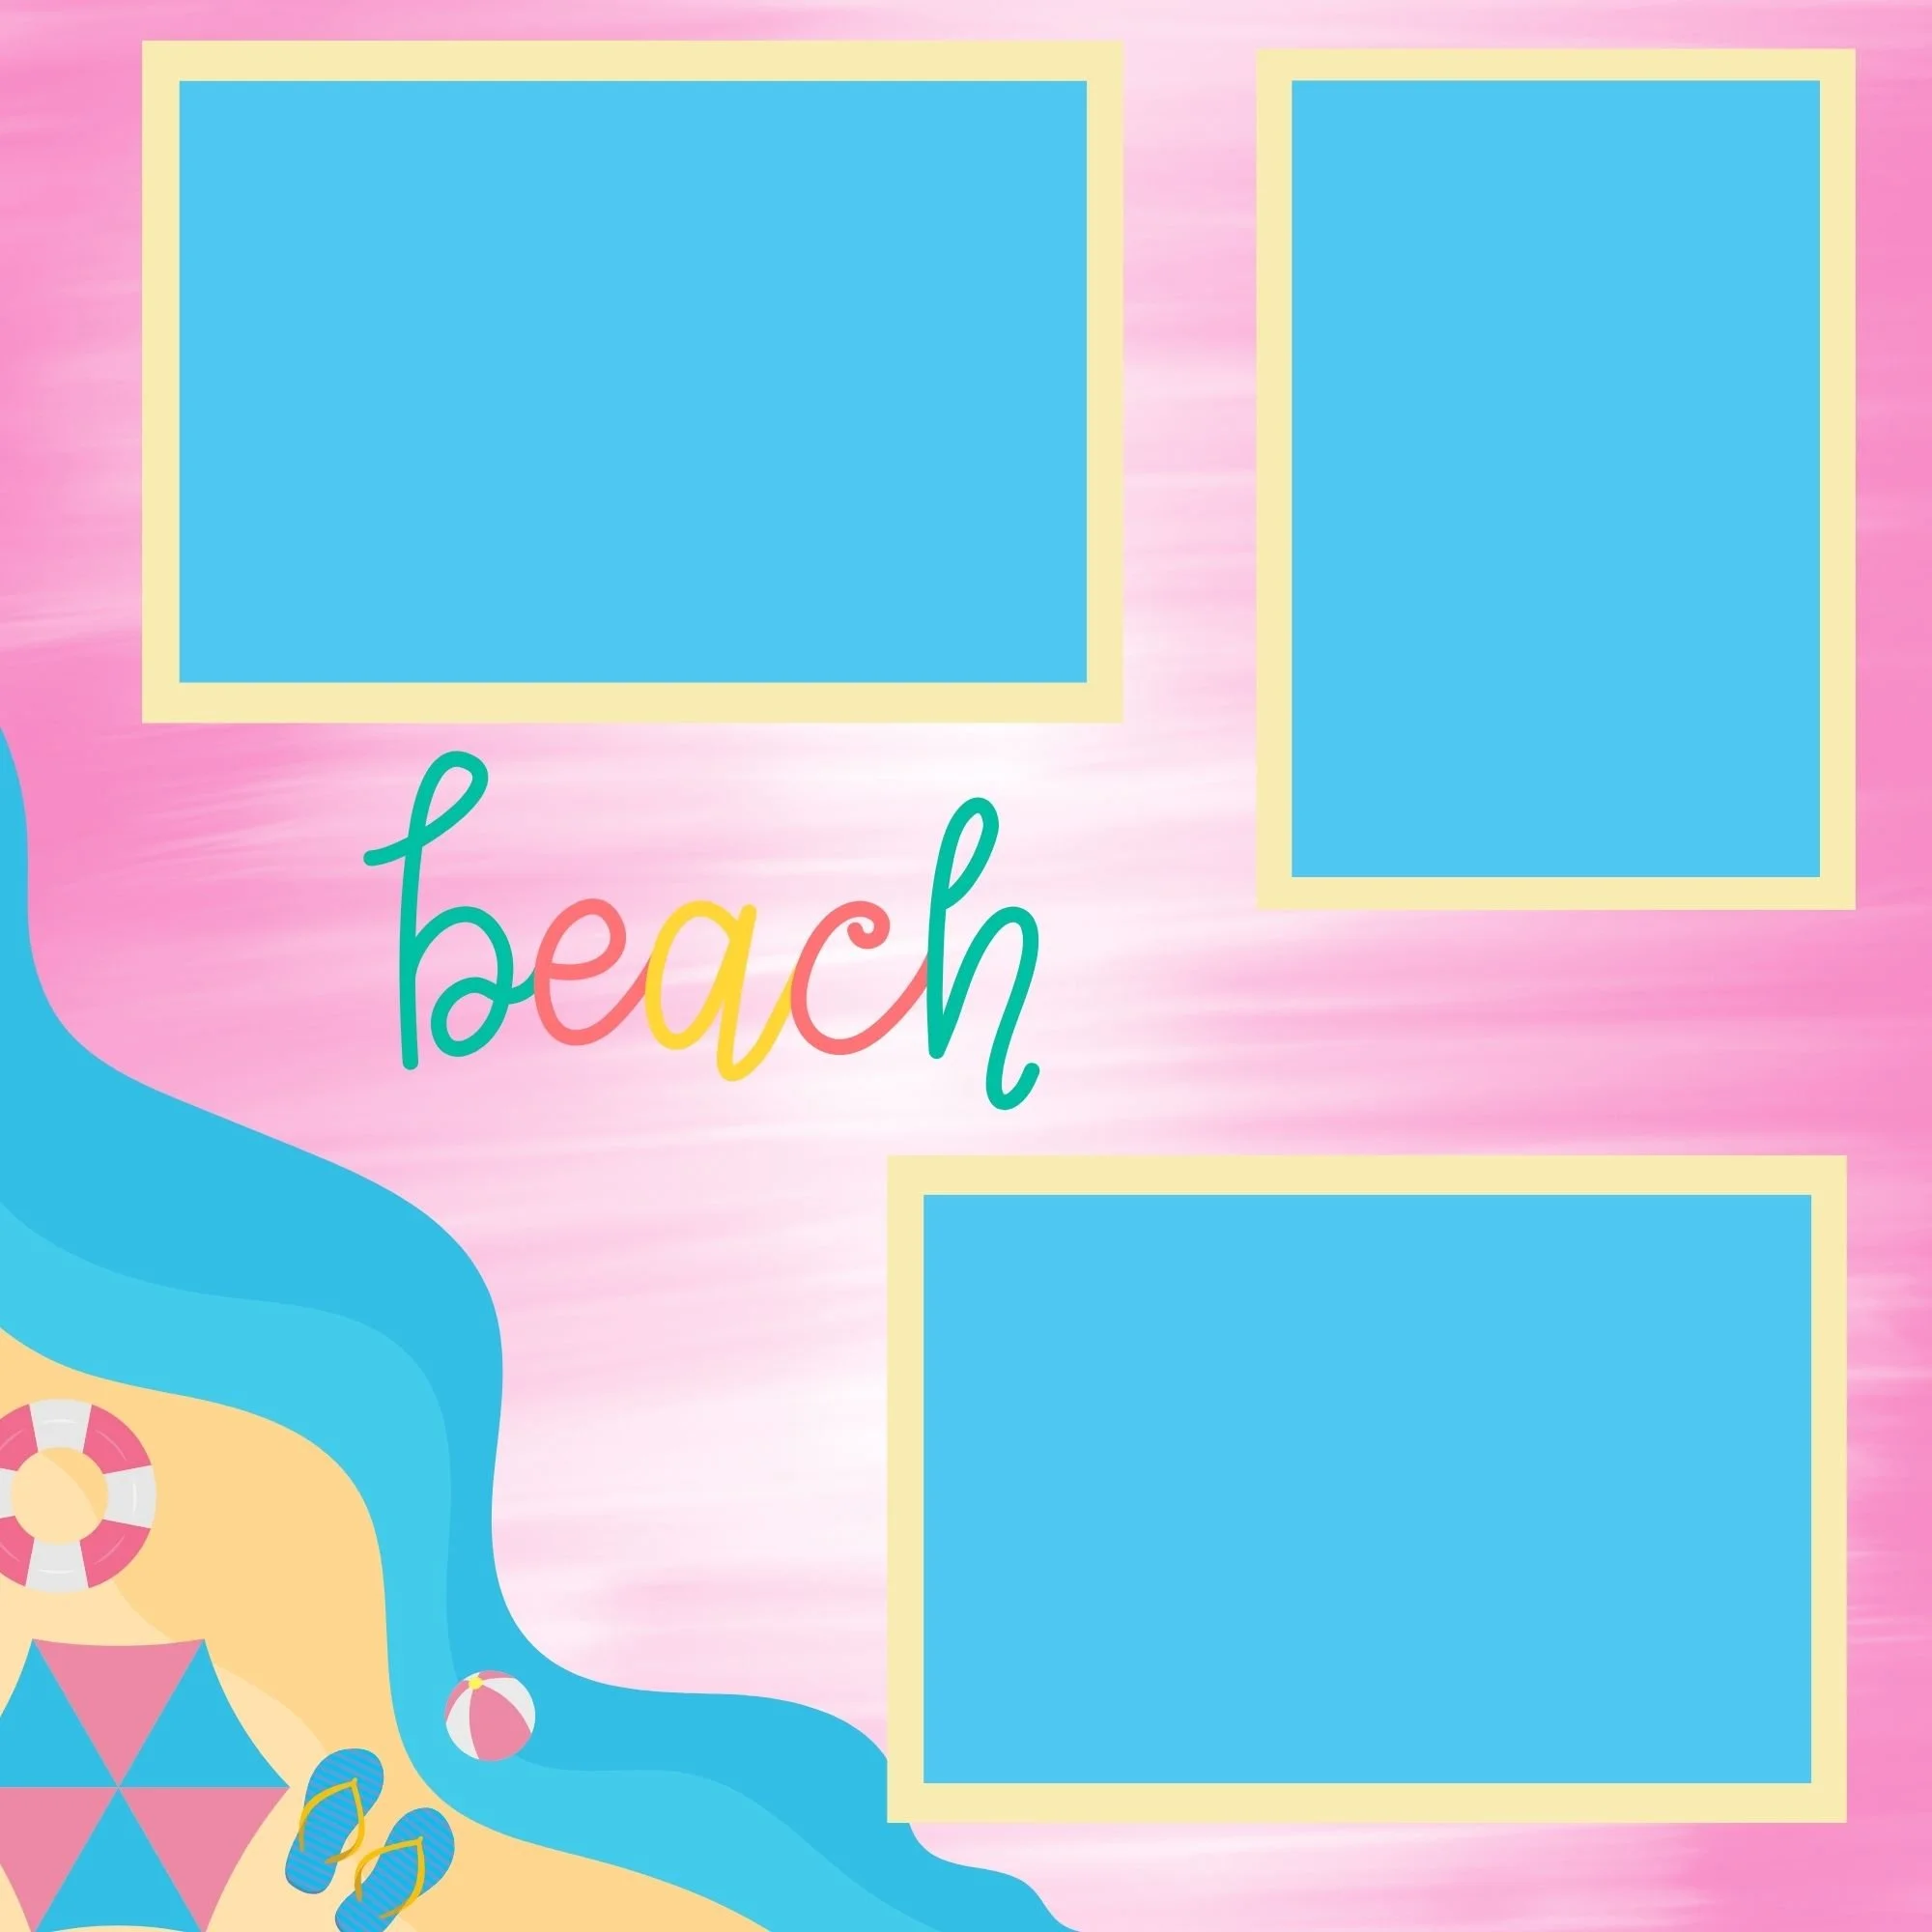
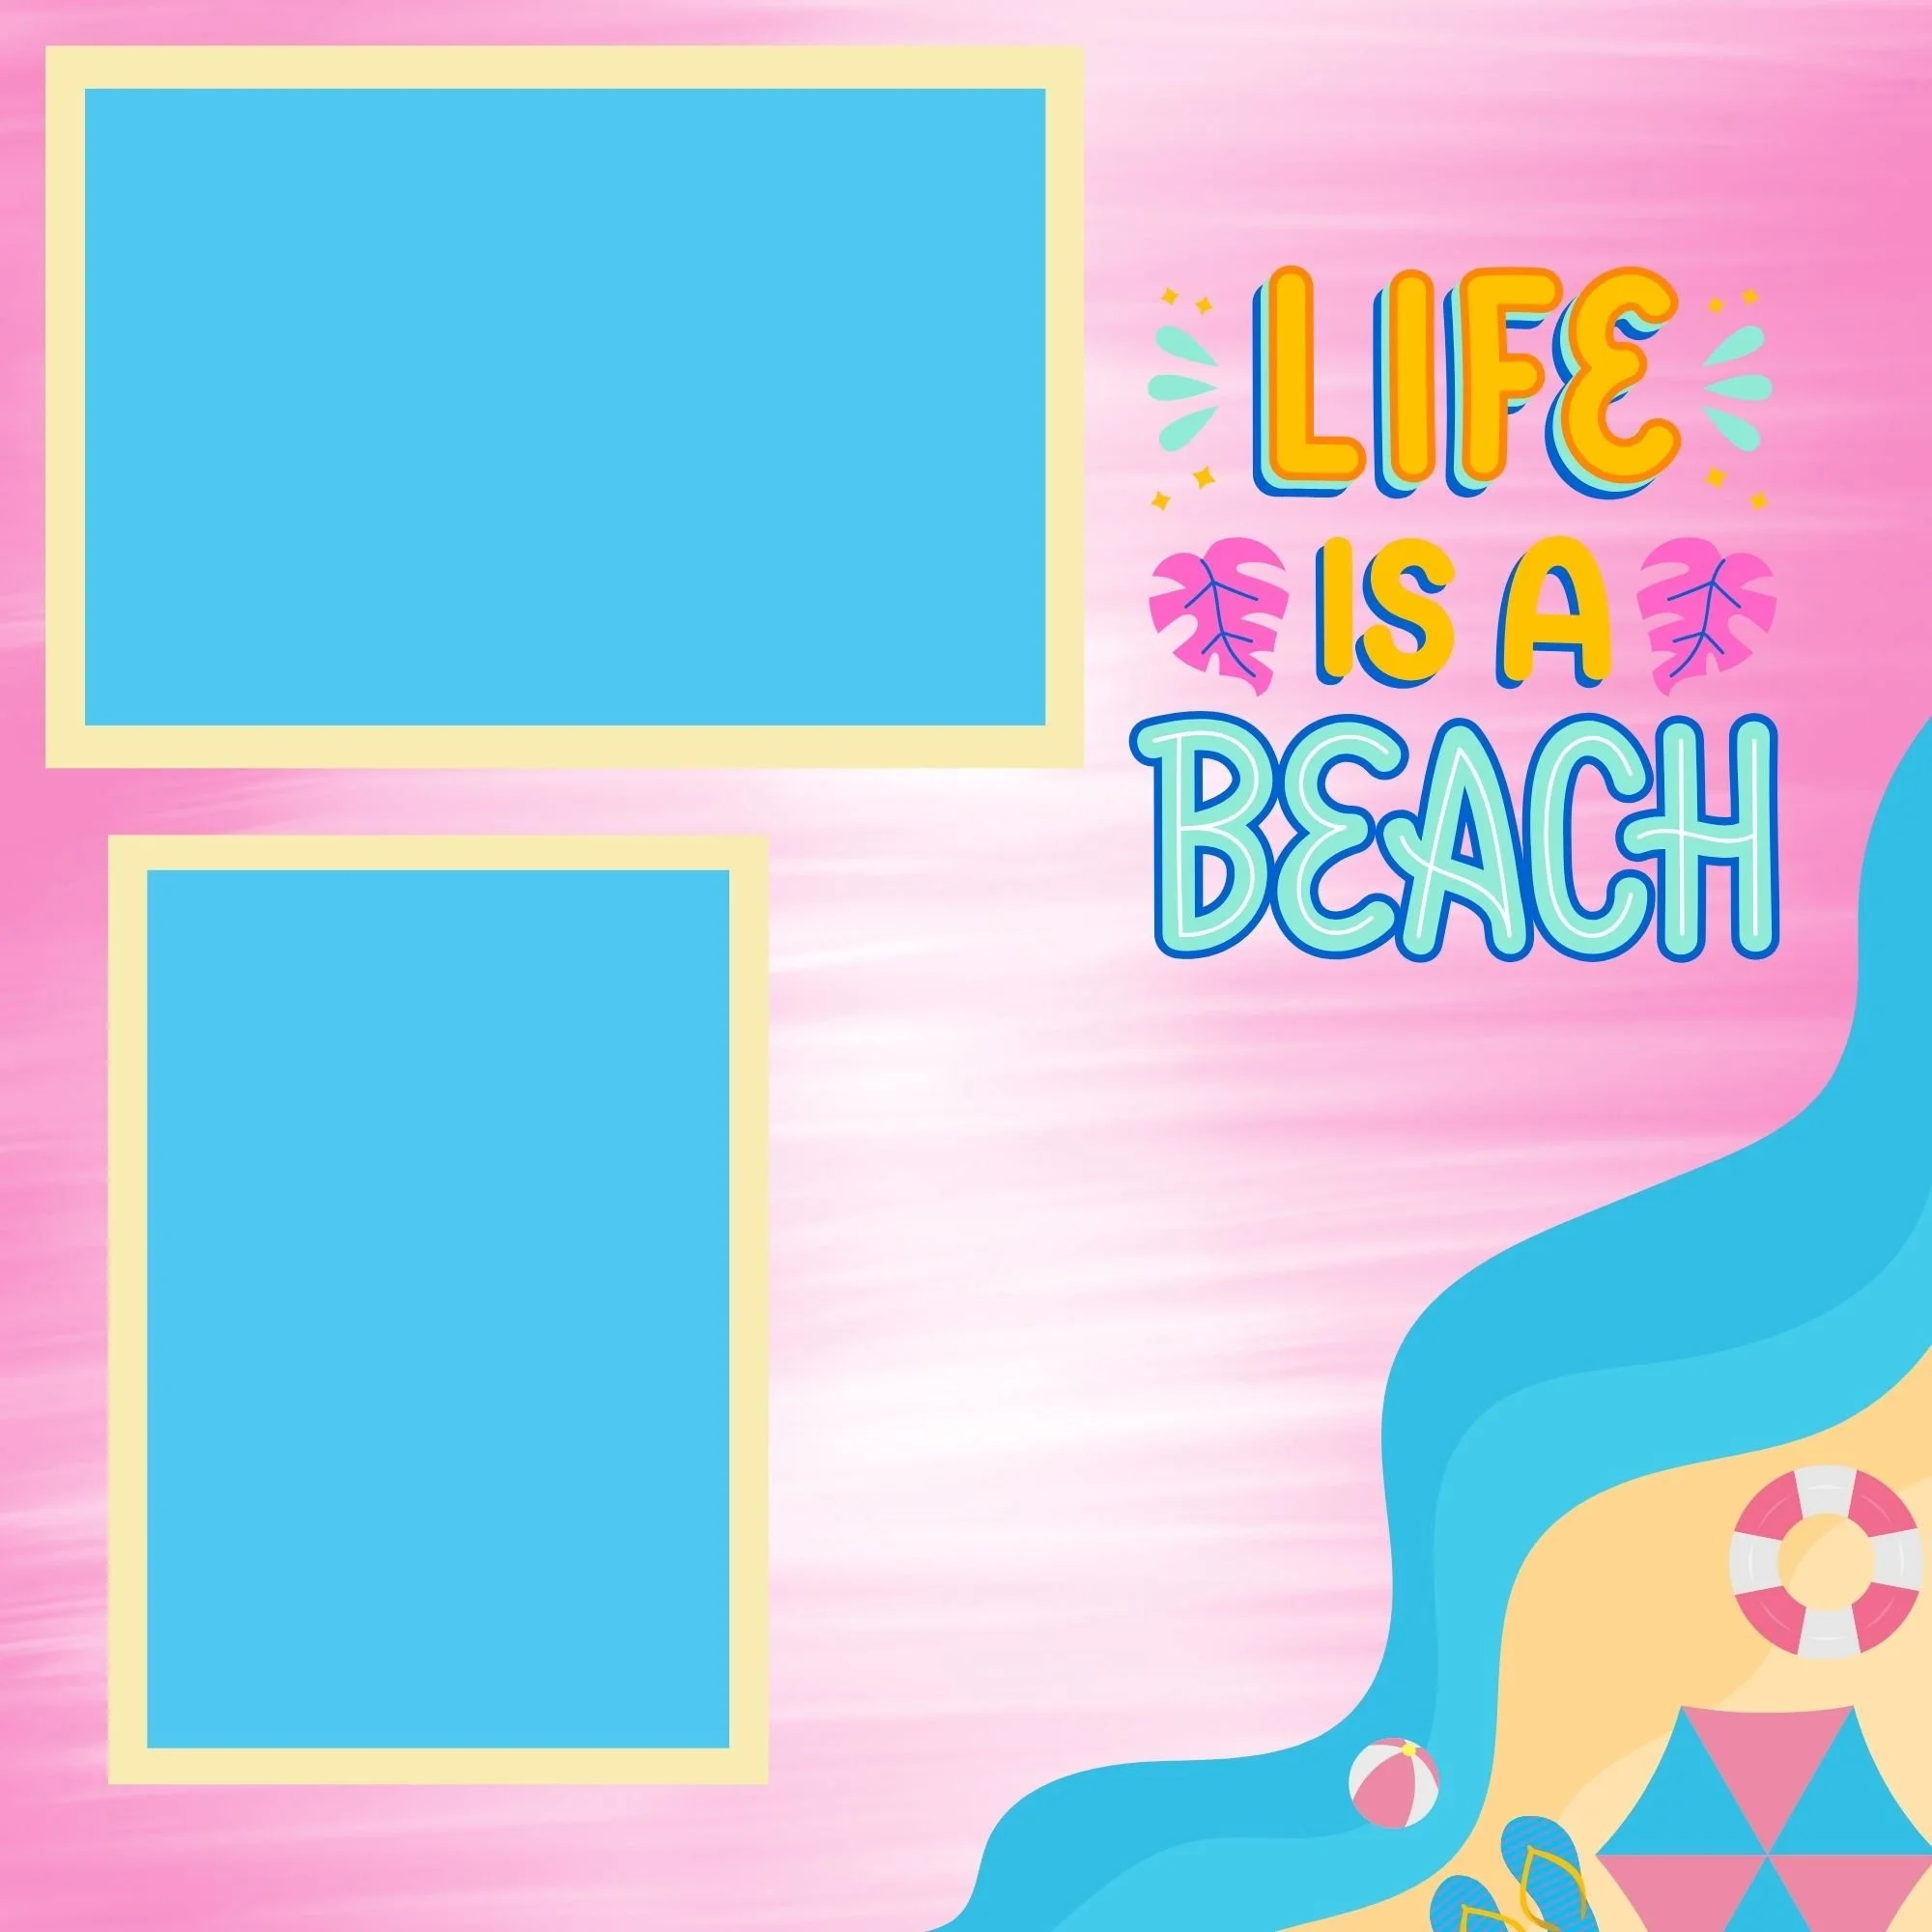
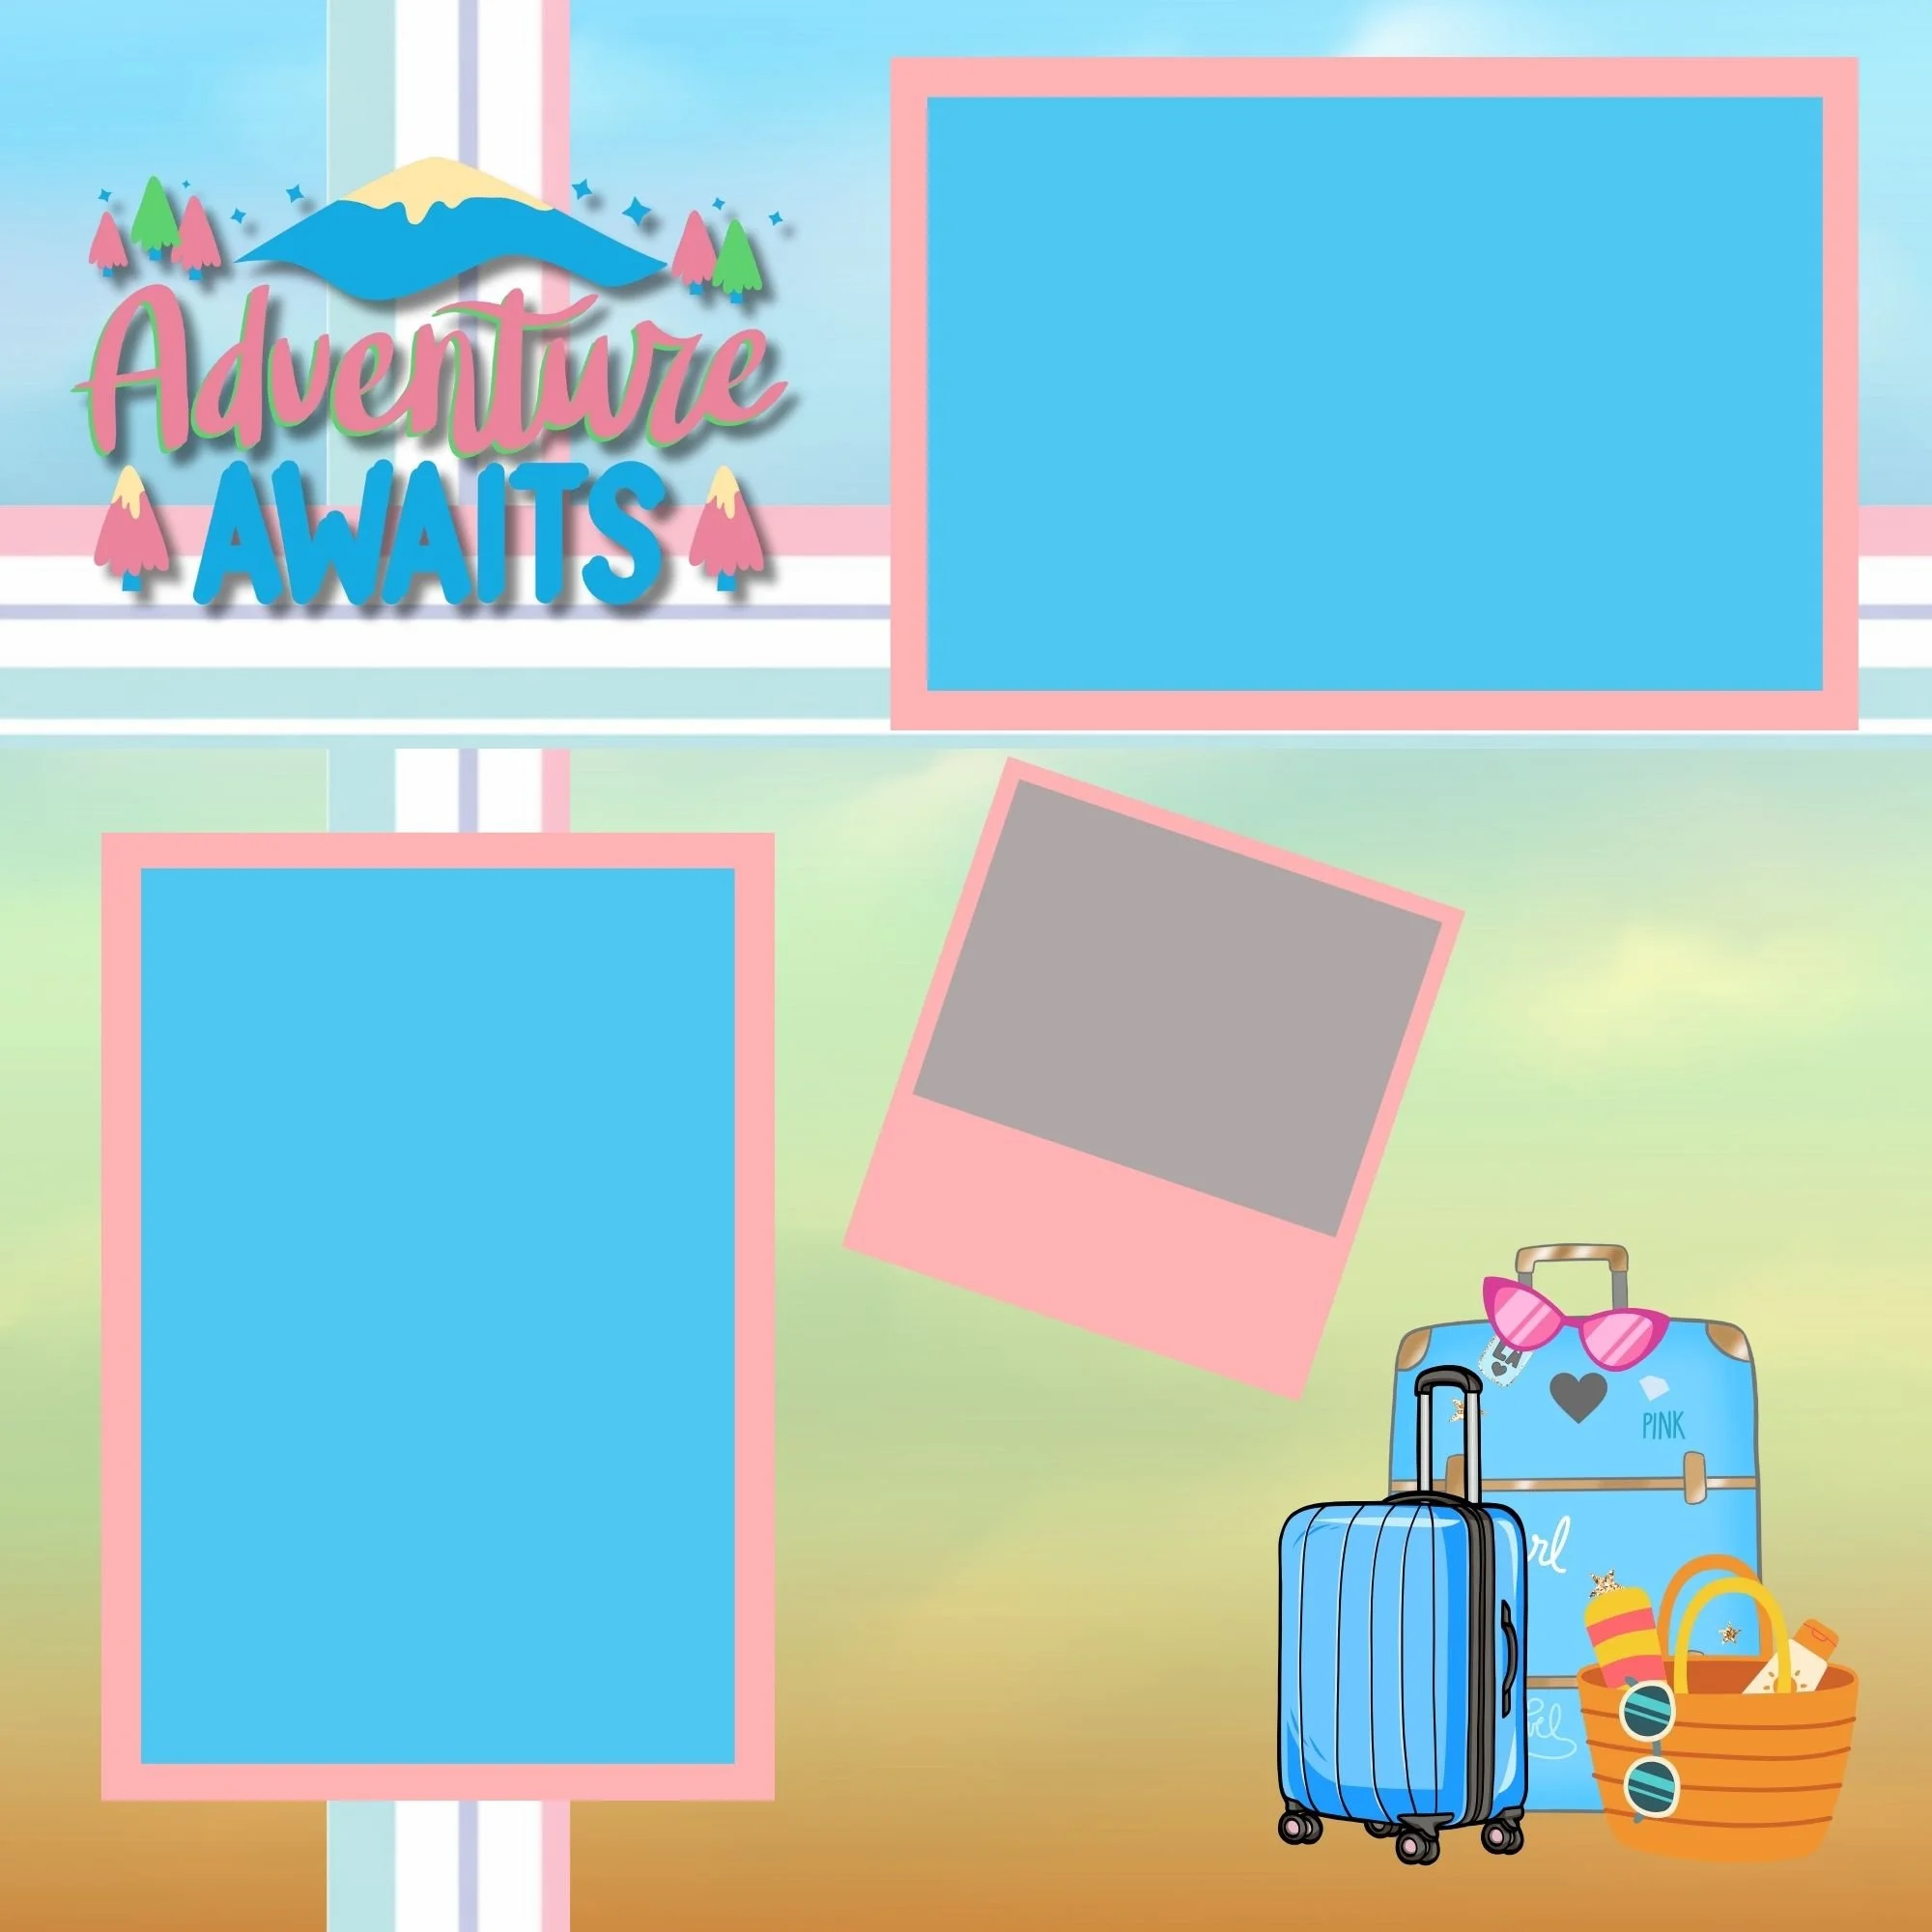
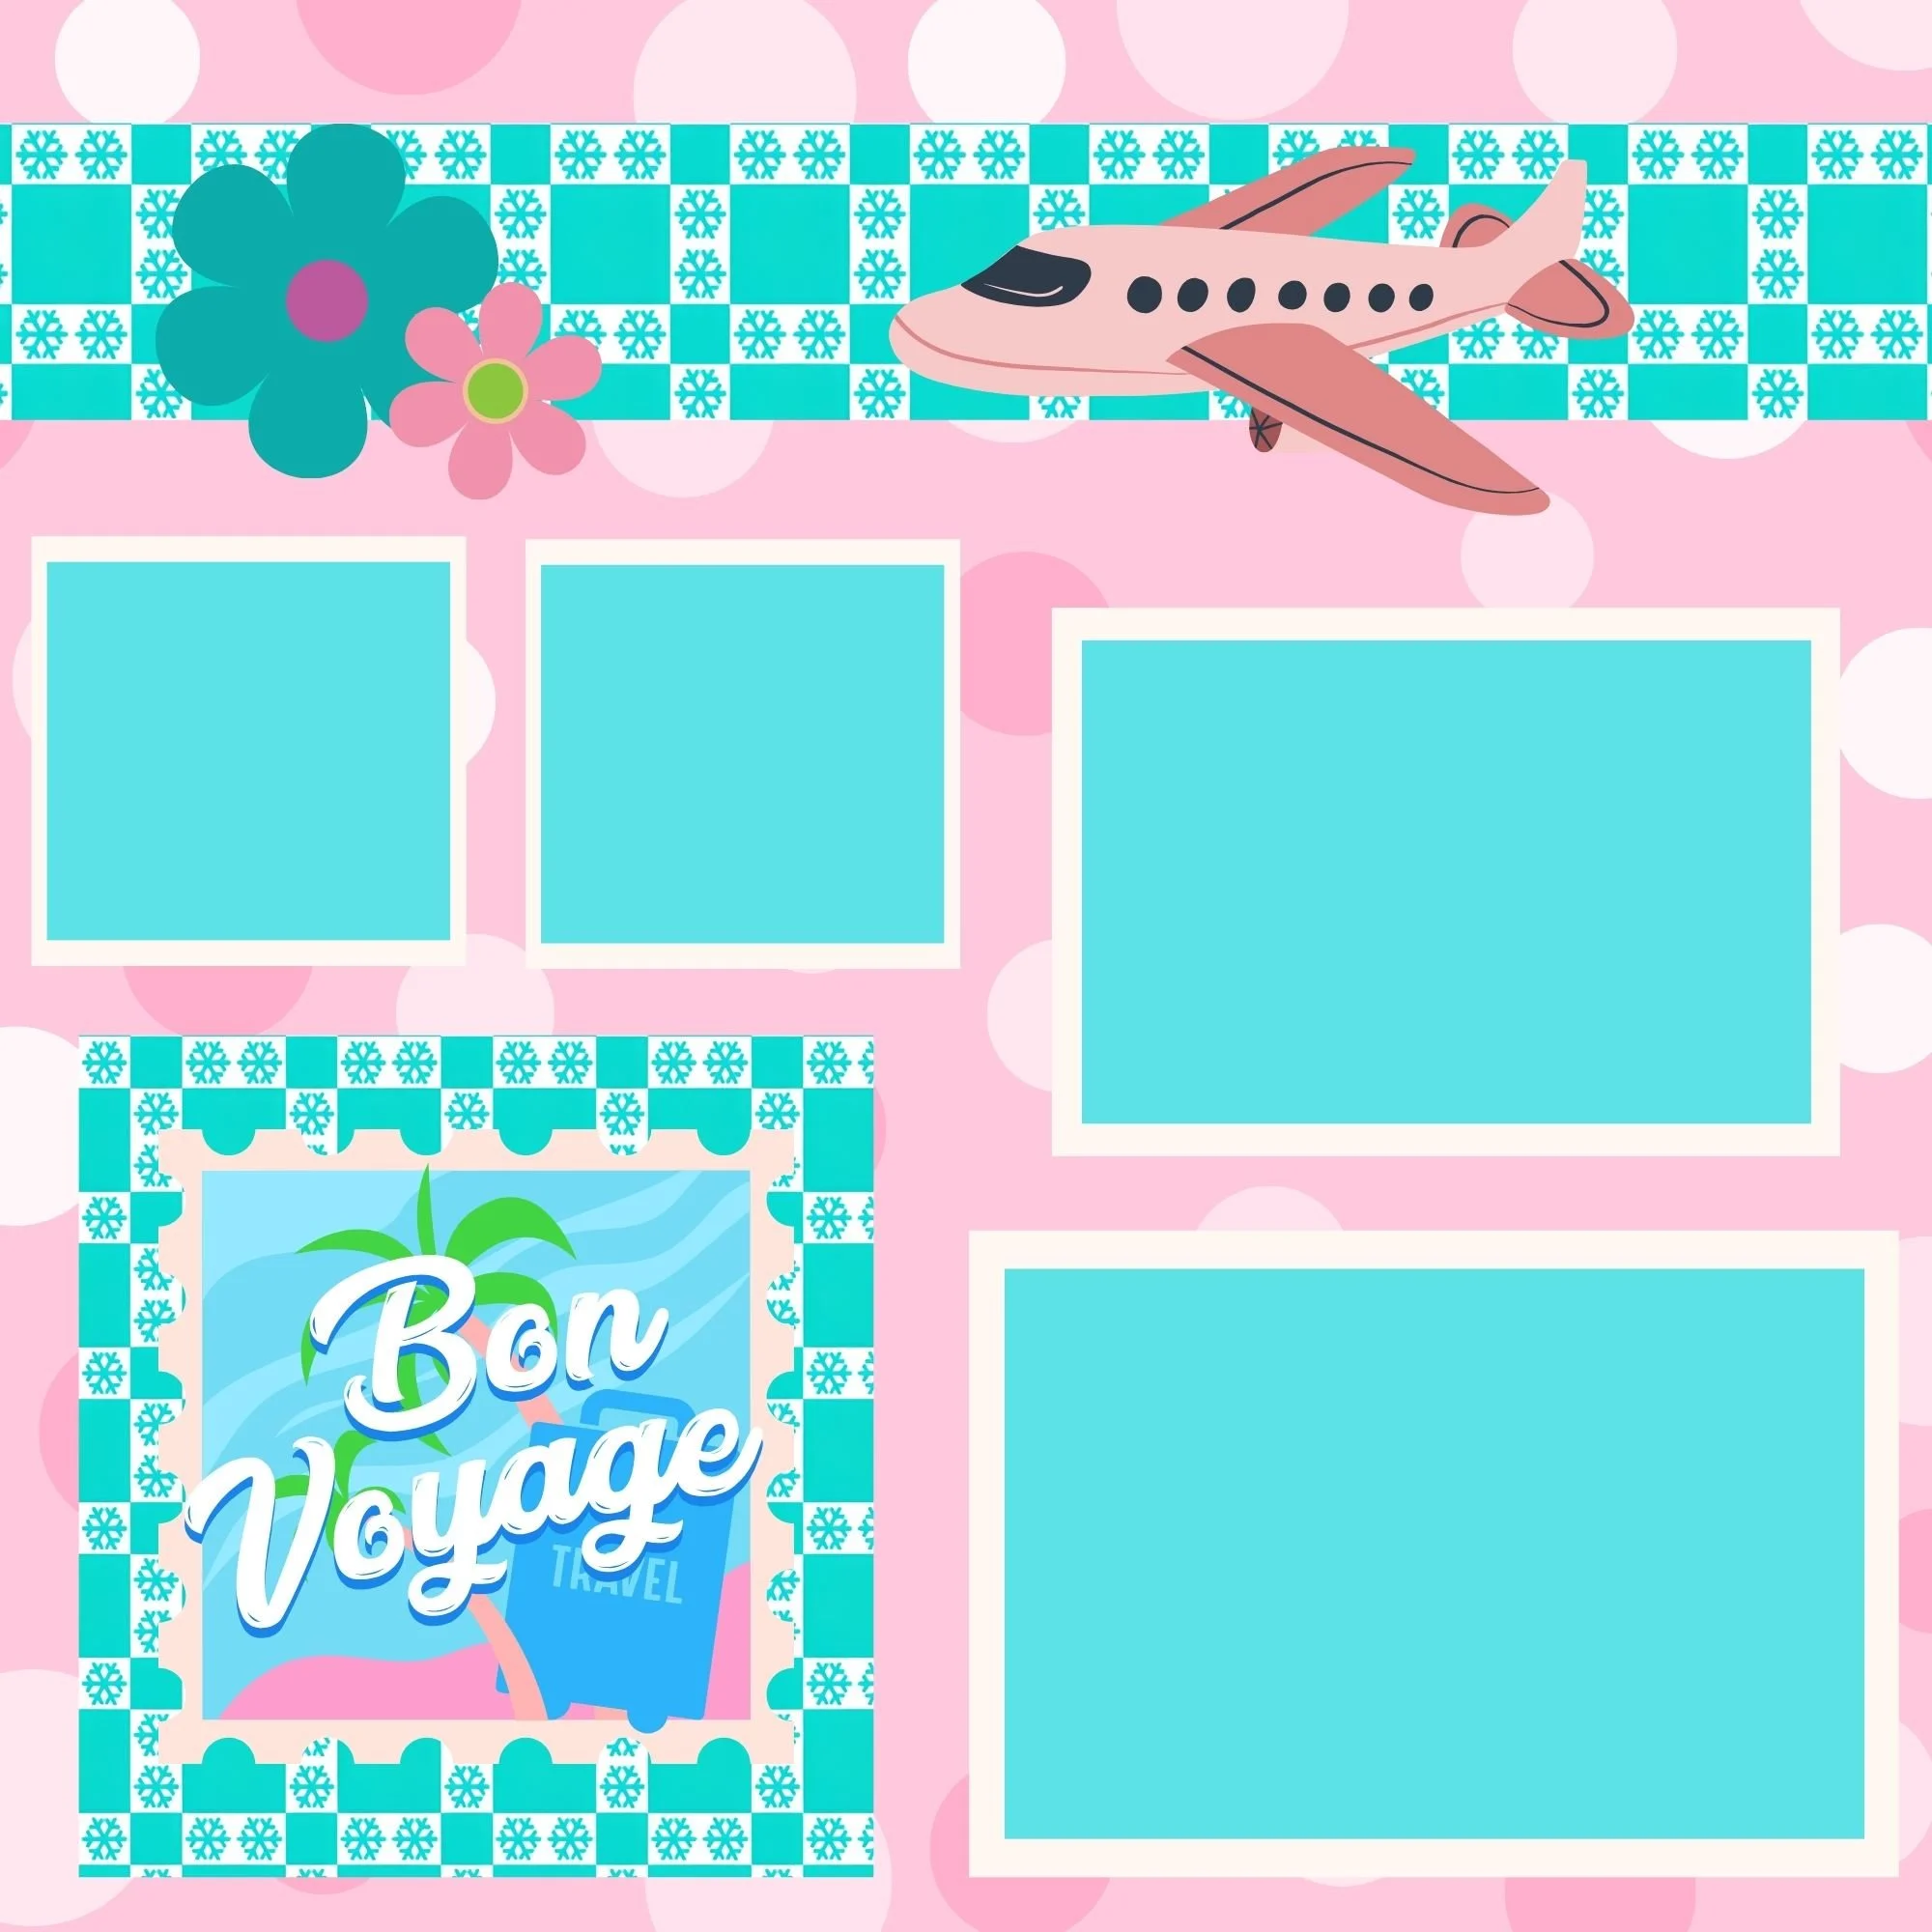
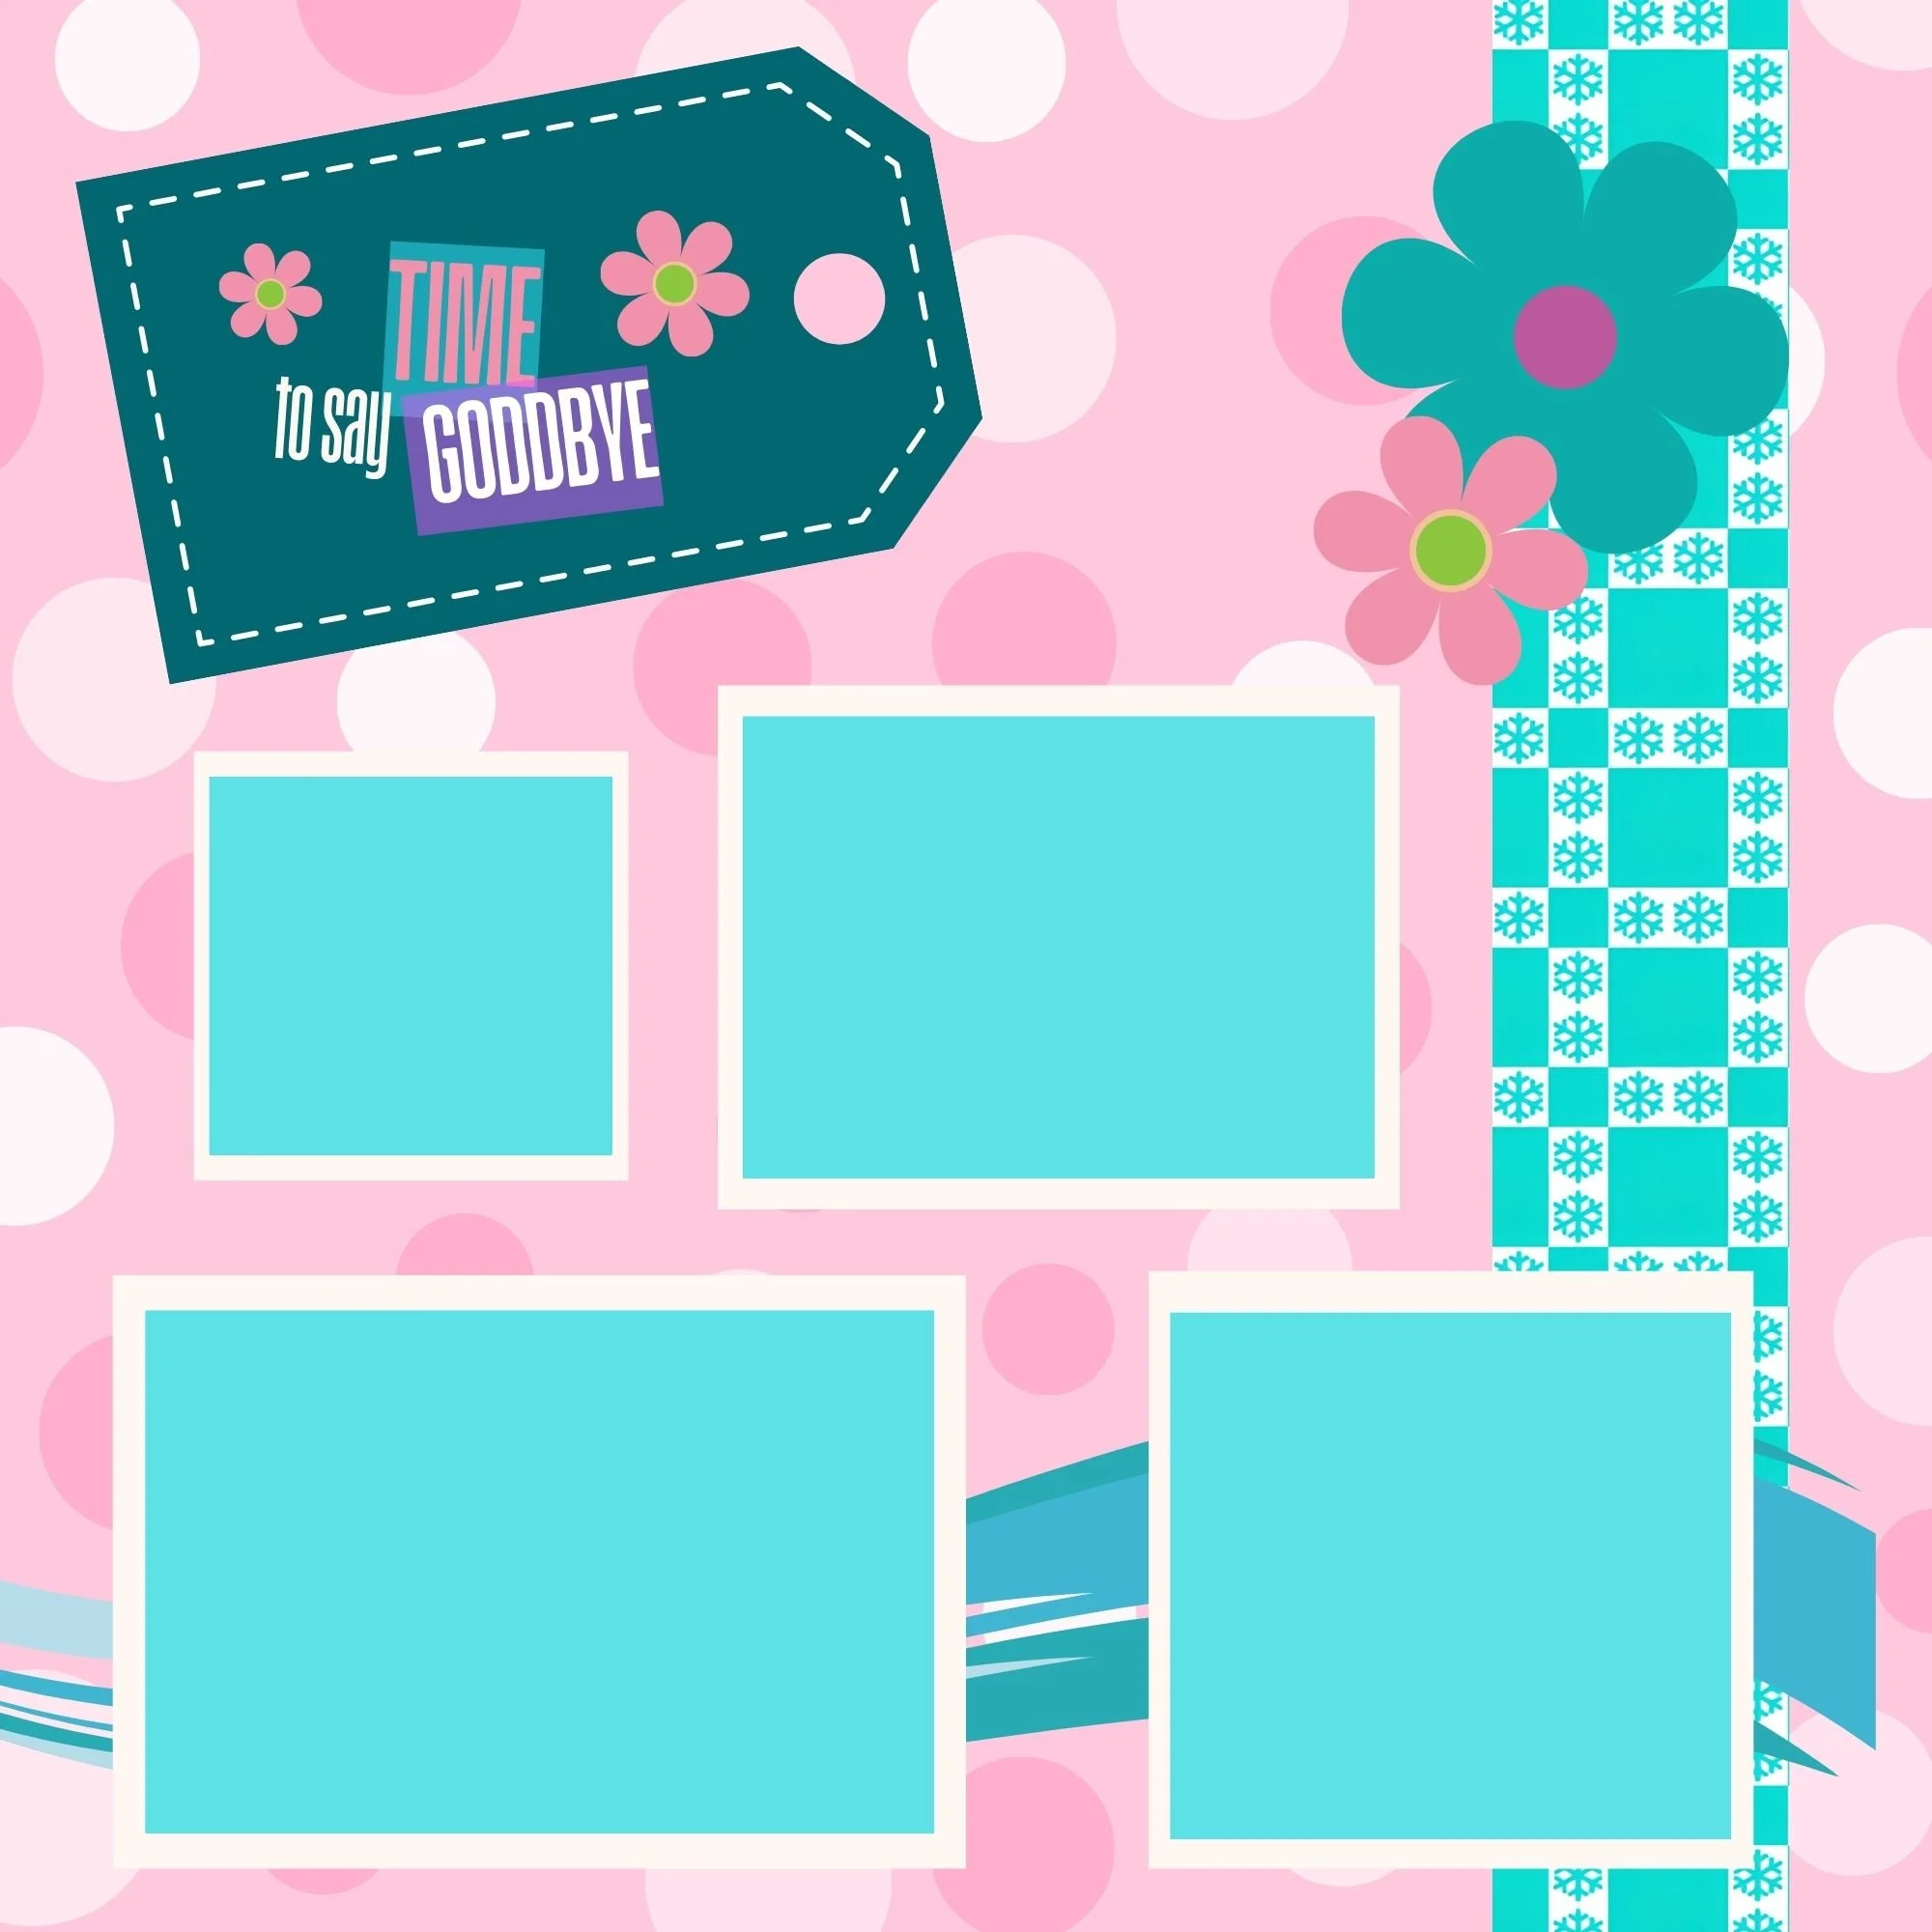
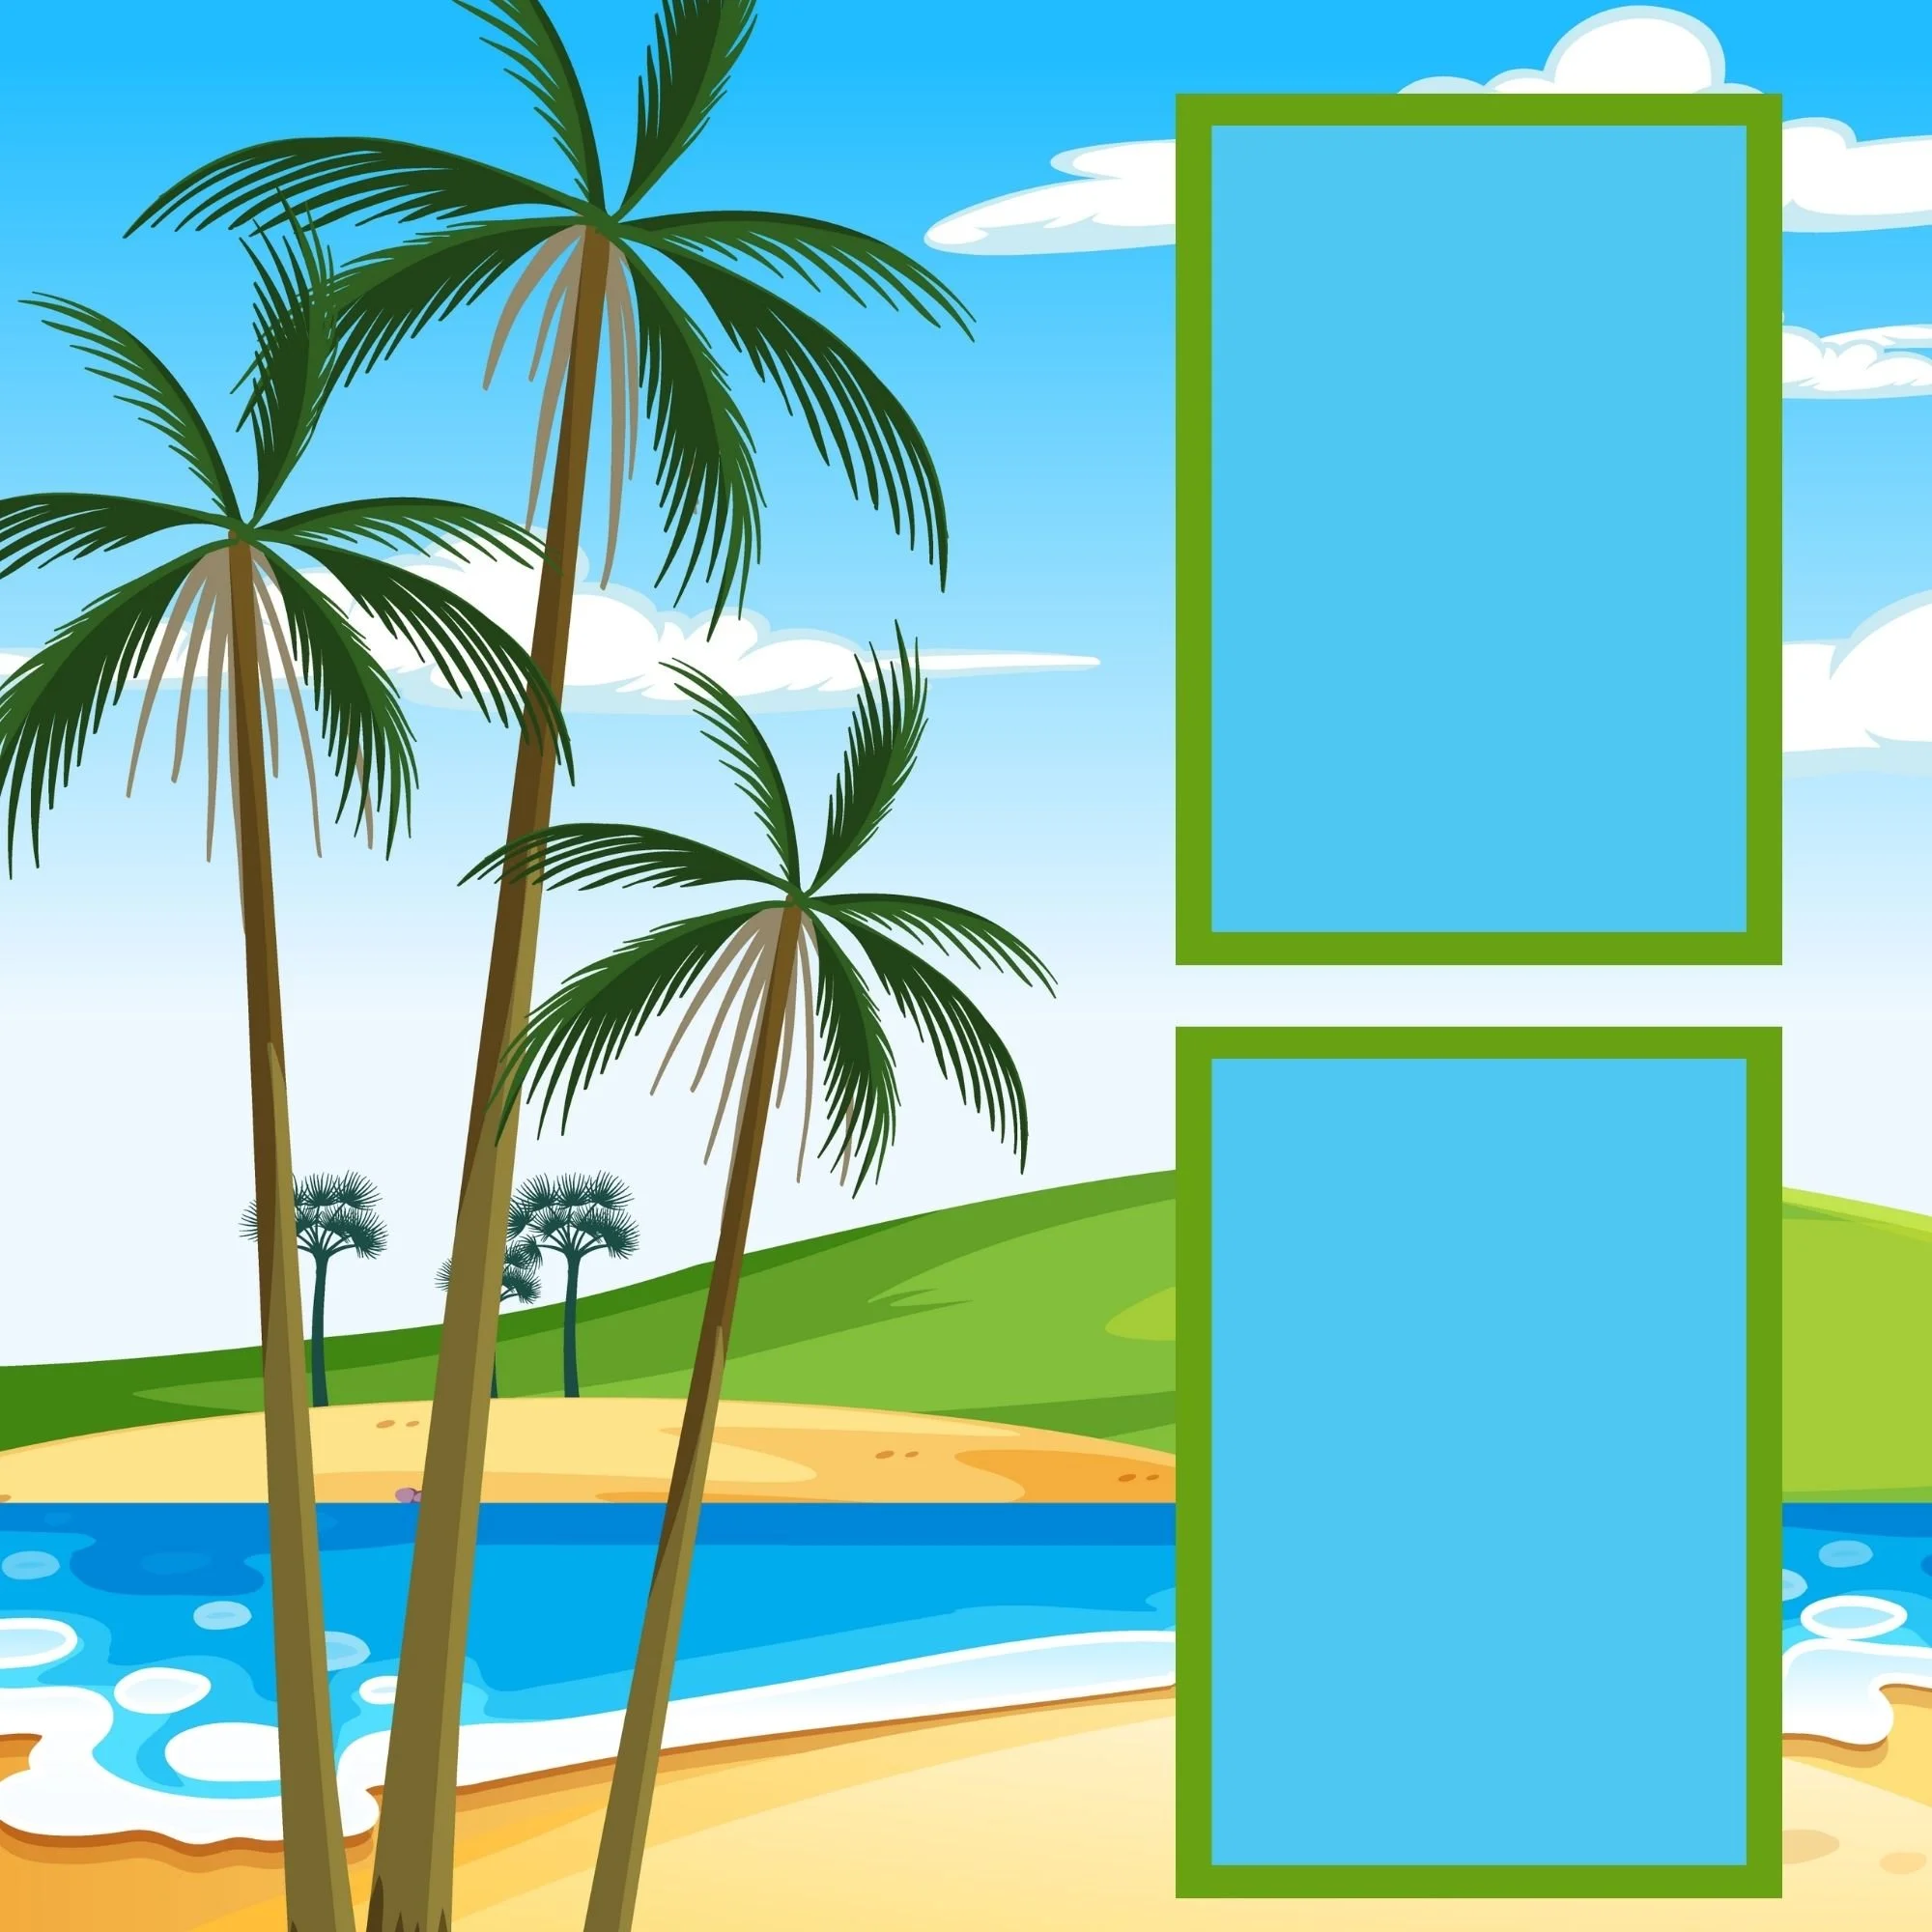
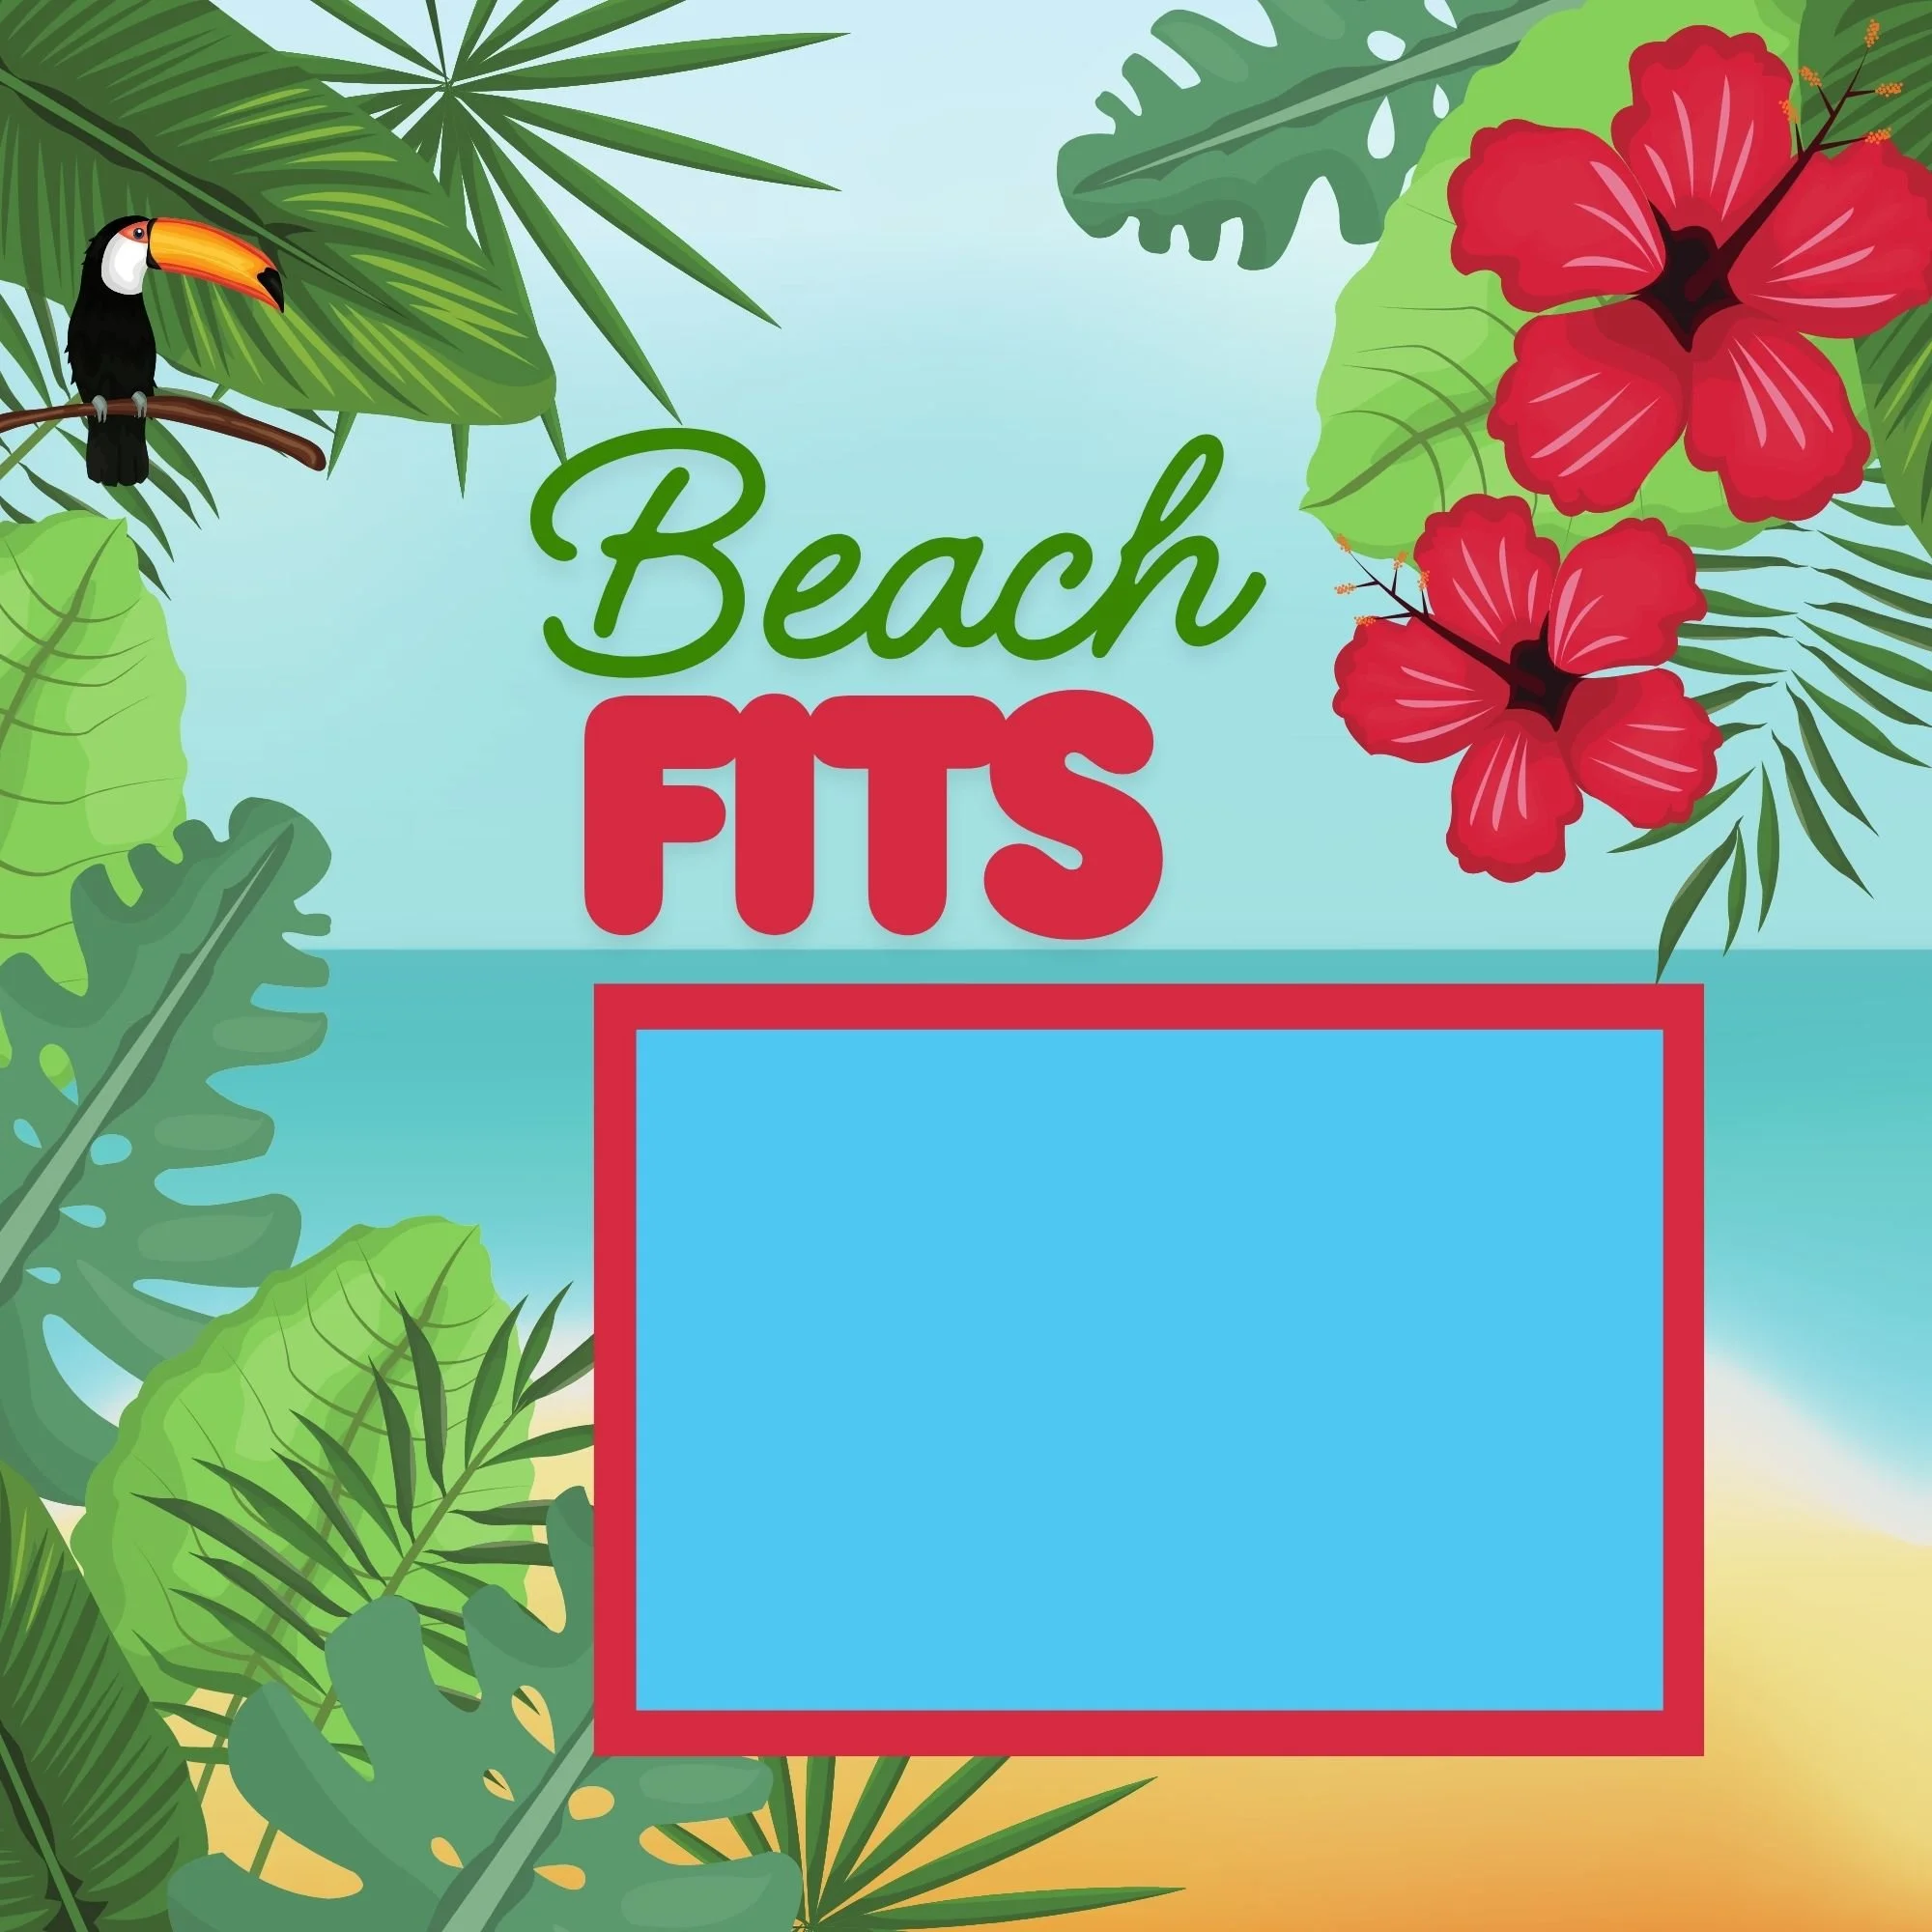
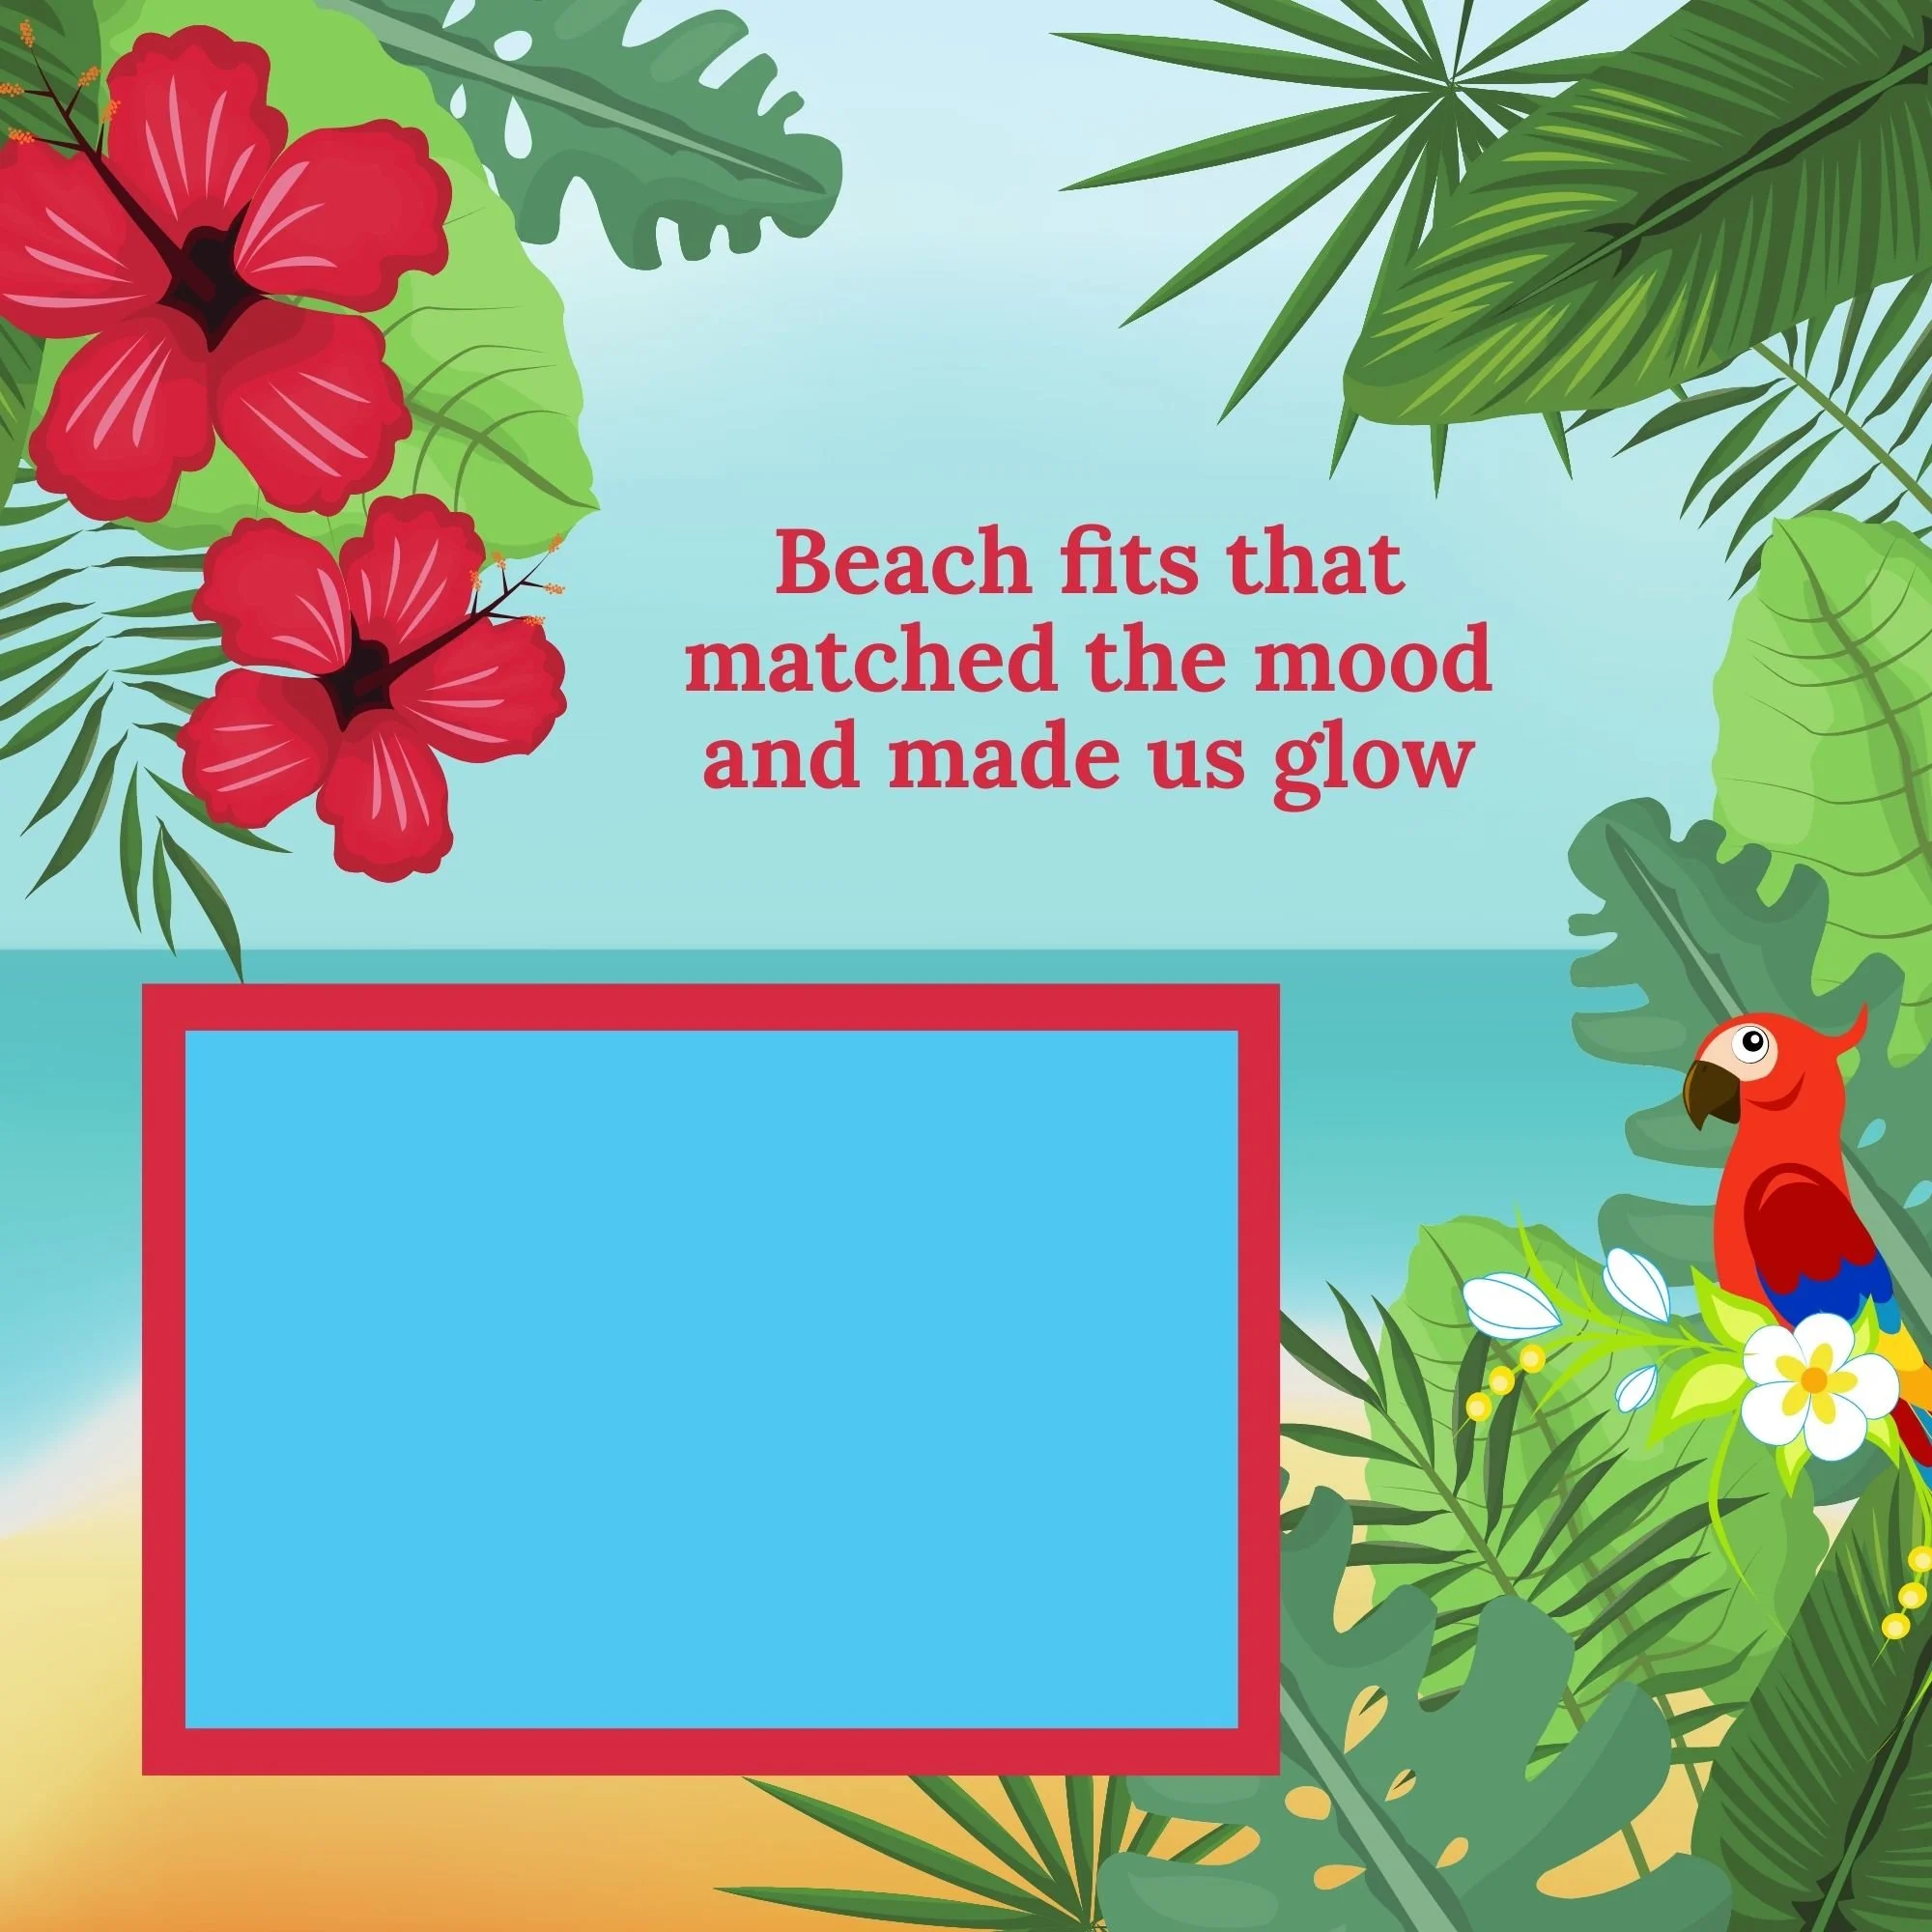
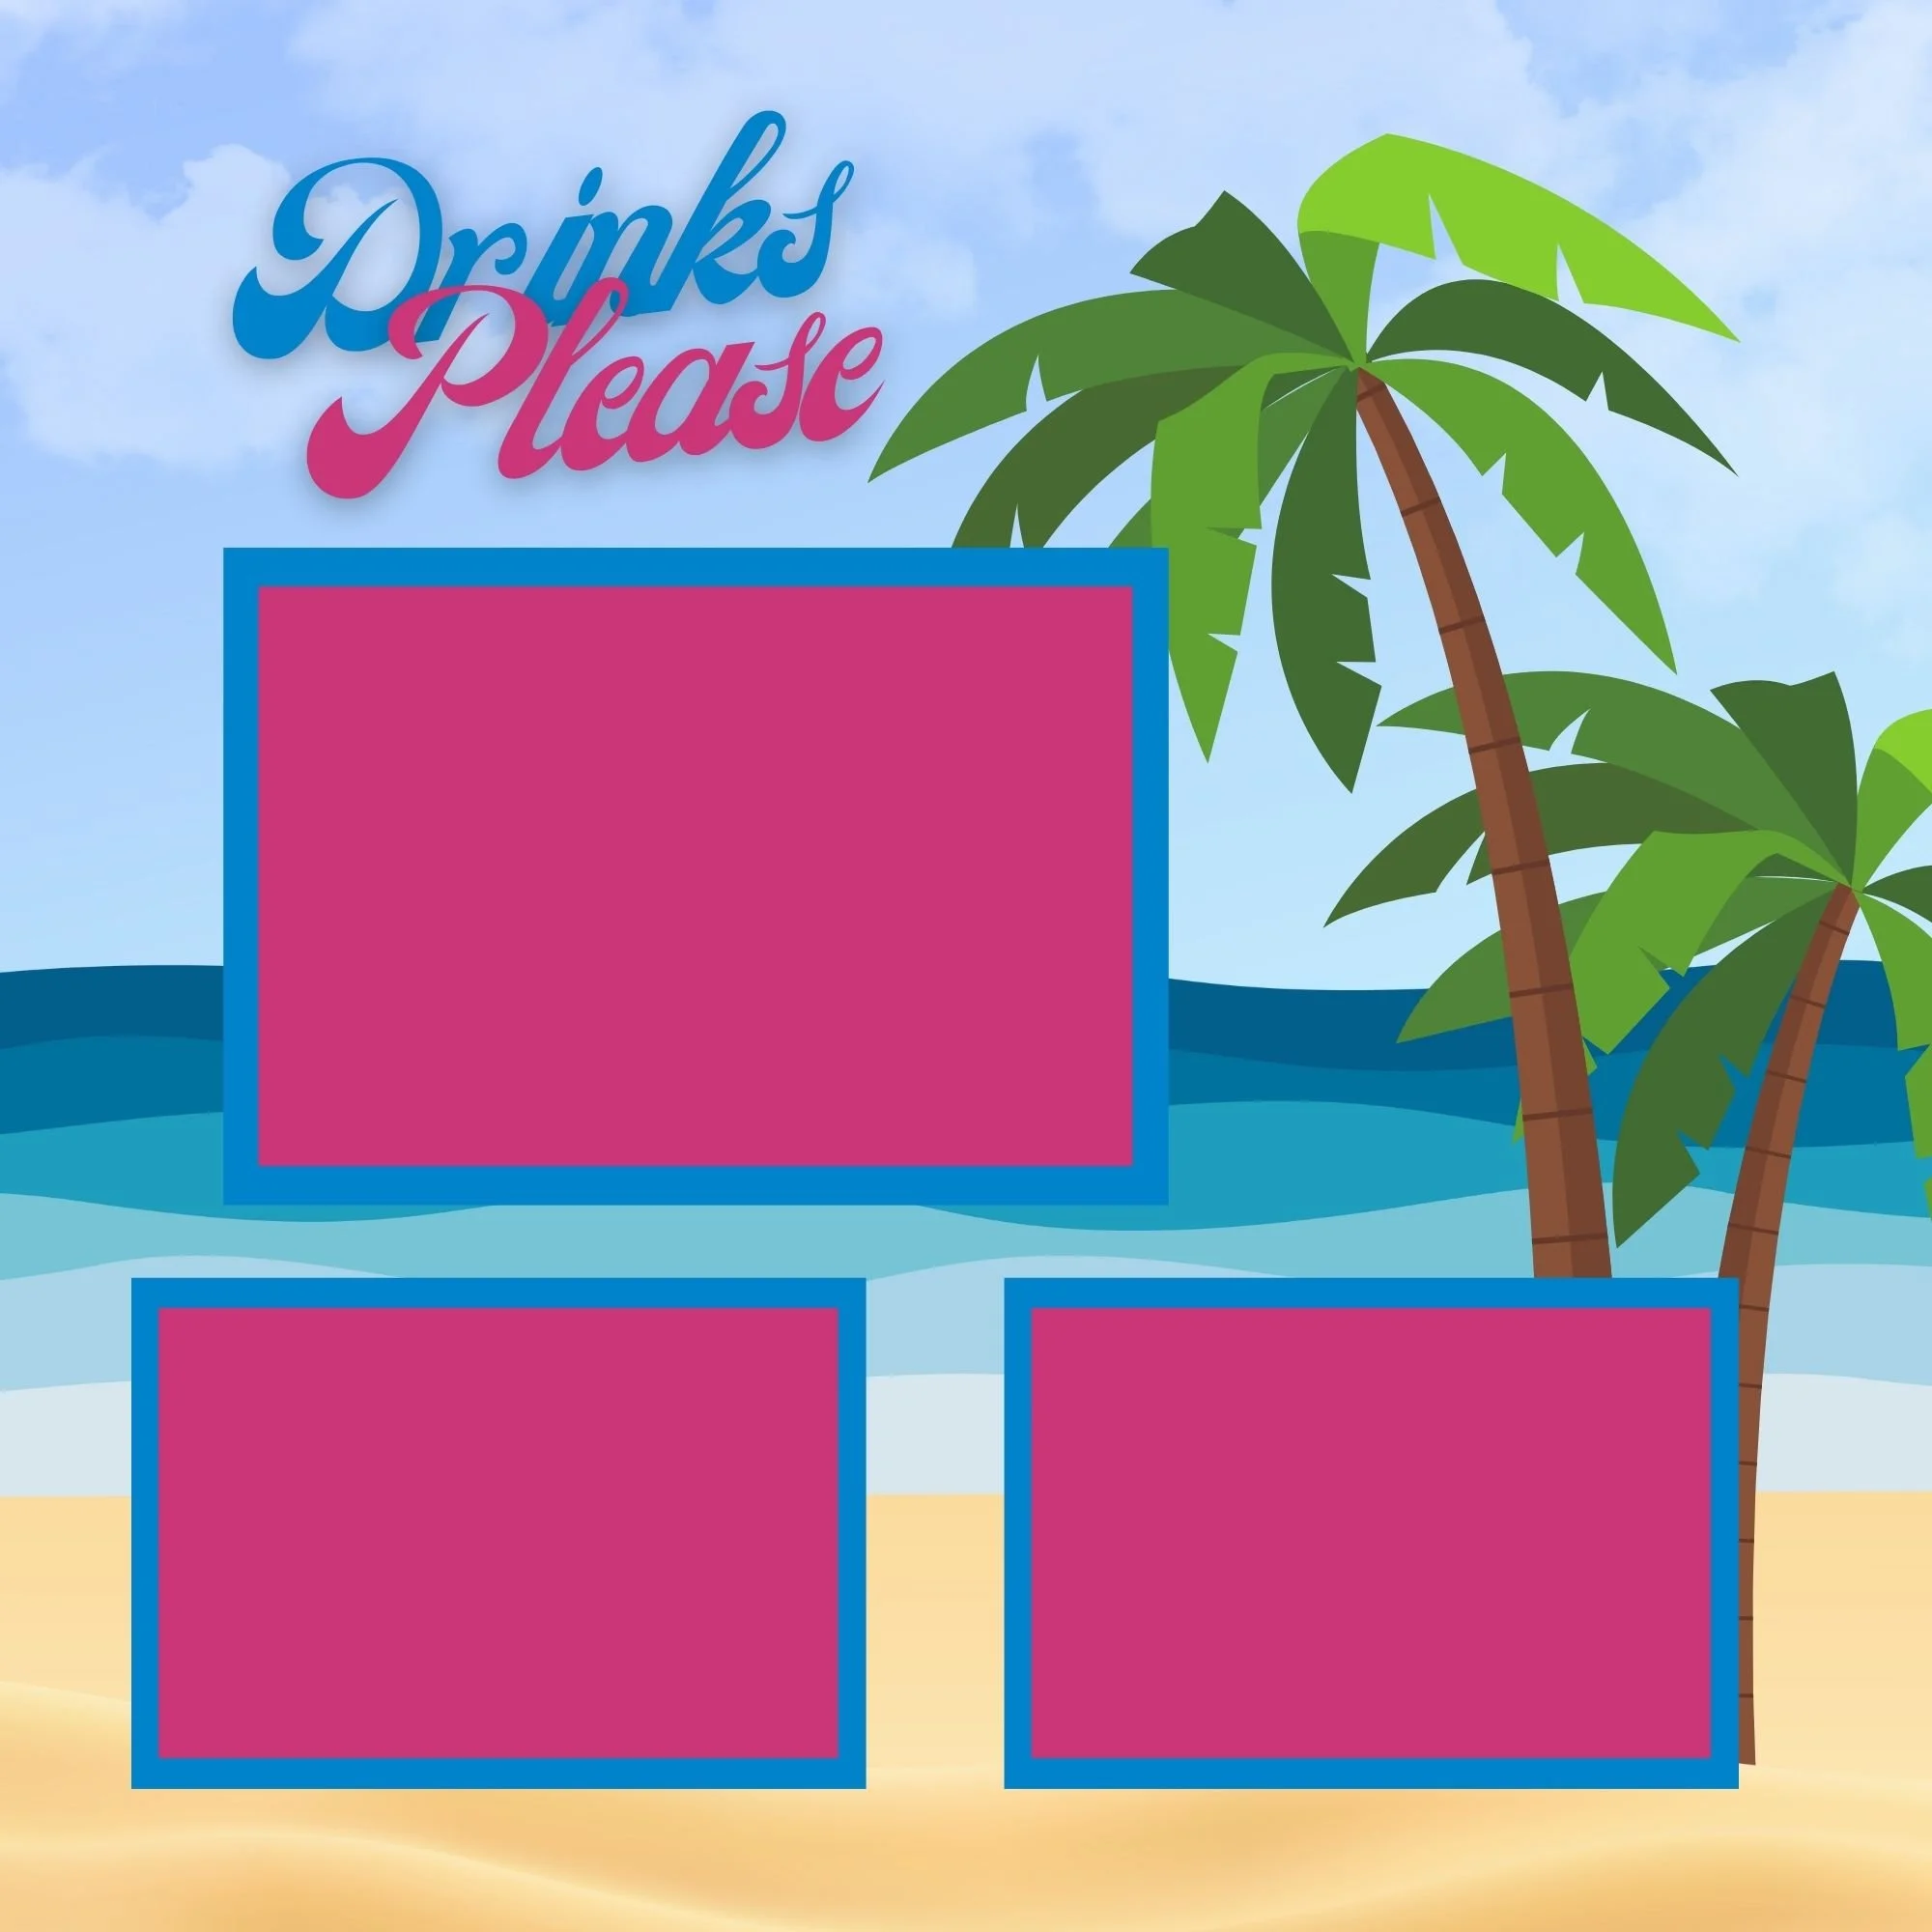
The Theme: Capturing a Girl’s Trip You’ll Never Forget

Girl’s Trip Memorette with custom girl’s names, travel location, and the travel dates.
For this layout, I’m working with the Girl’s Trip Memorette, a themed scrapbook designed specifically to preserve unforgettable trips with your favorite people.
What makes a Memorette special is its custom cover and themed interior pages that act as a beautiful blank canvas. You’re not locked into a design—you’re free to create layouts that reflect your memories.
The Girl’s Trip theme is perfect for capturing:
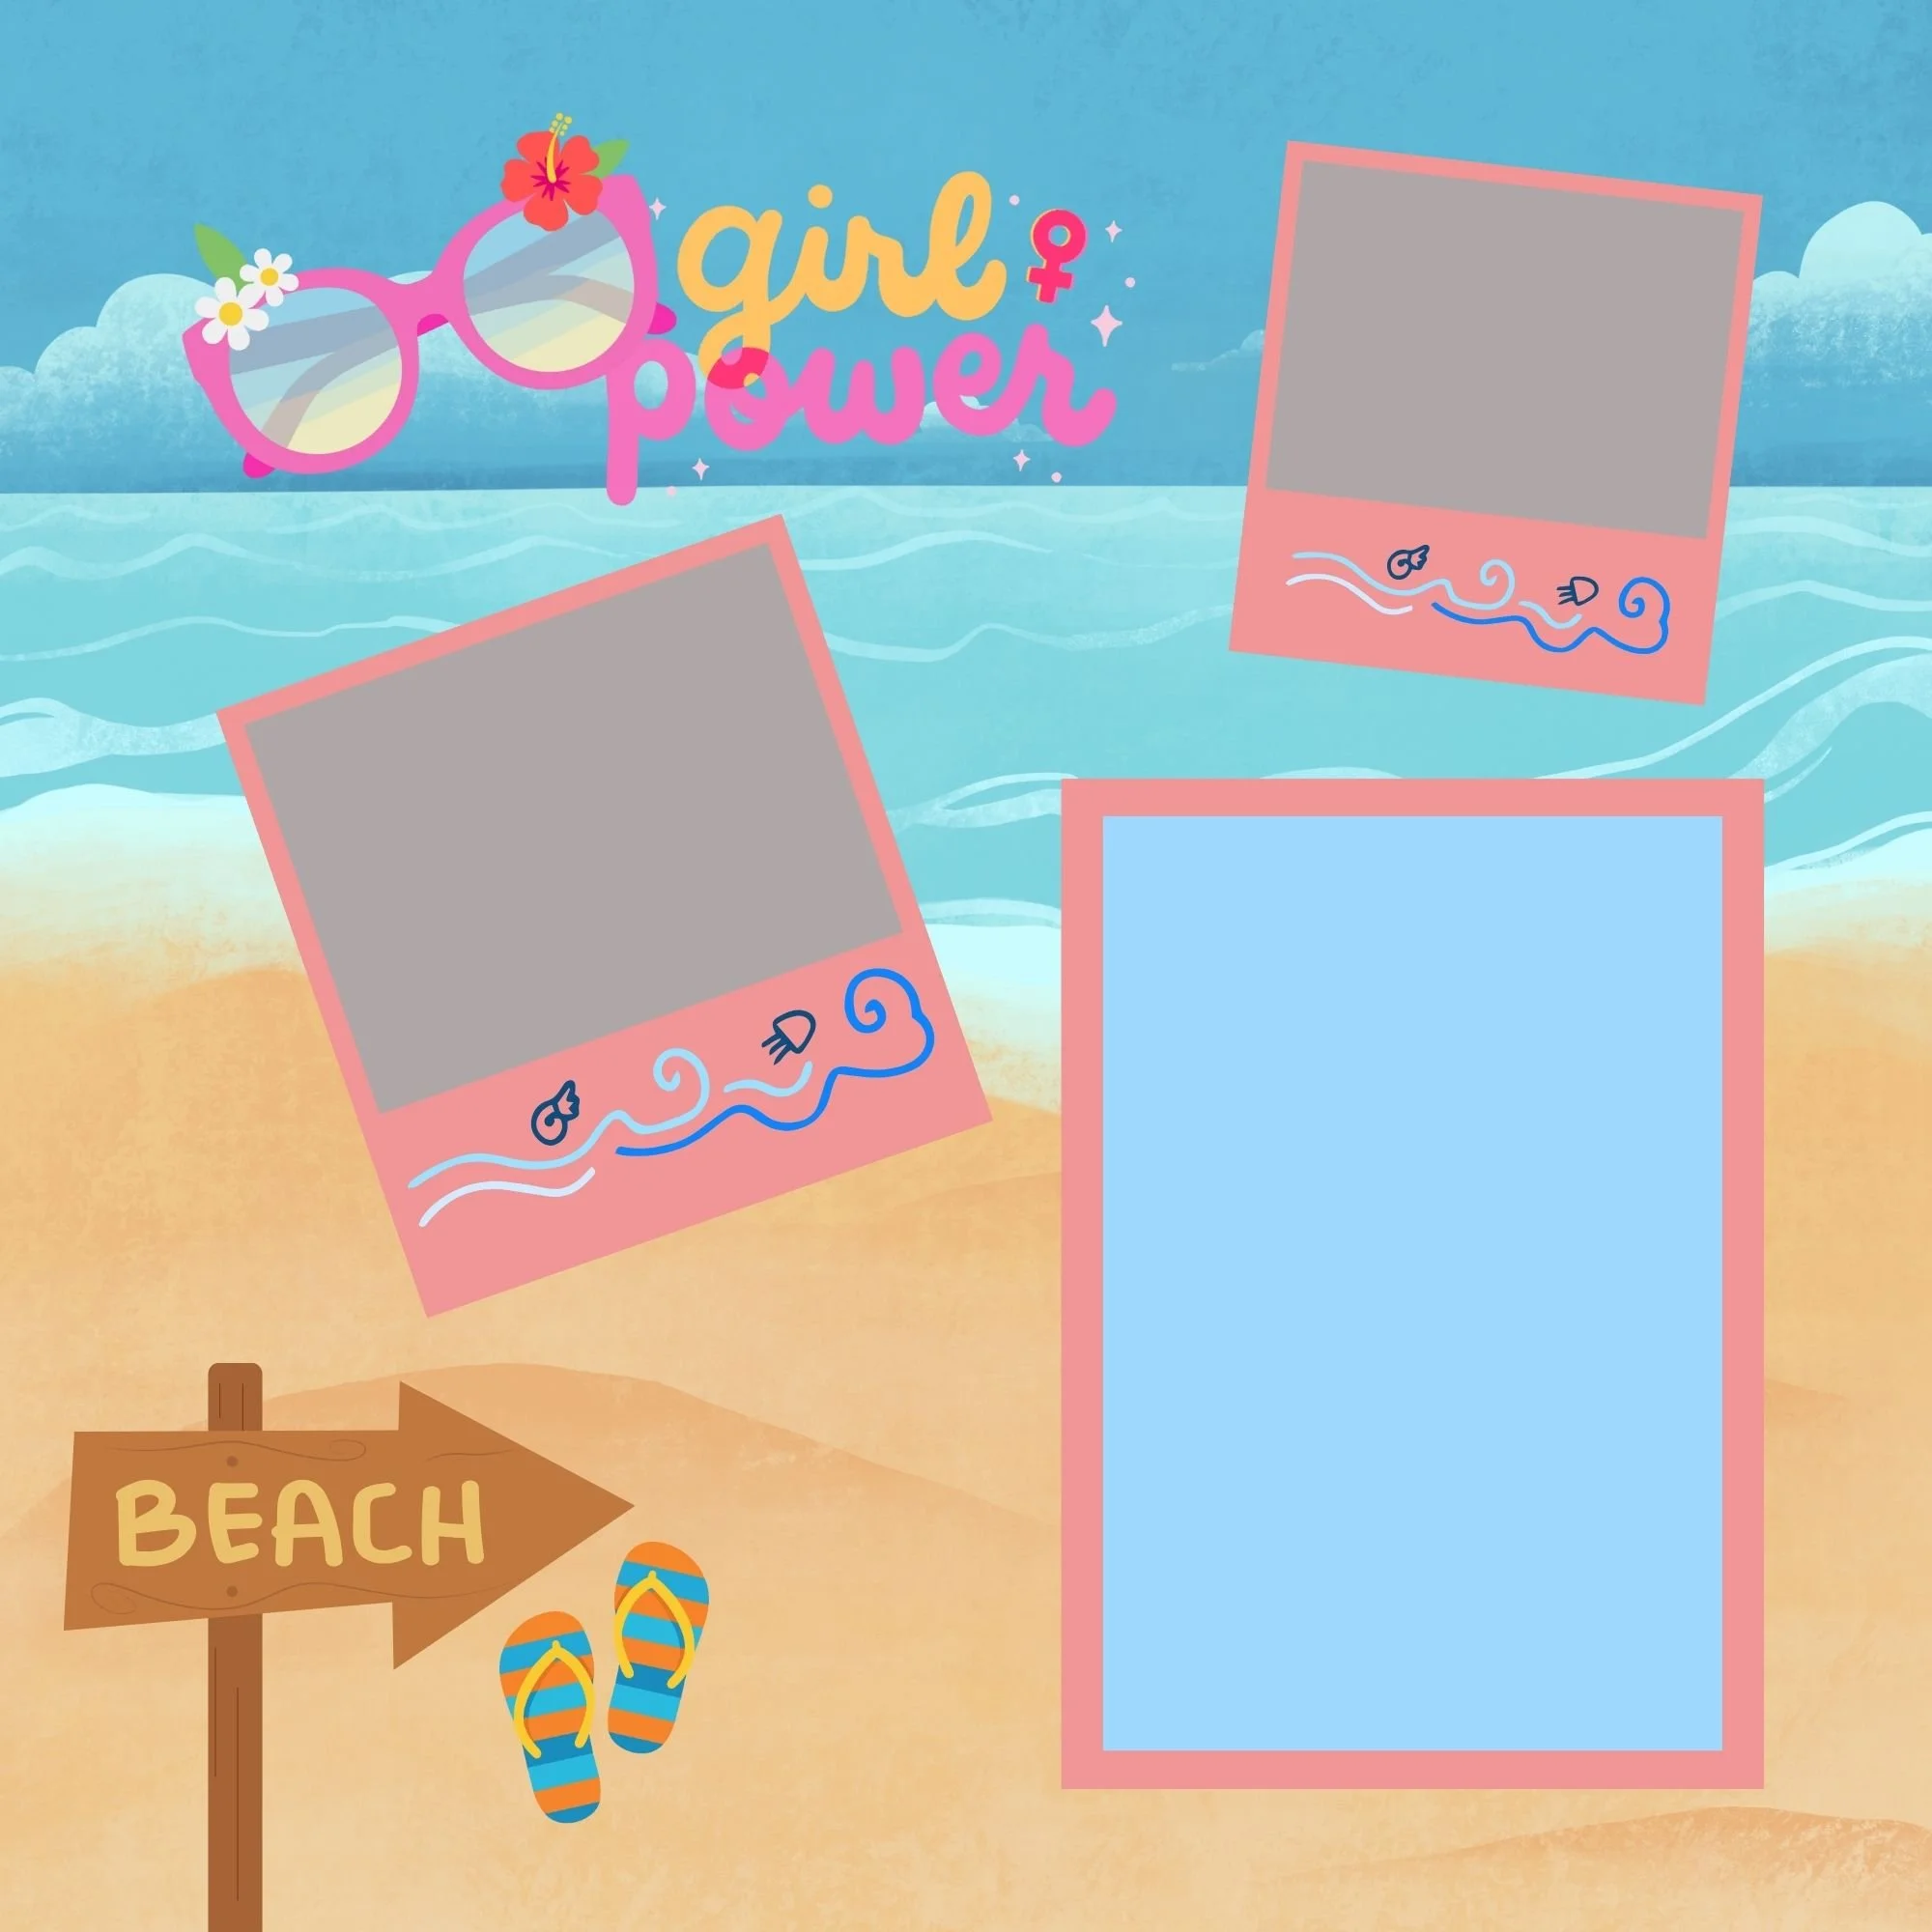
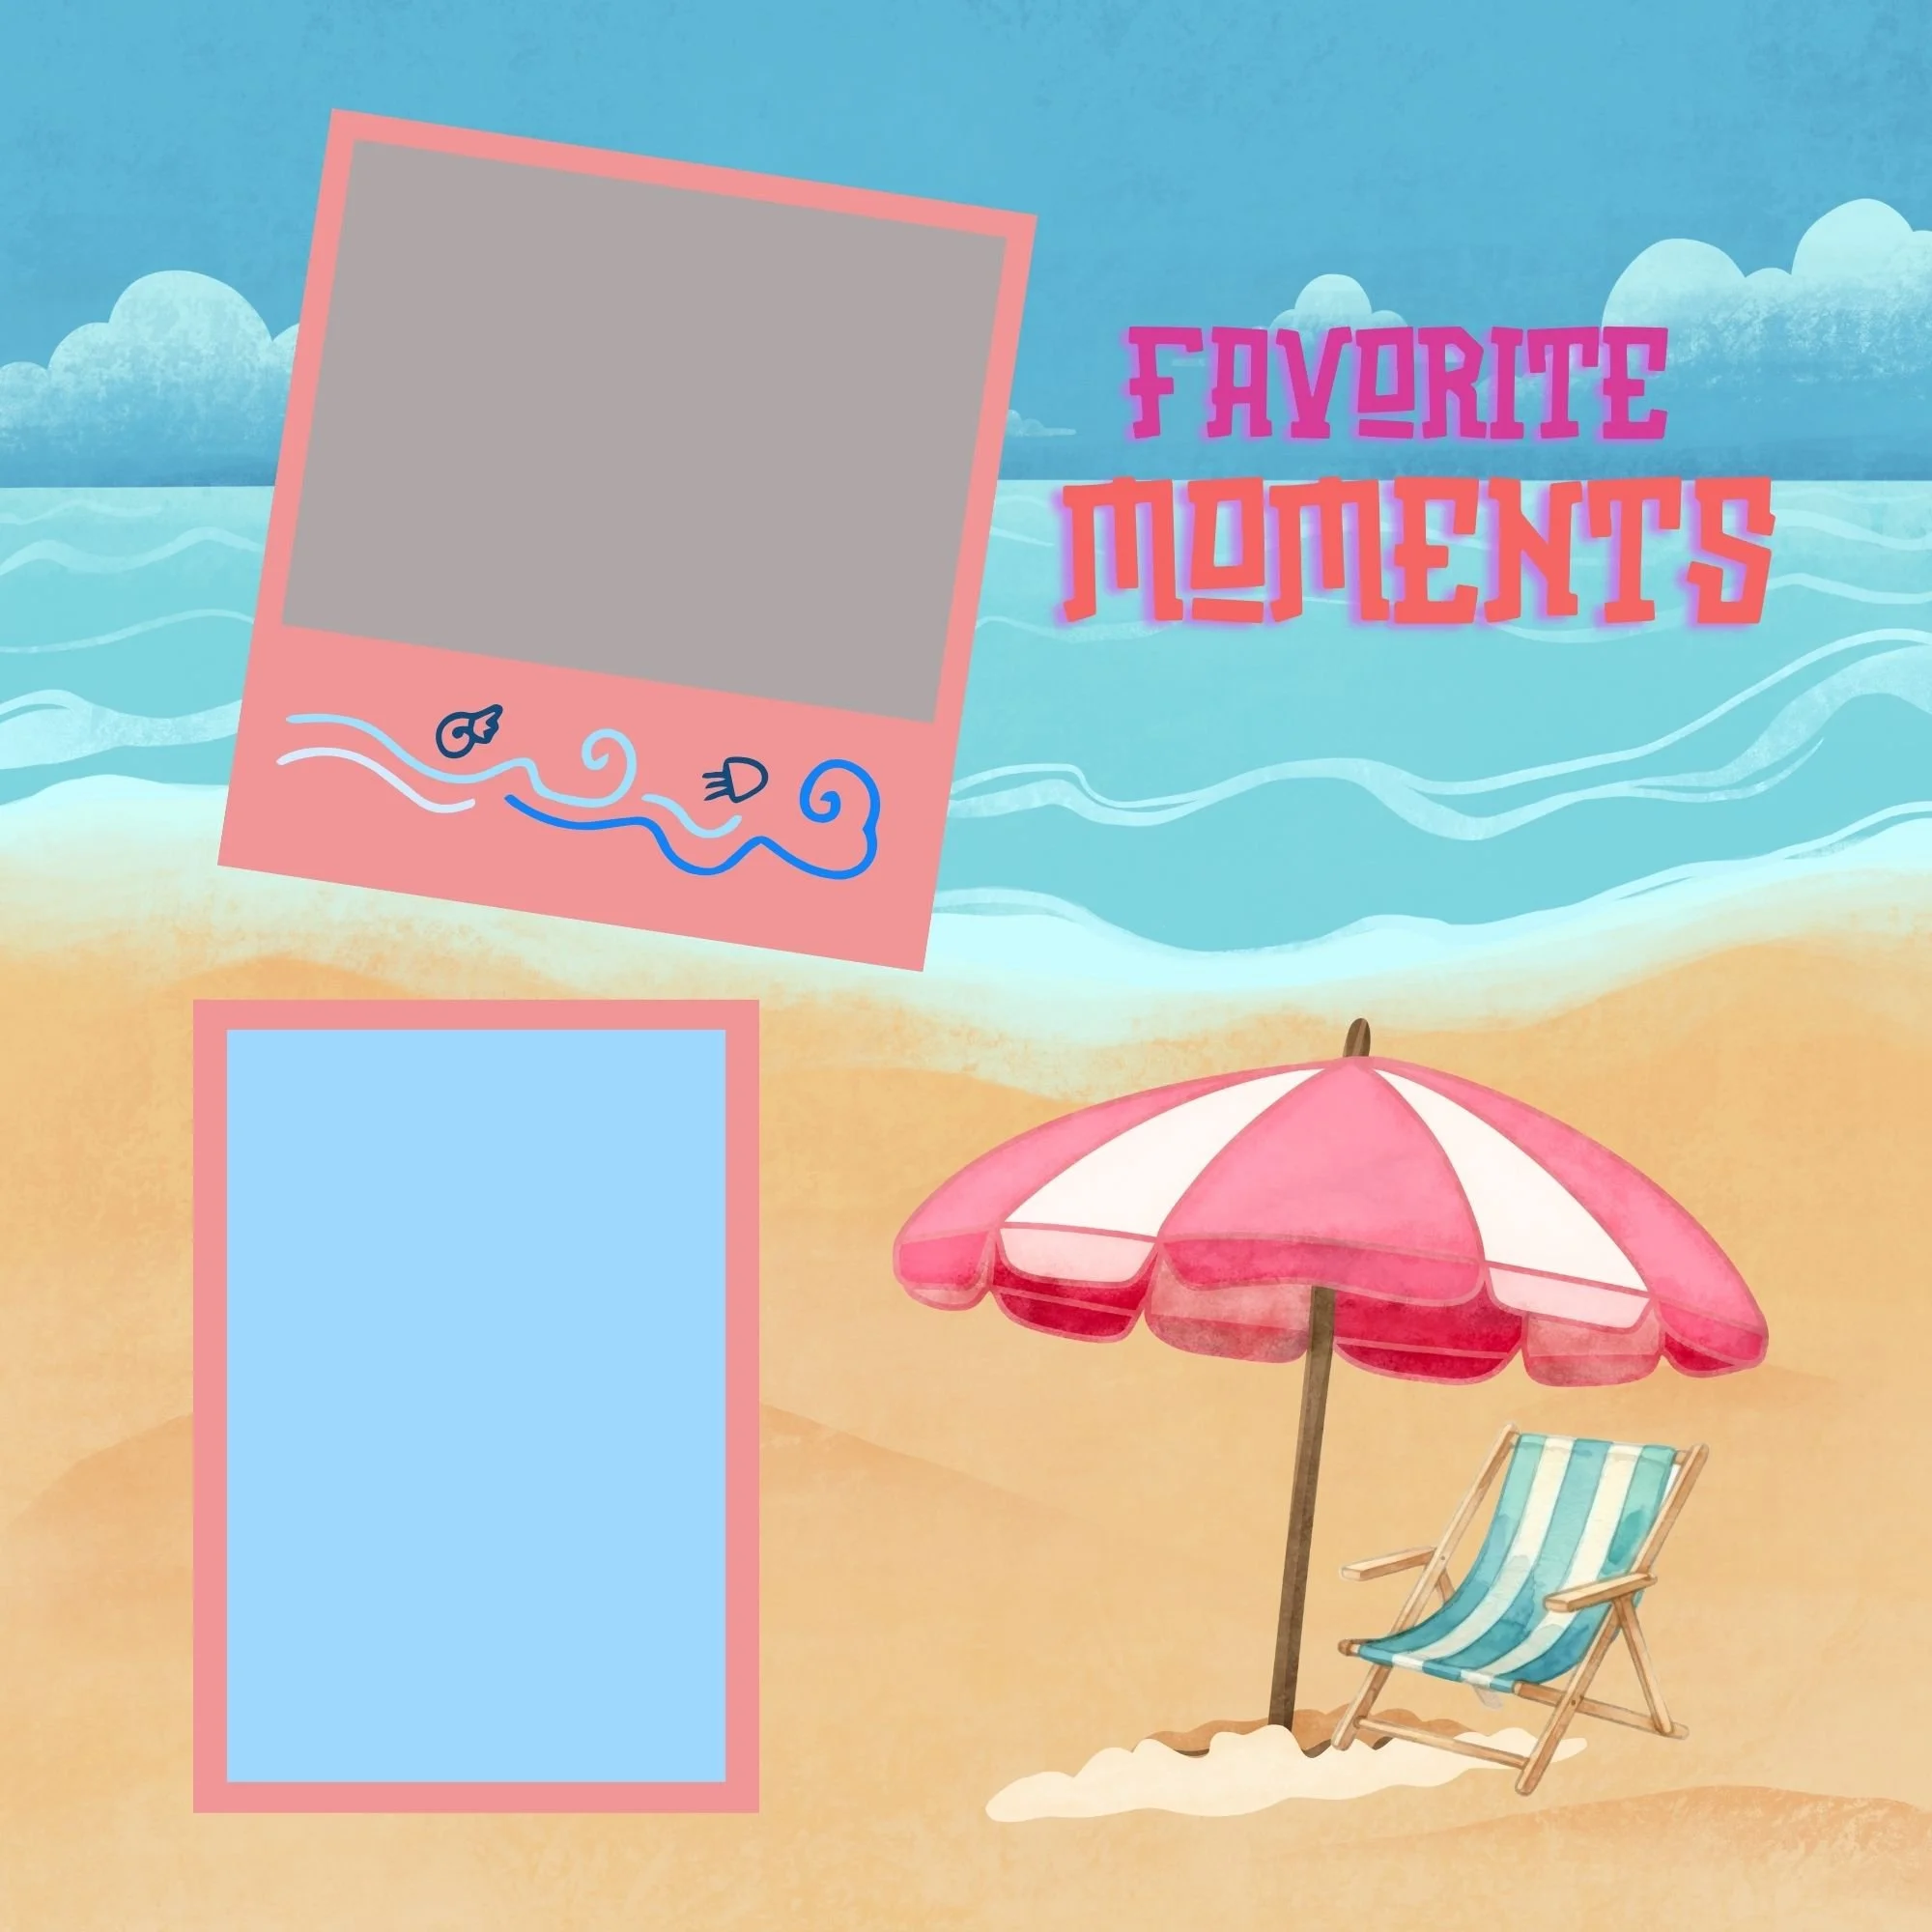
Beach days
Adventures and sightseeing
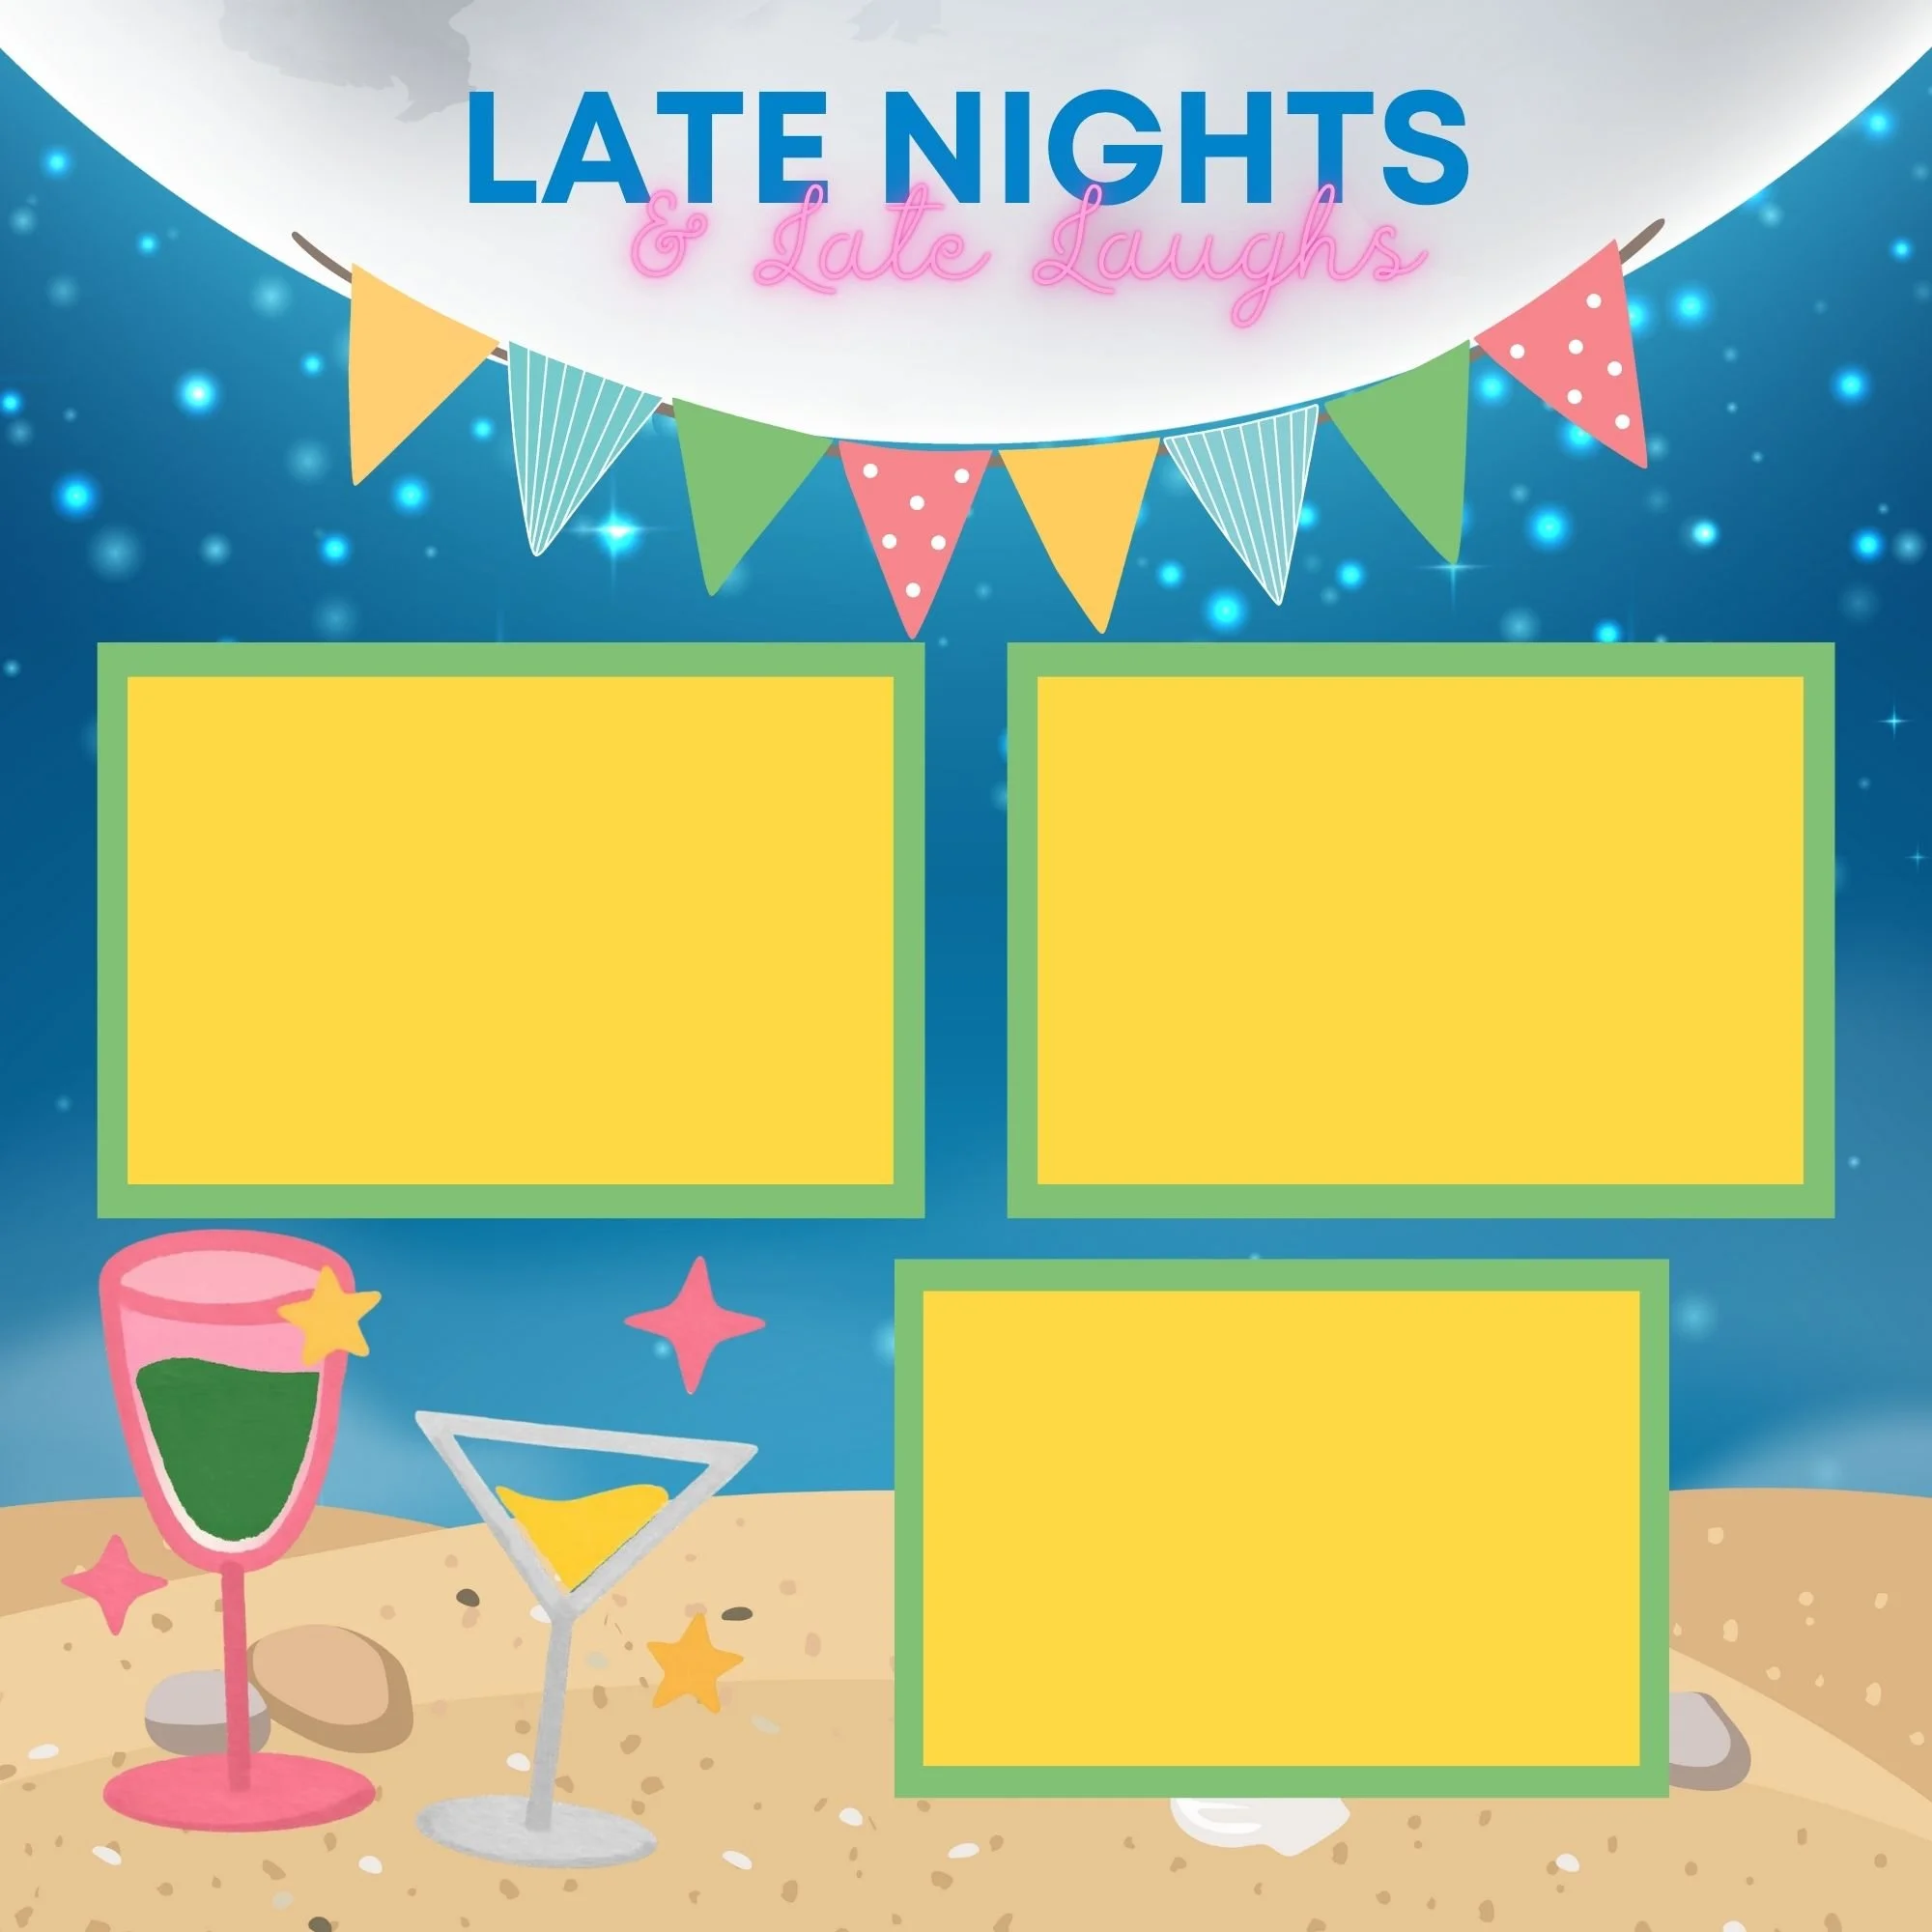
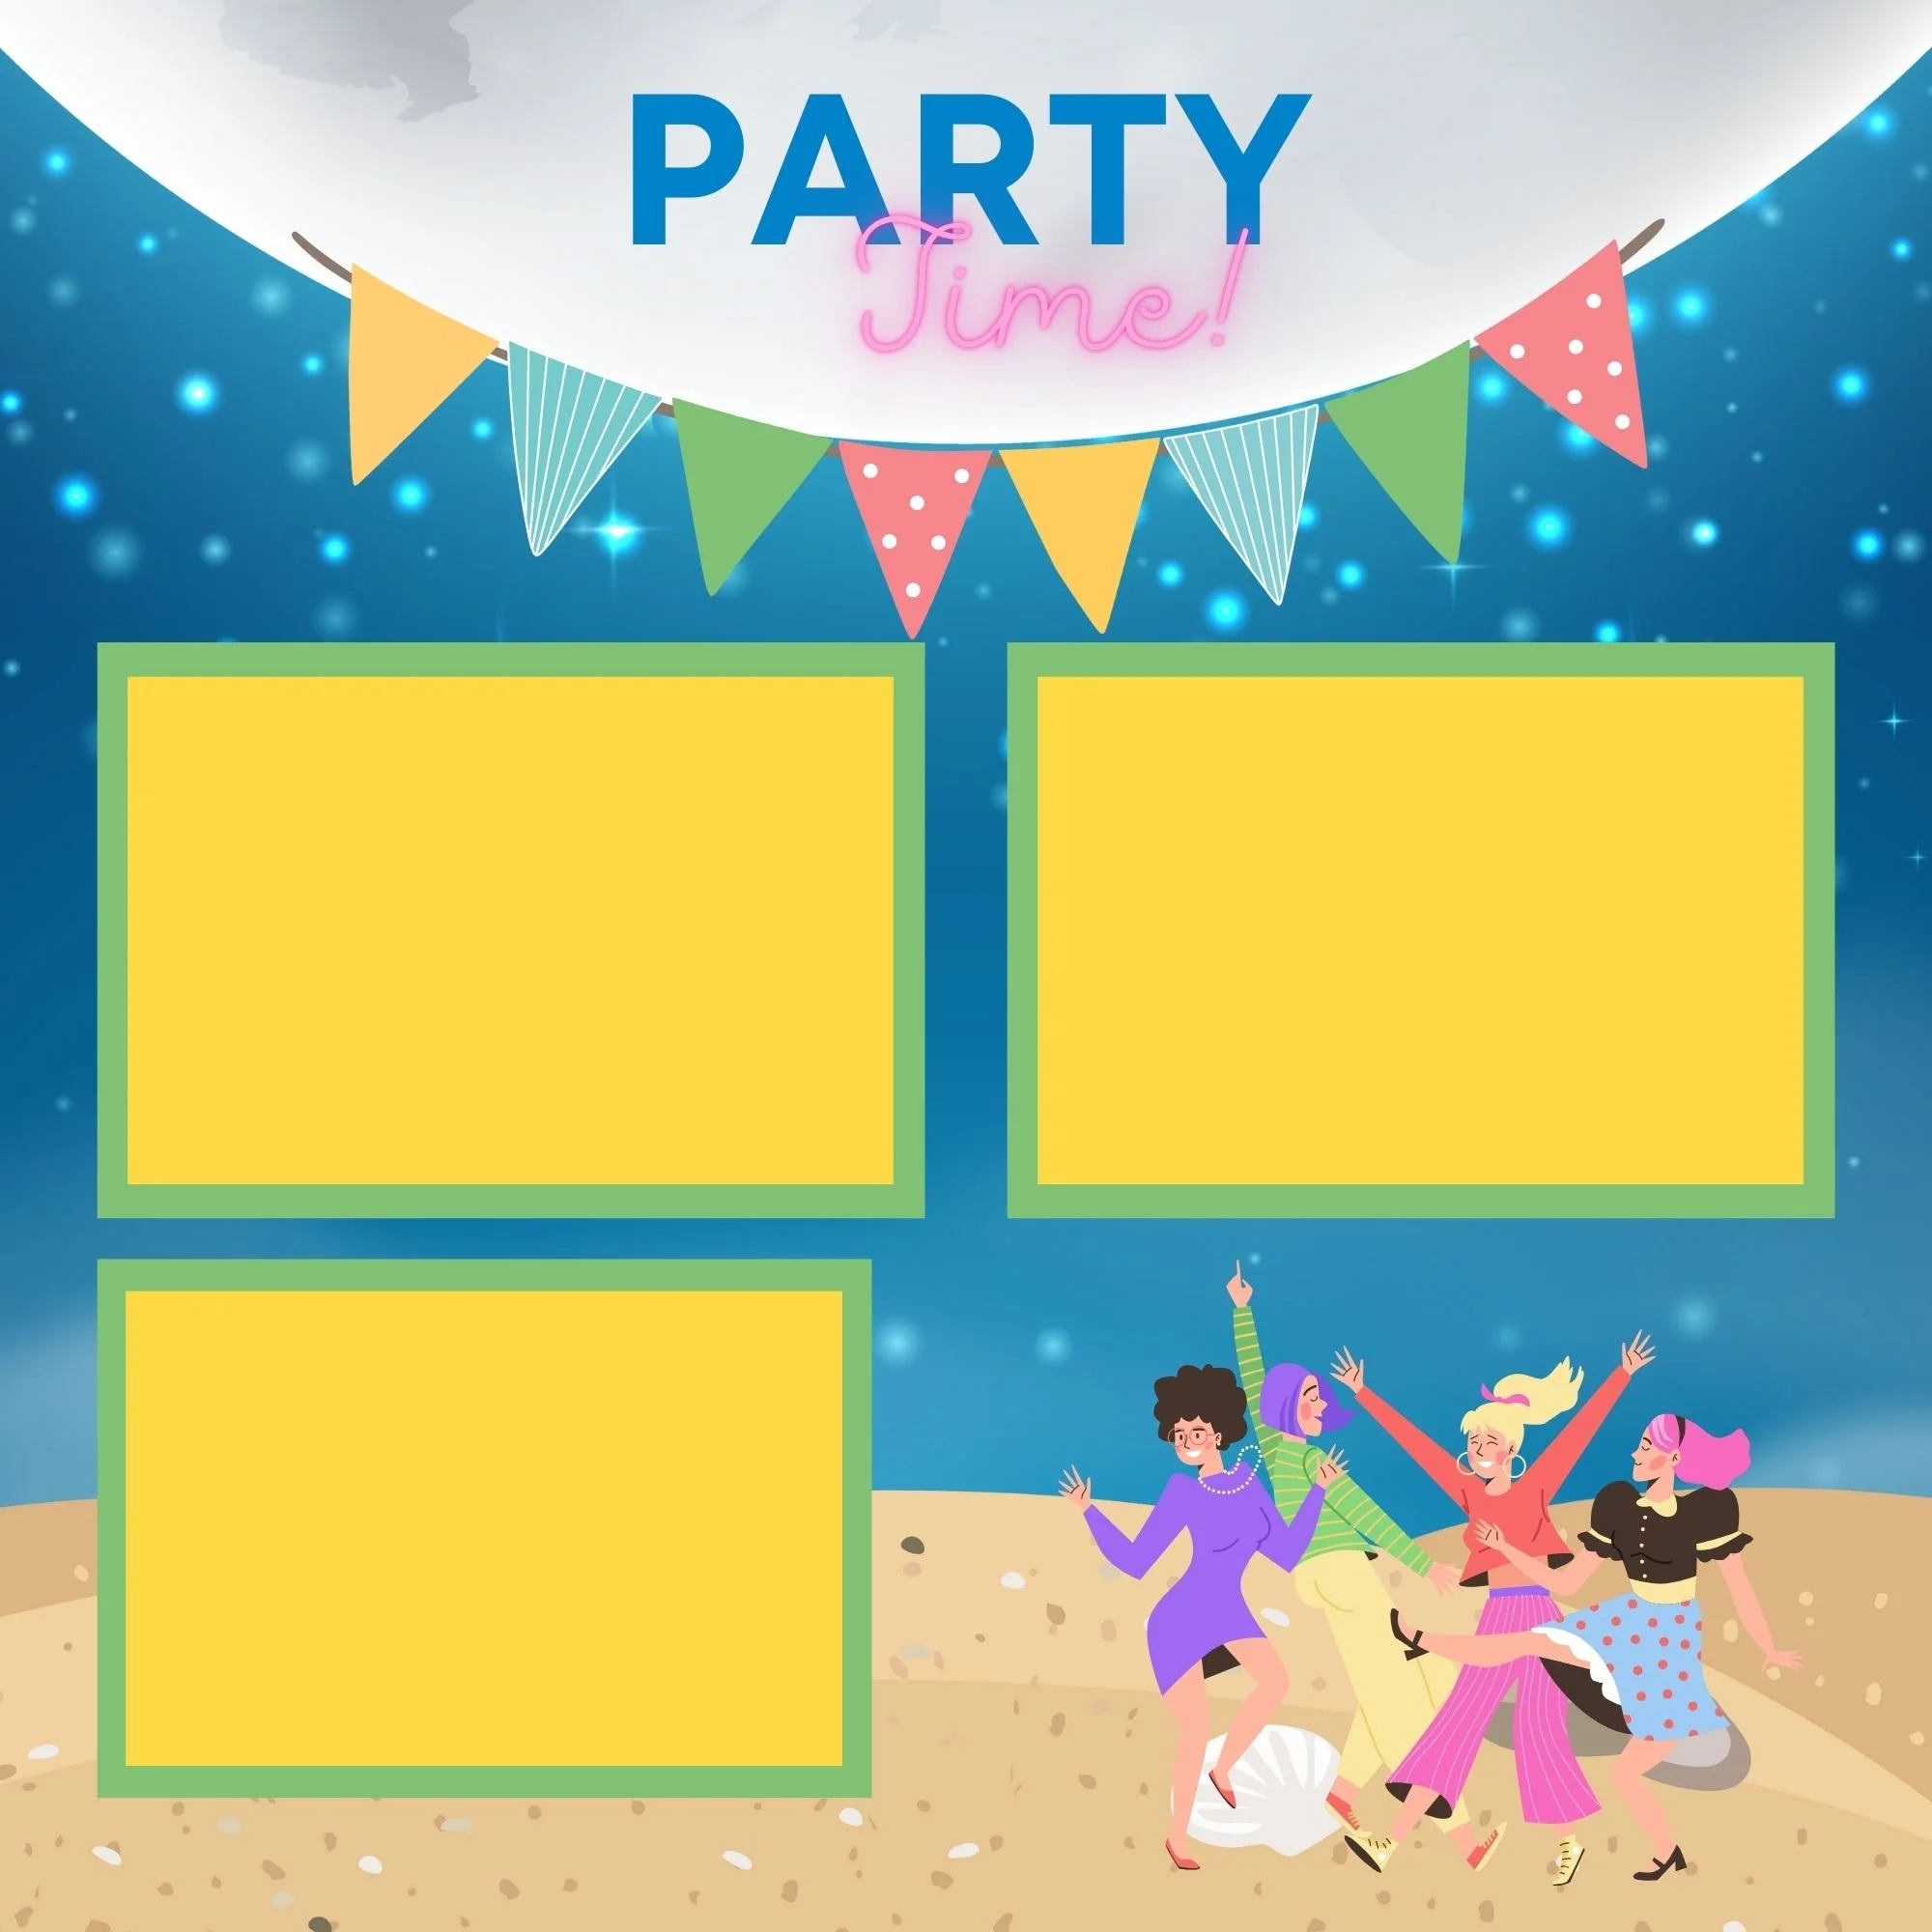
Late nights and laughter
All those in-between moments that make trips unforgettable
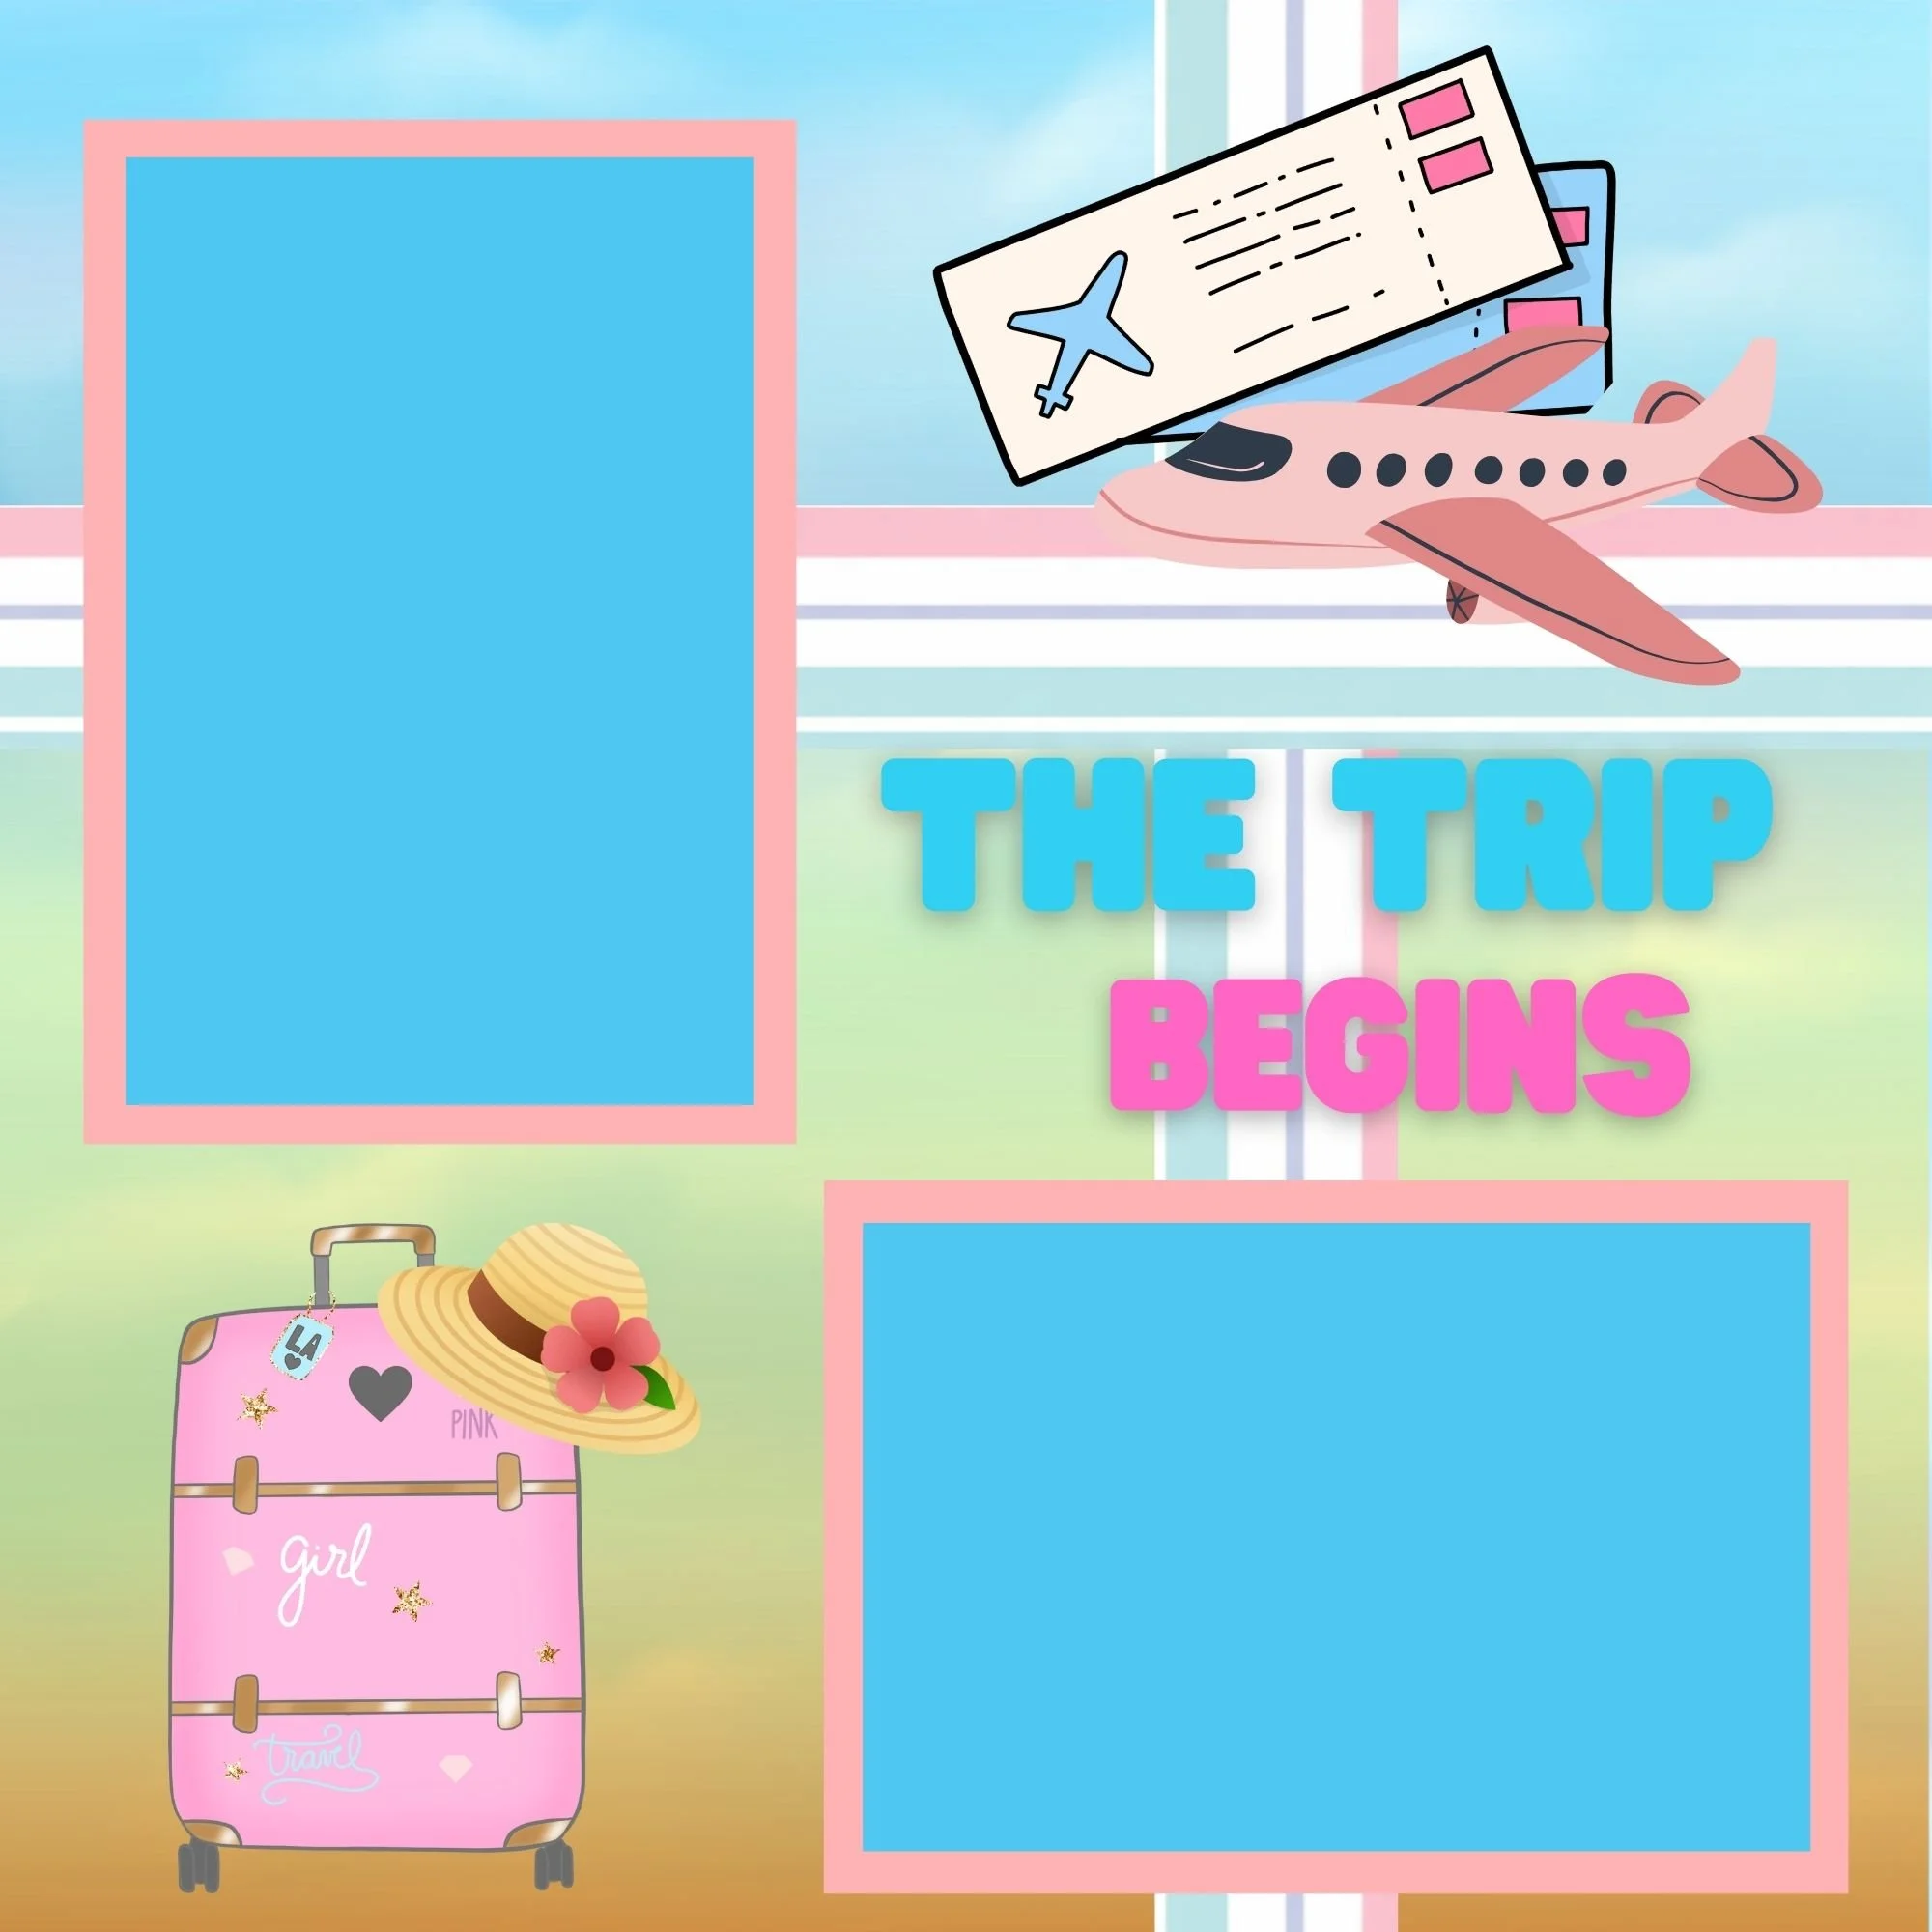

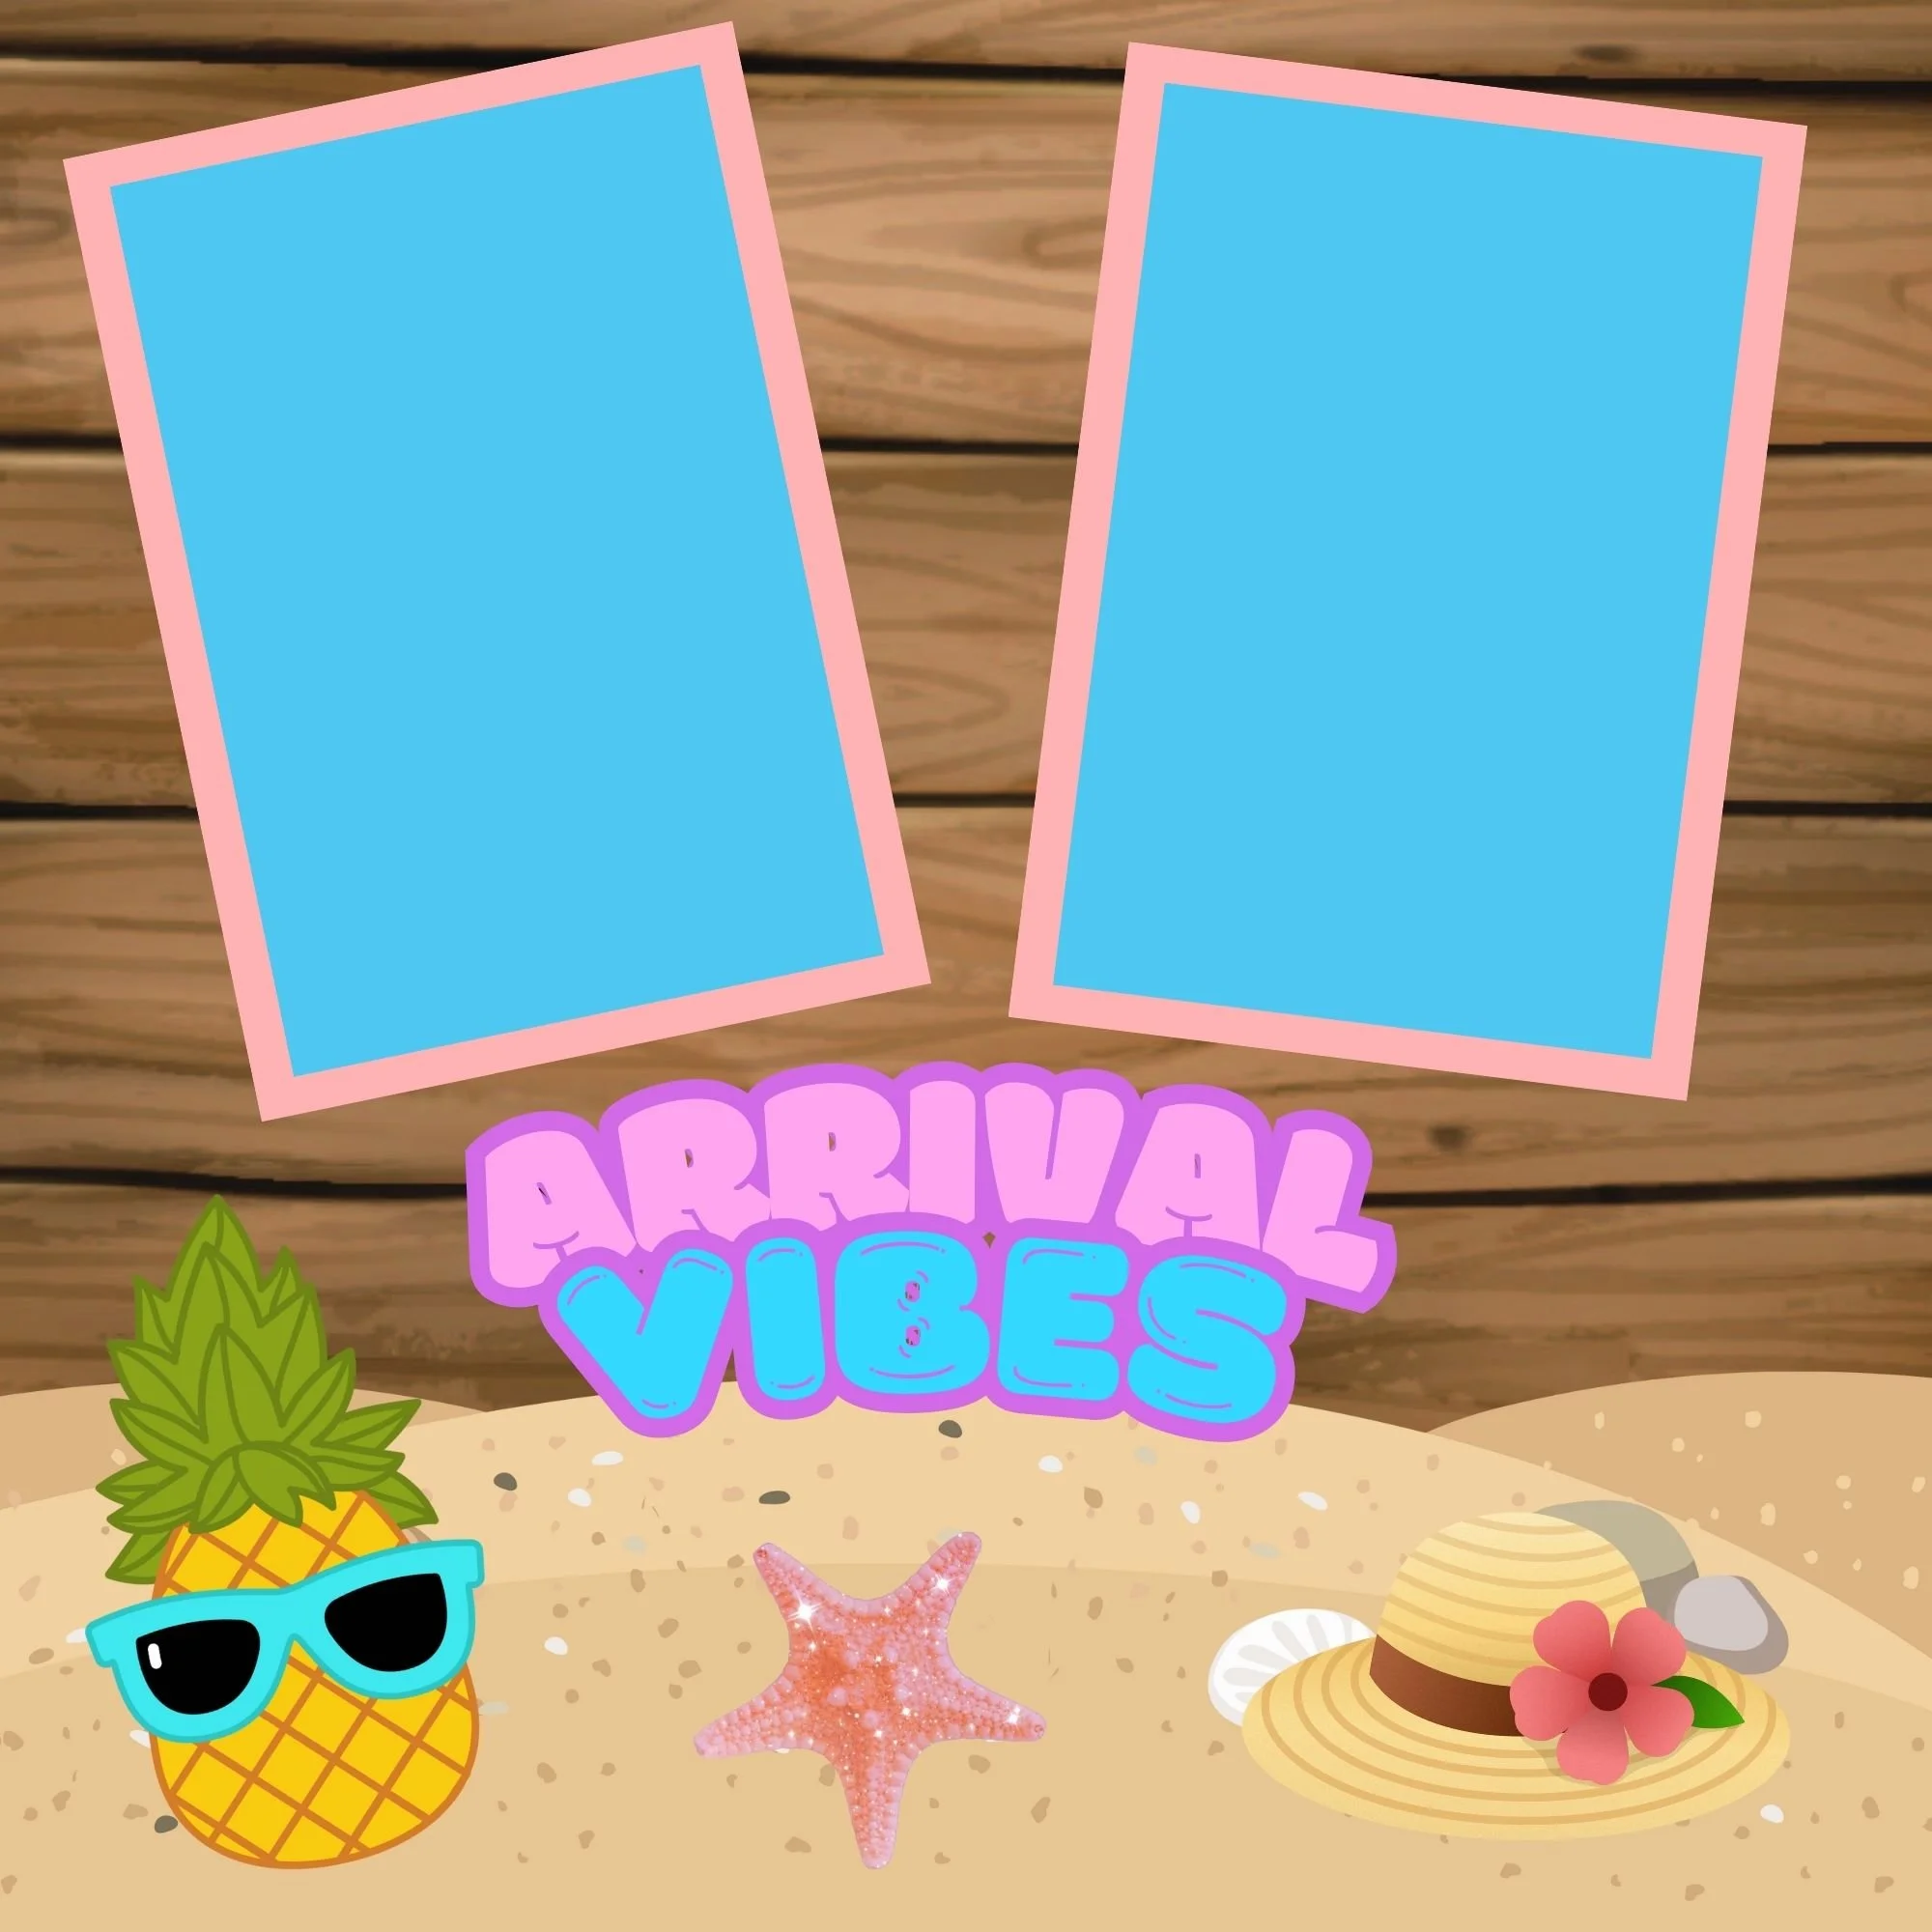
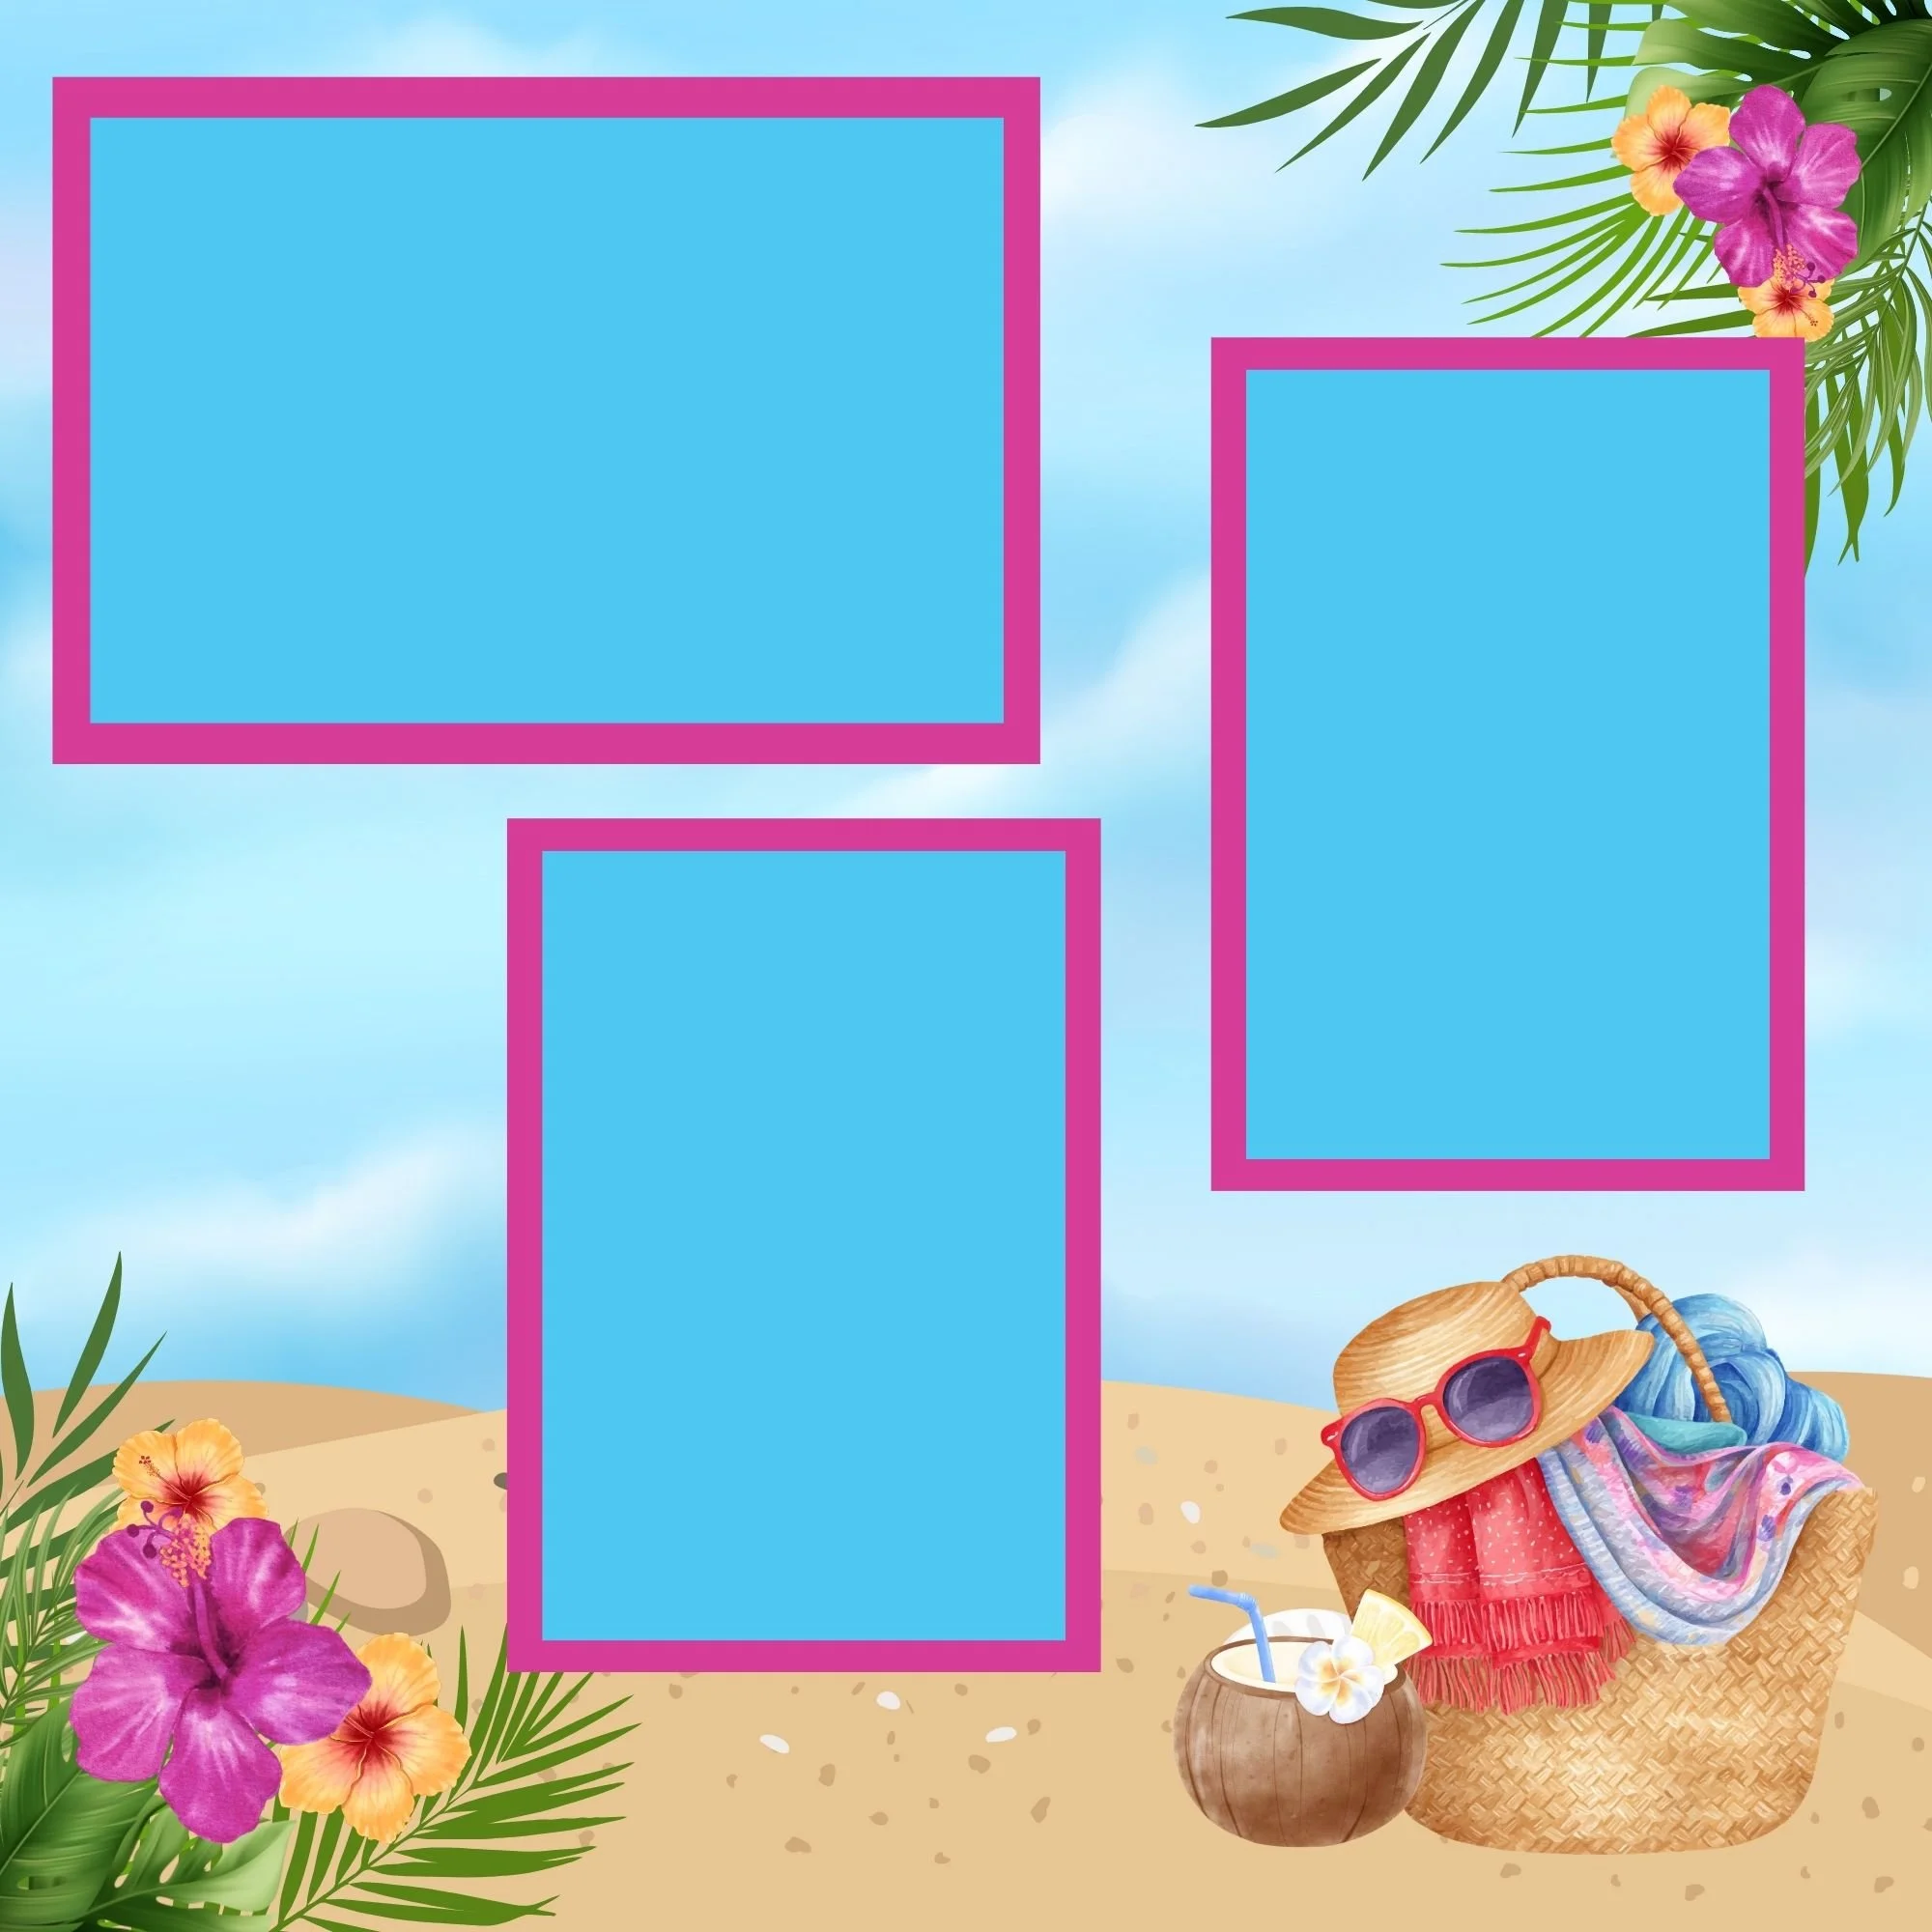
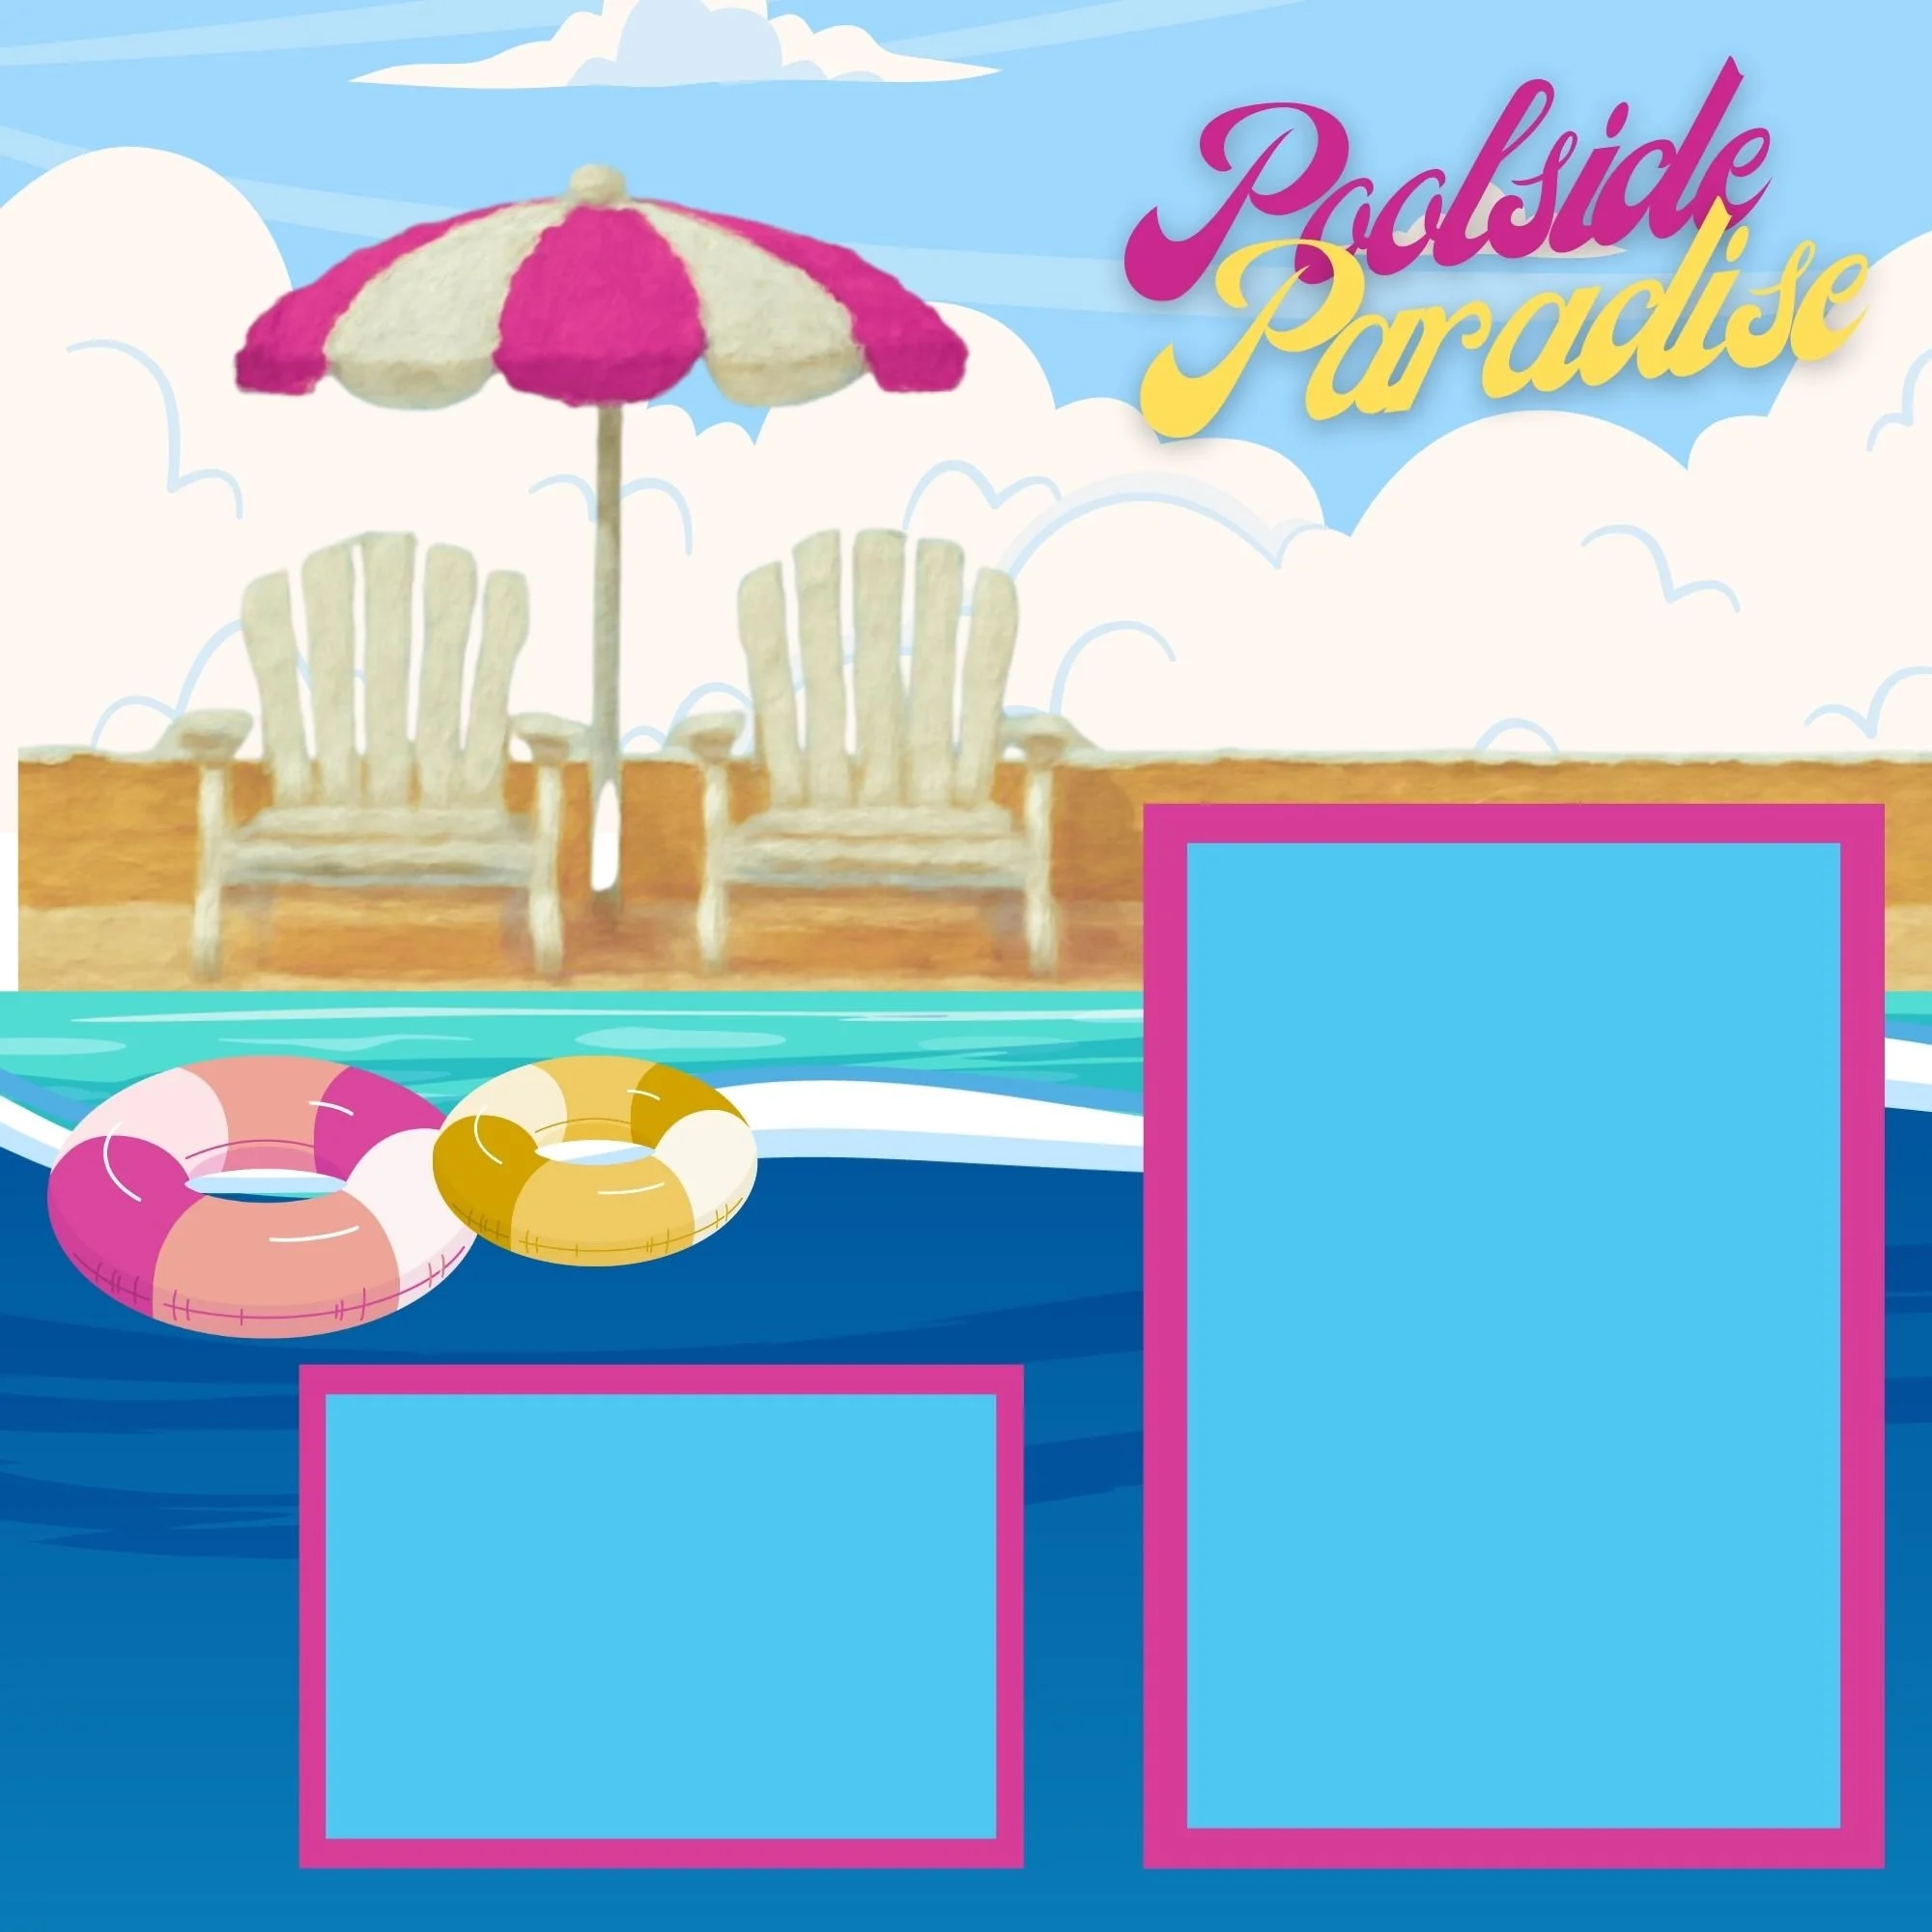
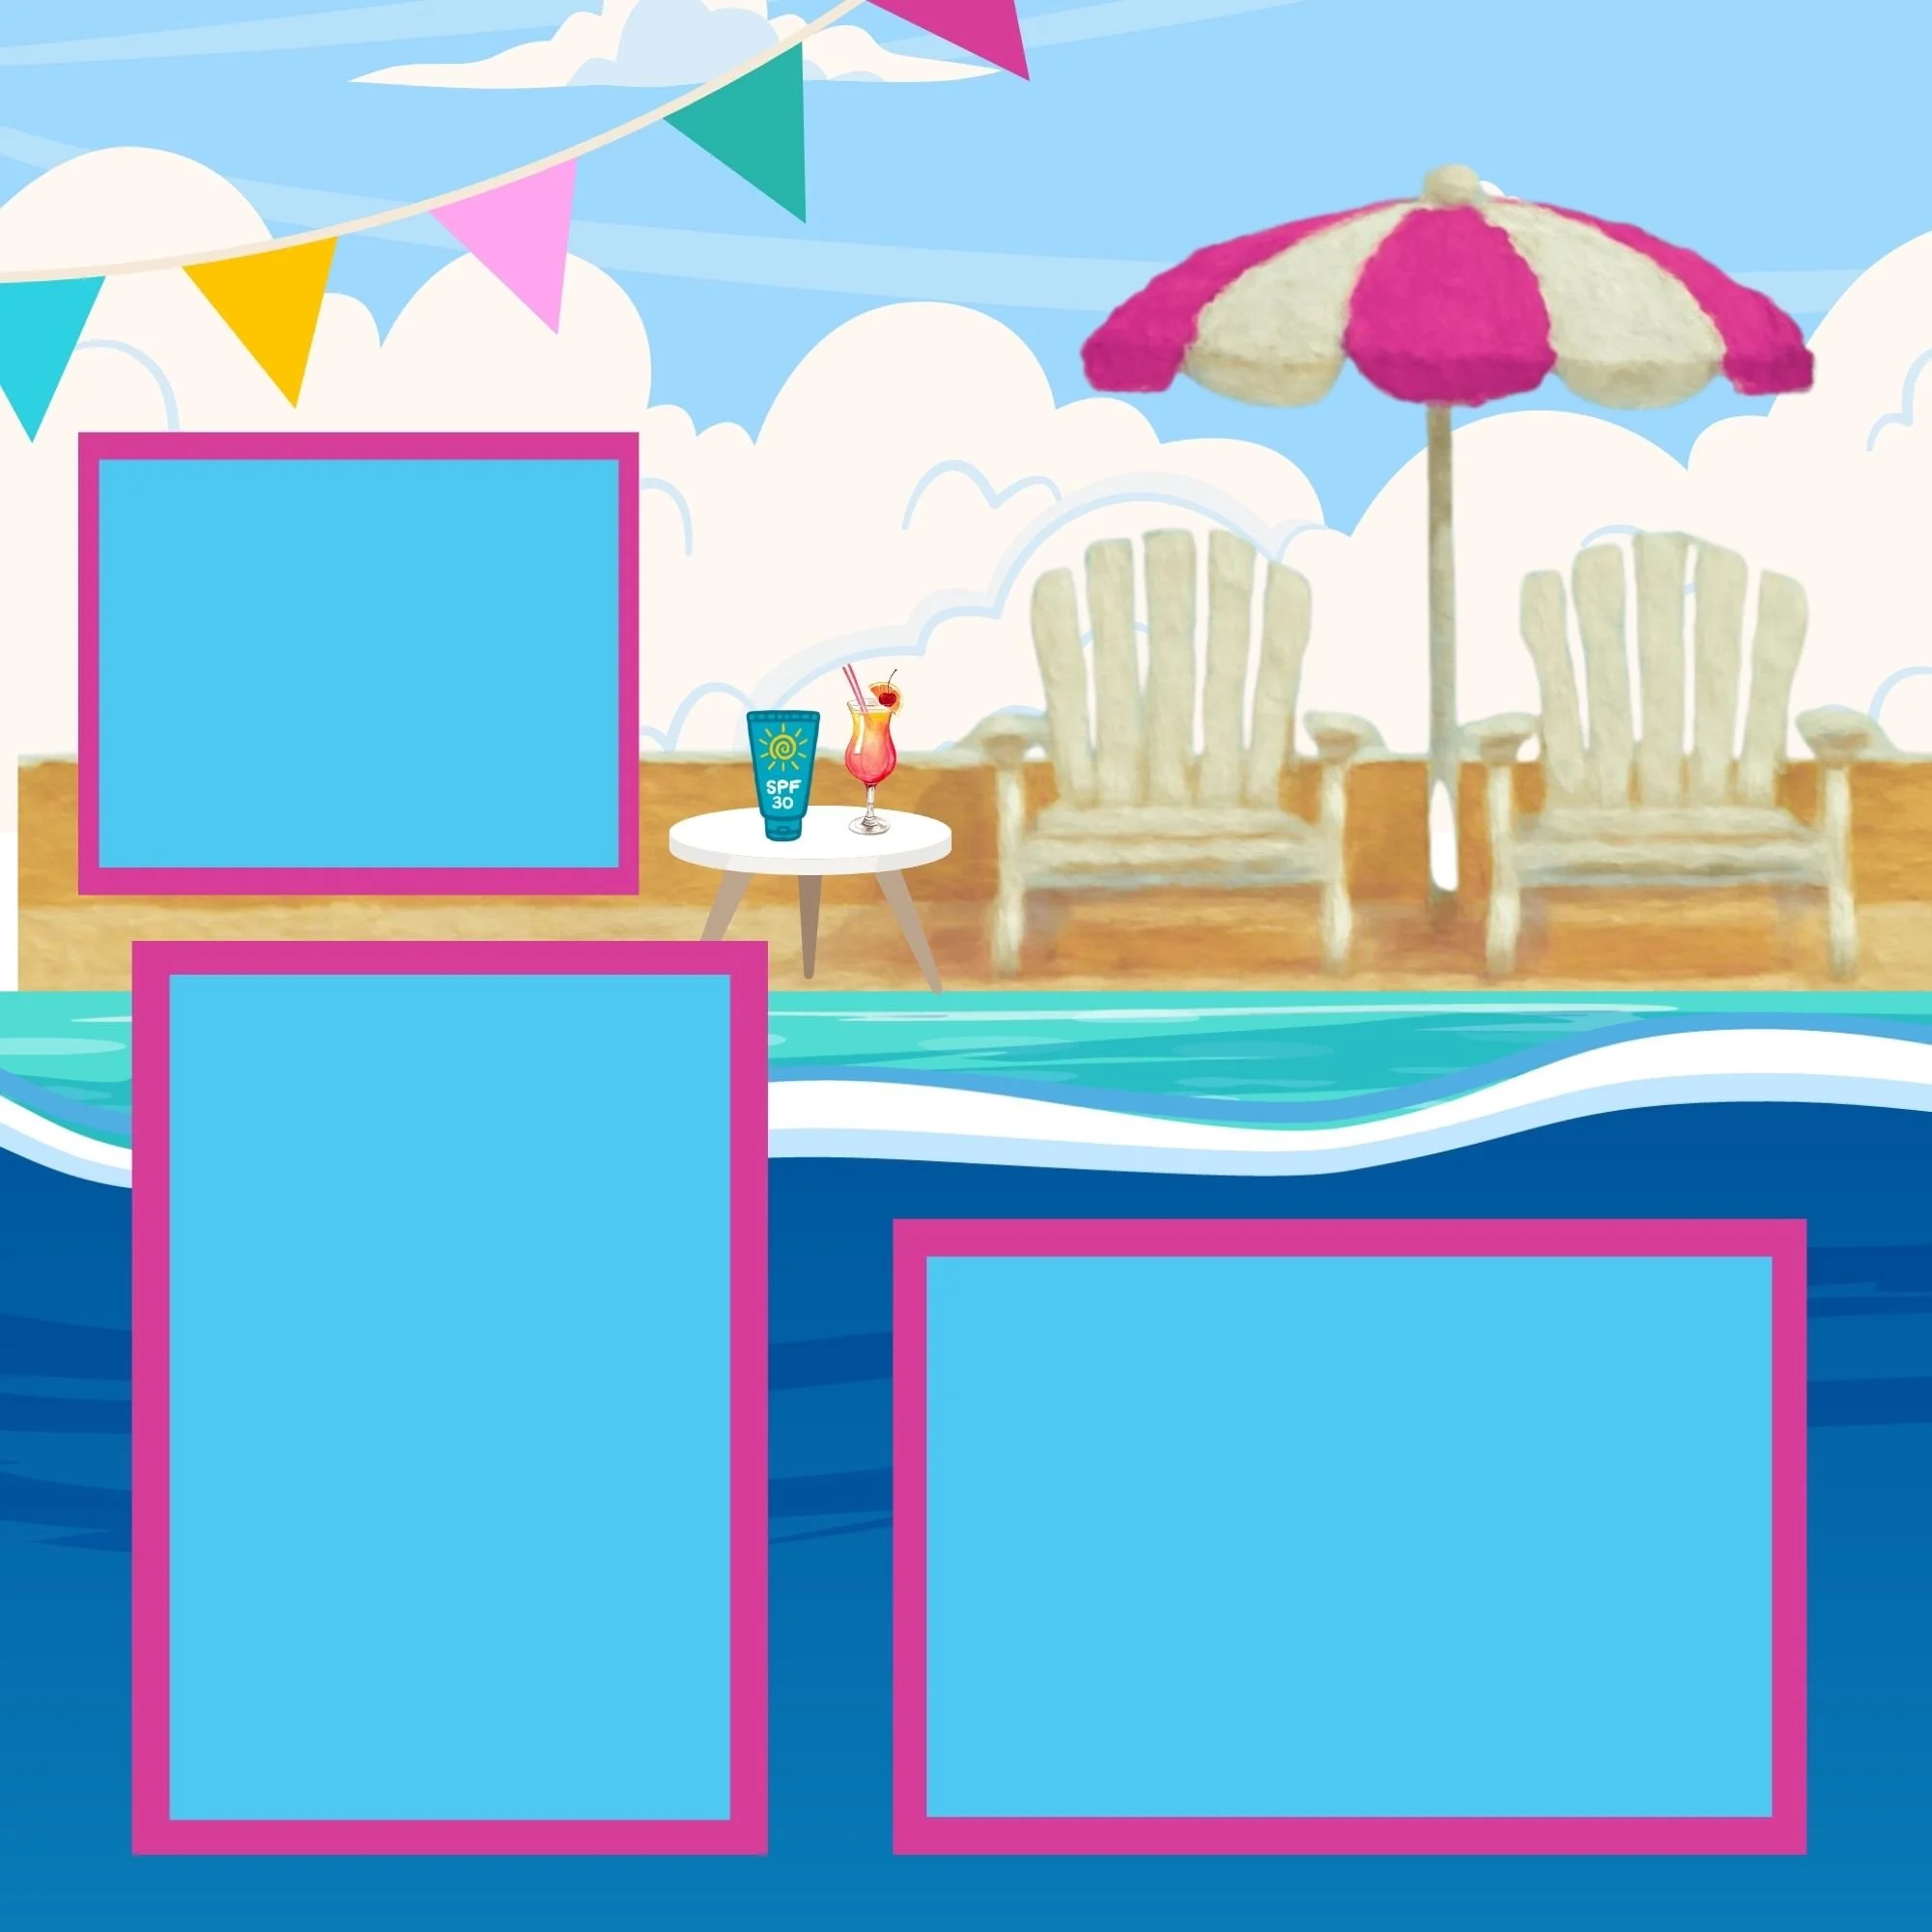
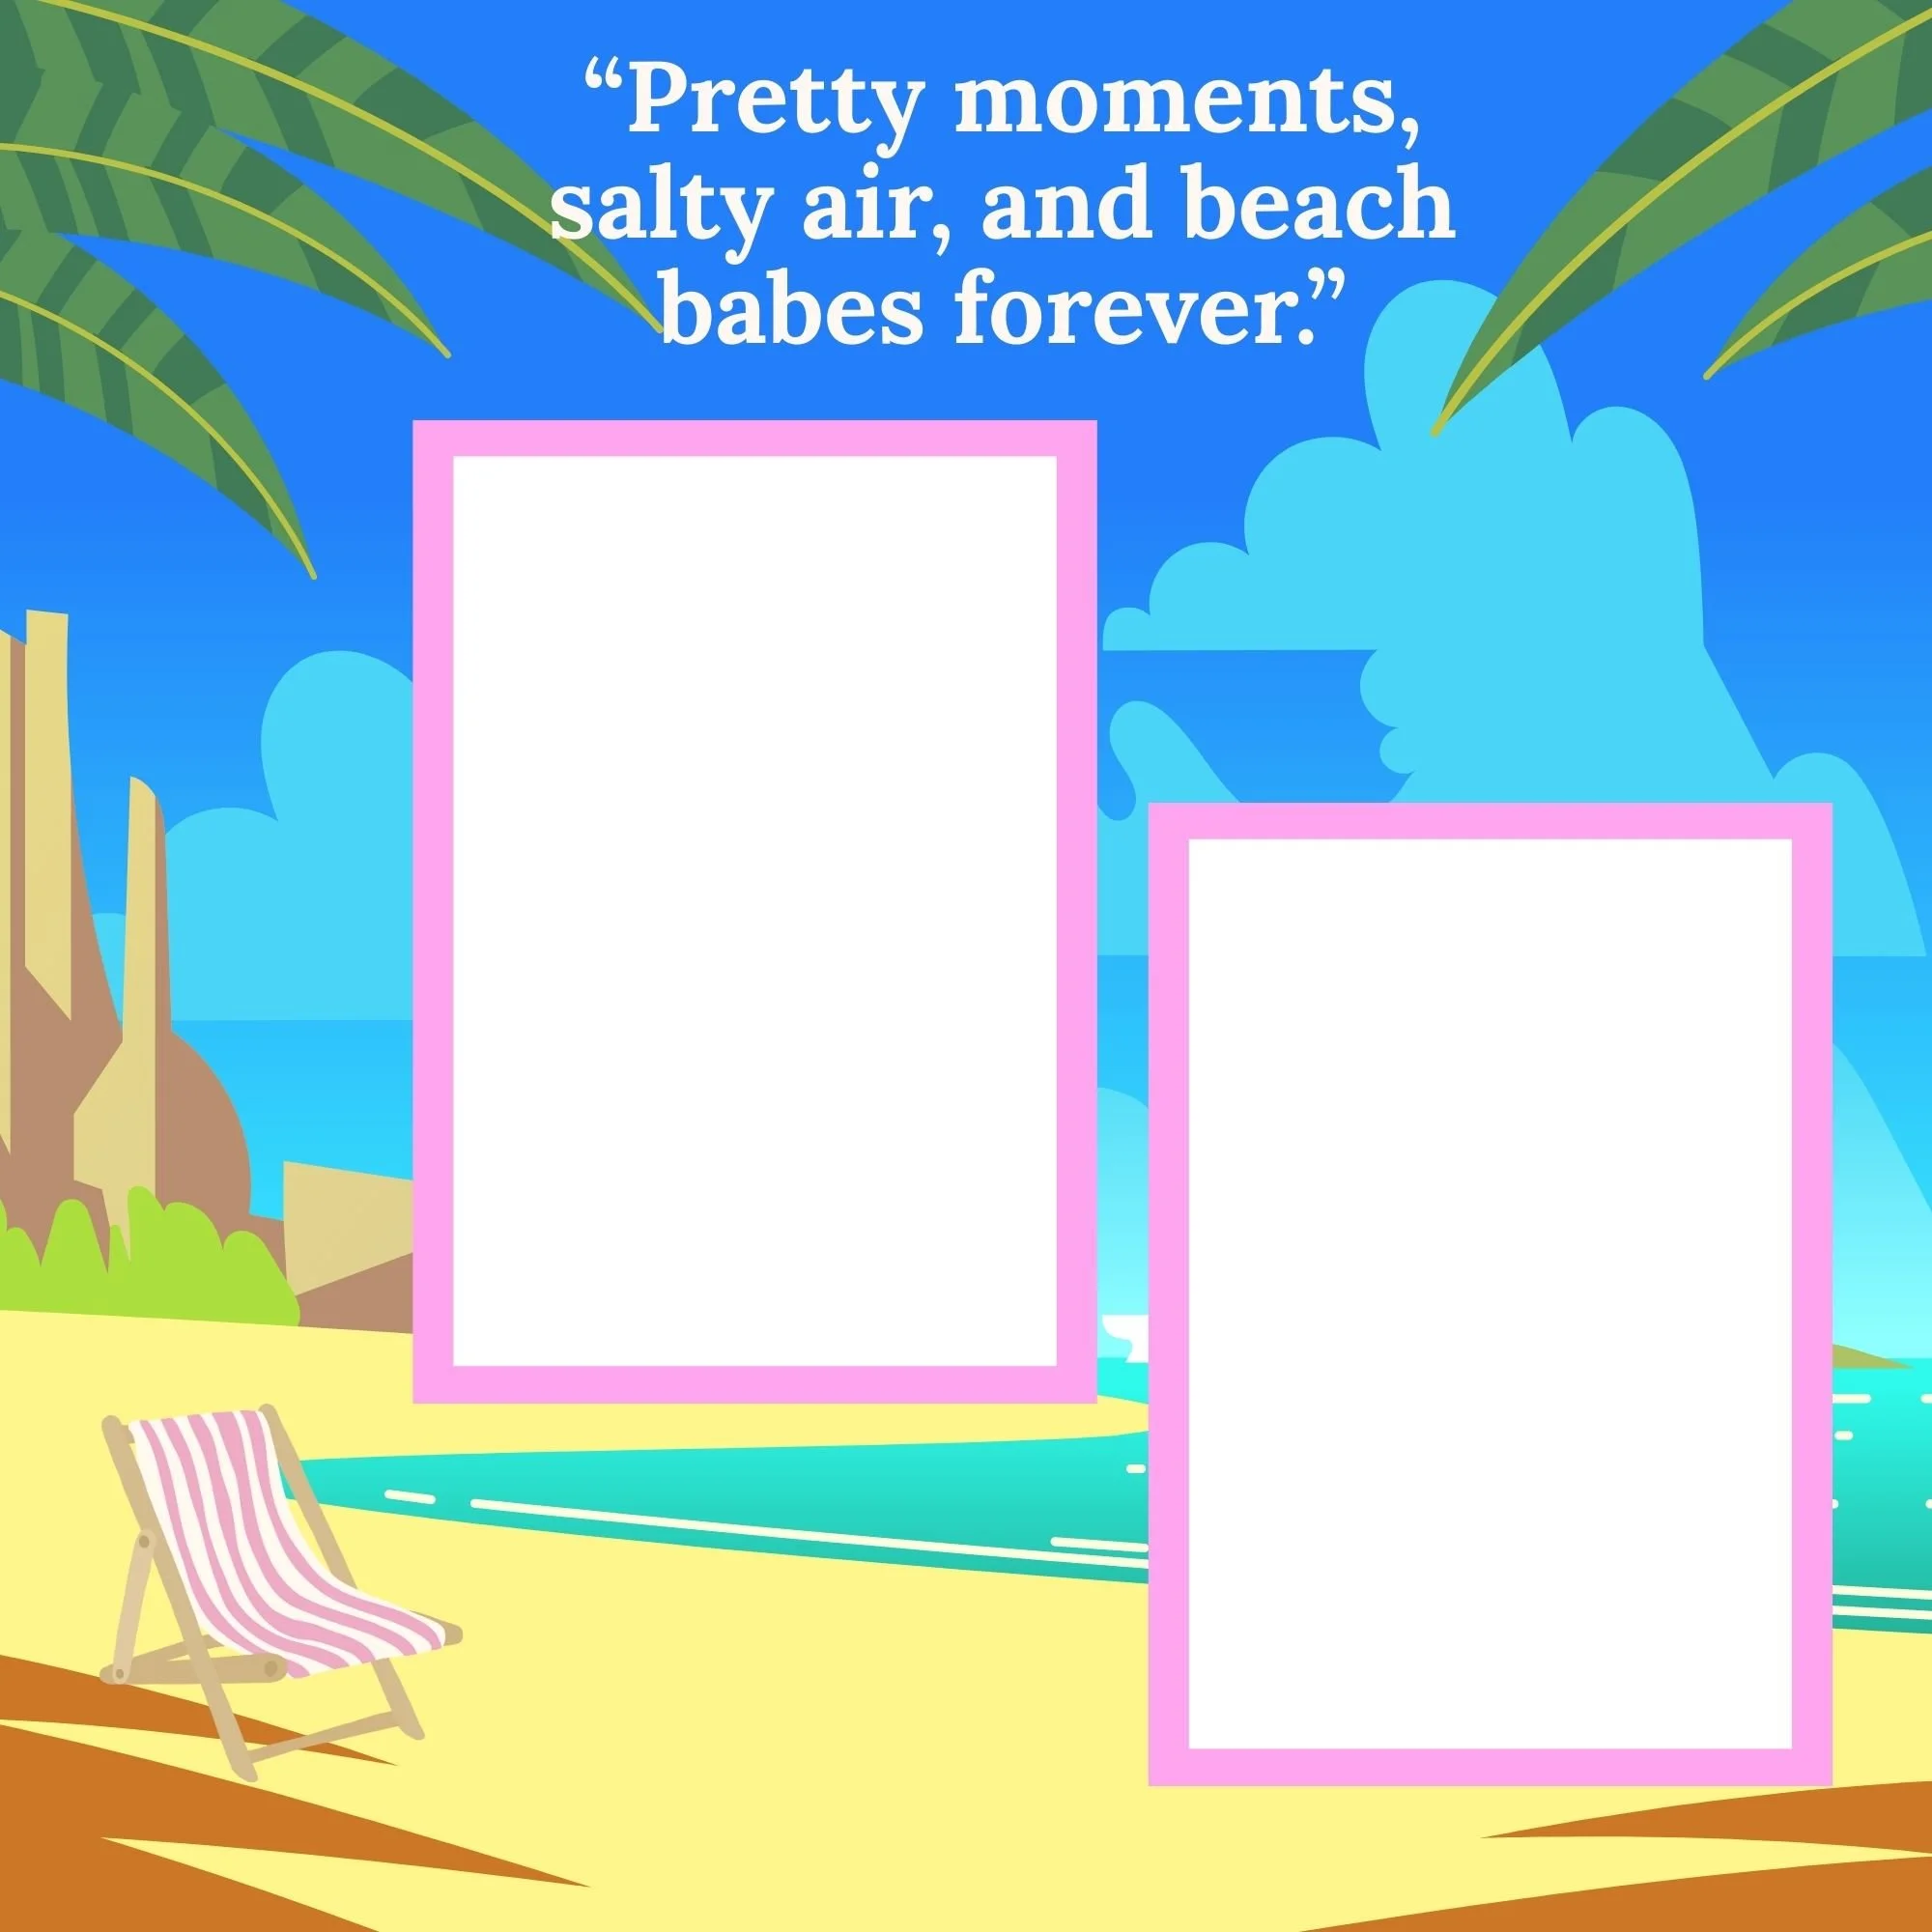
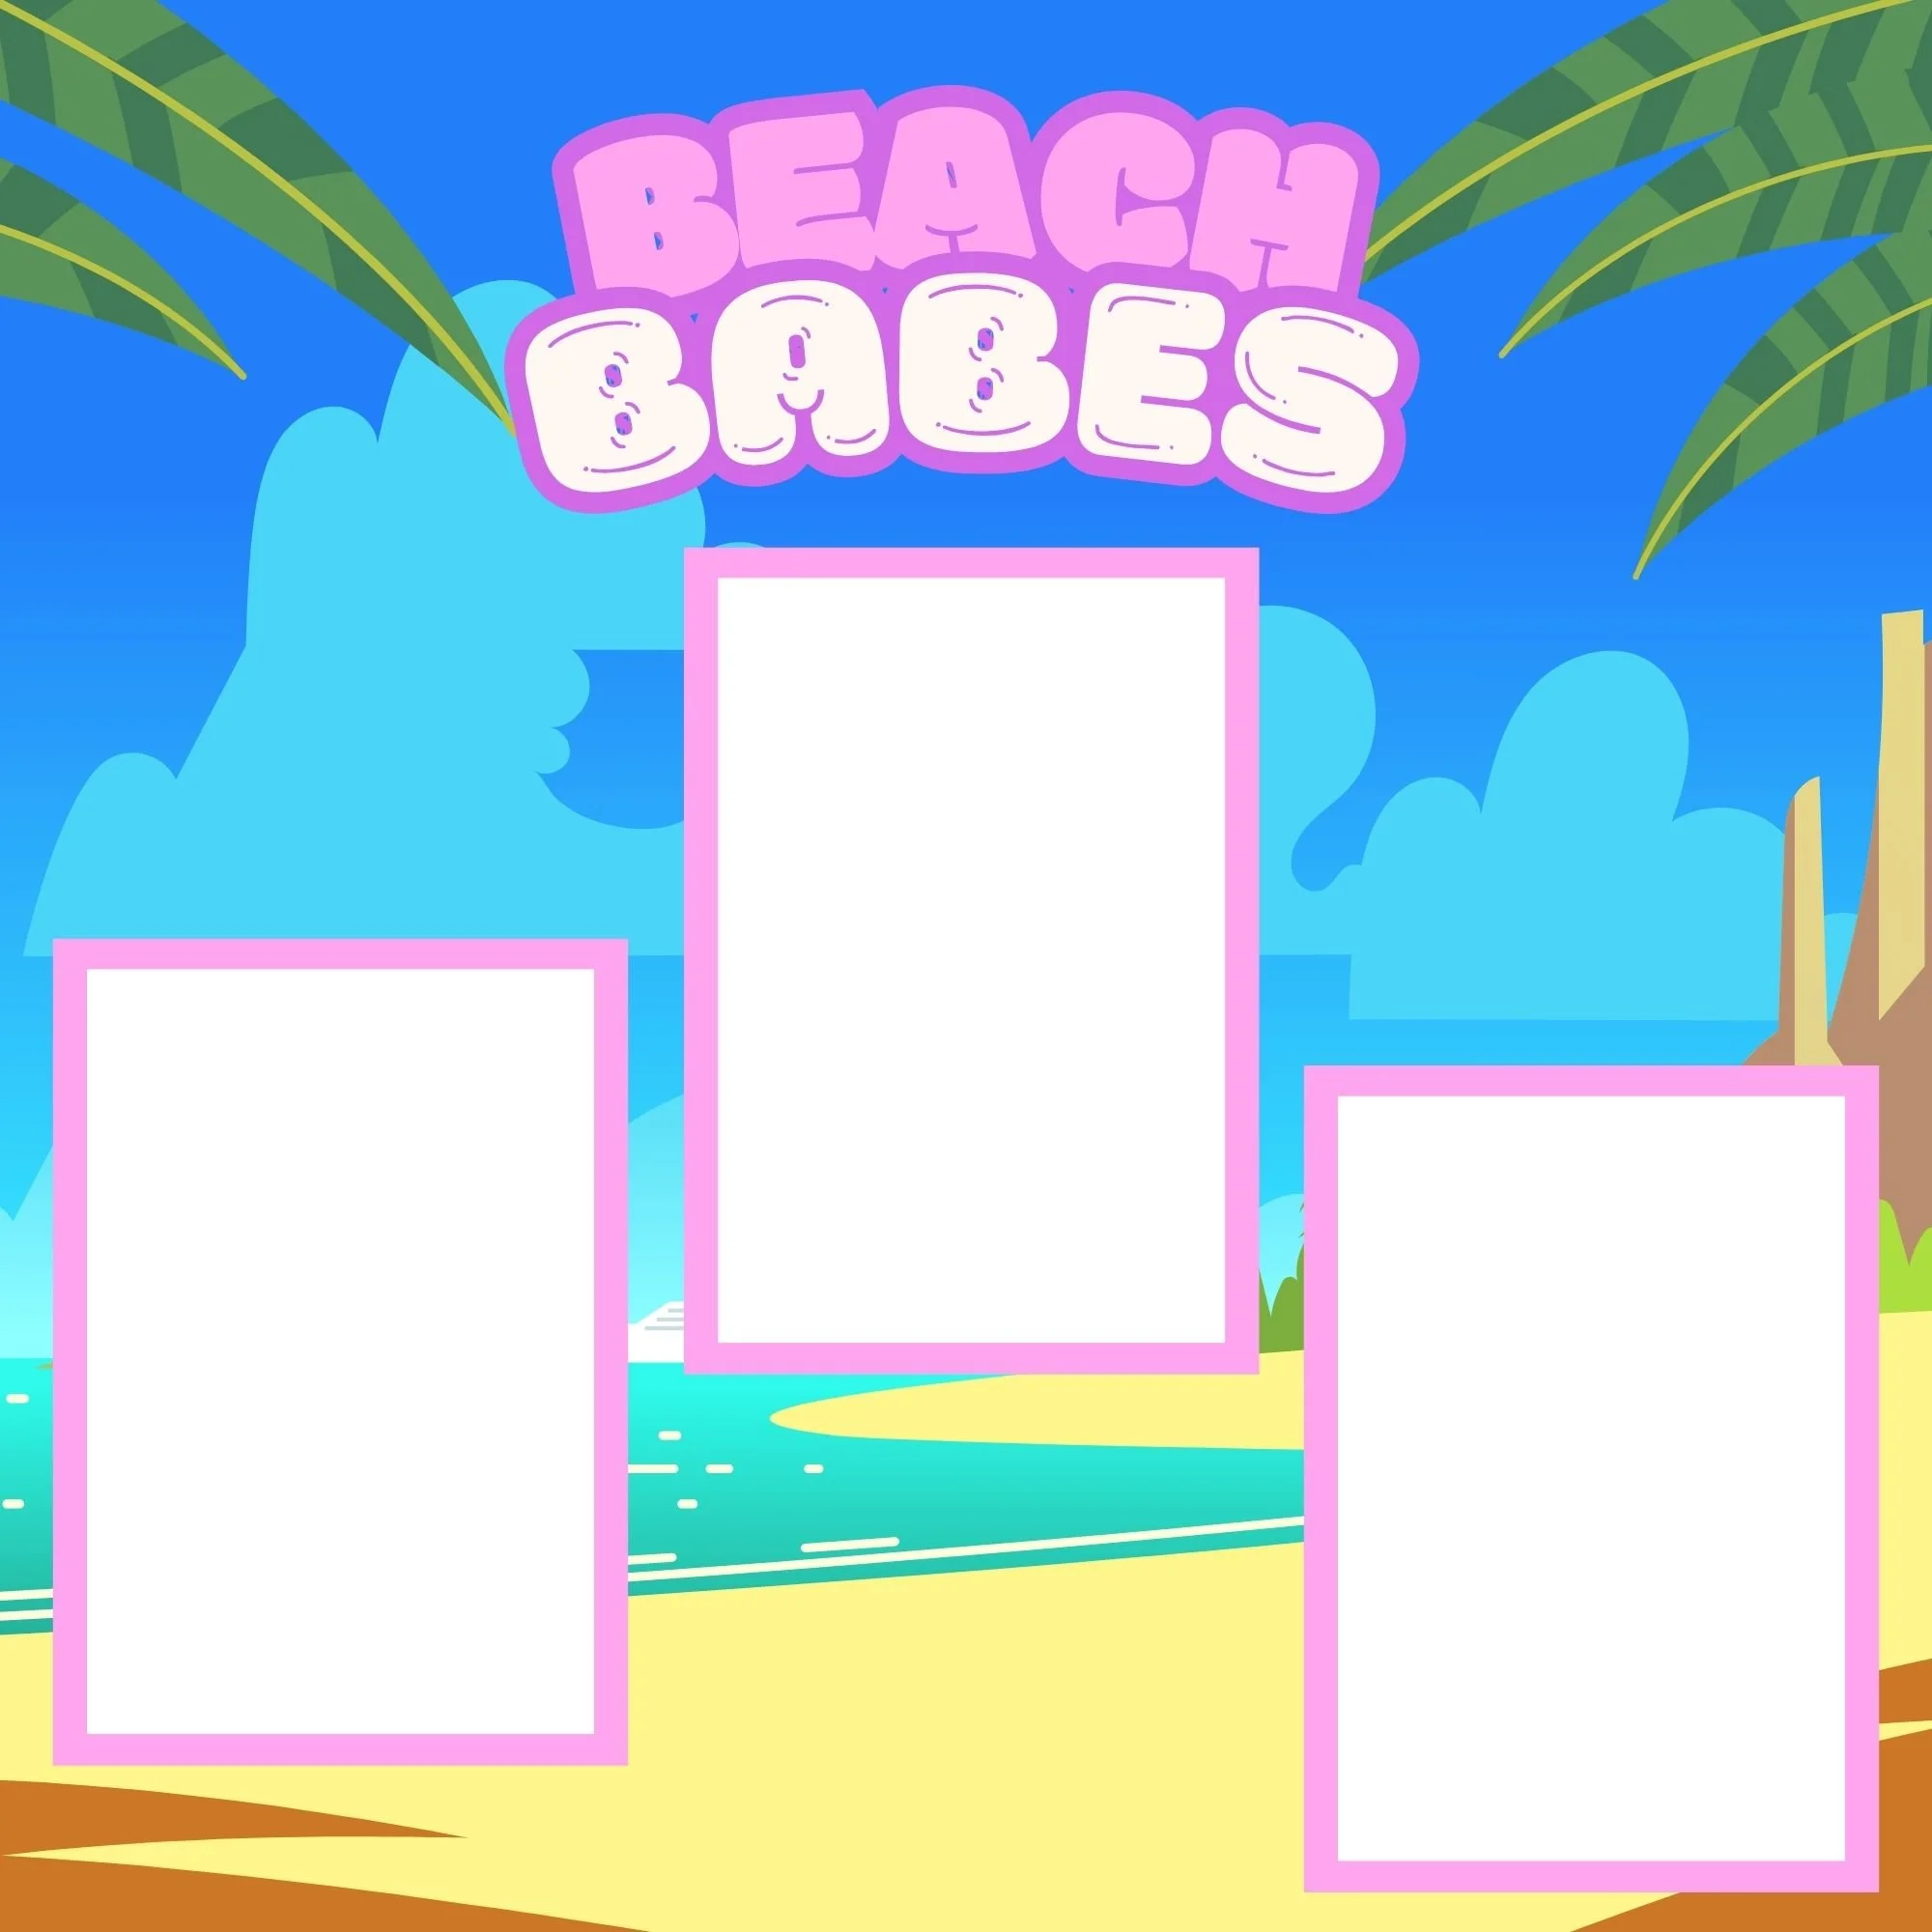
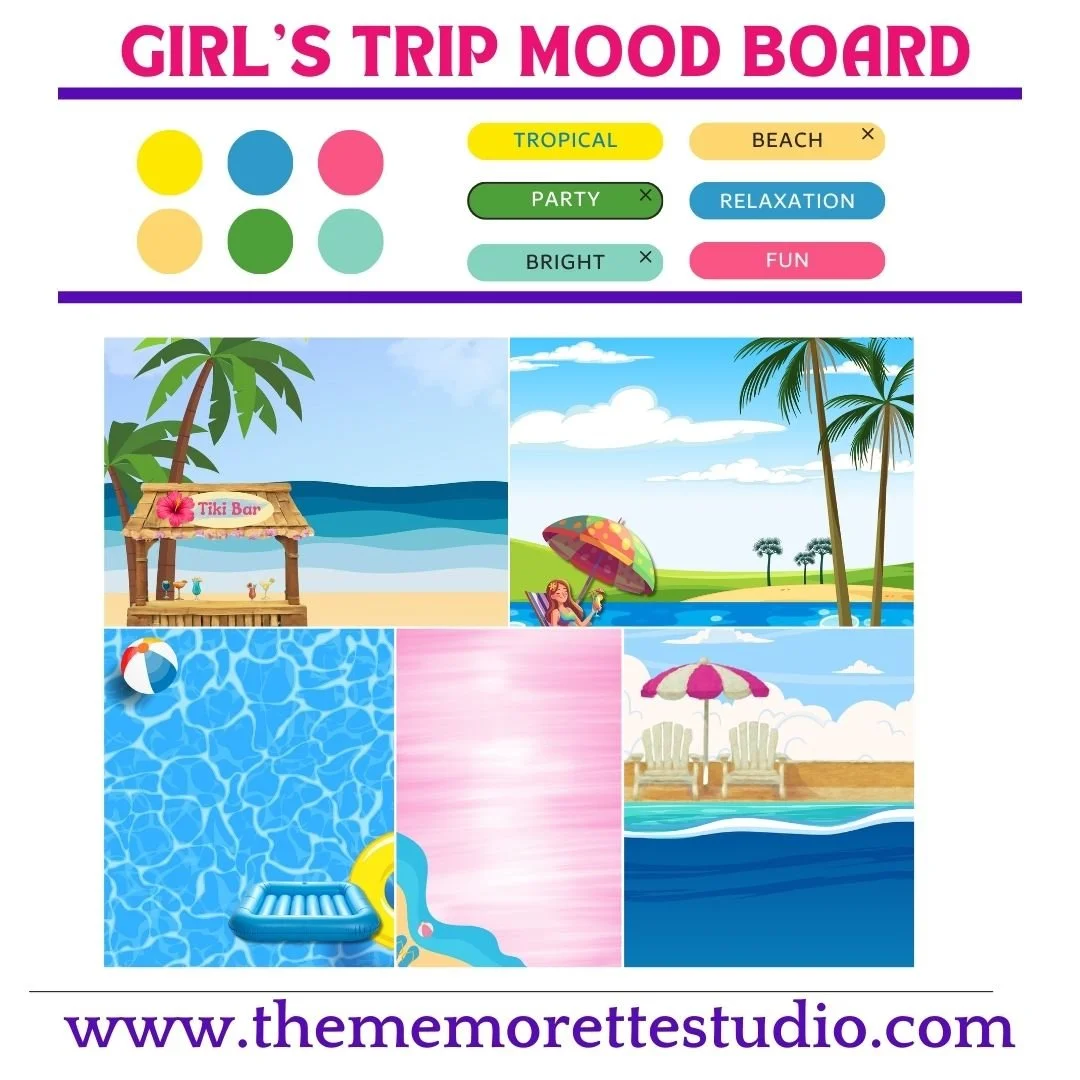
The color palette—turquoise blues inspired by ocean water, paired with bright pinks and sunny yellows reminiscent of hibiscus flowers—instantly brings those memories to life.
If I had to sum up the vibe in just a few words, it would be: tropical, beachy, bright, relaxed, and fun.
To make creating even easier, you can pair the Girl’s Trip Memorette scrapbook with the Girl’s Trip Page Kit (sold separately), which includes coordinating papers, embellishments, and design elements that perfectly match the theme
The Foundation of Every Professional Scrapbook Layout
Let’s talk technique.
Creating professional-looking scrapbook layouts is the foundation of expert memory keeping. Once you understand this process, every scrapbook page you make will look more cohesive, intentional, and visually balanced.
This technique works whether you’re creating a single page, a double-page spread, or an entire memory album.
Supplies You’ll Need
Before you begin, gather the following supplies:
Cutting tools (paper trimmer and craft scissors)
Adhesives (tape runner, glue stick, or liquid adhesive)
Scrapbook papers (cardstock and themed patterned paper)
The Girl’s Trip Paper Pack (optional)
A creative mindset
You’ll find links to My Favorite Tools and everything I use linked here.
Step-by-Step Method for Professional-Looking Layouts
1. Choose Your Photos First
Start by selecting clear, high-quality photos that capture authentic moments. Look for images where everyone looks great and the memory feels meaningful.
2. Select Your Background Papers
Your background papers set the tone for the entire page. Choose at least:
Two patterned papers
One or two solid colors
This combination helps your page feel layered and intentional without becoming overwhelming.
3. Decide on Your Layout Direction
There’s no single “right” way to arrange papers. Try:
Horizontal layouts (symmetrical or asymmetrical)
Vertical layouts
A mix of horizontal and vertical (especially effective for double-page spreads)
Diagonal or organic placements for added visual interest

4. Choose Photo Mat Colors
Pull colors directly from your patterned papers. If your design includes turquoise, pink, and yellow, use those same shades for photo mats.
You can:
Use one mat color for all photos
Mix colors for variety
Double-mat a feature photo to make it stand out


Just keep in mind that double matting adds thickness, which can make albums bulkier over time.
5. Lay Out Photos Before Gluing
Place your photos on the page and take note of vertical vs. horizontal orientation. Be sure to leave some open space for embellishments like stickers, die cuts, or decorative tape.
6. Crop Photos Before Cutting Mats
Before cutting mats, crop your photos to remove anything unnecessary. This helps keep layouts clean and saves space.
A good rule of thumb:
A 4x6 photo looks great matted on a 4.5x6.5 mat.
7. Dry Fit Everything
Lay out all papers, mats, and photos before gluing. Make sure you love the design—once adhesive is involved, changes are much harder.
8. Glue in the Correct Order
For best results, glue in this order:
Background papers
Photo mats
Photos
Embellishments
This layering technique is what gives scrapbook pages depth and a polished finish.
Common Scrapbooking Mistakes to Avoid
Even experienced scrapbookers make these mistakes—so don’t worry if they sound familiar!
Using too many competing patterns
Repeating the exact same layout on both pages of a spread
Choosing a color scheme with little contrast
Overloading pages with embellishments
Making pages too heavy, which can cause tearing
As a general rule: balance beats excess. Two to three embellishments per page is usually plenty!
What to Do Next
Now that you know how to create professional-looking scrapbook layouts, you can apply this method to any memory you want to preserve—whether it’s a girl’s trip, a family vacation, or everyday moments.
To make things even easier, I’ve created a free Grab n’ Go guide that walks you through this entire technique step by step.
Helpful Links & Resources
Be sure to check out:
And don’t forget to sign up for my email list to stay up to date on:
New scrapbook releases
Page kit launches
Blog posts and video tutorials
Exclusive tips and inspiration
If this article inspired you, save it to Pinterest, share it with a fellow scrapbooker, and let me know which technique you’d love to learn next.
Now… on to more creating!